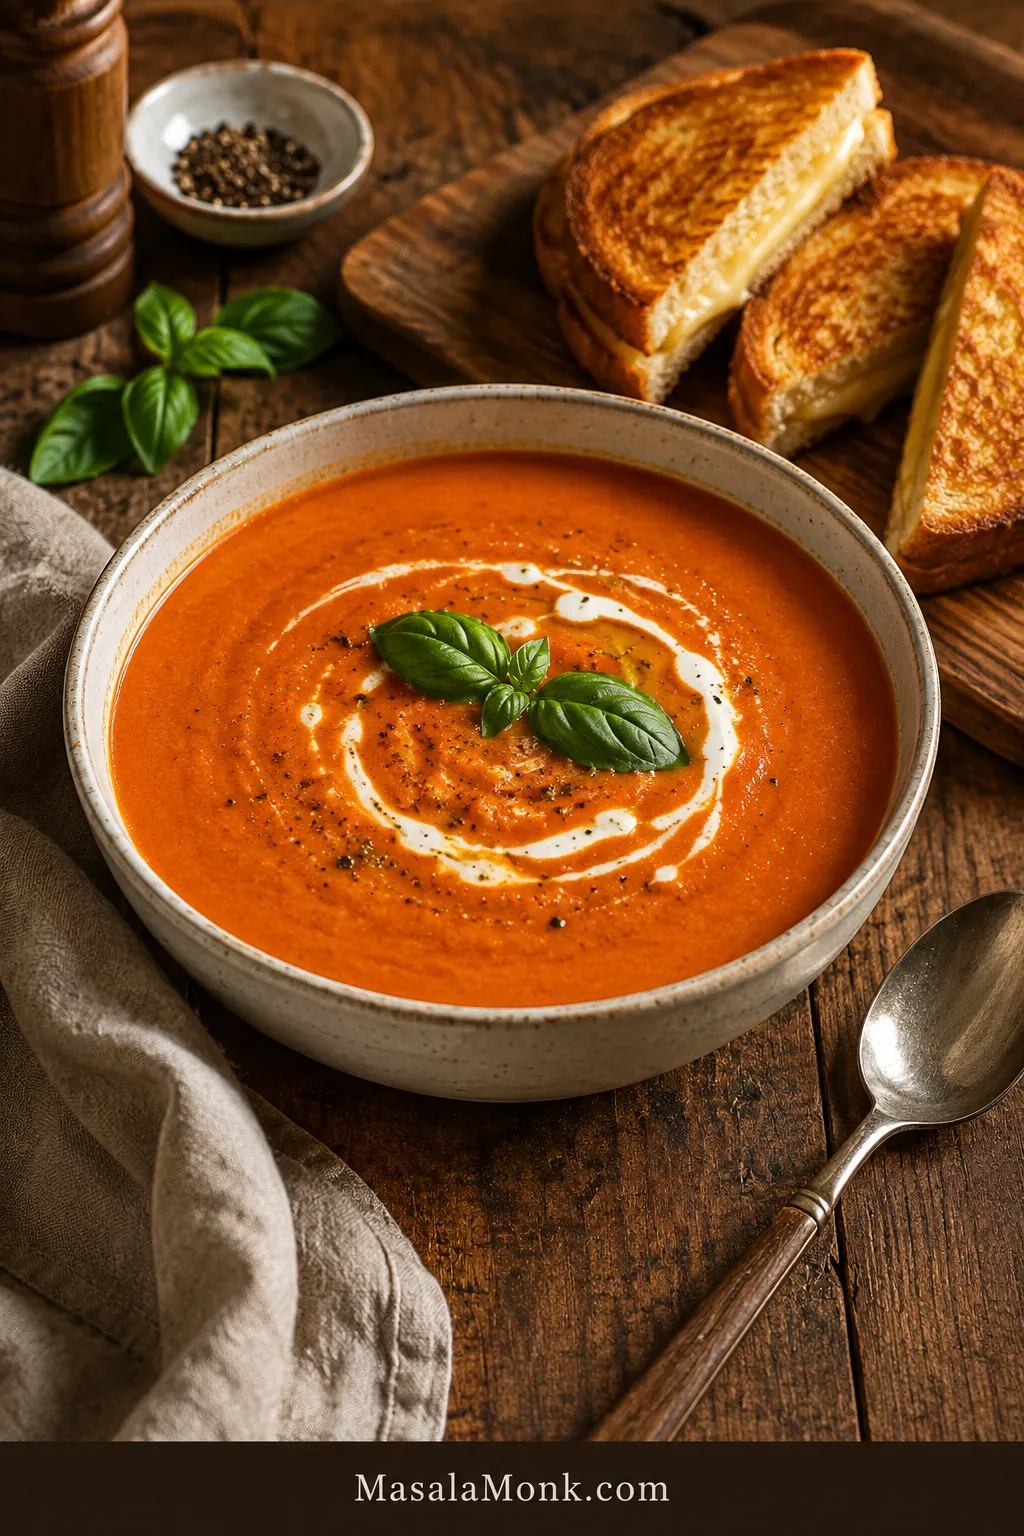
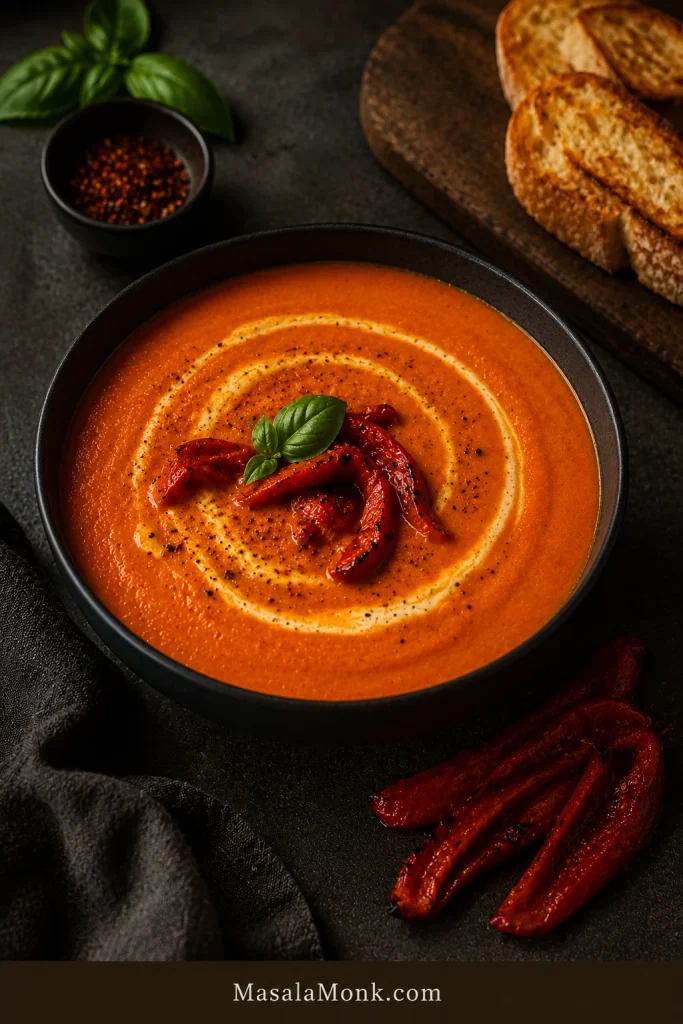
A good tomato bisque should feel like tomato soup got dressed up for grilled cheese night: glossy, velvety, rich enough to comfort you, but still bright enough to taste like tomatoes. This is the bowl you make when classic tomato soup sounds good, but you want it creamier, smoother, and a little more special.
The main recipe starts with canned tomatoes because they are reliable, pantry-friendly, and easy to turn into a rich, blended soup. When fresh tomatoes are ripe and sweet, you can use those too. Either way, the method is simple: cook the vegetables, deepen the tomato paste, simmer the tomatoes, blend, then finish gently with cream.
The one rule to remember is this: blend first, loosen later, cream last. That keeps the soup silky instead of watery, rounded instead of heavy, and creamy without splitting.
If you want the lightest fresh-tomato bowl, make this fresh tomato soup recipe. This one is the richer lane: blended, cream-softened, spoon-coating, and built for a grilled cheese dunk.
Jump to recipe At a glance Choose your version Canned vs fresh Canned soup shortcut Troubleshooting
Quick Answer: What Is Tomato Bisque?
For most home cooks, tomato bisque means tomato soup made smoother, richer, and creamier. It is blended until silky and finished with cream, milk, butter, or a creamy dairy-free alternative.
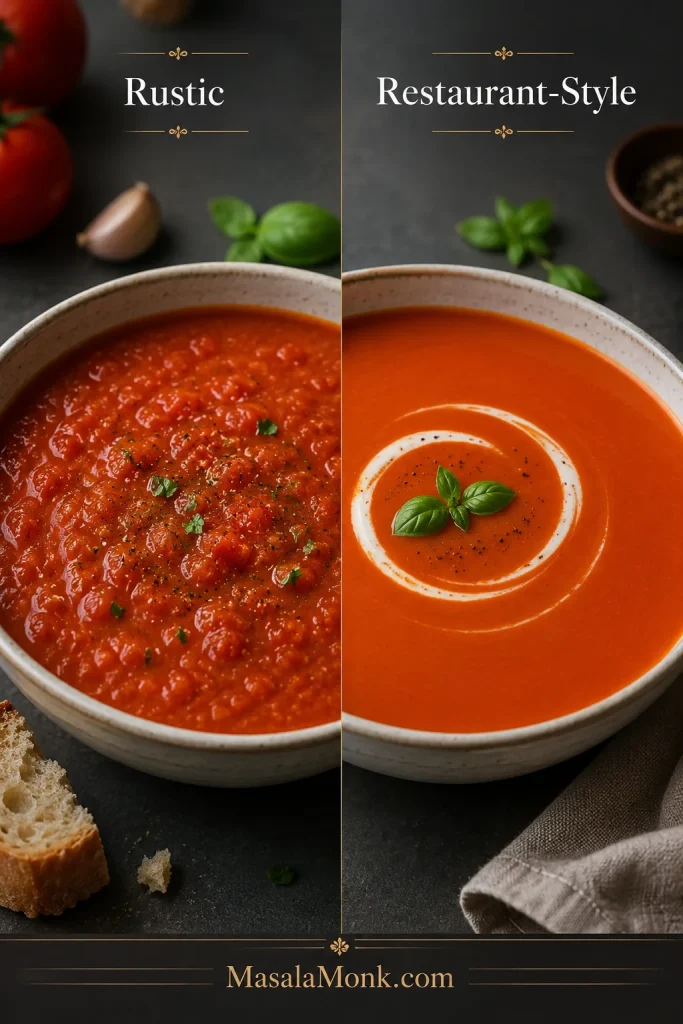
Tomato soup can be light, brothy, chunky, or fresh-tasting. A bisque is usually smoother, thicker, fuller-bodied, and more rounded. Some restaurant-style versions use a roux, but you do not need one for a good homemade bowl.
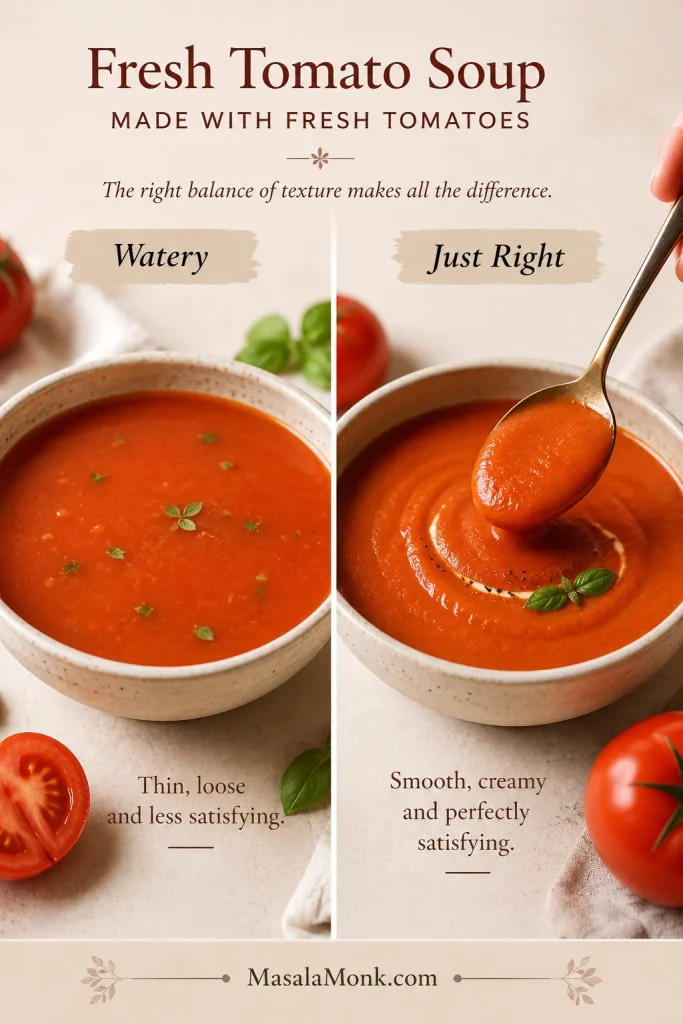
The promise: This recipe stays spoon-coating because the broth is controlled early, the vegetables are blended into the base, and the cream goes in only after the soup is already smooth. It is better to start slightly thick; the blender will tell you what the soup needs.
Texture Cue Before You Start
At a Glance
Here is the recipe logic before you start.
| Main version | Easy creamy canned tomato bisque |
| Total time | About 40 minutes |
| Servings | 4 large bowls or 6 smaller bowls |
| Yield | About 6 to 7 cups soup |
| Tomatoes | 1 can whole peeled or crushed tomatoes, 28 oz / about 794 g |
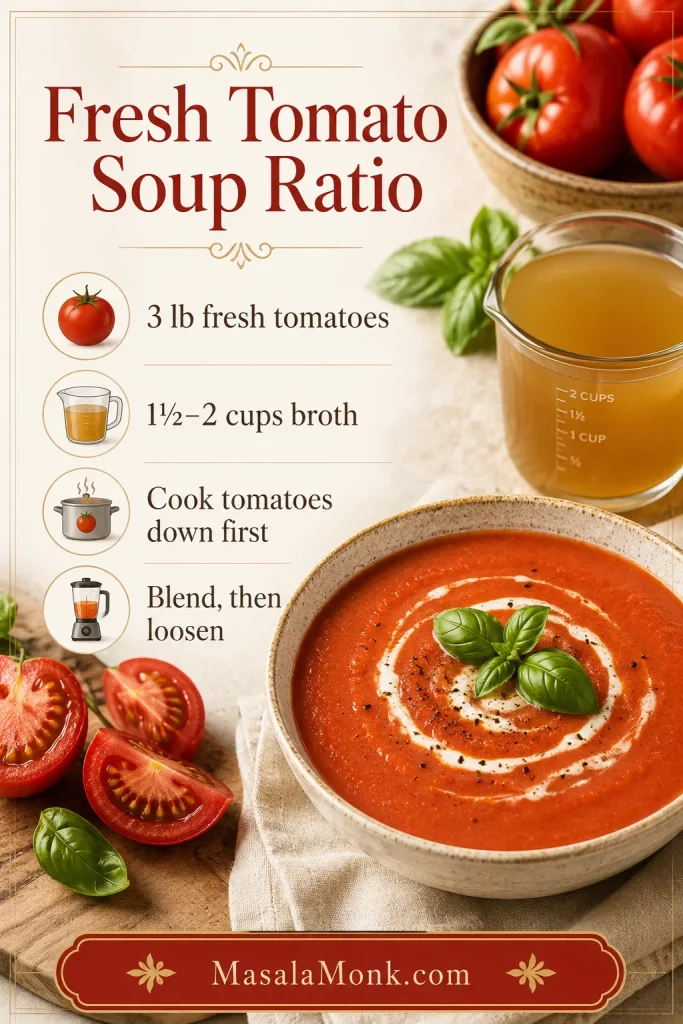
| Fresh tomato swap | 2.5 lb / about 1.1 kg ripe tomatoes, or up to 3 lb / 1.35 kg if watery |
| Broth for canned tomatoes | Start with 2 cups / 480 ml |
| Broth for fresh tomatoes | Start with 1 to 1 1/2 cups / 240 to 360 ml because fresh tomatoes release liquid |
| Cream | 1/2 cup / 120 ml heavy cream, half-and-half, or cashew cream |
| Best tool | Immersion blender |
| Texture cue | Smooth, glossy, spoon-coating, and pourable |
| Best pairing | Grilled cheese |
Recipe Card
Prep time: 10 minutes
Cook time: 30 minutes
Total time: 40 minutes
Servings: 4 large bowls or 6 smaller bowls
Yield: About 6 to 7 cups
Method: Stovetop
Difficulty: Easy
Ingredients
- 2 tablespoons olive oil or butter, about 30 ml oil or 28 g butter
- 1 medium onion, chopped, about 150 g
- 1 medium carrot, chopped, about 70 to 80 g
- 1 celery rib, chopped, about 40 to 50 g
- 3 garlic cloves, minced, about 9 to 12 g
- 2 tablespoons tomato paste, about 30 g
- 1 can whole peeled tomatoes or crushed tomatoes, 28 oz / about 794 g
- Fresh tomato option: use 2.5 lb / about 1.1 kg ripe tomatoes, or up to 3 lb / 1.35 kg if watery
- 2 cups vegetable broth or chicken broth, 480 ml, for canned tomatoes
- For fresh tomatoes, start with 1 to 1 1/2 cups broth, 240 to 360 ml, plus more as needed
- 1 teaspoon dried basil or Italian seasoning
- 1/2 teaspoon dried oregano or thyme
- 1/2 teaspoon salt, then more to taste
- 1/4 teaspoon black pepper
- Pinch of red pepper flakes, optional
- 1/2 cup heavy cream, half-and-half, or cashew cream, 120 ml
- 1 tablespoon butter, optional, for finishing, about 14 g
- Fresh basil, Parmesan, croutons, or grilled cheese, for serving
Instructions
- Warm the olive oil or butter in a large non-reactive soup pot or Dutch oven over medium heat.
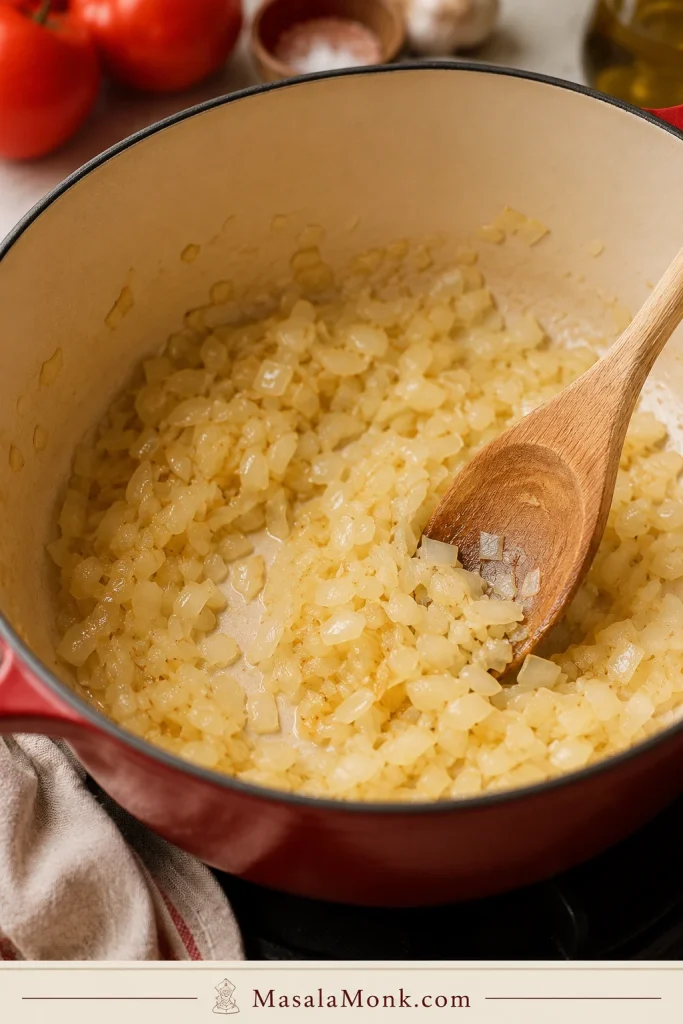
- Add the onion, carrot, and celery. Cook for 6 to 8 minutes, stirring often, until the vegetables soften and the onion turns translucent.
- Add the garlic and cook for about 30 seconds, just until fragrant.
- Stir in the tomato paste. Cook for 1 to 2 minutes, until it darkens slightly and smells deeper. If it starts sticking, splash in a spoonful of broth and scrape the bottom of the pot.
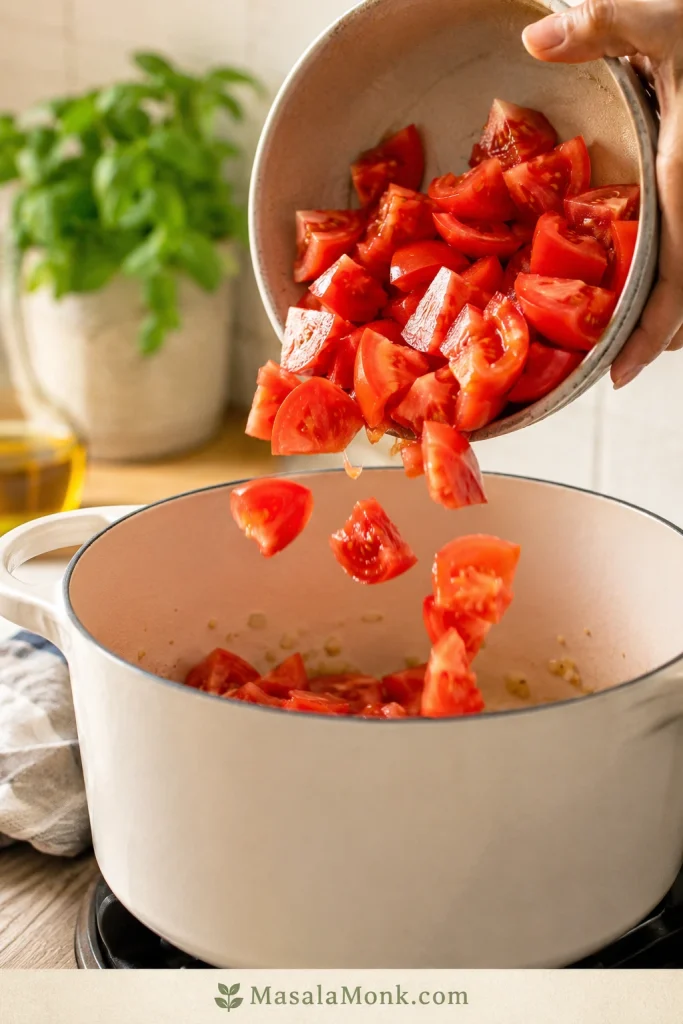
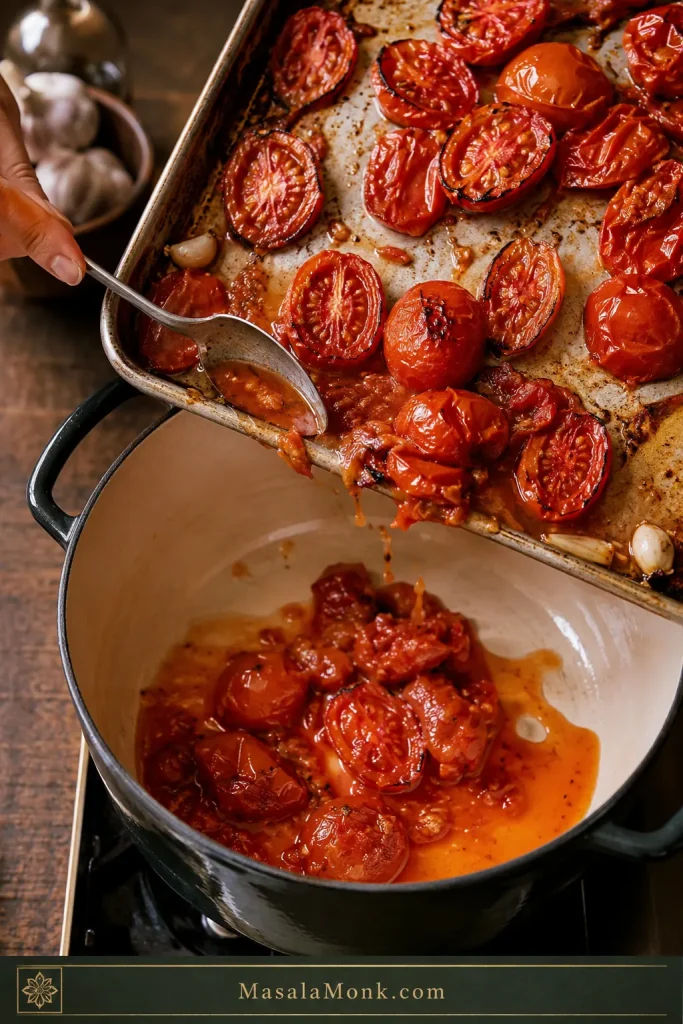
- Add the canned tomatoes with their juices. If using whole peeled tomatoes, crush them lightly with a spoon in the pot.
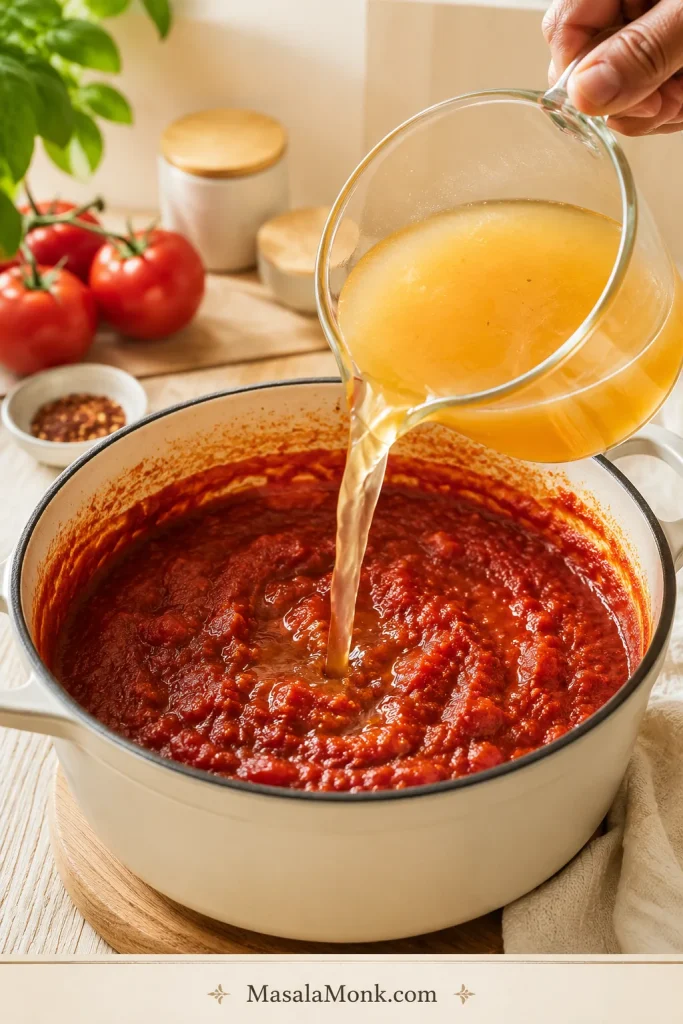
- Add 2 cups broth for canned tomatoes, or 1 to 1 1/2 cups broth for fresh tomatoes. Stir in the dried basil or Italian seasoning, oregano or thyme, salt, black pepper, and red pepper flakes if using.
- Bring to a gentle boil, then reduce the heat and simmer uncovered for 20 to 25 minutes, until the vegetables are very soft and the tomato flavor tastes less sharp.
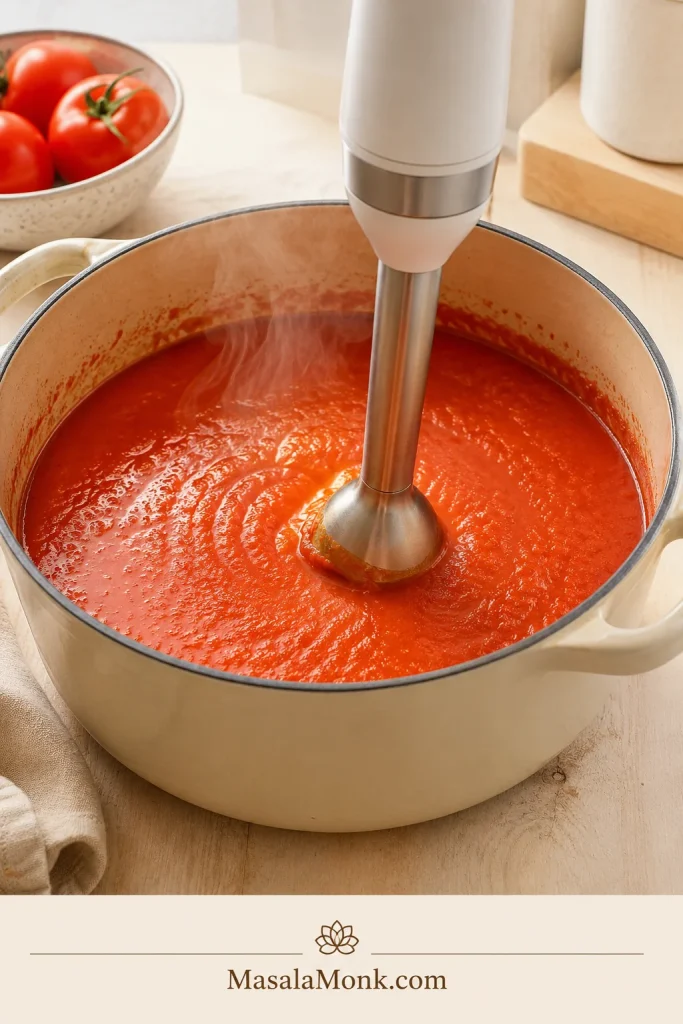
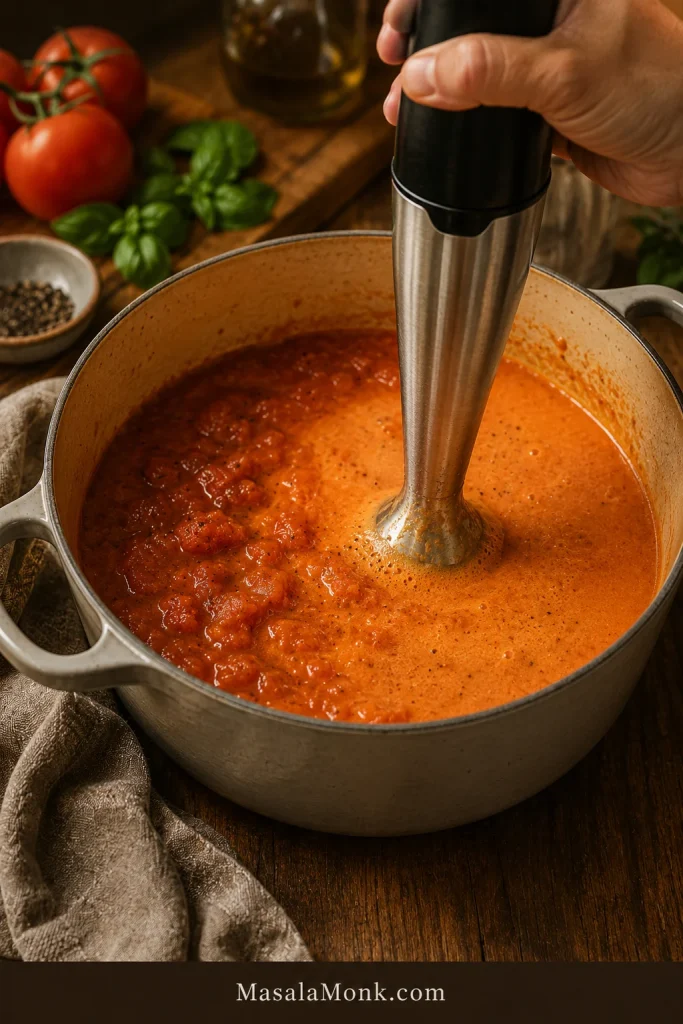
- Blend the soup until smooth with an immersion blender. For an extra-silky texture, use a countertop blender in batches.
- Check the texture. If the soup is too thick, add broth a little at a time until it is spoon-coating and pourable.
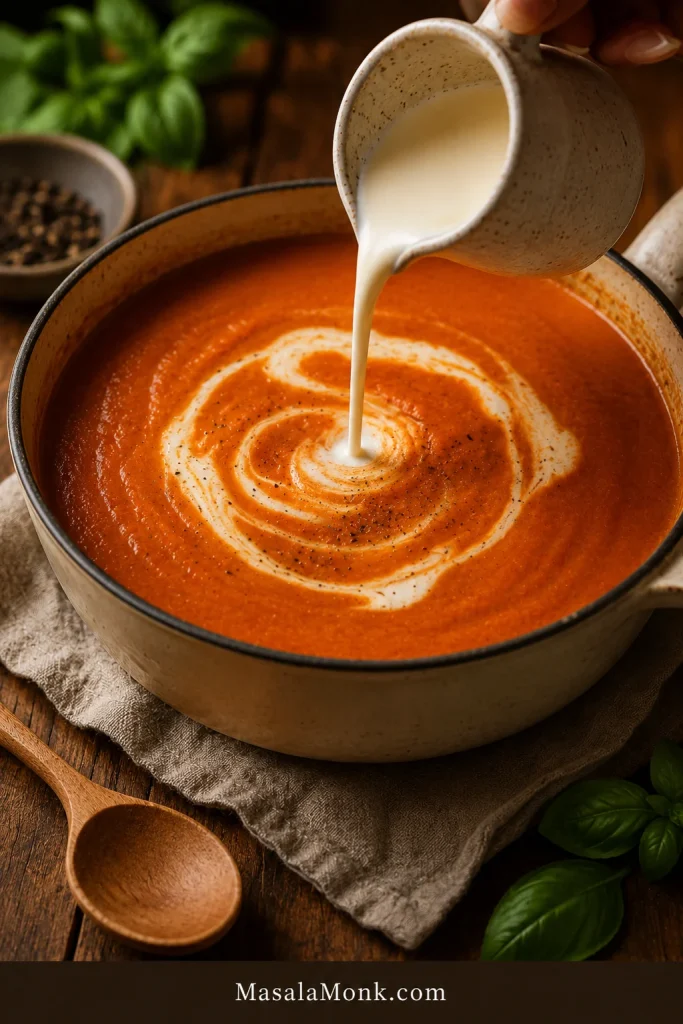
- Lower the heat. Stir in the cream and warm gently for 2 to 3 minutes. Do not boil hard after adding cream.
- Taste and adjust with more salt first. Add butter or Parmesan for richness, or basil for freshness.
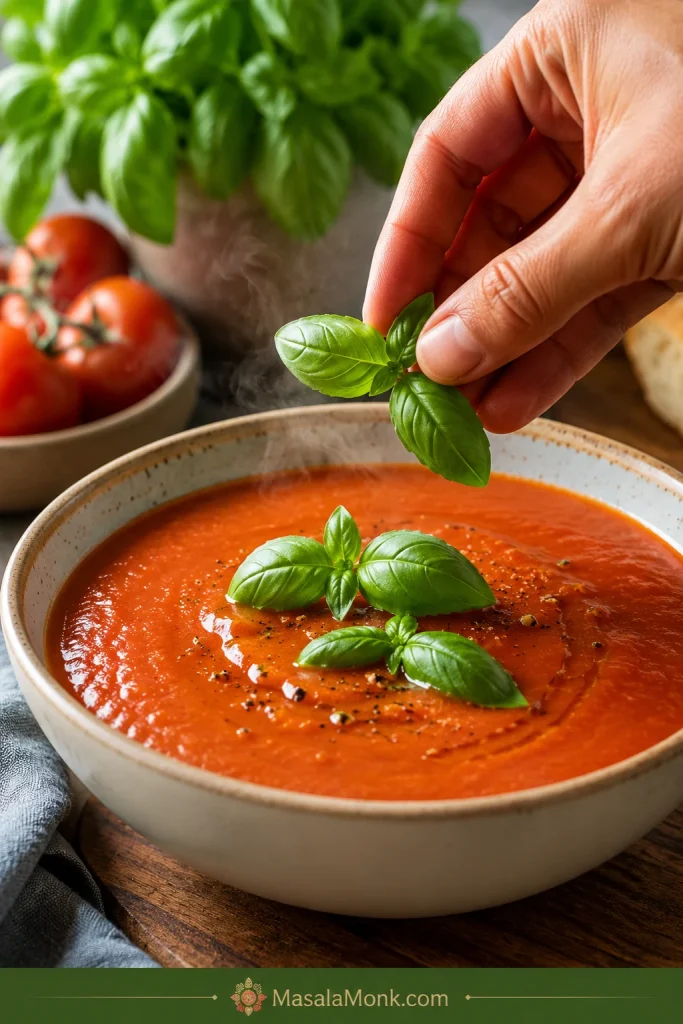
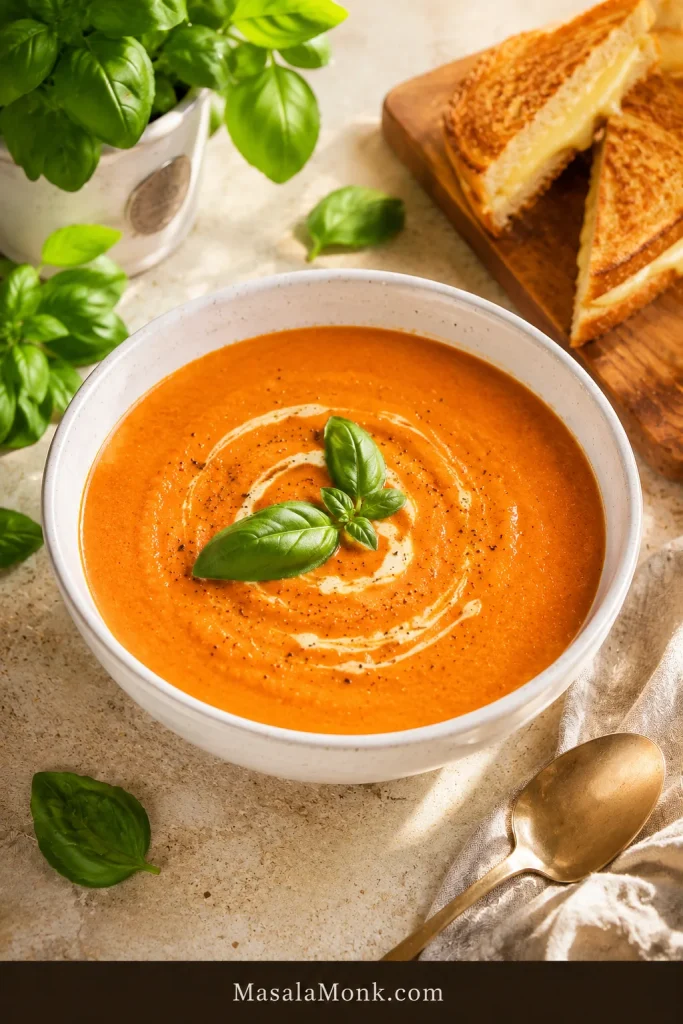
- Serve hot with fresh basil, croutons, Parmesan, or grilled cheese.
Recipe Notes
- Best tomato choice: whole peeled tomatoes or crushed tomatoes.
- Texture rule: blend first, loosen later, cream last.
- Fresh tomato swap: use 2.5 lb / about 1.1 kg ripe tomatoes, or up to 3 lb / 1.35 kg if the tomatoes are watery.
- Broth for fresh tomatoes: start with 1 to 1 1/2 cups / 240 to 360 ml broth because fresh tomatoes release more liquid.
- Optional depth upgrade: simmer the soup with a small Parmesan rind, then remove it before blending. Or finish with a tiny splash of sherry vinegar or lemon juice if the soup tastes flat. Skip the Parmesan rind for dairy-free soup.
- Thicker bowl: use the optional roux method or simmer uncovered a little longer.
- Dairy-free soup: use vegetable broth, olive oil, and cashew cream.
Table of Contents
- Recipe Card
- Choose Your Version
- Ingredients You Need
- Canned Tomatoes vs Fresh Tomatoes
- How to Make Tomato Bisque
- Creamy Options
- Optional Restaurant-Style Roux
- Variations
- Canned Soup Shortcut
- Dietary Options
- Slow Cooker, Instant Pot / Pressure Cooker, and Blender Notes
- What to Serve With Tomato Bisque
- Troubleshooting
- Storage, Freezing, and Reheating
- FAQs
Make This When
This is the soup to make when you want comfort without a complicated cooking project. It works especially well when:
- Tomato soup sounds good, but you want it richer and creamier.
- Grilled cheese is already part of the plan.
- A pantry dinner needs to feel more homemade than a plain can of soup.
- Fresh tomatoes are out of season, but deep tomato flavor still matters.
- Restaurant-style tomato soup sounds good, but a heavy floury roux does not.
For a lighter meal around the soup, a fresh side like this chickpea salad adds brightness and protein without making the bowl itself heavier.
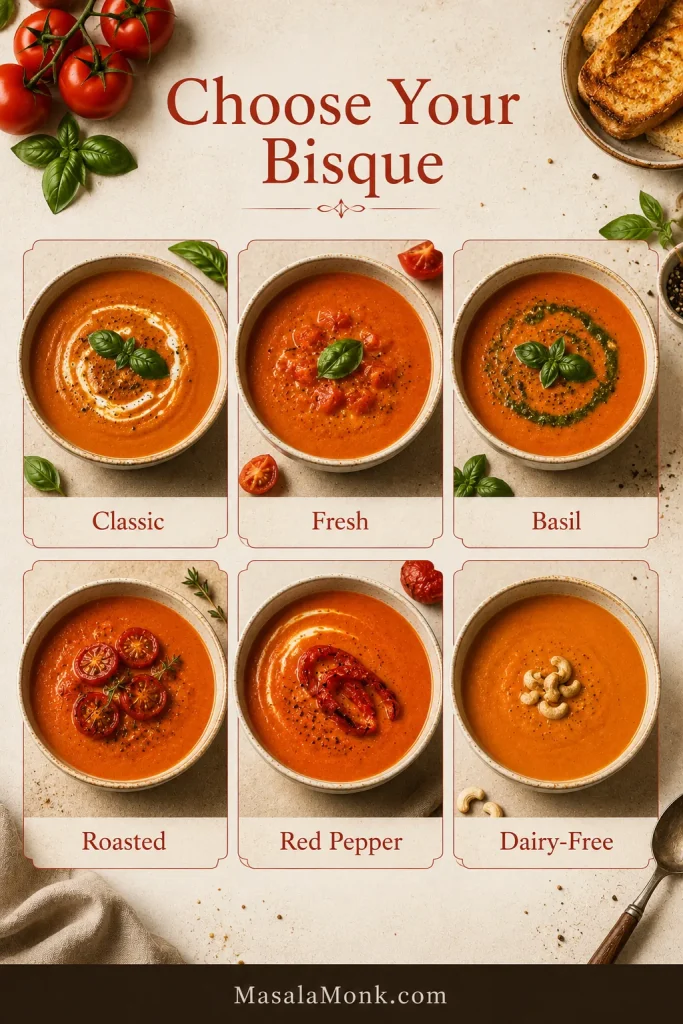
Choose Your Version
The easiest reliable version starts with canned tomatoes, not fresh tomatoes and not canned tomato soup. Canned whole peeled tomatoes or crushed tomatoes give steady flavor, enough body, and repeatable results without waiting for perfect summer produce.
Make the main pot first, then choose the lane that fits your tomatoes, time, and mood. Once you make the base once, you will probably know your house version: basil-heavy, extra creamy, roasted, spicy, or built around grilled cheese.
| You want… | Make this version | What to change |
|---|---|---|
| The easiest reliable bowl | Canned tomato bisque | Use 28 oz / 794 g canned whole peeled or crushed tomatoes |
| Fresh garden flavor | Fresh tomato bisque | Use 2.5 lb / 1.1 kg ripe tomatoes and start with less broth |
| Deeper fresh tomato flavor | Roasted tomato bisque | Roast fresh tomatoes before simmering |
| Brighter herb flavor | Tomato basil bisque | Add fresh basil near the end, then blend |
| Smoky-sweet flavor | Roasted red pepper tomato bisque | Add one drained 12 oz / 340 g jar roasted red peppers |
| Restaurant-style thickness | Roux-thickened tomato bisque | Add a small butter-and-flour roux |
| Dairy-free creaminess | Vegan tomato bisque | Use vegetable broth and cashew cream |
| A quick pantry shortcut | Canned tomato soup bisque | Upgrade condensed tomato soup with milk or half-and-half, butter, herbs, and Parmesan |
Visual Guide to Tomato Bisque Versions
See ingredients Start cooking Compare tomatoes Use canned soup shortcut
Why This Recipe Works
The recipe is not trying to be fancy. It is trying to keep the tomato flavor deep, the texture smooth, and the cream from taking over.
- Tomato paste adds depth. Give it a minute in the pot and it stops tasting raw, turning deeper and almost sweet.
- Onion, carrot, and celery soften the acidity. The carrot especially helps balance sharp tomatoes naturally.
- Canned tomatoes make the result reliable. You do not have to wait for peak-season tomatoes to make a good bowl.
- Blending creates body. The vegetables become part of the texture, not just flavor in the background.
- Gentle cream keeps the flavor balanced. It should soften the tomato edge, not make the soup pale and sleepy.
Equipment You Need
The only tool that really changes the experience is the blender. Everything else is basic soup-pot cooking.
- Large non-reactive soup pot or Dutch oven: stainless steel, enamel-coated cast iron, or a heavy nonstick soup pot works well.
- Immersion blender: the easiest tool because you can blend directly in the pot.
- Countertop blender: gives the silkiest texture, but hot soup must be blended carefully in batches.
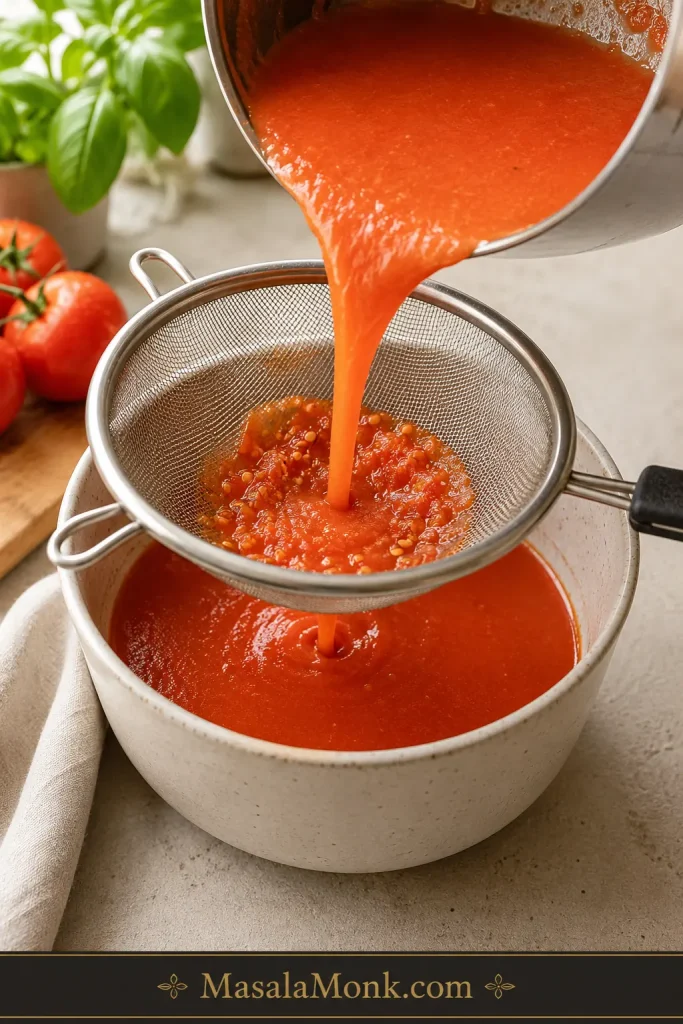
- Fine mesh sieve, optional: use it only if you want an ultra-smooth restaurant-style finish.
Hot blender safety: If using a countertop blender, do not fill the jar more than halfway. Vent the lid, cover it with a towel, and start on low speed. Hot soup expands quickly in a sealed blender.
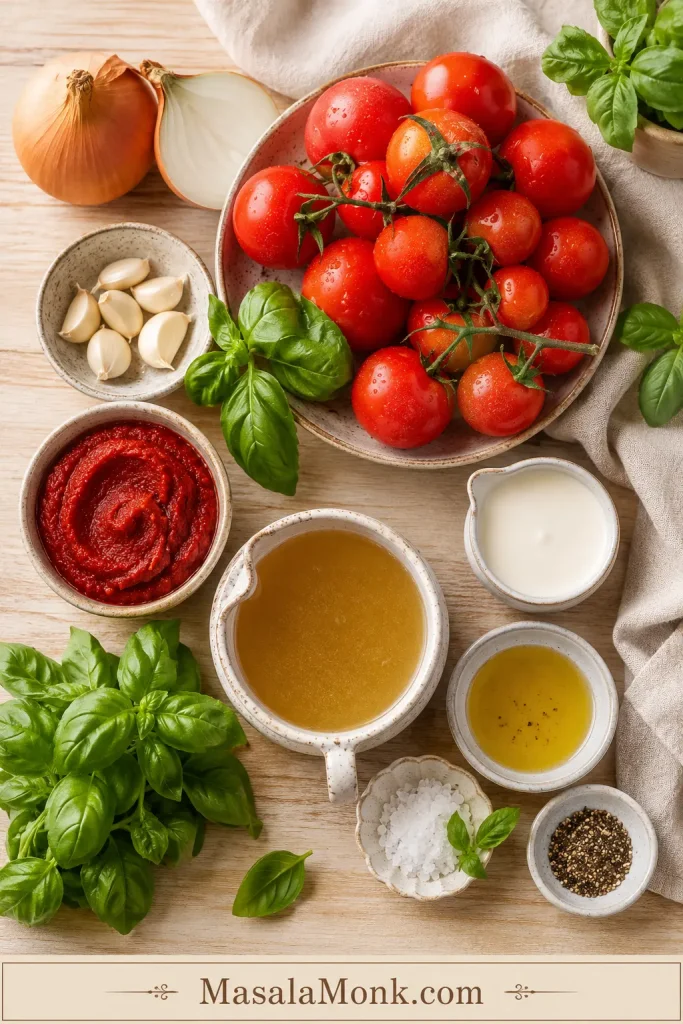
Ingredients You Need
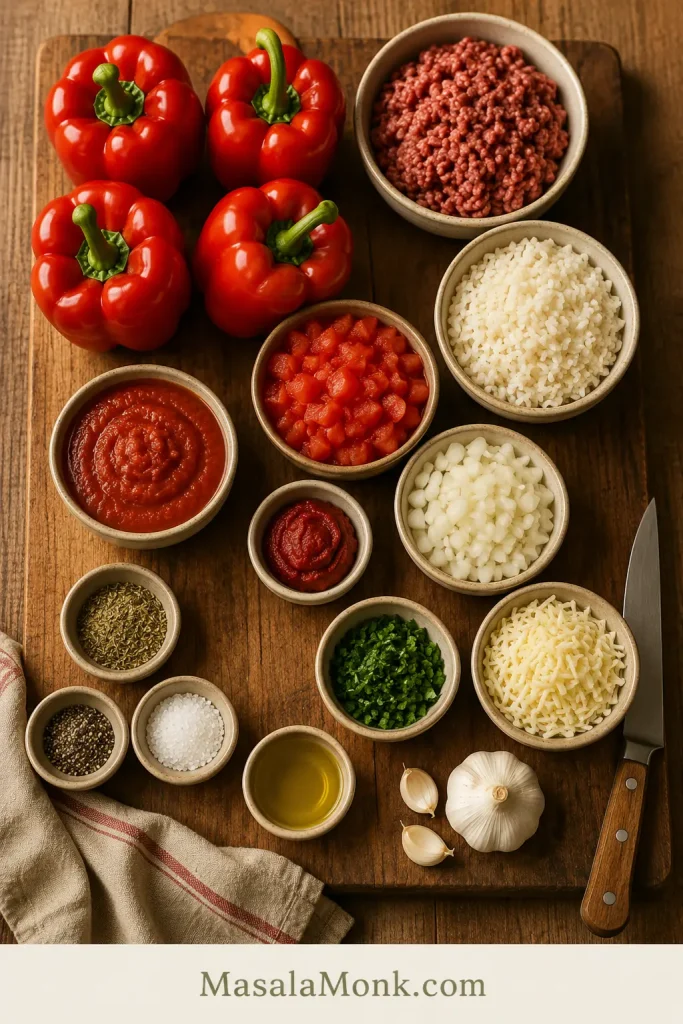
The ingredients are simple, but each one has a job in the pot.
Ingredient Snapshot
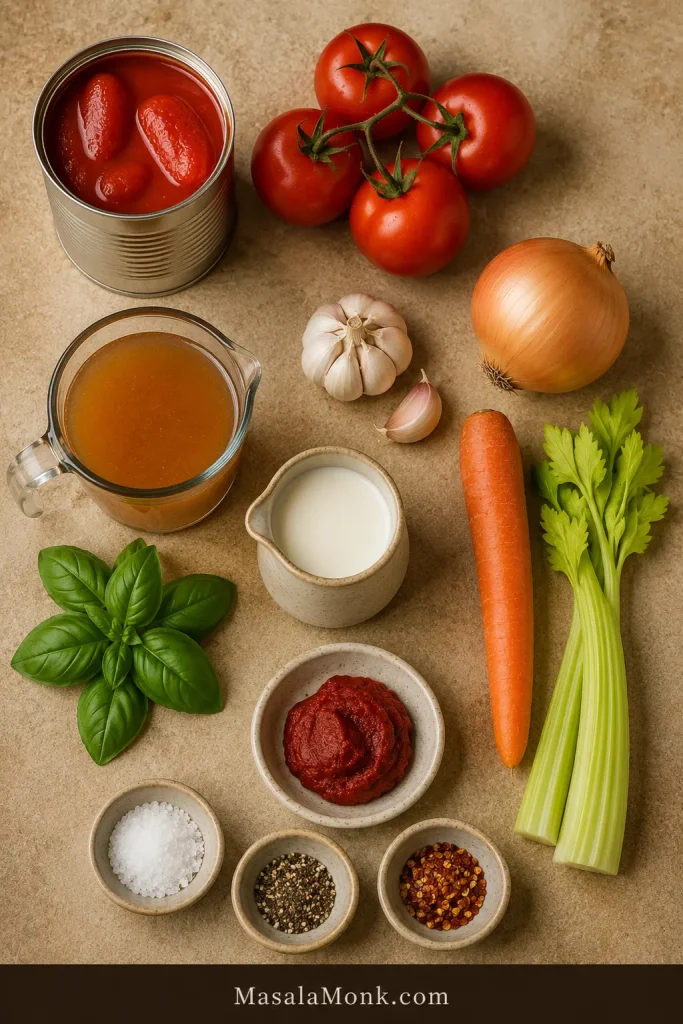
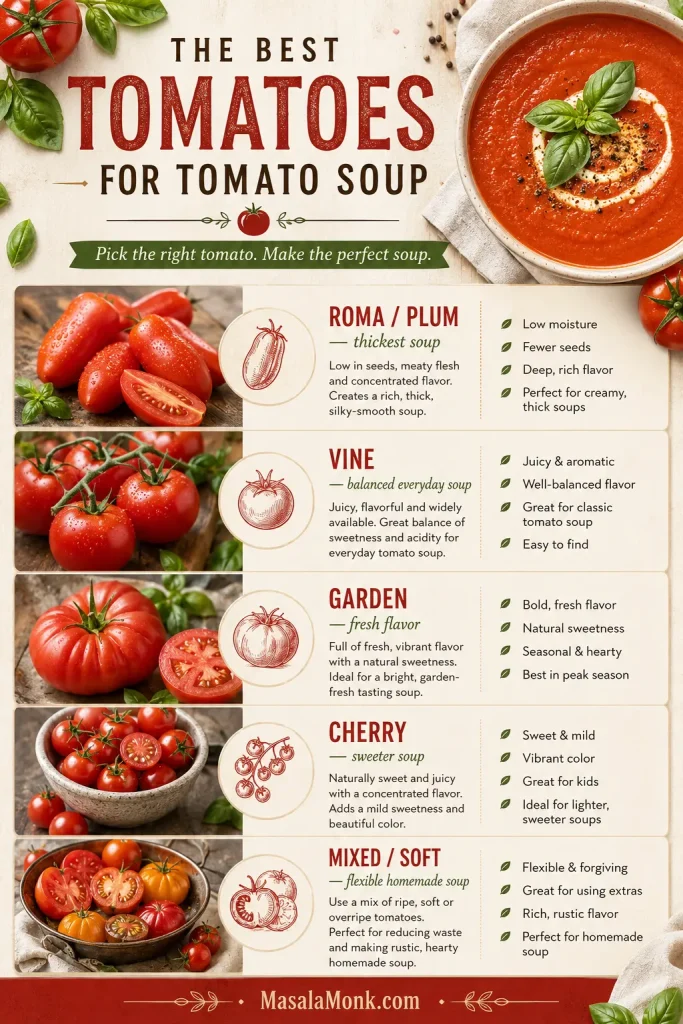
Tomatoes
A 28 oz / 794 g can of whole peeled or crushed tomatoes is the easiest starting point. Whole peeled tomatoes usually give the best balance of flavor and body. Crushed tomatoes are convenient and blend quickly. Diced tomatoes can work, but they may need longer blending. Fire-roasted tomatoes add smoky depth if you want a bolder bowl.
If you are choosing between whole, crushed, diced, and fire-roasted tomatoes, this guide to canned tomato types is helpful.
Onion, Carrot, Celery, and Garlic
This is the flavor base. Onion brings sweetness, carrot helps soften tomato acidity, celery adds savory depth, and garlic makes the soup taste fuller. Cook them until the pot smells sweet and savory before the tomatoes go in.
Tomato Paste
Tomato paste is the little shortcut to deeper flavor. Stir it into the softened vegetables and let it cook for 1 to 2 minutes before adding broth. When it is ready, it should smell less sharp and more like roasted tomatoes.
Broth
Vegetable broth keeps the recipe vegetarian. Chicken broth gives a slightly deeper savory flavor. Canned tomatoes need about 2 cups / 480 ml broth to start. Fresh tomatoes release more liquid, so they need less at first.
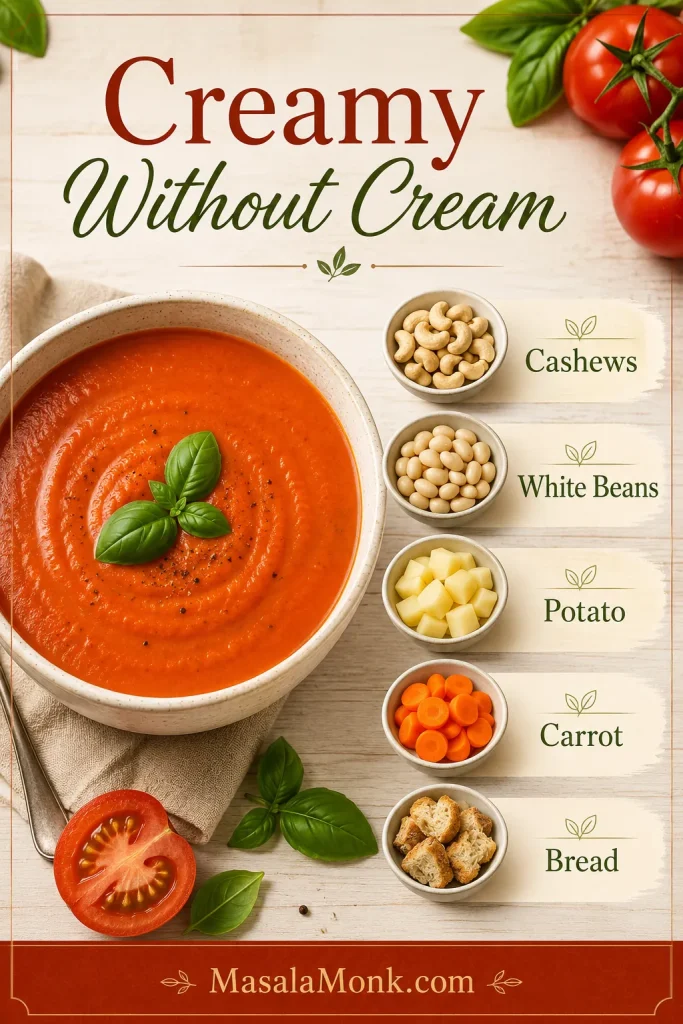
Cream
Heavy cream gives the most classic finish. Half-and-half makes it lighter. Cashew cream gives the best neutral dairy-free texture. The color should turn slightly softer after cream, not pale orange.
Herbs and Finishes
Dried basil or Italian seasoning can simmer with the tomatoes. Fresh basil tastes best near the end, when it still smells bright. Parmesan, butter, croutons, black pepper, and grilled cheese all make the finished bowl more satisfying.
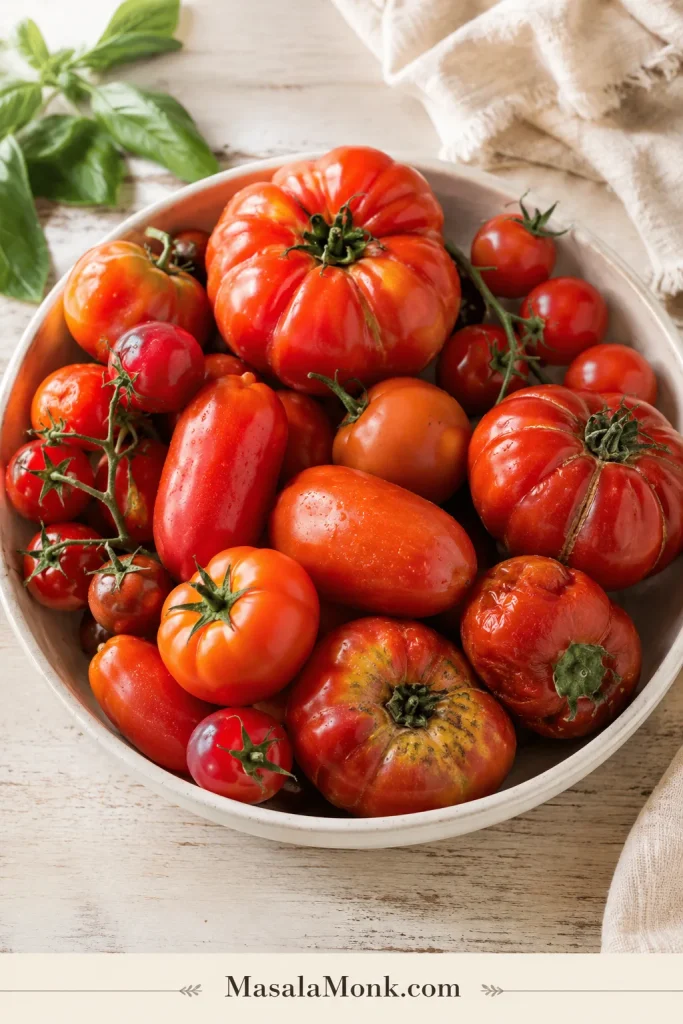
Canned Tomatoes vs Fresh Tomatoes
Both canned and fresh tomatoes can work. The best choice depends on what you have and how the tomatoes taste before they go into the pot.
Canned vs Fresh Tomato Guide
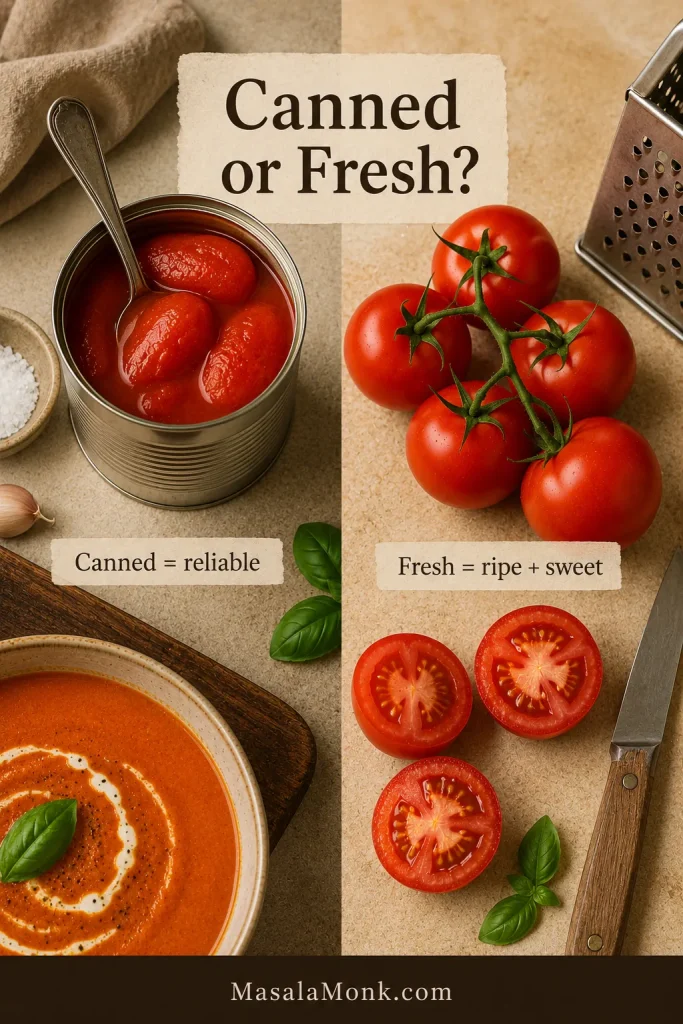
| Canned tomatoes work best when… | Fresh tomatoes work best when… |
|---|---|
| You want reliable flavor year-round | Tomatoes are ripe, sweet, and in season |
| You want the easiest version | You want a brighter garden-style bowl |
| You want less prep | You do not mind peeling, grating, roasting, or simmering longer |
| Your fresh tomatoes are bland or watery | Your fresh tomatoes smell sweet and taste good raw |
One 28 oz can of tomatoes is about 794 g. For the closest fresh swap, use 2.5 lb / about 1.1 kg ripe tomatoes. If your tomatoes are watery or you want a fuller fresh-tomato base, use up to 3 lb / 1.35 kg.
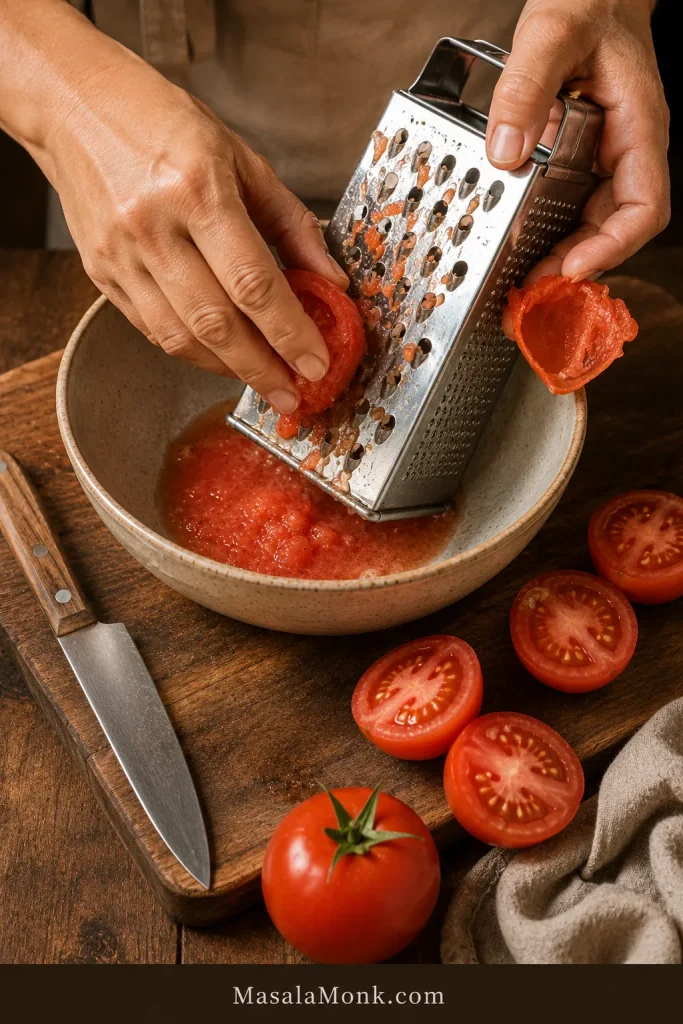
Fresh Tomato Grating Shortcut
For the smoothest fresh version, peel the tomatoes first or roast them before blending. If you do not want to peel tomatoes, halve them and grate the cut side on the large holes of a box grater. The pulp goes into the bowl, and most of the skin stays in your hand. Use that pulp in place of peeled chopped tomatoes.
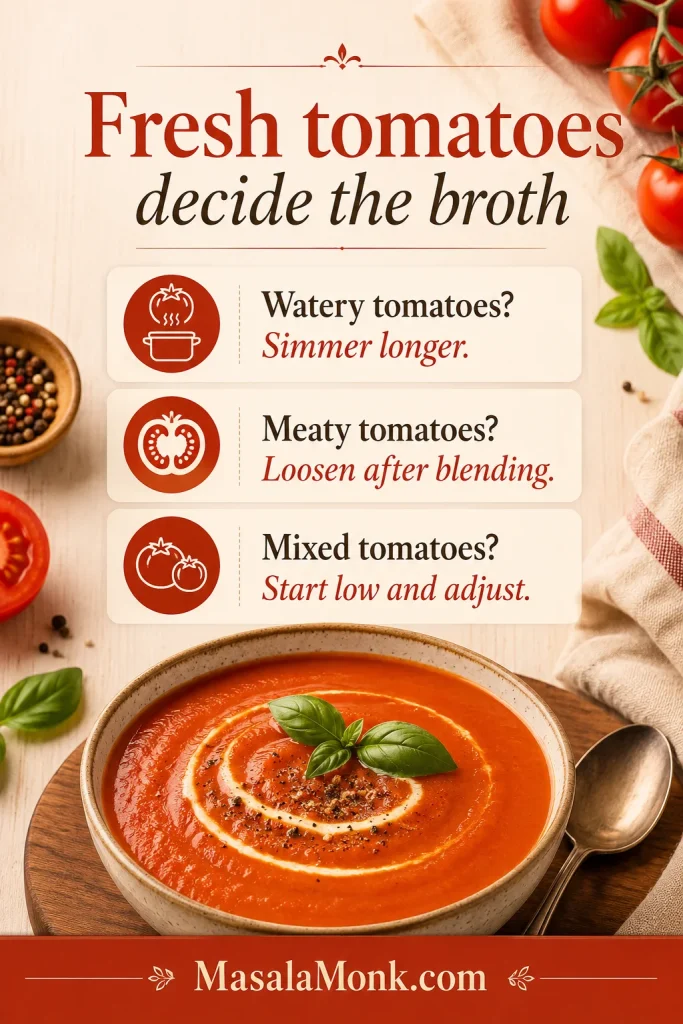
If fresh tomatoes taste watery raw, roast them or use canned tomatoes instead. A soup that looks thick before blending is usually on the right track. Adjust the body after it has been blended.
If you have more ripe tomatoes than this soup needs, turn the rest into this tomato sauce from fresh tomatoes for pasta, pizza, or freezer meals.
How to Make Tomato Bisque
The tricky part is not the cooking. It is adding too much liquid before the soup has a chance to blend smooth. Keep the order simple: build the base, deepen the tomato paste, simmer, blend, adjust the body, then add cream.
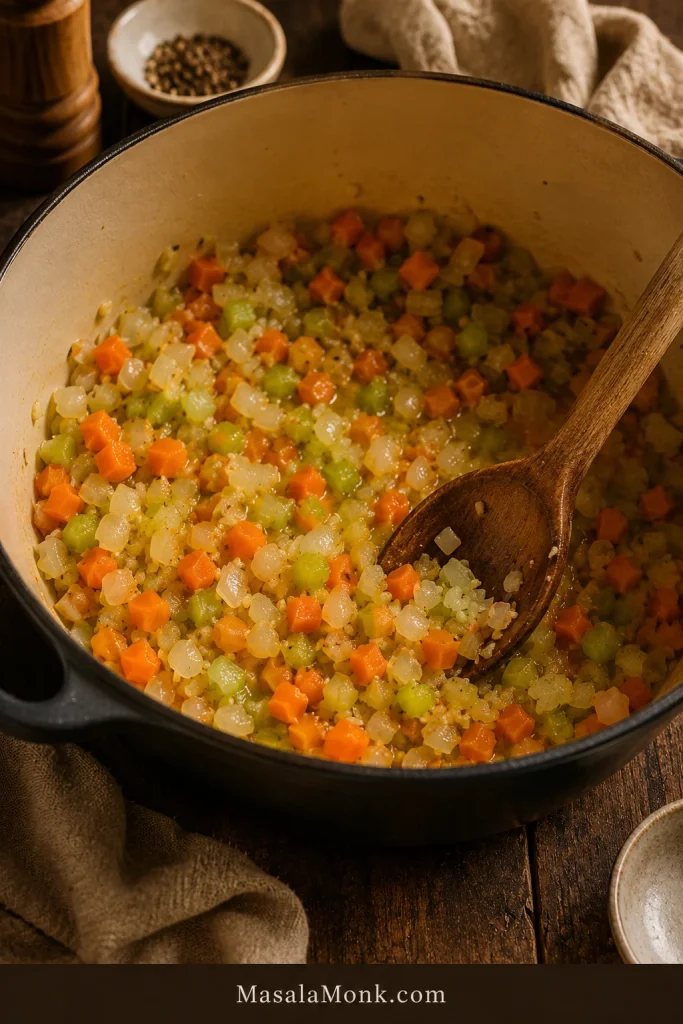
Step 1: Soften the Vegetables
Warm olive oil or butter in a large non-reactive pot over medium heat. Add the onion, carrot, and celery. Cook for 6 to 8 minutes, stirring often, until the onion is translucent and the vegetables are softening. The carrot should be tender enough to blend cleanly later.
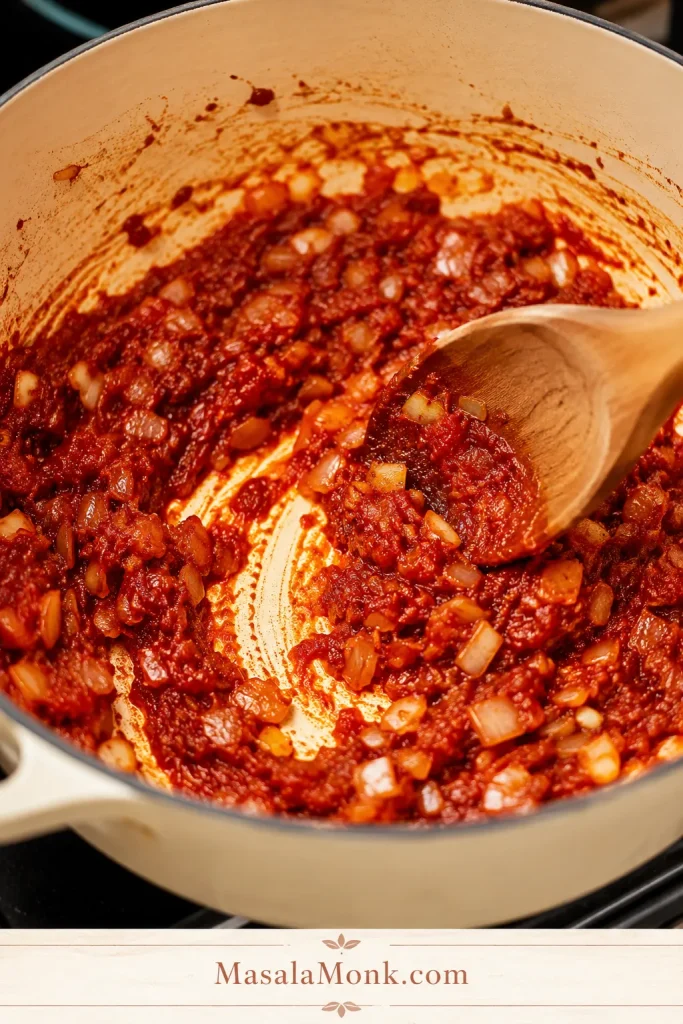
Step 2: Cook the Tomato Paste
Add the garlic and cook for about 30 seconds. Stir in the tomato paste and cook for 1 to 2 minutes. It should darken slightly and leave rusty streaks on the vegetables. If the bottom of the pot gets sticky, add a spoonful of broth and scrape it clean as you stir.

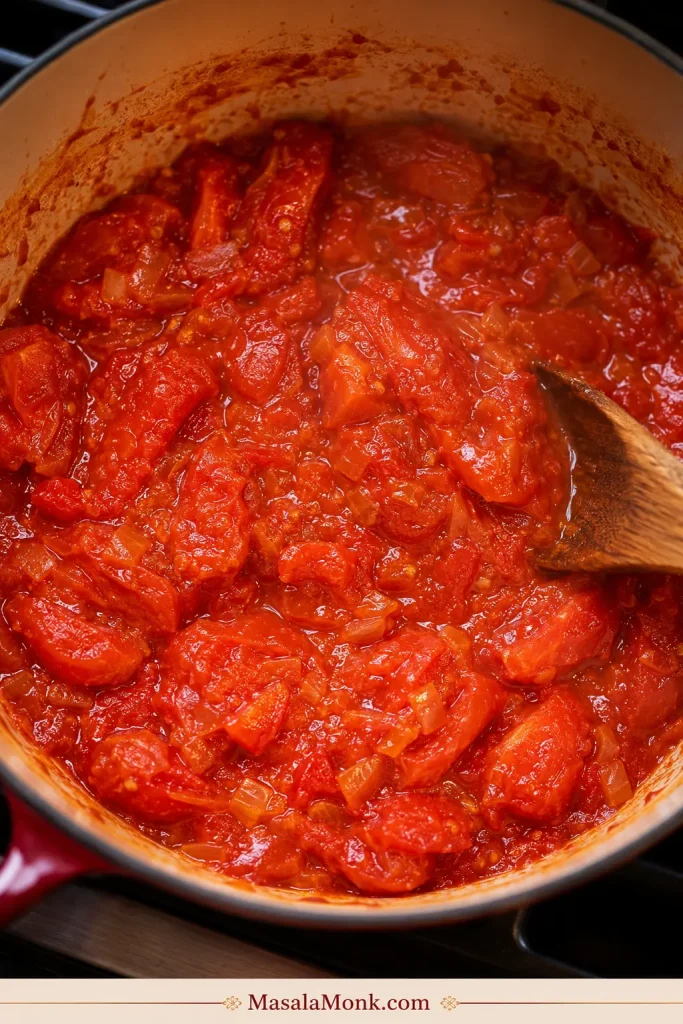
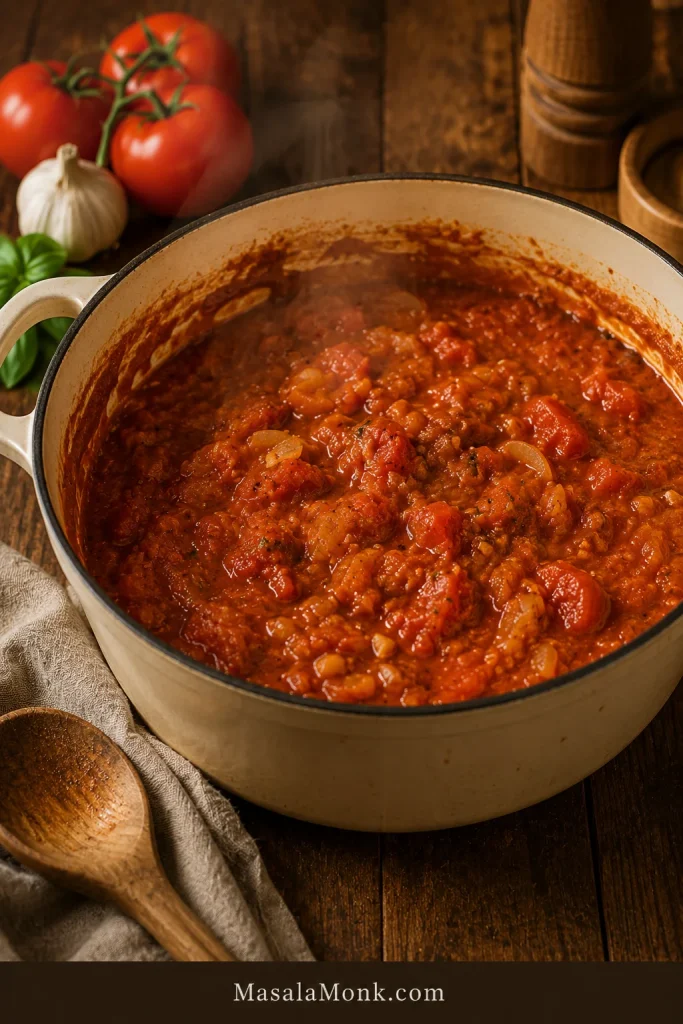
Step 3: Simmer the Tomatoes
Add the tomatoes with their juices. Crush whole peeled tomatoes lightly with a spoon so they simmer evenly. Add broth, herbs, salt, pepper, and red pepper flakes if using. Simmer uncovered for 20 to 25 minutes, until the vegetables are very soft and the tomato flavor tastes rounder.
Step 4: Blend and Adjust
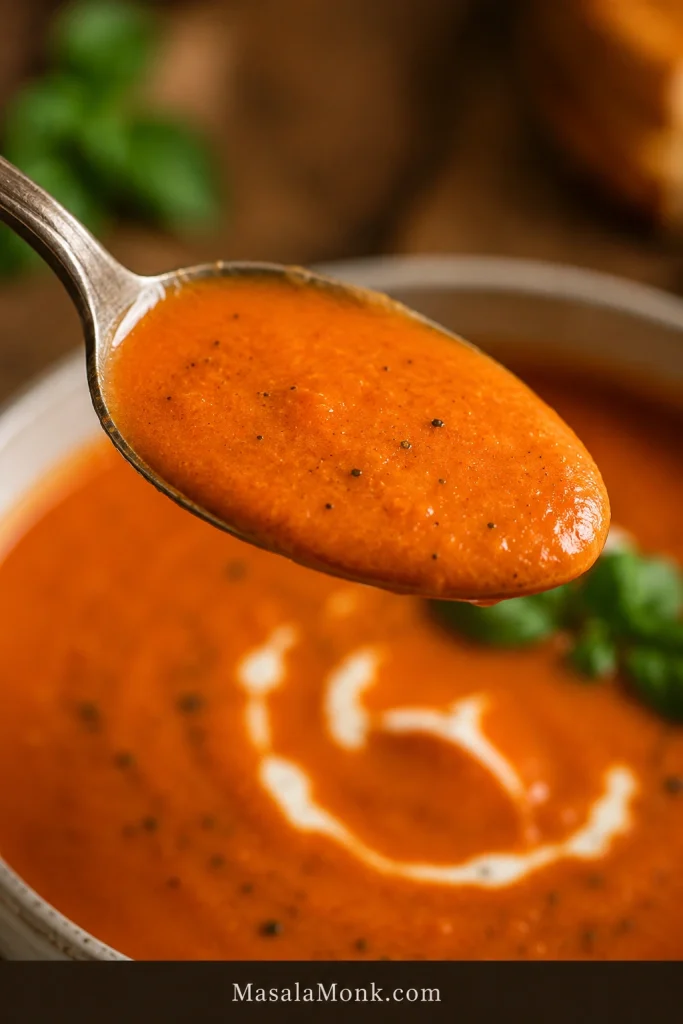
Blend until smooth. An immersion blender is easiest; a countertop blender gives a silkier finish. After blending, the soup should fall from a spoon in a smooth ribbon, not splash like broth. If it is too thick, add broth a splash at a time.
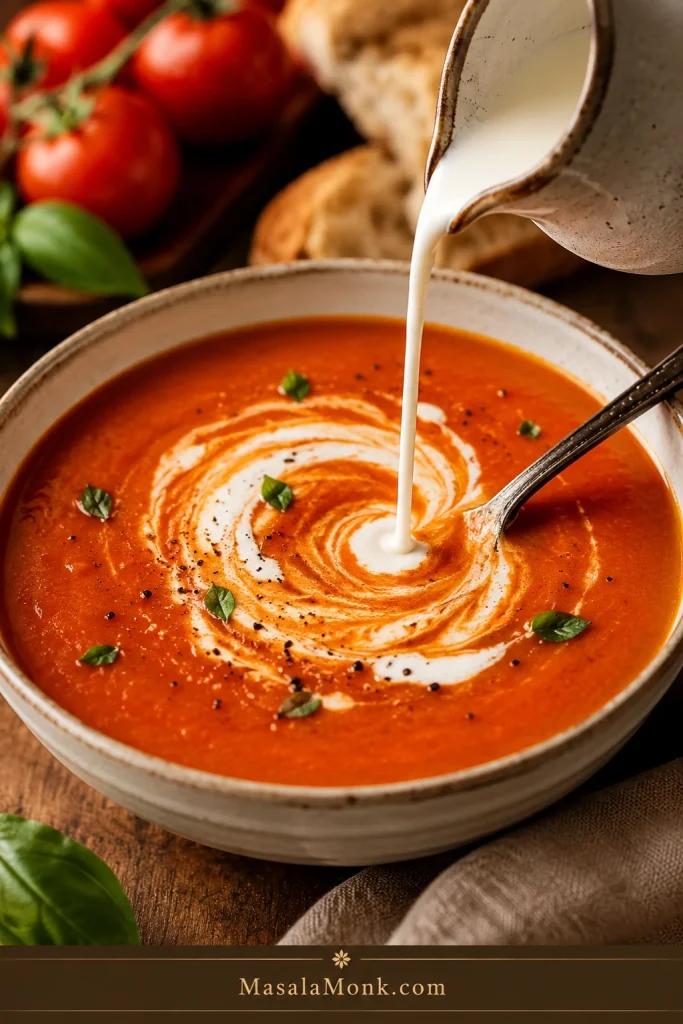
Step 5: Finish Gently
Lower the heat and stir in the cream. Warm gently for 2 to 3 minutes. Taste and adjust with salt first, then richness or brightness if needed. The final spoonful should feel rounded, not heavy, with enough tomato brightness to make you want the next bite.
Success Cues
- Vegetables: the carrot and celery should be soft enough to mash against the side of the pot.
- Tomato paste: it should smell deeper and less metallic.
- After simmering: the tomato flavor should taste rounder, not raw or sharp.
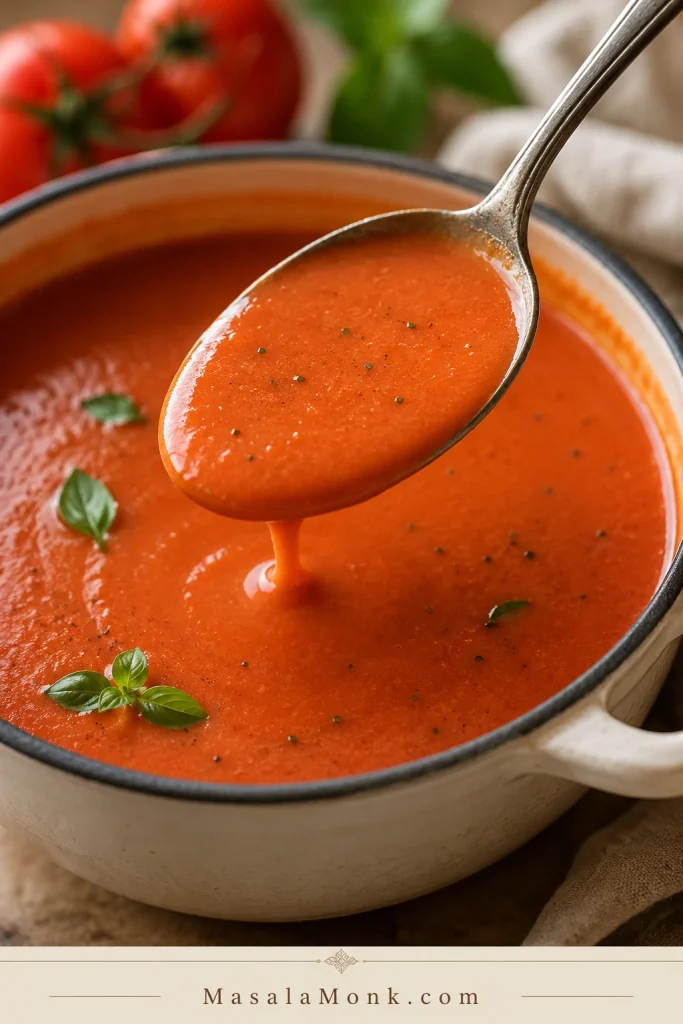
- Blended texture: the soup should be glossy, smooth, and spoon-coating.
- Before serving: if it tastes flat, add salt first; if it tastes sharp, add butter, cream, or a very small pinch of sugar.
Smooth Ribbon Texture

Choose a creamy finish Fix texture or acidity Serve with grilled cheese
Creamy Options
Creaminess is mostly about restraint. You want the finish to soften the tomato edge, not bury the tomato flavor.
| If you want… | Use… | Watch for… |
|---|---|---|
| Classic richness | Heavy cream | Warm gently after adding |
| A lighter finish | Half-and-half | The soup may be slightly thinner |
| Dairy-free creaminess | Cashew cream | Blend the cashew cream completely smooth |
| More gloss | Butter | Add near the end |
| More savory depth | Parmesan | Add less salt first |
| A green finish | Basil pesto | Use a small spoon on top, not too much |
A small spoon of basil pesto works well on top, especially if you want more basil flavor without adding more cream.
Optional Restaurant-Style Roux
You do not need a roux for this recipe. The blended vegetables and tomatoes already give the soup body. Use a small roux only if you want a thicker, restaurant-style bowl.
For that version, use 2 tablespoons butter / 28 g and 2 tablespoons flour / about 16 g. After the vegetables soften, melt the butter, stir in the flour, and cook for 1 to 2 minutes. Slowly add the broth while stirring, then add the tomatoes and continue with the recipe.
Keep the roux small. Too much flour can mute tomato brightness and make the soup taste more like cream sauce. To keep it gluten-free, skip the roux and control thickness with less broth, longer simmering, and good blending.
For a restaurant-style finish, blend until completely smooth, strain only if you want it extra silky, then serve with a small swirl of cream, cracked black pepper, basil oil, or Parmesan. Aim for a glossy bowl, not a grainy one.
Variations
You do not need any of these to make a good bowl. They are simply easy ways to steer the same base in a different direction.
Tomato Basil
For a brighter, greener bowl, add 1 cup loosely packed fresh basil, about 20 to 25 g, after simmering. Blend it into the hot soup, then save a few leaves for garnish if you like. Long simmering can make fresh basil taste dull.
If you want a lighter basil-forward soup rather than a creamier bisque, use this tomato basil soup recipe.
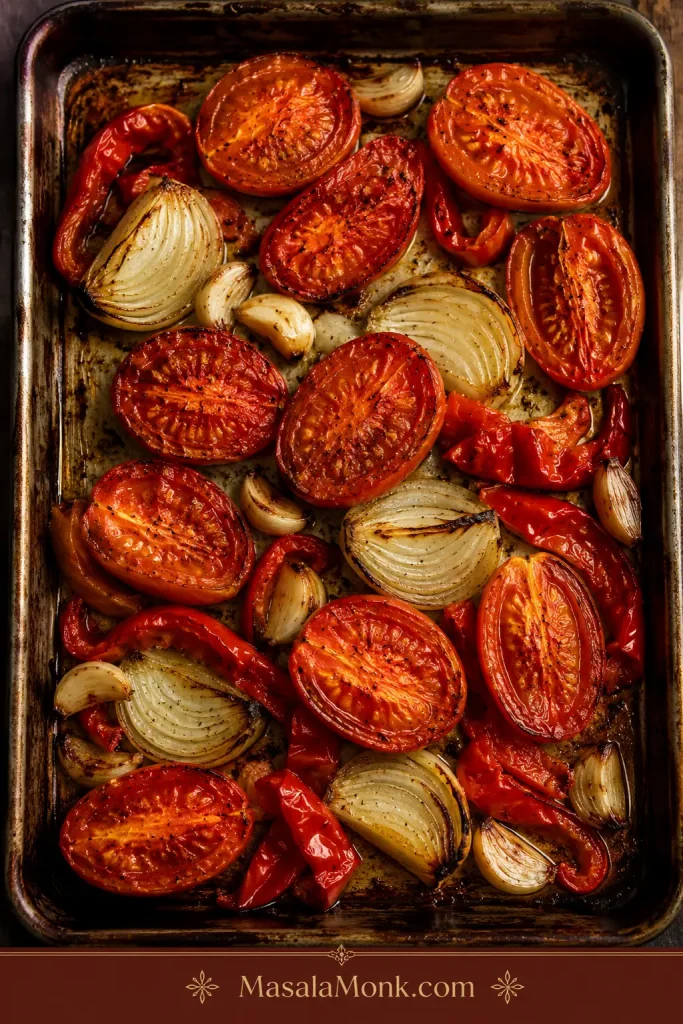
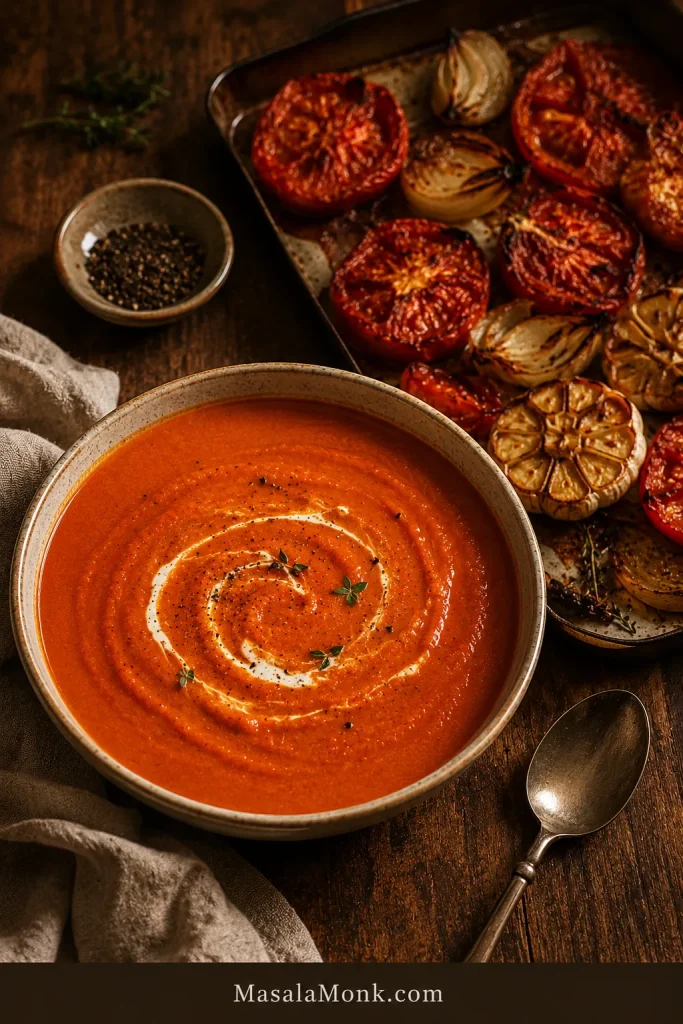
Roasted Tomato
Roasting is best when fresh tomatoes are ripe but a little watery. It concentrates their flavor, softens acidity, and gives the soup deeper sweetness.
Use 2.5 to 3 lb / 1.1 to 1.35 kg fresh tomatoes. Halve them and roast with olive oil, onion, and garlic at 400°F / 200°C for 25 to 35 minutes, until the tomatoes collapse and the edges start to caramelize. Add the roasted tomatoes to the pot with broth and continue with the main recipe.
If you are building a fuller soup-night meal, these roasted carrots keep the table warm, sweet, and simple without making the soup heavier.
Roasted Red Pepper
Roasted red peppers make the bowl sweeter, deeper, and slightly smoky. Add one drained 12 oz / 340 g jar with the tomatoes before simmering. Blend until smooth, then finish with cream. A small pinch of smoked paprika works well, but keep it light.
Can You Make Tomato Bisque From Canned Tomato Soup?
Yes. You can turn canned tomato soup into a quick pantry version when speed matters more than full homemade flavor. Think of the can as the foundation, not the finished soup: a little fat, dairy, seasoning, and a fresh garnish can make it taste more intentional.
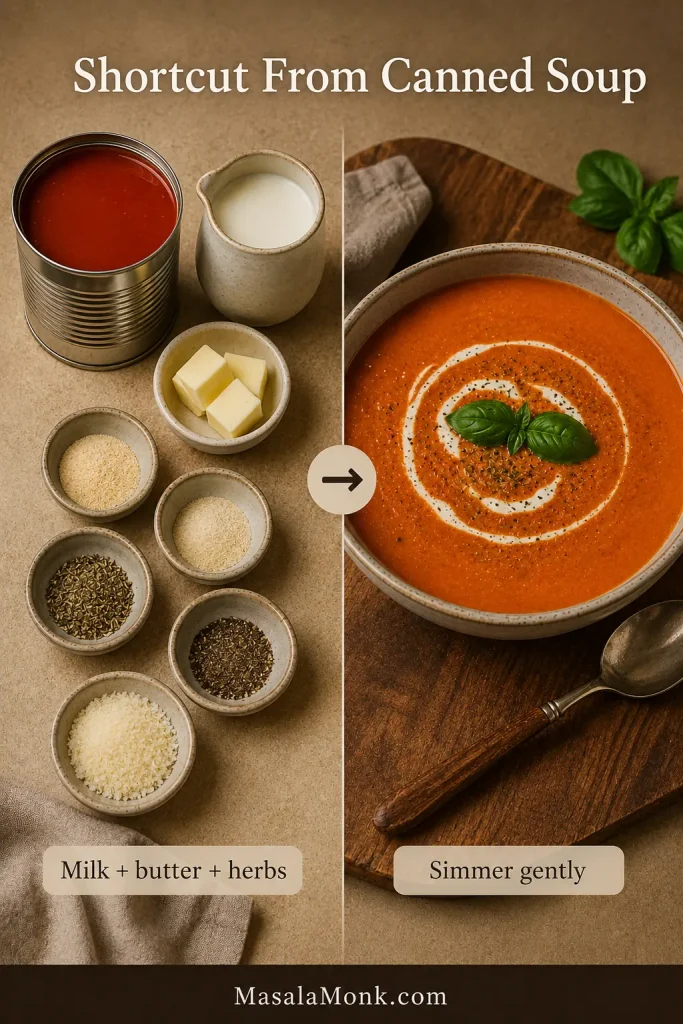
Shortcut From Condensed Tomato Soup
For 1 can condensed tomato soup, add:
- 1 can milk or half-and-half, or milk with a splash of cream
- 1 tablespoon butter
- 1/4 teaspoon garlic powder
- 1/4 teaspoon onion powder
- 1/2 teaspoon dried basil or Italian seasoning
- Black pepper to taste
- 1 to 2 tablespoons Parmesan, optional
Simmer gently for 8 to 10 minutes, stirring often. Finish with fresh basil, croutons, Parmesan, or grilled cheese.
For the best flavor, start with canned tomatoes or fresh tomatoes instead of canned tomato soup. When speed matters, the shortcut works. To make a true homemade bowl, use the main recipe.
Dietary Options
The creamy finish is flexible, so no one has to miss the comfort of the bowl. Once the broth, fat, cream, and toppings match your needs, the recipe still works.
| Need | How to adjust |
|---|---|
| Vegetarian | Use vegetable broth. The rest of the main recipe can stay the same. |
| Vegan | Use vegetable broth, olive oil instead of butter, and cashew cream instead of heavy cream. |
| Dairy-free | Cashew cream or a plain unsweetened plant-based cream works best. Leave out Parmesan and the Parmesan rind. |
| Gluten-free | Skip the optional roux, or use a gluten-free thickener if needed. Check broth and toppings. |
| Lower sodium | Use no-salt-added canned tomatoes and low-sodium broth, then season at the end. |
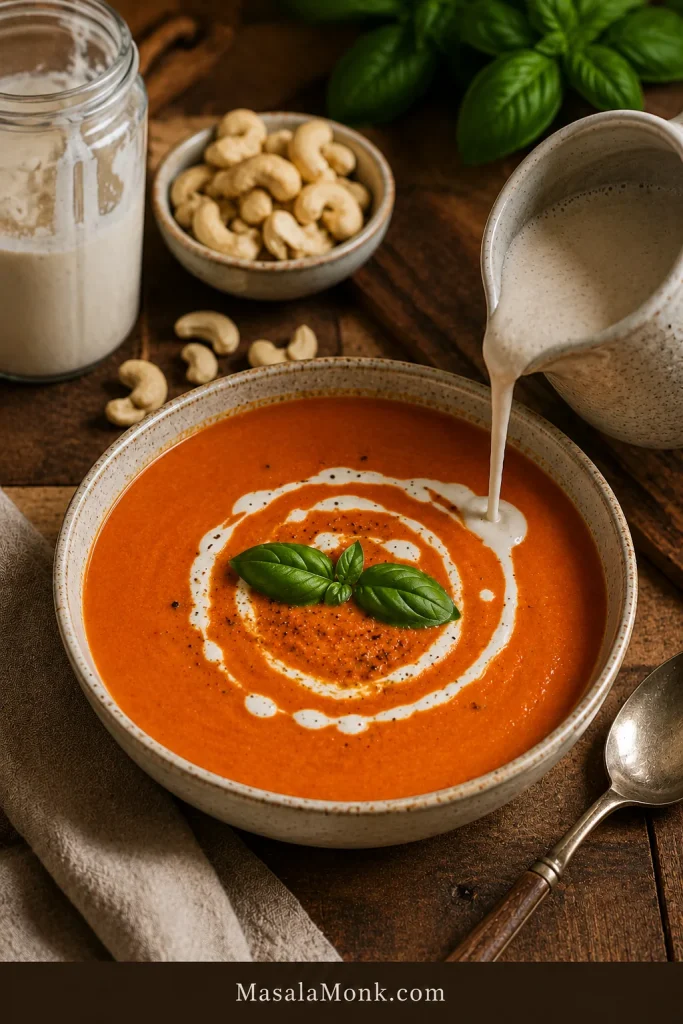
Dairy-Free Cashew Cream
To make cashew cream, soak 1/2 cup cashews in hot water for 20 to 30 minutes. Drain, then blend with 1/2 cup fresh water until completely smooth. Add about 1/2 cup to the soup, then add more only if needed.
Slow Cooker, Instant Pot / Pressure Cooker, and Blender Notes
The stovetop method gives the most control, but the recipe adapts well when you need a more hands-off path. These versions are best for the days when you want the same cozy bowl without standing over the stove.
Keep the same order in mind: cook for flavor, blend for body, then add cream at the end.
Slow Cooker and Pressure Cooker Tomato Bisque
Use stovetop recipe Slow cooker notes Pressure cooker notes Fix problems
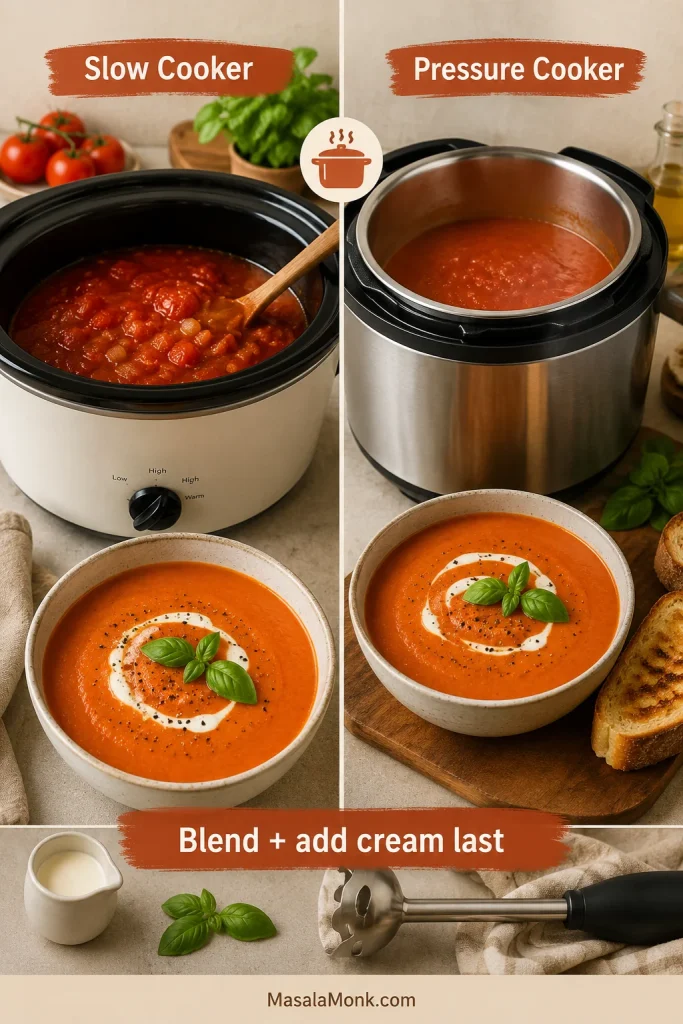
Slow Cooker
For best flavor, sauté the onion, carrot, celery, garlic, and tomato paste first. Add them to the slow cooker with the tomatoes, herbs, and broth. Cook on low for 6 to 8 hours or high for 3 to 4 hours. Blend until smooth, then stir in the cream at the end.
For a heartier tomato-rich slow cooker dinner, this crock pot lasagna soup goes in a pasta-and-ricotta direction instead of a smooth creamy bisque.
Instant Pot or Pressure Cooker
Use the sauté function for the onion, carrot, celery, garlic, and tomato paste. Add the tomatoes, broth, and herbs. Pressure cook for 8 to 10 minutes, let the pressure release naturally for 5 minutes, then quick release. Blend smooth and stir in the cream after cooking.
Countertop Blender
If blending hot soup in a countertop blender, work in batches, vent the lid, cover with a towel, and start slowly. A high-speed blender gives the smoothest texture.
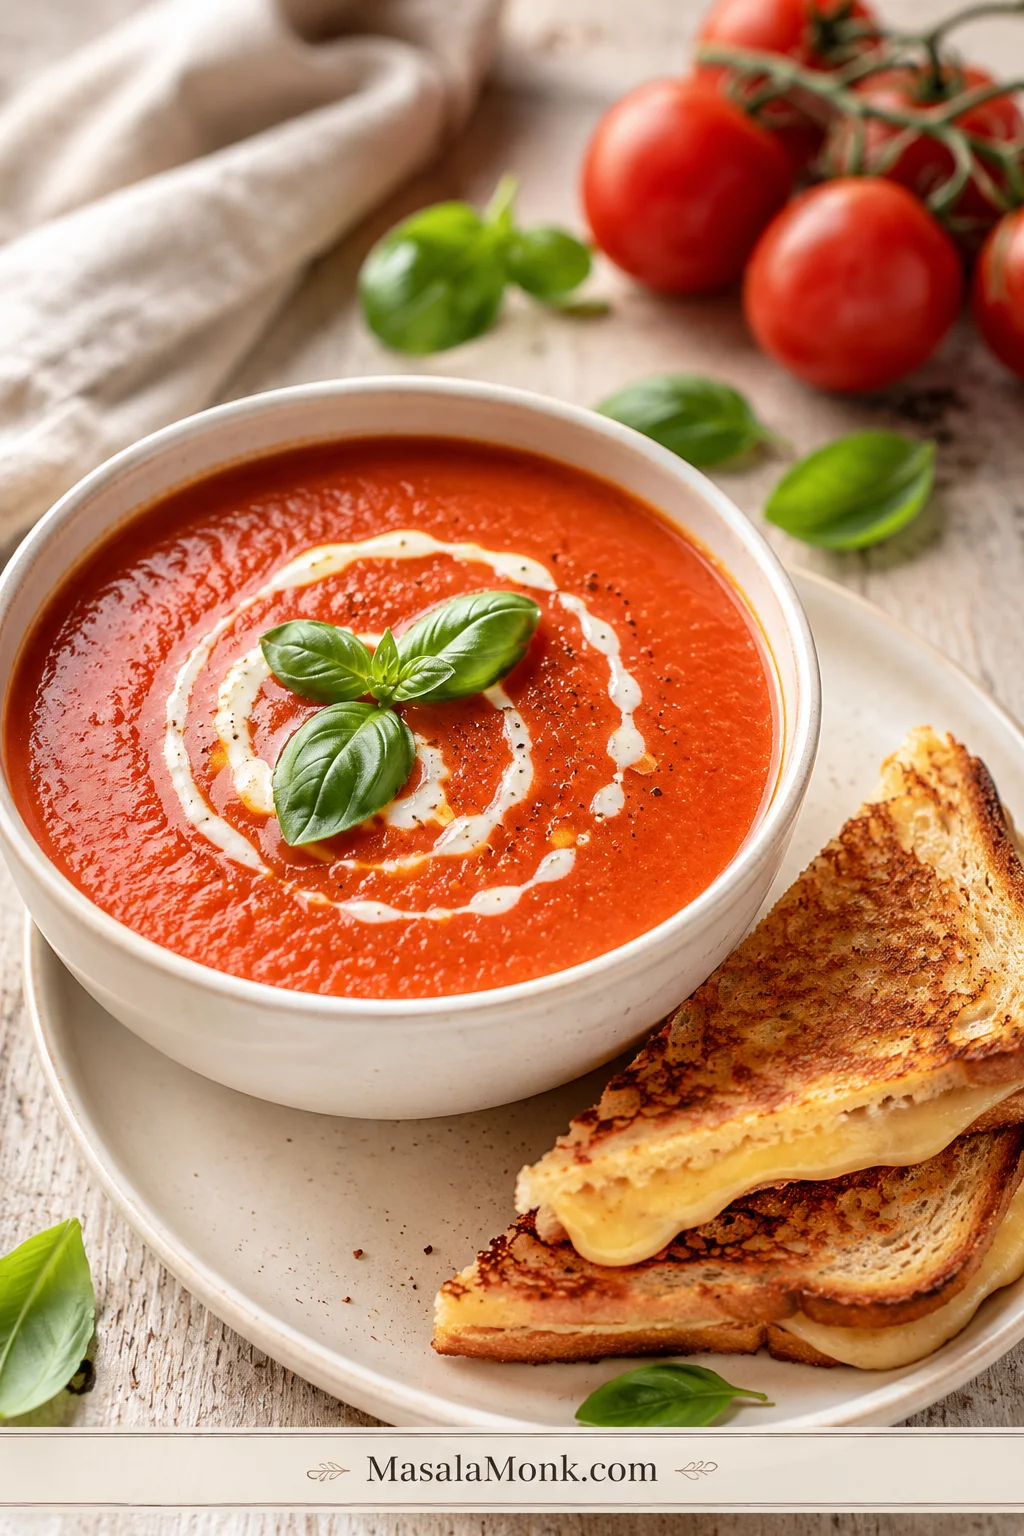
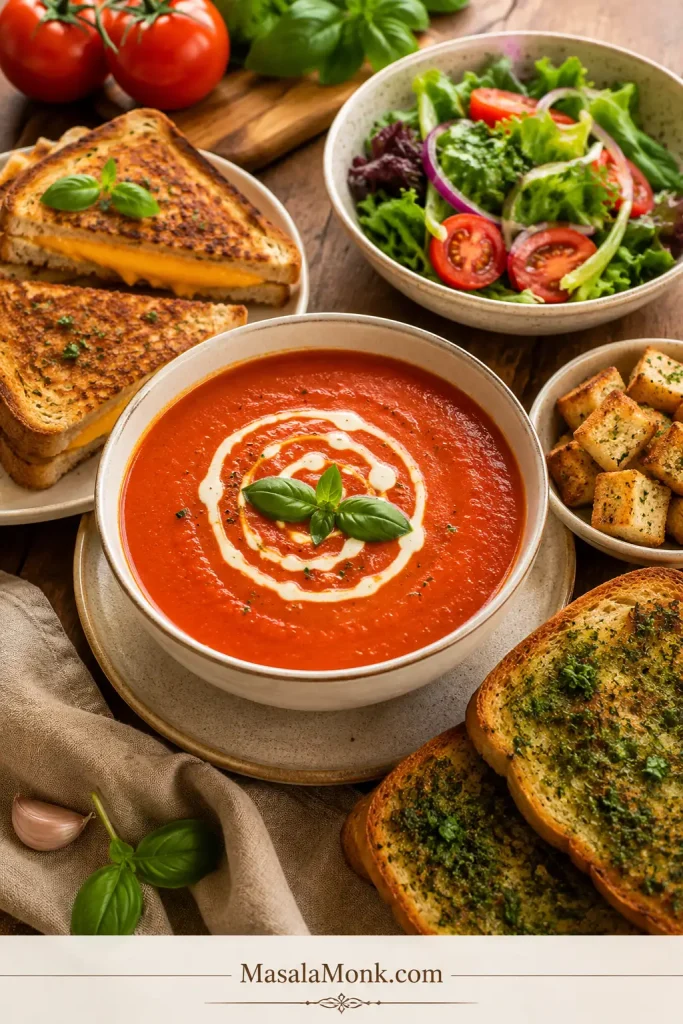
What to Serve With Tomato Bisque
This is where the soup turns into dinner. Grilled cheese is the classic pairing for a reason: the soup is creamy and tangy; the sandwich is crisp, buttery, and salty. The best bite is the corner of grilled cheese after it has been dipped: crisp at the edge, soft where it meets the soup, salty enough to make the tomato taste brighter.
Grilled Cheese Dunk

If you want bread on the side instead of a sandwich, this homemade garlic bread loaf is a natural fit with a creamy tomato bowl. For a grilled cheese upgrade, a thin layer of garlic aioli adds savory depth without needing another filling.
- Classic cheddar grilled cheese
- Sourdough grilled cheese
- Garlic bread
- Parmesan croutons
- Toasted cheese sandwich
- Basil oil or fresh basil
- Simple green salad
- Roasted vegetables
- Crusty bread
- Parmesan toast
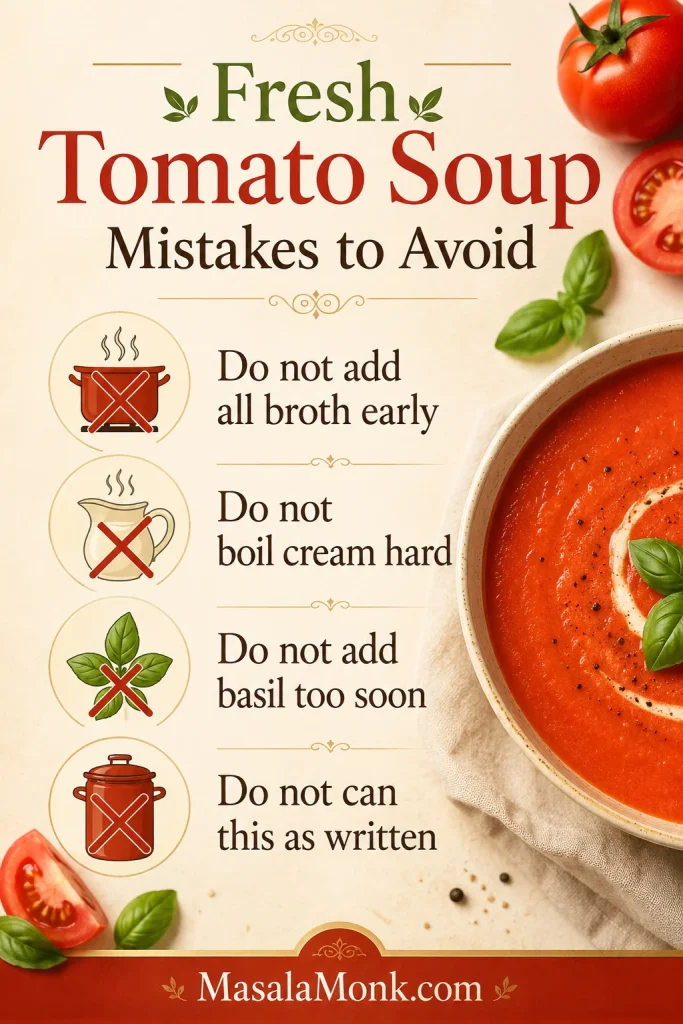
Mistakes to Avoid
- Adding too much broth early: start with the listed amount, then adjust after blending.
- Skipping the tomato paste step: cooked tomato paste gives deeper flavor.
- Using bland fresh tomatoes without roasting: watery tomatoes make watery soup.
- Adding cream before blending: the base should be smooth first.
- Boiling after adding cream: gentle heat keeps the texture creamy.
- Under-seasoning: tomato-based soups often taste flat until they have enough salt.
- Overdoing the roux: too much flour can dull the tomato flavor.
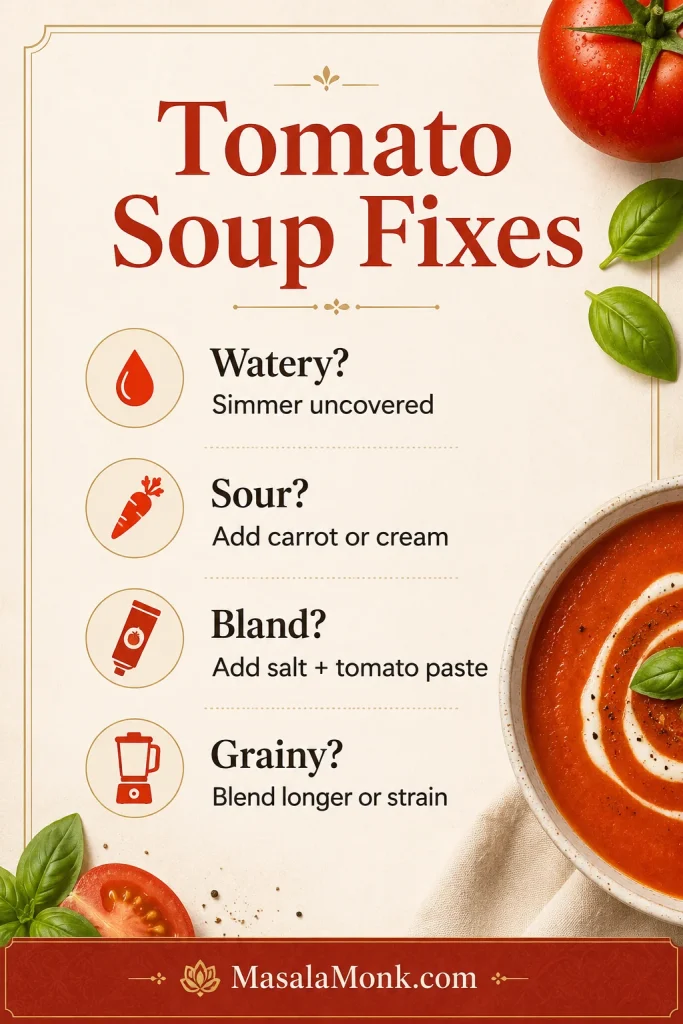
Troubleshooting
Most problems come down to the same three things: acidity, thickness, and heat. If your first taste seems too sharp, do not panic. Tomato soups often settle after a few more minutes of simmering and a small amount of cream or butter.
Tomato Bisque Troubleshooting Guide
Back to recipe card Check success cues Store leftovers
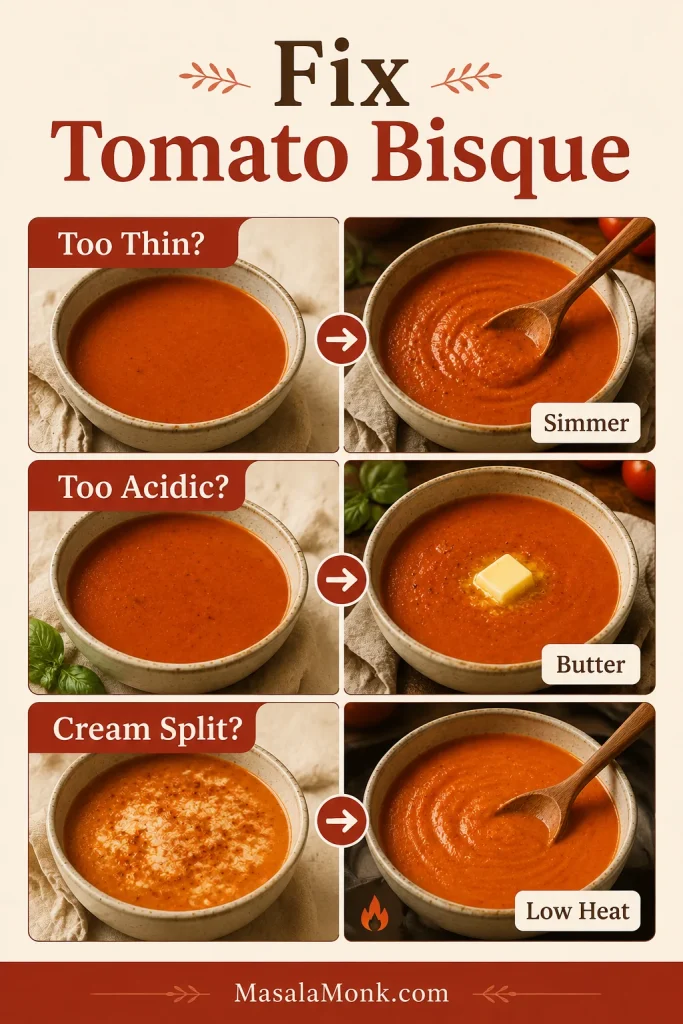
Why does it taste too acidic?
Simmer it a little longer, then taste again. If it still tastes sharp, add a pinch of sugar, a little more cream, or a tablespoon of butter. A very small pinch of baking soda can also help, but use less than 1/8 teaspoon to start. Too much baking soda can make the soup taste dull.
How do I fix thin soup?
Simmer uncovered for a few more minutes. For a thicker version, use the optional roux, add cream or cashew cream, or blend in a little more cooked carrot.
How do I thin it without making it watery?
Add broth or water a little at a time until it reaches the texture you like. Warm gently and taste again after thinning because you may need more salt or pepper.
Why did the cream split?
The heat was probably too high. Add cream after blending, lower the heat, and warm the soup gently. Avoid boiling once the cream is in the pot.
How do I make it smoother?
Blend it longer. A countertop blender gives a silkier texture than an immersion blender. For a very smooth restaurant-style finish, strain the blended soup through a fine mesh sieve before adding cream.
Why does it taste flat?
Add salt first. If it still needs brightness, add black pepper, fresh basil, Parmesan, or a tiny splash of lemon juice.
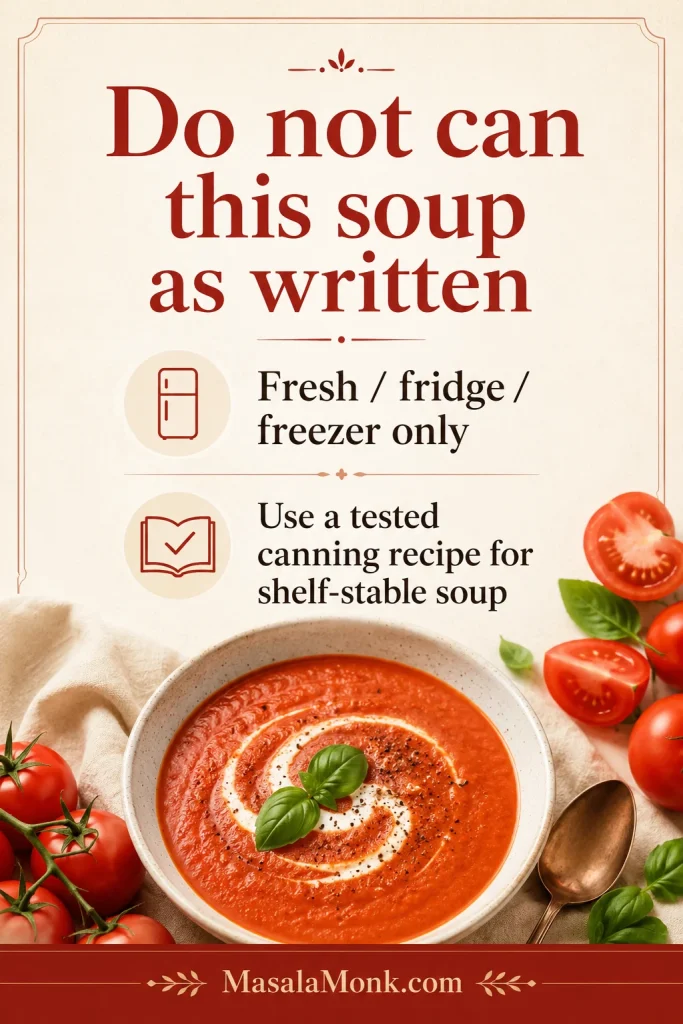
Storage, Freezing, and Reheating
This soup reheats well, especially if you store the tomato base before adding cream. Reheated gently, it makes tomorrow’s lunch feel planned instead of leftover.
How long does it last in the fridge?
Cool the soup before storing, and refrigerate leftovers within 2 hours. Store it in an airtight container for 3 to 4 days. For general leftover safety, the USDA’s leftovers and food safety guide also recommends using refrigerated leftovers within 3 to 4 days.
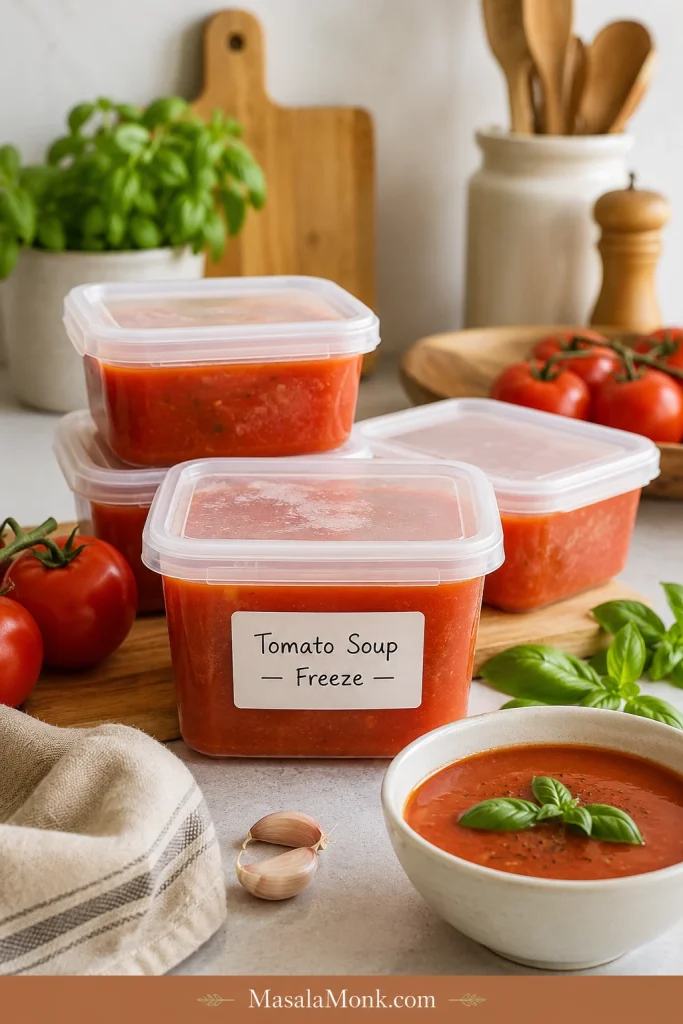
Can you freeze it?
It freezes best before cream is added. Freeze the blended tomato base for up to 3 months, then thaw, reheat, and stir in the cream at the end. If the soup already has cream in it, you can still freeze it, but the texture may be less smooth after thawing.
How should you reheat it?
Reheat over low to medium-low heat, stirring often. Do not boil hard after cream has been added. Add a splash of broth or water if the soup thickens in the fridge.
If you want a chunkier tomato-broth soup with beans, vegetables, and pasta, this minestrone soup recipe is the better direction for another night.
FAQs
What is the difference between tomato soup and tomato bisque?
Tomato bisque is usually smoother, creamier, and richer than basic tomato soup. It is blended until silky and finished with cream, butter, milk, or a creamy alternative. Some restaurant-style versions also use a roux.
Are canned tomatoes or fresh tomatoes better?
Canned tomatoes are better for reliable flavor and easy cooking. Fresh tomatoes are best when they are ripe, sweet, and in season. If fresh tomatoes taste watery, roast them first or combine them with canned tomatoes.
What kind of canned tomatoes should I use?
Whole peeled tomatoes are the best first choice because they usually bring the best balance of flavor and body. Crushed tomatoes are the easier shortcut when you want less blending. Diced tomatoes can work, but they may need more blending.
How many fresh tomatoes replace a 28 oz can?
Start with about 2.5 lb / 1.1 kg ripe tomatoes to replace one 28 oz / 794 g can. Go up to 3 lb / 1.35 kg if your tomatoes are watery or you want a fuller fresh-tomato base.
Does tomato bisque need cream?
Classic tomato bisque is usually creamy, but you have options. Heavy cream is richest, half-and-half is lighter, and cashew cream works well for dairy-free soup.
What is the best way to thicken tomato bisque?
Blend the vegetables into the soup, start with controlled broth, and simmer uncovered if needed. For a restaurant-style texture, use a small roux with butter and flour. A dairy-free thicker soup can use cashew cream.
Can you make tomato bisque from canned tomato soup?
Yes. Add milk or half-and-half to condensed tomato soup, then season it with butter, garlic powder, onion powder, basil, black pepper, and Parmesan. A splash of cream can make it richer, but a full can of cream may be too heavy.
How do I make vegan tomato bisque?
Use vegetable broth, olive oil instead of butter, and cashew cream or another dairy-free cream instead of heavy cream. Cashew cream gives the most neutral creamy texture.
Can you freeze tomato bisque without ruining the texture?
Freeze the blended tomato base before adding cream. Thaw, reheat gently, and stir in the cream at the end. If the soup already contains cream, the texture may change slightly after freezing.
What goes well with tomato bisque?
Grilled cheese is the classic pairing. It also goes well with garlic bread, Parmesan croutons, sourdough toast, basil oil, a green salad, roasted vegetables, or a toasted cheese sandwich.
The Bowl You’re Aiming For
Once you understand the method, this soup becomes flexible. Make it richer, make it fresher, add basil, roast the tomatoes, or rescue a can on a busy night. As long as you smooth the base before thinning and add cream gently at the end, you are in control of the bowl.
Are you making the classic creamy version, the fresh tomato version, or the canned-soup shortcut tonight? Whichever way you go, keep the order gentle: blend the base smooth, adjust the body slowly, and add the cream at the end. Do that, and you get a glossy, velvety bowl with enough richness for comfort and enough brightness to keep every spoonful alive.
Ladle it into a warm bowl, add basil or a swirl of cream, and keep the grilled cheese close.