Almonds are often celebrated as one of the healthiest snacks on the planet. But did you know there isn’t just one kind of almond? In fact, almonds come in several varieties — each with its own distinct taste, appearance, origin, and health benefits.
Whether you’re grabbing a handful for brain power, blending them into smoothies, or using them in gourmet cooking, knowing which almond type to choose can make a big difference.
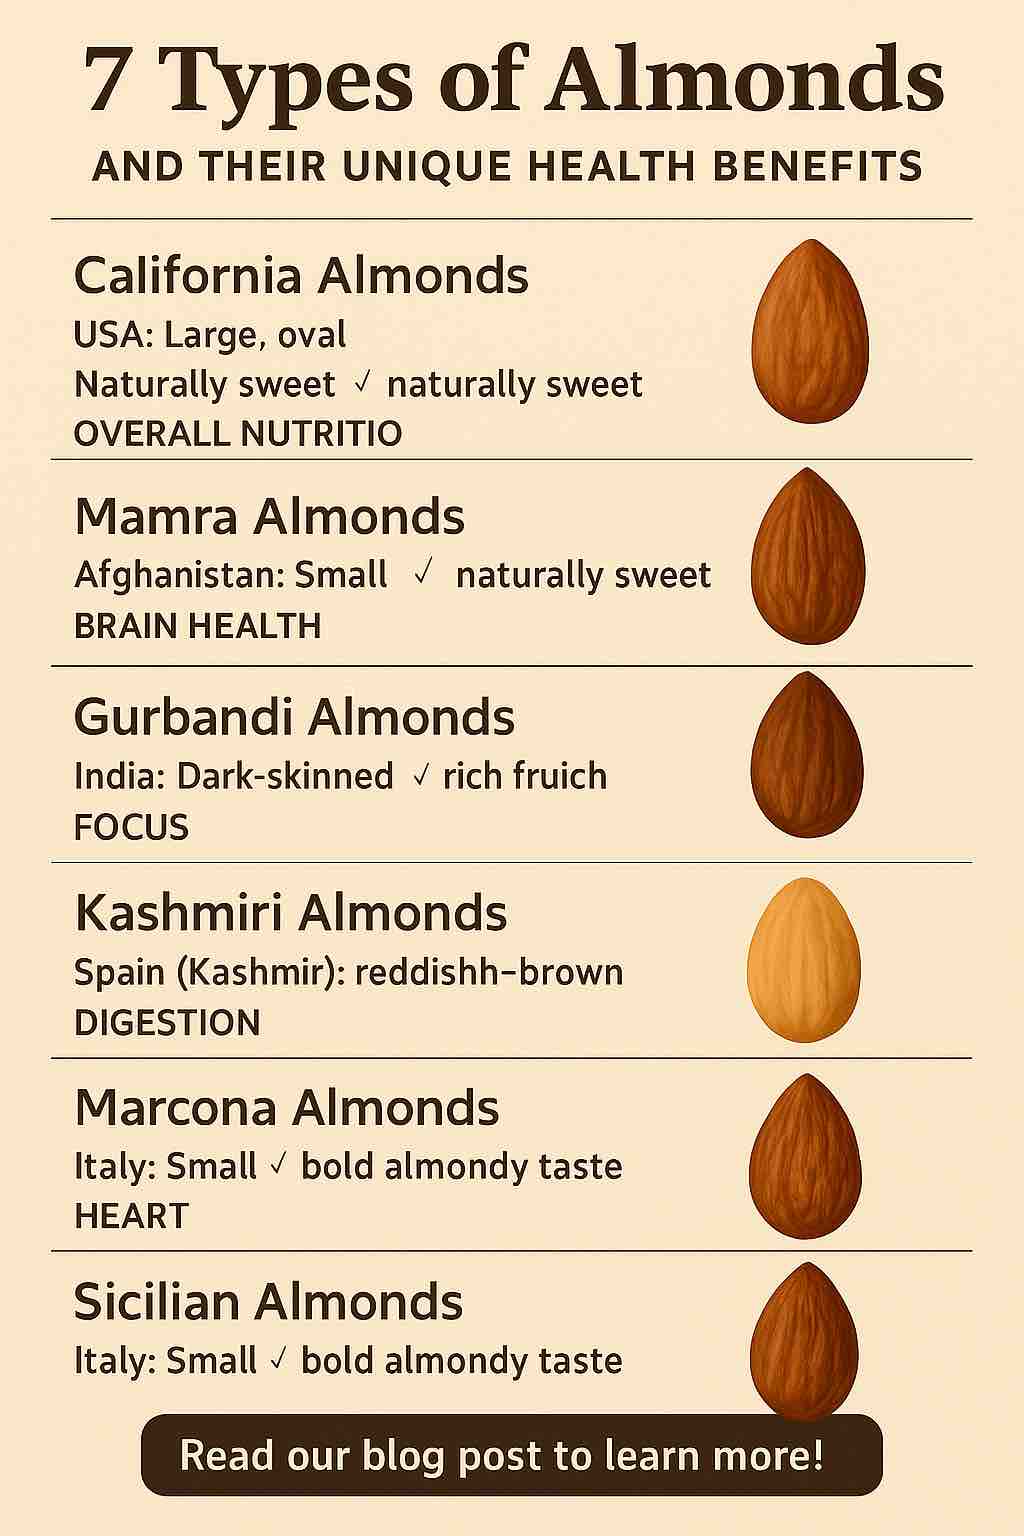
In this post, we’ll dive into 7 major types of almonds available both globally and in India, and explore the unique roles they play in enhancing your nutrition and well-being.
🌍 1. California Almonds: The Everyday All-Rounder
- Origin: USA (Mostly from California’s Central Valley)
- Looks & Taste: Large, oval, smooth-skinned, and mildly sweet
- Best For: Daily snacking, almond butter, almond milk, and cooking
- Nutritional Highlights:
- Rich in vitamin E, fiber, and healthy monounsaturated fats
- Supportive of heart health, skin radiance, and weight management
California almonds are the most widely available and consumed variety worldwide, thanks to the U.S. being the largest almond producer. They’re versatile, affordable, and perfect for daily use.
🇮🇳 2. Mamra Almonds: The Premium Powerhouse
- Origin: Primarily grown in Iran, Afghanistan, and Kashmir
- Looks & Taste: Small, wrinkled, oil-rich, and naturally sweet
- Best For: Brain health, vitality, premium nutrition
- Nutritional Highlights:
- Exceptionally high in natural oils, good fats, and energy
- Often used in Ayurveda for boosting memory and immunity
Mamra almonds are considered a luxury variety and are usually priced higher due to their limited production and rich nutrient density. They’re ideal for those looking for a concentrated health boost.
🧠 3. Gurbandi Almonds: The Small Nut with a Big Punch
- Origin: Afghanistan and parts of Northern India
- Looks & Taste: Small, dark-skinned, thick, and rich in flavor
- Best For: Enhancing focus, mental stamina, and immune support
- Nutritional Highlights:
- Loaded with antioxidants, omega-6 fatty acids, and vitamins
- More oil content than California almonds
Though smaller in size, Gurbandi almonds pack a serious nutritional punch. Their rich flavor also makes them great for adding depth to dishes and desserts.
❄️ 4. Kashmiri Almonds: The Local Treasure
- Origin: Kashmir Valley, India
- Looks & Taste: Medium-small size, reddish-brown skin, slightly bitter
- Best For: Traditional recipes, milk-based drinks, digestion
- Nutritional Highlights:
- Rich in fiber, iron, and essential minerals
- Helps improve skin texture and internal detoxification
These almonds are often consumed soaked and peeled to reduce bitterness and enhance absorption. They’re commonly used in Indian sweets and the famed Kashmiri Kahwa.
🇪🇸 5. Marcona Almonds: The Gourmet Delight
- Origin: Spain
- Looks & Taste: Short, round, buttery, and sweet
- Best For: Snacking, tapas, cheese boards, and fine dining
- Nutritional Highlights:
- High in oleic acid (heart-healthy fat)
- Great for cholesterol regulation and indulgent recipes
Marcona almonds are often referred to as the “queen of almonds.” Soft in texture and rich in flavor, they are usually roasted in olive oil and lightly salted.
🇮🇹 6. Sicilian Almonds: The Baker’s Favorite
- Origin: Italy (especially Sicily and Apulia)
- Looks & Taste: Small, with a rich, intense almond taste
- Best For: Baking, pastries, almond flour
- Nutritional Highlights:
- Contains powerful polyphenols and healthy fats
- Used in premium confectionery and desserts
Known for their strong flavor and natural oil richness, Sicilian almonds are perfect when you want that distinct almond essence in your cakes or cookies.
🌱 7. Wild Almonds (Bitter Almonds): For Extracts, Not Snacking
- Origin: Various wild almond trees (not for direct consumption)
- Best For: Making almond oil, almond essence (after detoxification)
- Nutritional Caveat:
- Contain amygdalin, which can be toxic if consumed raw
- Must be processed to remove harmful compounds
Though not a snacking almond, bitter almonds are often used in medicinal extracts, oils, and cosmetic products after detoxification.
✅ Quick Comparison Table
| Almond Type | Oil Content | Taste Profile | Key Benefit | Common Use |
|---|---|---|---|---|
| California | Moderate | Mild, smooth | Balanced nutrition | Snacking, milk, flour |
| Mamra | High | Naturally sweet | Brain health, energy | Ayurveda, fasting, raw snacking |
| Gurbandi | High | Intense, nutty | Focus, immunity | Traditional recipes, raw use |
| Kashmiri | Medium | Slightly bitter | Skin & digestion | Soaked use, milk drinks |
| Marcona | High | Buttery, soft | Heart & indulgence | Gourmet snacks, tapas |
| Sicilian | Medium | Bold almondy | Baking & desserts | Confectionery, flour |
| Wild (Bitter) | Very high | Inedible raw | Extracts & cosmetics | Processed oil/essence only |
🌟 Final Thoughts: Which Almond Should You Choose?
All almonds are nutritious, but choosing the right variety depends on your personal goals:
- ✅ Want to boost your brain? Go for Mamra or Gurbandi.
- ✅ On a budget but still want benefits? Pick California.
- ✅ Cooking up a gourmet treat? Try Marcona or Sicilian.
- ✅ Looking for traditional authenticity? Kashmiri almonds deliver.
Each type brings its own personality to your plate — and your health.
✅ Frequently Asked Questions (FAQs)
1. How many types of almonds are there?
There are several almond varieties, but the most recognized ones include California, Mamra, Gurbandi, Kashmiri, Marcona, Sicilian, and Wild (bitter) almonds. Each has unique characteristics and nutritional profiles.
2. Which type of almond is best for brain health?
Mamra almonds are often recommended for brain health due to their high natural oil content and rich nutrient density, particularly in traditional Indian and Ayurvedic contexts.
3. Are all types of almonds safe to eat raw?
Most types like California, Mamra, and Gurbandi almonds are safe to eat raw. However, wild (bitter) almonds should never be consumed raw as they contain toxic compounds unless properly processed.
4. What’s the difference between Mamra and California almonds?
Mamra almonds are smaller, wrinkled, and oil-rich with a naturally sweet taste. California almonds are smoother, larger, and milder in flavor. Mamras are considered more nutrient-dense and costlier.
5. Why are Mamra almonds more expensive?
Mamra almonds are grown in limited regions like Iran and Kashmir, are harvested in smaller quantities, and have a higher oil and nutrient content, making them more premium and rare.
6. Can I use all types of almonds for almond milk?
Yes, but California almonds are the most commonly used for almond milk due to their mild taste and availability. Mamra or Marcona almonds would make richer milk but are costlier.
7. Are Gurbandi almonds good for daily consumption?
Yes, Gurbandi almonds are nutrient-dense and rich in antioxidants. Their strong flavor and smaller size make them ideal for daily snacking, especially if soaked overnight.
8. How do Kashmiri almonds differ in taste?
Kashmiri almonds have a slightly bitter edge and reddish skin. They’re often used in traditional Indian dishes and drinks like kahwa after soaking or peeling.
9. What are Marcona almonds used for?
Marcona almonds are a gourmet variety known for their buttery texture. They’re popular in Spain and often used in tapas, desserts, or roasted with sea salt and olive oil.
10. Can different almond types be mixed in a diet?
Absolutely. Mixing different varieties can offer a wider range of flavors, textures, and nutritional benefits — just be mindful of portion sizes due to their calorie density.