As you search for information of lentils on google, you run into numerable articles by those media houses and health sites, all by so called professional, maybe marginally better than those AI bots we all use these days. None of those writes of so called big media houses would have actual experience of hacking their own health and understand how food impacts there system beyond what books tell you, or you can search for on internet.
And then comes the world of lentils, which is ever so confusing. Forget of you arte a westerner, chances are even if uou are an Indian born in India, you might not know beyond Kali Dal or Peeli dal. Or maybe sambhar waali daal, and prasade waali daal – thats how we call know our dals. And in my experience any attempt to write a comprehensive blog post about the same, falls flat on the face, as their so much information about each of those lentils that we end up losing the focus or ability to make decision on all the data provided.
In this post I will try to keep things simple and share with you 3 awesome lentils – why they are awesome, and how I am leveraging them in my weight loss journey. And being vegan and all, they I am sure they much lighter on the environment and hopefully some of our consciousness as well.
Getting down to business, here are the 3 Dals or Lentils that are part of my weight loss aresenal, and as the legend goes, traditionally the legends in India have been recommending them for legendary number of years. Different cultures in India appreciate them in different ways and different forms. I remember the saying in our baniya community which has been traditionally vegetarian culture that as people grow old and wise, they stop indulging in lot of things in life and move to one item which becomes stable for them Moong! yup – the legendary moong dal, for those not familiar – hospital wali dal. The Plane Jane dal as plane jane as plane jane it can get, the john doe of dals – the yellow Moong Dal. However here I am talking about the Sabut Moong – which is not your usual hospital waali yellow dal, which is super easy to digest, however I am talking about Whole Moong which is not served in hospitals is it is slow to digest compared to broken or yellow moong dal – which happens to add several steps of processing to the whole or sabut moong I am recommending here.
So yes, the first entry is the Sabut Moong Daal – the Whole Lentil itself – probably in its least processed form, the whole bean/seed itself – complete with all that fiber, all the fat, all the nutrition that nature builds in that bean – the one the legends in India would tell you has ‘Power’ compared to mean and a quick read of the modern nutritional information now verifying that it indeed is loaded with protein, and has a load of fiber as a scoring point over its meaty competitors like chicken, fish or beef.
Its vegan, its whole, its I think cheaper than mean, greener – not only in color, and its so bloofy versatile. Well I will come to that later, but yeah, what I have noticed it that a meal of Sabut Moong with rice or roti or anything – keeps me satiated and full for longer times, which means lesser hunger bangs, longer fasting cycles, and generally a happier and content me. I will soon add a post about how versatile it is in its uses here.
Coming to other two lentils that I want bring to your attention – Dal Makhani – well without the Makhan ofocurse. But you know what if you make it properly and follow classical recipes – making Dal Makhani out of Sabut Urad does not invlove any usage or added butter, cream or fat. If soaked and cooked properly, the lentil itself releases all that is inside it, make it rich and creamy. Yes ladies and gentlemen, the ubiquitous Kaali Dal, the one sold as Dal Makahni at every darned Indian restaurant in the world – when done at home – done right – is the food that would keep you happy and satiated for along time – like moong, this one is also loaded with protein, fiber and natural fats to help you control those GI and GL spikes.
Last but not the least – Moth Dal – I am actually drooling writing this as I am hungry and a Moth dal Chaat would be such a welcome respite in this heat of Delhi. What we call a Chaat – in this case specifically – turns out what a westerner would call a Salal. Yup you are right – sweet chilli tangy sour all in one go, loaded with protein, fiber, is probably sprouted, serves well as chakna, what else should I tell you? Ok ever heard Moth Chawal, Moth Kachori? Yup this one is versatile and with a little innovation – can be used for so many things and in so any ways. Probably another blog post about the same in future.
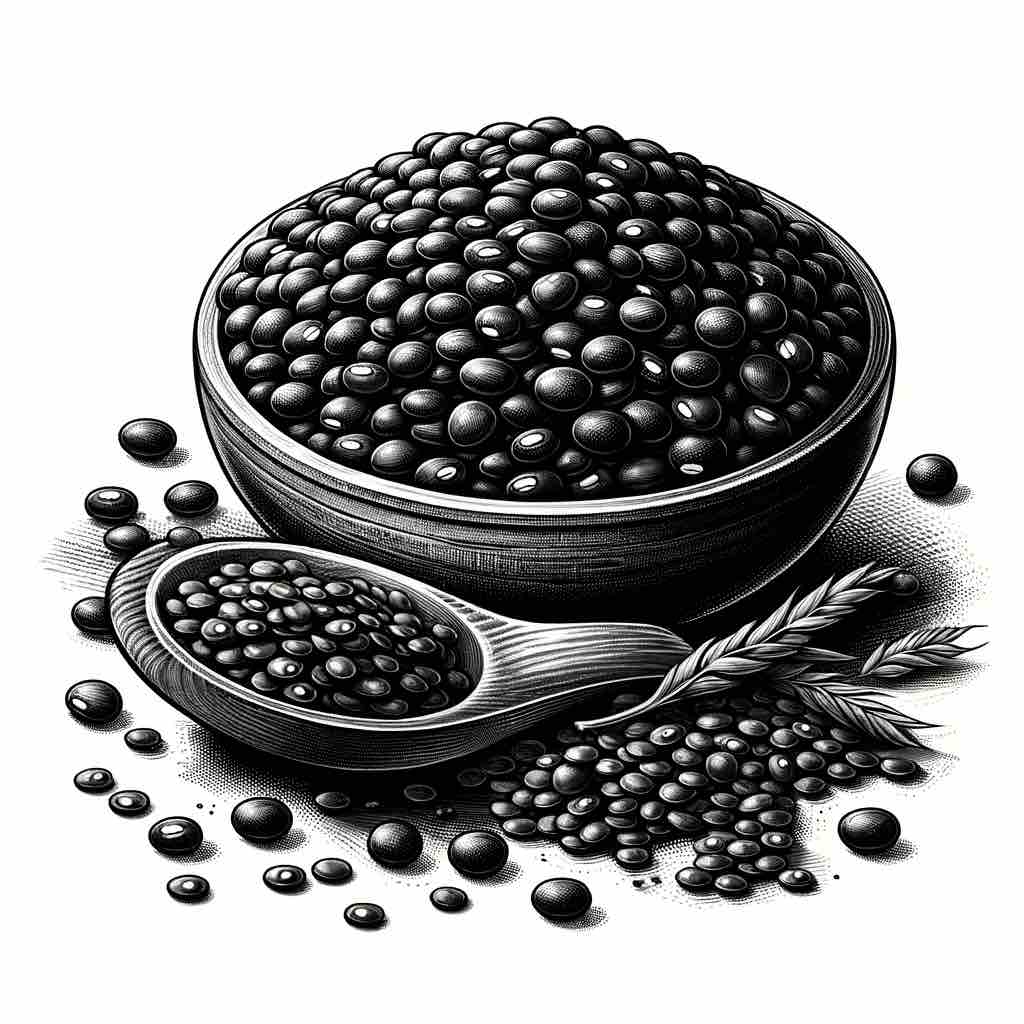
Phew now that I have written all of the above without AI, let me leverage some of it and at least ask it to generate some pictures so that you can understand how it looks like when you are looking for it. Otherwise if you buy it online I am sure the labels would guide you through.
But remember especially when buying Moon and Urad – you get them in 3 forms – fully processed which looks like Yellow or White – easiest to digest, then you have less processed which is broken, but still has the fiber on top – this would look green or black on outside and maybe lighter yellow inside. And then there is the whole one – which is least processed and not broken. You can choose one as per your needs and uses.
A representation of what Dall-E by OpenAi thinks Urad Dal looks like.
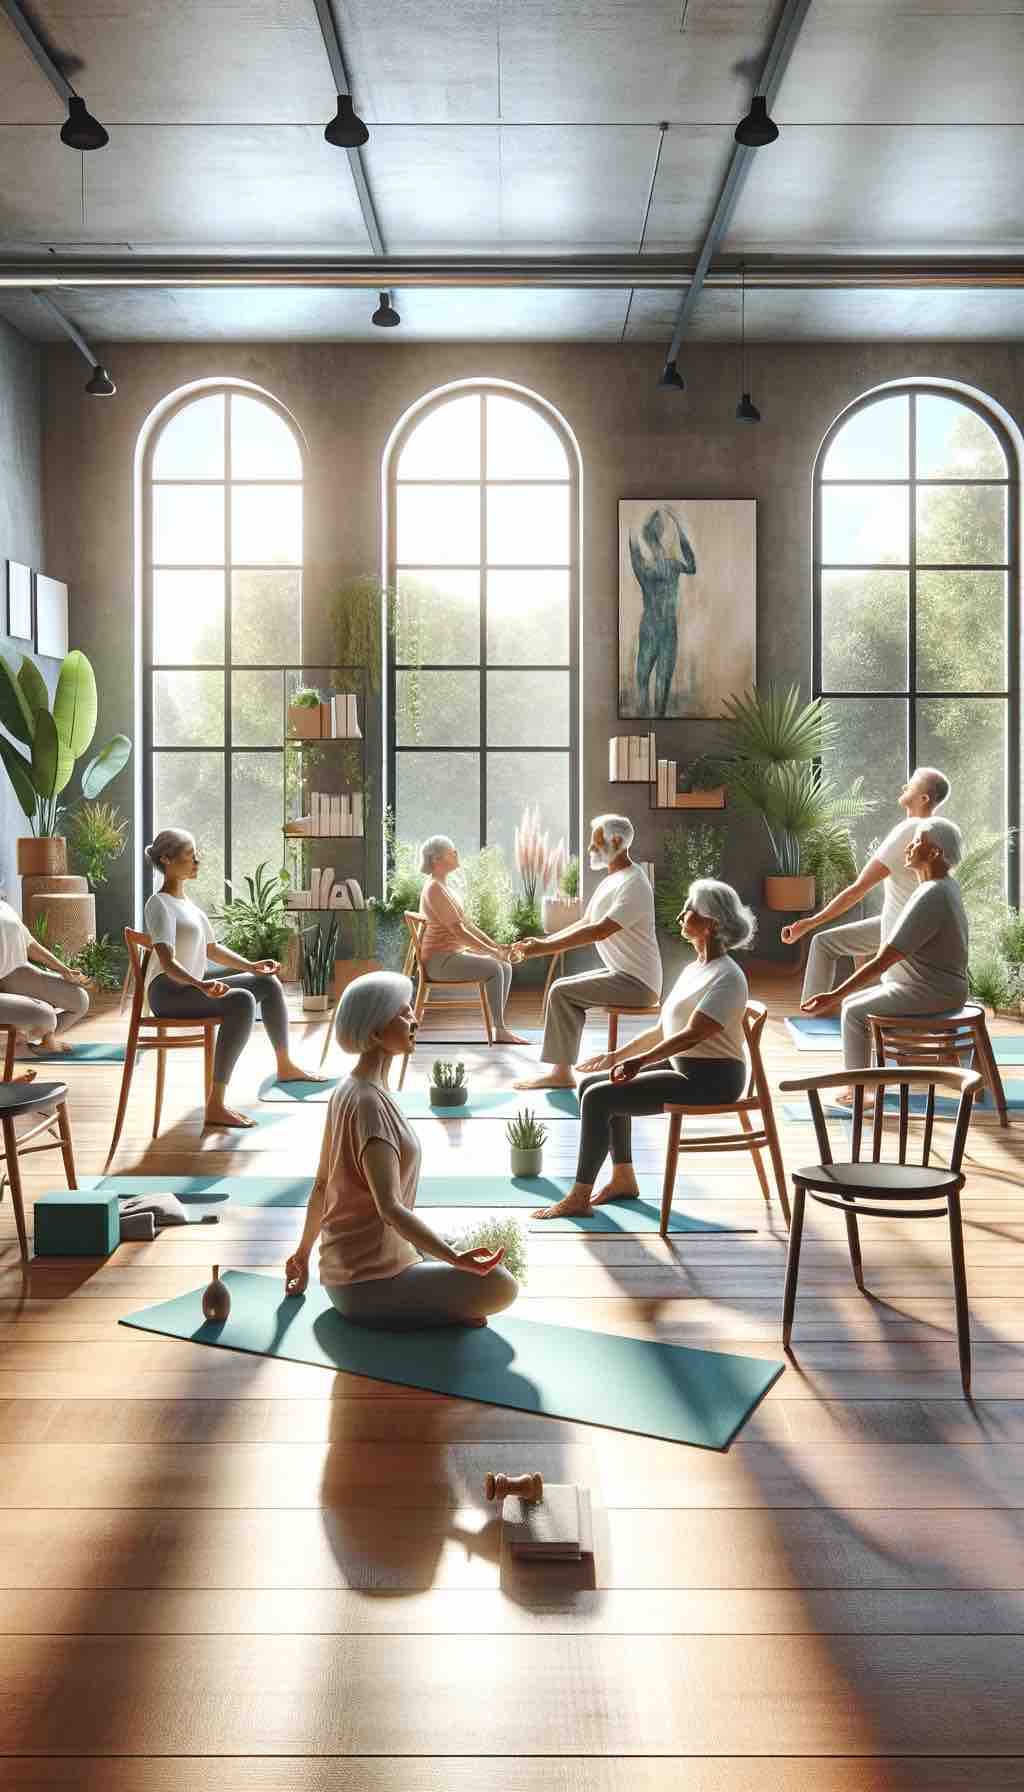
As we age, maintaining flexibility, strength, and mental well-being becomes increasingly important. Chair yoga is an innovative adaptation of traditional yoga, designed to meet the unique needs of seniors and individuals with limited mobility. In the golden years of life, finding an exercise routine that’s both gentle and effective can be challenging. Chair yoga offers a wonderful solution, allowing seniors to enjoy the benefits of yoga without the need for floor exercises, which might be difficult for some. This guide introduces chair yoga, emphasizing its accessibility, benefits for weight management, and overall wellness for seniors.
Why Chair Yoga?
Chair yoga reimagines traditional yoga poses for those who might not find floor exercises accessible, crafting a practice that emphasizes safety, accessibility, and personal growth. It bridges physical limitations with the profound benefits of yoga, focusing on gentle movements that enhance flexibility, muscle strength, and mental wellness.
Chair yoga modifies traditional yoga poses so they can be performed while seated or using a chair for support. This approach makes yoga accessible to everyone, regardless of physical condition, age, or fitness level. Beyond physical health, chair yoga also offers significant mental and emotional benefits, making it a holistic practice for overall wellness.
Benefits of Chair Yoga:
Enhanced Respiratory Health: Chair yoga includes pranayama (breathing exercises) that can improve lung capacity and respiratory efficiency, crucial for maintaining robust health.
Improved Sleep Quality: Regular practice helps regulate sleep patterns, benefiting those who struggle with insomnia or restless nights.
Boosted Immune System: The stress-reducing properties of yoga can lead to a stronger immune response, keeping common ailments at bay.
Increased Body Awareness: Chair yoga encourages mindfulness and a deeper connection with one’s body, promoting a harmonious balance between physical and menta
Cognitive Clarity: Regular practice can enhance cognitive function, improving focus and memory.
Emotional Balance: Yoga’s meditative aspects help regulate emotions, reducing symptoms of anxiety and depression.
Community and Connection: Joining chair yoga classes, whether online or in person, fosters a sense of community and belonging.
Here is a well-detailed 30-minute chair yoga routine for seniors that involves carefully AI poses that offer a balance of stretching, strengthening, and relaxation, ensuring they are accessible and beneficial for individuals with varying levels of mobility and fitness. This routine is designed to be safe, enjoyable, and effective, promoting overall wellness, flexibility, and mental clarity.
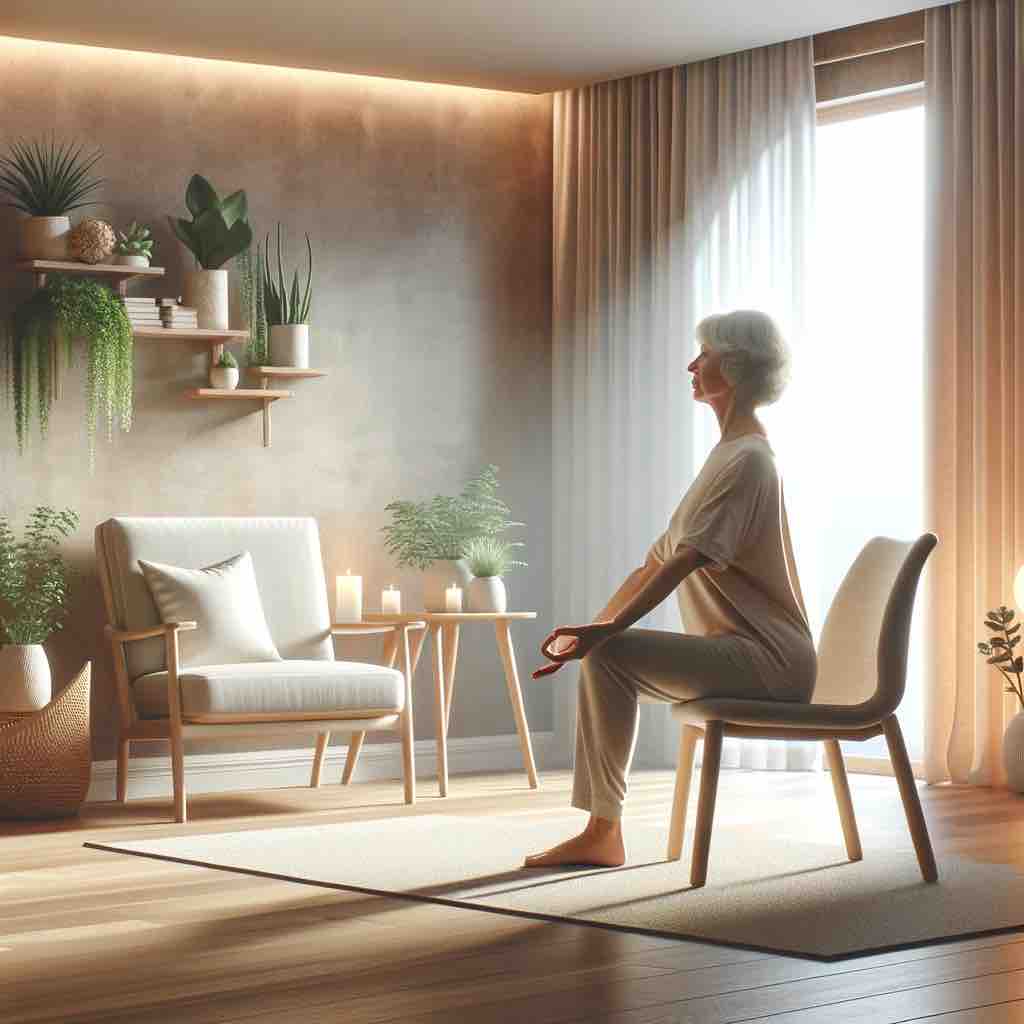
Setting the Stage
Before beginning, choose a sturdy chair without arms that allows your feet to rest flat on the ground. Ensure you have enough space to move freely and consider having water nearby to stay hydrated. Let’s create an environment of calm and focus by taking a few deep breaths before we start.
30-Minute Chair Yoga Routine
Warm-Up (5 Minutes)
Seated Marching: Begin by gently marching your feet in place while seated, to increase circulation and warm up your lower body.
Shoulder Circles: Lift your shoulders towards your ears, then circle them back and down. Repeat several times to release shoulder tension.
Neck Side Stretch: Gently tilt your head towards one shoulder, stretching the side of your neck. Hold for a few breaths, then switch sides.
Core Sequence: Flexibility and Strength (18 minutes)
1. Seated Cat-Cow Stretches (3 minutes)
Execution Details: Start by sitting comfortably towards the edge of your chair, feet planted firmly on the ground. Place your hands atop your knees. For the Cow stretch, inhale deeply as you arch your back, pushing your chest forward and lifting your chin slightly, encouraging a gentle stretch in the throat and front torso. As you transition to Cat, exhale thoroughly, rounding your spine upwards, pulling your belly towards the spine, and bringing your chin towards your chest. This motion should mimic the rounding of a cat’s back.
Benefits: Enhances spinal flexibility, promotes better circulation in the discs between vertebrae, and gently massages abdominal organs, aiding digestion.
Mindful Transition: Ensure smooth, fluid transitions between Cow and Cat poses, allowing your breath to guide the movement. The inhalation naturally lends itself to opening and expanding, while the exhalation supports contraction and rounding.
2. Seated Extended Side Angle (4 minutes)
Execution Details: Sit facing sideways on the chair, gripping the back of the chair with the hand closest to it for stability. Plant your feet firmly on the ground. Extend your free arm overhead, reaching out as if trying to touch the ceiling, then gently bend your torso sideways over the chair. This creates a dynamic stretch along the side of your body. Maintain the pose, breathing deeply, then gently switch to the other side.
Benefits: Opens up the side body, improving flexibility in the spine and intercostal muscles. It encourages deeper breathing and aids in the opening and strengthening of the shoulders.
Mindful Transition: Return to a neutral position with care, allowing your torso to come upright gently before switching sides. Keep your movements deliberate and aligned with your breathing for a harmonious flow.
3. Seated Warrior II (Virabhadrasana II) Variation (4 minutes)
Execution Details: From a wide-legged seated position, extend your arms to shoulder height, palms facing down. Turn your head to gaze over the hand that corresponds to the leg you’ll be focusing on first. Imagine drawing energy from your core through your fingertips, creating a line of strength and power. After holding the pose, engage your core to smoothly pivot your torso and legs to face the opposite direction, repeating the pose.
Benefits: Builds strength in the legs and arms, enhances focus and concentration, and improves balance and stability. The pose also opens the hips and chest, promoting better posture.
Mindful Transition: Use the movement of your arms as a guide for your body’s rotation, ensuring a controlled and stable pivot to the opposite side. Focus on maintaining a strong, grounded sensation through your seated base.
4. Seated Pigeon Pose (Eka Pada Rajakapotasana) (4 minutes)
Execution Details: While seated, carefully place your right ankle on your left knee, forming a figure-4 shape with your legs. Keep your right foot flexed to protect the knee joint. Maintain an upright spine, and for an added stretch, gently lean your torso forward from the hips. This pose should be felt in the outer right hip and gluteal area. After holding the stretch, switch to the other leg.
Benefits: This pose effectively opens the hips, stretches the glutes, and relieves tension in the lower back. It’s particularly beneficial for counteracting the effects of prolonged sitting.
Mindful Transition: Approach this pose with gentleness, especially if you experience hip or knee sensitivity. Adjust the height of your lifted leg or the depth of your forward lean to find a comfortable stretch. Transitioning out of the pose, release your leg down with care, taking a moment to feel the effects before switching sides.
Execution Details: Sit at the edge of the chair, gripping the sides for support. Lean back slightly, engaging your core muscles to maintain a straight spine. Lift your feet off the floor, extending your legs to a challenging yet manageable height. Hold this position, focusing on stability and core engagement.
Benefits: Strengthens the core, including the abdominal muscles and hip flexors, enhances spinal stability, and improves balance and concentration.
Mindful Transition: Begin and end this pose with attention to your abdominal engagement to protect your lower back. Lower your feet gently back to the ground, pausing to notice the sensations in your core and spine.
Cool Down (5 Minutes)
Seated Forward Bend (2 minutes): Inhale and lengthen your spine. As you exhale, hinge at the hips and fold forward, lowering your hands towards the ground or your feet. This pose calms the mind and stretches the back.
Seated Savasana with Breathing Exercise (3 minutes): Sit back comfortably, close your eyes, and place your hands on your lap. Focus on deep, slow breaths, allowing your body and mind to relax fully. Notice the calmness that envelops you, embracing a sense of peace and relaxation.
Maximizing Your Chair Yoga Experience
Personalize Your Practice: Adapt poses based on your comfort and flexibility levels. Yoga is a personal journey; listen to your body and respect its limits.
Integrate Mindfulness: Beyond the physical poses, strive to maintain a mindful presence throughout your practice, enhancing mental clarity and emotional peace.
Educate Yourself: Learn about the origins and principles of yoga to deepen your understanding and appreciation of the practice.
Stay Hydrated: Drink water before and after your practice to stay hydrated and aid in the removal of toxins from the body.
Create a Dedicated Space: Designate a peaceful area for your yoga practice, free from distractions, to enhance your focus and intention.
Conclusion
Chair yoga offers a comprehensive approach to wellness, catering to the unique needs of seniors and those with limited mobility. By embracing this adapted form of yoga, individuals can enjoy improved physical health, mental clarity, emotional balance, and a sense of community. This guide provides the tools and knowledge to deepen your chair yoga practice, encouraging a journey of discovery, growth, and holistic well-being. Remember, the journey is as significant as the destination; approach each session with openness, patience, and a willingness to explore the depths of your potential.
FAQs for Chair Yoga Practice
What distinguishes chair yoga from traditional yoga?
Chair yoga modifies traditional yoga poses to be accessible while seated or using a chair for balance and support. It’s designed for those who may have mobility challenges, providing the benefits of yoga without the need for getting down to the floor.
How does chair yoga support senior health?
For seniors, chair yoga offers a safe way to improve flexibility, strengthen muscles, enhance balance, reduce stress, and maintain mental clarity. It’s particularly beneficial for managing or preventing conditions like arthritis, osteoporosis, and chronic pain.
What should I wear for chair yoga?
Wear comfortable, loose-fitting clothes that allow for full range of motion. Footwear is not necessary, but socks can be worn if preferred for warmth or comfort.
Is chair yoga beneficial for those with chronic conditions?
Yes, chair yoga is gentle on the body and can be adapted to individual needs, making it beneficial for those with chronic conditions. However, it’s important to consult with a healthcare provider before starting any new exercise regimen.
Can chair yoga improve mental health?
Absolutely. Chair yoga incorporates mindfulness and breathing techniques that can alleviate stress, anxiety, and depression, promoting a sense of well-being and mental health.
What if I can’t perform a certain pose?
Chair yoga is highly adaptable. Instructors can offer modifications to accommodate all levels of mobility and flexibility. It’s important to listen to your body and adjust as necessary.
Are there any age restrictions for practicing chair yoga?
There are no age restrictions. Chair yoga is ideal for seniors but can be beneficial for adults of all ages, especially those seeking a low-impact form of exercise.
How can I find a qualified chair yoga instructor?
Look for instructors who have specific training in chair yoga or gentle yoga practices. Many yoga studios, community centers, and online platforms offer classes led by qualified instructors.
What are the key components of a chair yoga session?
A typical session includes a warm-up, a sequence of seated or standing poses using the chair for support, breathing exercises, and a final relaxation or meditation period.
How can chair yoga be incorporated into a daily routine?
Start with shorter sessions and gradually build up. Even a few minutes of stretching and mindful breathing each day can have significant benefits. Consider setting a regular time each day for practice to establish a routine.
Blog Tags
accessible yoga, senior fitness, gentle stretching, wellness for seniors, chair yoga benefits, yoga for mobility, mindful movement, yoga therapy, adaptive yoga, senior health
Chair yoga is an excellent way for seniors to engage in physical activity, improve flexibility, and maintain a healthy lifestyle without the risk of strain or injury associated with more traditional forms of exercise. Let’s outline a gentle, yet effective 30-minute chair yoga session that incorporates these elements. This session can be performed at home with minimal equipment—a sturdy chair without arms, and perhaps a yoga mat for added stability under the chair if needed.
Warm-Up (5 minutes)
Neck and Shoulder Rolls: Sit up straight and gently roll your neck and shoulders to release tension. This helps to prepare your body for the practice.
Arm Raises: Inhale and slowly raise your arms above your head, palms facing each other; exhale and lower them. This movement increases blood flow and warms up the body.
Main Routine (20 minutes)
Tadasana (Mountain Pose) Variation: Sitting, ground your feet flat on the floor, straighten your spine, and raise your arms overhead. This pose helps improve posture.
Paschimottanasana (Seated Forward Bend): Extend your legs forward, hinge at the hips, and reach towards your toes. It stretches the spine and hamstrings.
Baddha Konasana (Bound Angle Pose): With feet together, let your knees fall to the sides. This opens up the hips and thighs.
Virabhadrasana (Warrior Pose) Variation: Turn to one side, extending one leg back and the other bent at the knee, raise your arms to shoulder height. This strengthens the legs and improves balance.
Ardha Chakrasana (Half Wheel Pose): Place your hands on the back of the chair for support, push your chest forward and arch your back. This asana strengthens the back and improves flexibility.
Pranayama (Breathing Exercises): Focus on deep, controlled breathing. Try the Anulom Vilom (Alternate Nostril Breathing) to promote relaxation and balance the mind.
Cool Down (5 minutes)
Gentle Twists: Sitting, place one hand on the opposite knee and twist your torso gently. Repeat on the other side. Twists help to relax the spine and aid digestion.
Savasana (Corpse Pose) Variation: Sit comfortably, close your eyes, and focus on deep breathing for a few minutes to relax your body and mind.
Additional Tips:
Always listen to your body and modify poses as needed. Use cushions for support if necessary.
Maintain a regular practice, ideally 3-4 times a week, to see improvements in flexibility, strength, and mental well-being.
For weight loss, combine this practice with a healthy diet and perhaps additional low-impact exercises like walking.
These exercises can be printed for ease of access and to help establish a routine. Remember, the key to chair yoga is consistency and adapting the practice to fit your individual needs and capabilities. Enjoy your practice and the journey towards better health and well-being!
10 FAQs for Chair Yoga Practice
What is chair yoga?
Chair yoga is a form of yoga that modifies traditional poses so they can be done while seated or using a chair for support. It’s designed to make yoga accessible to people of all ages and abilities.
Who can benefit from chair yoga?
Seniors, individuals with limited mobility, those recovering from injury, or anyone who spends long hours seated, like office workers, can benefit from chair yoga.
Do I need any special equipment?
All you need is a sturdy, armless chair. Optional items include yoga blocks, a cushion, or a blanket for additional support or comfort.
Can chair yoga improve balance?
Yes, many chair yoga poses focus on strengthening the core and legs, which can help improve balance and reduce the risk of falls.
Is chair yoga effective for stress relief?
Absolutely. Chair yoga incorporates breathing exercises and mindfulness practices that are effective for reducing stress and promoting mental clarity.
How often should I practice chair yoga?
For best results, aim for at least 2-3 sessions per week. Consistency is more important than duration.
Can chair yoga help with arthritis?
Yes, the gentle movements and stretches in chair yoga can help maintain joint flexibility and reduce pain associated with arthritis.
I’m a beginner. Will I be able to do chair yoga?
Chair yoga is perfect for beginners. It’s a gentle way to start yoga, focusing on safety and individual ability.
How long is a typical chair yoga session?
Sessions can vary, but a typical chair yoga routine can be completed in about 30 minutes, making it easy to fit into a busy schedule.
Where can I find chair yoga classes?
Many community centers, yoga studios, and online platforms offer chair yoga classes. Virtual classes can be a convenient option to practice at home.
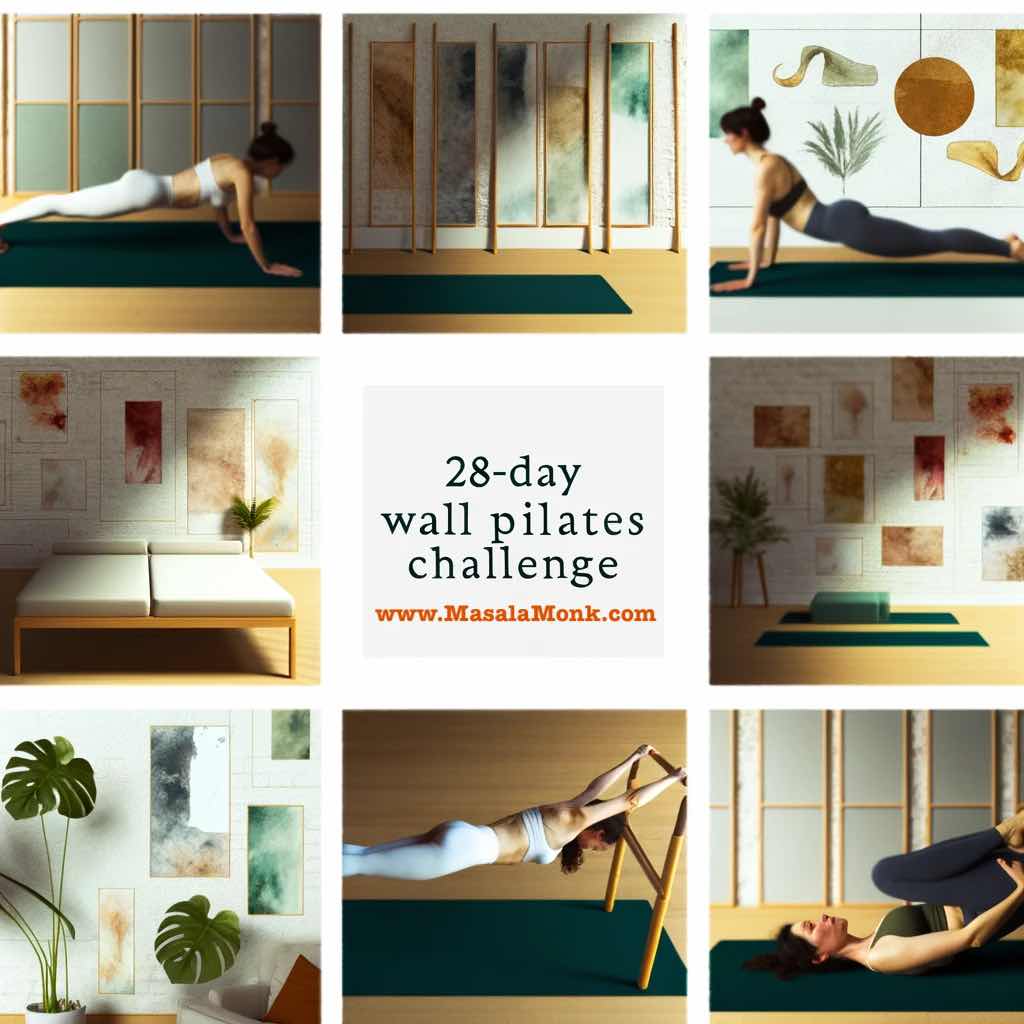
Are you ready to embark on a transformative journey that will strengthen your body and invigorate your mind? Look no further! We are thrilled to introduce the FREE 28-Day Wall Pilates Challenge – a comprehensive program designed to help you achieve your fitness goals and unleash your full potential.
Powered by AI, this unique challenge is meticulously crafted to provide you with a holistic Pilates experience. Whether you’re a beginner or a seasoned practitioner, our challenge offers something for everyone. From core strengthening to flexibility enhancement, each day is tailored to target different aspects of your fitness journey.
28-Day Wall Pilates Challenge
28-Day Wall Pilates Challenge
Select the Week to see Day Wise Guides to this AI Designed Challenge.
Why Pilates, you may ask? Pilates is renowned for its ability to improve strength, flexibility, and posture while promoting a sense of balance and well-being. By incorporating Pilates into your daily routine, you'll not only see physical changes but also experience mental clarity and inner harmony.
What sets our challenge apart is its adaptability and accessibility. With just a wall and a few minutes of your time each day, you can participate in the challenge from the comfort of your own home. No fancy equipment or gym membership is required – just a willingness to commit to your health and wellness. This challenge is completely free, so share the love with family and friends without any worry in the world.
Join Our 28-Day Wall Pilates Challenge
Are you ready to embark on a transformative journey to strengthen your body, mind, and spirit through Pilates? Welcome to our 28-day Wall Pilates Challenge, designed to ignite your passion for Pilates and unlock your full potential!
Overview:
Duration: 28 days
Focus: Core strength, flexibility, balance, endurance, and overall well-being
Structure: Each week focuses on specific themes and goals, with daily workouts to guide you through the challenge.
We invite you to join us on this exciting journey and share your experiences and feedback. Together, let's fine-tune and improve this challenge to help others achieve their fitness goals. Are you ready to embrace the 28 Days Wall Pilates Challenge? Let's get started!
Don't forget to check out our interactive navigation app above to easily access each day's workout details. Let the challenge begin!
Welcome to Day 28, the Final Day of Your Pilates Journey!
Dear Pilates Warriors, today marks the culmination of our 28-Day Wall Pilates Challenge, and what a journey it has been! As we come together for our final session, it’s time to celebrate your dedication, perseverance, and growth. In this special session, we’ll integrate all aspects of our Pilates practice, challenge ourselves with one last burst of energy, and reflect on the transformative power of movement. Let’s embrace this moment of triumph and honor the incredible journey we’ve shared!
Introduction:
Day 28 is not just about reaching the end of our challenge; it’s about celebrating the journey we’ve embarked on together. Over the past four weeks, we’ve pushed our limits, discovered our strengths, and embraced the beauty of movement. Today, we come full circle, uniting mind, body, and spirit in a final burst of energy and joy. So, let’s dive in with gratitude and enthusiasm, knowing that every step we’ve taken has brought us closer to our goals.
Before we start with the day, let us welcome you to the AI-powered 28-Day Free Wall Pilates Challenge! This challenge is designed using modern Artificial intelligence tools. We asked AI to act like a trainer and make a 28-day plan for us. We have put this up as a FREE challenge – do try this and let us know how you feel about it.
28-Day Wall Pilates Challenge
28-Day Wall Pilates Challenge
Select the Week to see Day Wise Guides to this AI Designed Challenge.
Execution: Begin standing at the top of your mat with your feet hip-width apart. Inhale as you reach your arms overhead, lengthening through the spine. Exhale as you fold forward, hinging at the hips and reaching towards the floor. Inhale to halfway lift, lengthening your spine and gazing forward. Exhale as you plant your hands on the mat and step back into a plank position. Lower down into a push-up position, then inhale as you press up into upward-facing dog. Exhale as you lift your hips into downward-facing dog. Hold for a breath, then step or jump your feet forward to return to the starting position. Repeat for three rounds, flowing smoothly with your breath.
Breathing: Inhale deeply as you reach your arms overhead, exhale as you fold forward. Inhale to halfway lift, exhale as you plant your hands and step back into plank. Inhale to lower down, exhale to press up. Inhale as you lift into upward dog, exhale as you lift into downward dog. Focus on synchronizing movement with breath to enhance flow and awareness.
Dynamic Standing Twists (2 Minutes)
Execution: Stand tall with your feet hip-width apart and arms extended out to the sides. Inhale deeply, then exhale as you twist your torso to the right, reaching your left hand towards your right foot and your right hand towards the ceiling. Inhale to return to the center, then exhale as you twist to the left, reaching your right hand towards your left foot and your left hand towards the ceiling. Continue to alternate sides, moving with the rhythm of your breath.
Breathing: Exhale deeply as you twist to the right, inhale to return to the center. Exhale as you twist to the left, inhale to return. Focus on smooth, rhythmic breaths to enhance mobility and awareness.
Main Session: Integration and Celebration (25 Minutes)
Flow Sequence (2 Sets)
Execution: Begin in a seated position on the mat with your legs extended in front of you. Inhale as you reach your arms overhead, lengthening through the spine. Exhale as you fold forward, reaching towards your toes with a straight spine. Inhale to lengthen the spine once more, then exhale as you transition into a tabletop position. Inhale as you arch your back into cow pose, then exhale as you round your spine into cat pose. Continue to flow smoothly through these movements, syncing each breath with a movement. After two sets, return to a seated position.
Breathing: Inhale deeply as you reach your arms overhead, exhale as you fold forward. Inhale to lengthen the spine, exhale as you transition into tabletop. Inhale as you arch into cow pose, exhale as you round into cat pose. Focus on deep, rhythmic breaths to enhance flow and awareness.
Wall Plank Hold (2 Sets, 30 Seconds Each)
Execution: Stand facing a wall with your arms extended overhead and palms pressed against the wall. Walk your feet back until your body forms a diagonal line from head to heels, engaging your core and pressing firmly into the wall with your hands. Hold the plank position for 30 seconds, maintaining proper alignment and breathing deeply. After two sets, release and return to a standing position.
Breathing: Inhale deeply as you hold the plank position, exhale to engage your core. Focus on steady, rhythmic breaths to enhance stability and control.
Boat Pose with Leg Lowers (2 Sets, 10 Reps)
Execution: Sit on the mat with your knees bent and feet flat on the floor. Lean back slightly and lift your feet off the floor, balancing on your sitting bones. Extend your arms straight out in front of you, parallel to the floor. Inhale as you lower your legs towards the mat, keeping your core engaged and back flat. Exhale as you lift your legs back up to the starting position. Repeat for 10 reps, maintaining stability and control. After two sets, release and return to a seated position.
Breathing: Inhale as you lower your legs, exhale as you lift them back up. Focus on steady, rhythmic breaths to enhance core engagement and control.
Cooldown: Reflect and Honor (5 Minutes)
Seated Meditation (3 Minutes)
Execution: Find a comfortable seated position on the mat with your eyes closed and hands resting on your knees. Take a few moments to settle into the present moment, feeling the support of the earth beneath you and the gentle rise and fall of your breath. Allow your thoughts to come and go without judgment, simply observing the sensations in your body and the rhythm of your breath.
Breathing: Inhale deeply through your nose, exhale slowly through your mouth. Focus on deep, steady breaths to enhance relaxation and presence.
Gratitude Journaling (2 Minutes)
Execution: Take out your journal or a piece of paper and reflect on the journey you've embarked on over the past 28 days. Write down three things you're grateful for, whether it's newfound strength, a deeper connection with your body, or the support of your fellow Pilates Warriors. Take a moment to honor yourself for showing up, committing to your practice, and embracing the transformation that comes with dedication and perseverance.
Breathing: Inhale gratitude for your accomplishments, exhale gratitude for the journey. Focus on cultivating a sense of appreciation and contentment.
Reflection and Gratitude:
Congratulations, Pilates Warriors, on completing the 28-Day Wall Pilates Challenge! You've shown incredible dedication, strength, and resilience throughout this journey, and today, we celebrate your triumph. As you reflect on the progress you've made and the obstacles you've overcome, remember that this is just the beginning of your Pilates journey. Keep exploring, keep growing, and keep embracing the joy of movement. Thank you for sharing your energy, your spirit, and your commitment to wellness. Until we meet again, keep shining bright, and may your journey be filled with endless possibilities.
Join Our 28-Day Wall Pilates Challenge
Are you ready to embark on a transformative journey to strengthen your body, mind, and spirit through Pilates? Welcome to our 28-day Wall Pilates Challenge, designed to ignite your passion for Pilates and unlock your full potential!
Overview:
Duration: 28 days
Focus: Core strength, flexibility, balance, endurance, and overall well-being
Structure: Each week focuses on specific themes and goals, with daily workouts to guide you through the challenge.
We invite you to join us on this exciting journey and share your experiences and feedback. Together, let's fine-tune and improve this challenge to help others achieve their fitness goals. Are you ready to embrace the 28 Days Wall Pilates Challenge? Let's get started!
Don't forget to check out our interactive navigation app above to easily access each day's workout details. Let the challenge begin!