Some cookies are a craving; peanut butter cookies are a promise. A promise of soft centers, a hint of salt, and that crosshatch pattern that whispers, “You’ve come to the right kitchen.” If you’ve been hunting for a reliable peanut butter cookies recipe that you can memorize, customize, and bake on a weeknight without fuss, this is the one. We’ll start with the classic base, then—without complicating your life—branch into three popular riffs: 3-ingredient (flourless and naturally gluten-free), peanut butter chocolate chip (for the days you want pockets of melty sweetness), and peanut butter oatmeal (chewier, heartier, still quick).
Along the way, you’ll see natural, reader-friendly links if you want to go deeper on technique and ingredients—like making homemade peanut butter or choosing the right kind of oats with this guide to oats: types and differences. Use them as reference points; skip them if you’re already preheating the oven.
The Baseline Peanut Butter Cookies Recipe (Soft & Chewy)
At its heart, a dependable peanut butter cookies recipe does a few simple things really well:
- Creams fat and sugar thoroughly (so the cookies lift rather than spread into puddles).
- Balances white and brown sugar (for crisp edges and tender middles).
- Uses just enough flour (to hold structure without becoming cakey).
- Bakes quickly, then finishes on the sheet (carryover heat equals soft centers).
If you like a technical north star for ratios and method, the classic peanut butter cookies from King Arthur Baking mirror this approach—same gentle oven temp, same creaming logic, same quick bake.
Ingredients, at a glance
- Creamy peanut butter (no-stir works most predictably; more on that below)
- Butter, softened (unsalted lets you control salt)
- Granulated sugar + light brown sugar (structure + moisture + caramel notes)
- Egg + vanilla (binding + aroma)
- All-purpose flour, baking soda, baking powder, salt (structure + lift + clarity of flavor)
Why “no-stir” peanut butter behaves so nicely
Natural peanut butter can absolutely work, and many bakers love its purer peanut flavor. Nevertheless, if consistency is your priority, stabilized (emulsified) peanut butter is a smart choice: it doesn’t separate, it creams smoothly with butter, and it yields less graininess in tender batters. If you’re curious about the “why,” this Serious Eats piece makes the case in practical, baker-friendly terms: best peanut butter for baking (emulsified vs natural).
Prefer to control every ingredient? You can skip added sugars and oils entirely and make homemade peanut butter in minutes; it’s just roasted peanuts and a pinch of salt blitzed until glossy.
How to Make Peanut Butter Cookies
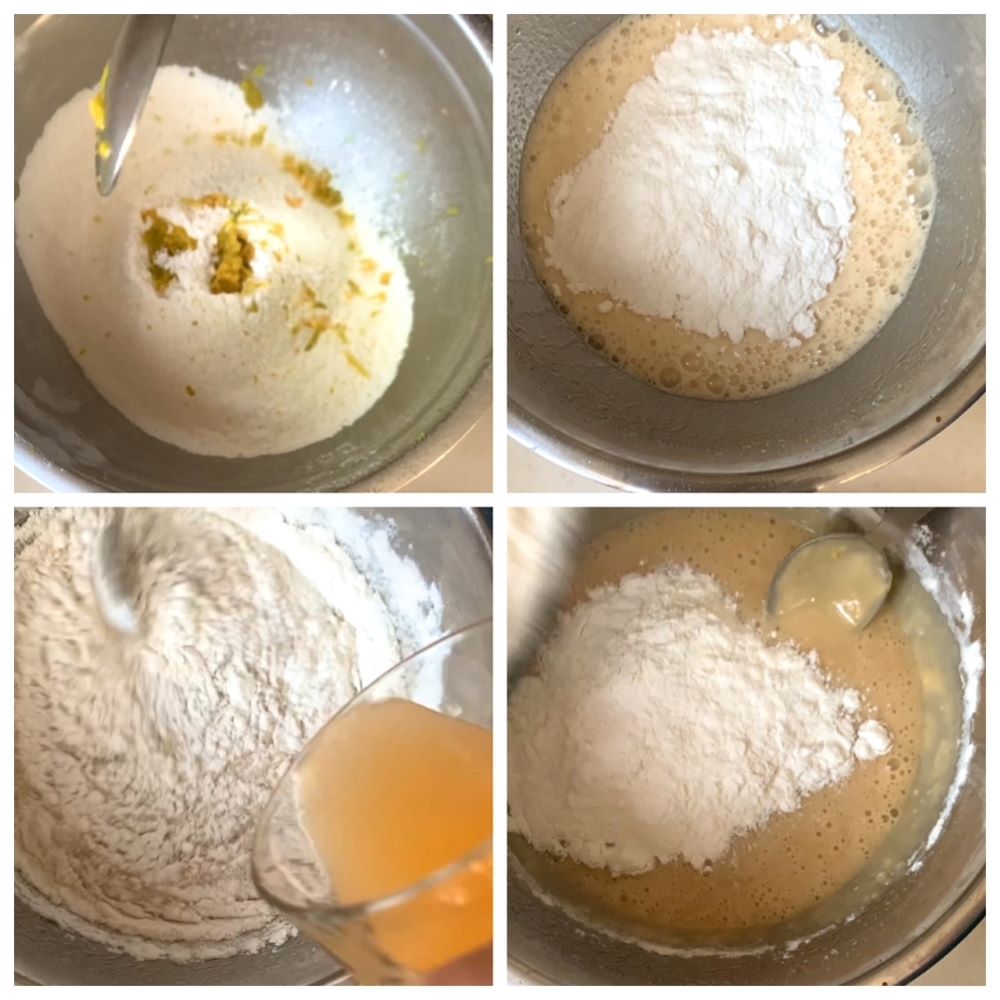
- Cream the butter, peanut butter, and both sugars until light and fluffy. You’re dissolving some sugar and trapping air; it should look pale and seem a bit billowy.
- Beat in the egg and vanilla until the mixture looks silky.
- Fold in your whisked dry ingredients (flour, baking soda, baking powder, salt) until just combined—no streaks, no overmixing.
- Scoop 1 to 1½-tablespoon portions, roll in a little sugar if you like delicate crunch, then crosshatch each ball gently with a fork.
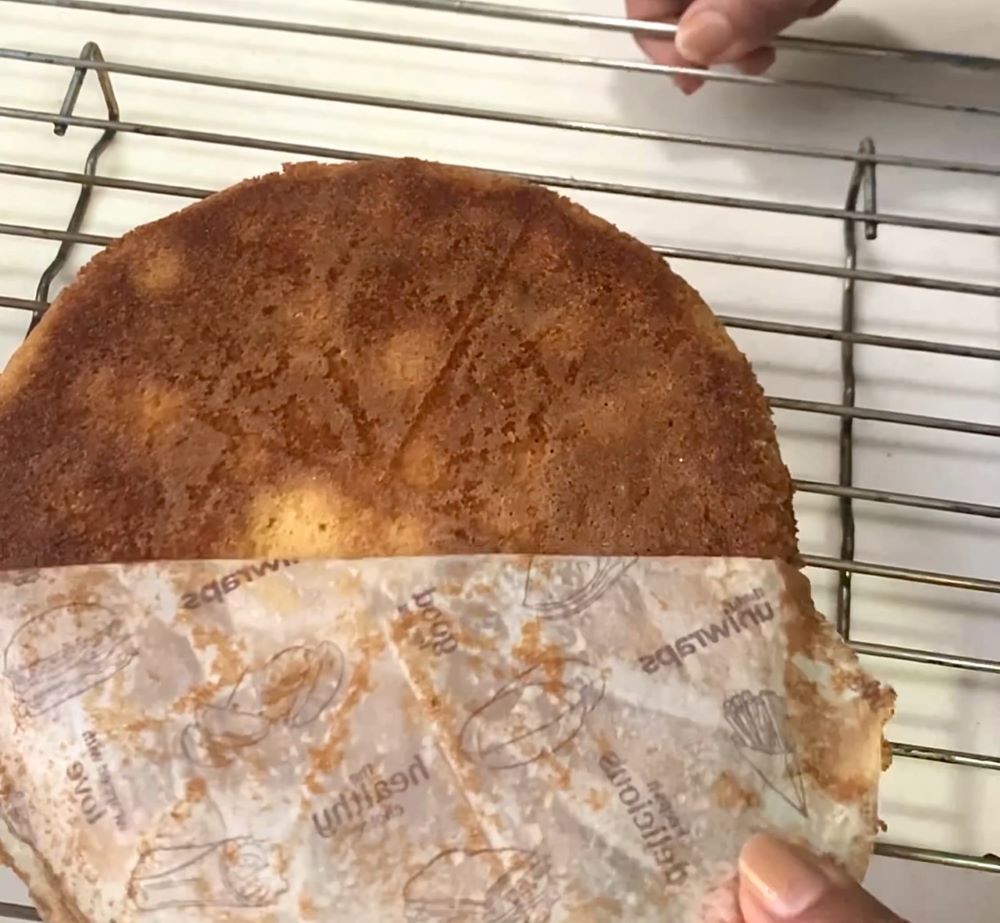
- Bake at 175°C / 350°F until the edges set and tops are faintly matte—usually 9–11 minutes.
- Rest on the sheet for 5 minutes before moving to a rack; they finish cooking to that soft-chewy sweet spot.
And yes—this single bowl of dough is your on-ramp to all three variations below.
Also Read: Baked Jalapeño Poppers (Oven) — Time, Temp & Bacon Tips
Ingredient Notes You’ll Actually Use
Because small choices make big differences, here are the handful that matter—nothing fussy, just reality-tested tweaks that improve your peanut butter cookies recipe immediately.
Peanut butter: natural, no-stir, or homemade?
- No-stir (emulsified) peanut butter is drama-free: it mixes evenly and bakes dependably. If a batter tends to feel sandy or seize when you add chips or cocoa, emulsified PB helps. See this walkthrough on baking with emulsified PB for texture reasons and examples.
- Natural PB (peanuts, maybe salt) brings bold peanut flavor. If the jar has separated, stir thoroughly. When using it in cookie dough, a 15–30 minute chill tightens the fat matrix and helps control spread. If you want to minimize separation in your everyday jar, this test-driven guide is handy: how to prevent nut butter separation.
- DIY PB gives you total control. If you prefer a short, clean ingredient list, whip up homemade peanut butter and season it to taste.
Flour, mixing, and that just-right bake
The most common cause of crumbly PB cookies is too much flour or overbaking. Use the spoon-and-level method (or weigh flour), stop mixing once the last streak disappears, and remove the cookies when their edges set but centers still look soft. King Arthur’s classic method is an excellent cue card for timing and texture checks.
Storage and food-safety basics
Baked cookies keep well in an airtight tin at room temp. Dough is a little different: the USDA suggests 2–4 days in the fridge and about 2 months in the freezer for homemade cookie dough. If you love prep-ahead baking days, portion dough balls, freeze solid on a tray, then bag and label: cookie dough storage guidelines. If you’re wondering about peanut butter itself (pantry vs. fridge), here’s a practical explainer on storage differences between conventional and natural styles: does peanut go bad?
Also Read: How to Make Churros (Authentic + Easy Recipe)
Classic Peanut Butter Cookies Recipe (Primary Method)
Because clarity is kindness, here’s the base peanut butter cookies recipe laid out cleanly, ready to riff.
You’ll need
- ½ cup (113g) unsalted butter, softened
- ½ cup (120g) creamy peanut butter (no-stir recommended for most consistent texture)
- ½ cup (100g) granulated sugar
- ½ cup (110g) light brown sugar, packed
- 1 large egg (room temperature)
- 1 teaspoon vanilla extract
- 1¼ cups (150g) all-purpose flour
- ½ teaspoon baking soda
- ¼ teaspoon baking powder
- ¼ teaspoon fine salt
Step-by-step
- Preheat oven to 175°C / 350°F. Line two baking sheets.
- Cream butter, peanut butter, and both sugars on medium speed for 2–3 minutes, until pale and slightly fluffy.
- Beat in egg and vanilla until glossy and smooth.
- Whisk flour, baking soda, baking powder, and salt; fold into the wet ingredients just until combined.
- Scoop 1 to 1½ tablespoons of dough per cookie. Optionally roll in granulated sugar. Place on trays with space to spread.
- Crosshatch each ball lightly with a fork (two perpendicular presses). Flatten to roughly 1 cm thickness.
- Bake 9–11 minutes until edges are set and tops look just dry.
- Cool on the tray for 5 minutes, then move to a rack. Enjoy when fully set (they’ll be extra soft while warm).
Make it yours, gently: For thicker cookies, chill 30–60 minutes before baking. For slightly crisp edges, extend the bake by 30–60 seconds. For heightened peanut flavor, use salted PB and reduce added salt a touch.
Also Read: Green Tea Shot with Jameson | Recipe & 10 Variations
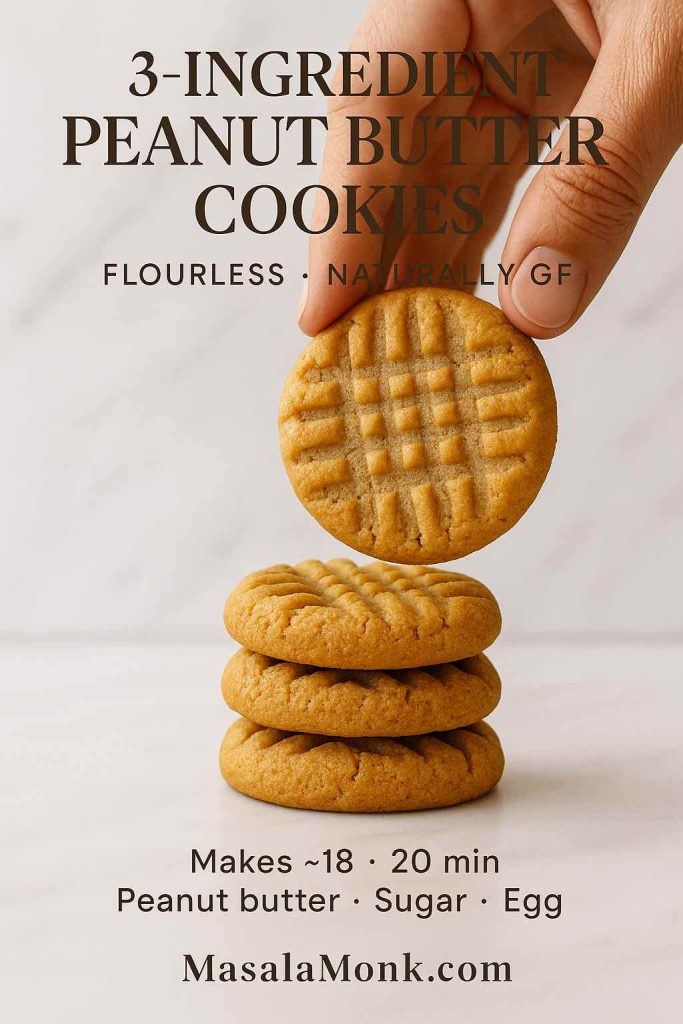
3-Ingredient Peanut Butter Cookies (Flourless, Naturally GF)
Sometimes you want cookies now. Not in an hour—now. This minimalist peanut butter cookies recipe uses just three ingredients, and yet it nails the essential soft-chewy PB experience. Because there’s no flour, these stay naturally gluten-free with clean, bold peanut flavor.
What goes in
- 1 cup (250g) creamy peanut butter (no-stir is the safest choice here)
- ¾ cup (150g) granulated sugar (or ½ cup granulated + 2 Tbsp brown for deeper chew)
- 1 large egg
What to do
- Heat oven to 175°C / 350°F and line a tray.
- Stir peanut butter, sugar, and egg until glossy and cohesive; the dough will thicken as you stir.
- Scoop 1-tablespoon portions, crosshatch lightly, and bake 8–10 minutes until edges set.
- Cool fully before lifting—flourless cookies are delicate when hot but turn fudgy as they set.
If you prefer a flour-based gluten-free option that mimics the classic’s crumb more closely, you can adapt ratios from gluten-free peanut butter cookies, which use a GF blend or self-rising flour for lift and bite.
Also Read: Vegan French Toast: 6 Easy Recipes (Pan, Air Fryer, GF & High-Protein)
Peanut Butter Chocolate Chip Cookies (Simple Add-In, Big Payoff)
On some days, a little chocolate turns good into irresistible. Happily, you don’t need a separate peanut butter cookies recipe for this: the classic dough above is sturdy enough to carry chips without turning greasy or fragile—especially if you used a no-stir PB or thoroughly mixed natural PB.
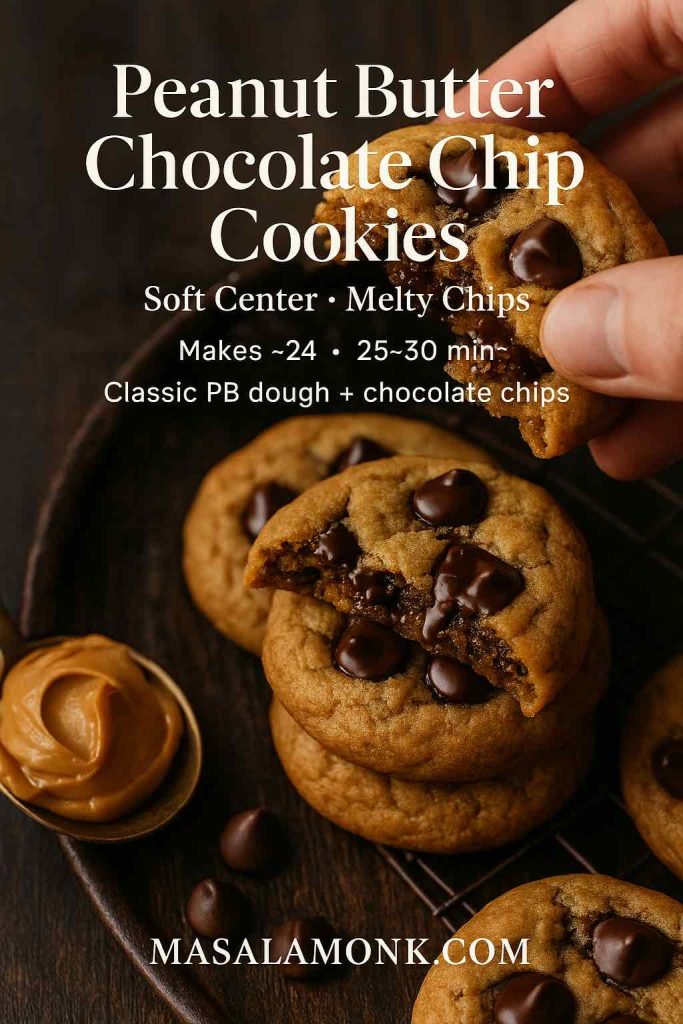
How to adapt the base
- Mix-in: Fold 1 to 1½ cups chocolate chips into the finished classic dough.
- Scoop & bake as usual—same crosshatch, same time frame.
- Finish: If you like, dot a few extra chips on top right out of the oven for an artisanal look.
Because emulsified peanut butter blends seamlessly with butter, you’ll notice fewer sandy spots once chips are in the mix; if you’re curious about why that texture holds, this explainer is a good read: best PB for baking (why emulsifiers help).
Also Read: Béchamel Sauce for Lasagna: Classic, Vegan & Ricotta Sauce Recipe
Peanut Butter Oatmeal Cookies (Chewy, Hearty, Still Fast)
When you want a cookie that eats a bit like an afternoon snack, oats are your secret weapon. They add chew, fiber, and a warm cereal note that loves peanut butter. You can make this variation two ways—rolled oats for chew or quick oats for a softer, more uniform bite. If you’re deciding which bag to buy (or which jar to open), skim MasalaMonk’s practical explainer on oat types: guide to oats: types and differences and this compact refresher, oats vs oatmeal: what’s the difference?
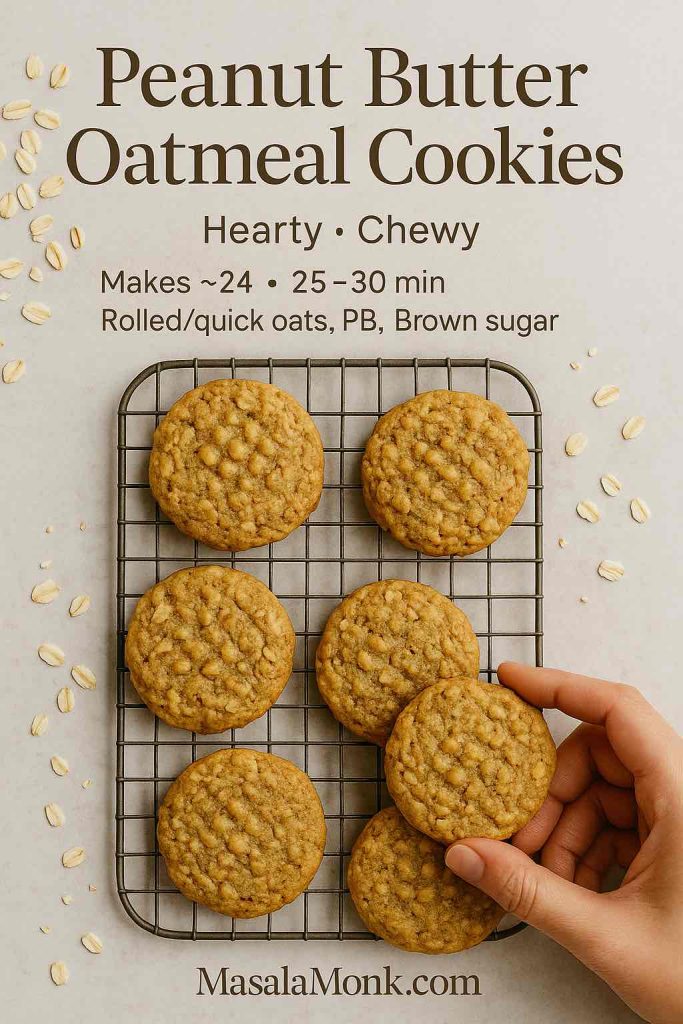
How to adapt the base
- Add: Fold 1 cup oats into the finished classic dough.
- Balance: If the dough seems stiff, splash in 1 tablespoon milk to keep the crumb tender.
- Choose your texture:
- Rolled (old-fashioned) oats → more chew and visible oat flakes.
- Quick oats → softer, more uniform crumb.
- Skip steel-cut for cookies; they stay too hard. See the why here: steel-cut vs rolled oats
Want to keep the oat momentum going during the week? Bake a tray of healthy oat cookies (no sugar, no butter) or tuck a pan of oat protein bars into the fridge for grab-and-go breakfasts.
Also Read: Crock Pot Lasagna Soup (Easy Base + Cozy Slow-Cooker Recipes)
Texture Tuning Peanut Butter Cookies: Softer, Chewier, Thicker
Because you’re the baker, you get to decide the cookie you want today. Here’s how to steer the same peanut butter cookies recipe toward different textures—without rewriting the ingredient list.
- Extra soft: Pull them at the first hint of set edges and let them finish on the tray.
- Chewier: Increase the brown sugar by 1–2 tablespoons and decrease white sugar by the same; brown sugar’s molasses boosts moisture retention.
- Thicker: Chill the portioned dough 30–60 minutes, then bake. Cold fat slows spread.
- Crispier edges: Bake 30–60 seconds longer and cool completely on a rack.
- Stronger peanut impact: Use salted PB or add a tiny pinch of fine salt to the dough.
If you’re using natural PB and want to minimize separation over time (both in the jar and in your batter), experiment with the methods in this separation-prevention test. It’s a small upstream fix that yields smoother creaming and more even crumb.
Also Read: Cottage Cheese Lasagna Recipe | Chicken, Spinach, & Ricotta
Ingredient Swaps That Actually Work
Yes, you can tweak things. No, you don’t have to guess. Use these swaps when your pantry is half full—or when you’re leaning toward a dietary preference.
- No brown sugar today? Use all white sugar and add 1 teaspoon honey or a drizzle of molasses for depth.
- No butter handy? Use the same weight of neutral oil; chill the dough 30 minutes to re-firm the fat for better edges.
- Egg-free mood? Make a flax egg (1 tablespoon ground flax + 3 tablespoons water; sit 5 minutes). Expect a touch more tenderness.
- Gluten-free route: Choose the 3-ingredient variation (naturally GF) or adapt a 1:1 GF flour blend following ratios like these GF PB cookies.
- Less sweet overall? Drop total sugar by 2 tablespoons in the classic; cookies will be slightly drier, so don’t overbake.
Also Read: How to Cook Bacon in the Oven (Crispy, No-Mess, Crowd-Ready Recipe)
The Pantry Question: Where to Store Peanut Butter and Dough
Because you’ll be baking this peanut butter cookies recipe more than once, it helps to know where everything should live between batches.
- Peanut butter storage: Conventional (stabilized) PB is pantry-friendly; natural PB benefits from the fridge to prevent rancidity. For a practical, no-alarm-bells overview of why, read does peanut butter go bad?
- Dough storage: Homemade cookie dough is happiest in an airtight container 2–4 days in the refrigerator or about 2 months in the freezer, per USDA guidance.
- Bake straight from frozen: Add 1–3 minutes to the baking time and watch the edges; no other changes needed.
Also Read: French Toast Sticks (Air Fryer + Oven Recipe) — Crispy Outside, Custardy Inside
Troubleshooting Peanut Butter Cookies Recipe
You don’t need a helpline; you just need a short list.
- Crumbly cookies: Usually too much flour or overbaking. Weigh flour if possible; pull the pan as soon as edges set.
- Greasy look after cooling: Either over-measured fat or natural PB with separation. Stir natural PB thoroughly and consider a short chill for the dough.
- Too thick, not spreading: Dough too cold or flour slightly high. Let portions warm a few minutes, or press the crosshatch a bit deeper.
- Dry bite: Over-baked by a minute or two. Next round, check a minute earlier; aim for matte tops but tender centers.
- Oat “hard bits”: Steel-cut oats will never soften fully in this bake; use rolled or quick oats instead. If you’re weighing options, skim rolled vs steel-cut before you scoop.
Also Read: 10 Best Chicken Sandwich Recipes (BBQ, Parm, Buffalo & More)
Variation Playbook: When and Why to Use Each One
Bake the classic when you’re feeding a mixed crowd and want predictable results with pantry ingredients.
Choose 3-ingredient when time is tight, gluten-free guests are coming, or you simply love the clean peanut punch.
Pick peanut butter chocolate chip if you’re sending a care package or want little bursts of chocolate in each bite.
Go peanut butter oatmeal when you’re after a sturdier afternoon snack that pairs well with tea or coffee.
If you wind up with extra oats, keep the baking train rolling with healthy oat cookies (no sugar, no butter) or stash oat protein bars for after-gym snacks. And if you’re feeling especially peanut-forward another day, King Arthur’s nostalgic peanut-butter-centered treats like Magic in the Middles pair beautifully with this dough’s flavor profile.
Your Baking Rhythm, Simplified
There’s an easy weekly cadence that turns this peanut butter cookies recipe into a stress-free habit:
- Sunday: Make a double batch of the classic dough; bake one tray for now, then portion the rest into balls and freeze.
- Midweek: On a busy evening, bake the 3-ingredient version while dinner rests—10 minutes of oven time and dessert is done.
- Friday: Turn leftover classic dough into peanut butter chocolate chip cookies with a quick handful of chips; same bake, instant variety.
- Weekend: Fold oats into the remaining dough to make peanut butter oatmeal cookies for a hike, a movie night, or a potluck.
Because the base is so forgiving—and because you now know exactly how to store dough and peanut butter safely (see cookie dough storage basics and PB storage pointers)—you can keep the rhythm without wasting a single scoop.
Also Read: 10 Best Espresso Martini Recipe Variations (Bar-Tested)
Classic + 3 Variations: Quick Reference for Peanut Butter Cookies
Classic Peanut Butter Cookies
Cream butter, PB, and sugars; beat in egg/vanilla; fold in dry; scoop, crosshatch, bake 9–11 minutes. Soft centers, lightly crisp edges. Use this classic method for timing and texture cues.
3-Ingredient (Flourless)
PB + sugar + egg. Stir, scoop, crosshatch, bake 8–10 minutes. Naturally GF, deeply peanutty. For a flour-based GF path, adapt this self-rising/GF framework.
Peanut Butter Chocolate Chip
Fold 1 to 1½ cups chips into the classic dough. Same scoop, same bake. For reliably smooth batters, see why emulsified PB helps.
Peanut Butter Oatmeal
Fold 1 cup oats into the classic dough (rolled for chew, quick for softness). If stiff, add 1 Tbsp milk. Skip steel-cut; they don’t soften enough—rolled vs steel-cut explained. Keep the oat theme going with healthy oat cookies or oat protein bars.
A Last Word Before You Preheat
Recipes are roadmaps, not handcuffs. Bake the classic once as written so you have a feel for texture and timing, then adjust—sweeter or less sweet, thicker or thinner, with or without oats, with chocolate or without. The goal is a peanut butter cookies recipe that feels like yours, not a script you’re afraid to edit.
And because a dependable source is a baker’s best friend, here are the few links you’ll probably return to most:
- Technique & ratios: Classic peanut butter cookies method
- Storage: Cookie dough fridge/freezer guidance and pantry vs fridge for PB
- Ingredients: Homemade peanut butter and oats 101
Now—scoop, crosshatch, bake. And if your first tray disappears while the second is still in the oven, well, that’s exactly how peanut butter cookie nights are supposed to go.
Also Read: 6 Wellness Shot Recipes to Boost Your Immune System
FAQs
1) What makes a peanut butter cookies recipe soft and chewy?
Soft, chewy results come from balanced fat and sugar, minimal mixing after flour goes in, and a brief bake. Moreover, pull the tray when edges just set; carryover heat finishes the centers without drying them out.
2) How do I keep peanut butter cookies from spreading too much?
First, chill portioned dough for 20–30 minutes if your kitchen is warm or you’re using natural peanut butter. Additionally, measure flour accurately and avoid over-creaming butter (too much air can cause excessive spread).
3) Can I use natural peanut butter in this peanut butter cookies recipe?
Yes. Nevertheless, stir it thoroughly to recombine oil and solids. For extra insurance, chill the dough briefly so the fat firms up, resulting in cleaner edges and better lift.
4) Why do we press the classic crosshatch on top?
The dough is dense; consequently, the crosshatch flattens it for even baking. It also signals the signature texture and helps achieve that crisp rim with a tender middle.
5) How do I make thicker peanut butter cookies without changing ingredients?
Simply chill scooped dough 30–60 minutes, then bake. Conversely, if you want thinner, slightly crisper cookies, skip chilling and press the crosshatch a bit deeper.
6) What’s the best sugar ratio for chew?
Light brown sugar adds moisture and chew; granulated provides structure. Furthermore, a small tilt toward brown sugar (by a tablespoon or two) deepens flavor without turning the cookie cakey.
7) Can I reduce the sweetness but keep texture?
Certainly. Reduce total sugar by 1–2 tablespoons; as a result, don’t extend bake time. Otherwise, they may lean dry. For balance, a tiny pinch of extra salt can sharpen the peanut flavor.
8) Do I need baking soda and baking powder, or just one?
Use both in small amounts. Soda encourages spread and browning; powder supports gentle lift. Similarly, combining them yields those classic crackles with soft interiors.
9) How do I prevent crumbly cookies?
Measure flour precisely and stop mixing once the flour disappears. Beyond that, avoid overbaking; even 30–60 seconds too long can make the texture sandy instead of fudgy.
10) Can I make a peanut butter cookies recipe without butter?
Absolutely. Substitute an equal weight of neutral oil. However, chill the dough afterwards so it doesn’t over-spread, and watch the final minute closely.
11) How do I adapt the recipe for gluten-free baking?
Two routes work well. First, the flourless 3-ingredient version is naturally gluten-free. Alternatively, a quality 1:1 gluten-free blend can replace all-purpose; nevertheless, mix gently to maintain tenderness.
12) What’s the simplest 3-ingredient version—and does it taste like the classic?
Peanut butter, sugar, and egg—stir, scoop, and bake. Notably, it’s peanut-forward and slightly denser. Even so, the chew is excellent when you avoid overbaking and let the cookies cool fully.
13) How can I make the flavor more peanut-forward?
Use salted peanut butter or add a small extra pinch of fine salt. Additionally, underbake by about 30 seconds for a creamier center that amplifies the peanut aroma.
14) What’s the ideal thickness before baking?
After scooping, press to about 1 cm with the crosshatch. Consequently, you’ll get even doneness: crisp rims, soft centers, and consistent texture across the batch.
15) Why did my cookies look greasy after cooling?
Oil separation in natural peanut butter or over-measured fat can cause sheen. Instead, stir natural peanut butter thoroughly and weigh ingredients; a short chill also helps stabilize the dough.
16) How do I keep edges crisp but centers soft?
Bake until edges turn just matte while centers still look slightly pale. Then, let the cookies rest on the sheet for 5 minutes. Ultimately, this sequence preserves the contrast you’re after.
17) Can I freeze the dough for later?
Yes—portion into balls, freeze on a tray, then bag. Additionally, bake straight from frozen and add 1–3 minutes, watching the edges rather than the clock.
18) What’s the best way to store baked cookies?
Airtight container at room temperature does the job. Conversely, if your climate is very humid, tuck a small piece of parchment between layers to discourage sticking.
19) How do I make egg-free peanut butter cookies?
Use a flax egg (1 tablespoon ground flax mixed with 3 tablespoons water, rested 5 minutes). Moreover, avoid overbaking, since egg-free doughs can firm up faster as they cool.
20) Can I add oats without drying the cookie?
Certainly. Fold in about 1 cup of oats per batch; if the dough feels stiff, add 1 tablespoon milk. Similarly, rolled oats give more chew, while quick oats create a softer, uniform crumb.
21) My cookies didn’t spread—what went wrong?
Likely the dough was too cold or flour ran high. Otherwise, the crosshatch press was too light. Let the scoops warm a few minutes or press slightly more before baking.
22) Does the peanut butter brand matter?
Not particularly; however, style does. Emulsified (no-stir) peanut butter is more predictable; natural works too, though it benefits from thorough stirring and a quick chill.
23) How can I boost aroma without extra sweetness?
Add ½ teaspoon vanilla and, if desired, a tiny pinch of espresso powder. Additionally, a light sprinkle of flaky salt after baking intensifies the peanut note without more sugar.
24) What oven rack and pan work best?
Middle rack with light-colored metal sheets promotes even browning. Meanwhile, line with parchment for consistent spread; dark trays brown faster, so shorten the bake slightly.
25) Can I double the peanut butter for stronger flavor?
Go cautiously. Increasing peanut butter too much can make cookies heavy and fragile. Instead, nudge flavor with a touch of salt, a hint more vanilla, and precise baking to keep centers plush.
26) How do I make small-batch peanut butter cookies?
Halve the ingredients. Furthermore, weigh everything for accuracy; smaller batches are less forgiving, and precise measurements keep texture identical to the full recipe.
27) What’s the best way to get uniform cookies?
Use a #40 or #50 scoop for even portions. Consequently, the batch bakes consistently, and every cookie finishes at the same moment.
28) Can I make a dairy-free peanut butter cookies recipe?
Yes—swap butter for equal weight of dairy-free baking sticks or neutral oil. Additionally, chill dough to maintain shape, and keep an eye on the edges to avoid overbaking.
29) How do I avoid a sandy or gritty texture?
Cream thoroughly at the start, but stop once flour is added. Beyond that, ensure sugars dissolve slightly during creaming, and don’t skip the brief rest on the tray after baking.
30) What’s the simplest way to refresh day-old cookies?
Warm a few on a tray at 150°C / 300°F for 3–4 minutes. As a result, the edges regain delicate crispness while the centers relax back to chewy.