Lemon pepper chicken should feel easy before you even start cooking: golden chicken, fresh lemon, cracked pepper, and a buttery pan sauce you can spoon over rice, potatoes, pasta, or vegetables. It should taste lively without being sour, peppery without being harsh, and tender enough that chicken breast does not feel like the boring part of dinner.
The usual problems are familiar: thick chicken dries out, bottled lemon pepper can be salty, and too much juice can make the sauce sharp. This version keeps the chicken thin, the seasoning flexible, and the lemon butter balanced.
It is especially useful when you have two chicken breasts, a bottle of lemon pepper seasoning, and no patience for another dry weeknight chicken dinner. When the skillet is right, the chicken picks up a light golden crust, the lemon zest smells fresh before the juice ever hits the pan, and the butter pulls the browned bits into a sauce that tastes bigger than the short ingredient list.
Quick Answer
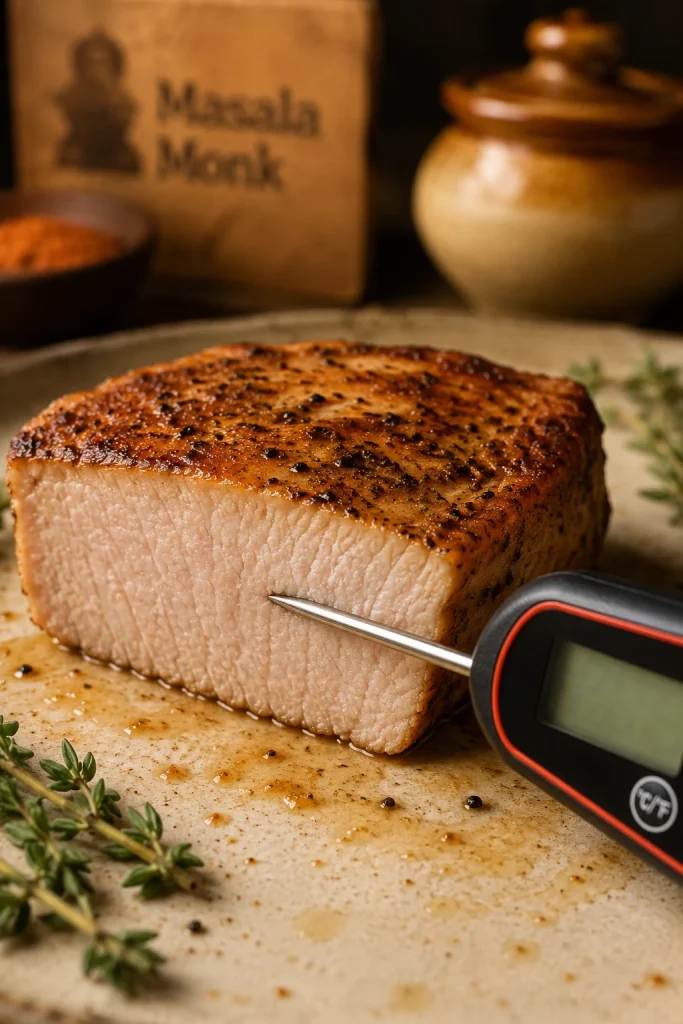
Lemon pepper chicken is made by seasoning thin chicken breast cutlets with lemon pepper seasoning, searing them until golden, and finishing them in a lemon butter pan sauce. The key is to use lemon zest for flavor, lemon juice for brightness, and cook chicken breast to 165°F / 74°C in the thickest part.
For the skillet version, slice 2 large chicken breasts into 4 thin cutlets, season them with lemon pepper seasoning, garlic powder, salt only as needed, and a light flour coating, then sear for about 3–5 minutes per side. The pan sauce comes together in the same skillet with butter, broth, lemon zest, and fresh lemon juice.
This recipe is built around the three fixes that matter most: thin chicken so it stays juicy, flexible salt because lemon pepper blends vary, and fresh zest so the lemon flavor tastes bright instead of sour. The point is not to make chicken fancy; it is to make it reliable: juicy, bright, buttery, and easy to serve with whatever is already in the kitchen.
Before You Start: 5 Details That Matter
A few small choices decide whether this tastes bright and tender or just like seasoned chicken.
| Chicken | 2 large breasts, sliced into 4 thin cutlets |
| Thickness | About 1.25 cm / 1/2 inch |
| Salt | Depends on your lemon pepper blend |
| Lemon | Zest for flavor, juice near the end |
| Doneness | 165°F / 74°C in the thickest part |

If you only remember one thing before cooking, remember this: thin chicken gives you room to get color without drying out the center.
Use the seasoning you already have; just taste or check the label before adding extra salt. Some bottled blends are mostly pepper and lemon. Others are salty enough that the chicken barely needs any added salt at all.
Lemon Pepper Chicken Recipe Card
Start here when dinner needs to happen now. This is the skillet version to make first: thin chicken cutlets, lemon pepper seasoning, a light flour coating, and a quick lemon butter finish made in the same pan.
| Recipe name | Lemon Pepper Chicken |
| Prep time | 10 minutes |
| Cook time | 15 minutes |
| Total time | 25 minutes |
| Servings | 4 |
| Yield | 4 thin chicken cutlets |
| Main method | Skillet |
| Internal temperature | 165°F / 74°C for chicken breast |
Equipment
You need a large 10–12 inch skillet, tongs, a shallow plate for coating, a fine grater for zest, and ideally an instant-read thermometer. A meat mallet or rolling pin helps even out thick spots.
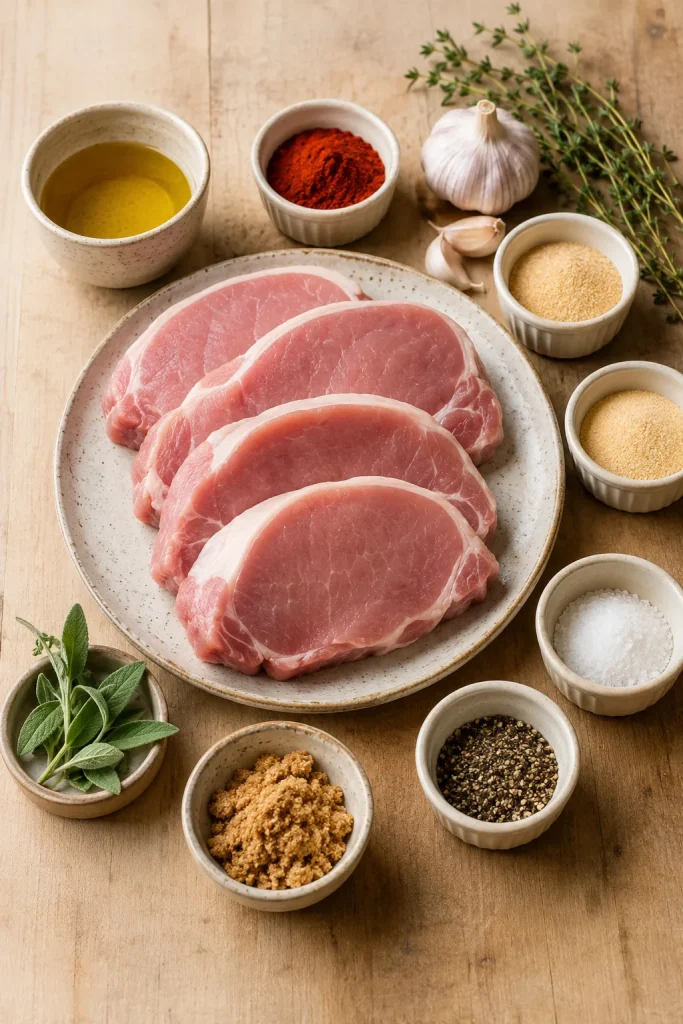
Ingredients
| Ingredient | Amount |
|---|---|
| Boneless skinless chicken breasts | 2 large, about 550–650 g / 1.2–1.4 lb total |
| All-purpose flour | 3 tablespoons / 24 g |
| Lemon pepper seasoning | 2 teaspoons / about 5–6 g, depending on brand |
| Garlic powder | 1/2 teaspoon |
| Fine salt | 1/4 to 1/2 teaspoon, depending on seasoning |
| Olive oil or neutral oil | 1 1/2 tablespoons / about 22 ml |
| Unsalted butter | 3 tablespoons / 42 g |
| Chicken broth or stock | 1/2 cup / 120 ml |
| Fresh lemon juice | 1 to 2 tablespoons / 15–30 ml |
| Lemon zest | 1 to 2 teaspoons |
| Fresh parsley, chopped | 1 to 2 tablespoons |
| Fresh garlic, optional | 1 clove, minced |
Before adding salt: Taste or check your lemon pepper seasoning. If it already tastes salty, start with 1/4 teaspoon extra salt or skip the added salt until the pan sauce is finished. Let the skillet juices do the balancing before you reach for more salt.
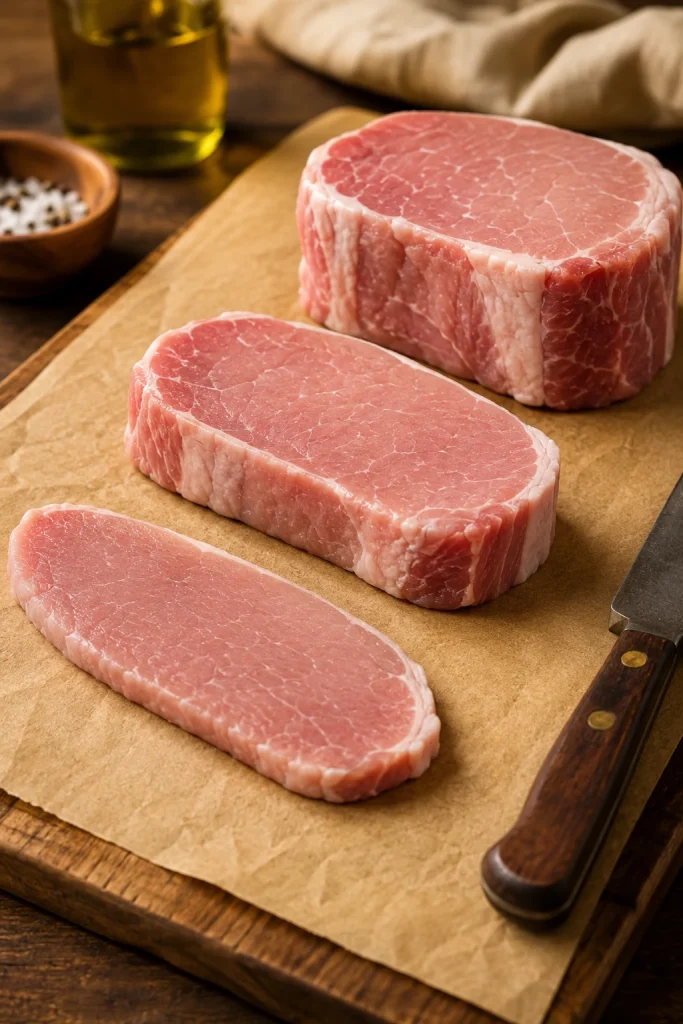
Instructions
- Slice the chicken. Place each breast flat on a board and slice horizontally into 2 thinner cutlets. Pound uneven spots to about 1.25 cm / 1/2 inch thick.
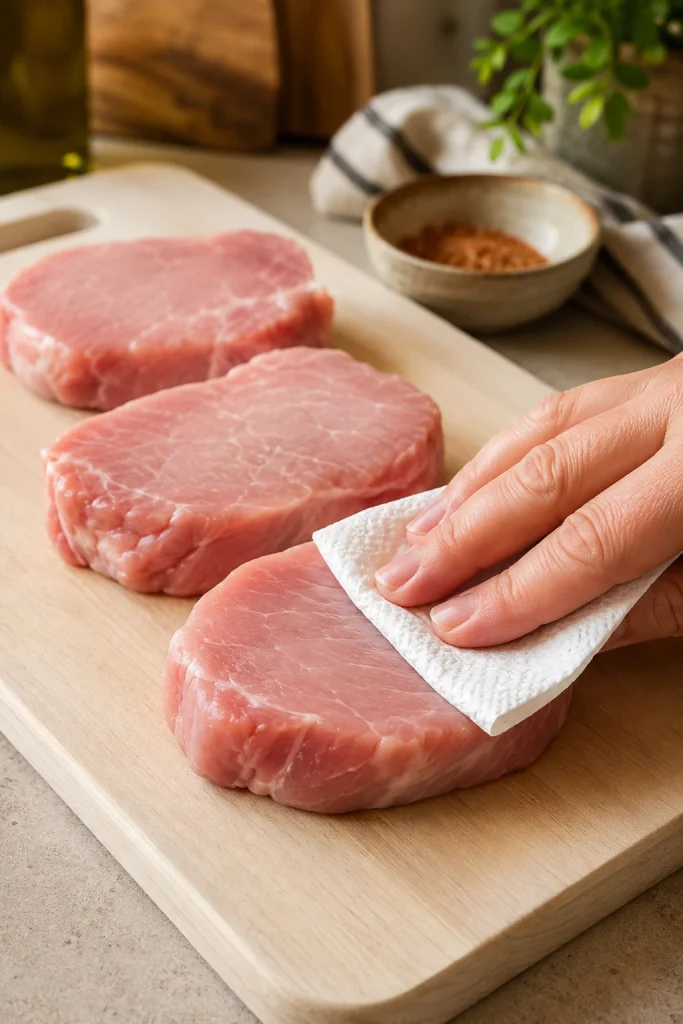
- Pat it dry. Use paper towels to remove surface moisture so the chicken browns better and holds seasoning evenly.
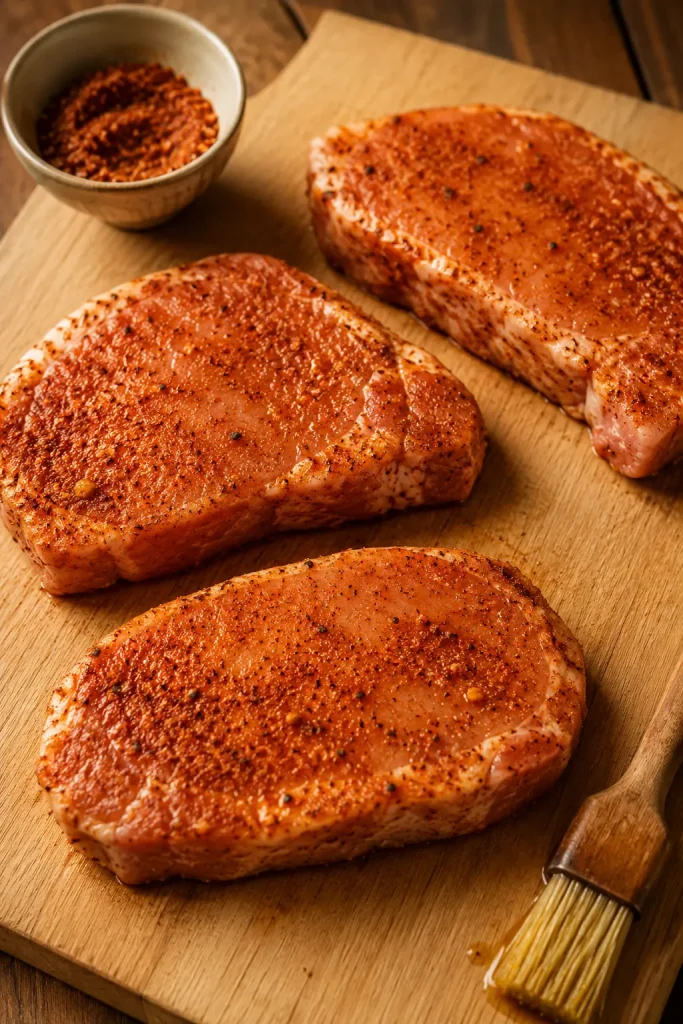
- Season the flour. In a shallow bowl or plate, mix the flour, lemon pepper seasoning, garlic powder, and salt.
- Coat lightly. Dredge each cutlet and shake off the excess. The coating should look thin and dusty, not thick or caked on.
- Sear until golden. Heat oil in a large skillet over medium to medium-high heat. Cook the cutlets in one layer for 3–5 minutes per side, until golden. Lower the heat if the coating colors too fast.
- Check the temperature. Test the thickest part before removing the chicken, or right after transferring it to a plate. It should read 165°F / 74°C.
- Start the pan finish. Lower the heat to medium, add butter, and stir in garlic, when using, for 20–30 seconds.
- Add broth and lemon. Pour in the broth, scrape up the browned bits, then stir in 1 tablespoon lemon juice and the zest. Simmer for 2–4 minutes, until glossy.
- Return the chicken. Add the cutlets back and spoon the lemon butter over the top. Warm gently instead of boiling hard.
- Finish and serve. Taste, then add more lemon juice, pepper, or salt only as needed. Sprinkle with parsley and serve warm.
Recipe Notes
- Large chicken breasts cook better when sliced into cutlets instead of cooked whole.
- Fresh lemon zest gives stronger lemon flavor than lemon juice alone.
- Use 1 tablespoon lemon juice for a softer sauce and 2 tablespoons for a sharper lemon finish.
- Broth and butter are the best way to bring a strong-tasting sauce back into balance.
- For a gluten-free version, use a light gluten-free flour blend.
- For a thinner coating, use 1 1/2 tablespoons cornstarch instead of flour, or skip the coating and reduce the sauce slightly longer.
Choosing another method? Jump to the oven, air fryer, thighs, and meal-prep options.
What Good Lemon Pepper Chicken Should Taste Like
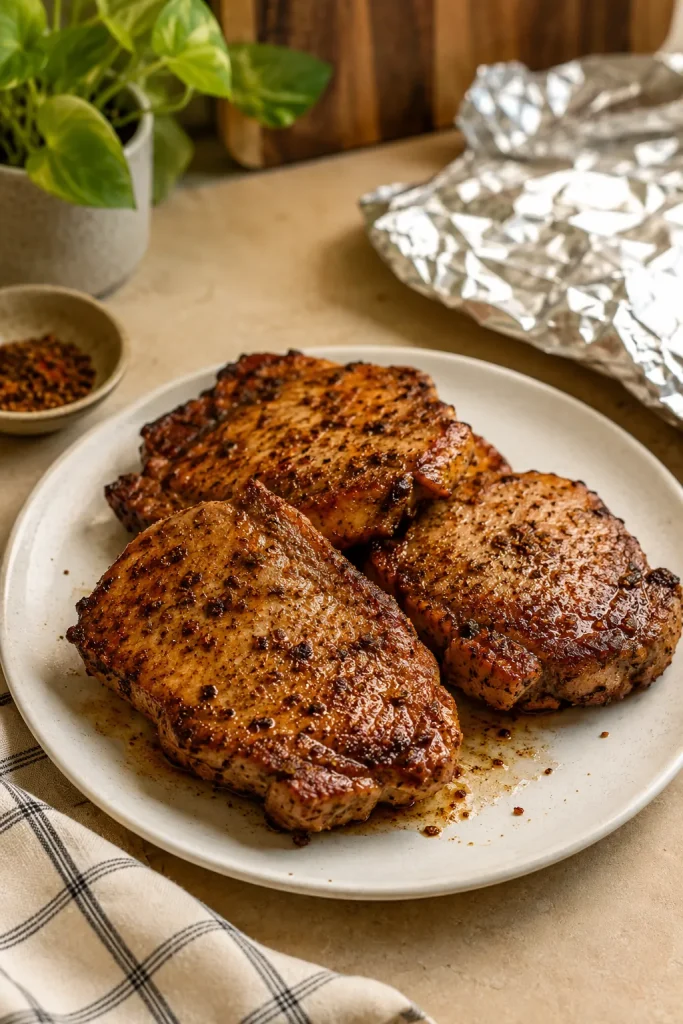
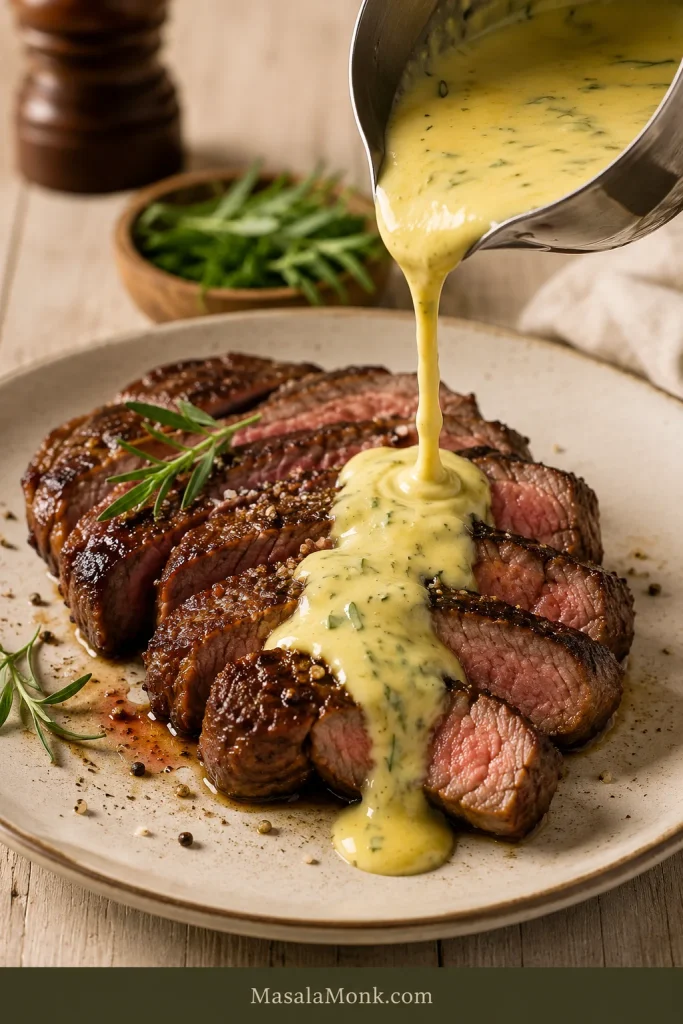
Good lemon pepper chicken should taste lemony before it tastes sour, peppery before it tastes hot, and buttery without feeling heavy. Ideally, the cutlets are golden outside, tender in the center, and lightly coated rather than buried under sauce.
A little lemon butter should remain in the pan for rice, potatoes, pasta, or vegetables. The best bite makes the side dish better too, as if it caught the same bright, buttery finish.

When the first bite tastes mostly salty, the bottled blend was probably too aggressive. A flat bite usually needs zest or a final squeeze of lemon. Sharpness, though, is better fixed with butter and broth than with more juice.
4 Small Details That Make or Break It
The recipe is simple, but these four choices decide whether it tastes bright and juicy or flat, salty, and dry.

| Detail | What Can Happen | How This Recipe Handles It |
|---|---|---|
| Chicken thickness | Thick pieces cook unevenly. | Slice into thin cutlets and check the internal temperature. |
| Seasoning strength | Bottled lemon pepper seasoning may already contain salt. | Add salt carefully and adjust after the sauce is made. |
| Lemon balance | Too much lemon juice can taste sharp. | Use zest for flavor and juice near the end. |
| Pan finish | Seasoned chicken can still feel plain. | Make a quick lemon butter pan sauce with broth and butter. |
Why This Recipe Works
This recipe treats the dish as a balance problem, not just a seasoning problem.
Cutting the chicken into thin cutlets gives you more surface area for browning and shortens the cooking time. The outside can turn golden before the inside dries out. A thin coating of seasoned flour helps the breast meat brown and gives the skillet juices just enough body to cling lightly.
Zest brings the lemon aroma, juice brings the bright finish, butter rounds out the pepper, and broth lifts the browned bits from the skillet. When the finish is right, it tastes peppery first, buttery in the middle, and fresh at the end.
By the time it turns glossy and the chicken goes back in, dinner should smell like lemon, browned butter, and pepper — not like a complicated project.
Choose Your Version
If this is your first time making it, stay with the skillet. It gives you the golden crust, the full lemon-butter finish, and the best pan flavor. Once you know that version, you can bend the same flavor toward the oven, air fryer, grill, or slow cooker depending on the night.

| Version | Best For | Key Tip |
|---|---|---|
| Skillet lemon pepper chicken | Fastest saucy dinner | Use thin cutlets and finish with lemon butter sauce. |
| Oven lemon pepper chicken | Hands-off cooking | Use evenly thick pieces and spoon sauce over after baking. |
| Air fryer lemon pepper chicken | Quick, low-mess cooking | Oil lightly so the coating does not stay floury. |
| Lemon pepper chicken breast | Lean weeknight dinner | Slice or pound evenly so the breast stays tender. |
| Lemon pepper chicken thighs | Juicier, more forgiving chicken | Cook a little longer for softer texture. |
| Grilled lemon pepper chicken | Smoky summer flavor | Use zest and oil in the marinade, then add lemon after cooking. |
| Slow cooker lemon pepper chicken | Meal prep, bowls, wraps, or shredding | Use less liquid than expected and brighten at the end. |
| Lemon pepper wings | Crispy party-style wings | Use a separate wings method for crisp skin. |
Looking for crispy lemon pepper wings instead of skillet chicken? Wings need a different method for crisp skin and a dry or wet wing sauce. Use this lemon pepper chicken wings recipe when wings are the plan.
Ingredients You Need
The ingredient list is short, and each item has a job, which makes substitutions easier.
Chicken
Boneless skinless chicken breasts are quick, lean, and familiar. The key is to turn 2 large breasts into 4 thinner cutlets so they cook quickly and stay tender in the center.
Boneless thighs, bone-in thighs, or tenders also work. Thighs are juicier and more forgiving, while tenders are good for bowls, wraps, or kid-friendly dinners.
Lemon Pepper Seasoning
Lemon pepper seasoning gives the recipe its familiar flavor. Some blends are lemony and peppery with very little salt. Others are salty enough that you barely need any extra salt at all.
The bottle gives you the shortcut; the fresh zest makes it taste alive.
Fresh Lemon
Fresh lemon makes bottled seasoning taste brighter. The zest gives the strongest lemon aroma, while the juice adds tang to the pan finish. Avoid adding too much juice too early; it can turn sharp when it cooks down hard.
Butter, Broth, and Flour
Butter softens the pepper and acidity. Broth keeps the sauce spoonable and pulls flavor from the skillet. Flour gives the chicken a light coating, helps with browning, and gently thickens the pan sauce. Shake off the excess before cooking.
Salt-Control Guide
This is where many lemon pepper recipes go wrong. The label matters more than the measuring spoon because lemon pepper seasoning is not standardized. One brand may taste mostly like lemon peel and black pepper, while another may taste salty before it ever touches the chicken.

| Your Seasoning Tastes… | What to Do |
|---|---|
| Very salty | Skip the added salt in the coating. Adjust only after the sauce is finished. |
| Mild but salted | Use 1/4 teaspoon salt for 550–650 g chicken. |
| Salt-free | Use 1/2 teaspoon salt in the coating, then taste the sauce. |
| Sour or citric | Use less lemon juice and more lemon zest. |
| Weak or flat | Add fresh lemon zest and a little extra black pepper. |
| Very peppery | Use the lower amount of seasoning and soften the sauce with butter. |
Start with less salt when unsure. It is much easier to add a little salt to the finished sauce than to rescue chicken that is already too salty. Avoid adding more lemon as the first fix because acidity can make salt taste sharper.
Once the salt is under control, the lemon tastes brighter, the butter tastes rounder, and the chicken finally tastes like dinner instead of seasoning.
Seasoning already tastes too strong? Go to troubleshooting or check zest vs juice.
Bottled Seasoning or Homemade?
Bottled lemon pepper seasoning is completely fine for a weeknight. This recipe is written to work with bottled seasoning, not to shame it. The only catch is that every brand behaves a little differently, especially around salt and citric sharpness.
- Bottled lemon pepper seasoning: Fastest and easiest, but check the salt level.
- Salt-free lemon pepper: Gives more control, but you need to add salt separately.
- Homemade lemon pepper: Freshest lemon flavor, especially with fresh zest and cracked pepper.
- Lemon pepper marinade: Better for grilled or baked chicken than for the skillet cutlet method.
- Lemon butter pan sauce: The best finish for this skillet version.
Quick Homemade Lemon Pepper Blend
No bottled seasoning on hand? Mix a quick fresh blend for this recipe. It is not a shelf-stable pantry mix.
- 1 tablespoon fresh lemon zest
- 1 1/2 teaspoons cracked black pepper
- 1 teaspoon garlic powder
- 1/2 teaspoon fine salt
- 1/4 teaspoon onion powder, optional
- A tiny pinch of sugar, optional, to soften the lemon edge
This blend tastes fresher than many bottled seasonings, but the salt level depends on how much salt you add. Taste the sauce at the end and adjust from there.
Lemon Zest vs Lemon Juice
The simplest way to understand this recipe is this: use zest for lemon flavor and juice for brightness.
Lemon zest carries the fragrant oils from the outside of the lemon. It gives the chicken a strong lemon aroma without adding much acidity. Lemon juice gives the sauce its tang, but too much can make the dish sharp.

- Zest: Gives strong lemon aroma without extra sourness.
- Juice: Adds a fresh, tangy finish to the pan sauce.
- Lemon slices: Look good as garnish, but can turn mildly bitter if cooked too long.
- Bottled lemon juice: Works in a pinch, although fresh lemon tastes cleaner.
When zesting a lemon, remove only the yellow part. The white pith underneath can taste bitter. A microplane or fine grater makes this easier.
How to Keep Chicken Breast Juicy
Once the lemon flavor is balanced, the next job is texture. Chicken breast only tastes good here if it stays tender.
- Slice large breasts into cutlets. Thinner pieces cook faster.
- Pound uneven spots. Even thickness helps the whole piece finish at the same time.
- Pat the chicken dry. Dry chicken browns better than wet chicken.
- Use enough heat. A properly heated skillet gives color before the chicken overcooks.
- Do not crowd the pan. Crowding traps steam and makes the chicken pale.
- Use a thermometer. Pull chicken breast when it reaches 165°F / 74°C.
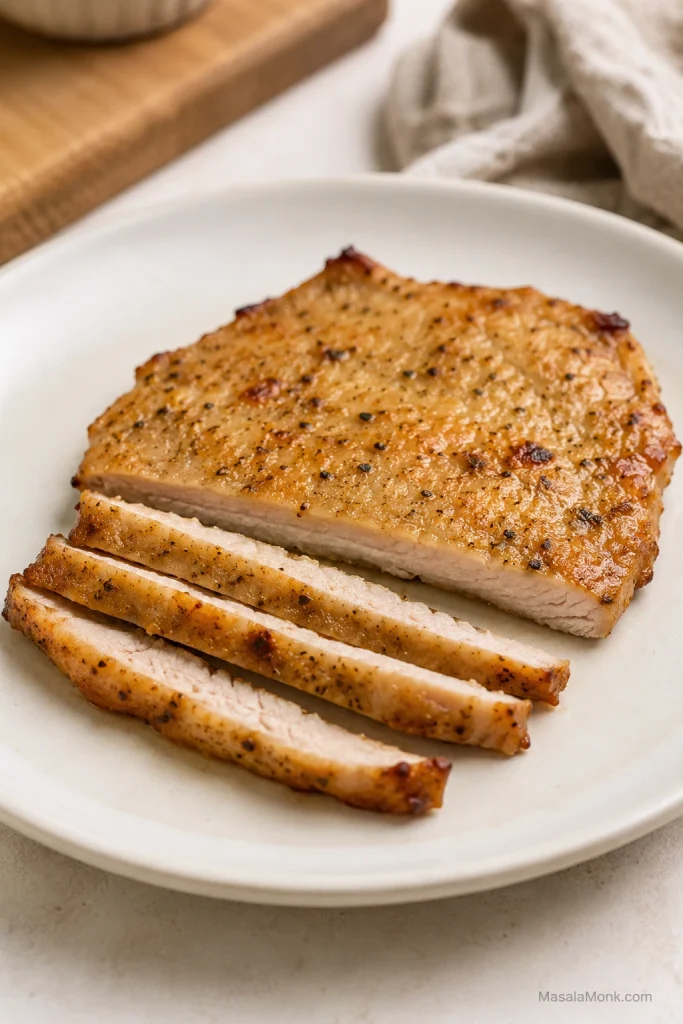
- Rest before slicing. Even a short rest helps the juices settle.
- Spoon lemon butter over the chicken. The glossy finish protects the meat and makes every bite feel moist.
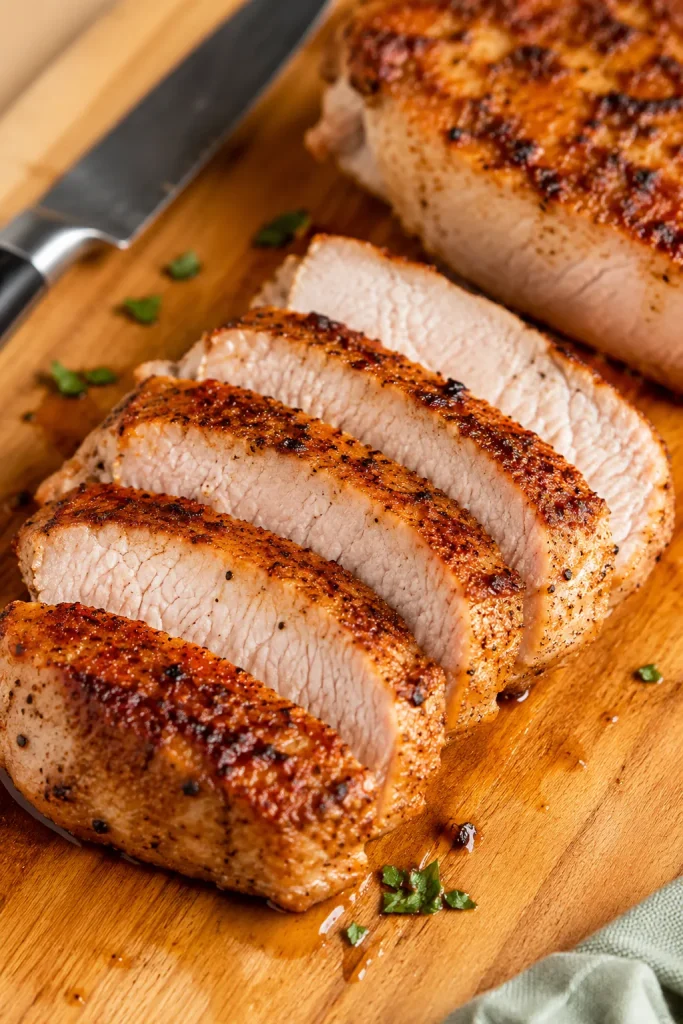
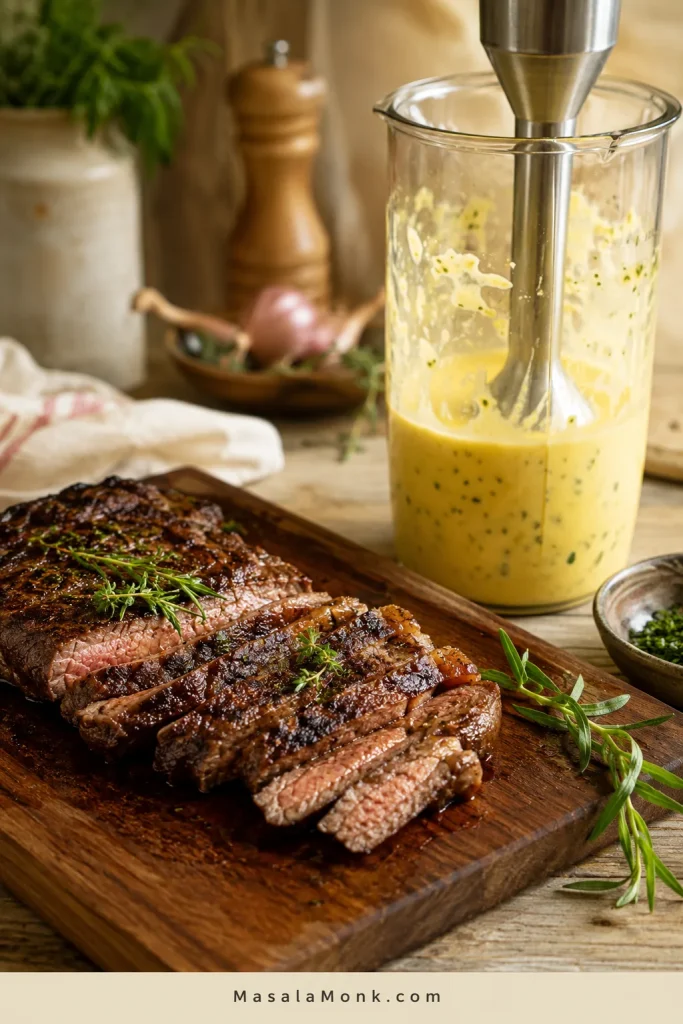
What Juicy Lemon Pepper Chicken Looks Like
The best visual cue is in the sliced center. Look for meat that is still moist, with a golden outside and just enough gloss to carry flavor.

The goal is chicken that slices cleanly and still looks moist, not chicken you have to hide under sauce.
That is the difference between chicken you eat because it is there and chicken people drag through the last spoonful of sauce.
Chicken breast giving you trouble in general? This baked chicken breast recipe goes deeper into thickness, timing, resting, and doneness so the meat stays juicy instead of chalky.
Ready for the pan? Jump to the cooking cues or check the time and temperature guide.
Step-by-Step Cooking Cues
The recipe card gives the steps. These are the little pan cues that tell you things are going right.
1. Cut the Chicken Into Thin Pieces
Place each chicken breast flat on a cutting board and slice it horizontally into two thinner cutlets. Pound thicker spots gently until the piece is even. The chicken does not need to be paper-thin; it just needs to cook evenly.

2. Season and Coat Lightly
Mix the flour, lemon pepper seasoning, garlic powder, and salt in a shallow bowl. Coat the chicken lightly and shake off the extra flour. The coating should look like a light dusting, not a batter.

3. Sear Until Golden
A steady sizzle is the goal. If the pan is too quiet, the chicken may steam; if it smokes hard, the coating can brown before the center finishes. Let the underside release easily before flipping, and lower the heat if the cutlets color too quickly.

When to Flip Lemon Pepper Chicken
The first side is done when it lifts cleanly with tongs and shows a golden underside. If it still sticks, give the crust another minute before turning.

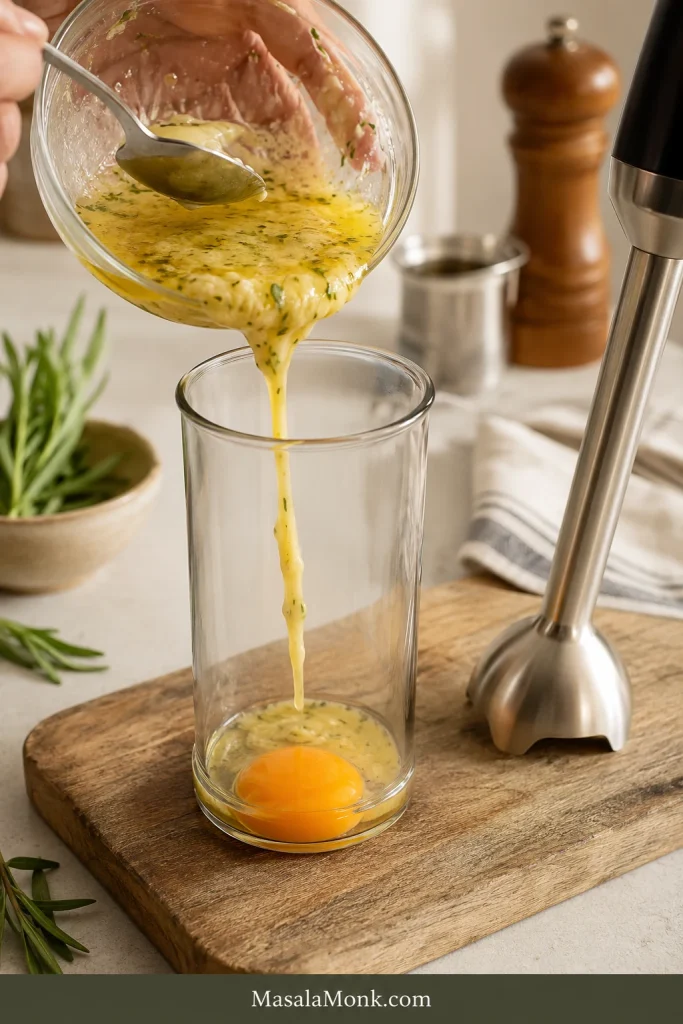
4. Make the Lemon Butter Pan Sauce
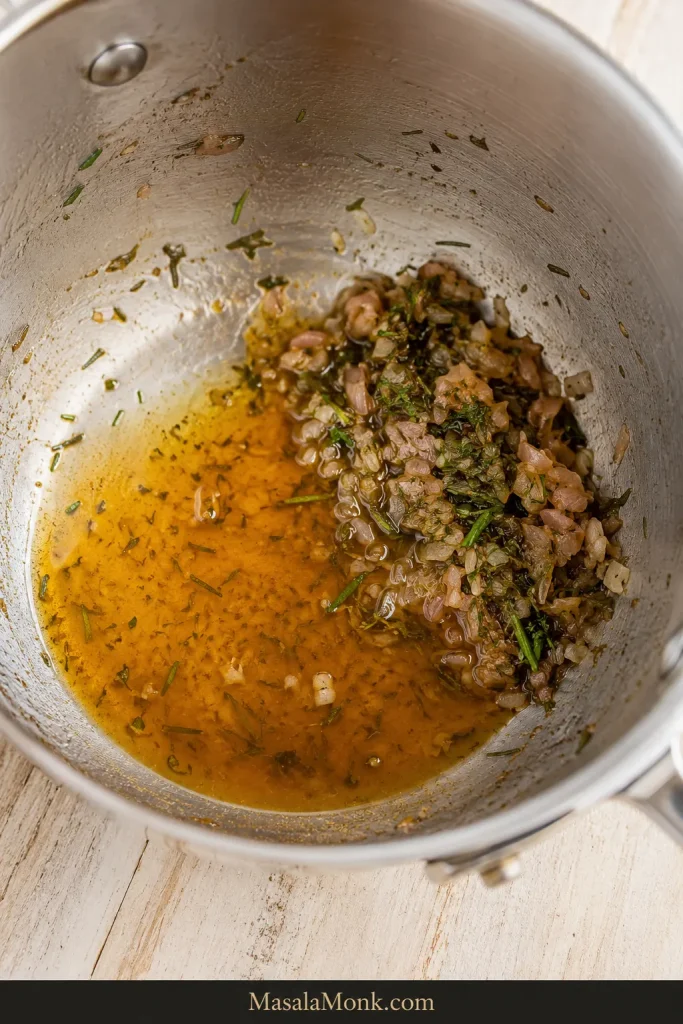
After the chicken comes out, let the pan calm down for a few seconds, then add butter. Stir in garlic when using, then add broth, lemon juice, and lemon zest. Scrape the bottom so the browned bits melt into the sauce.

5. Return the Chicken Gently
Add the chicken back to the skillet and spoon the sauce over the top. Taste before adding more lemon or salt. Boiling the cooked chicken hard can tighten the breast and take away tenderness.

Need exact timing? Use the time and temperature guide before switching methods.
Time and Temperature Guide
Use this table as a starting point, not a promise. Chicken thickness always wins over the clock. The clock helps, but the thermometer is what saves dinner. For the simplest food-safety rule, cook chicken to 165°F / 74°C in the thickest part.

| Method | Best Cut | Temperature | Approx Time | Internal Temp |
|---|---|---|---|---|
| Skillet cutlets | Breast cutlets, about 1.25 cm thick | Medium to medium-high | 3–5 min per side | 165°F / 74°C |
| Skillet thicker breast | Thicker breast pieces | Medium | 5–6 min per side, then check | 165°F / 74°C |
| Oven thin cutlets | Thin breast cutlets | 400°F / 204°C | 15–18 min | 165°F / 74°C |
| Oven medium breasts | 6–8 oz / 170–225 g breasts | 425°F / 218°C | 18–22 min | 165°F / 74°C |
| Oven large breasts | 9–10 oz / 255–285 g breasts | 425°F / 218°C | 22–26 min | 165°F / 74°C |
| Boneless thighs | Chicken thighs | Skillet or 400°F / 204°C oven | 22–28 min in oven | 165°F / 74°C safe, 175°F / 79°C for softer texture |
| Air fryer cutlets | Thin breast pieces | 375°F / 190°C | 10–14 min | 165°F / 74°C |
| Grilled breast | Chicken breast | Medium-high grill | 6–8 min per side | 165°F / 74°C |
Once you understand the skillet version, the rest is just choosing the method that fits your night. The next sections are quick adaptations, not separate full recipes.
Cooking another way? Jump to oven, air fryer, or chicken thighs.
Oven-Baked Lemon Pepper Chicken
Use the oven when you want the same flavor with less stove time. This is the oven version of the same recipe, not a separate full ingredient list. Thin cutlets usually take 15–18 minutes at 400°F / 204°C, while larger breasts usually take 18–26 minutes at 425°F / 218°C.
The oven cooks the chicken; a small pan makes the sauce. Bake the seasoned chicken until the thickest part reaches 165°F / 74°C, then spoon lemon butter sauce over the top after baking.

| Chicken Piece | Oven Temp | Approx Time |
|---|---|---|
| Thin breast cutlets | 400°F / 204°C | 15–18 minutes |
| Medium breasts, 6–8 oz / 170–225 g | 425°F / 218°C | 18–22 minutes |
| Large breasts, 9–10 oz / 255–285 g | 425°F / 218°C | 22–26 minutes |
| Boneless thighs | 400°F / 204°C | 22–28 minutes |
| Bone-in skin-on thighs | 400°F / 204°C | 35–45 minutes |
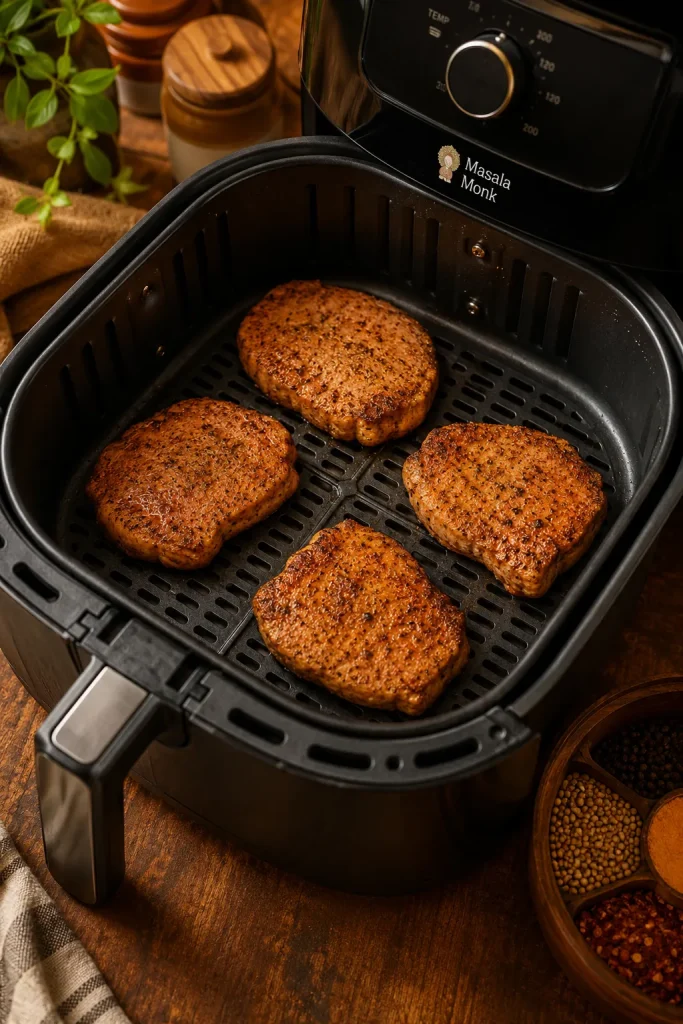
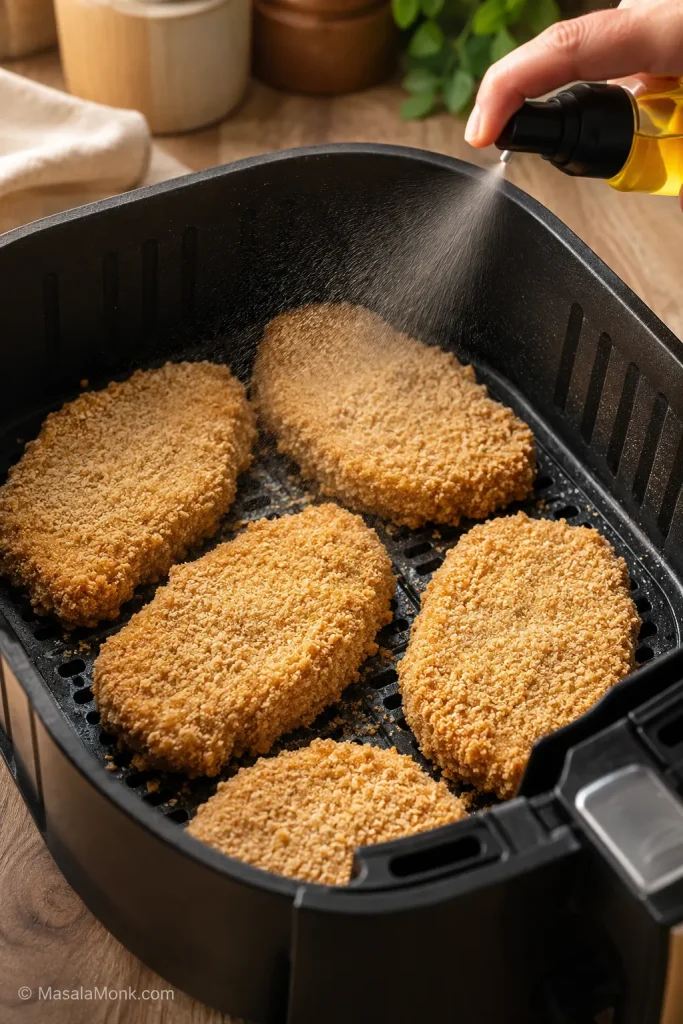
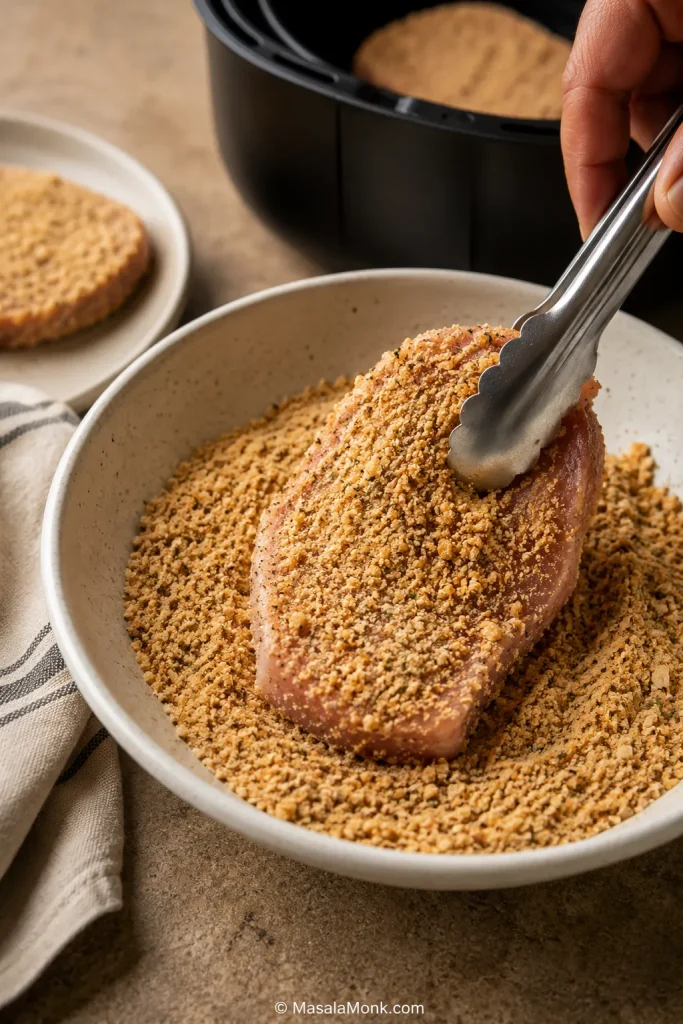
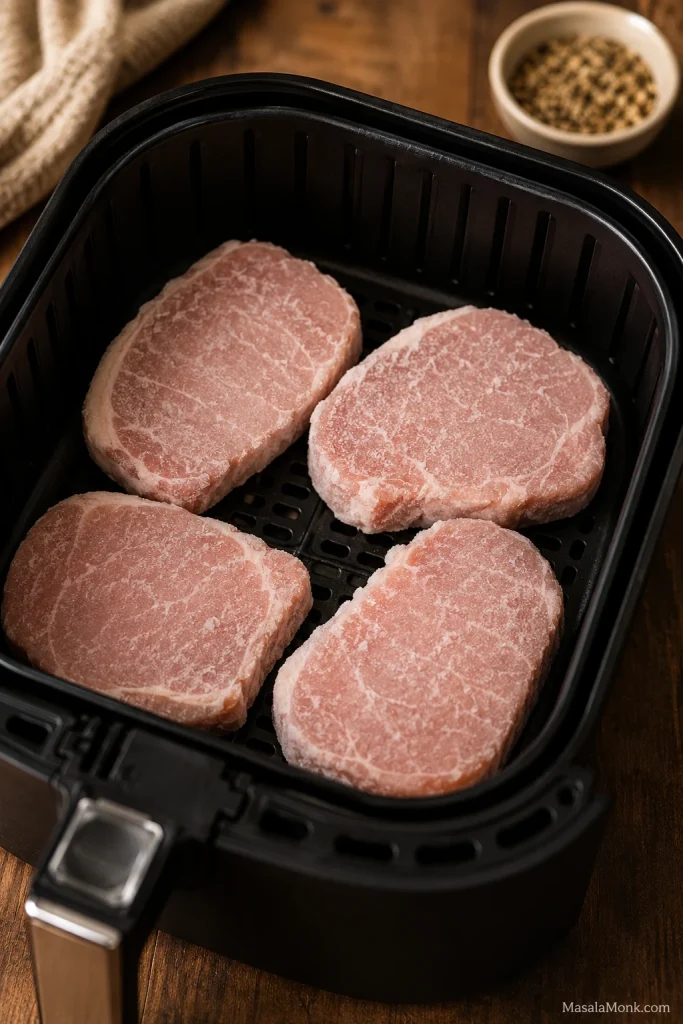
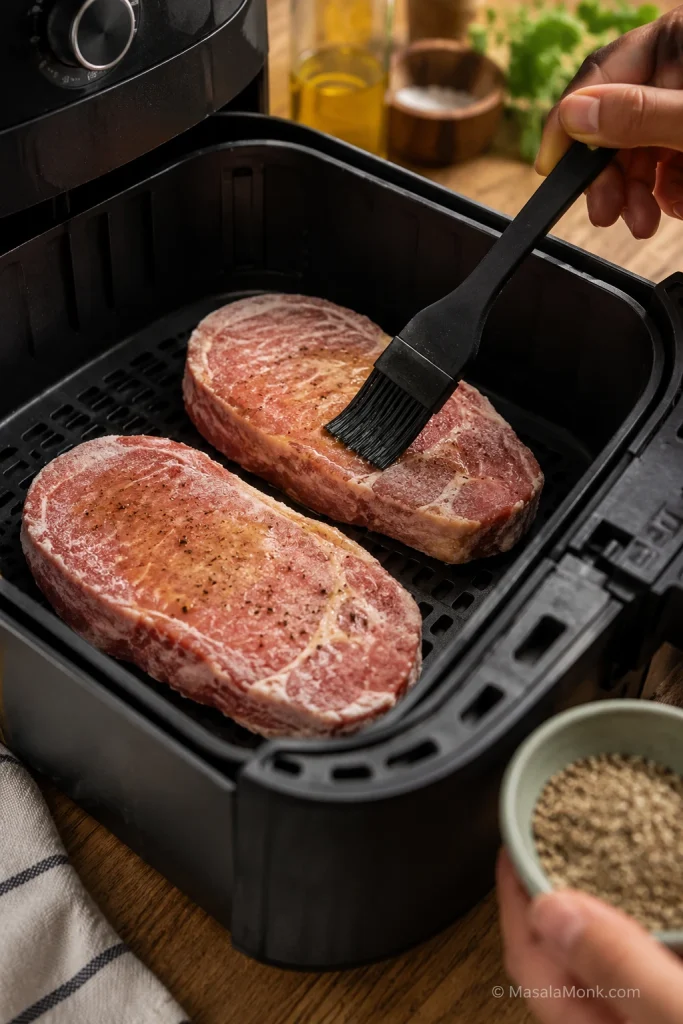
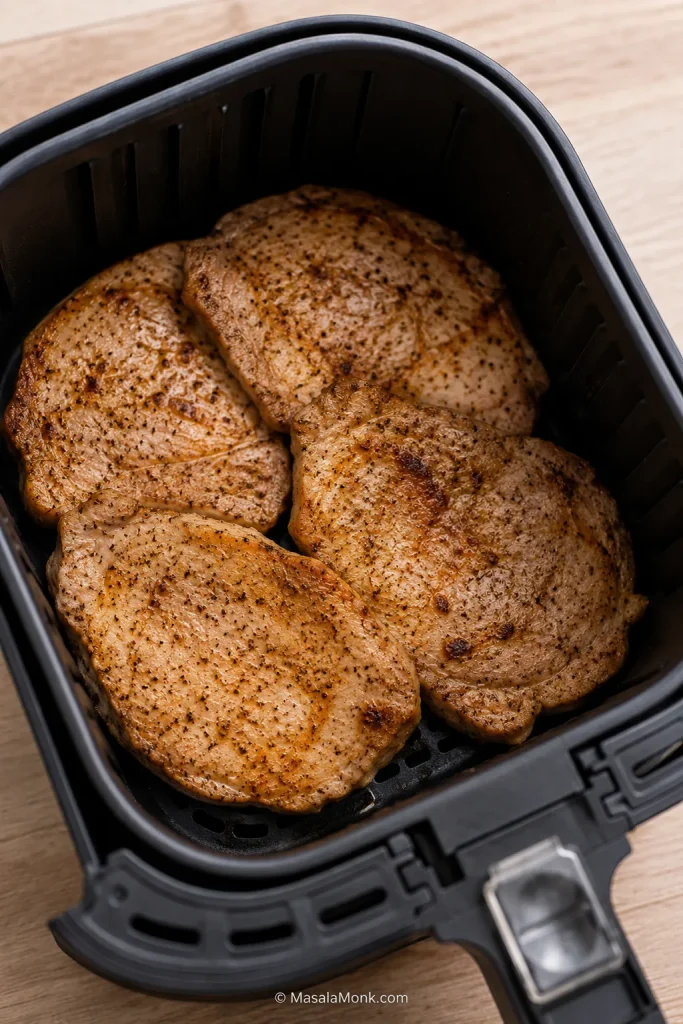
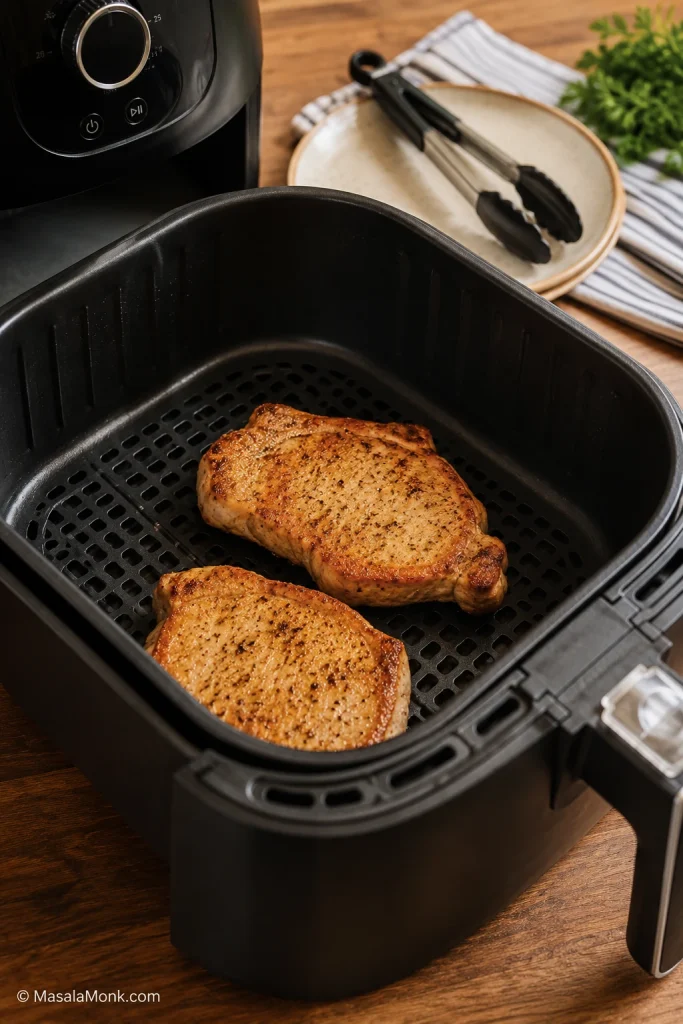
Air Fryer Lemon Pepper Chicken
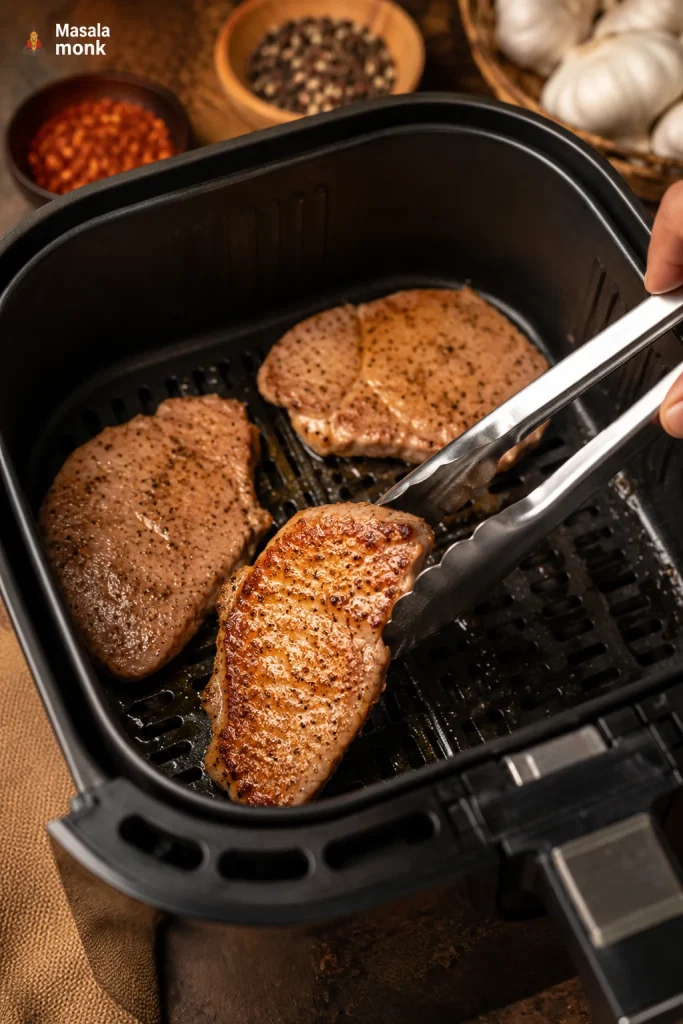
Use the air fryer when you want quick cutlets with less cleanup. Thin chicken breast pieces usually take 10–14 minutes at 375°F / 190°C. Tenders may cook faster, while thighs need a little more time.
Lightly oil the chicken, season it, and arrange it in a single layer. If using the flour coating, mist or brush the surface lightly with oil so no dry flour patches remain. Cook the chicken first, then spoon the sauce over it after it comes out.

| Cut | Air Fryer Temp | Approx Time |
|---|---|---|
| Thin chicken breast cutlets | 375°F / 190°C | 10–14 minutes |
| Chicken tenders | 375°F / 190°C | 8–12 minutes |
| Boneless thighs | 380°F / 193°C | 14–18 minutes |
| Bone-in thighs | 380°F / 193°C | 20–24 minutes |
Using Chicken Thighs
Chicken thighs are the more forgiving choice. They have more fat than chicken breasts, so they stay moist even when they cook a little longer.
Boneless thighs work well in a skillet or oven. Bone-in, skin-on thighs are better when you want crisp skin and deeper flavor. Chicken thighs are safe at 165°F / 74°C, but many cooks prefer the texture closer to 175°F / 79°C.

Using Tenders, Drumsticks, and Other Cuts
The seasoning can travel; the cooking method just has to fit the cut. This is useful when the chicken in your fridge is not the exact cut in the recipe.
| Chicken Cut | Best Approach | Quick Tip |
|---|---|---|
| Chicken tenders | Skillet or air fryer | Cook like small breast pieces and check early. |
| Chicken strips | Skillet or air fryer | Season lightly and add sauce after cooking. |
| Drumsticks | Oven or air fryer | Turn during cooking so the skin browns evenly. |
| Bone-in legs | Oven | Check temperature near the bone, not just the surface. |
| Wings | Air fryer, oven, or fried wing method | Use a separate wings recipe for crisp skin. |
Grilled Lemon Pepper Chicken
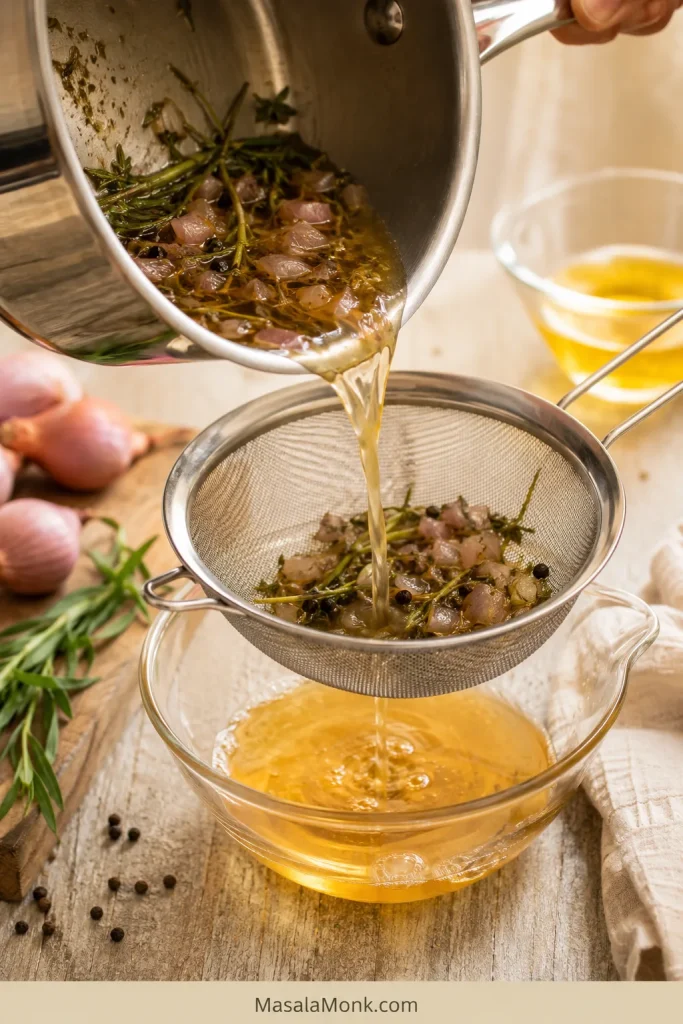
Grilling takes this in a lighter, smokier direction. Skip the flour coating and use a marinade instead: oil, lemon zest, lemon pepper seasoning, garlic, and a small amount of lemon juice.
Grill chicken breast over medium-high heat for about 6–8 minutes per side, depending on thickness, until it reaches 165°F / 74°C. Finish with a little butter, lemon zest, or fresh lemon juice so the flavor tastes lifted rather than flat.
Slow Cooker Lemon Pepper Chicken
The slow cooker is for meal prep days, not for the golden skillet finish. Use thighs when possible because they stay softer and shred more easily.
Add lemon pepper seasoning, a small amount of broth, garlic, and butter. Start checking around 3–4 hours on low for breasts and 4–5 hours for thighs. Add fresh lemon juice and zest near the end, and reduce watery sauce in a pan before serving. For more slow-cooker chicken ideas, use these crock pot chicken breast recipes as a meal-prep starting point.
Lemon Pepper Chicken Marinade
You do not need a marinade for the skillet recipe. Use this only when the chicken is going on the grill, into the oven, or into the air fryer.
For 550–650 g / 1.2–1.4 lb chicken, start with 3 tablespoons / 45 ml olive oil, 1–2 teaspoons lemon zest, 1–2 tablespoons / 15–30 ml lemon juice, and 2 teaspoons lemon pepper seasoning. Add 1–2 minced garlic cloves, then add salt only when your seasoning needs it. One teaspoon honey is optional for better browning and a rounder finish.
| Chicken Cut | Marinating Time |
|---|---|
| Boneless chicken breast | 30 minutes to 2 hours |
| Boneless thighs | 1 to 4 hours |
| Bone-in pieces | 2 to 8 hours |
| Very lemon-heavy marinade | Avoid overnight marinating |
Longer marinating works better with more zest, oil, garlic, and seasoning, and less lemon juice. Marinate chicken in the refrigerator, never on the counter. For safety, USDA FSIS notes poultry can be refrigerated in marinade for up to 2 days, but this lemon-heavy version tastes better with the shorter times above. See the USDA poultry marinating guidance for the safety side.
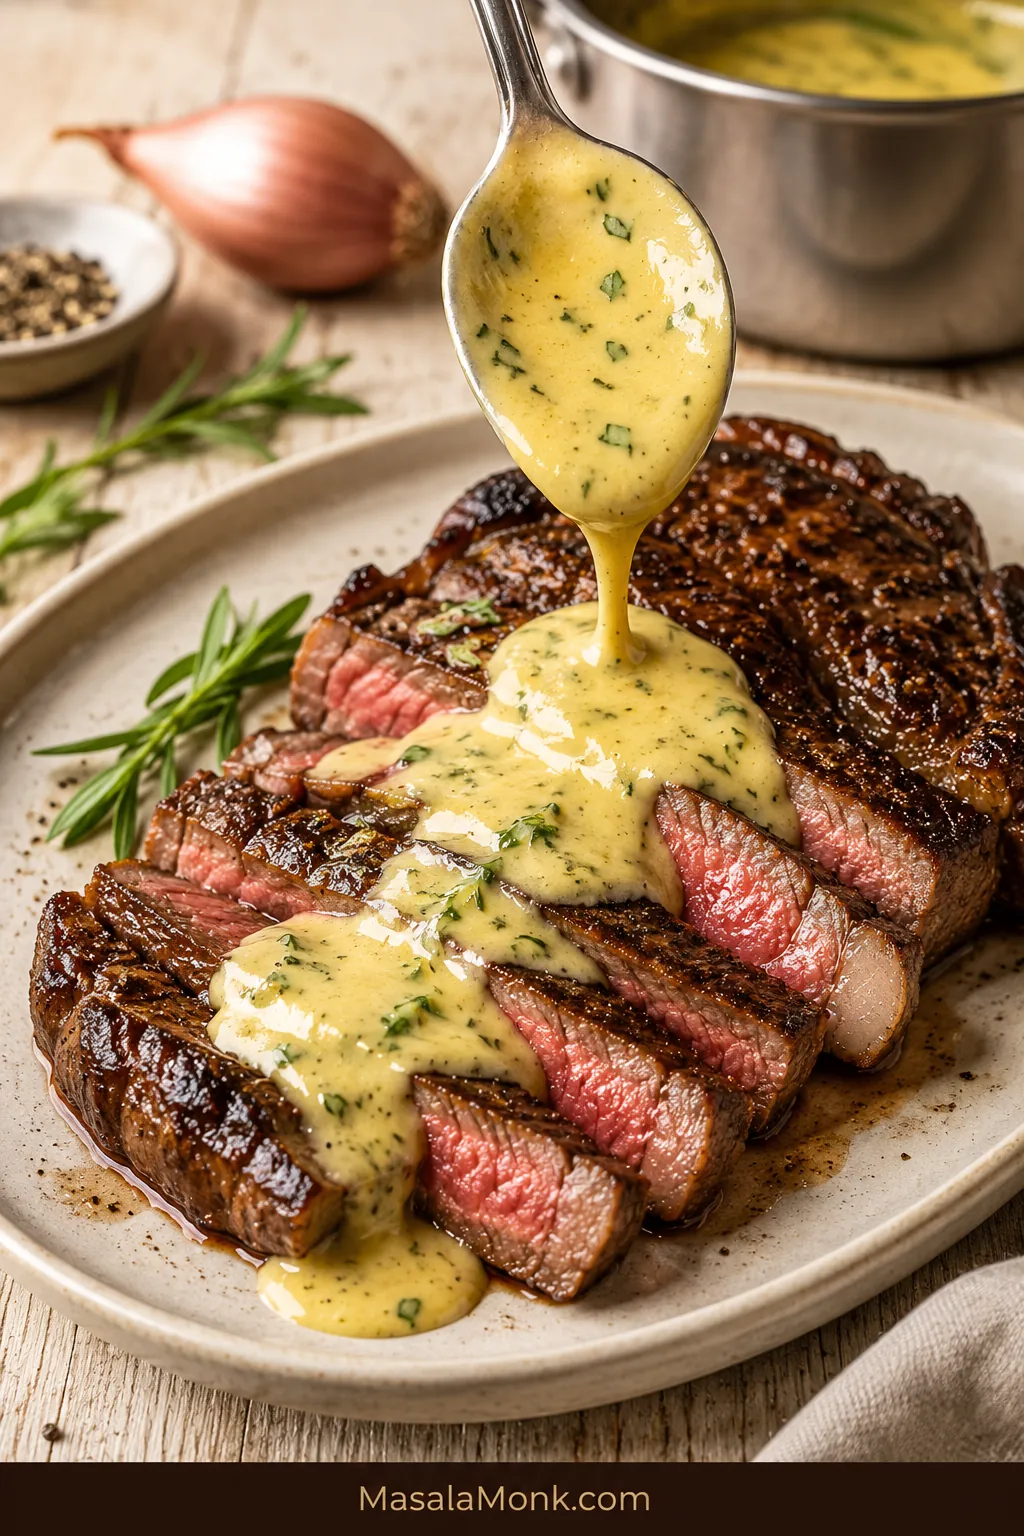
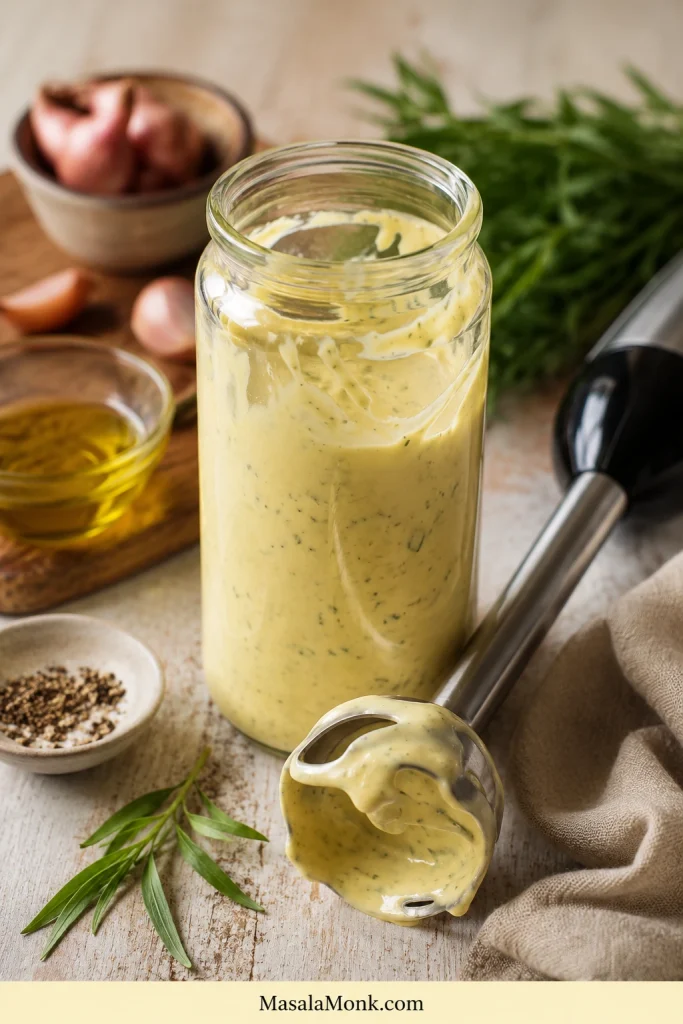
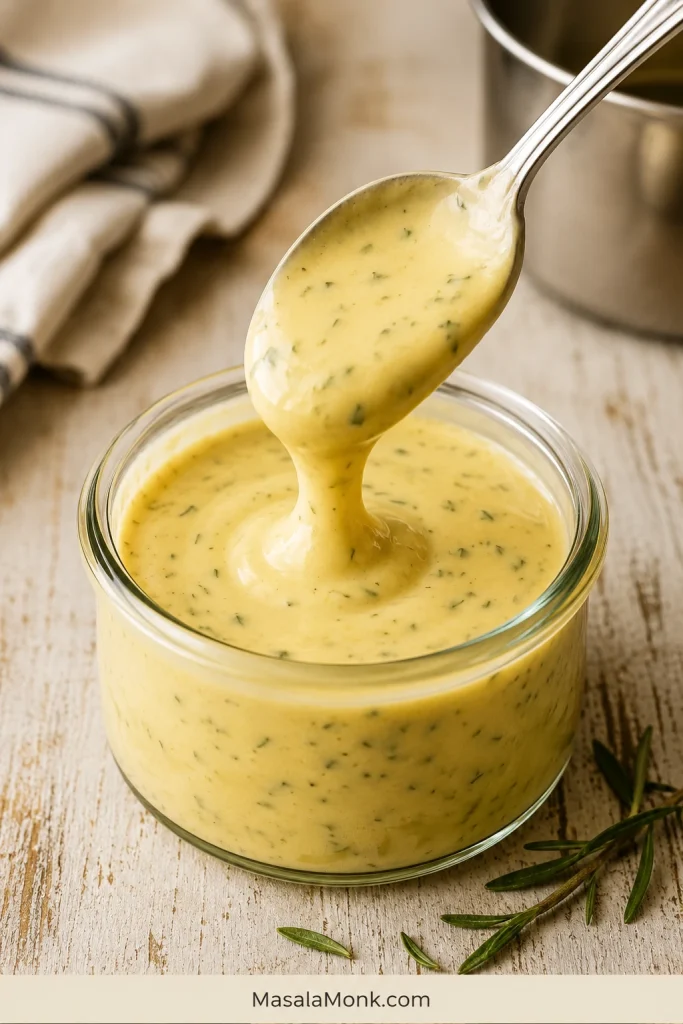
Lemon Butter Sauce for Chicken
The pan sauce is what turns this from seasoned chicken into dinner. Without it, the chicken can taste dry, salty, or one-dimensional. With it, the chicken becomes glossy, fresh, and easy to serve with almost anything.
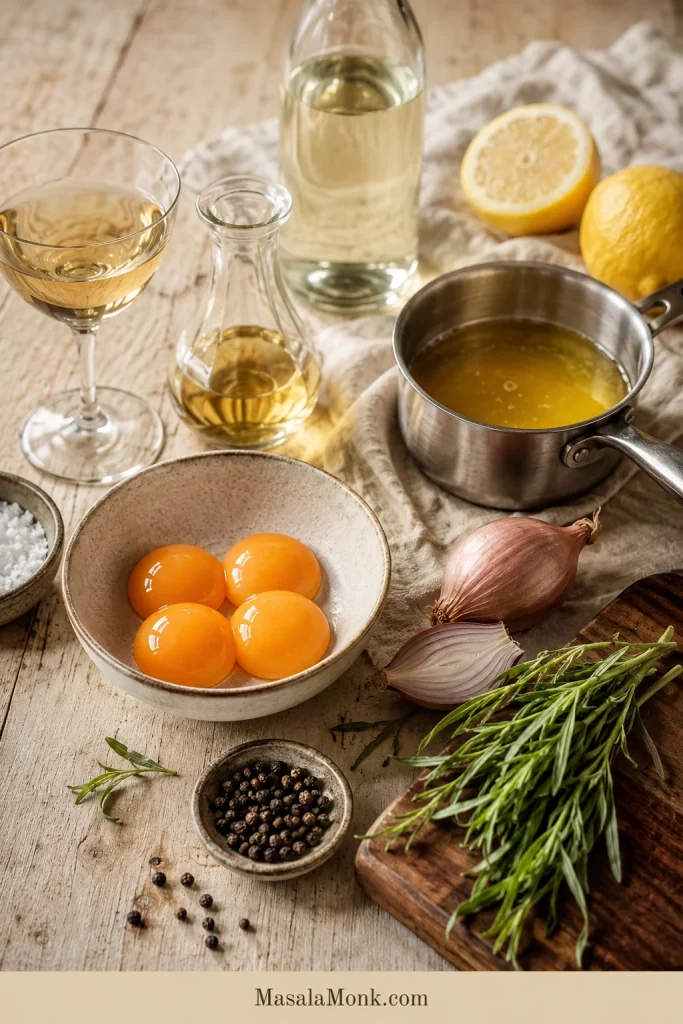
- Butter: 3 tablespoons / 42 g, to round out the lemon and pepper.
- Chicken broth: 1/2 cup / 120 ml, to lift the browned bits and keep the sauce spoonable.
- Lemon juice: 1–2 tablespoons / 15–30 ml, for brightness.
- Lemon zest: 1–2 teaspoons, for clean lemon aroma.
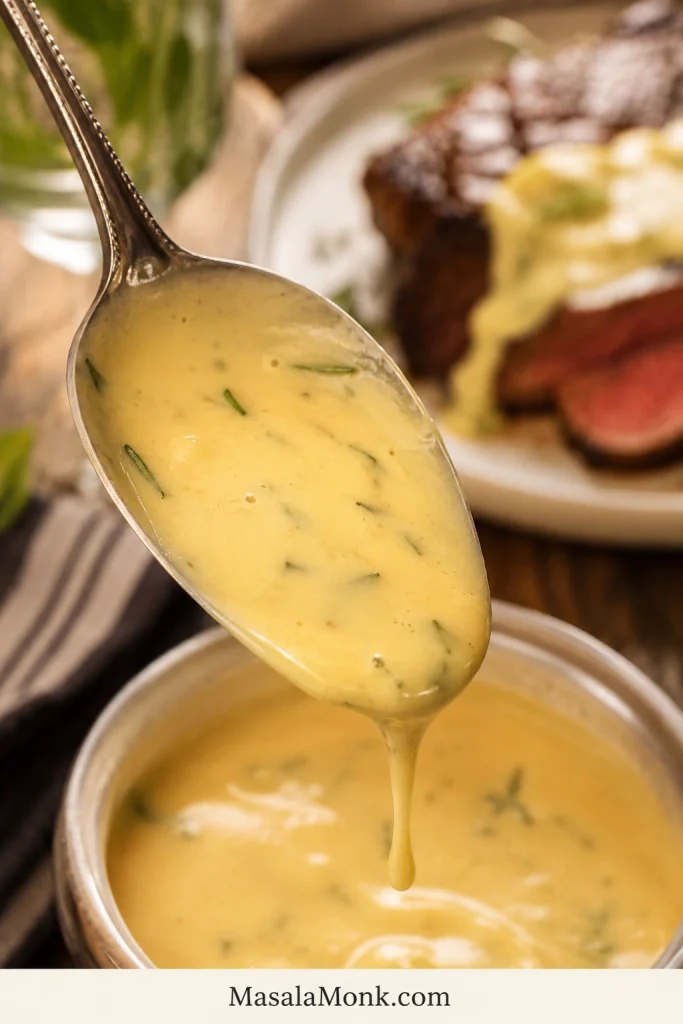
- Parsley: 1–2 tablespoons, for freshness and color.
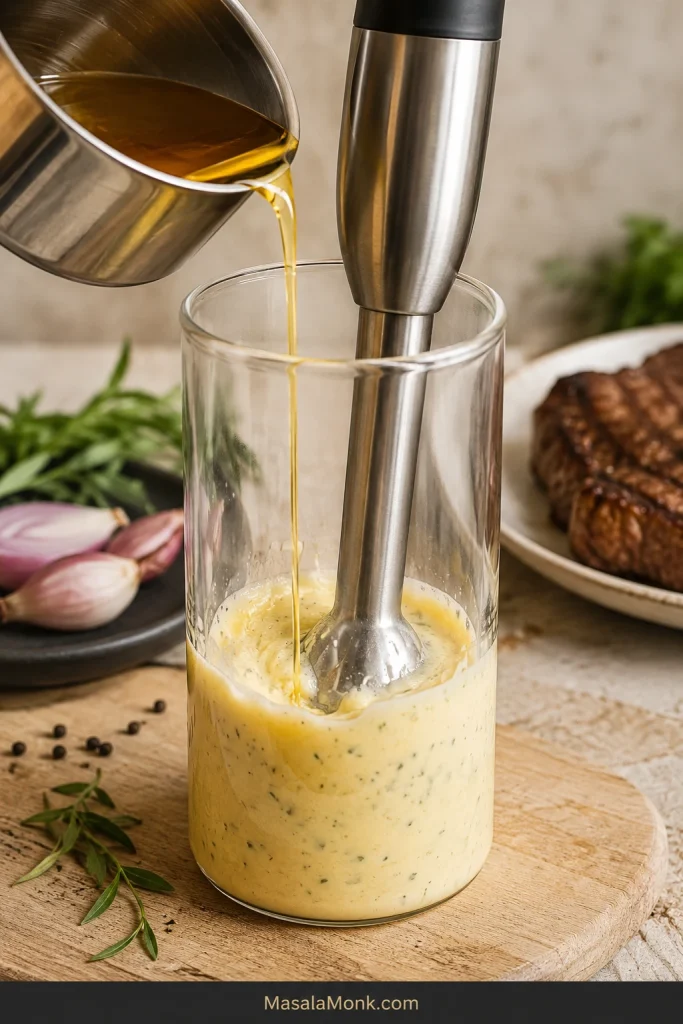
The sauce should taste peppery first, buttery in the middle, and fresh at the end. Add an extra tablespoon of butter for a richer finish. For a creamy version, stir in 2–3 tablespoons cream after the broth reduces, then keep the heat gentle.
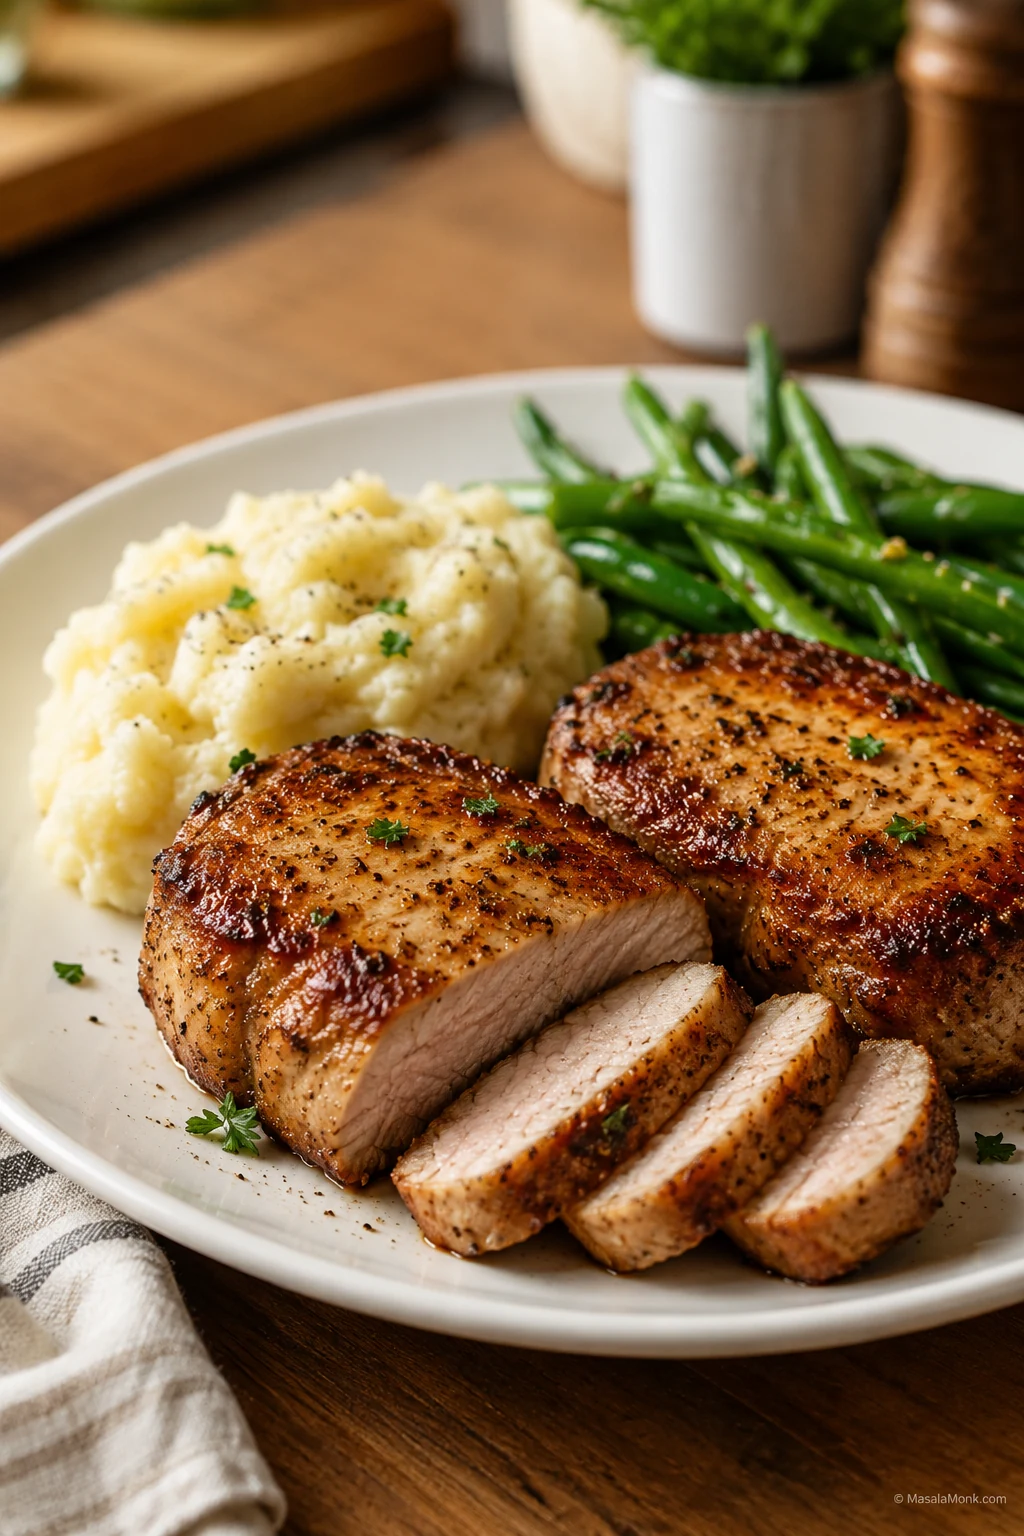
What to Serve on the Side
Because the sauce is bright and buttery, it plays well with almost anything that can catch a spoonful.
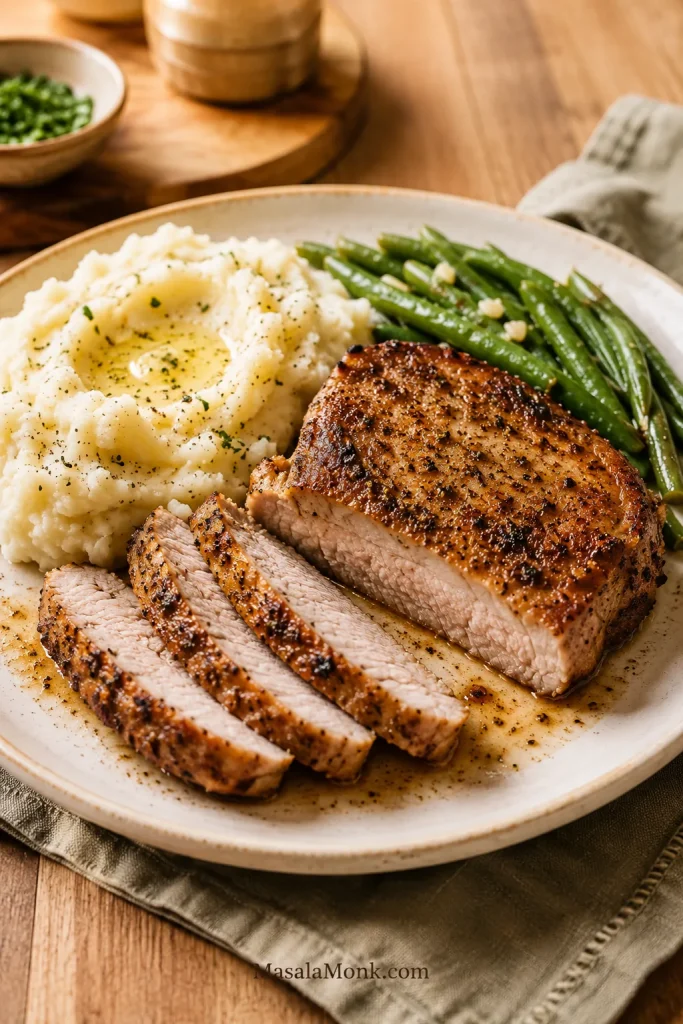
- Easy dinner: rice, roasted potatoes, or a simple salad.
- Comfort plate: mashed potatoes, pasta, buttered noodles, or garlic bread.
- Lighter side: green beans, asparagus, zucchini, broccoli, or cauliflower rice.
- Meal prep: rice bowls, couscous, roasted vegetables, or wraps.
For a fresh, sharp side, a crisp cucumber salad recipe works especially well because the vinegar, dill, and onion cut through the buttery lemon sauce.
Serving potatoes? Creamy garlic mashed potatoes are one of the best ways to catch the lemon butter without making the plate feel too heavy.
Make It a Rice Bowl, Pasta, Salad, or Wrap
This is the kind of chicken that makes plain rice, pasta, or bowls feel intentional. Use the pan sauce as the bridge between the chicken and the rest of the plate.

- Rice bowl: Spoon extra sauce over rice, then top with sliced chicken and parsley.
- Pasta: Toss noodles with extra sauce, a splash of broth, and a little pasta water.
- Chicken bowl: Add rice, roasted vegetables, sliced chicken, and a little extra lemon butter.
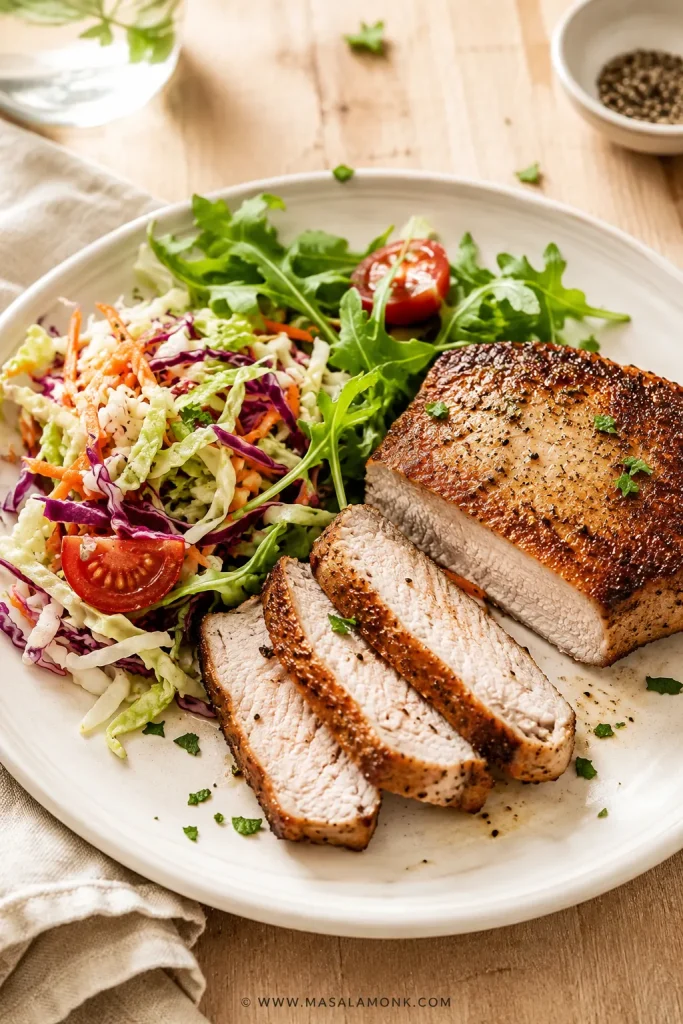
- Salad: Serve sliced chicken over crisp greens with a lemony dressing.
- Wrap: Use sliced chicken, lettuce, cucumber, and a little creamy sauce or yogurt dressing.
Making pasta often? The same loose-sauce habit matters in this chicken pesto pasta recipe too, where pasta water keeps the dish glossy instead of dry.
For a colder, crunchier salad plate, a wedge salad recipe works better as a full dinner side than a small garnish.
Storage and Reheating
Leftovers are best when the extra pan juices stay with the chicken.
- Refrigerator: Store leftovers in an airtight container for 3–4 days.
- Freezer: Freeze cooked chicken for up to 2 months. The sauce may look slightly different after thawing, but the flavor will still be good.
- Skillet reheating: Reheat gently with a splash of broth or water until warmed through.
- Microwave reheating: Cover and reheat at lower power in short bursts so the chicken does not dry out.
- Best tip: Store the pan juices in the same container so the chicken stays moist.
Avoid overheating chicken breast when reheating. It is already cooked, so the goal is to warm it gently, not cook it again.
Leftover sliced chicken also works well in wraps and sandwiches. For more ways to turn cooked chicken into lunch, these chicken sandwich recipes give you BBQ, buffalo, Caesar, pesto, and quick café-style ideas.
Troubleshooting Dry, Salty, or Sharp Chicken
Most problems here have simple fixes once you know what went wrong.

| Problem | Why It Happened | Fix |
|---|---|---|
| Chicken is dry | The breast was too thick or overcooked | Slice into cutlets, pound evenly, and use a thermometer. |
| Chicken tastes too salty | The lemon pepper seasoning already had salt | Reduce added salt and balance with broth or butter. |
| Lemon tastes harsh | Too much lemon juice was added too early | Use zest for flavor and add juice near the end. |
| Sauce is watery | Too much broth or not enough reducing time | Simmer for 2–4 minutes longer. |
| Sauce is too sharp | Too much lemon juice | Add butter or a splash of broth. |
| Coating falls off | The chicken was wet or the pan was not hot | Pat chicken dry and preheat the skillet. |
| Chicken is pale | The pan was crowded | Cook in batches so the chicken sears instead of steams. |
| Air fryer chicken is dry | The pieces were small or cooked too long | Check early and add sauce after cooking. |
| Thighs are chewy | They were pulled too early for best texture | Cook thighs a little longer, closer to 175°F / 79°C. |
A salty sauce usually needs dilution and fat, not more acid. Add broth and butter first, then taste again before reaching for more lemon.
If the sauce tastes a little too sharp, butter and broth fix that faster than more lemon.
This is not fussy chicken. It is the better kind of weeknight chicken: fast, bright, buttery, and useful with whatever side is already in your kitchen.
FAQs
What is lemon pepper chicken made of?
It is usually made with chicken breast or thighs, lemon pepper seasoning, garlic, fresh lemon, and butter or oil. This skillet version uses thin chicken cutlets and finishes them in a lemon-butter pan sauce.
How do you keep lemon pepper chicken from drying out?
Slice large chicken breasts into thin cutlets, pound uneven spots, cook only until the thickest part reaches 165°F / 74°C, and spoon sauce over the chicken before serving. Thick chicken breast and overcooking are the most common reasons it turns dry.
What temperature should lemon pepper chicken reach?
Chicken breast should reach 165°F / 74°C in the thickest part. Thighs are also safe at 165°F / 74°C, but they often taste more tender when cooked closer to 175°F / 79°C.
How long does lemon pepper chicken take?
This skillet dinner takes about 25 minutes total: 10 minutes to prep and about 15 minutes to cook. Thin chicken breast cutlets usually need 3–5 minutes per side. Oven versions usually take 15–26 minutes depending on thickness.
Do you use fresh lemon or lemon pepper seasoning?
Use both when possible. Lemon pepper seasoning gives the familiar peppery flavor, while fresh lemon zest and juice make it taste livelier. Bottled seasoning alone can taste flat or too salty depending on the brand.
Why does it taste too salty?
The seasoning blend probably already contained salt. Taste the seasoning before adding extra salt, and soften a salty sauce with broth and butter before adding more lemon.
Is it better with breasts or thighs?
Chicken breasts are lean, quick, and classic. Thighs are juicier and more forgiving. If breast meat often turns dry for you, thighs are the easier option.
Does lemon pepper chicken need to marinate?
No, the skillet version does not need to marinate. The seasoned coating and lemon butter sauce give plenty of flavor. Marinade is more useful for grilled, baked, or air fryer chicken.
How do you reheat it without drying it out?
Reheat it gently with a splash of broth or water. A skillet over low heat works well. In the microwave, cover the chicken and heat it in short bursts at lower power. Avoid cooking it a second time.
Why is my lemon pepper chicken bitter?
Bitterness usually comes from too much white pith in the lemon zest, lemon slices cooked too long, or a seasoning blend with a harsh citric taste. Zest only the yellow part of the lemon, use juice near the end, and balance sharpness with butter or broth.
Final Thoughts
This skillet dinner works best when it stays simple: thin chicken, smart seasoning, fresh lemon, and enough butter sauce to make the plate feel finished. That is what turns two plain chicken breasts into dinner you actually want to eat.
Keep this version for the nights when chicken needs to be fast but not boring, bright but not sour, buttery but not heavy. A little zest, a steady skillet, and one spoonful of pan sauce can do more than a long ingredient list.
That is the real win: chicken that tastes fresh, peppery, buttery, and complete without turning a simple dinner into a project.