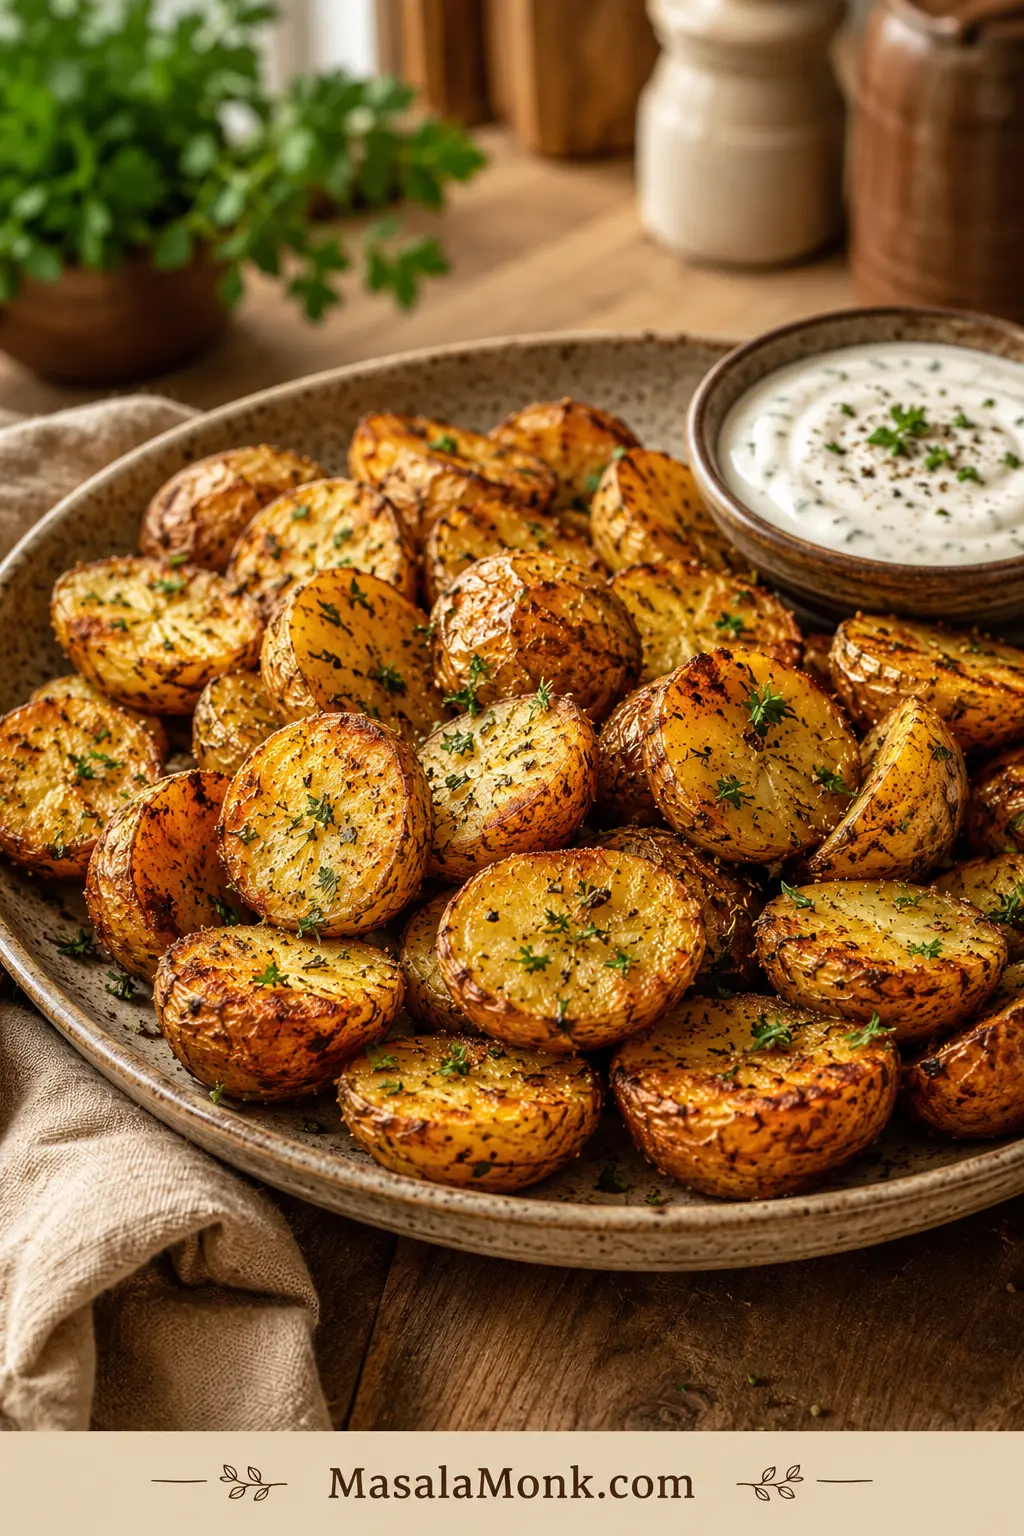
Ranch roasted potatoes are the easy sheet-pan side you make when dinner needs something crispy, salty, herby, and almost no fuss. Cut the potatoes, toss them with oil and dry ranch seasoning, spread them out, and let a hot oven do the work.
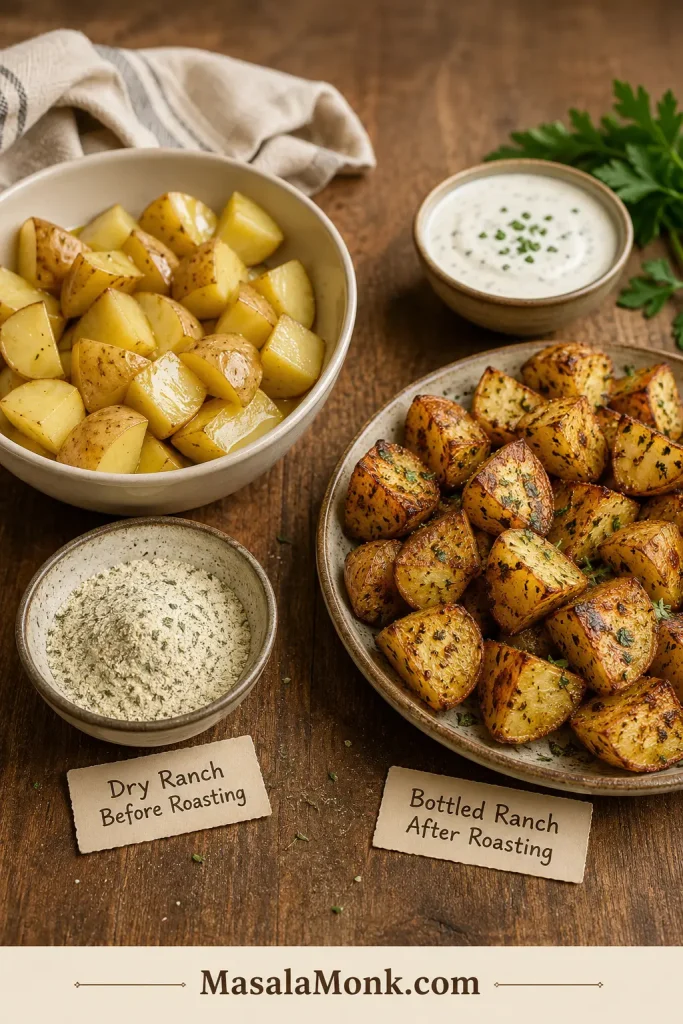
The key is using dry ranch seasoning, not bottled ranch dressing, before roasting. Dry mix gives you crisp edges and bold flavor; bottled ranch is better as a dip or drizzle after the potatoes are browned.
Remember the simple rhythm: dry potatoes, oil first, ranch second, plenty of space. That is what turns a basic ranch packet into golden potatoes people start stealing from the tray before dinner is even served.
Quick Answer: How to Make Ranch Roasted Potatoes
For crispy ranch roasted potatoes, cut 2 lb / 900 g potatoes into 1-inch / 2.5 cm pieces. Toss with 3 tablespoons / 45 ml oil, then add 1 standard 1 oz / 28 g packet dry ranch seasoning, or about 3 tablespoons dry ranch seasoning from a jar. Spread on a large rimmed sheet pan and roast at 425°F / 218°C for 30 to 35 minutes, flipping once halfway through.
For darker, faster browning, roast at 450°F / 232°C and start checking around 25 minutes. The potatoes are done when the flat sides are golden, the edges look roasted, and a fork slides through the centers easily.
The simple ranch potato ratio
This visual keeps the ranch potato ratio easy to check before you move into the full recipe card.

Ranch Roasted Potatoes Recipe Card
Crispy Ranch Roasted Potatoes
Description: Crispy ranch roasted potatoes made with dry ranch seasoning, oil, and a hot sheet pan. The edges turn golden and salty-herby while the centers stay soft and creamy.
What to look for: The potatoes should be browned on the flat sides, tender when pierced with a fork, and seasoned all the way around — not dusty in one bite and plain in the next.
| Prep Time | 10 minutes |
| Cook Time | 30 to 35 minutes |
| Total Time | 40 to 45 minutes |
| Servings | 4 to 6 |
| Method | Oven roasted |
| Best Pan | Large rimmed sheet pan |
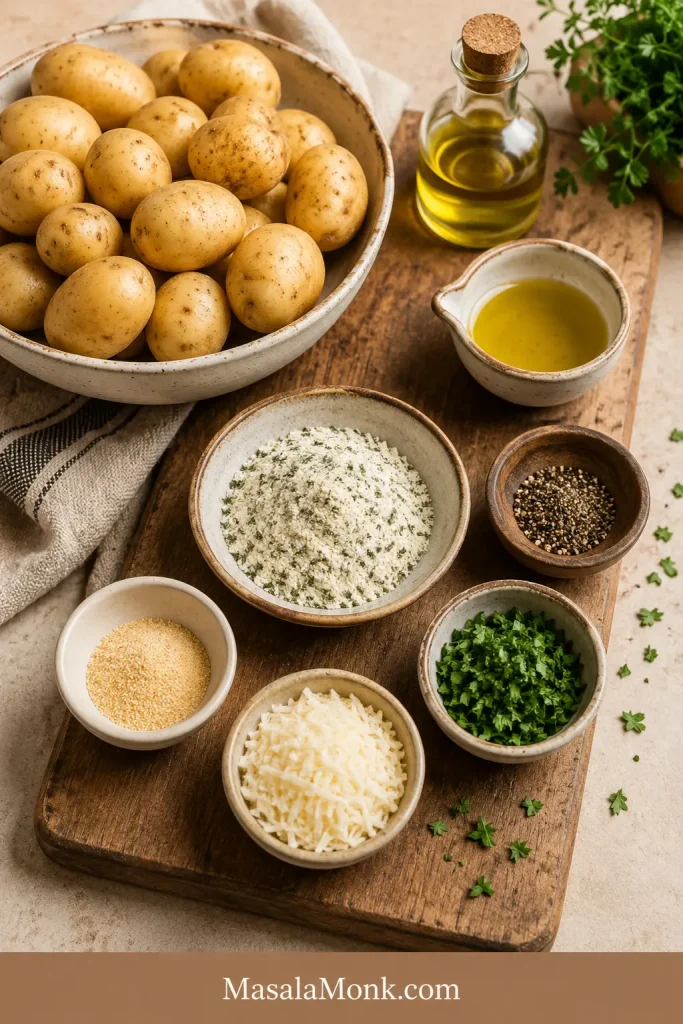
Ingredients
- 2 lb / 900 g potatoes, such as baby red potatoes, baby Yukon gold potatoes, Yukon gold potatoes, russets, or creamer potatoes
- 3 tablespoons / 45 ml olive oil or neutral oil
- 1 standard 1 oz / 28 g packet dry ranch seasoning, or about 3 tablespoons dry ranch seasoning from a jar
- ½ teaspoon black pepper
- ½ teaspoon garlic powder, optional
- ¼ cup / 20 to 25 g finely grated parmesan, optional
- 1 to 2 tablespoons chopped parsley, chives, or dill, optional, for finishing
Instructions
- Heat the oven to 425°F / 218°C. For faster, darker browning, use 450°F / 232°C and start checking the potatoes earlier.
- Wash the potatoes and dry them well. Cut them into 1-inch / 2.5 cm pieces. Halve very small baby potatoes and quarter larger ones.
- Add the potatoes to a large bowl. Pour in the oil and toss until every piece looks lightly glossy.
- Add the dry ranch seasoning, black pepper, and garlic powder if using. Toss again until the seasoning is evenly distributed.
- Spread the potatoes on a large rimmed sheet pan in one layer. Place as many cut sides down as possible for better browning.
- Roast for 30 to 35 minutes, flipping once around the 18 to 20 minute mark, until the potatoes are browned outside and tender inside.
- Finish with parmesan, herbs, cooked bacon, shredded cheese, or a small drizzle of ranch dressing after roasting. Serve hot.
Recipe note: Use up to 4 tablespoons jarred ranch seasoning only if your mix is mild or salt-free. If your ranch mix tastes salty on its own, start with less and add more after roasting if needed.
Tested Notes for Best Results
- Best potatoes: baby red and baby Yukon gold potatoes are the easiest because they hold their shape and brown well.
- Russets work: they give fluffy centers and rougher edges, but toss them gently because they break more easily.
- Seasoning order: dry the potatoes, coat them with oil, then add the ranch seasoning.
- Pan choice: a bare metal sheet pan browns better; parchment makes cleanup easier.
- Texture tip: spread the potatoes in one layer and place some cut sides down.
- Browning rule: pan space matters more than the exact ranch seasoning brand.
Choose your version: Want the easiest tray? Use the recipe card. Want the crispiest tray? Use the parboil option. Want the fastest small batch? Use the air fryer method.
Once that basic rhythm is clear, the rest is just choosing the right potato, the right heat, and the right finish. Here is how to make the tray crisp, not soggy.
Why This Works
Ranch potatoes are simple, but they are not random. The crisp version depends on three things: dry seasoning, steady heat, and enough space on the pan. Dry ranch seasoning gives concentrated flavor without adding the moisture that comes from bottled dressing. Oil helps that seasoning cling and gives the cut sides enough surface fat to brown.
One-inch pieces are small enough to cook through before the seasoning gets too dark, but large enough to stay creamy inside. A large sheet pan lets them roast instead of steam. When a few cut sides sit directly against the pan, they pick up the golden crust that makes roasted potatoes feel like more than boiled potatoes with seasoning.
The best pieces should have a toasted flat side, a soft middle, and that salty ranch flavor baked into the surface. Those are usually the bites people pick at first.
Ingredients and Ranch Seasoning Amount
What you need before roasting
Keep the base simple, then use optional add-ins only when you want a sharper, cheesier, or fresher finish.
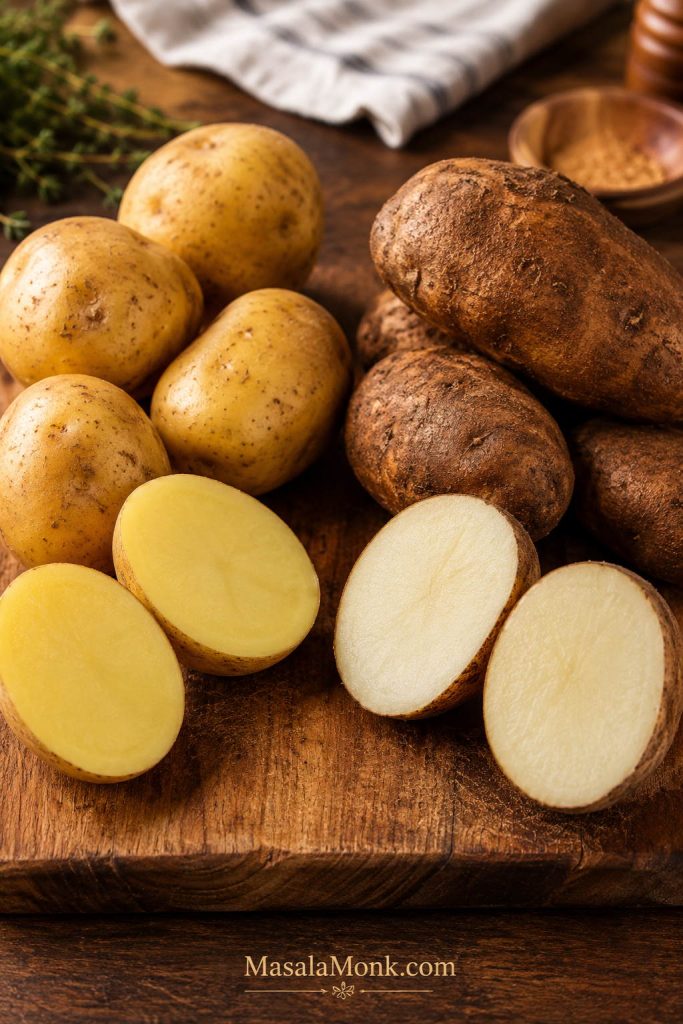
Potatoes
Most potatoes will work here, but they do not all give you the same bite. Baby red potatoes stay creamy and neat. Yukon gold potatoes taste buttery and tender. Russets give you fluffier centers and rougher browned edges, but they can break if you toss them too hard.
If you are unsure, choose baby red potatoes or baby Yukon gold potatoes. They are the least fussy and look good even when cut quickly. If you often choose between Yukon golds and russets, the same creamy-versus-fluffy split matters in mashed potatoes too.
Oil
No fancy oil needed. Olive oil, avocado oil, canola oil, vegetable oil, or another neutral roasting oil will work. For 2 pounds of potatoes, 3 tablespoons should make the pieces lightly glossy, not greasy.
Dry Ranch Seasoning
Dry ranch seasoning is the main flavor. It usually brings herbs, garlic, onion, salt, and tangy dairy-style flavor in one packet. A standard ranch packet is usually about 1 oz / 28 g, which is a good amount for 2 lb / 900 g potatoes.
If your seasoning comes from a jar, start with about 3 tablespoons. Go up to 4 tablespoons only if the mix is mild or salt-free. If you also use ranch packets for snacks, the same dry-mix logic shows up in these ranch oyster crackers: fat helps the seasoning cling, while too much moisture softens the crunch.
Ranch Seasoning Ratio
Use this ratio when you are making a smaller tray, doubling for a crowd, or trying to avoid a too-salty batch.
| Potatoes | Oil | Dry Ranch Seasoning | Best Pan Setup |
|---|---|---|---|
| 1 lb / 450 g | 1½ tbsp / 22 ml | ½ packet or about 1½ tbsp | Small to medium sheet pan |
| 2 lb / 900 g | 3 tbsp / 45 ml | 1 packet / 28 g or about 3 tbsp | 1 large sheet pan |
| 4 lb / 1.8 kg | 6 tbsp / 90 ml | 1½ to 2 packets, depending on saltiness | 2 large sheet pans |
If you are adding bacon, cheese, parmesan, or a ranch drizzle, start on the lighter side with the seasoning. Those toppings bring salt too.
Using a Hidden Valley-style packet? You do not need a separate method. Use the same base recipe: 2 lb / 900 g potatoes, 3 tablespoons / 45 ml oil, and 1 standard 1 oz / 28 g dry ranch packet. Roast at 425°F / 218°C for control or 450°F / 232°C for deeper browning. If the packet tastes salty or you are adding bacon or cheese, use a little less and finish with more only if needed.
Pepper, Garlic Powder, Parmesan, and Herbs
Black pepper gives the potatoes a sharper finish. Garlic powder is optional because ranch seasoning already contains garlic, but a small amount makes the flavor fuller. Parmesan, chives, parsley, or dill are best as finishing touches. They make the tray taste fresher without changing the base recipe.
Dry Ranch Seasoning vs Bottled Ranch Dressing
This is the ranch-potato choice that changes texture most. Dry ranch seasoning and bottled ranch dressing do not behave the same way in the oven.
Dry mix before roasting, bottled ranch after
Keep the powdered mix in the oven step and the creamy dressing at the table.
| Ranch Product | Best Use | What Happens |
|---|---|---|
| Dry ranch seasoning packet | Crispy roasted potatoes | Strong flavor, less moisture, better browning |
| Dry ranch dressing mix from a jar | Crispy roasted potatoes | Works like a packet when measured carefully |
| Homemade ranch seasoning | More control over salt and ingredients | Good flavor, but you may need to adjust salt |
| Bottled ranch dressing | Dipping, drizzling, or creamy potato bakes | Adds moisture and softens the roasted finish |
| Bottled ranch before roasting | Softer, saucier baked potatoes | Less browning, more casserole-style texture |
Bottled ranch makes more sense in a softer, saucier potato bake. In this sheet-pan version, let the dry mix bake into the edges, then bring in bottled ranch later as a dip or drizzle.
Ready to cook? Jump back to the recipe card. Want crispier results? See the crispy potato tips.
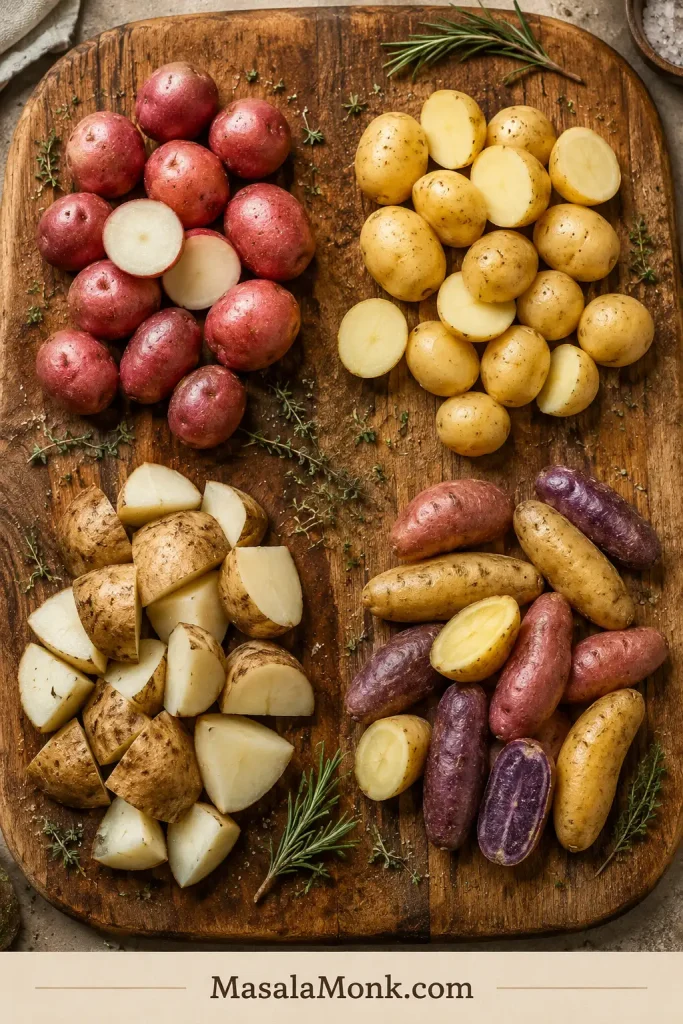
Best Potatoes to Use
Choose based on what you already have and the kind of bite you want.
Best potatoes for ranch roasting
Red and Yukon-style potatoes are the most forgiving, while russets give a fluffier bite when handled gently.
| Potato | Best For | Result | Peel or Not? |
|---|---|---|---|
| Baby red potatoes | Best no-peel option | Classic ranch potato texture, creamy centers, thin skins | No need to peel |
| Baby Yukon gold potatoes | Best overall | Buttery, tender, reliable browning | No need to peel |
| Yukon gold potatoes | Best creamy bite | Soft centers and good flavor | Peeling optional |
| Russet potatoes | Best fluffy center | Fluffy inside, browned edges, more fragile | Peeling optional |
| Fingerling potatoes | Best presentation | Pretty side dish, good roasted flavor | No need to peel |
Red potatoes are especially easy here because the skins are thin and the pieces hold together well. Scrub, dry, cut, season, and roast. No peeling needed.
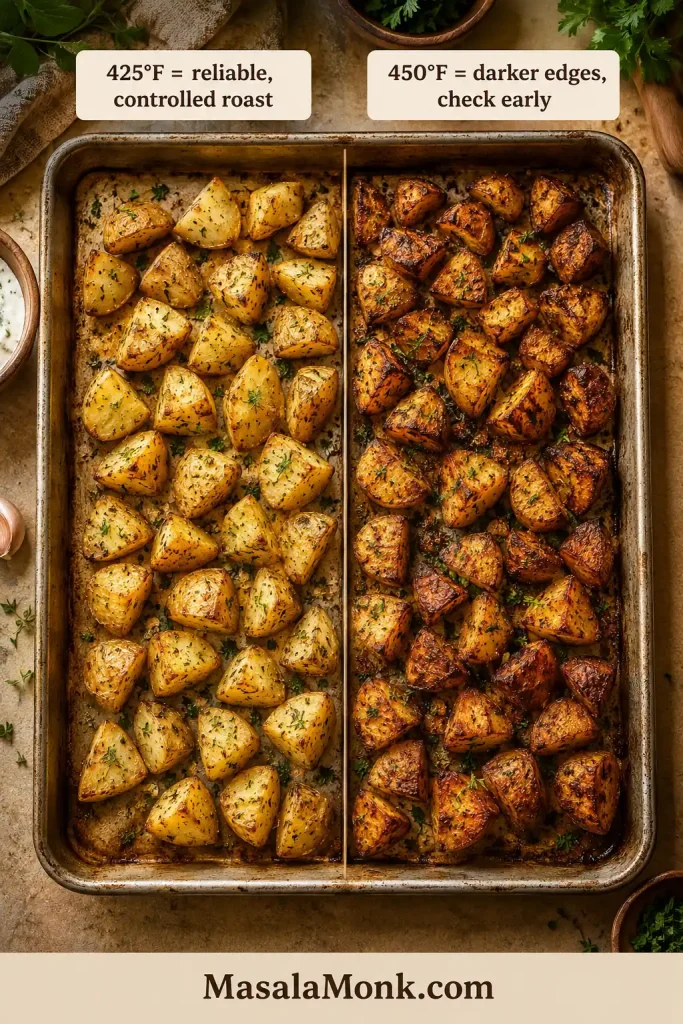
425°F vs 450°F
For the easiest tray, 425°F / 218°C is the safest default. The potatoes have time to soften before the ranch seasoning gets too dark. Use 450°F / 232°C when you want deeper color and are willing to check the pan a little earlier.
Choose the oven temperature
The hotter tray browns faster, but the lower temperature gives you more control if your oven runs strong.
| Oven Temperature | Best For | Watch Out For |
|---|---|---|
| 425°F / 218°C | Best default and most reliable roast | Slightly slower browning, but better control |
| 450°F / 232°C | Darker edges and faster browning | Ranch seasoning can darken faster, so check early |
| 400°F / 200°C | Cheesy or saucier baked potato versions | Less crisp for plain roasted potatoes |
When your oven runs hot, stay with 425°F the first time. Once you know your oven is steady and you like darker edges, 450°F gives a more roasted finish.
How to Roast Them in the Oven
1. Heat the oven
Heat the oven to 425°F / 218°C. For a faster, darker tray, use 450°F / 232°C, but check earlier so the seasoning does not over-darken.
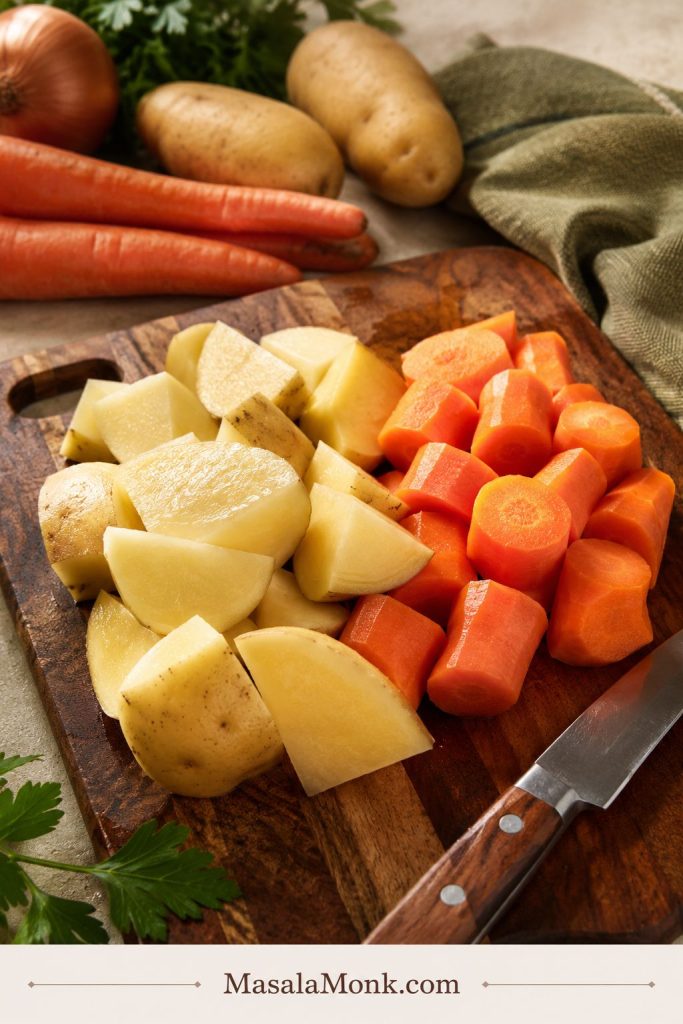
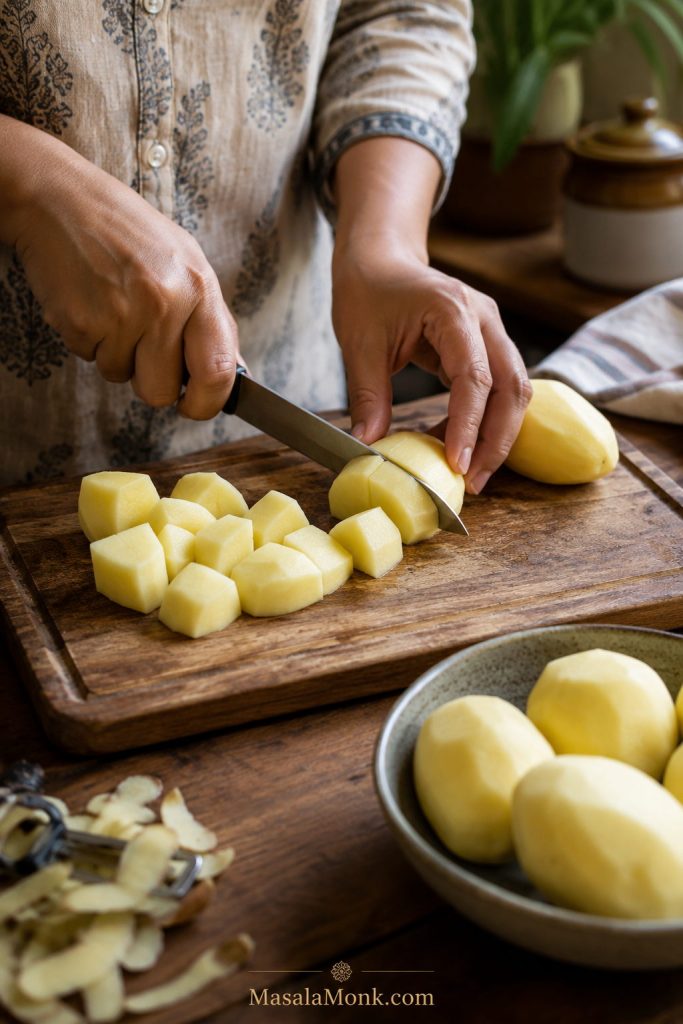
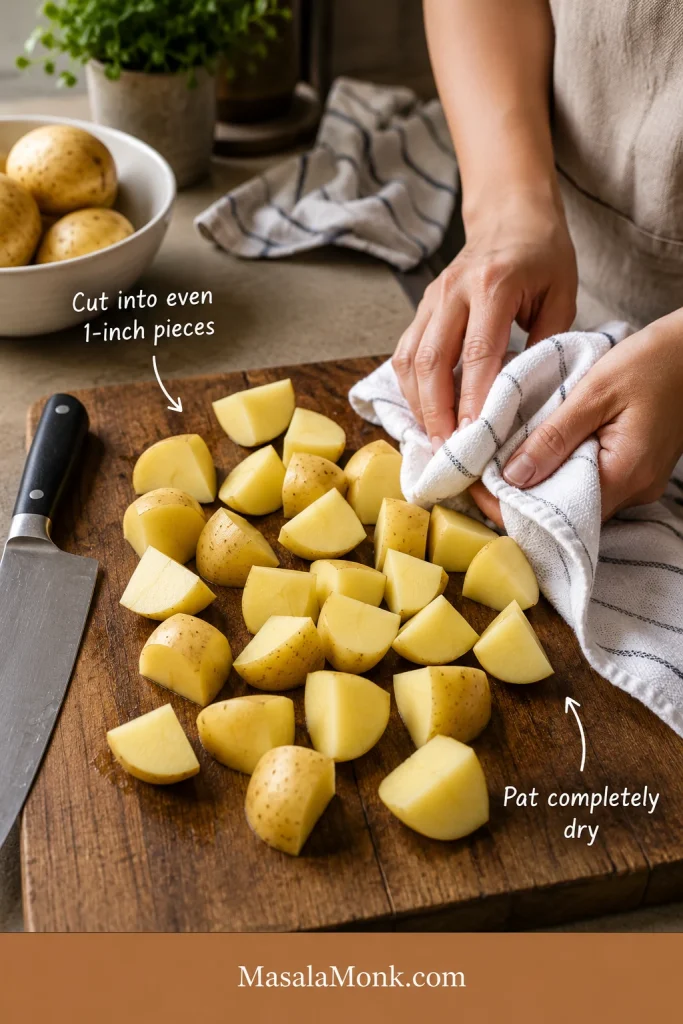
2. Cut and dry the potatoes
Cut the potatoes into 1-inch / 2.5 cm pieces. Small baby potatoes can be halved, larger baby potatoes can be quartered, and bigger potatoes should be cut into even chunks. Pat the pieces dry before seasoning so the oil and ranch mix cling properly.
Visual cue: cut and dry before seasoning
Cut size and surface moisture decide whether this step browns or steams.
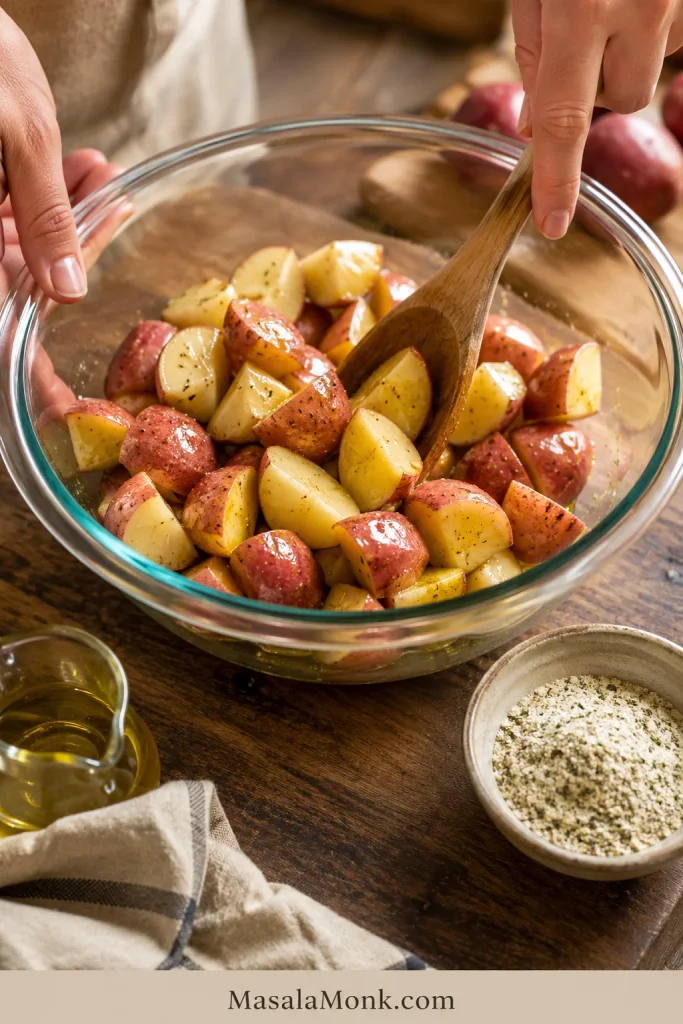
3. Toss with oil, then ranch seasoning
Add the potatoes to a large bowl and coat them with oil first. Then add the dry ranch seasoning, black pepper, and garlic powder if using. This keeps the dry mix from clumping in dusty patches. The pieces should look lightly glossy, not oily or wet.
Visual cue: oil first, ranch second
Do this in two tosses: oil first, ranch second.
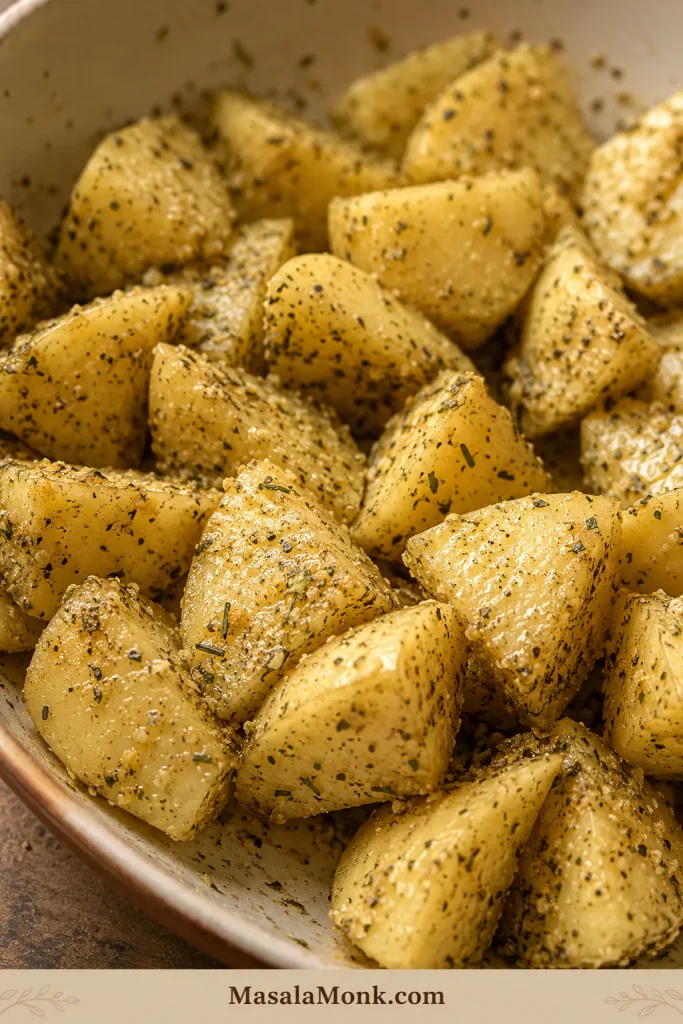
Visual cue: even ranch coating
Before roasting, every piece should look lightly speckled, not buried in mix.
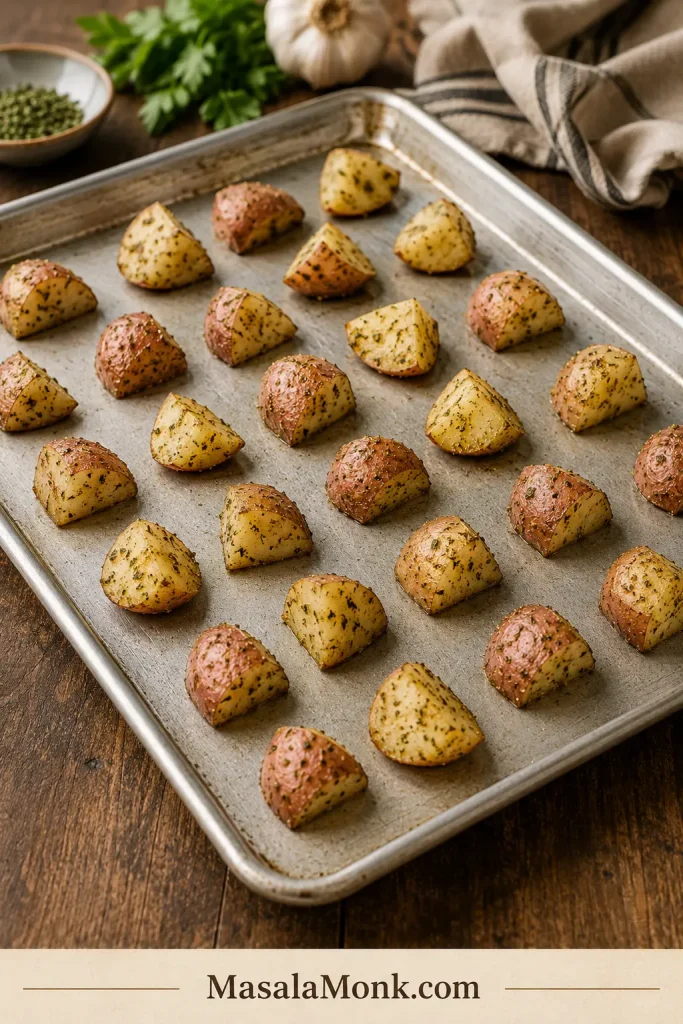
4. Spread on a sheet pan
Spread the potatoes in one layer on a large rimmed sheet pan. Leave a little space between the pieces and turn some cut sides down against the pan. Those flat sides usually become the best bites.
Visual cue: give the potatoes room to brown
A little space around the pieces helps hot air move across the pan and gives cut sides better contact.
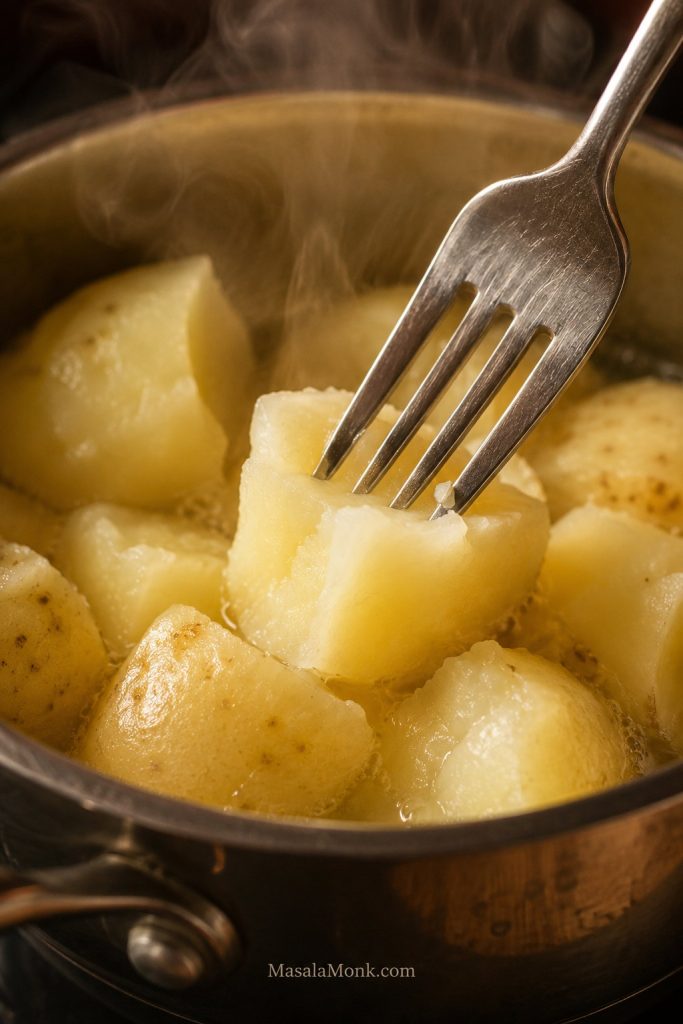
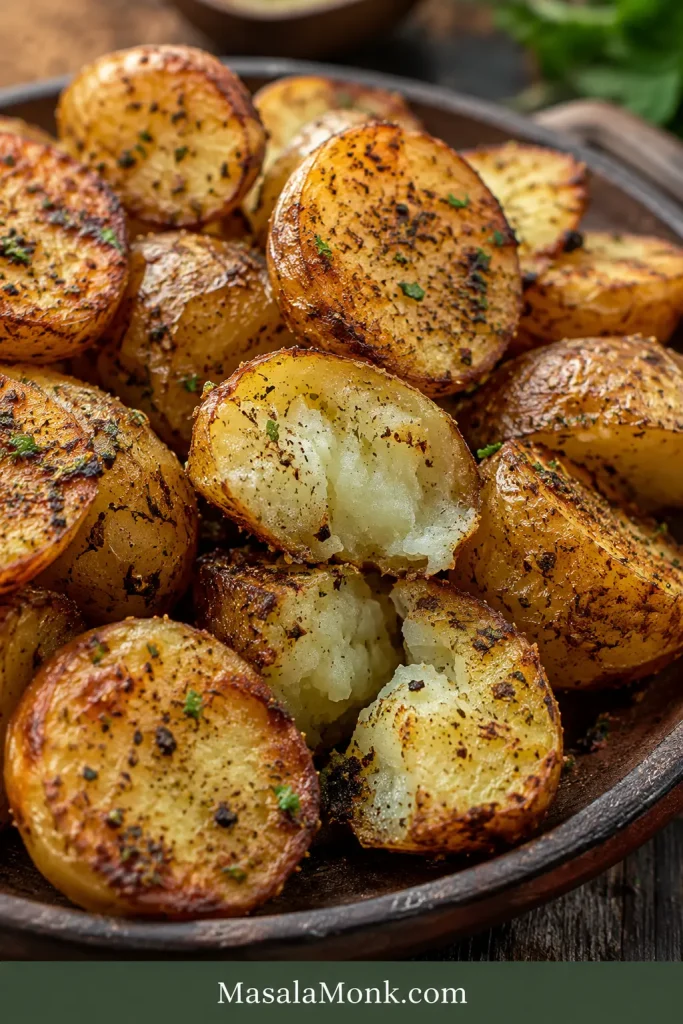
5. Roast, flip, and finish
Roast for 30 to 35 minutes, flipping once around the 18 to 20 minute mark. The potatoes are ready when the flat sides are golden, the edges look roasted, and a fork slides easily into the centers. Finish with herbs, parmesan, bacon, cheese, or a small ranch drizzle after roasting.
Visual cue: what done potatoes should look like
The timer helps, but color, crisp edges, and a tender center are the better doneness signs.
Want to push the texture further? Read the crisping rules or try the extra-crispy parboil method.
Tips for Crispy Potatoes
If you remember only a few things, make them these crisping rules.
- Dry the potatoes. Wet potatoes steam before they brown.
- Oil before ranch. The oil helps the dry mix cling evenly.
- Use a sheet pan, not a deep dish. A deep casserole dish traps moisture.
- Give every piece breathing room. Use two pans if needed.
- Put cut sides down. The flat side browns better against the pan.
A zip-top bag works if you like the classic packet-recipe shake method. Parchment makes cleanup easier, but direct contact with the pan gives stronger browning. Add cheese near the end so it melts without burning.
The goal is not just “done.” The best pieces have golden flat sides, soft centers, and ranch flavor baked onto the edges. Space is what turns ranch potatoes from seasoned and soft into browned and snacky.
Biggest mistake to avoid: do not crowd the pan. If the potatoes touch too much, they steam before they brown. Use two pans for a double batch.
For Extra Crispy Potatoes
The main recipe keeps things simple. For a more pub-style crispy bite, add a quick parboil before roasting. It roughs up the potato edges so they brown more aggressively in the oven.
Parboil for extra crisp edges
This optional method creates rougher potato surfaces, which means more places for the oil and ranch seasoning to brown.

- Cut the potatoes into 1-inch / 2.5 cm pieces.
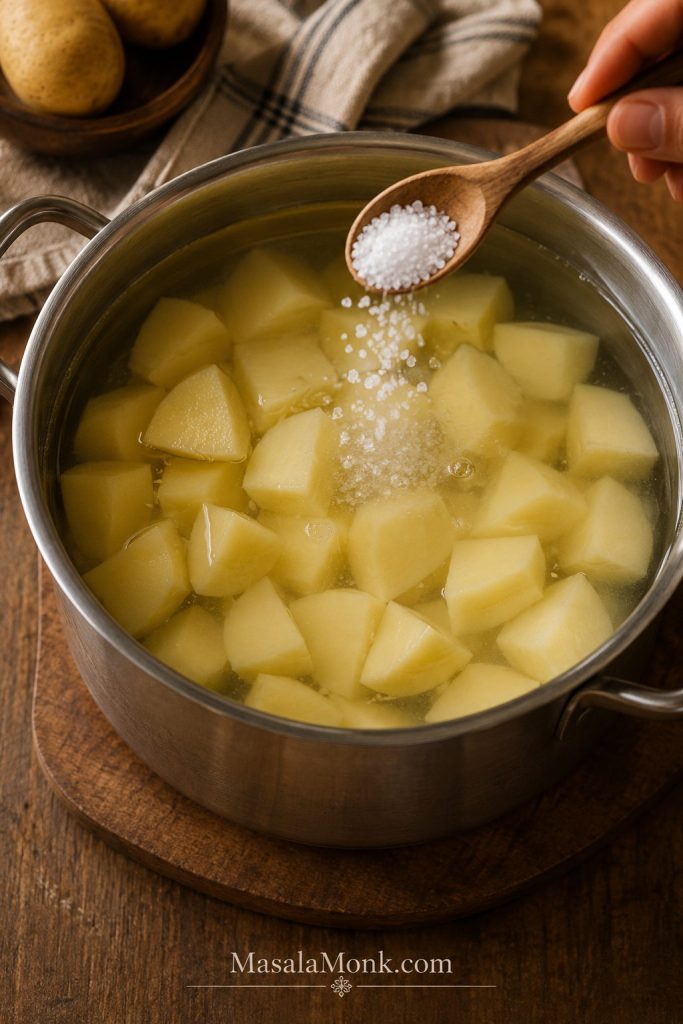
- Boil in lightly salted water for 6 to 8 minutes, just until the edges begin to soften. If your ranch mix is already very salty, use unsalted water.
- Drain very well.
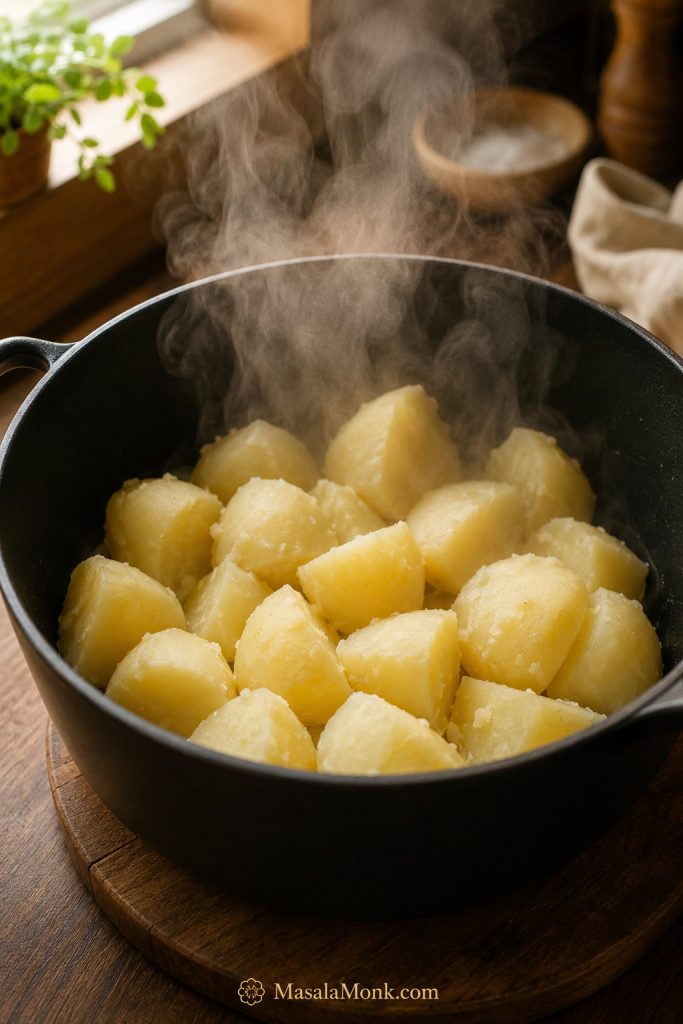
- Shake the potatoes gently in the pot for a few seconds to rough up the edges.
- Let them steam-dry for 2 to 3 minutes.
- Toss with oil first, then dry ranch seasoning.
- Roast on a hot sheet pan at 425°F / 218°C or 450°F / 232°C until deeply browned and tender.
This method takes a few extra minutes, but it gives you more craggy edges for the seasoning to cling to. If you like crisp-edge potato sides, you may also like these homemade French fries, which go deeper into potato choice, soaking, drying, oven fries, air fryer fries, and loaded variations.
Keeping it simple instead? Go back to the main recipe. Making a smaller batch? Use the air fryer method.
Homemade Ranch Seasoning Option
No packet? You can still make ranch-style potatoes with a quick homemade mix. It will not taste exactly like a packet, but it gives you a fresher, less salty coating.
| Ingredient | Amount |
|---|---|
| Dried parsley | 1 tablespoon |
| Dried dill | 1 teaspoon |
| Dried chives, optional | 1 teaspoon |
| Garlic powder | 1 teaspoon |
| Onion powder | 1 teaspoon |
| Black pepper | ½ teaspoon |
| Fine salt | ½ to ¾ teaspoon, to taste |
| Buttermilk powder, optional | 1 tablespoon |
Without buttermilk powder, use the whole homemade mix for 2 lb / 900 g potatoes. With buttermilk powder, start with about 3 tablespoons, then add the rest after roasting only if the potatoes need more ranch flavor.
Air Fryer Method
Air fryer ranch potatoes are great for a faster, smaller batch, but the basket still needs space. A crowded air fryer basket will cook the potatoes, but it will not crisp them well.
Air fryer spacing matters too
The same anti-crowding rule applies in the basket, especially when you want browned edges instead of soft potatoes.
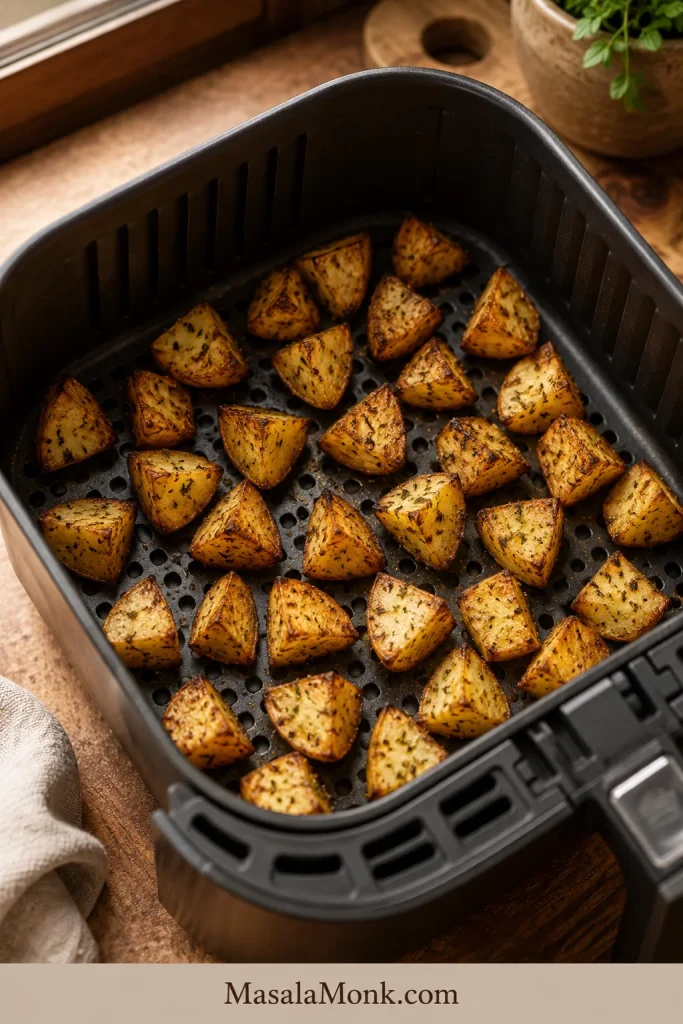
Keep the seasoning amount the same, but reduce the oil. For 2 lb / 900 g potatoes, 1½ to 2 tablespoons oil is usually enough because the air fryer circulates heat closely around the pieces.
| Potato Size | Air Fryer Time | Temperature |
|---|---|---|
| Small baby potato halves | 12 to 15 minutes | 400°F / 200°C |
| 1-inch / 2.5 cm chunks | 15 to 20 minutes | 400°F / 200°C |
| Larger chunks | 20 to 22 minutes | 400°F / 200°C |
- Cut the potatoes into even pieces.
- Toss with oil and dry ranch seasoning.
- Air fry at 400°F / 200°C.
- Shake the basket halfway through, or every 5 to 7 minutes for more even browning.
- Cook in batches if your air fryer basket is small.
Start checking early if your pieces are small or your air fryer runs hot. Air fryers vary more than ovens, so use the timing as a guide and look for browned edges with tender centers. If you use the air fryer for potato sides often, this air fryer hash browns guide is also useful for timing, shaking, thin layers, and fixing soft potato batches.
Once the potatoes are browned, choose a variation or fix common ranch potato problems.
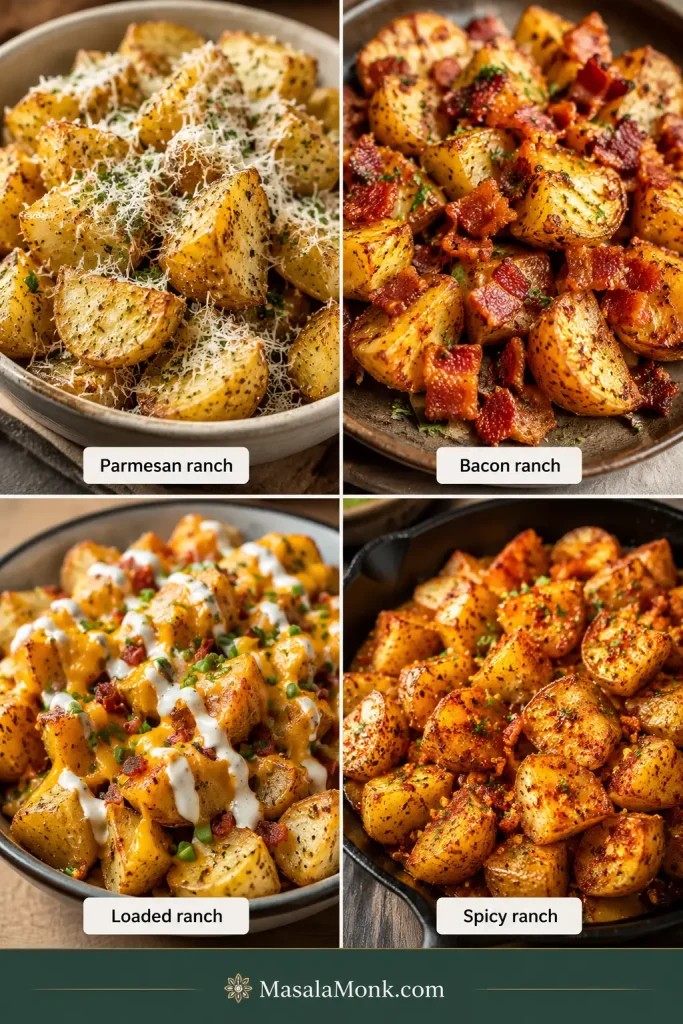
Easy Variations
Think of the base recipe as the reliable weeknight tray. The variations are for nights when you want the potatoes to feel more like a snack, a party side, or something loaded enough to steal attention from the main dish.
Four ways to finish the tray
These ideas keep the base method the same while changing the final flavor and serving style.
More ranch potato variation ideas
| Variation | How to Make It |
|---|---|
| Parmesan ranch potatoes | Add ¼ cup / 20 to 25 g finely grated parmesan during the last 8 to 10 minutes of roasting, or sprinkle it over the potatoes right after they come out of the oven. |
| Garlic ranch potatoes | Add ½ teaspoon garlic powder with the ranch seasoning. If using fresh garlic, add it during the last 10 minutes so it does not burn. |
| Bacon ranch potatoes | Roast the potatoes as usual, then toss with cooked crumbled bacon before serving. Use a little less ranch seasoning if the bacon is salty. |
| Cheesy ranch potatoes | Roast until almost done, sprinkle with shredded cheddar, Monterey Jack, mozzarella, or a cheese blend, then return to the oven for 3 to 5 minutes. |
| Loaded ranch potatoes | Finish with melted cheese, bacon, chives, and a small drizzle of ranch dressing or sour cream. |
| Spicy ranch potatoes | Add smoked paprika, cayenne, chili flakes, or a little hot sauce after roasting. Start small because ranch seasoning is already bold. |
| Ranch potatoes with onions | Add thick onion wedges to the pan with the potatoes so they soften and brown without burning before the potatoes are done. |
Creamy ranch potato bake note: A cheesy ranch potato bake made with bottled ranch dressing is softer and more casserole-like than these sheet-pan potatoes. Here, the cheesy version simply means roasted potatoes finished with melted cheese. If you are in the mood for a full potato casserole instead of a crisp side, this tater tot casserole is a better fit for a creamy, cheesy casserole-style dinner.
Serving these tonight? See what goes with ranch potatoes. Making them ahead? Check storage and reheating tips.
What to Serve with Ranch Potatoes
Serve ranch potatoes with burgers, steak, pork chops, BBQ mains, baked chicken tenders, or this baked chicken breast when you want a simple oven dinner. They also work with eggs for brunch or as a game-day potato tray with cheese, bacon, and chives.
For dipping, use ranch dressing, sour cream, spicy mayo, a yogurt-herb sauce, or this easy garlic aioli. If the potatoes taste salty from the ranch seasoning, choose a cooler dip instead of another salty one.
To balance the plate, add something crisp or fresh, like a chickpea salad or simple green salad. The loaded version can turn them from a side dish into the thing people hover around.
Make-Ahead, Storage, and Reheating
- Cut ahead: Cut potatoes can sit covered in cold water in the refrigerator for up to a day. Drain and dry them very well before roasting.
- Season ahead: Season right before roasting. Salt in the ranch mix can pull moisture from the potatoes if they sit too long.
- Double batch: For 4 lb / 1.8 kg potatoes, double the oil and use two large sheet pans. Start with about 1½ packets if adding bacon, cheese, or parmesan.
- Rotate pans: If using two pans, rotate them halfway through roasting if your oven has hot spots.
- Refrigerate: Store leftovers in an airtight container for 3 to 4 days.
- Reheat: Use the oven, air fryer, or a lightly oiled skillet for the best texture. The microwave is fine for speed, but the potatoes will soften.
- Freeze: You can freeze them, but the texture is not ideal. Roasted potatoes often turn softer and slightly grainy after freezing and thawing.
For broader leftover timing and cold-storage guidance, the FoodSafety.gov cold food storage chart is a helpful reference.
If the potatoes seem dry after chilling, toss them with a tiny drizzle of oil before reheating. The oven or air fryer is what brings the edges back.
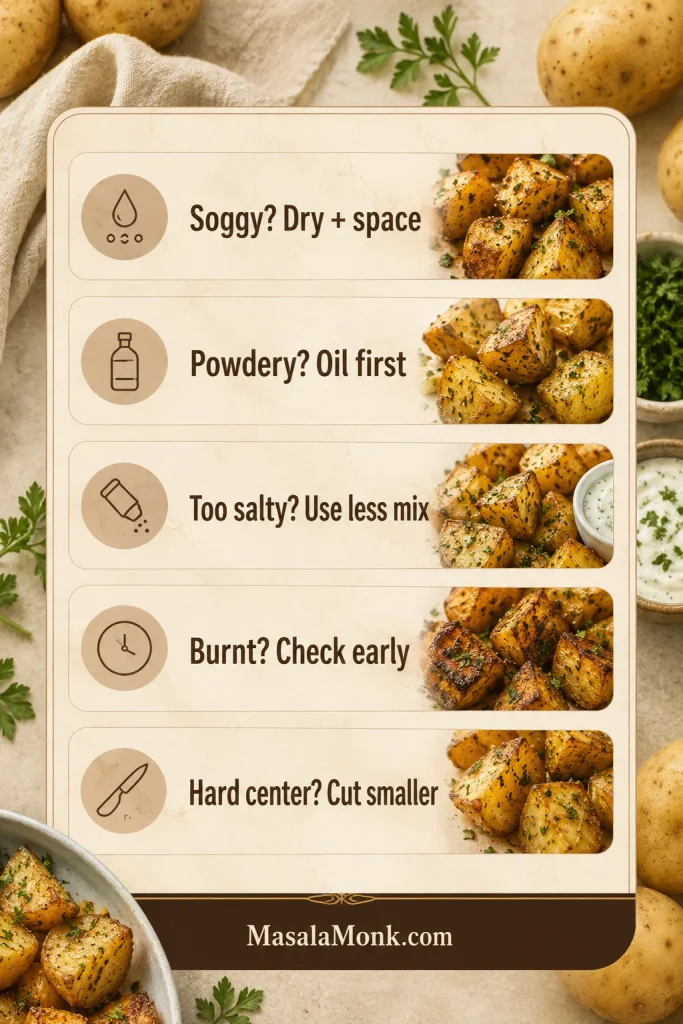
Troubleshooting
If your first batch is softer than you wanted, it is usually not a recipe failure. Ranch potatoes go soggy for predictable reasons, and most of them are easy to fix next time.
Quick fixes for common ranch potato problems
The same few causes show up again and again, which makes the fixes easy to remember.
| Problem | Likely Cause | How to Fix It |
|---|---|---|
| Soggy potatoes | Wet potatoes, crowded pan, deep dish, low heat, or bottled ranch before roasting | Dry well, use a sheet pan, spread in one layer, and use dry ranch seasoning |
| Burnt seasoning | Oven too hot too long, pieces too small, seasoning clumped, or not enough oil | Oil first, cut 1-inch pieces, toss evenly, and check early at 450°F / 232°C |
| Too salty | Salty ranch packet plus bacon, cheese, or parmesan | Use less ranch seasoning next time; serve with sour cream, yogurt dip, herbs, or lemon |
| Potatoes taste powdery | Too much dry ranch mix or seasoning added unevenly | Toss with oil first, use less mix next time, and finish with herbs or a small ranch drizzle |
| Browned outside, hard inside | Potato pieces too large or oven too hot for their size | Cut smaller next time; lower the oven slightly and continue roasting |
| Sticking to the pan | Not enough oil or potatoes moved before crust formed | Use enough oil, let the cut sides brown, then flip with a thin spatula |
| Uneven flavor | Seasoning added before oil or not tossed well enough | Toss with oil first, then add ranch seasoning and toss again |
Problem solved? Return to the recipe card or back to top.
FAQ
Is ranch seasoning the same as ranch dressing mix?
In many recipes, yes. Dry ranch seasoning and dry ranch dressing mix usually mean the powdered mix used to make ranch dressing or season foods.
How much ranch seasoning do I use for 2 pounds of potatoes?
For 2 pounds of potatoes, use 1 standard 1 oz / 28 g packet, or about 3 tablespoons dry ranch seasoning from a jar. Go up to 4 tablespoons only if the mix is mild or salt-free.
Should I use dry ranch mix or bottled ranch dressing?
Dry ranch mix is best before roasting. Bottled ranch works better after roasting as a dip or drizzle, or in softer cheesy potato bakes.
What temperature is best?
425°F / 218°C is the best default. Use 450°F / 232°C when you want darker edges and are comfortable checking the pan earlier.
How long do ranch potatoes take in the oven?
Most 1-inch potato pieces take 30 to 35 minutes at 425°F / 218°C. They are done when the flat sides are golden and a fork slides through the centers easily.
Do red potatoes need to be peeled?
No. Red potato skins are thin and help the pieces hold together. Scrub, dry, cut, and roast.
Will russet potatoes work?
Yes. Russets give you fluffy centers and browned edges, but they are more fragile than red or Yukon gold potatoes, so toss them gently.
How do I make ranch potatoes crispier?
Dry the potatoes well, oil before seasoning, spread them in one layer, and place cut sides down. For extra crispiness, parboil for 6 to 8 minutes, rough up the edges, then roast.
Air fryer version: what changes?
Keep the seasoning amount the same, but reduce the oil to about 1½ to 2 tablespoons for 2 lb / 900 g potatoes. Air fry 1-inch pieces at 400°F / 200°C for 15 to 20 minutes, shaking halfway through.
Can I add cheese and bacon?
Yes. Add cooked bacon after roasting, and add shredded cheese during the last few minutes so it melts without burning. Use less ranch seasoning if your bacon or cheese is salty.
A Good Pan of Ranch Potatoes
Good ranch potatoes should taste bold and comforting without turning heavy. The outside should be seasoned and browned, the inside should be soft, and the ranch flavor should feel baked onto the potatoes instead of sitting on top as a wet dressing.
Once you learn the dry-potatoes, oil-first, ranch-second rhythm, this becomes the tray you can make without looking at the recipe.