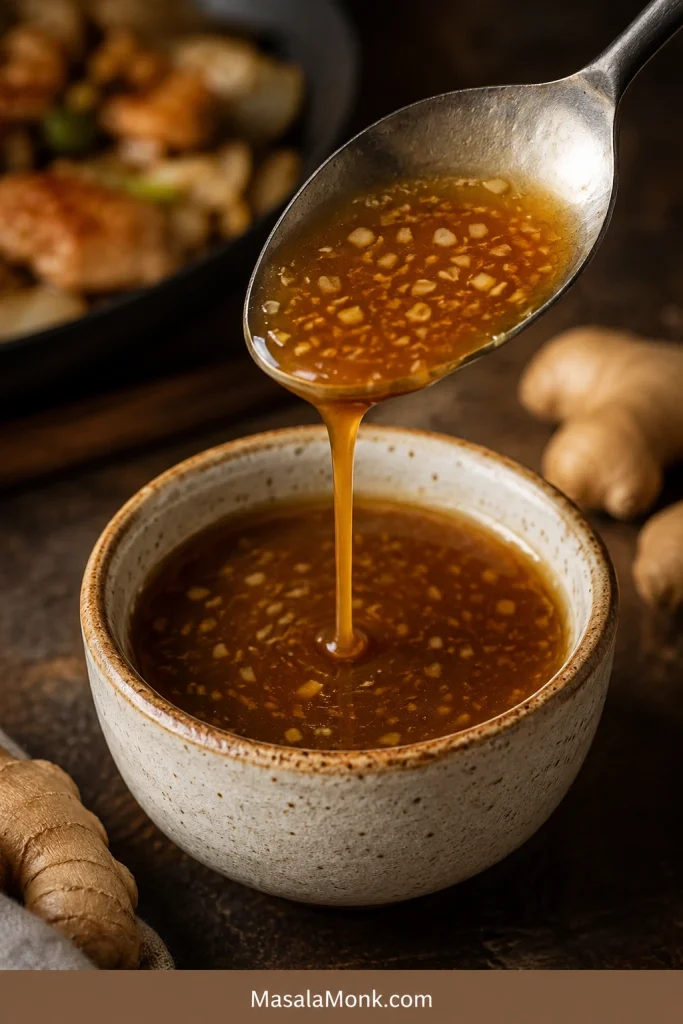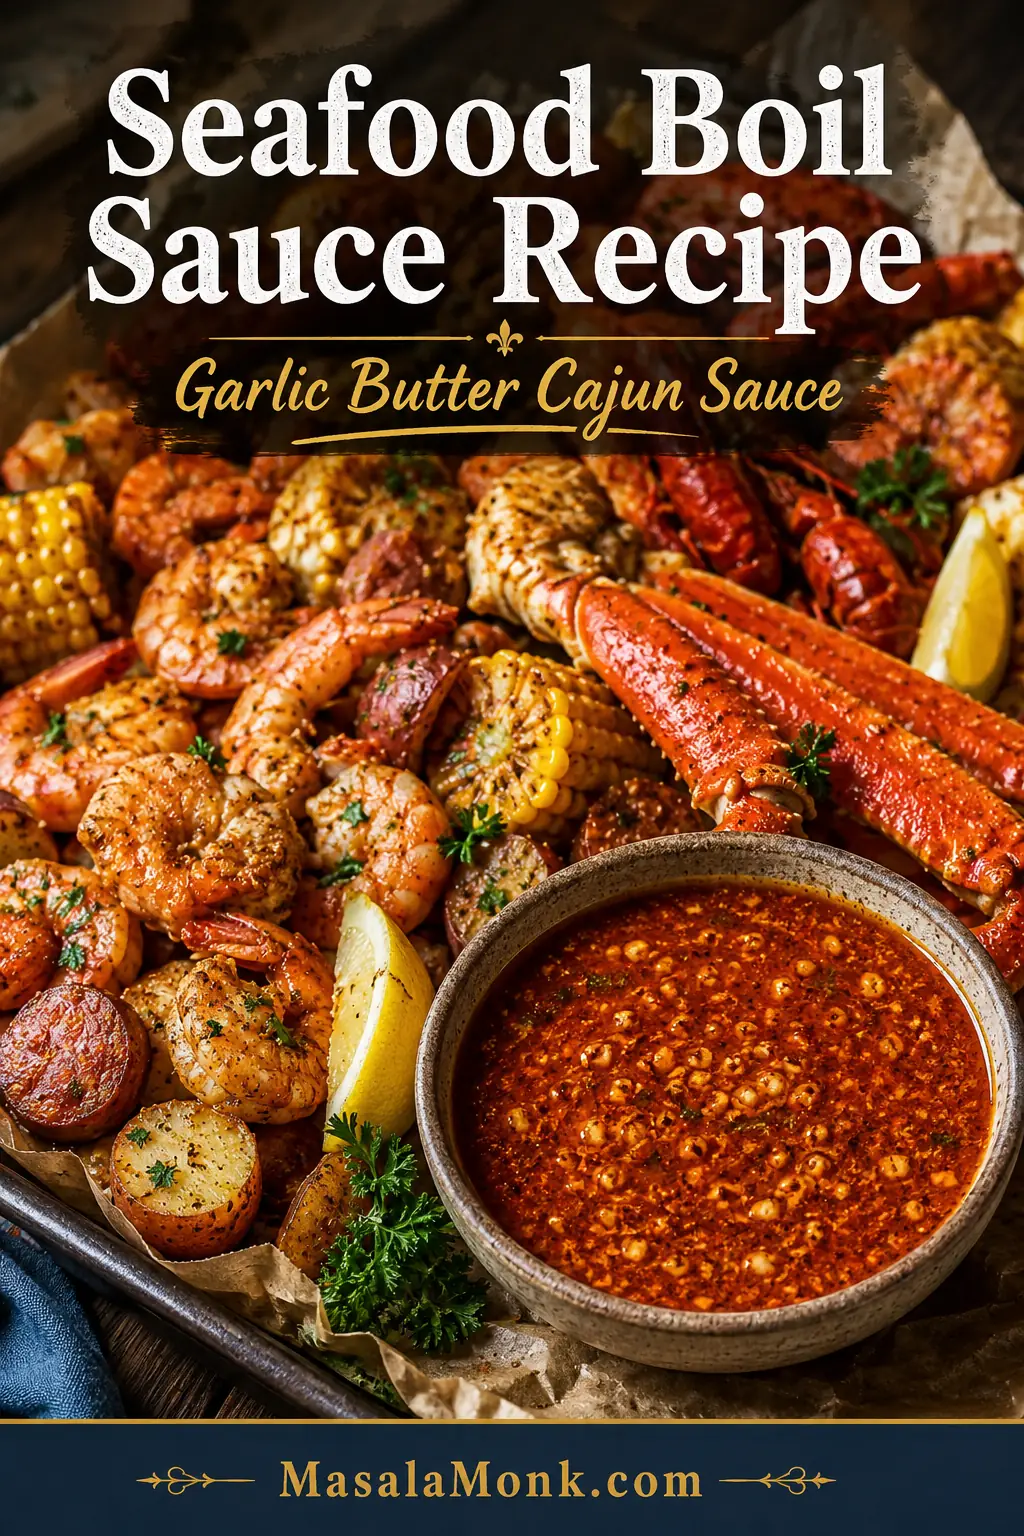
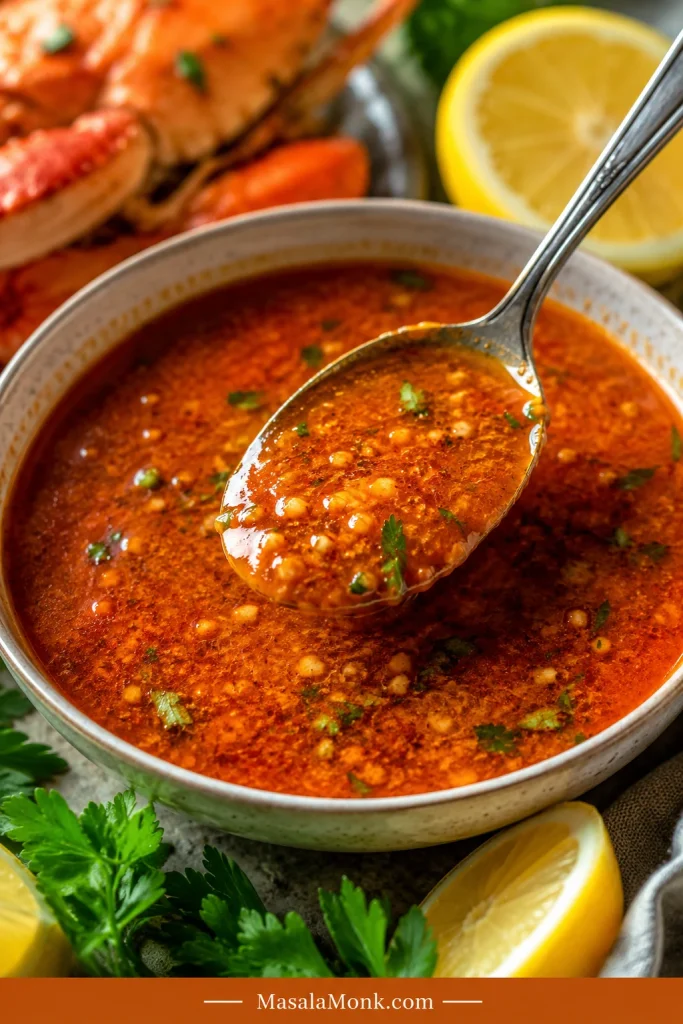
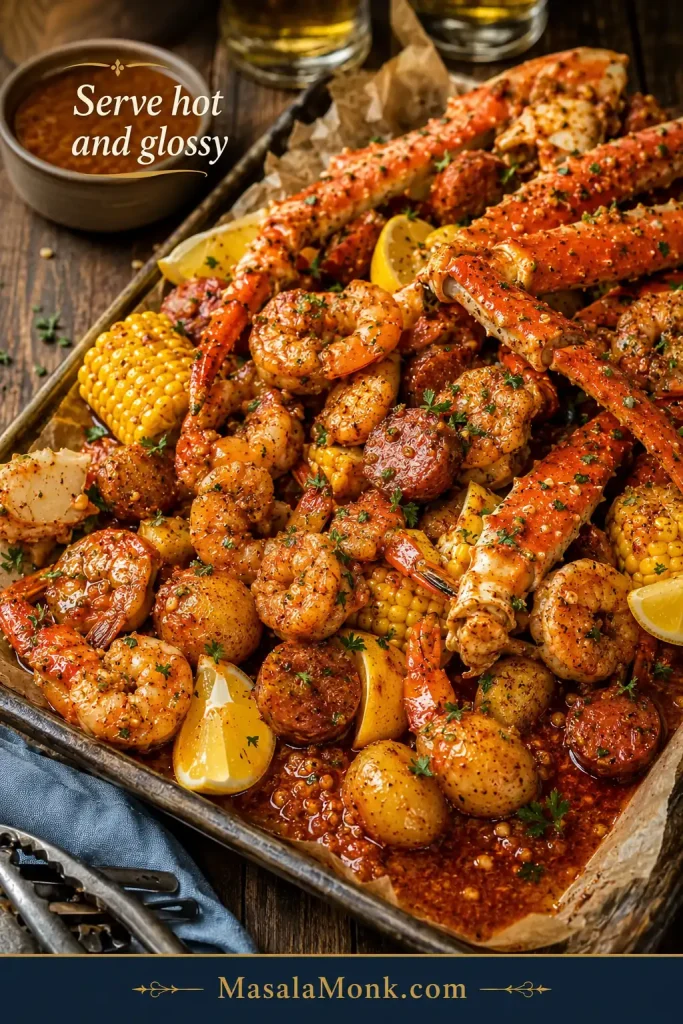
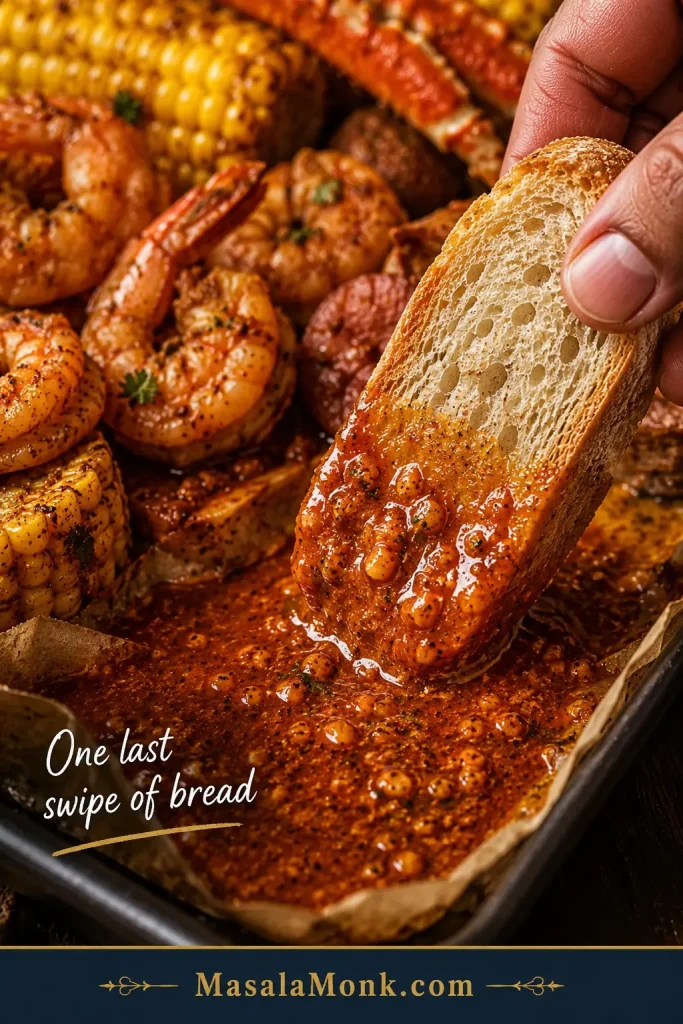
A great seafood boil sauce should do more than taste buttery. It should cling to crab legs, gloss over shrimp, soak into corn and potatoes, and leave enough garlicky Cajun butter at the bottom of the tray for one last swipe of bread.
This is the sauce that turns a pile of boiled seafood into the messy, glossy, pass-the-napkins kind of meal. It is rich, garlicky, smoky, lemony, a little spicy, and easy to adjust for dipping, pouring, tossing, or serving on the side.
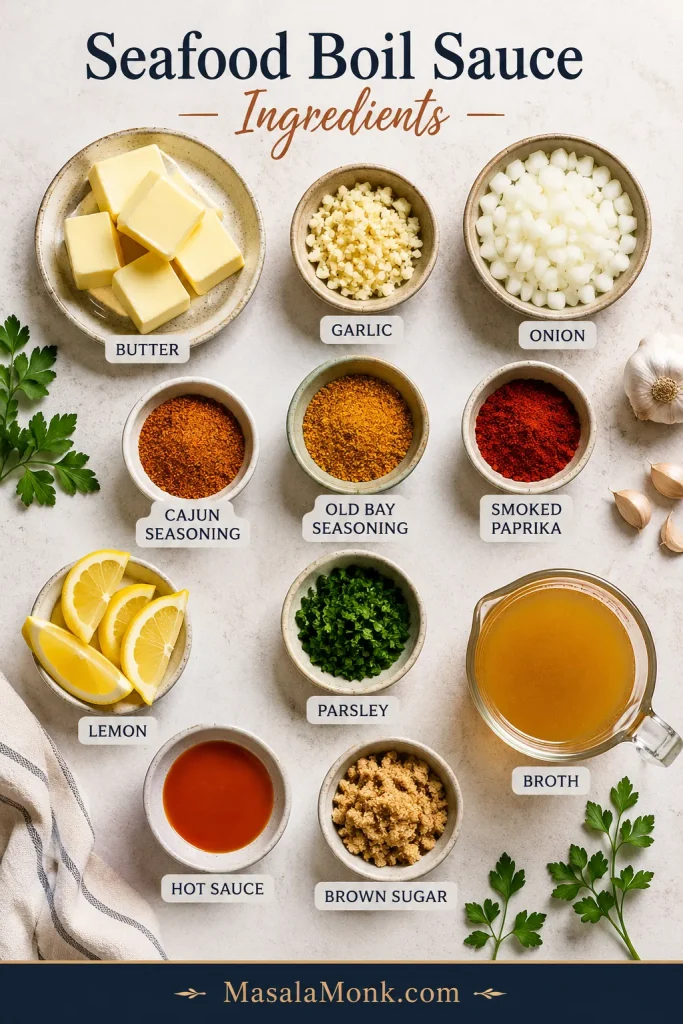
The goal is not just heat or butter. The goal is a sauce that tastes bold but still lets the seafood taste like seafood. The base is simple — butter, garlic, Cajun seasoning, Old Bay, smoked paprika, lemon, and a splash of broth or reserved seafood boil liquid — but the control is what makes it work.
Quick Answer: What Is Seafood Boil Sauce?
Seafood boil sauce is a bold garlic butter sauce made with butter, garlic, Cajun seasoning, Old Bay seasoning, lemon juice, paprika, and a little heat. It should taste rich first, then garlicky and smoky, with enough lemon to make every bite of shrimp, crab, corn, and potatoes feel bright instead of heavy.
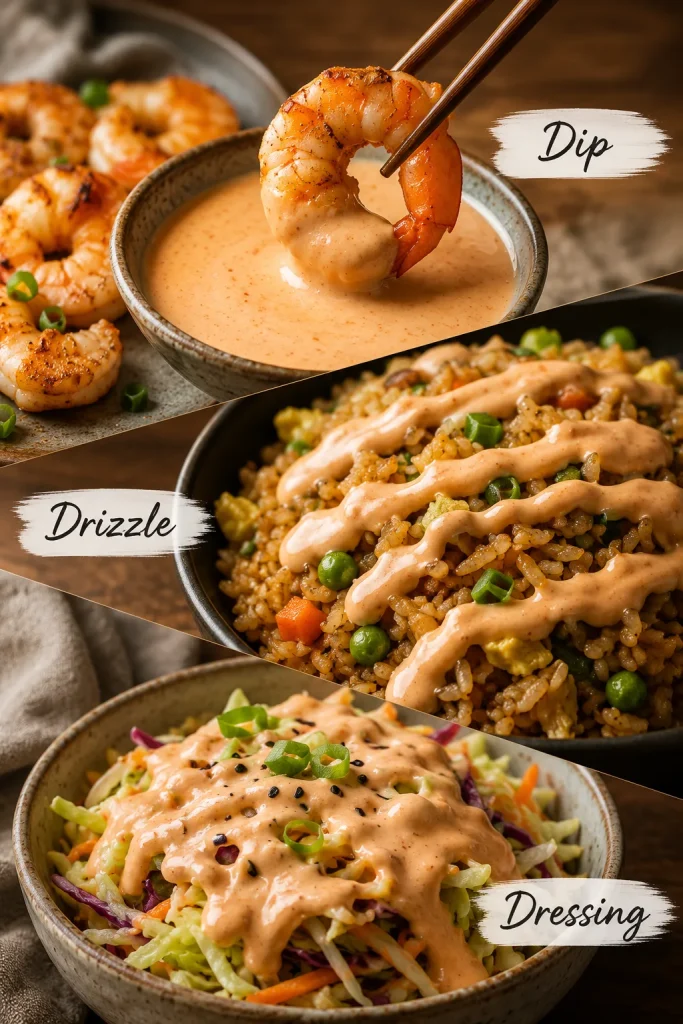
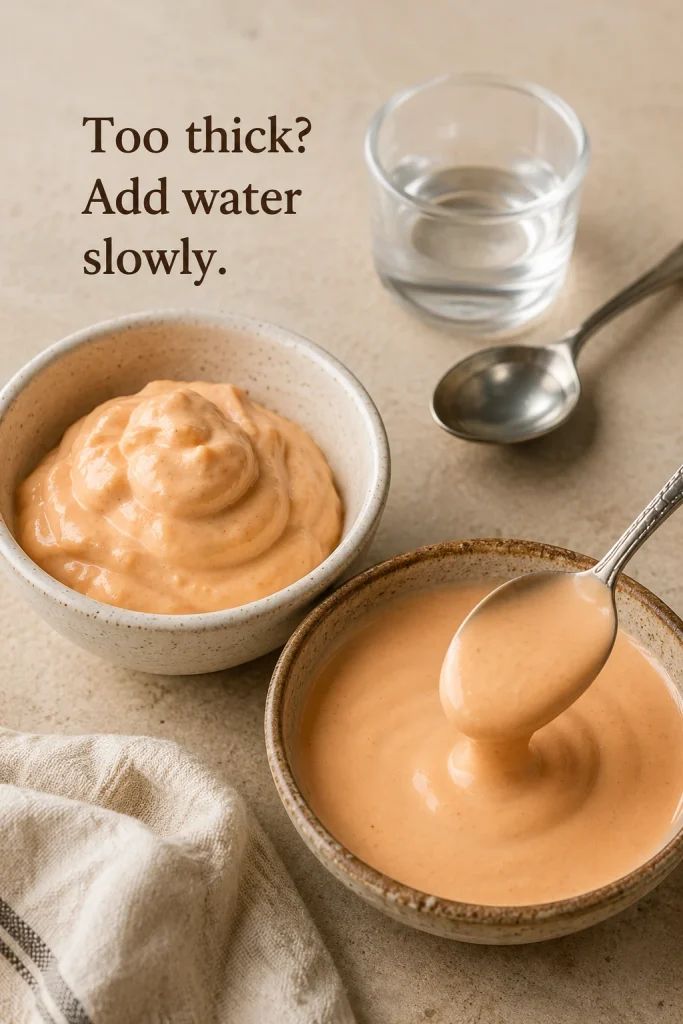
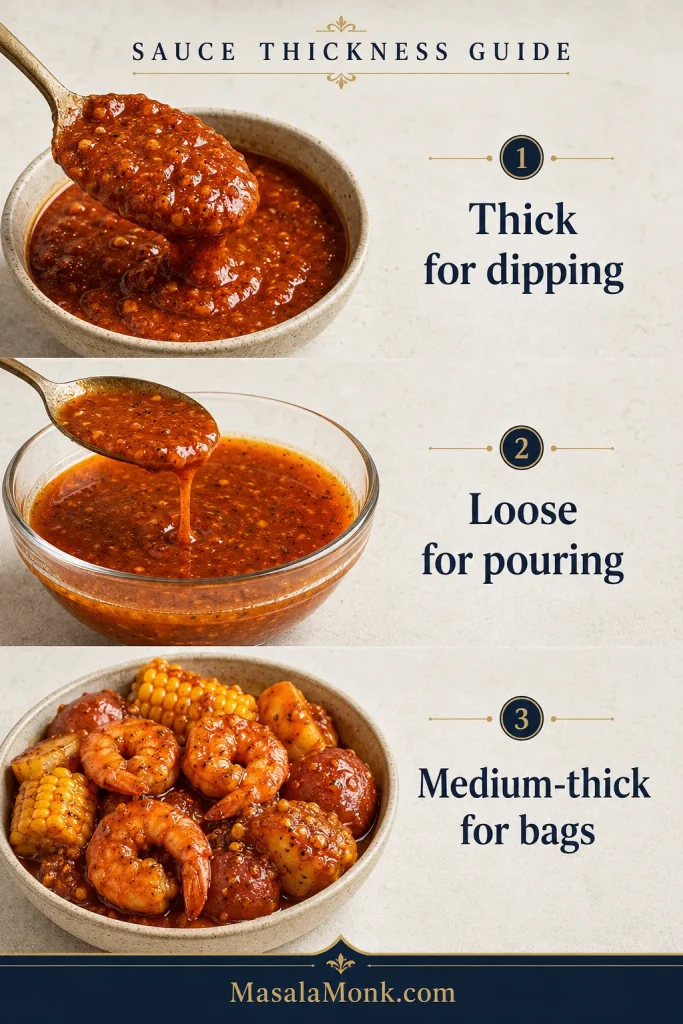
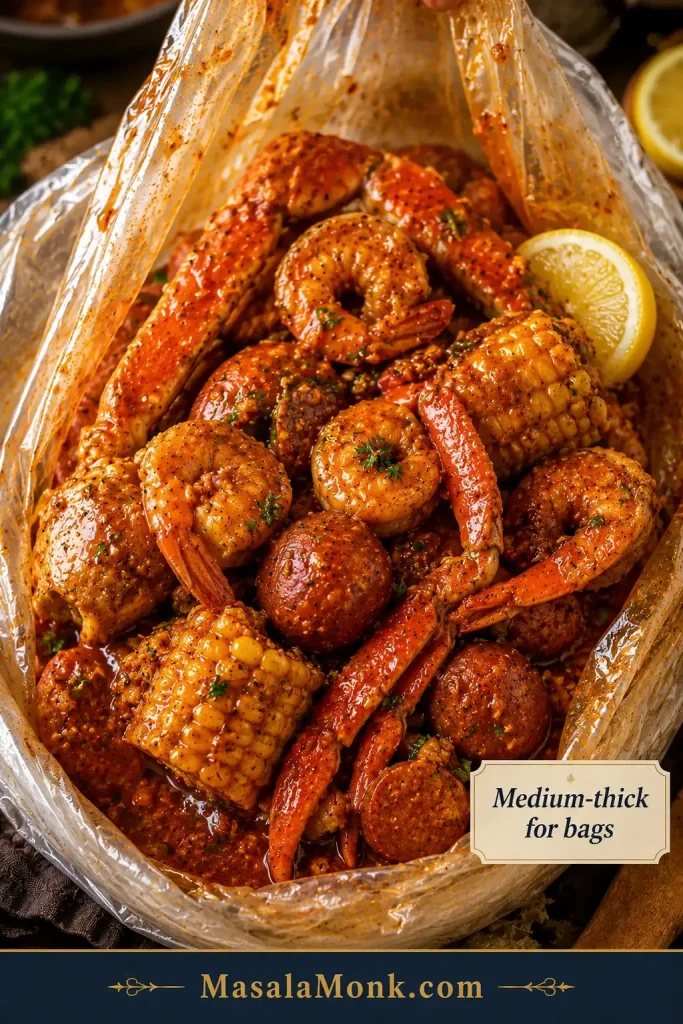
For a thick dipping sauce, use less liquid. For a pour-over sauce, add more broth, seafood stock, or reserved seafood boil liquid. For a seafood boil bag sauce, keep it medium-thick so it coats shrimp, crab, crawfish, corn, potatoes, and sausage without becoming watery.
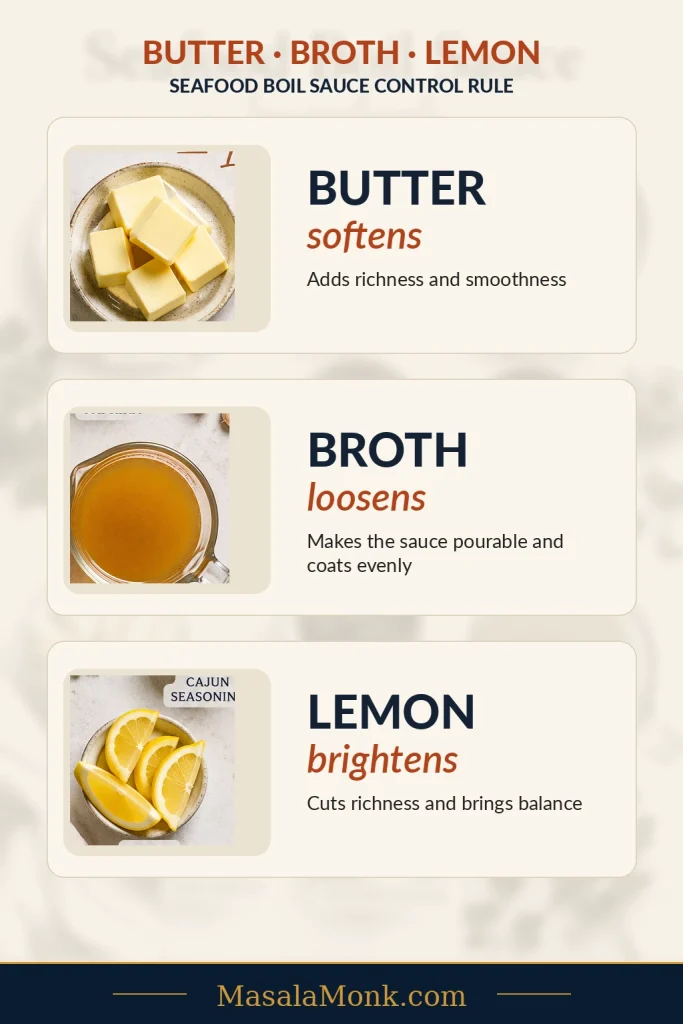
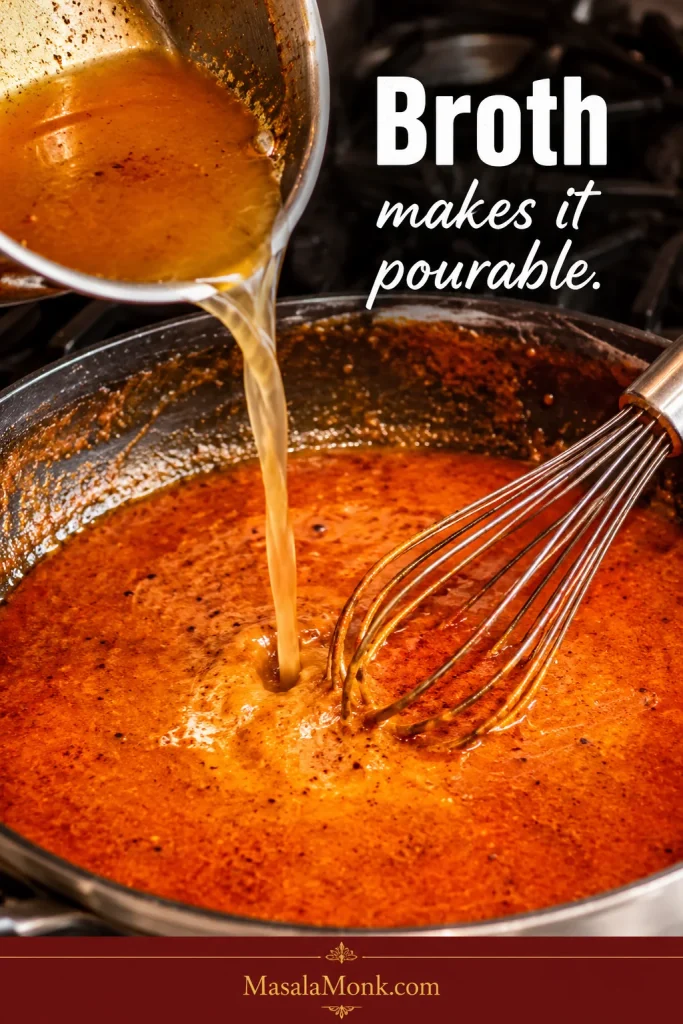
Butter-Broth-Lemon Rule
Use the butter-broth-lemon rule: butter softens, broth loosens, and lemon brightens. Choose your sauce style first — thick and buttery for crab-leg dipping, loose and glossy for shrimp and corn, or medium-thick for seafood boil bags. The recipe below starts in the middle so you can adjust either way.
The best version is bold, glossy, and adjustable: rich enough for crab, bright enough for shrimp, loose enough for corn and potatoes, and balanced enough that it does not hide the seafood.
Make It Now: Seafood Boil Sauce Recipe
This is the main garlic butter Cajun seafood boil sauce. It makes about 2 cups / 480 ml, enough for about 2½–3 lb / 1.1–1.35 kg seafood as a light-to-generous pour-over sauce, depending on how much corn, potatoes, sausage, and eggs are on the tray.
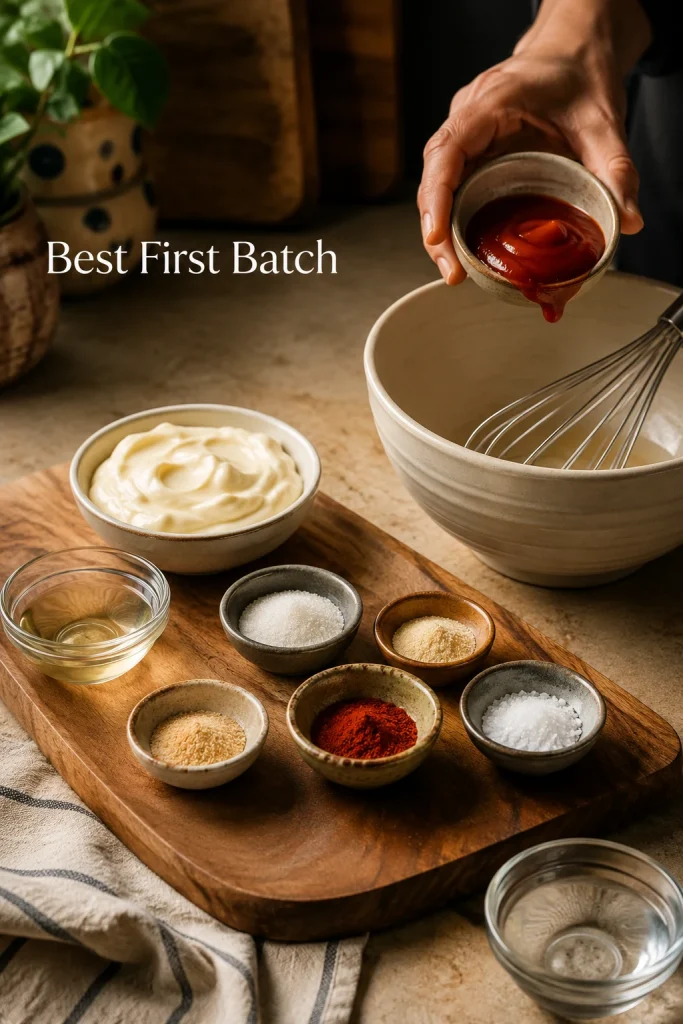
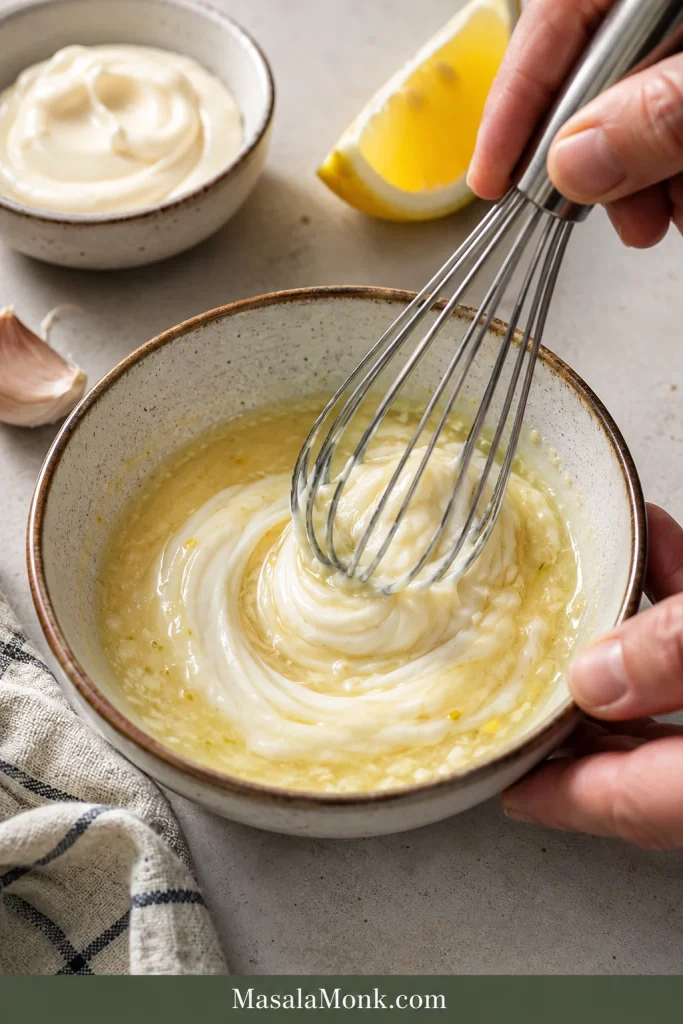
You only need one pan, low heat, and about 20 minutes. Melt the butter, soften the aromatics, bloom the spices, loosen with broth, then finish with lemon.
Prep time: 10 minutes
Cook time: 12 minutes
Total time: 22 minutes
Yield: About 2 cups / 480 ml sauce
Serves: 4–6 as pour-over sauce, 8–10 as dipping sauce because dipping uses less per person
Equipment: Large skillet or medium saucepan, whisk, measuring spoons, microplane or garlic press
Scaling: Double the sauce for a large tray or seafood boil bag. Keep the heat low and use a wider pan so the garlic and spices cook evenly.
Before you pour: Taste the sauce with one shrimp, potato, or piece of corn. The salt order is simple: season first, loosen second, salt last.
Ingredients
| Ingredient | US Measure | Metric |
|---|---|---|
| Unsalted butter | 1 cup / 2 sticks / 8 oz | 226 g |
| Garlic, minced or grated | 8–10 cloves | 30–40 g |
| Yellow onion, very finely minced | ½ small onion / about ⅓ cup | 50–60 g |
| Cajun seasoning | 1½ tablespoons | 12–15 g |
| Old Bay seasoning | 2 teaspoons | 5–6 g |
| Smoked paprika | 1 tablespoon | 6–7 g |
| Onion powder | 1 teaspoon | 2–3 g |
| Brown sugar | 1–2 teaspoons | 4–8 g |
| Hot sauce | 1–2 teaspoons | 5–10 ml |
| Reserved seafood boil liquid, seafood stock, low-sodium chicken broth, or vegetable broth | ½ cup | 120 ml |
| Lemon juice | 2 tablespoons | 30 ml |
| Lemon zest | 1 teaspoon | Optional |
| Fresh parsley, chopped | 2 tablespoons | 6–8 g |
Optional heat: Add ¼–½ teaspoon cayenne or red pepper flakes if you want a spicier Cajun butter sauce.
Salt note: Do not add extra salt until the sauce is finished and tasted. Cajun seasoning, Old Bay, broth, and reserved boil liquid can all bring salt.
Measurement note: Gram weights for seasoning blends are approximate because Cajun seasoning and seafood seasonings vary by brand. Use the spoon measures first, then adjust after tasting.
Instructions
- Melt the butter in a large skillet or medium saucepan over low to medium-low heat.
- Add the finely minced onion and cook for 3–4 minutes, until softened and glossy but not browned.
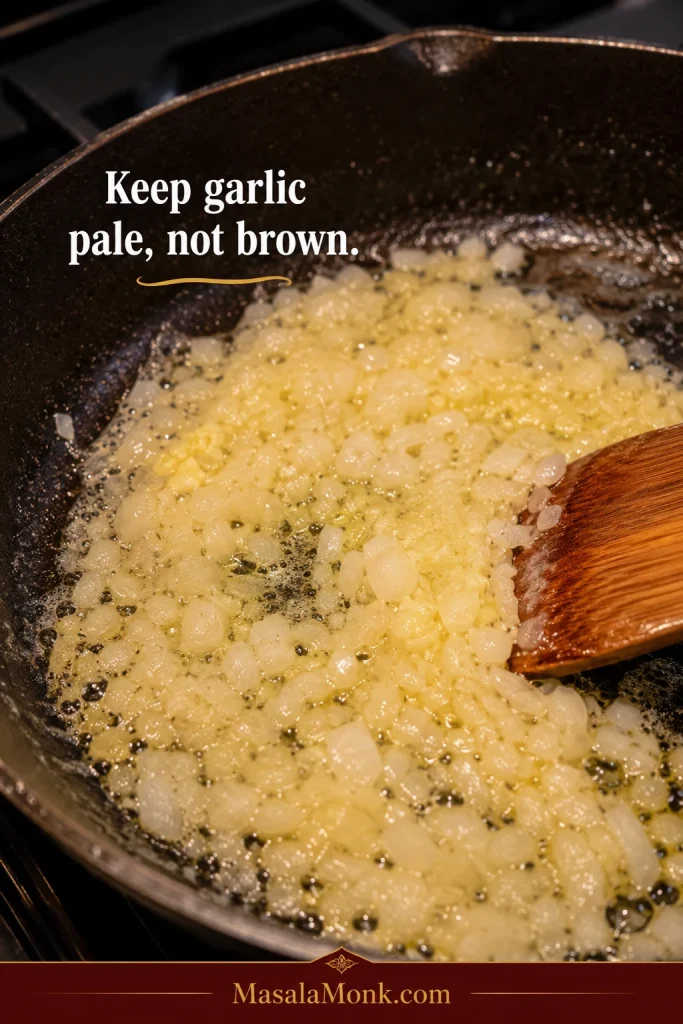
- Add the garlic and cook for 60–90 seconds, just until fragrant. Keep it pale, not brown.
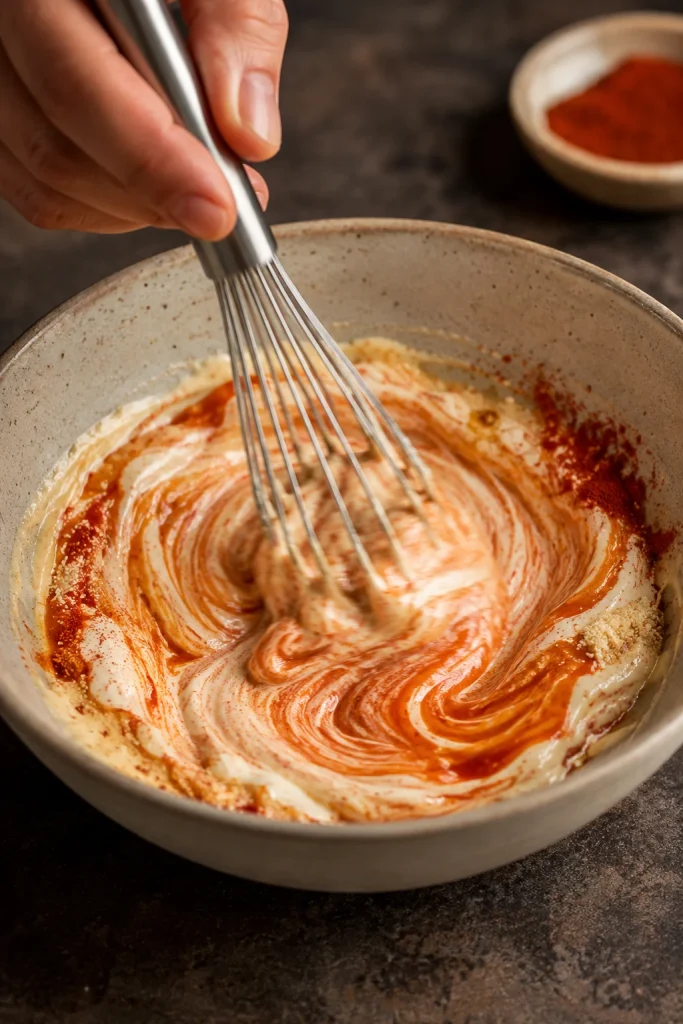
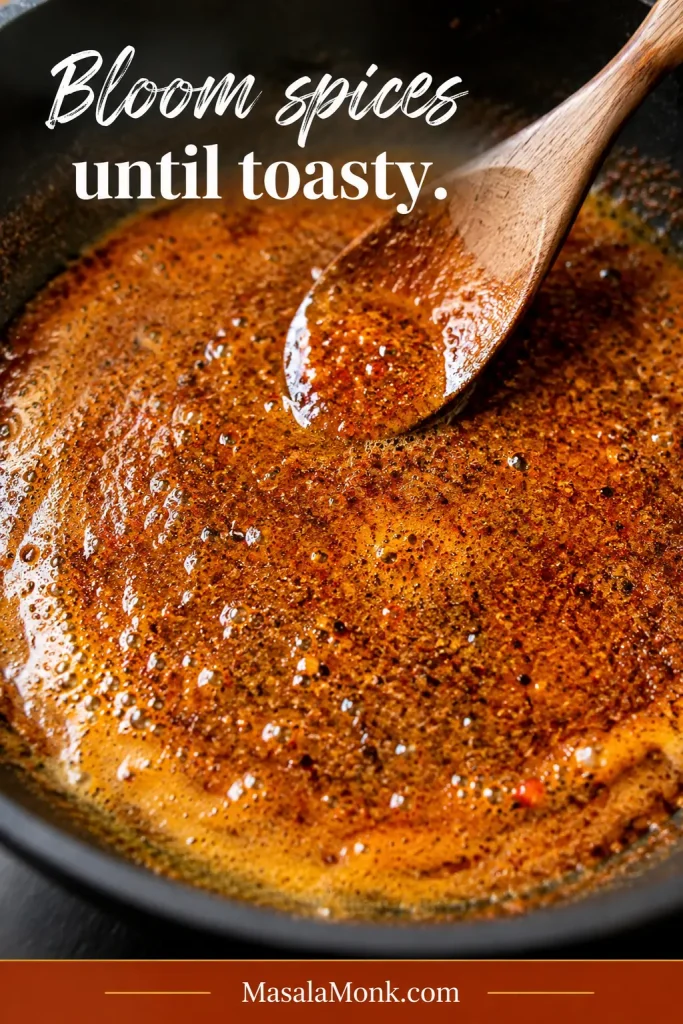
- Stir in the Cajun seasoning, Old Bay, smoked paprika, onion powder, brown sugar, and optional cayenne or red pepper flakes.
- Cook the spices in the butter for 30–60 seconds, until the butter smells toasty and the spices look absorbed into the butter, not sandy on the surface.
- Slowly whisk in the reserved boil liquid, stock, or broth.
- Let the sauce gently simmer for 3–5 minutes, stirring often, until glossy and spoonable.
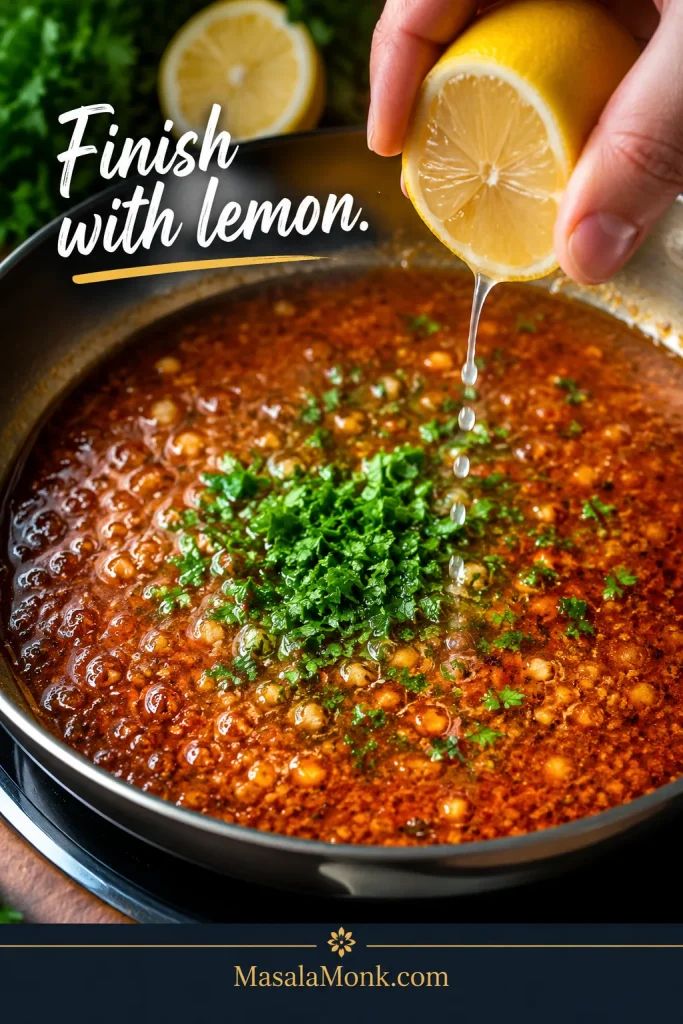
- Turn off the heat. Stir in the lemon juice, lemon zest, hot sauce, and parsley.
- Taste and adjust. Add more lemon for brightness, broth for a looser sauce, butter for richness, or hot sauce for more heat.
- Taste with one shrimp, potato, or piece of corn before coating the full seafood tray.
- Serve warm as a dipping sauce, pour-over sauce, or seafood boil bag sauce.
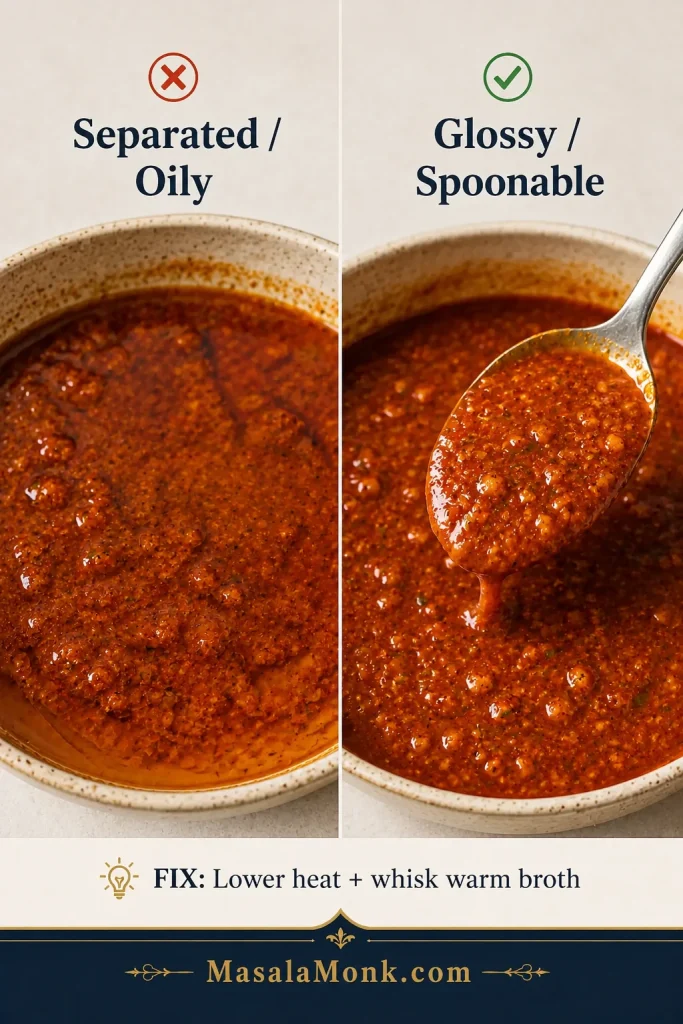
Important: Keep the sauce at a gentle simmer and it stays glossy. A hard boil can make the butter separate and the garlic taste harsh.
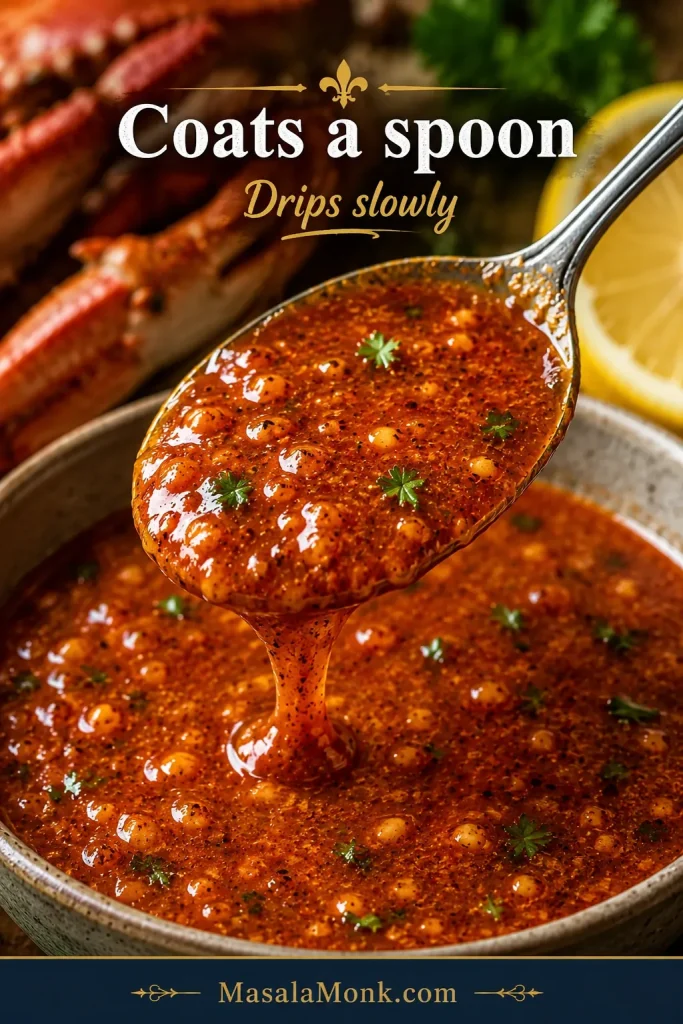
The sauce should look bold before it tastes aggressive: red-orange, glossy, garlicky, and loose enough to spoon over the tray without drowning the seafood.
Seafood Boil Sauce Success Cues
Use these cues while cooking. They matter more than the clock.
| Cue | What You Want |
|---|---|
| Garlic | Fragrant and pale, not brown |
| Onion | Soft, glossy, and slightly translucent |
| Spices | Toasty and buttery, not dry or sandy |
| Sauce texture | Glossy and spoonable, not broken or greasy |
| Salt | Bold and savory, not sharp or harsh |
| Heat | Warm Cajun spice first, extra fire only if you want it |
| Lemon | Bright enough to cut the butter |
| Finished sauce | Buttery, garlicky, smoky, lemony, and easy to drizzle |
When the sauce hits these cues, it tastes big without tasting heavy — rich enough for crab, bright enough for shrimp, and loose enough to find its way into the corn and potatoes.
Adjust, Fix and Serve the Sauce
Use the rest of this guide to choose the right texture, adjust the flavor, fix common problems, and store leftovers safely.
Choose Your Sauce Style
Make It Taste Right
Dipping Sauce vs Pour-Over Sauce
This is where the sauce becomes yours. Some people want a thick bowl of butter for crab legs; others want a loose, glossy sauce that runs into the corn and potatoes. The same base can do both.
| Use | Texture | How to Adjust |
|---|---|---|
| Dipping sauce | Thick, buttery, clingy | Use ¼ cup / 60 ml liquid and simmer slightly longer. |
| Pour-over sauce | Glossy, loose, spoonable | Use ½ cup / 120 ml liquid. |
| Seafood boil bag sauce | Medium-thick, coating sauce | Use ½–¾ cup / 120–180 ml liquid. |
| Big tray sauce | Looser and more spreadable | Use ¾–1 cup / 180–240 ml liquid. |
| Crab leg dipping sauce | Rich and buttery | Keep it thicker and serve lemon wedges on the side. |
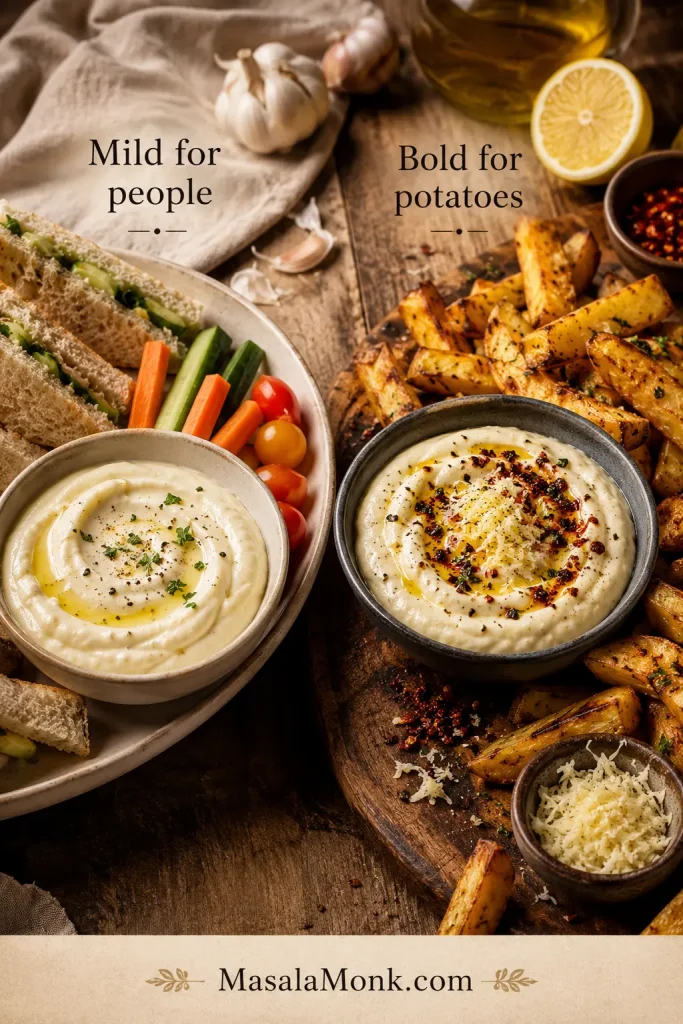
Crab people usually want the thick bowl. Shrimp, corn, and potatoes usually want the loose spoon-over version. If your table is divided, make the base sauce medium-thick, then loosen half for pouring and keep half rich for dipping.
Think of the broth or boil liquid like a volume knob. Add a little for a thick dip. Add more for a sauce that covers a whole tray.
How Much Seafood Boil Sauce Do You Need?
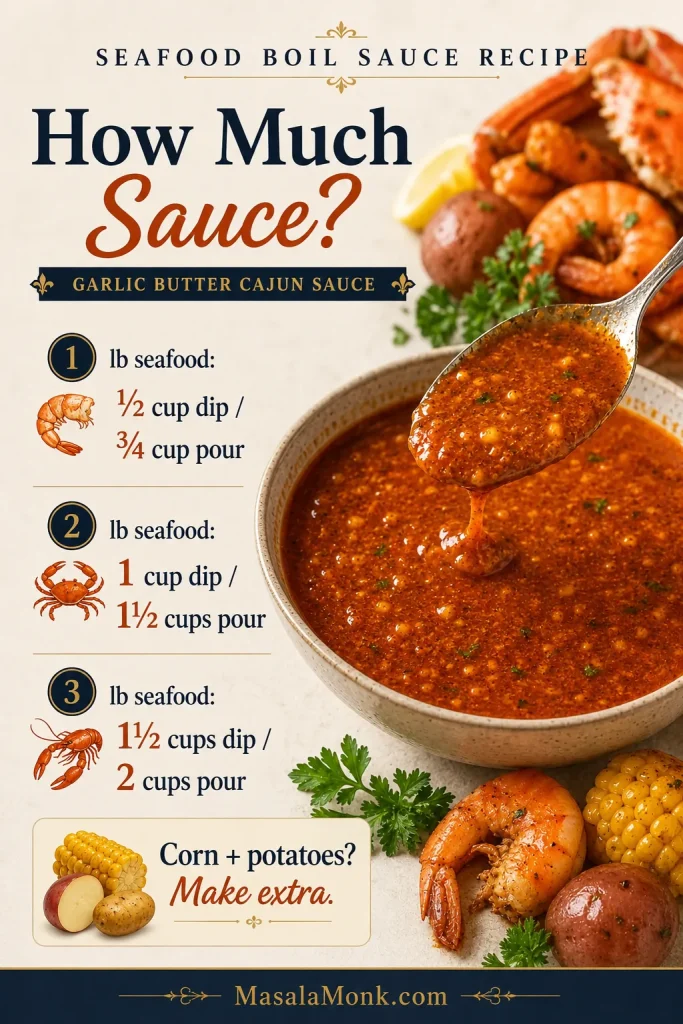
The only sad seafood boil sauce is the one that runs out too early. If the tray has corn and potatoes, make extra. They absorb sauce faster than the seafood does.
By Seafood Weight
| Seafood Amount | Dipping Sauce | Pour-Over Sauce |
|---|---|---|
| 1 lb / 450 g seafood | ½ cup / 120 ml | ¾ cup / 180 ml |
| 2 lb / 900 g seafood | 1 cup / 240 ml | 1½ cups / 360 ml |
| 3 lb / 1.35 kg seafood | 1½ cups / 360 ml | 2–2¼ cups / 480–540 ml |
| 5 lb / 2.25 kg seafood | 2½ cups / 600 ml | 3–4 cups / 720–960 ml |
| Party tray | Make extra | Serve extra on the side |
By Number of People
| People | Sauce for Dipping | Sauce for Pouring/Tossing |
|---|---|---|
| 2 people | ½–¾ cup / 120–180 ml | 1 cup / 240 ml |
| 4 people | 1–1½ cups / 240–360 ml | 2 cups / 480 ml |
| 6 people | 1½–2 cups / 360–480 ml | 3 cups / 720 ml |
| 8 people | 2–3 cups / 480–720 ml | 4 cups / 960 ml |
This recipe makes about 2 cups / 480 ml sauce. That is enough for about 2½–3 lb / 1.1–1.35 kg seafood as a pour-over sauce, or more if you are mainly serving it for dipping.
Extra sauce never feels like a mistake at a seafood boil. Running out does.
Once you know how thick the sauce should be and how much to make, the next step is understanding why the balance works.
Why This Seafood Boil Sauce Works
The flavor works because it balances richness, garlic, heat, salt, sweetness, and acidity.
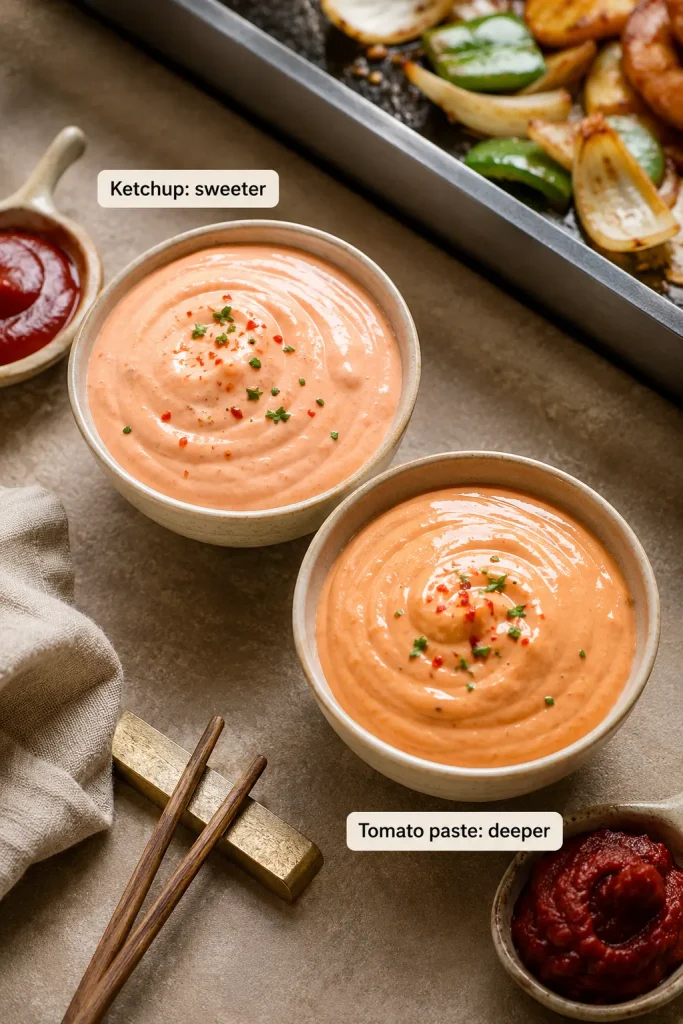
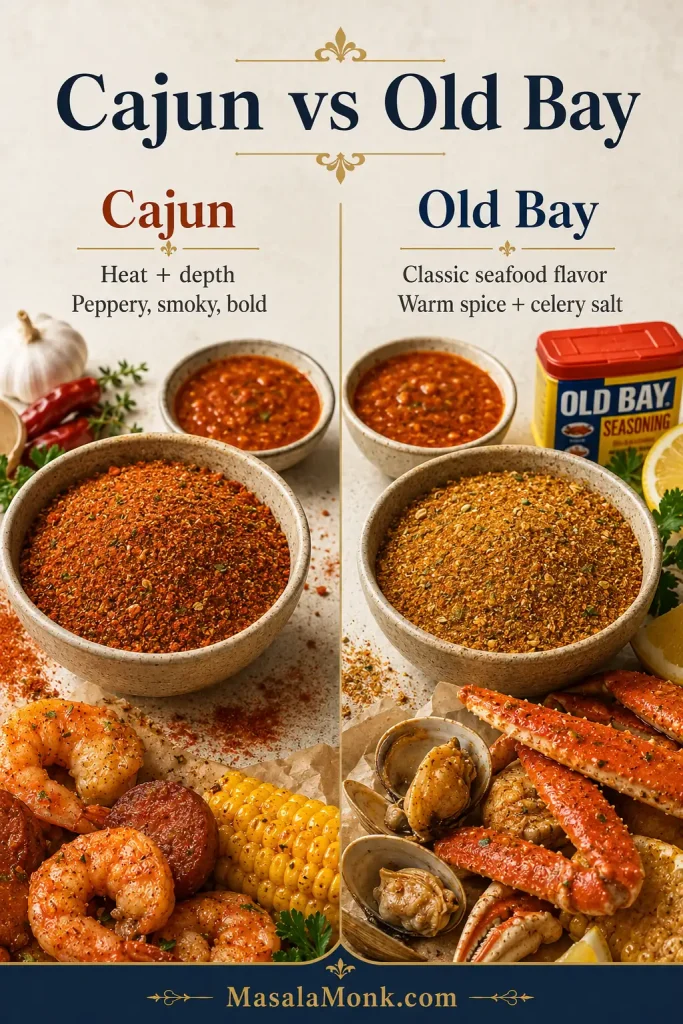
Butter gives the sauce body. Garlic makes it bold and fragrant. Cajun seasoning brings peppery heat and Southern-style depth. Old Bay adds the classic seafood-boil flavor many people expect with crab, shrimp, and crawfish. Smoked paprika gives the butter sauce its warm red-orange color. Lemon keeps it from feeling heavy.
The small amount of brown sugar is not there to make the sauce sweet. It rounds out salt and spice, especially if your seasoning blend is intense. A little broth or reserved boil liquid turns plain melted butter into something glossy, spoonable, and better connected to the seafood.
When it is right, the sauce should taste buttery first, then garlicky, smoky, salty-spicy, and finally bright from lemon.
The method matters too. Garlic needs gentle heat, spices taste better when they bloom briefly in butter, and lemon tastes brighter when added near the end.
That balance is why the sauce can be bold enough for sausage and potatoes but still bright enough for shrimp, crab, and lobster.
Ingredients You Need
The recipe card gives you the amounts. This section explains what each ingredient does and how to adjust if your seasoning blend is stronger, smokier, hotter, or saltier than expected.
Butter
Unsalted butter gives you the best control because seafood boil seasonings can be salty. If you only have salted butter, make the sauce first, then taste before adding anything salty at the end.
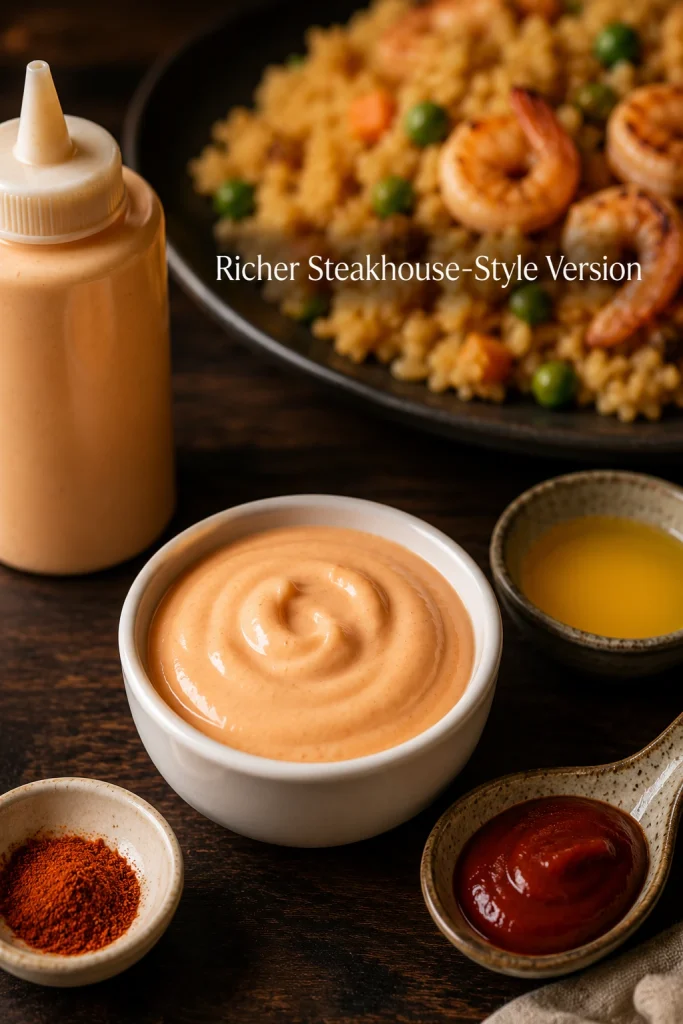
For a richer party-style version, whisk in 2–4 extra tablespoons of butter after the sauce simmers.
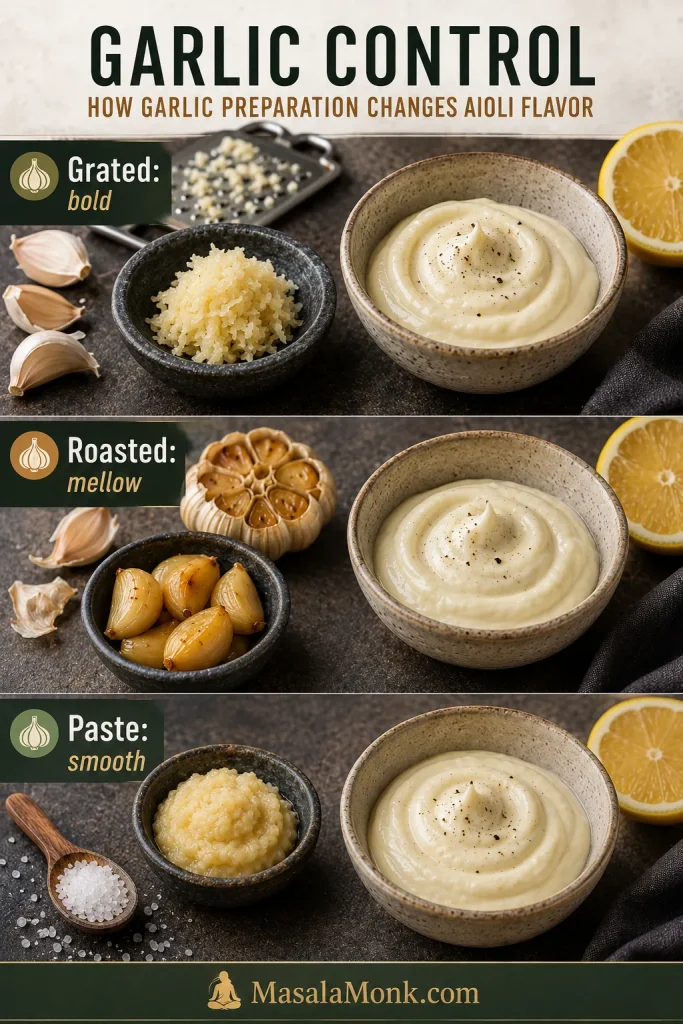
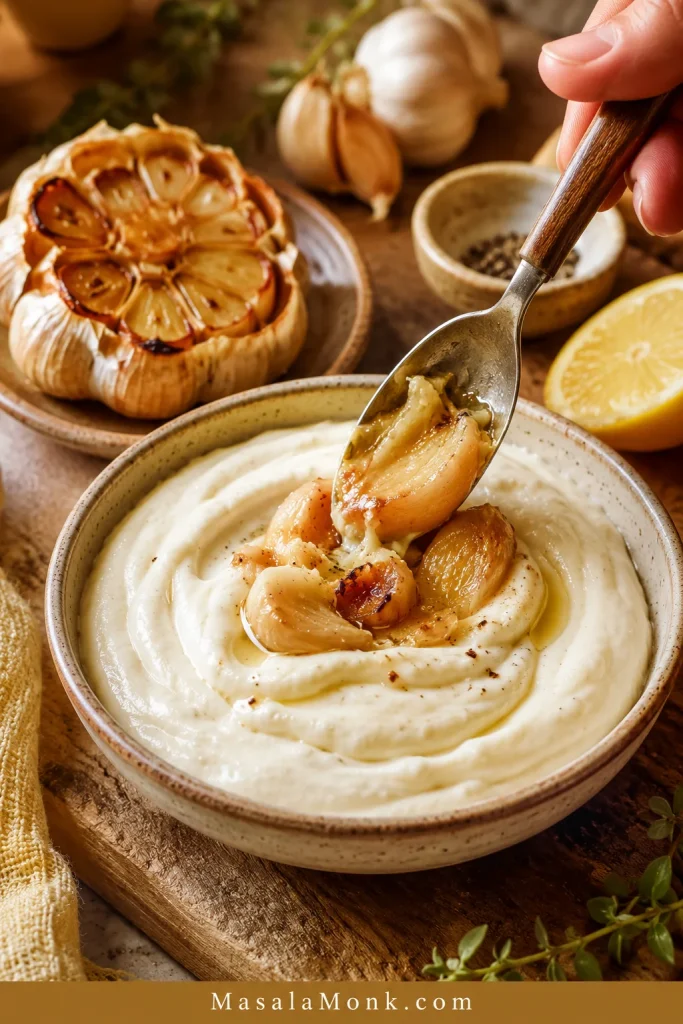
Garlic
Fresh garlic gives this Cajun butter sauce its best flavor. Minced garlic gives a rustic texture; grated garlic or garlic paste makes the sauce smoother and more restaurant-style.
Keep the garlic pale and fragrant. Dark brown garlic can taste bitter.
Onion
Onion is optional, but it gives the sauce body and natural sweetness. Mince it very finely so it melts into the butter, or grate it for a smoother finish.
Cajun Seasoning
Cajun seasoning gives the sauce its bold, peppery, spicy base. Different brands vary a lot, so taste yours before you add extra heat or salt.
Old Bay Seasoning
Old Bay gives the sauce that classic seafood flavor. It works especially well with shrimp, crab legs, crawfish, potatoes, and corn.
No Old Bay in the pantry? You can still make a good boil sauce with Cajun seasoning, smoked paprika, garlic powder, onion powder, and a small pinch of celery salt or celery seed.
Smoked Paprika
Smoked paprika adds color, warmth, and a gentle smoky note. It helps create the deep red-orange look people associate with Cajun seafood butter.
Brown Sugar
Brown sugar is optional but useful. It rounds out salt, spice, and heat without making the sauce taste sweet, and it helps create a slightly glossy finish.
Broth, Seafood Stock, or Reserved Boil Liquid
This is what changes the sauce from a thick buttery dip into something you can spoon over a whole tray. Reserved boil liquid, stock, or broth loosens the sauce so it pours instead of sitting like straight melted butter.
Reserved boil liquid gives the strongest seafood-boil flavor because it already carries seasoning from the pot. If it tastes very salty, use half boil liquid and half low-sodium broth or water.
Lemon Juice and Lemon Zest
Lemon cuts through the butter and brightens the whole sauce. Add lemon juice near the end so it tastes fresh. Lemon zest is optional, but it makes the sauce smell brighter.
Hot Sauce, Cayenne, or Red Pepper Flakes
Hot sauce gives smoother heat. Cayenne adds stronger fire. Red pepper flakes bring visible spicy texture. Add heat slowly because it is much easier to make the sauce spicier than it is to calm it down.
Equipment
- Large skillet or medium saucepan
- Whisk
- Measuring cups and spoons
- Microplane, garlic press, or sharp knife
- Heatproof spatula or spoon
- Optional immersion blender for a smoother sauce
A skillet gives the spices room to bloom and lets the sauce reduce slightly; a medium saucepan works well for smaller batches or easier pouring.
How to Make It Glossy, Not Greasy
The recipe card above has the short version. These details help if you want a smoother, glossier, more controlled sauce.
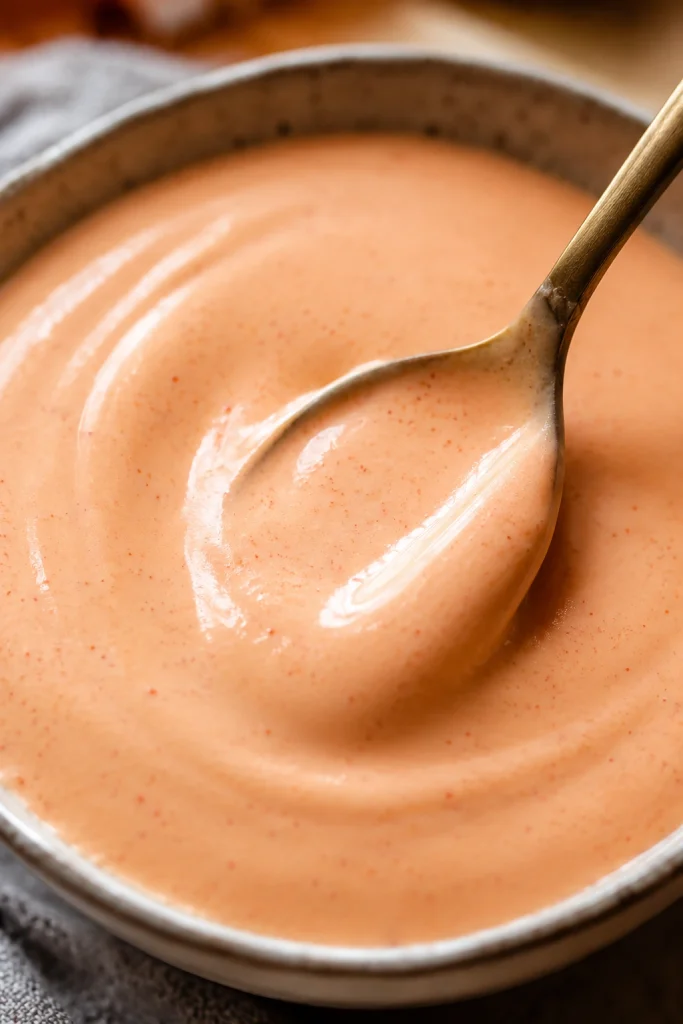
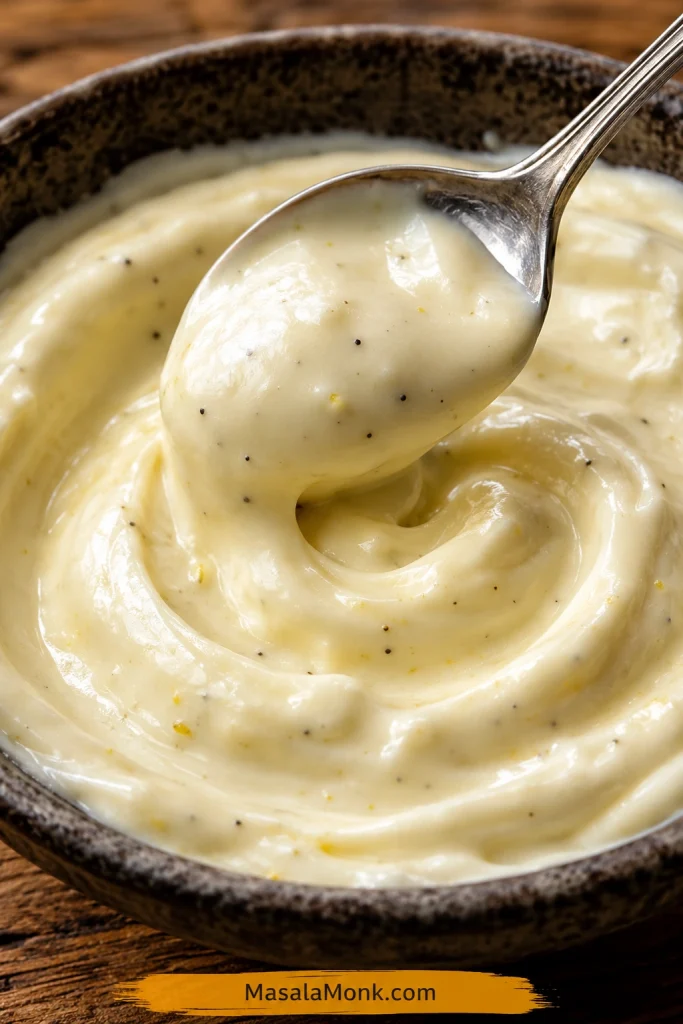
Spoonable Sauce Texture
Before you pour the sauce over seafood, check the spoon. A glossy sauce should coat it lightly, then drip back slowly instead of running like water or sitting like straight melted butter.
1. Melt the Butter Gently
Melt the butter over low to medium-low heat. Starting gently keeps the butter from separating and gives the garlic time to flavor the sauce without burning.

2. Soften the Onion and Garlic
Cook the onion until soft and glossy, then add the garlic for 60–90 seconds. The garlic should smell fragrant but stay pale.
3. Bloom the Seasonings
Stir the Cajun seasoning, Old Bay, smoked paprika, onion powder, brown sugar, and optional heat into the butter. Cook briefly until the butter turns red-orange and the spices look absorbed, not dry or dusty.
4. Loosen and Finish
Whisk in the broth or reserved boil liquid slowly, then simmer gently until glossy. Turn off the heat before adding lemon juice, lemon zest, hot sauce, and parsley.
Finish With Lemon and Parsley
After the sauce is glossy, take it off the heat before adding lemon and parsley. That small timing choice keeps the seafood boil sauce brighter and fresher.
5. Test Before You Pour
Dip one shrimp, one potato, or one piece of corn into the sauce before coating the full tray. Fix the sauce in the pan, not after it has already coated three pounds of seafood.
Do You Add Seafood Boil Sauce Before or After Cooking?
This is a finishing sauce, not the cooking liquid. Let the boil season and cook the seafood, then let the garlic butter sauce coat it.
Add this garlic butter Cajun sauce after the seafood is cooked and drained. The sauce is for pouring, tossing, bagging, or dipping after cooking.
If you are unsure whether the seafood itself is fully cooked, FoodSafety.gov’s safe minimum internal temperatures chart is a useful reference for fish and shellfish.
The best method is simple: cook the seafood, drain it well, taste the sauce, then spoon or toss the warm sauce over the hot seafood. Keep extra sauce on the side for dipping crab, shrimp, corn, and potatoes.
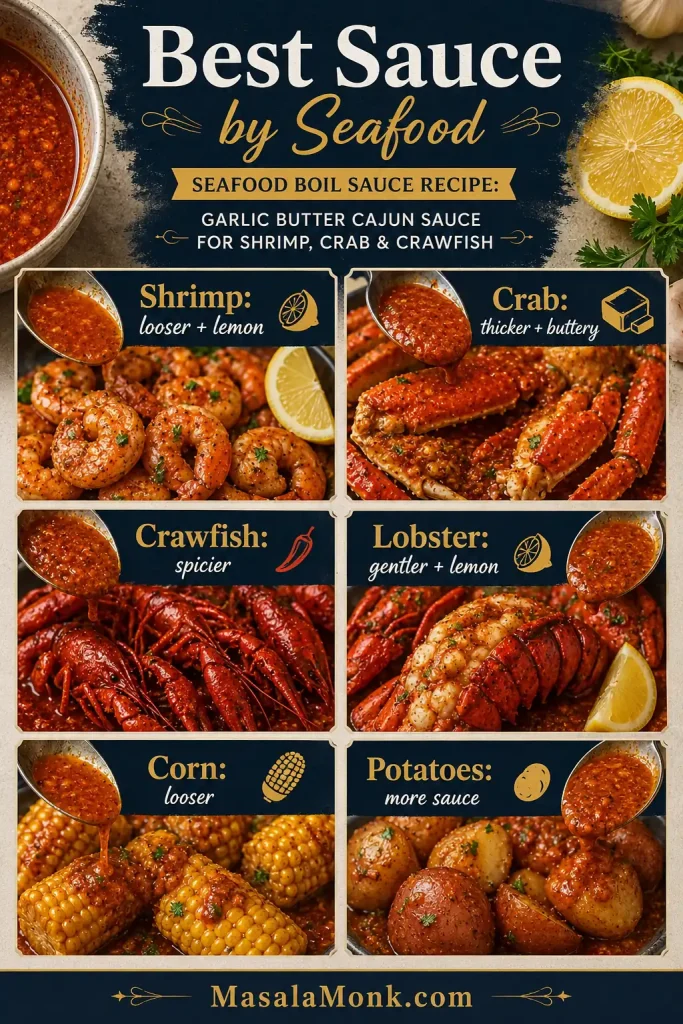
Best Sauce for Shrimp, Crab, Crawfish and More
The same base works across the tray, but each seafood and side likes a slightly different sauce texture.
| Food | Best Sauce Style | Adjustment |
|---|---|---|
| Shrimp | Pour-over or toss | Add slightly more lemon and keep the sauce looser. |
| Crab legs | Dipping sauce | Keep it thicker, buttery, and rich. |
| Crawfish | Spicy Cajun sauce | Add extra Cajun seasoning, paprika, or hot sauce. |
| Lobster tails | Garlic lemon butter | Use less Cajun, more lemon and parsley. |
| Mussels and clams | Loose pour-over sauce | Add more broth so it reaches the shells. |
| Corn | Pour-over sauce | Make it looser so it soaks into the kernels. |
| Potatoes | Pour-over sauce | Add enough broth so the sauce coats well. |
| Sausage | Smoky spicy sauce | Smoked paprika and Cajun seasoning work well. |
| Boiled eggs | Medium-thick sauce | Spoon sauce over just before serving. |
For Shrimp
Shrimp tastes best with a sauce that is garlicky, lemony, and not too heavy. Keep the texture slightly loose so the shrimp stays juicy.
For another shrimp dinner built around garlic, butter, and lemon, this shrimp scampi recipe keeps the same bright butter-sauce idea in a pasta-friendly direction.
For Crab Legs
Crab legs are perfect for a thicker dipping sauce. Keep it buttery and clingy, then serve extra lemon on the side so each bite can be brightened at the table.
For Crawfish
Crawfish can handle stronger heat. Add extra Cajun seasoning, hot sauce, cayenne, or red pepper flakes if you want a spicy crawfish boil sauce.
For Lobster
Lobster is sweeter and more delicate than crawfish or sausage, so go easier on the Cajun seasoning. More garlic, lemon, parsley, and butter usually works better than extra heat.
For a lobster meal that stays buttery but much simpler, this lobster roll recipe covers both the warm buttered Connecticut style and the cool Maine-style version.
For Corn and Potatoes
Corn and potatoes need a looser sauce. Add more broth or reserved boil liquid so the sauce can soak in instead of sitting on top.
Cajun vs Old Bay Seafood Boil Sauce
Cajun seasoning and Old Bay are both common in seafood boil sauce, but they do different jobs. Think of Cajun seasoning as the heat and depth, and Old Bay as the classic seafood-boil note. Together they make the sauce taste fuller, but together they can also make it salty fast.
Do not increase Cajun seasoning and Old Bay heavily at the same time unless you know both blends are low-salt.
- For more Cajun flavor: Increase Cajun seasoning slightly, add smoked paprika, and finish with hot sauce.
- For more Old Bay flavor: Increase Old Bay, reduce Cajun, and keep the lemon bright.
- For a less salty sauce: Use unsalted butter, low-sodium broth, less Old Bay, and more lemon.
- If you have no Old Bay: Use Cajun seasoning, smoked paprika, garlic powder, onion powder, and a tiny pinch of celery salt or celery seed.
- If you have no Cajun seasoning: Use Old Bay, smoked paprika, garlic powder, onion powder, black pepper, and cayenne.
Seafood Boil Sauce Variations
Think of the recipe as one base sauce with two kinds of choices: texture choices for how you serve it, and flavor choices for how spicy, garlicky, or Old Bay-forward you want it.
| Want the Sauce… | Do This |
|---|---|
| More garlicky | Use 10–12 cloves garlic or grated garlic. |
| More Cajun | Add extra Cajun seasoning and smoked paprika. |
| More Old Bay | Increase Old Bay and reduce Cajun seasoning. |
| Mild | Skip cayenne, use mild Cajun seasoning, add more broth and lemon. |
| Spicy | Add cayenne, hot sauce, red pepper flakes, or spicy Cajun seasoning. |
| Thicker for dipping | Use ¼ cup / 60 ml liquid. |
| Looser for a tray | Use ¾–1 cup / 180–240 ml liquid. |
| Restaurant-style sauce | Use grated onion, extra paprika, brown sugar, less liquid, and optional blending. |
Garlic Butter Seafood Boil Sauce
A stronger garlic butter version starts with 10 cloves of garlic and slightly less Cajun seasoning. Keep the lemon juice strong and add parsley at the end. This version is excellent for crab legs, lobster tails, and shrimp.
Spicy Seafood Boil Sauce
For a spicier sauce, add cayenne, red pepper flakes, hot sauce, spicy Cajun seasoning, or hot paprika. Add heat slowly and taste after simmering before adding more.
Mild Seafood Boil Sauce
The mild version uses mild Cajun seasoning, slightly less Old Bay, no cayenne, and extra broth and lemon. It is better for kids, mild eaters, lobster, and anyone who wants buttery garlic flavor without too much heat.
Old Bay Seafood Boil Sauce
An Old Bay-forward sauce works best when Old Bay increases to 1 tablespoon and Cajun seasoning drops to 1 teaspoon. Keep the butter, garlic, lemon, and parsley the same.
Lemon Pepper Seafood Boil Sauce
Add 1–2 teaspoons lemon pepper seasoning and increase the lemon zest. Reduce extra salt because lemon pepper blends can be salty. This version works beautifully with shrimp, lobster, and crab.
Creamy Seafood Boil Sauce
A creamy version needs only 2–4 tablespoons of cream at the end over low heat. This makes the sauce richer and softer, but it is less traditional than garlic butter Cajun sauce.
Restaurant-Style Sauce Adjustments
This is the part that makes the tray look like something people want to gather around. Restaurant-style seafood boils feel different because the sauce arrives hot, glossy, and clingy. It coats the shells, runs into the potatoes, stains the corn, and still leaves enough at the bottom for dipping.
- For redder color, add a little more smoked paprika.
- For deeper flavor, bloom the spices a little longer over low heat.
- For a clingier sauce, use less broth.
- For smoother texture, use grated garlic and grated onion.
- For a glossy finish, add 1–2 teaspoons brown sugar.
- For a smooth restaurant-style sauce, blend briefly with an immersion blender.
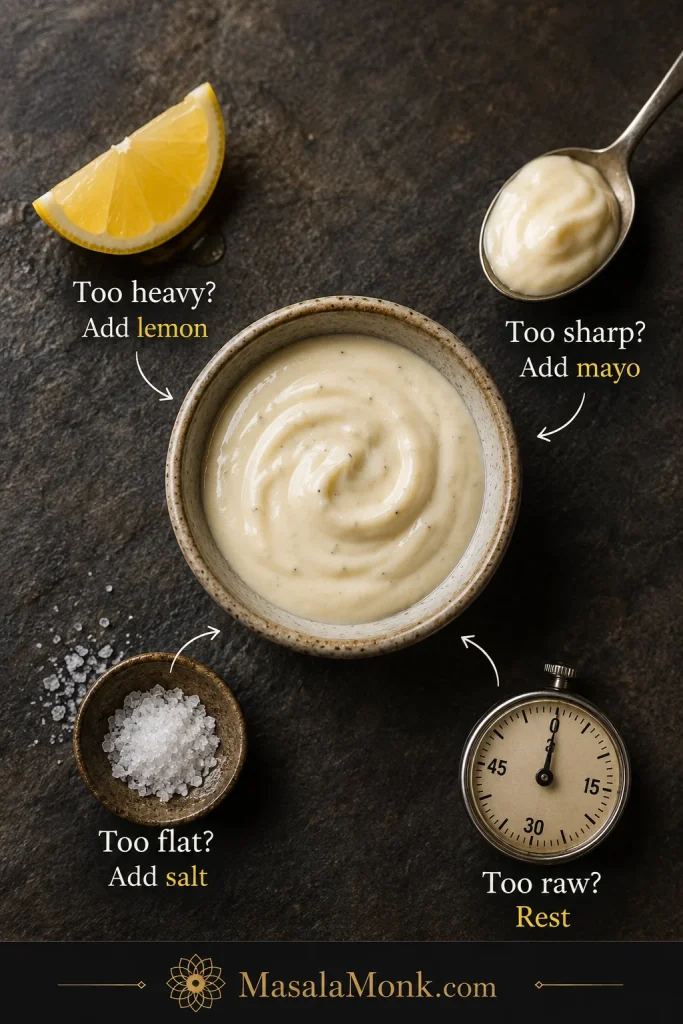
Taste Adjustment Ladder
This is the part where the sauce stops being a formula and starts tasting like yours. Most fixes come back to the butter-broth-lemon rule: butter softens, broth loosens, and lemon brightens.
| If the Sauce Tastes… | Add This |
|---|---|
| Too salty | Unsalted butter first, then warm broth, then lemon. |
| Too buttery or heavy | Lemon juice first, then a splash of broth. |
| Too thin | Simmer a few minutes longer. |
| Too thick | Warm broth, seafood stock, or reserved boil liquid. |
| Too spicy | Butter and broth, then a tiny pinch of brown sugar if needed. |
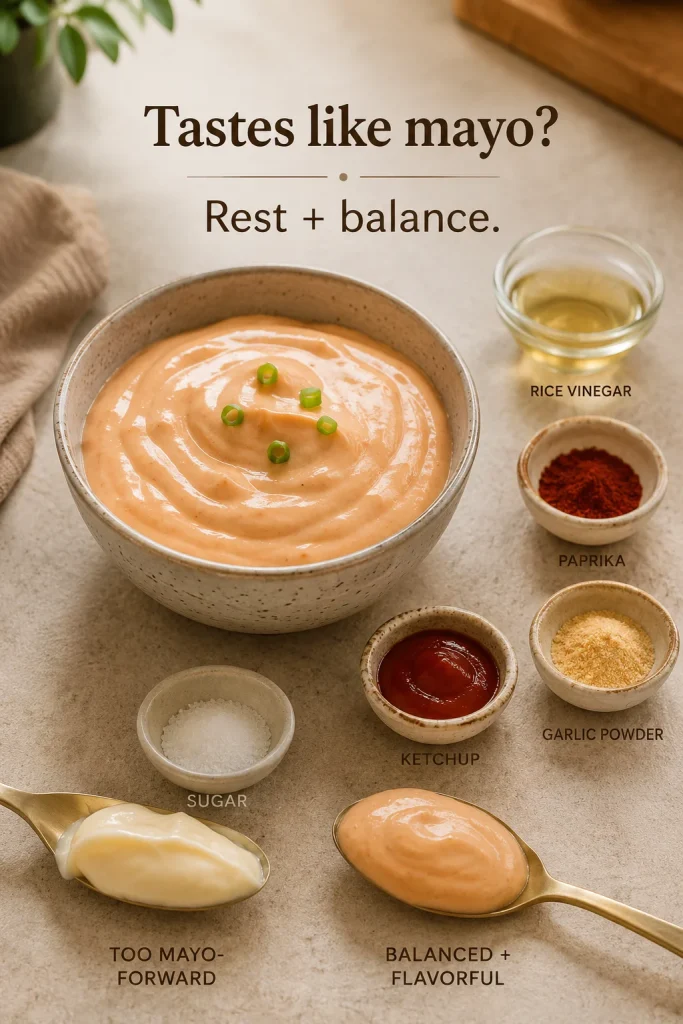
| Too flat | Lemon first, then Cajun seasoning or Old Bay. |
| Too sharp | A small knob of butter or a tiny pinch of brown sugar. |
| Not garlicky enough | A small amount of garlic powder, or gently cooked grated garlic. |
| Not smoky enough | A little more smoked paprika. |
Make one adjustment at a time, then taste again. This keeps the sauce from swinging too far in the other direction.
Quick 2-Minute Seafood Boil Sauce
When the seafood is already cooked and you just need something buttery fast, this shortcut version gets you there.
| Ingredient | Amount |
|---|---|
| Melted butter | ½ cup / 113 g |
| Old Bay or Cajun seasoning | 1–2 teaspoons |
| Garlic powder or 1 minced garlic clove | ½ teaspoon garlic powder or 1 clove |
| Lemon juice | 1 tablespoon / 15 ml |
| Hot sauce | Optional, to taste |
This quick version is not as deep or layered as the full sauce, but it works well as a fast seafood dipping sauce when the seafood is already cooked. For better flavor, warm everything together gently for 1–2 minutes instead of just stirring it cold.
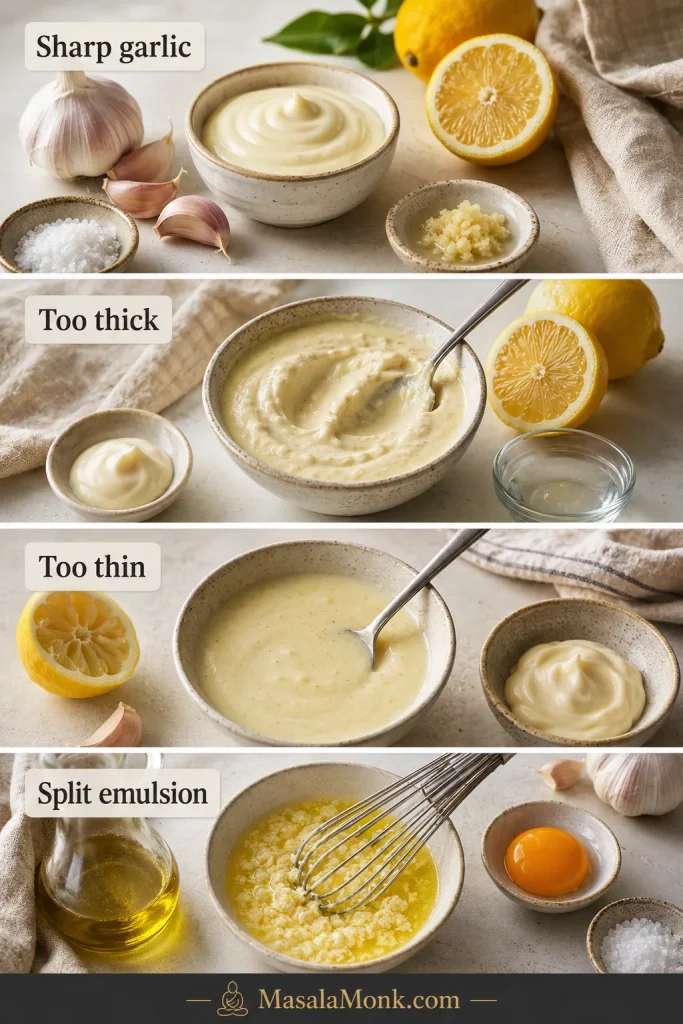
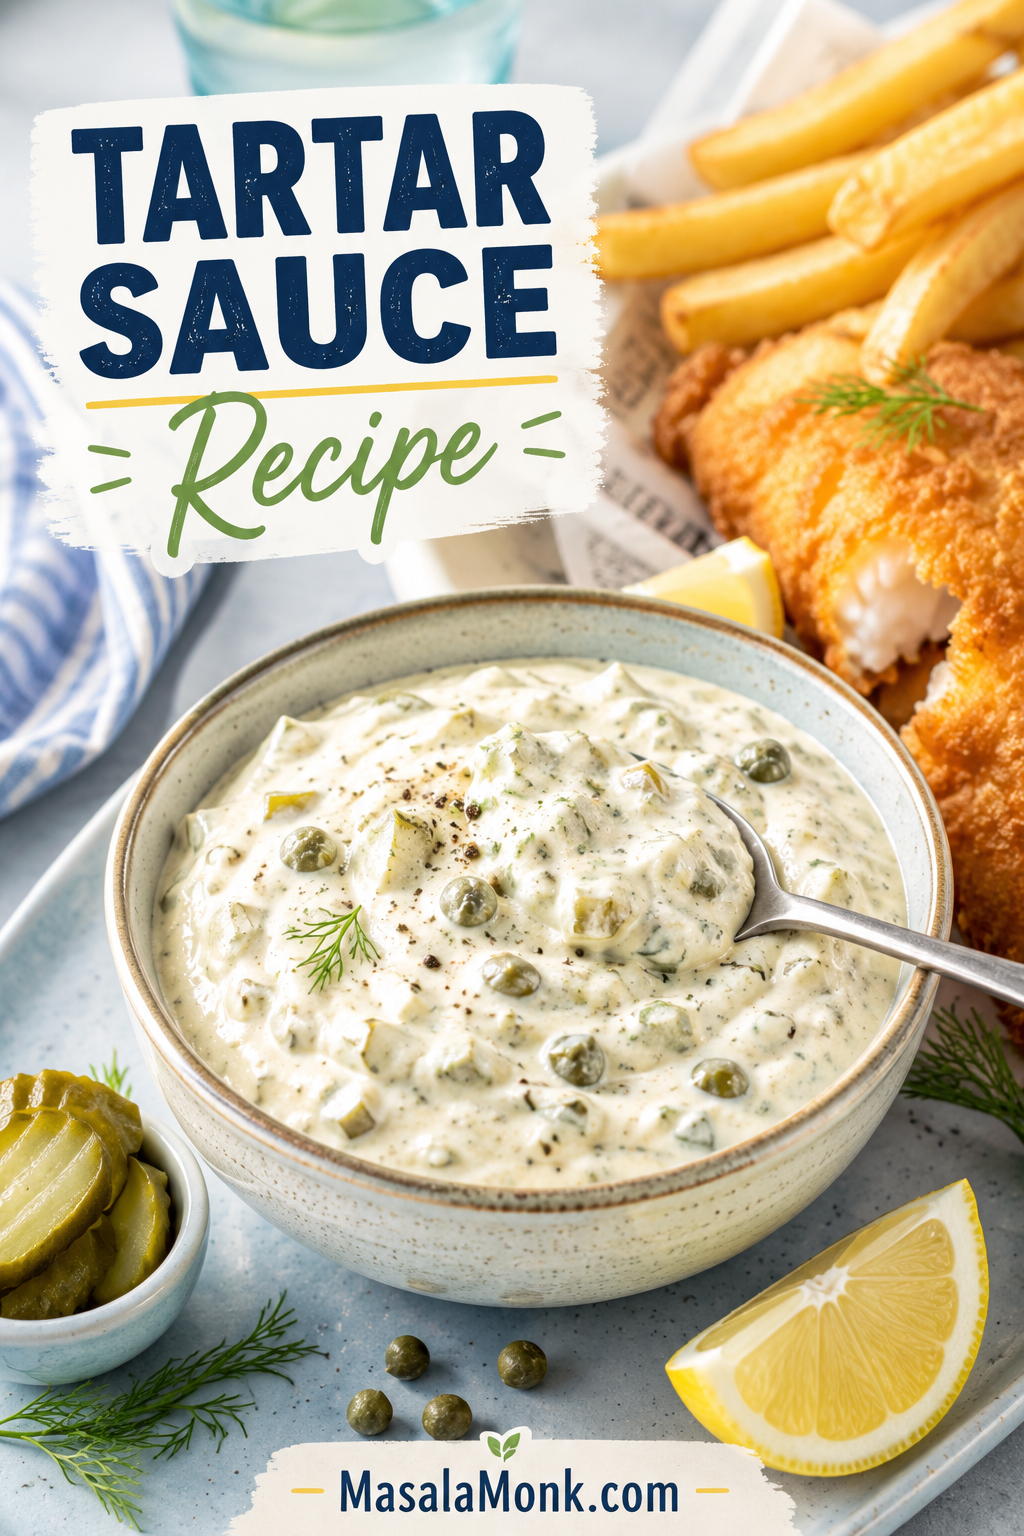
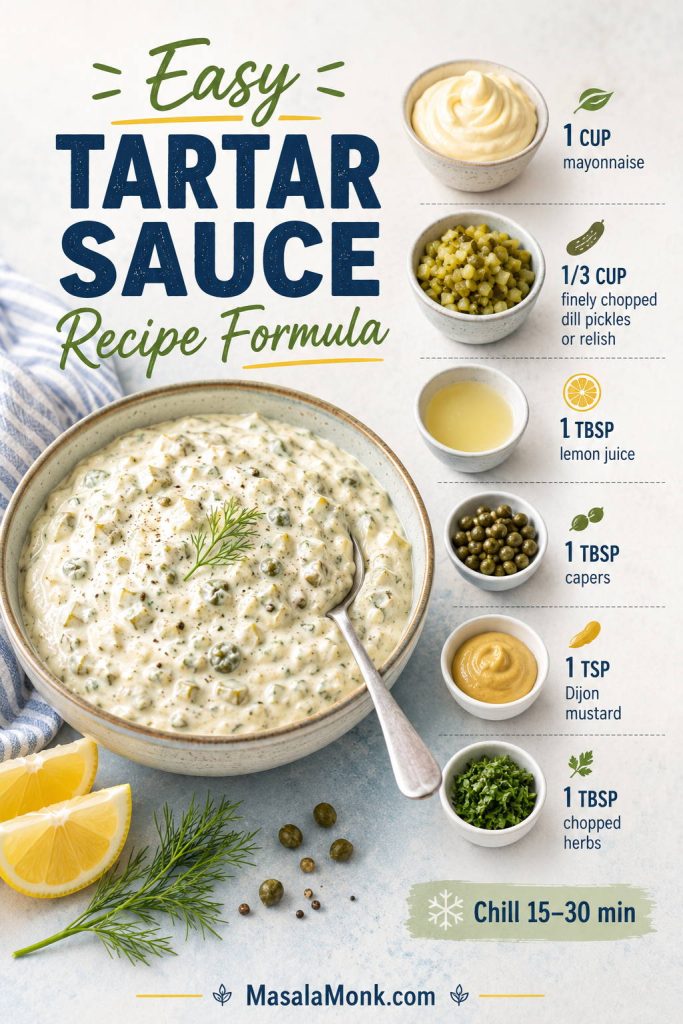
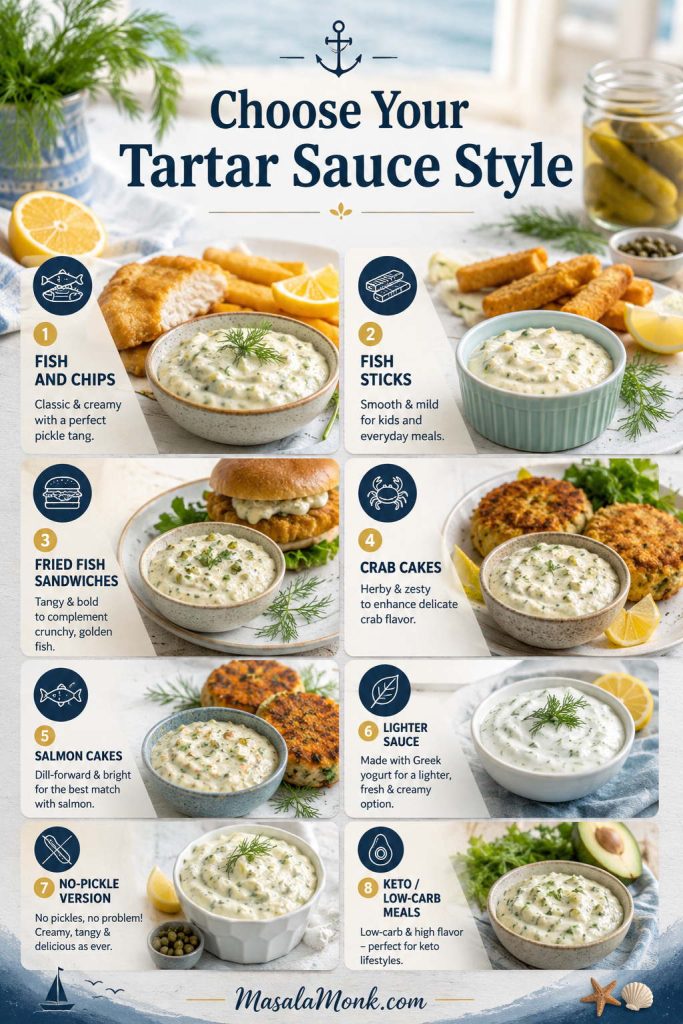
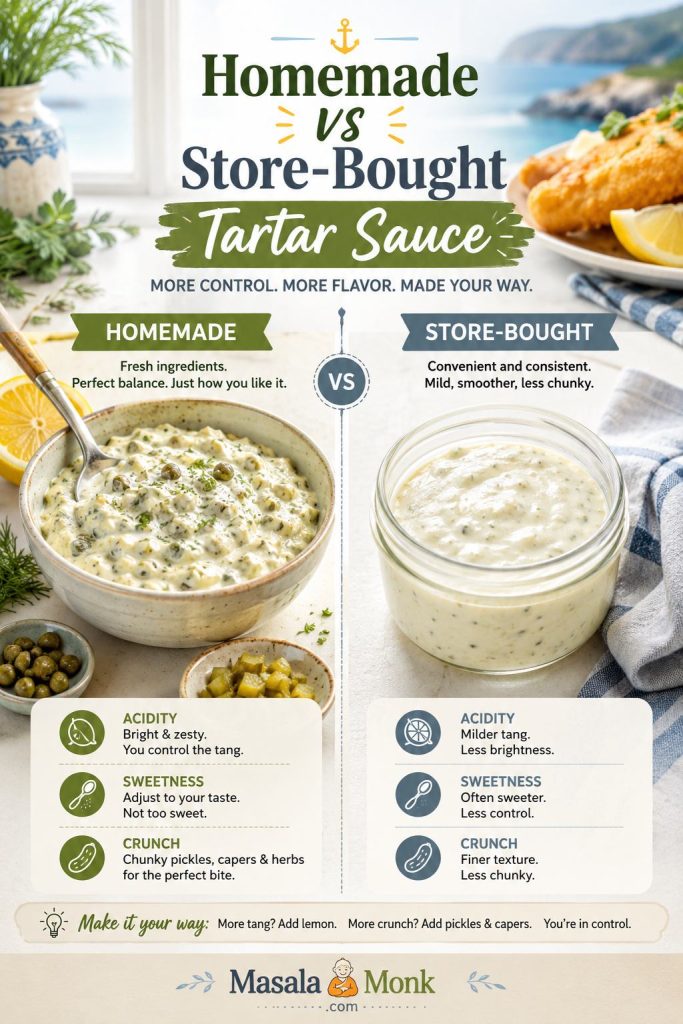
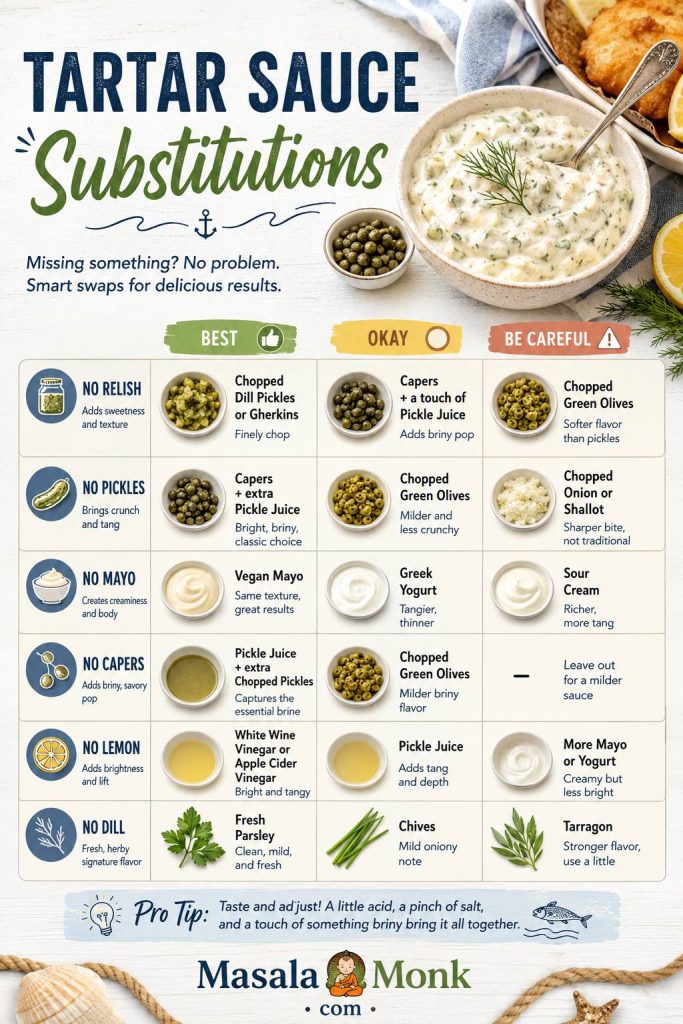
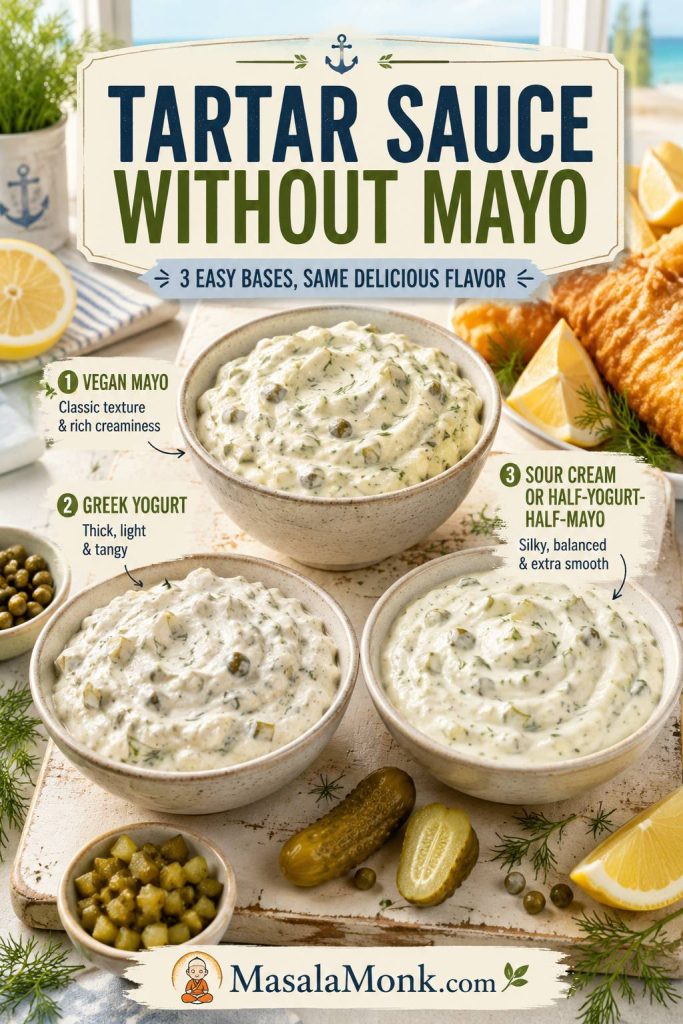
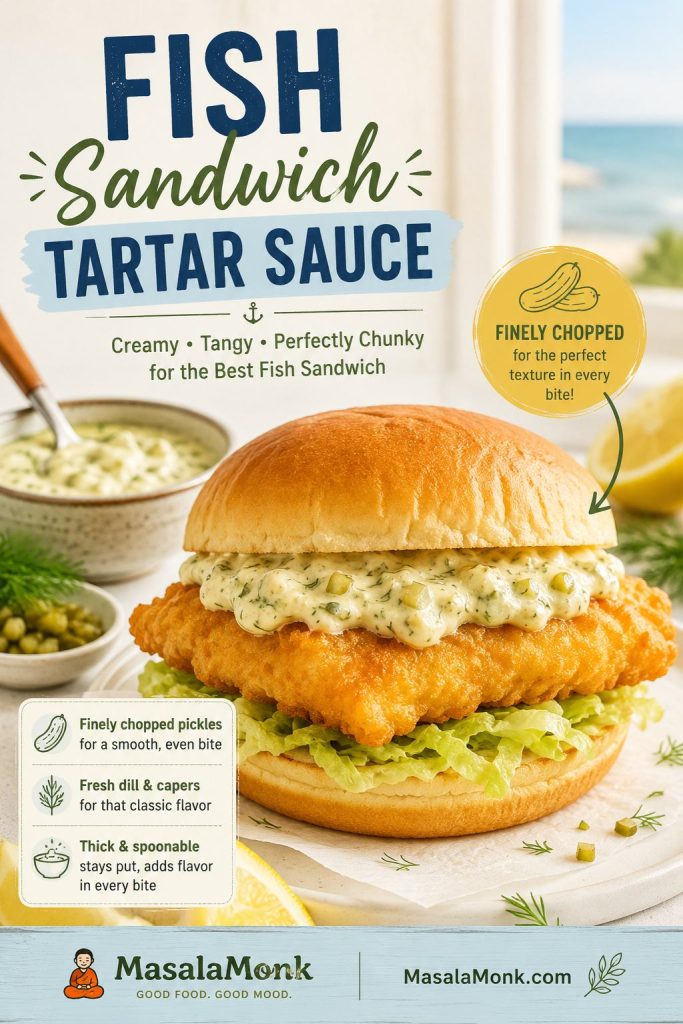
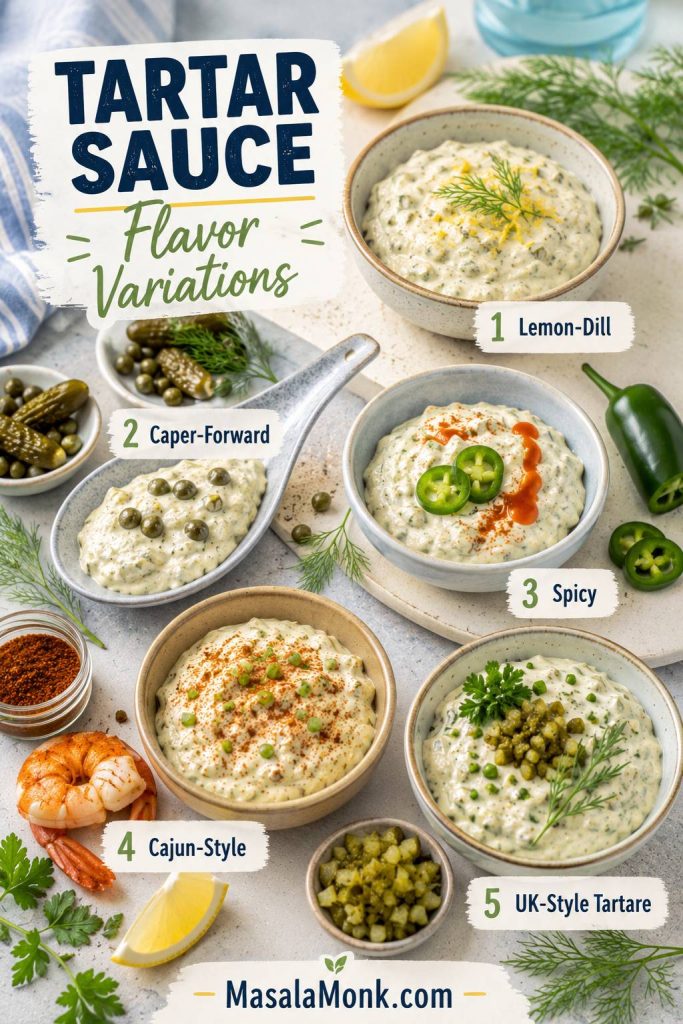
When you want a cold, creamy seafood dip instead of warm butter, this homemade tartar sauce recipe fits that lane better.
Substitutions and Swaps
The base is forgiving. Missing one ingredient does not ruin the sauce; it just changes which direction you lean.
| Missing Ingredient | Use Instead |
|---|---|
| No Old Bay | Cajun seasoning + smoked paprika + pinch of celery salt or celery seed |
| No Cajun seasoning | Old Bay + smoked paprika + garlic powder + onion powder + cayenne |
| No seafood boil liquid | Seafood stock, low-sodium chicken broth, vegetable broth, beer, or water with lemon |
| No fresh garlic | Garlic paste or garlic powder |
| No onion | Skip it, or use ½ teaspoon onion powder |
| Not enough butter | Use part butter and part olive oil. If using no butter, use vegan butter or olive oil, but expect a lighter sauce. |
| No lemon | Lime juice or a small splash of vinegar |
| No brown sugar | Honey, maple syrup, or skip it |
| No parsley | Chives, green onion, or skip it |
If you are using store-bought seafood boil seasoning packets, start with less seasoning than you think you need. Packets can be very salty. Use unsalted butter, taste before adding salt, and loosen the sauce with broth or lemon juice if it tastes too intense.
How to Toss and Serve It Restaurant-Style
This is the point where the sauce becomes the meal. The crab legs get glossy, the shrimp pick up the garlic butter, the corn turns red-orange in the grooves, and the potatoes catch everything the seafood leaves behind.
A restaurant-style finish is not about making the sauce complicated. It is about timing, texture, and serving it while everything is still hot and glossy.
Restaurant-Style Seafood Boil Sauce Finish
Use the sauce while it is warm and glossy, then coat the seafood in layers so the tray looks generous without turning watery.
- Warm the seafood before saucing. Cold seafood makes butter firm up quickly.
- Drain the seafood well so water does not dilute the sauce.
- Toss or spoon in layers instead of dumping all the sauce at once.
- Keep extra sauce warm on the side for dipping.
- Add parsley and lemon at the end so the tray looks and tastes fresh.
- Serve immediately. Garlic butter sauce is at its best while warm and glossy.
Seafood Boil Bag Sauce
For seafood boil bag sauce: use the medium-thick texture. Add cooked seafood and warm sauce to the bag, seal carefully, and toss until everything is coated. The sauce should move when tossed, coat the shells red-orange, and leave a little buttery pool at the bottom for dipping. If it is too watery, it will pool instead of clinging to shrimp, crab, corn, and potatoes.
Common Mistakes to Avoid
Most sauce problems are easier to fix in the pan than on the tray. Use this as a quick check before the sauce goes over the seafood.
- Starting too salty: Use unsalted butter when you can, and taste before adding any extra salt.
- Using heat that is too high: Low to medium-low heat keeps the garlic pale and the butter glossy.
- Skipping the taste test: Try the sauce with one shrimp, potato, or piece of corn before coating the full tray.
- Pouring sauce over watery seafood: Drain the seafood well so the sauce stays bold instead of diluted.
- Using one texture for every purpose: Dipping, pouring, and seafood boil bags all need slightly different thickness.
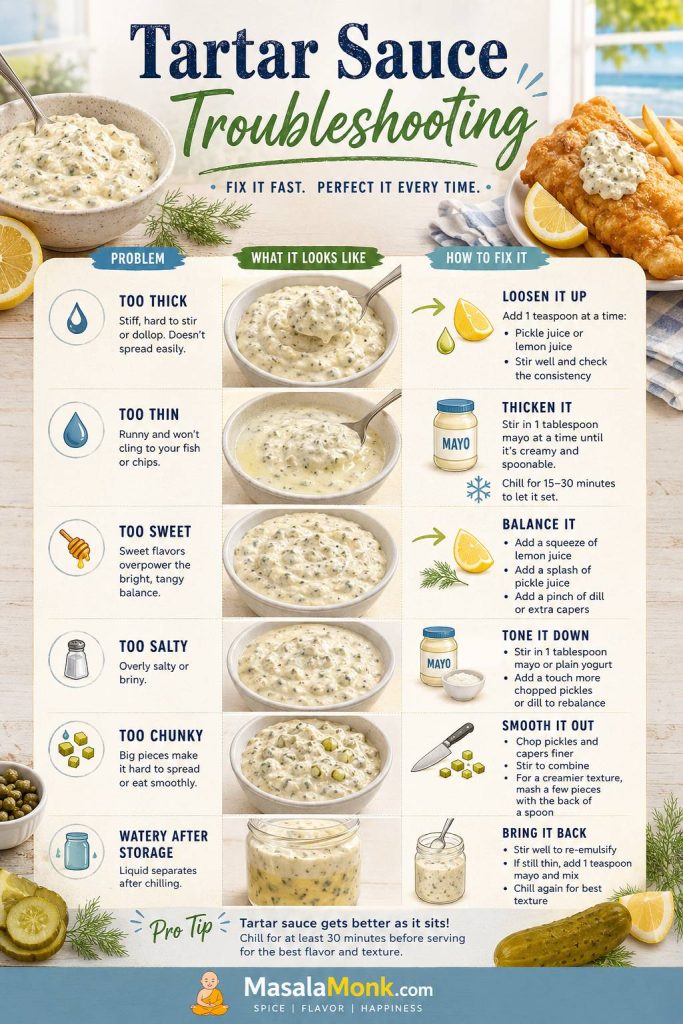
Troubleshooting Seafood Boil Sauce
Butter sauces can go sideways quickly, but you usually do not need to start over. Catch the problem while the sauce is still in the pan, and the fix is usually simple.
| Problem | Likely Cause | Fix |
|---|---|---|
| Too salty | Salted butter, salty Cajun seasoning, too much Old Bay | Add unsalted butter, broth, lemon juice, or a little brown sugar. |
| Too spicy | Too much cayenne, hot sauce, or spicy Cajun seasoning | Add butter, broth, lemon, or a little sweetness. |
| Too oily | Too much butter, not enough liquid | Whisk in warm broth slowly. |
| Too thin | Too much broth or boil liquid | Simmer uncovered for a few minutes. |
| Sauce separated | Heat too high or liquid added too fast | Lower the heat and whisk in warm liquid gradually. |
| Bitter garlic | Garlic browned or burned | Cook garlic gently for only 60–90 seconds. |
| Grainy spices | Spices were not bloomed or too much dry seasoning was added | Bloom spices in butter and loosen with broth. |
| Not flavorful enough | Too much liquid or weak seasoning | Add Cajun seasoning, Old Bay, lemon, garlic, or hot sauce slowly. |
How to Fix Salty Seafood Boil Sauce
Do not add water first. Water can make the sauce thinner without fixing the flavor. Instead, add unsalted butter, warm broth, lemon juice, or a small pinch of brown sugar. If you are serving the sauce with a full seafood boil, extra potatoes and corn can also help absorb some of the salty flavor on the tray.
How to Fix Separated Seafood Boil Sauce
Lower the heat. Whisk in 1–2 tablespoons of warm broth at a time until the sauce looks glossy again. If it still looks broken, use an immersion blender for a few seconds.
How to Make It Thicker
Simmer it uncovered for a few minutes. You can also use less broth next time or add a little more butter. For a thicker dipping sauce, start with only ¼ cup / 60 ml liquid.
How to Make It Thinner
Whisk in warm broth, seafood stock, reserved boil liquid, or water with lemon juice. Add a little at a time until the sauce pours the way you want.
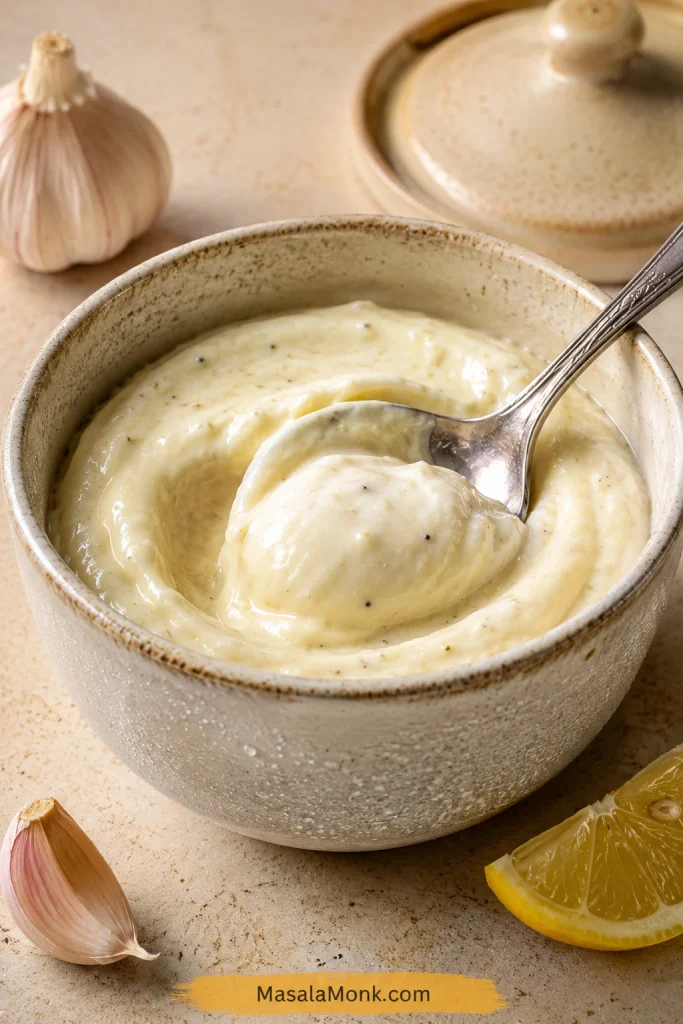
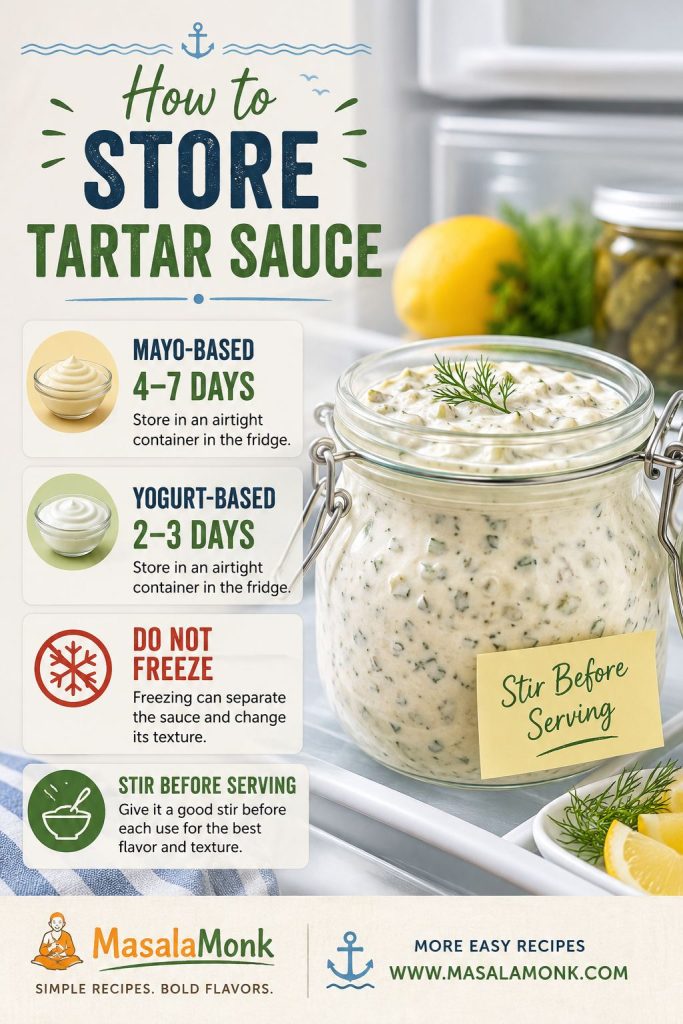
How to Store and Reheat the Sauce
Do not worry if the sauce turns solid in the fridge. That is just the butter doing what butter does. The texture comes back when the sauce is reheated and whisked.
Refrigerating
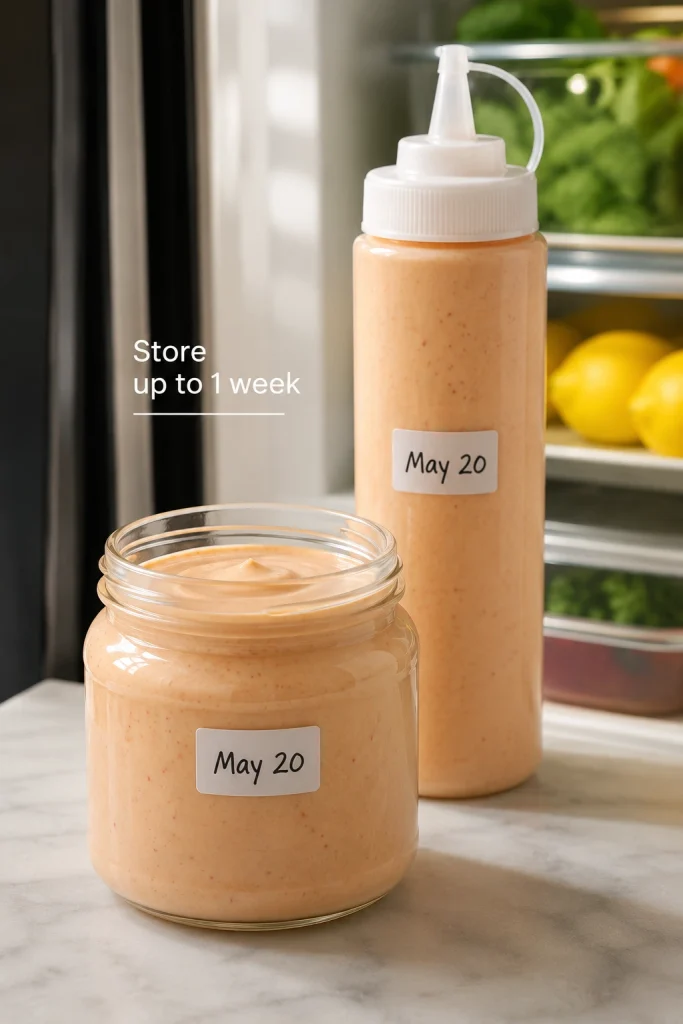
Store unused sauce in an airtight container in the refrigerator for 4–5 days.
If the sauce has touched seafood, shells, fingers, or a shared dipping bowl, treat it like a seafood leftover. Cool it quickly, refrigerate it promptly, and use it within 1–2 days for best quality.
For broader leftover safety, the USDA’s leftovers and food safety guide is a useful reference.
Reheating
For clean, unused sauce, reheat gently in a saucepan over low heat, stirring often. Add a splash of broth, water, or reserved boil liquid if the sauce is too thick.
For sauce that has touched seafood or leftovers, reheat until steaming hot, ideally to 165°F / 74°C, then whisk to bring the texture back. A food thermometer is the safest way to check.
You can also microwave clean unused sauce in short bursts, stirring every 15–20 seconds. If reheating sauce with seafood leftovers, stir well and make sure the food is steaming hot throughout before serving.
Freezing
Freeze unused seafood boil sauce for up to 2–3 months. Thaw overnight in the refrigerator, then reheat gently over low heat. If the sauce separates slightly, whisk in warm broth or blend briefly with an immersion blender.
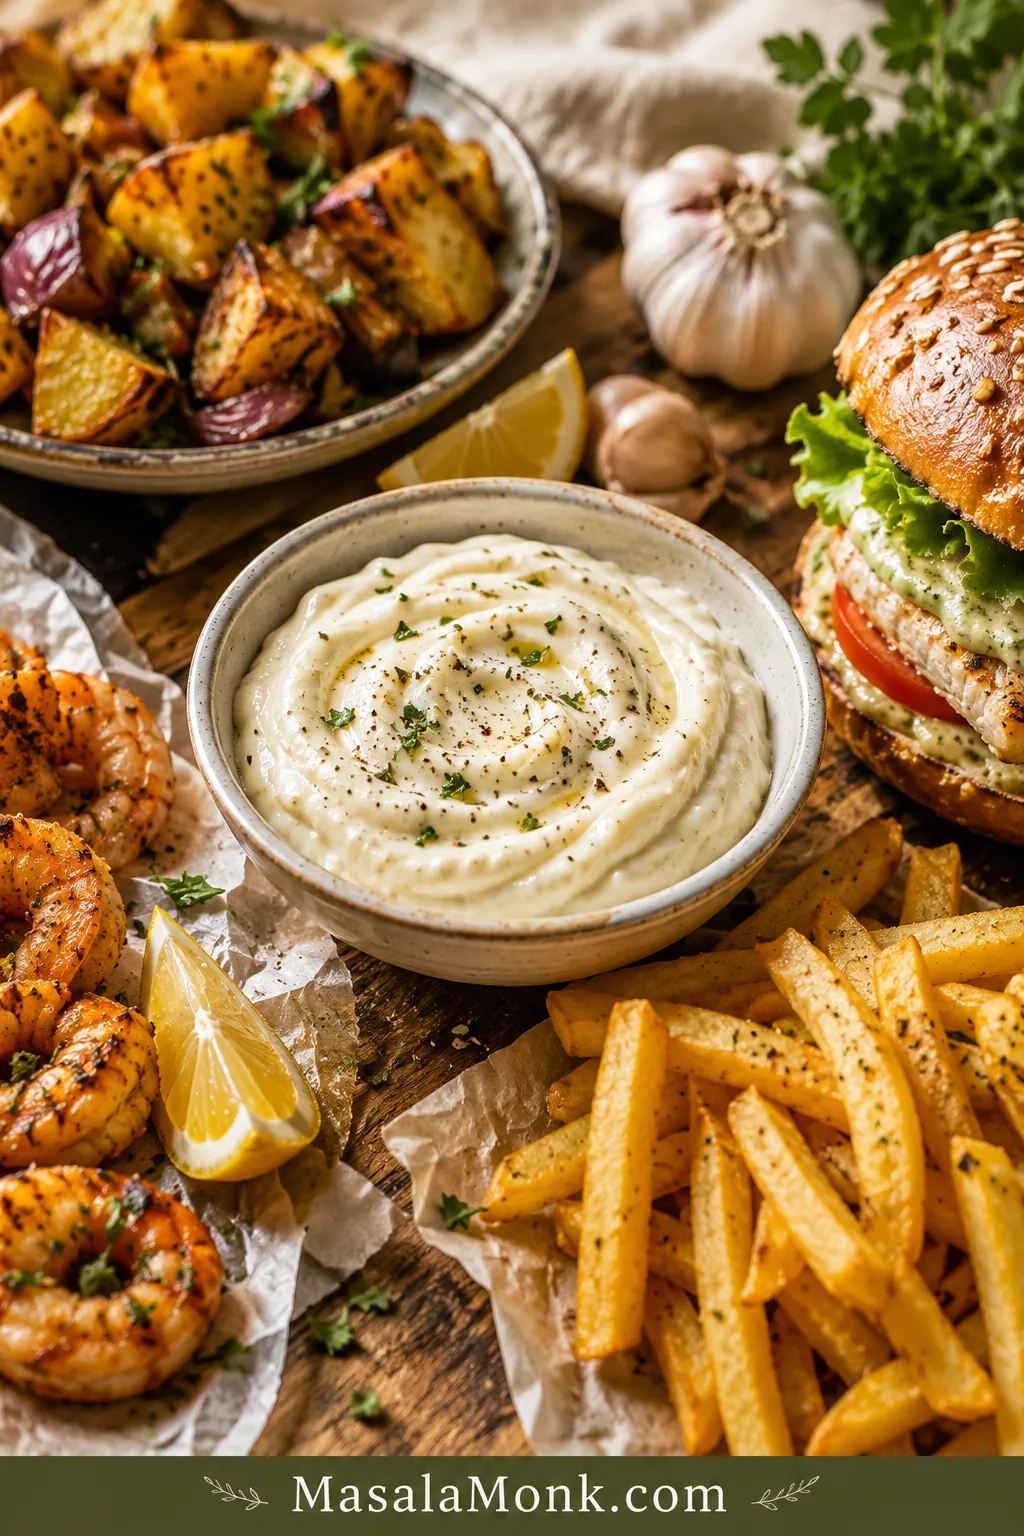
What to Serve With Seafood Boil Sauce
The best use is still the simplest: hot seafood, warm sauce, extra napkins, and something starchy to catch the butter.
Classic Seafood Boil Uses
- Shrimp
- Crab legs
- Crawfish
- Lobster tails
- Mussels
- Clams
- Corn on the cob
- Baby potatoes
- Smoked sausage
- Boiled eggs
Other Good Uses
- Garlic bread
- Rice
- Roasted potatoes
- Grilled corn
- Roasted vegetables
- Grilled fish
- Pan-seared scallops
- Salmon
- Lemon wedges on the side
For other seafood dinners, this baked haddock recipe keeps the butter-and-lemon idea gentler, while this honey garlic salmon recipe goes sticky, sweet, and skillet-style.
For a full crispy seafood comfort plate instead of a boil, this fish and chips recipe pairs fried fish with tartar sauce, curry sauce, vinegar, and lemon.
For a full seafood boil tray, serve some sauce poured over the seafood and extra sauce on the side for dipping. For a cleaner dinner, serve the sauce in small bowls and let everyone dip shrimp, crab, corn, potatoes, and bread as they eat.
Frequently Asked Questions
What is seafood boil sauce made of?
It is usually made with butter, garlic, Cajun seasoning, Old Bay seasoning, lemon juice, paprika, hot sauce, and broth or reserved seafood boil liquid. Some versions also include onion, brown sugar, parsley, cayenne, or lemon pepper.
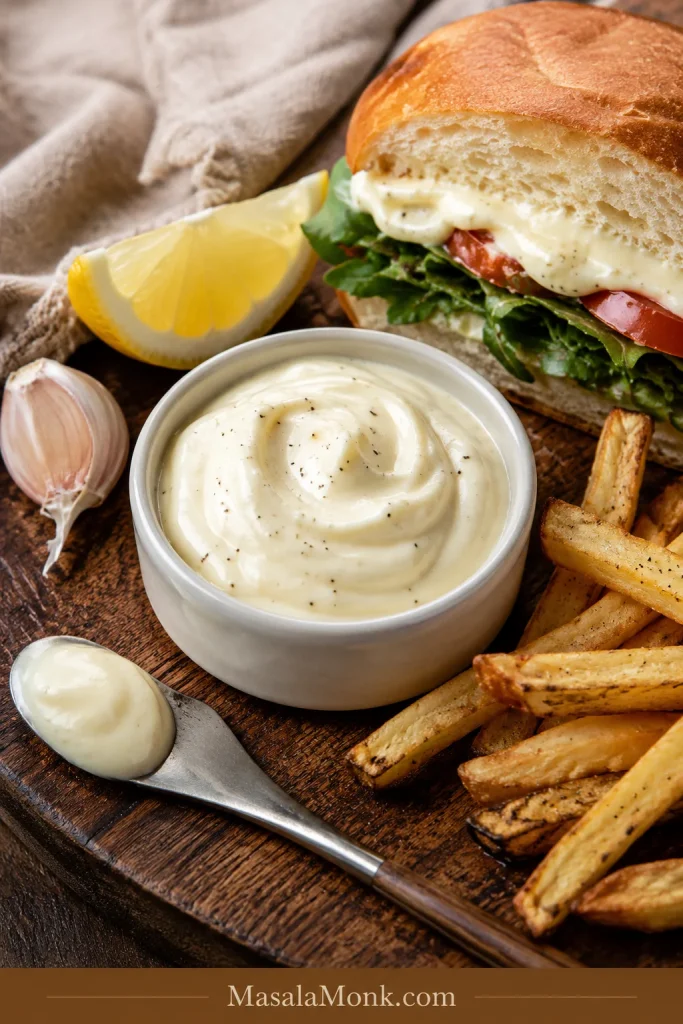
Is seafood boil sauce the same as garlic butter sauce?
It is a type of garlic butter sauce, but it is usually more seasoned. Basic garlic butter may only have butter, garlic, lemon, and herbs. Seafood boil sauce usually adds Cajun seasoning, Old Bay, paprika, heat, and sometimes broth or boil liquid.
Is this a Blove’s-style seafood boil sauce?
This is not a Blove’s copycat sauce. Blove’s-style seafood boil sauces are usually heavier, sweeter, and more spice-loaded, often with extra butter, garlic, hot sauce, Worcestershire, ginger, lemon pepper, and a larger seasoning mix. This version is a balanced Cajun garlic butter seafood boil sauce made for dipping, pouring, and tossing without hiding the flavor of the seafood.
Do you put seafood boil sauce in the pot?
No. It is better to add the sauce after the seafood is cooked and drained. This is a finishing sauce, not the cooking liquid.
What sauce goes with shrimp boil?
Garlic butter Cajun sauce is one of the best sauces for shrimp boil. Use a slightly looser sauce with lemon juice so the shrimp stays bright and juicy instead of feeling too heavy.
What sauce is best for crab boil?
A thick garlic butter seafood sauce is best for crab boil because it clings well to crab meat. Keep it buttery, garlicky, and slightly lemony, with Old Bay or Cajun seasoning for classic seafood flavor.
Is this good as a dipping sauce?
It is excellent as a dipping sauce. Reduce the liquid to about ¼ cup / 60 ml and simmer the sauce a little longer. This keeps it thick, buttery, and clingy.
Does it work as a pour-over sauce?
It works well as a pour-over sauce. Use about ½ cup / 120 ml broth or reserved boil liquid, then add more if you want it loose enough to cover a big tray of shrimp, crab, crawfish, corn, potatoes, and sausage.
How do I make it thicker?
Use less liquid or simmer the sauce uncovered for a few minutes. For a thick dipping sauce, start with ¼ cup / 60 ml liquid instead of ½ cup / 120 ml.
How do I make it less salty?
Add unsalted butter, warm broth, lemon juice, or a small pinch of brown sugar. If serving with a full seafood boil, potatoes and corn can also help absorb some of the salty flavor.
Can I make seafood boil sauce without Old Bay?
You can. Use Cajun seasoning, smoked paprika, garlic powder, onion powder, black pepper, and a tiny pinch of celery salt or celery seed if you have it. The flavor will be slightly different, but still good.
Can I make seafood boil sauce without Cajun seasoning?
You can. Use Old Bay, smoked paprika, garlic powder, onion powder, black pepper, and a little cayenne or hot sauce for heat.
Why did it separate?
The heat may have been too high, or the liquid may have been added too quickly. Keep the sauce at a gentle simmer and whisk in broth gradually. If it separates, lower the heat and whisk in a little warm liquid.
How much sauce do I need for a seafood boil?
For dipping, plan on about ½ cup / 120 ml sauce per 1 lb / 450 g seafood. For pouring over a seafood boil tray, plan on about ¾ cup / 180 ml per 1 lb / 450 g seafood. Make extra if you are serving corn, potatoes, sausage, and eggs because they absorb sauce.
Did You Make This Seafood Boil Sauce?
Once you make this sauce once, it stops feeling like an add-on. It becomes the thing that pulls the whole seafood boil together: the shrimp, the crab, the corn, the potatoes, the sausage, the bread at the end, and everyone reaching back for one more dip.
Taste it while it is warm, adjust it until it feels balanced, then pour it over the tray and serve extra on the side. That is the moment the meal comes together.
Did you make it thick for dipping, loose for pouring, or extra spicy for crawfish? Leave a rating and a comment with your seafood mix, sauce thickness, and heat level so other readers can adjust their own seafood boil sauce with confidence.