Creamy Alfredo has a certain pull—soft, glossy, and comforting in a way that makes a normal weeknight feel oddly luxurious. At the same time, the classic bowl can start to feel predictable once you’ve made it a few times. That’s exactly why Indian inspired Alfredo pasta works so well: it keeps everything you love about Alfredo—the cling, the richness, the peppery warmth—while letting you steer the flavor somewhere exciting.
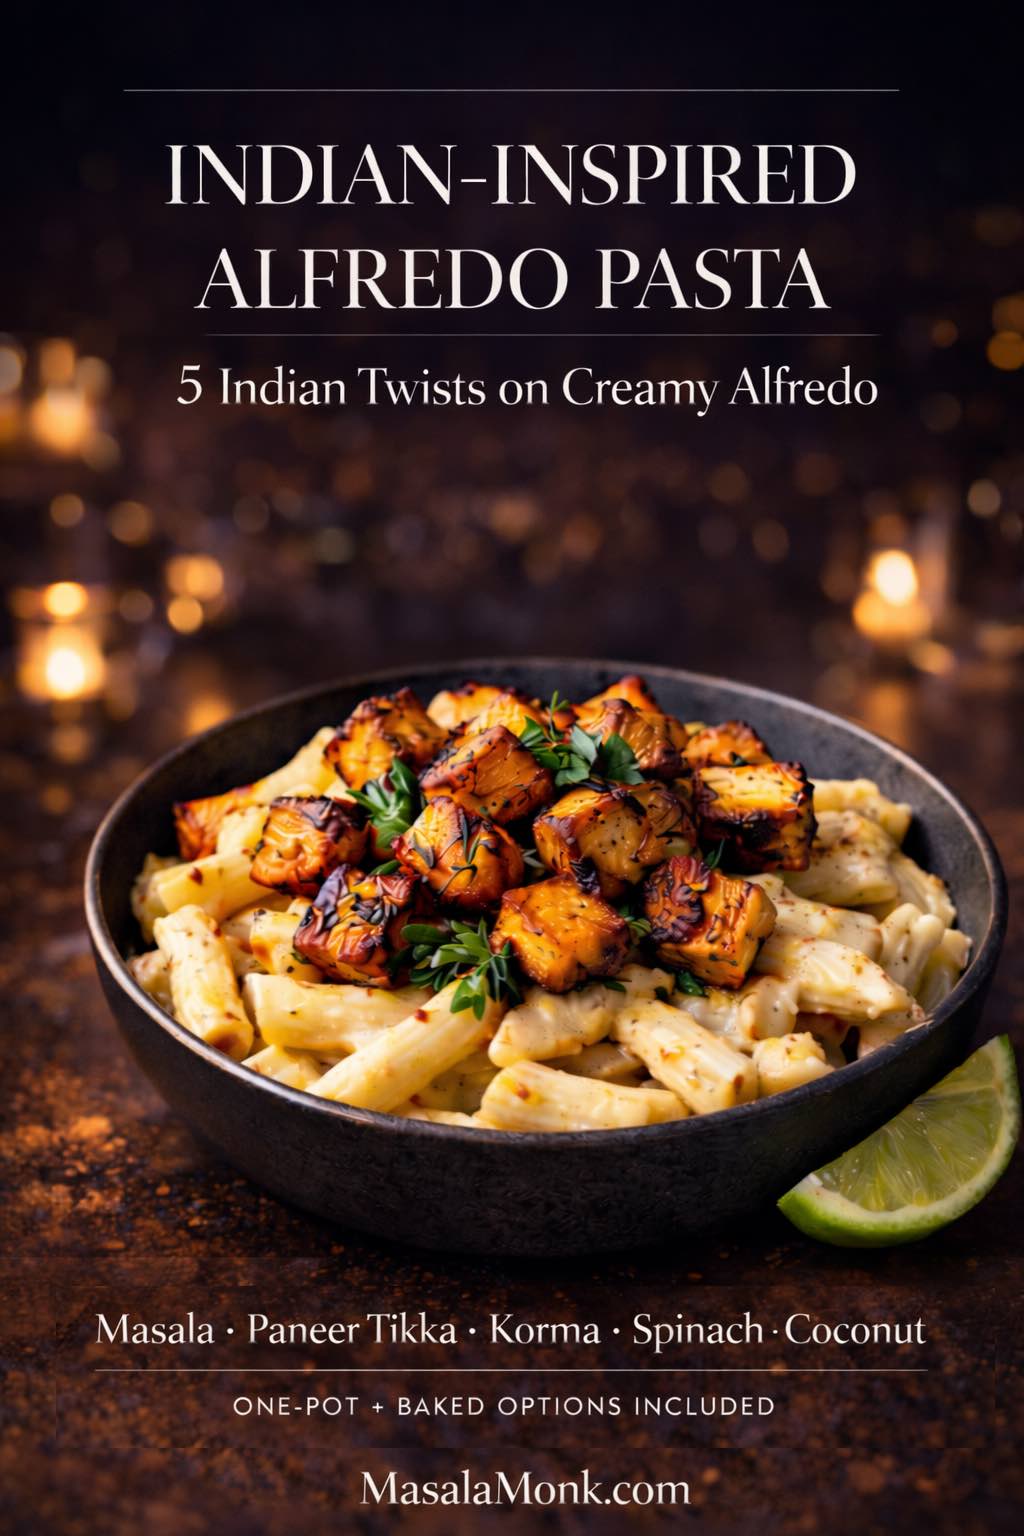
Sometimes that means a masala bloom in ghee that perfumes the whole pan. Other times, it’s smoky paneer tikka folded into cream so the char and the sauce play off each other. On quieter evenings, a korma-style nuttiness turns Alfredo mellow and restaurant-like. And when you want something that tastes rich yet feels balanced, spinach paneer Alfredo delivers a green, velvety comfort that’s hard to stop eating. Finally, coconut curry Alfredo brings coastal warmth that’s ridiculously good with shrimp.
Even better, these aren’t “one-off” novelty ideas. Each twist below reads as a complete, standalone recipe you can cook tonight—yet everything is built on a shared base so you’re not learning five totally different methods. Along the way, you’ll also get an easy jar-sauce upgrade, a one pot Alfredo approach, and a baked Alfredo pasta approach (ziti, penne, tortellini) so you can match the mood of the day.
If you want the deeper technique story behind classic Alfredo, you can also read Classic vs. Authentic Alfredo: 5 Essential Recipes—it’s a great companion when you’re in the “I want the why, not just the what” mood.
Indian Inspired Alfredo Pasta Base: A Creamy Alfredo Sauce That Stays Silky
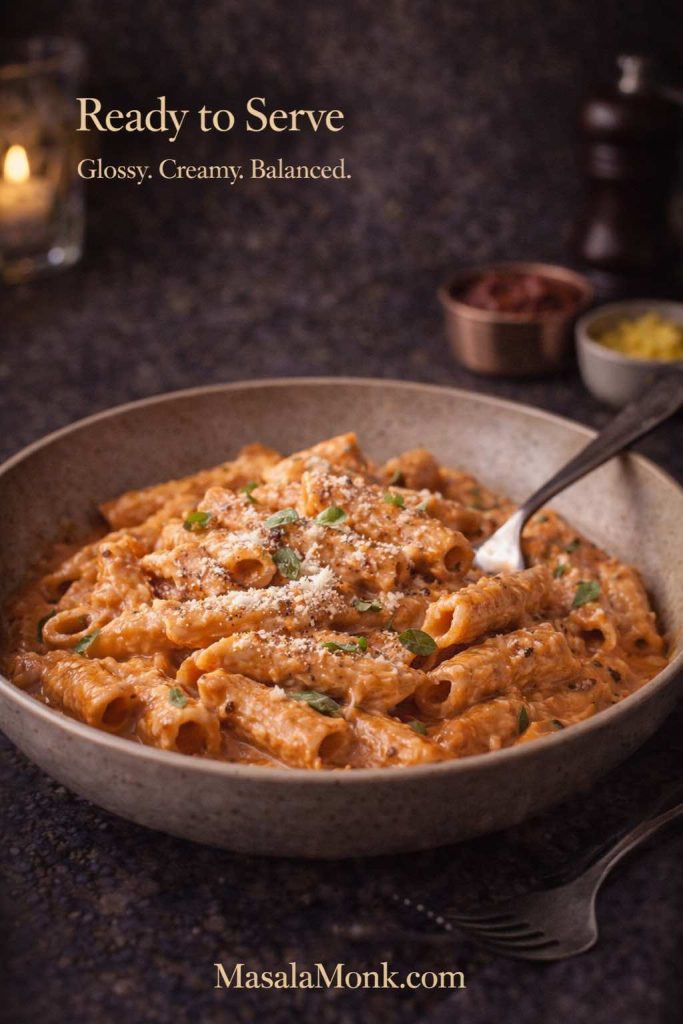
Alfredo is at its best when it behaves like a sauce rather than a thick dairy blanket. The ideal version is glossy and cohesive—fat, cheese, and starch held together in a smooth emulsion so every strand of pasta looks lacquered. That’s why gentle heat and starchy pasta water matter so much. When you build the sauce in the pan and finish the pasta in it, the results feel restaurant-level without requiring restaurant tools. The mechanics are beautifully explained in Serious Eats’ fettuccine Alfredo method, and once you understand the approach, the Indian twists become easy choices instead of stressful experiments.
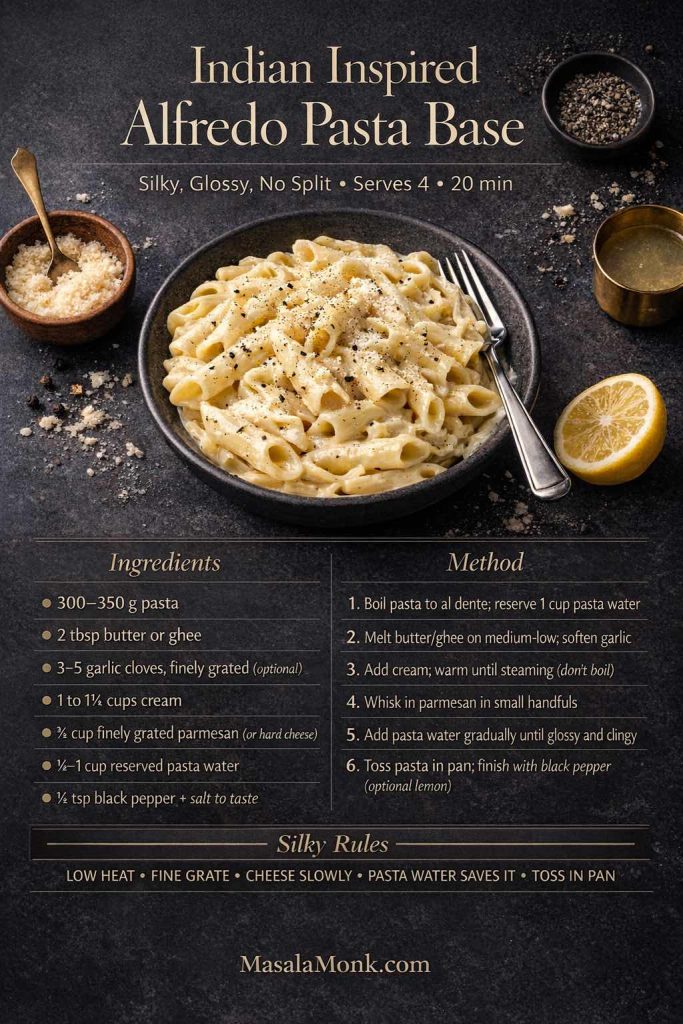
Alfredo base (serves 4)
- 300–350 g pasta (fettuccine, penne, fusilli, ziti; or tortellini if you want a faster “wow” bowl)
- 2 tbsp butter (or ghee if you like a warmer, rounder finish)
- 3–5 garlic cloves, finely grated (optional, but very good)
- 1 to 1¼ cups cream (or cooking cream)
- ¾ cup finely grated parmesan (or a parmesan-style hard cheese)
- ½ to 1 cup reserved pasta water (you’ll add it gradually)
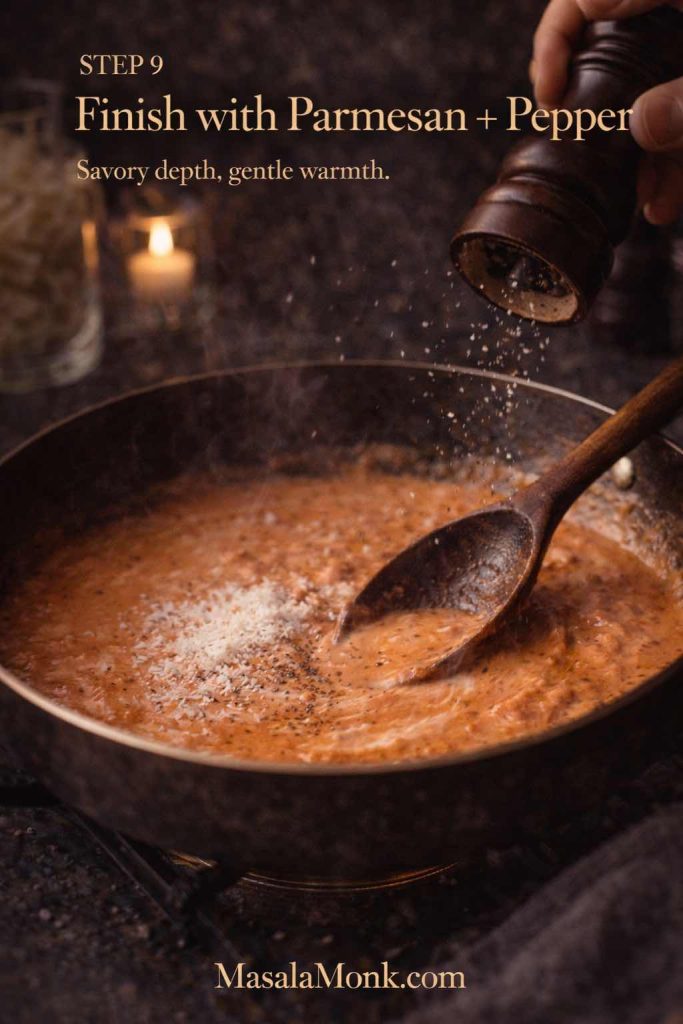
- ½ tsp freshly ground black pepper (plus more to finish)
- Salt, to taste (go light until cheese is in)
The method (steady, reliable, forgiving)
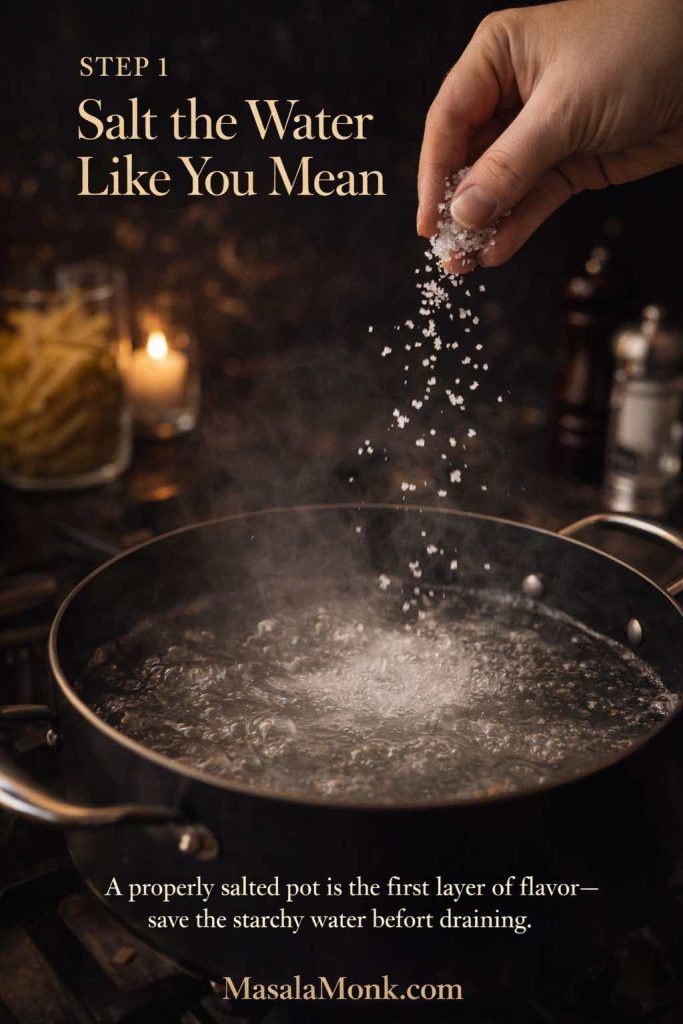
- Bring a big pot of water to a boil. Salt it generously. Cook pasta until just al dente. Before draining, reserve at least ½ cup pasta water (a full cup is safer).
- Meanwhile, melt butter (or ghee) in a wide pan over medium-low heat. If using garlic, add it and warm gently until fragrant—soften it, don’t scorch it.
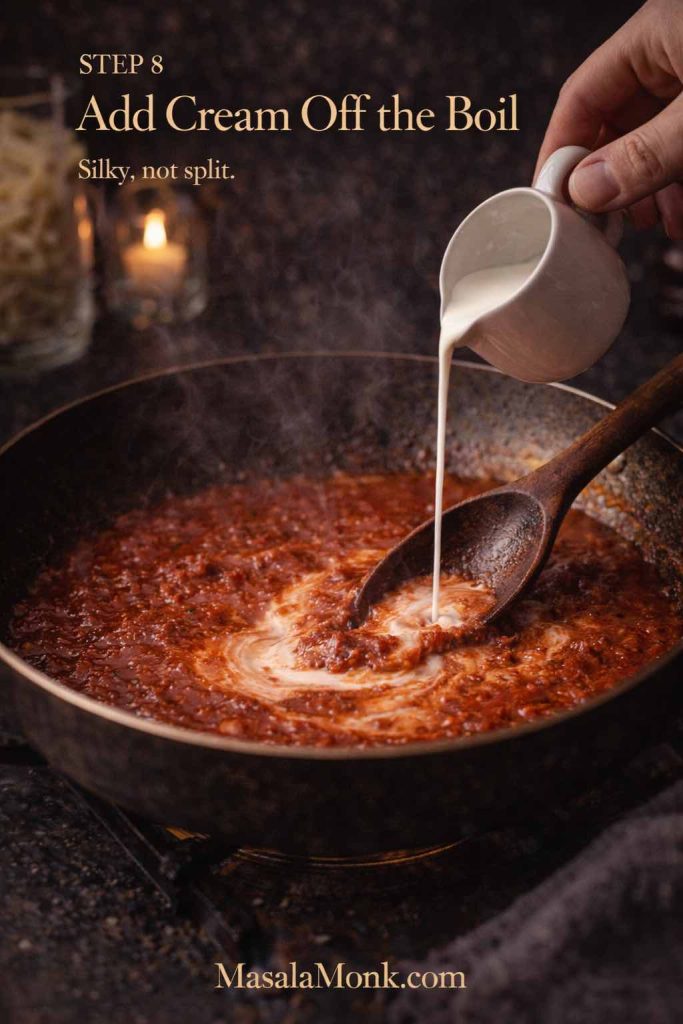
- Lower the heat. Add cream and warm until steaming. Avoid a rolling boil; high heat encourages separation.
- Add grated cheese in small handfuls, whisking constantly so it melts smoothly.
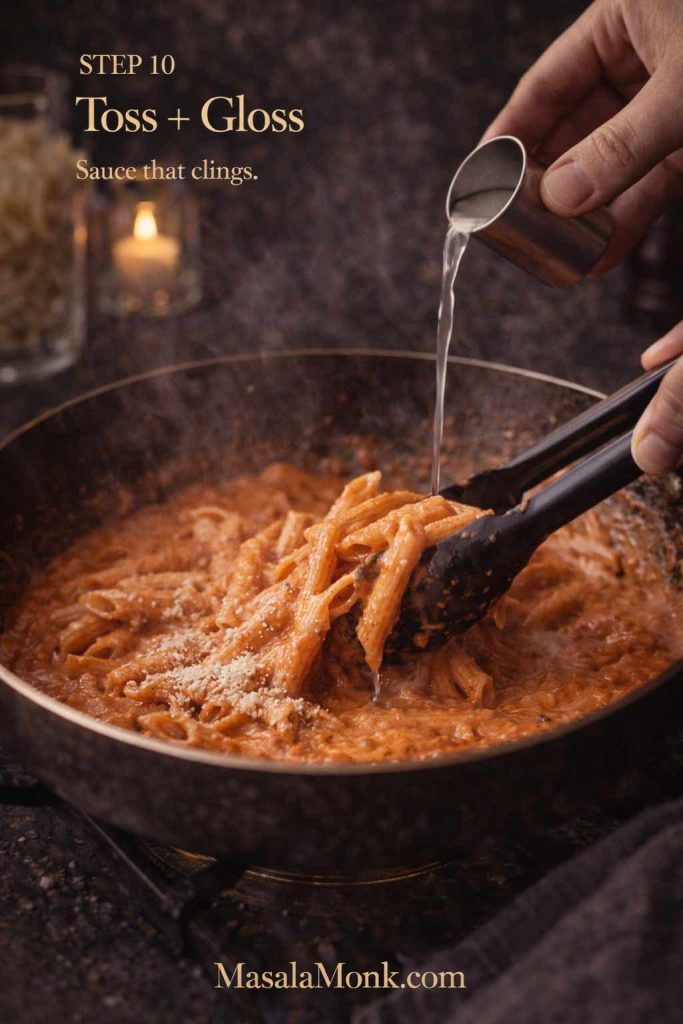
- Now, adjust with pasta water: add a splash, whisk, and watch the sauce loosen into a glossy, clingy texture. Repeat until it coats the back of a spoon.
- Add pasta to the pan and toss well so the sauce grips every strand.
That final step—tossing pasta in the sauce instead of pouring sauce over pasta—makes a real difference. If you enjoy the technique, Serious Eats’ guidance on saucing pasta the right way is worth reading.
Best cheese for fettuccine Alfredo (and practical substitutes)
A finely grated hard cheese melts more evenly and emulsifies more easily. The shape of the cheese matters too; fine, snowy shreds melt into the cream without clumping, especially when the heat is low, as described in Serious Eats’ Alfredo guide.
If parmesan is expensive or hard to find, use what’s available: a parmesan-style hard cheese for flavor plus a small amount of melt-friendly cheese if you need a smoother texture. Still, keep the melt cheese in check so it doesn’t overwhelm the sauce. Alfredo should taste creamy and peppery, not like generic cheese sauce.
Also Read: Chicken Pesto Pasta (Easy Base Recipe + Creamy, One-Pot, Baked & More)
Alfredo Pasta With an Indian Twist: Choosing the Right Pasta Shape
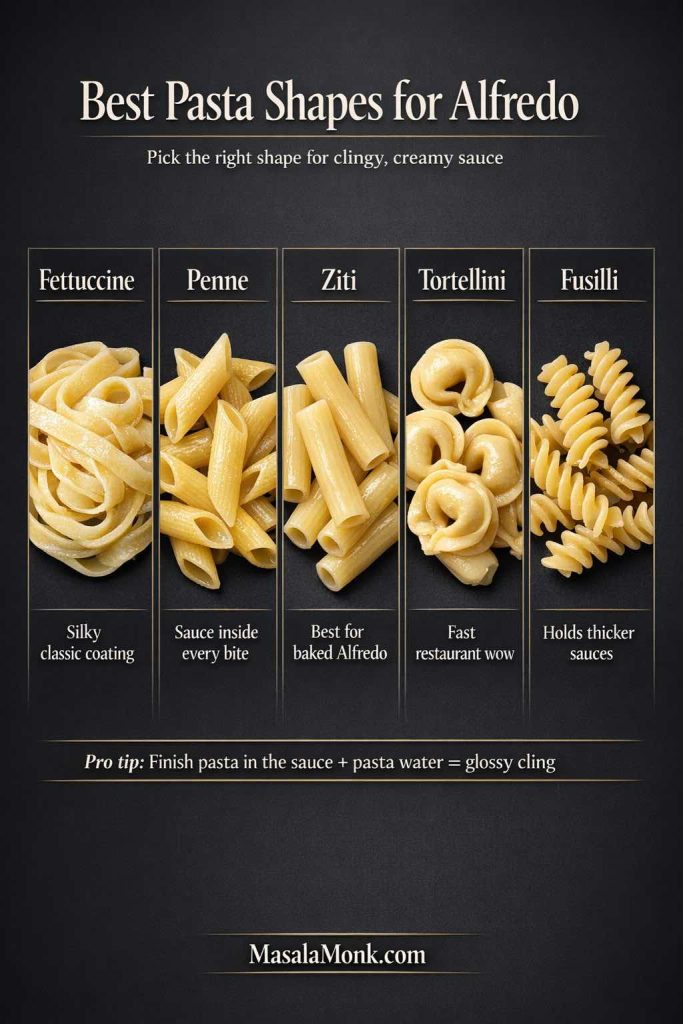
Different shapes change the entire experience.
- Fettuccine Alfredo pasta feels classic and indulgent because broad noodles wear the sauce like satin.
- Penne Alfredo and alfredo penne pasta feel “bitey” and complete because sauce hides inside the tubes.
- Ziti with Alfredo sauce (alfredo ziti) is tailor-made for baking—saucy inside, bubbly on top.
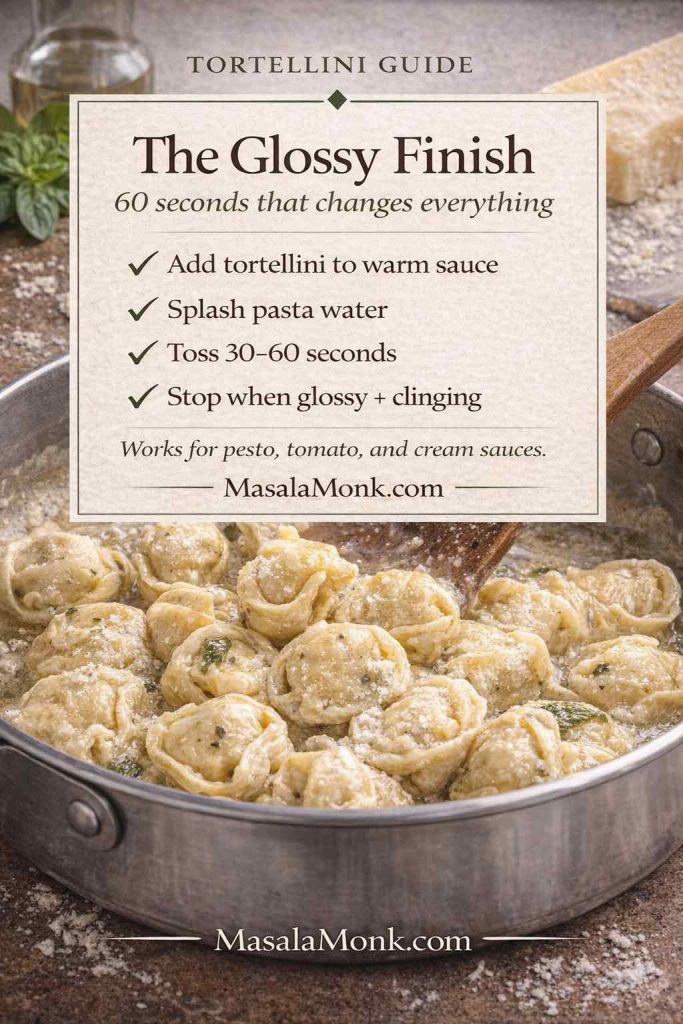
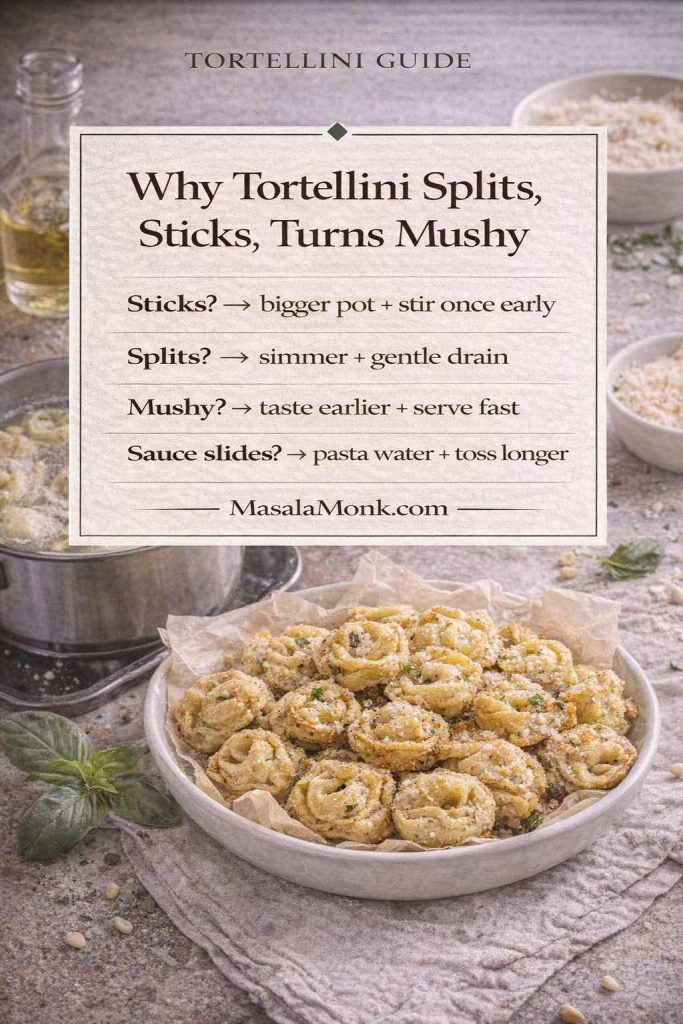
- Tortellini in Alfredo sauce feels restaurant-level fast because stuffed pasta adds richness without extra work.
- Fusilli Alfredo catches sauce in the spirals, which is especially satisfying for thicker versions like spinach paneer Alfredo.
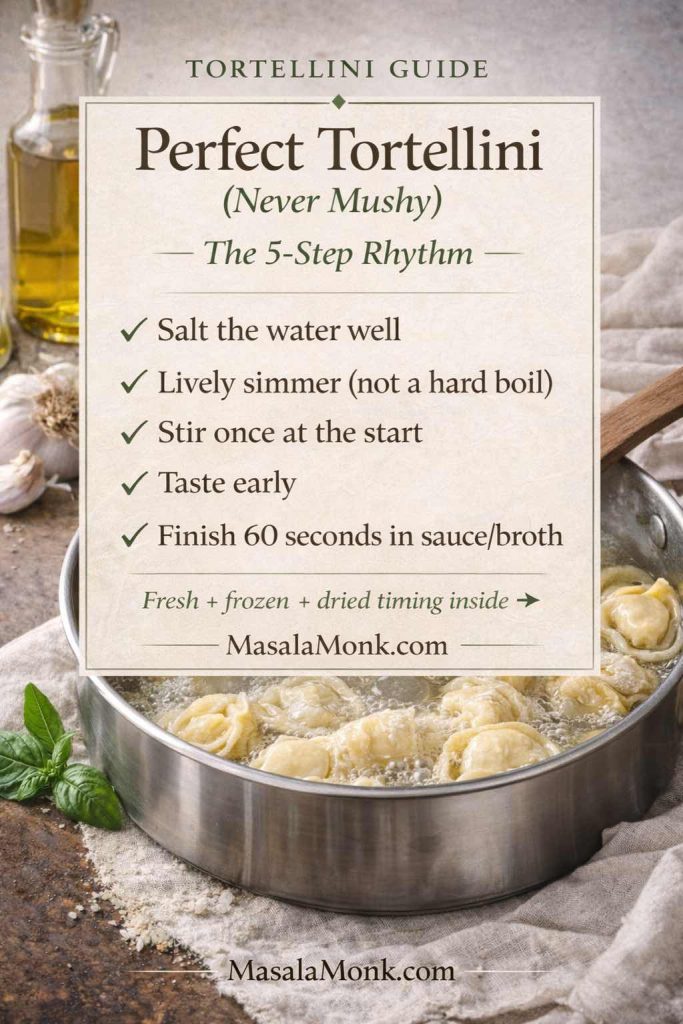
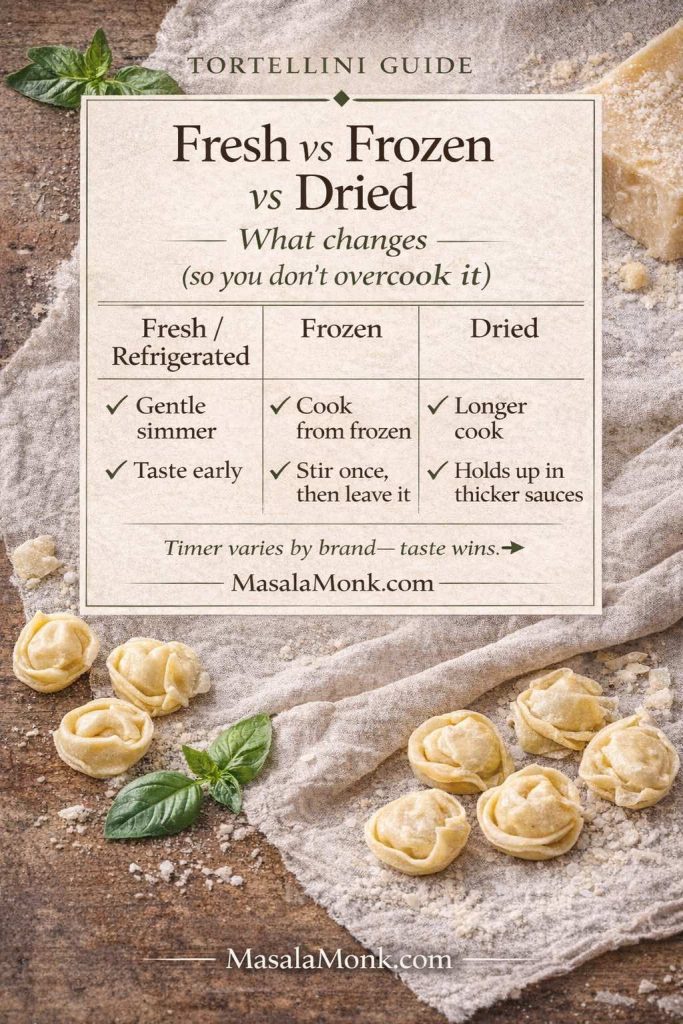
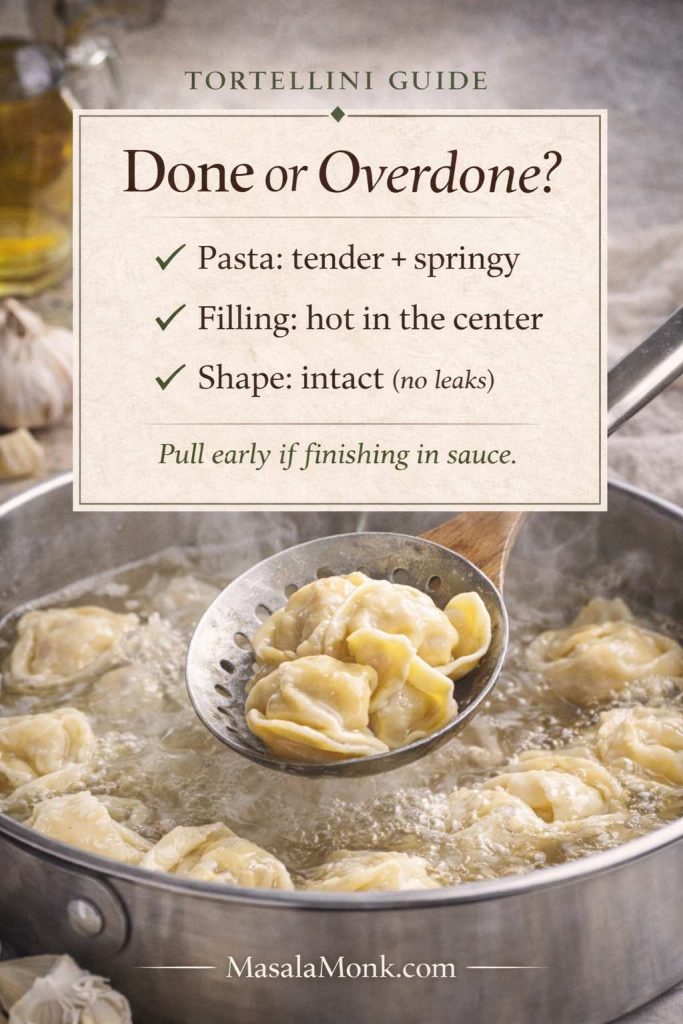
If you’re using tortellini and want timing confidence, How to cook tortellini (fresh, frozen, dried) is a helpful companion.
Also Read: Pork Tenderloin in Oven (Juicy, Easy, 350°F or 400°F) Recipe
How to Make Easy Alfredo Pasta With Jar Sauce Taste Homemade (Without Overdoing It)
Some nights you want the comfort without the extra steps. Easy Alfredo pasta with jar sauce can absolutely work—as long as you treat jar Alfredo like a base rather than the final answer.
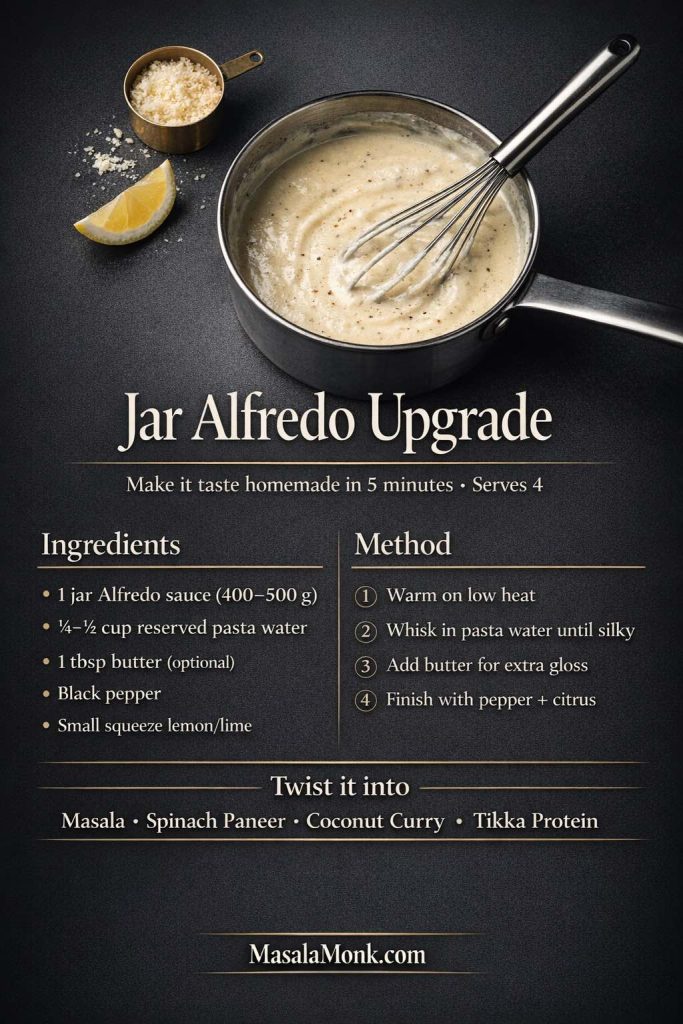
The fastest jar Alfredo upgrade (serves 4)
- 1 jar Alfredo sauce (about 400–500 g)
- ¼–½ cup reserved pasta water
- 1 tbsp butter (optional, for gloss)
- Black pepper
- 1 small squeeze of lemon or lime
Warm the jar sauce on low heat. Whisk in pasta water until it loosens and turns silky. Add butter if you want extra shine. Finish with black pepper and a squeeze of citrus.
From here, you can steer it toward any twist in this post by adding the spice bloom, spinach puree, coconut milk, or tikka-style protein.
If you like shortcut-friendly creamy pasta nights, Chicken Alfredo Pasta, 5 Ways is a natural companion—plenty of weeknight structure and add-in ideas without losing the comfort.
Also Read: How to Make a Flax Egg (Recipe & Ratio for Vegan Baking)
Indian Inspired Alfredo Pasta: 5 Indian Twists You’ll Keep Coming Back To
Each recipe below is written as a complete “recipe card” section—ingredients, method, timing, and the small sensory details that make the bowl feel special. Even so, the flow stays simple: cook pasta, build sauce, add twist, toss, finish.
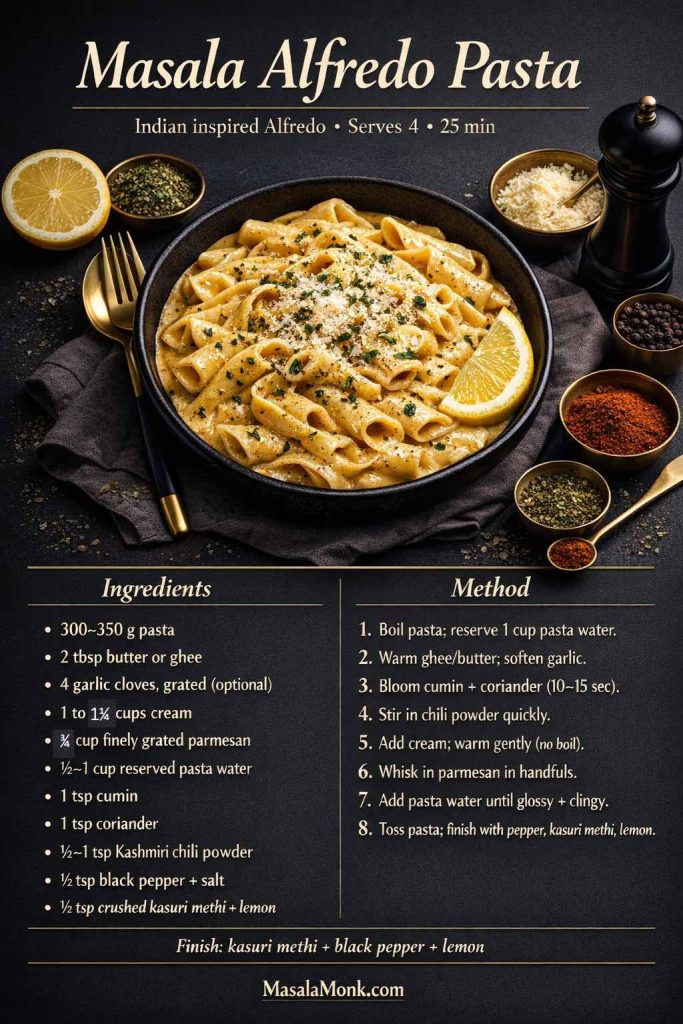
1) Masala Alfredo Pasta (Warm, Spicy, Comforting)
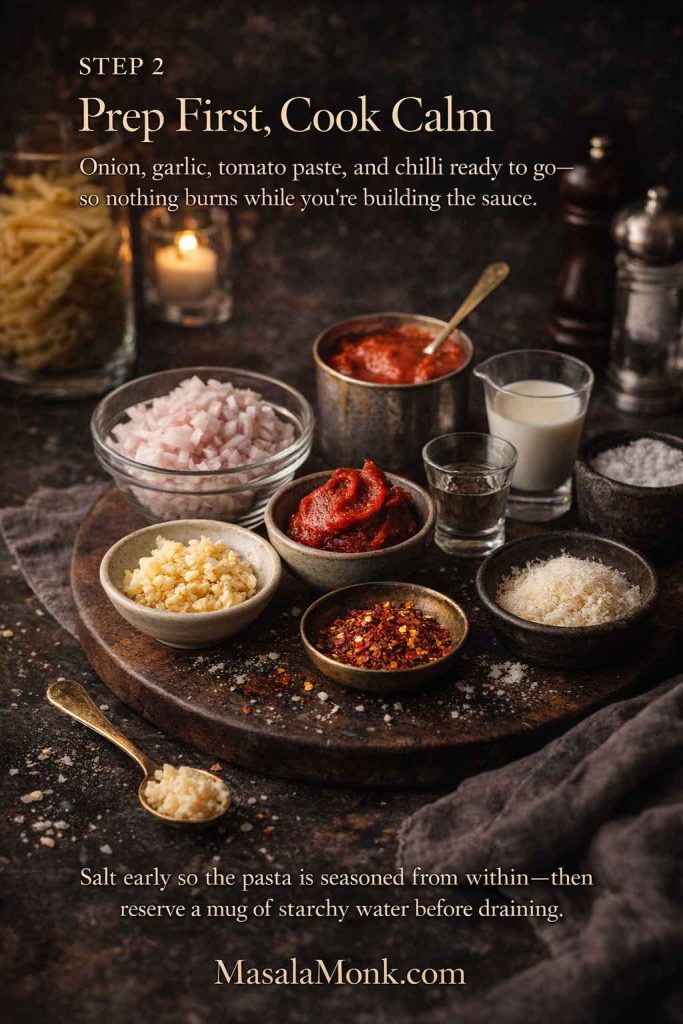
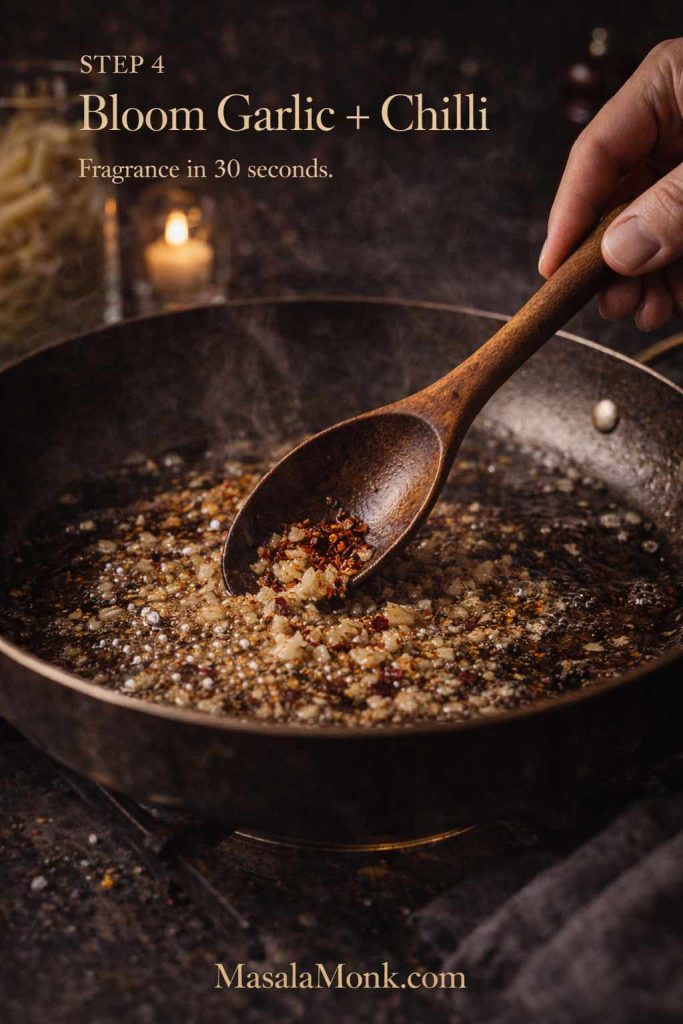
Masala Alfredo pasta tastes like a familiar cream sauce took a confident step toward Indian flavors. The aroma hits first: cumin and coriander blooming in ghee, then a warm red chili note that feels inviting rather than aggressive. Finally, a little kasuri methi and lemon add a restaurant-style lift that keeps the sauce from tasting heavy.
Pasta choice: fettuccine for classic comfort, penne for a heartier bite, or fusilli for maximum sauce-catching.
Ingredients (serves 4)
For the pasta
- 300–350 g pasta
- Salt for boiling water
For the masala Alfredo sauce
- 2 tbsp butter or ghee (ghee is excellent here)
- 4 garlic cloves, finely grated (optional but highly recommended)
- 1 to 1¼ cups cream
- ¾ cup finely grated parmesan (or hard cheese)
- ½ to 1 cup reserved pasta water
- 1 tsp cumin
- 1 tsp coriander
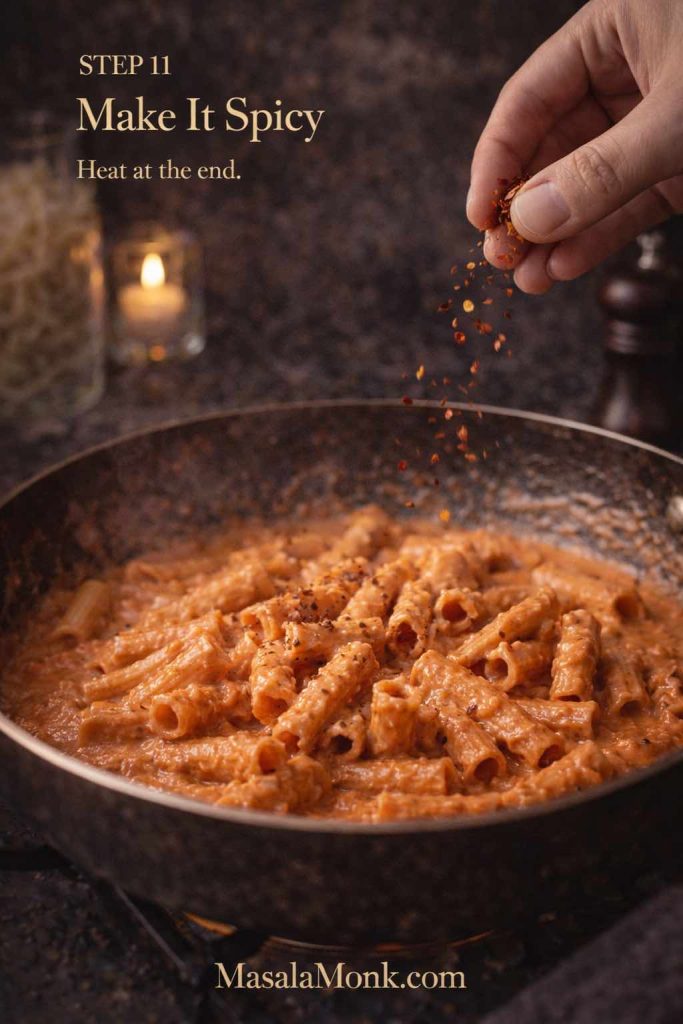
- ½ to 1 tsp Kashmiri chili powder (adjust to your heat preference)
- ¼ to ½ tsp garam masala (optional)
- ½ tsp black pepper (plus more to finish)
- ½ tsp crushed kasuri methi (optional, but magic)
- Lemon wedge to finish
- Salt, to taste
Method
- Boil pasta in salted water until just al dente. Reserve 1 cup pasta water, then drain.
- In a wide pan, warm ghee (or butter) over medium-low heat. Add garlic and let it soften until fragrant.
- Add cumin and coriander. Let them bloom for about 10–15 seconds—just enough to smell nutty and warm.
- Add Kashmiri chili powder and stir quickly; don’t let it burn.
- Lower heat. Add cream and warm gently.
- Whisk in cheese in small handfuls until smooth.
- Add pasta water a splash at a time until the sauce turns glossy and coats a spoon.
- Toss pasta in the sauce until every piece looks lacquered.
- Finish with black pepper, crushed kasuri methi, and a squeeze of lemon.
Kasuri methi is one of those small additions that changes the impression of the entire dish. If you want to understand why it works so well, NDTV’s guide on using kasuri methi explains its flavor boost clearly.
Variations (choose one)
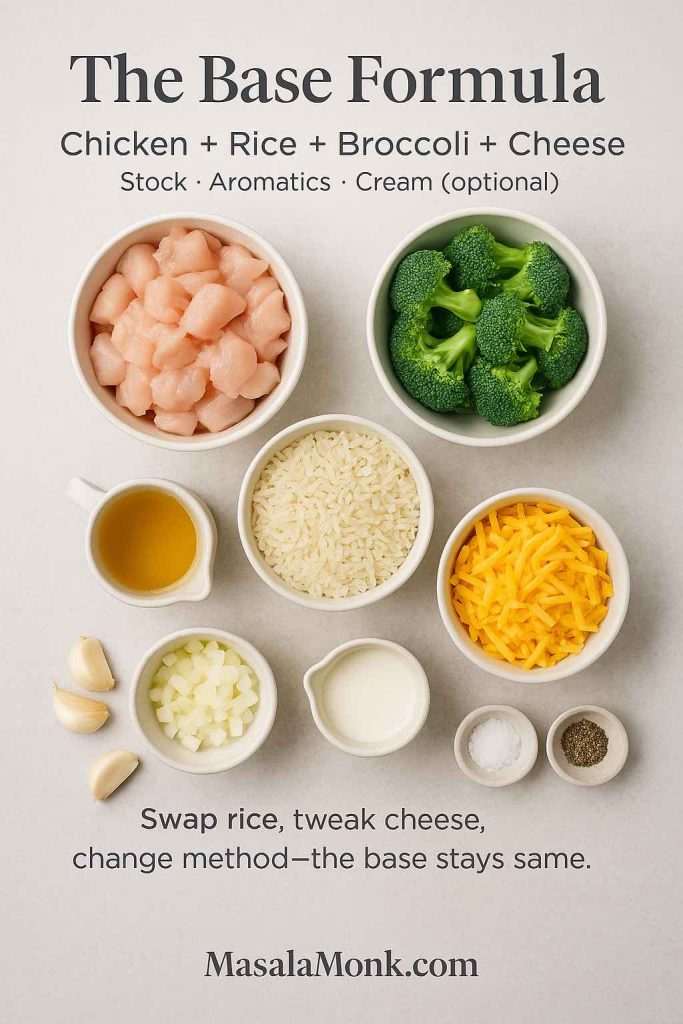
- Chicken broccoli Alfredo: sauté 300 g chicken until golden; blanch 2 cups broccoli florets for 60–90 seconds; fold both in at the end. This gives you the comfort of chicken alfredo pasta with broccoli while keeping the spice profile interesting.
- Alfredo mushroom pasta: brown 250 g mushrooms deeply first (don’t rush this). Fold into sauce for savory depth.
- Sausage Alfredo pasta: brown sliced sausage or spiced mince; fold in for a hearty bowl that feels weeknight-friendly and indulgent.
If you enjoy Italian classics reimagined with Indian flavors, you’ll likely also love Ravioli reinvented with Indian-inspired twists—same spirit, different pasta format.
Also Read: Croquettes Recipe: One Master Method + 10 Popular Variations
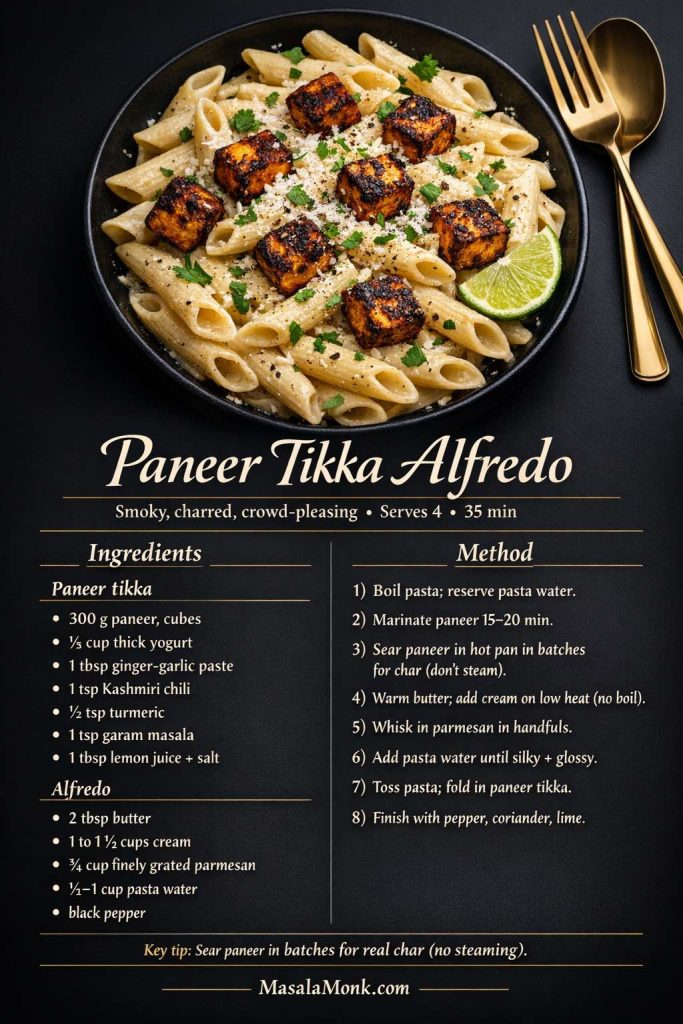
2) Paneer Tikka Alfredo (Smoky, Charred, Crowd-Pleasing)
Paneer tikka Alfredo is what you make when you want creamy pasta that still has drama. The charred edges of paneer are essential here: smoky, slightly crisp, and bold enough to stand up to the richness of Alfredo. In every bite, you get creamy sauce followed by a pop of spice and a whisper of tandoor-like flavor.
Pasta choice: penne or fusilli—both catch sauce and hold paneer pieces beautifully.
Ingredients (serves 4)
For the pasta
- 300–350 g penne or fusilli
- Salt for boiling water
What you need for paneer tikka
- 300 g paneer, cut into bite-size cubes
- ⅓ cup thick yogurt (hung curd works brilliantly)
- 1 tbsp ginger-garlic paste
- 1 tsp Kashmiri chili powder (or mild red chili powder)
- ½ tsp turmeric
- 1 tsp garam masala (or tikka masala blend)
- ½ tsp cumin
- 1 tbsp lemon juice
- 1 tbsp oil (for searing)
- Salt, to taste
For Alfredo sauce
- 2 tbsp butter
- 1 to 1¼ cups cream
- ¾ cup finely grated parmesan (or hard cheese)
- ½ to 1 cup reserved pasta water
- Black pepper
To finish
- Chopped coriander
- Lime wedge
If you want a reliable reference for the paneer tikka method and marinade structure, Hebbar’s paneer tikka recipe is a solid baseline.
Method
- Boil pasta until al dente. Reserve 1 cup pasta water, then drain.
- Marinate paneer in yogurt, spices, lemon, and salt for at least 15–20 minutes (longer is great, but not required).
- Heat a pan until hot. Add oil and sear paneer cubes in batches so they char instead of steaming. Turn gently until multiple sides develop dark, smoky spots.
- In a separate wide pan, melt butter over low heat. Add cream and warm.
- Whisk in cheese gradually until smooth.
- Add pasta water to loosen into a silky sauce.
- Toss pasta in the sauce, then fold in paneer tikka.
- Finish with black pepper, coriander, and a squeeze of lime.
Variations (choose your mood)
- Easy spinach Alfredo pasta: wilt a couple of handfuls of spinach and fold in right before serving. The green bitterness balances cream.
- Chicken tikka Alfredo: swap paneer for cooked chicken tikka pieces.
- Baked paneer tikka Alfredo: pour into a baking dish, top with mozzarella, and bake until bubbly—crispy edges, creamy center.
When you want more baked pasta inspiration in the same comfort lane, Baked ziti variations is a natural next click.
Also Read: Fish and Chips Reimagined: 5 Indian Twists (Recipe + Method)
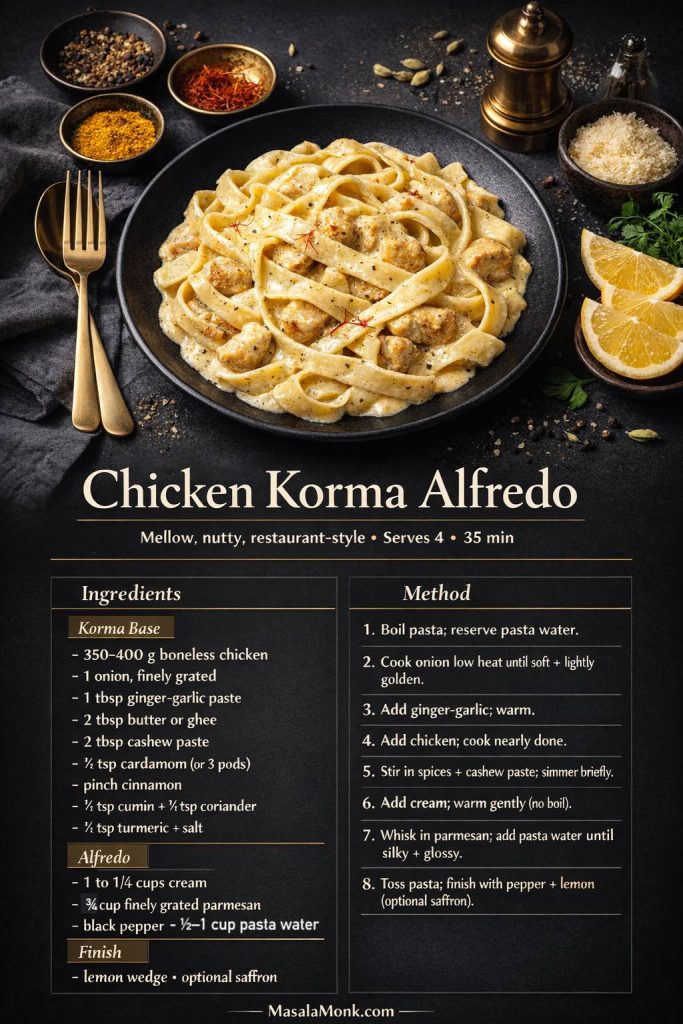
3) Chicken Korma Alfredo (Mellow, Nutty, Restaurant-Style)
Chicken korma Alfredo is creamy comfort turned elegant. Instead of heat-forward spice, you get warm aromatics, gentle sweetness from onion, and that unmistakable nutty richness that makes the sauce taste “finished.” It’s the kind of bowl that feels special without being loud.
Pasta choice: fettuccine for a classic luxurious feel, or penne for a family-friendly, scoopable version.
Ingredients (serves 4)
For the pasta
- 300–350 g pasta
- Salt for boiling water
What you need for the chicken korma component
- 350–400 g boneless chicken (thighs stay juicy; breast works too)
- 1 medium onion, finely grated or minced
- 1 tbsp ginger-garlic paste
- 2 tbsp butter or ghee
- 2 tbsp cashew paste (blend ¼ cup cashews with a few tbsp water)
- ½ tsp ground cardamom (or 3 green cardamoms, crushed)
- Pinch of cinnamon
- ½ tsp cumin
- ½ tsp coriander
- ¼ tsp turmeric
- Salt, to taste
For Alfredo sauce
- 1 to 1¼ cups cream
- ¾ cup finely grated parmesan (or hard cheese)
- ½ to 1 cup reserved pasta water
- Black pepper
To finish
- Lemon wedge
- Optional: a few saffron strands soaked in warm milk
For a reference point on korma-style flavor structure, Sanjeev Kapoor’s chicken korma recipe is a helpful baseline.
Method
- Boil pasta to al dente. Reserve 1 cup pasta water and drain.
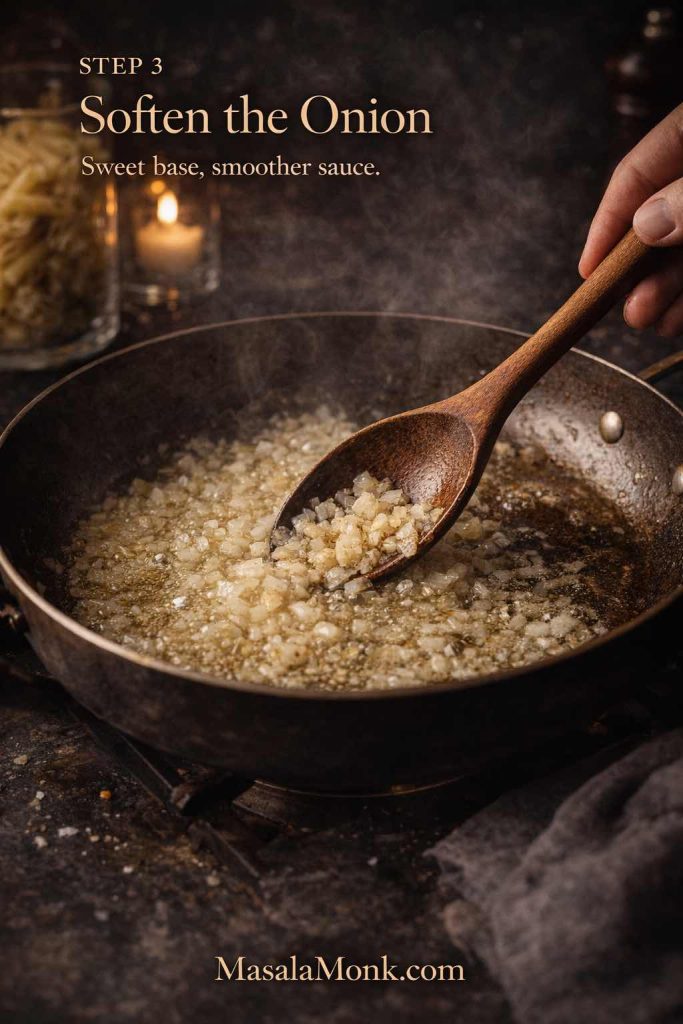
- In a wide pan, warm butter or ghee. Add onion and cook on low heat until soft and lightly golden. This step creates the mellow sweetness that makes korma taste luxurious.
- Add ginger-garlic paste and cook until fragrant.
- Add chicken and cook until nearly done.
- Stir in spices and cashew paste. Add a small splash of water if it looks too thick, then simmer briefly so everything becomes cohesive.
- Lower heat. Add cream and warm gently.
- Whisk in cheese gradually until smooth.
- Add pasta water to loosen into a silky sauce.
- Toss pasta in the sauce, finish with black pepper and lemon.
Variations and add-ins
- Chicken and broccoli penne Alfredo: add blanched broccoli at the end; it brightens the bowl and balances richness.
- Chicken and mushroom Alfredo pasta: fold in browned mushrooms for deeper savoriness.
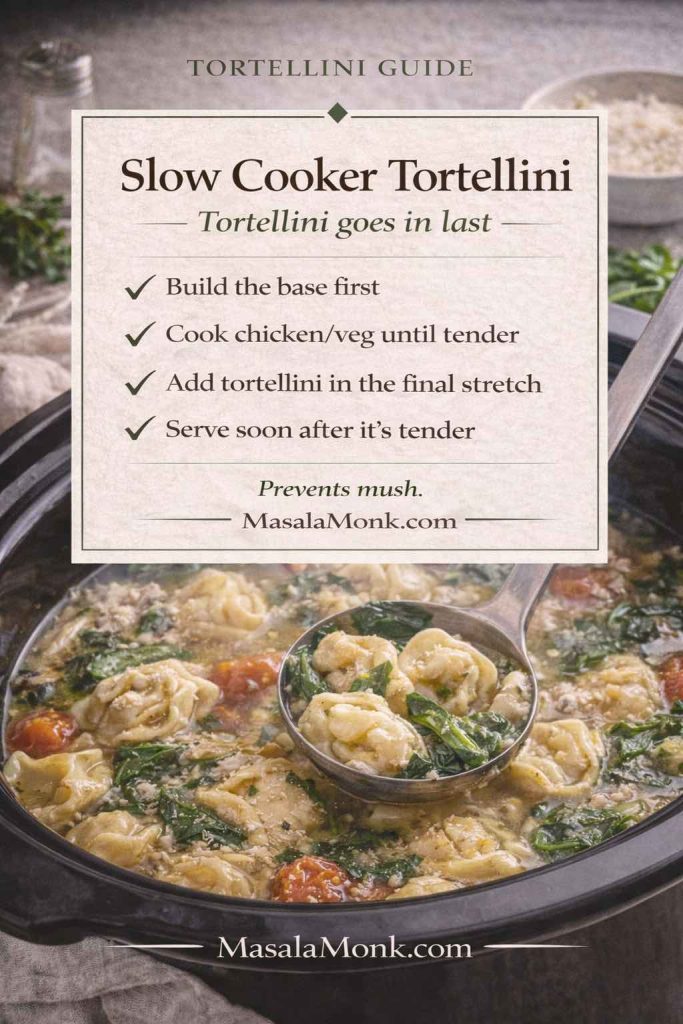
- Crock pot direction: if you love creamy comfort meals in slower formats, it’s easy to stay in the same mood with Crock pot lasagna soup—different format, similar coziness.
Also Read: Dirty Martini Recipe (Classic, Extra Dirty, No Vermouth, Spicy, Blue Cheese, Tequila + Batched)
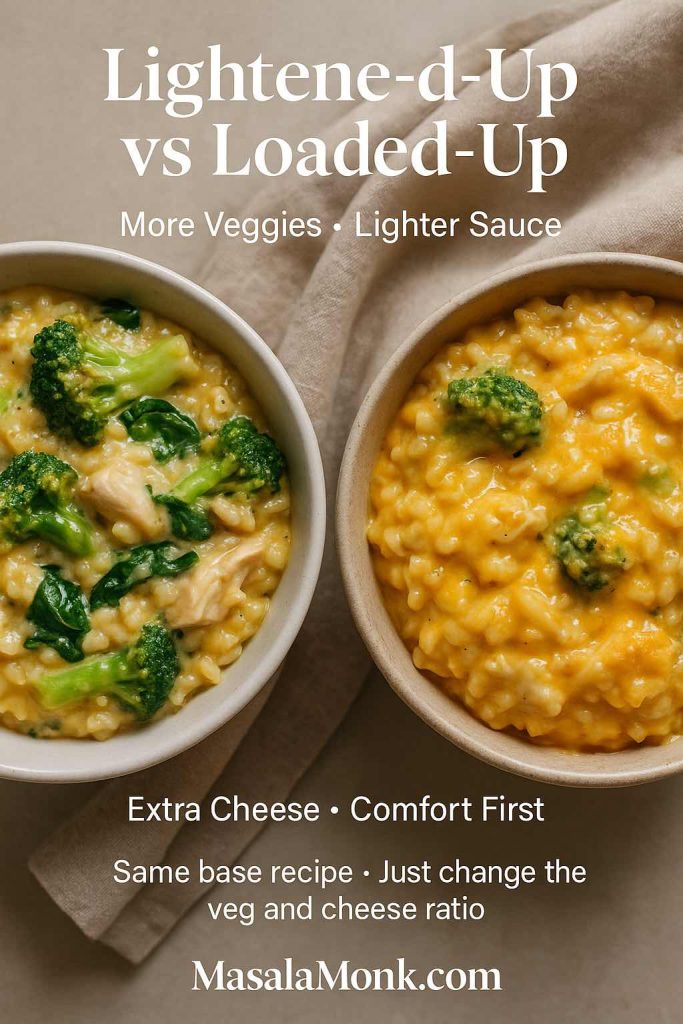
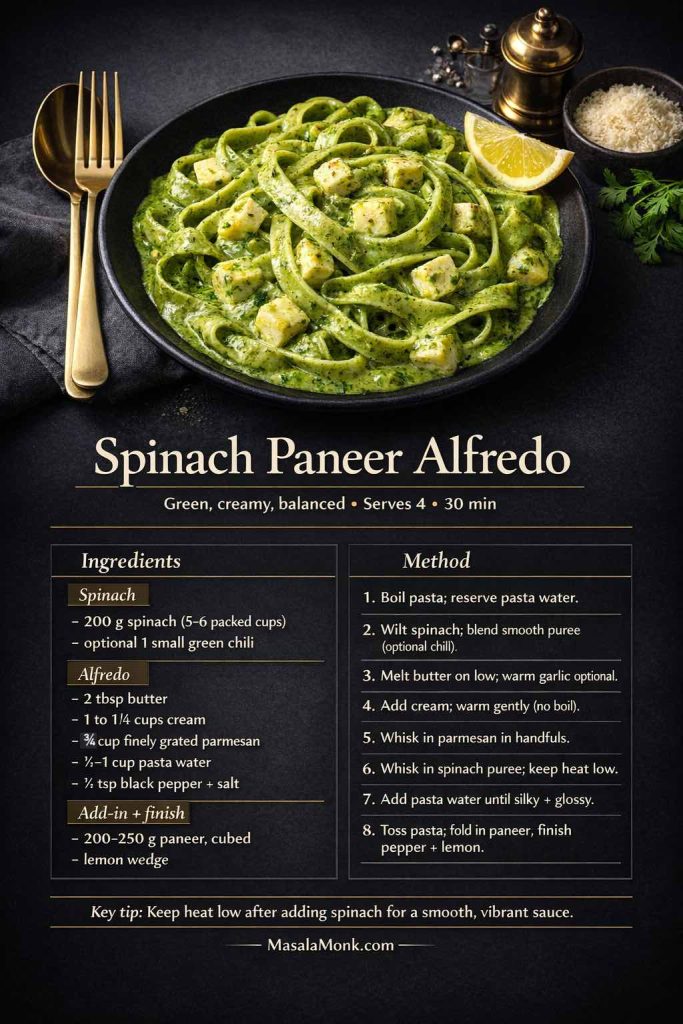
4) Spinach Paneer Alfredo (Green, Creamy, Balanced)
Spinach paneer Alfredo is for people who want creamy pasta that doesn’t feel heavy. The spinach brings freshness and a gentle earthiness; paneer adds soft richness without overwhelming the sauce. The result feels comforting yet surprisingly lively, especially with lemon and black pepper to finish.
Pasta choice: fusilli or penne for sauce-catching, or fettuccine for a smooth, green-sauce luxury.
Ingredients (serves 4)
Needed for the pasta
- 300–350 g pasta
- Salt for boiling water
For spinach paneer
- 200–250 g paneer, cubed (or lightly crumbled)
- 200 g spinach (roughly 5–6 packed cups)
- 2 tbsp butter
- 1 tbsp garlic, grated or minced (optional)
- 1 to 1¼ cups cream
- ¾ cup finely grated parmesan (or hard cheese)
- ½ to 1 cup reserved pasta water
- ½ tsp black pepper
- 1 small green chili (optional)
- Salt, to taste
- Lemon wedge to finish
Method
- Boil pasta until al dente. Reserve 1 cup pasta water and drain.
- Wilt spinach in a pan with a splash of water. Once it collapses, blend into a smooth puree. Add green chili if you want a gentle kick.
- In a wide pan, melt butter over low heat. Add garlic if using and warm gently.
- Add cream and warm. Whisk in cheese gradually until smooth.
- Whisk in spinach puree. Keep heat low so the sauce stays smooth and vibrant.
- Add pasta water to adjust consistency.
- Toss pasta in sauce and fold in paneer.
- Finish with black pepper and lemon.
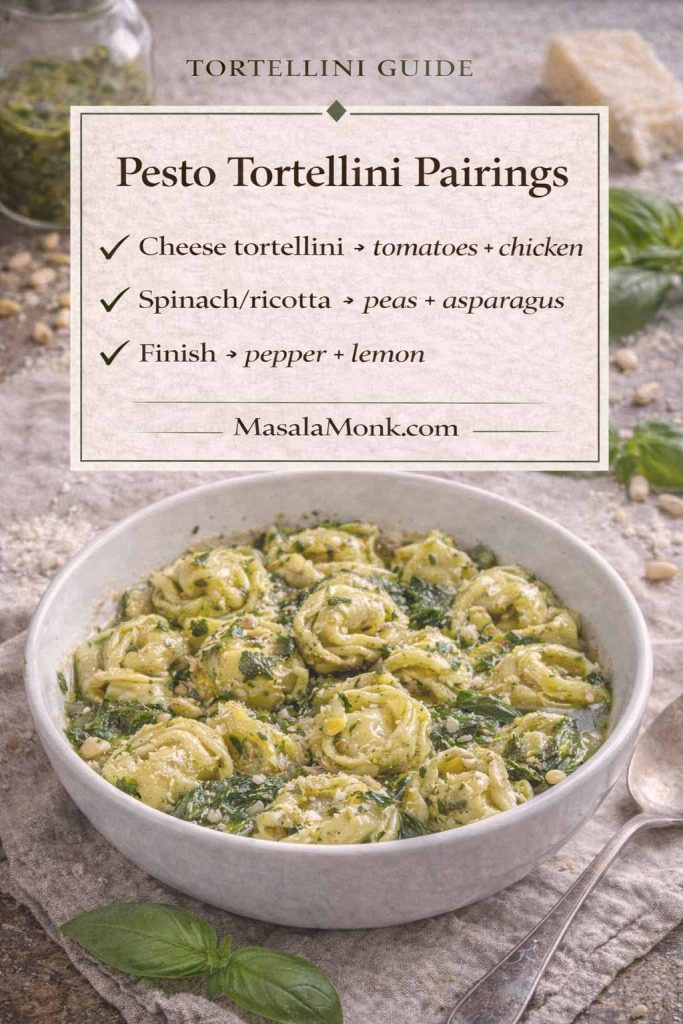
Herb-forward “basil Alfredo” option
If you want alfredo with basil vibes without turning the dish into a different pasta category, fold in chopped basil off heat or swirl in a spoon of pesto at the end. For pesto ideas that work well in Indian kitchens, Pesto recipe variations is a reliable companion. If you want to stay within the “Indian twist pasta” universe, Pesto pasta with Indian twists fits naturally.
Also Read: Keto Hot Chocolate Recipe (Sugar-Free Hot Cocoa) + Best Homemade Mix
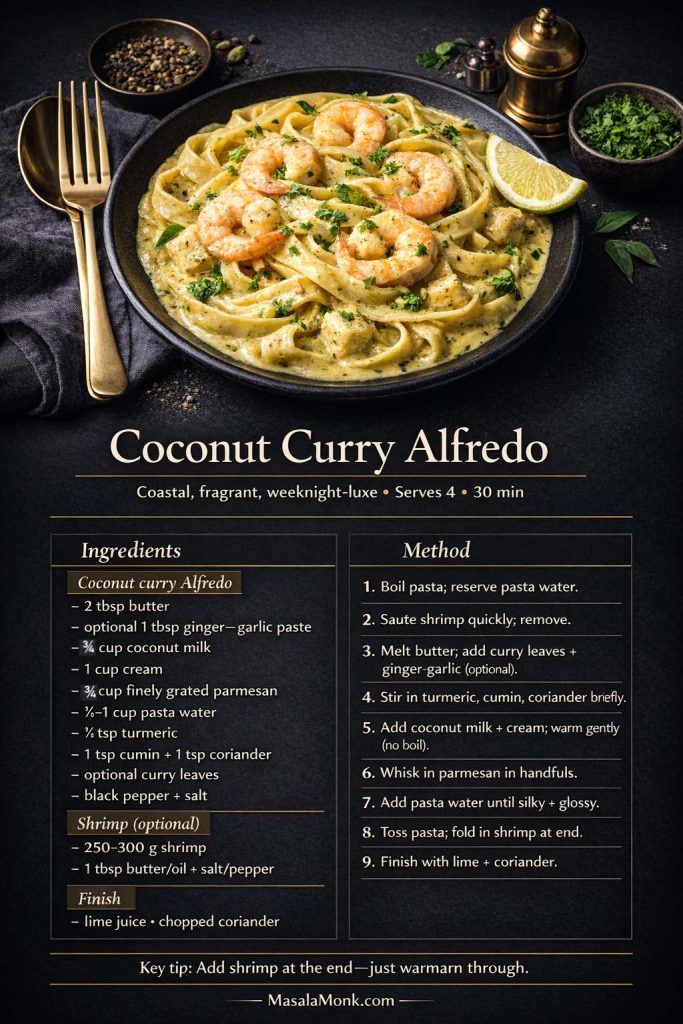
5) Coconut Curry Alfredo (Coastal, Fragrant, Perfect With Shrimp)
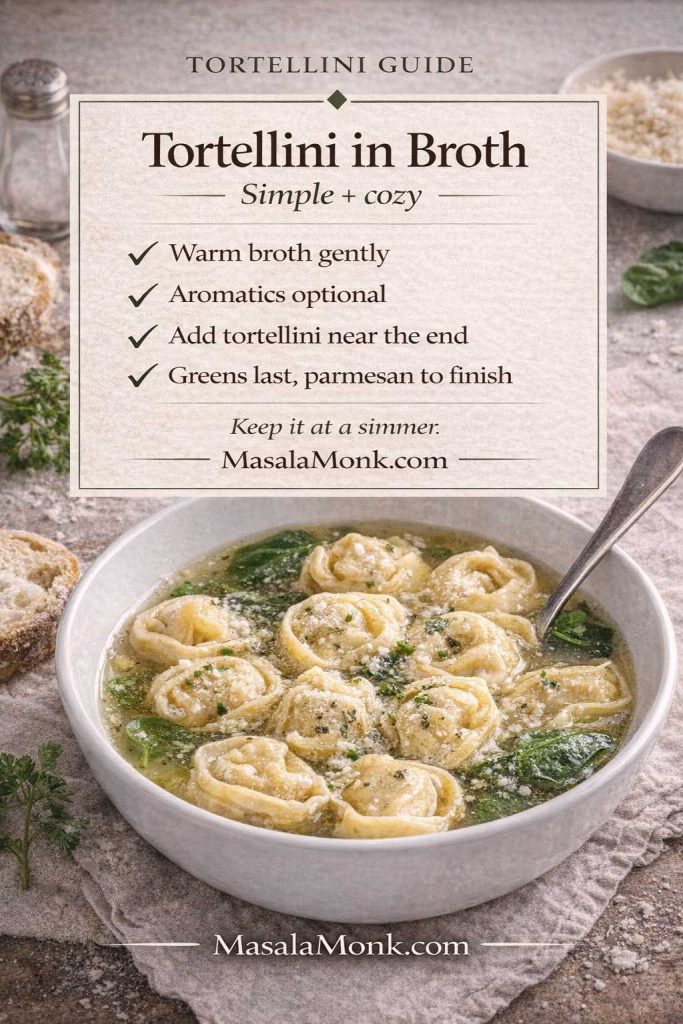
Coconut curry Alfredo is the twist that surprises people, then immediately converts them. Coconut milk brings silk; curry spices bring warmth; Alfredo keeps the creamy comfort intact. With shrimp, the bowl feels special. With spinach, it feels balanced. And with tortellini, it feels like restaurant food in sweatpants.
Pasta choice: fettuccine for a luxurious coating, or tortellini for a fast “wow.”
Ingredients (serves 4)
What you need for the Pasta
- 300–350 g pasta (or 500 g tortellini)
- Salt for boiling water
For coconut curry Alfredo
- 2 tbsp butter
- 1 tbsp ginger-garlic paste (optional)
- ¾ cup coconut milk (adjust for richness)
- 1 cup cream (you can reduce a bit if using more coconut milk)
- ¾ cup finely grated parmesan (or hard cheese; keep slightly lighter if you want coconut-forward flavor)
- ½ to 1 cup reserved pasta water
- ½ tsp turmeric
- 1 tsp cumin
- 1 tsp coriander
- Curry leaves (optional, but exceptional)
- Black pepper
- Salt, to taste
Shrimp option
- 250–300 g shrimp, peeled and deveined
- 1 tbsp butter or oil
- Salt and pepper
- Optional: a pinch of chili
To finish
- Lime juice
- Chopped coriander
Method
- Boil pasta until al dente. Reserve 1 cup pasta water. Drain.
- If using shrimp, sauté quickly in butter or oil until just pink and curled. Remove and set aside.
- In a wide pan, melt butter. Add curry leaves (if using) and ginger-garlic paste. Warm until fragrant.
- Add turmeric, cumin, coriander, and stir briefly.
- Pour in coconut milk and cream. Warm gently.
- Whisk in cheese gradually until smooth.
- Add pasta water to reach a glossy, clingy consistency.
- Toss pasta in sauce and fold in shrimp.
- Finish with lime and coriander.
Variations
- Shrimp fettuccine Alfredo with spinach: wilt spinach and fold in right at the end for a bright, balanced bowl.
- Shrimp Alfredo tortellini: use tortellini as the base; it becomes rich and special very quickly.
- Plant-based alternative: tofu works beautifully, and if you want a seafood-like swap, this guide to vegan shrimp substitutes keeps the idea accessible without pulling you out of the comfort-food mood.
Also Read: 10 Low Carb Chia Pudding Recipes for Weight Loss (Keto, High-Protein, Dairy-Free)
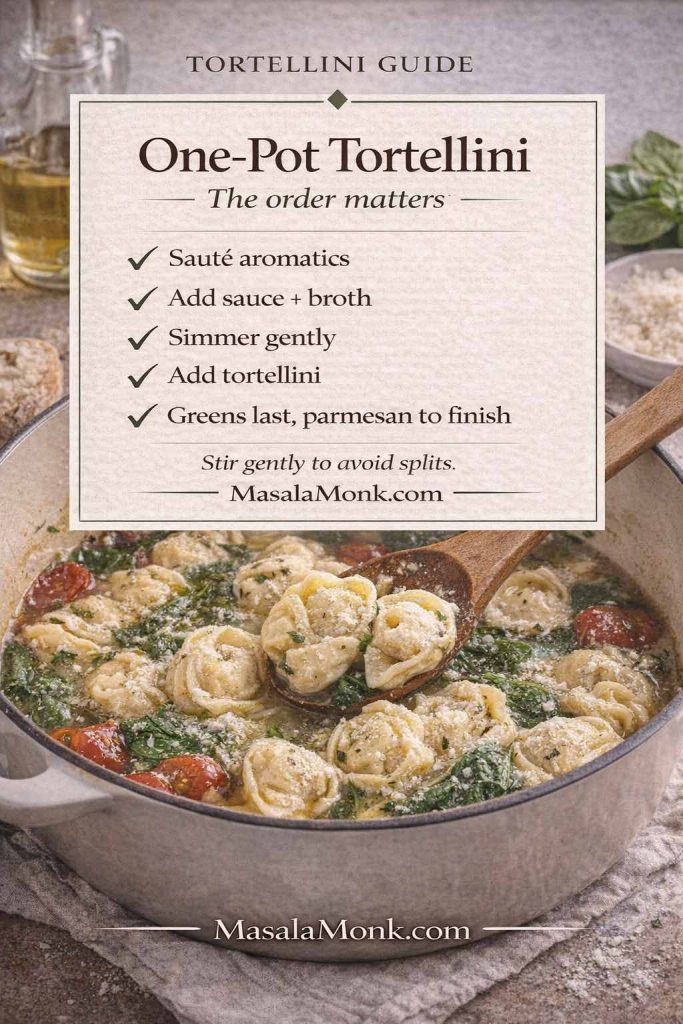
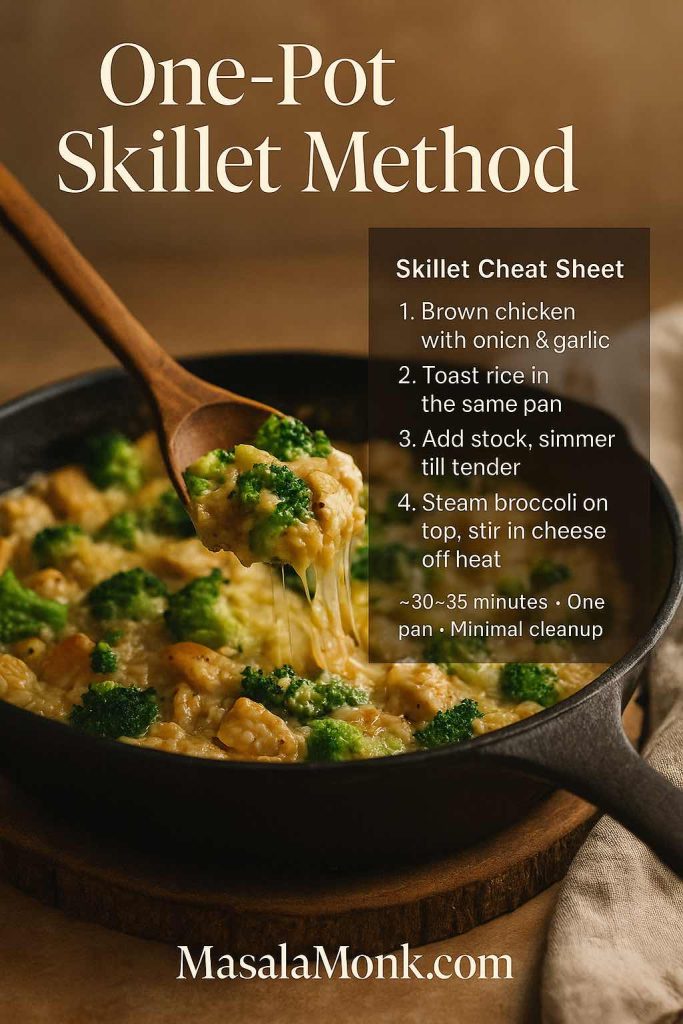
One Pot Indian Inspired Alfredo Pasta (Creamy, Fast, Minimal Dishes)
One pot Alfredo pasta is the weeknight hero when you want fewer dishes and still want sauce that coats properly. The key is concentrated starch: cook pasta in less water so the starchy liquid left in the pot becomes a tool for emulsifying the sauce. Serious Eats’ lighter Alfredo approach explains how that concentrated pasta water changes everything.

One pot method (serves 4)
- 300–350 g pasta
- Water or broth, just enough to barely cover pasta
- 2 tbsp butter
- 1 to 1¼ cups cream (or jar Alfredo + cream)
- ¾ cup grated cheese
- Black pepper
- Your chosen twist add-ins (masala bloom, spinach puree, paneer tikka, korma chicken, coconut curry)
Cook pasta with minimal water, stirring often. When pasta is nearly done and there’s starchy liquid left, lower heat and add butter, cream, and cheese. Stir until glossy. Then add your twist components and finish with citrus or herbs.
If you like creamy one-pot dinners beyond Alfredo, One pot chicken bacon ranch pasta sits close to this vibe—comforty, saucy, weeknight-friendly.
Also Read: Garlic & Paprika Cabbage Rolls (Keto-Friendly Recipes) – 5 Bold Savory Twists
Baked Alfredo Pasta (Ziti, Penne, Tortellini) That Doesn’t Turn Dry
Baked Alfredo pasta is its own category of comfort: bubbling cheese, crisp edges, creamy center. However, it can also turn dry if you bake it too long or start with a sauce that’s too thick. The solution is simple: keep the sauce a touch looser than stovetop Alfredo and bake just until hot and bubbly.
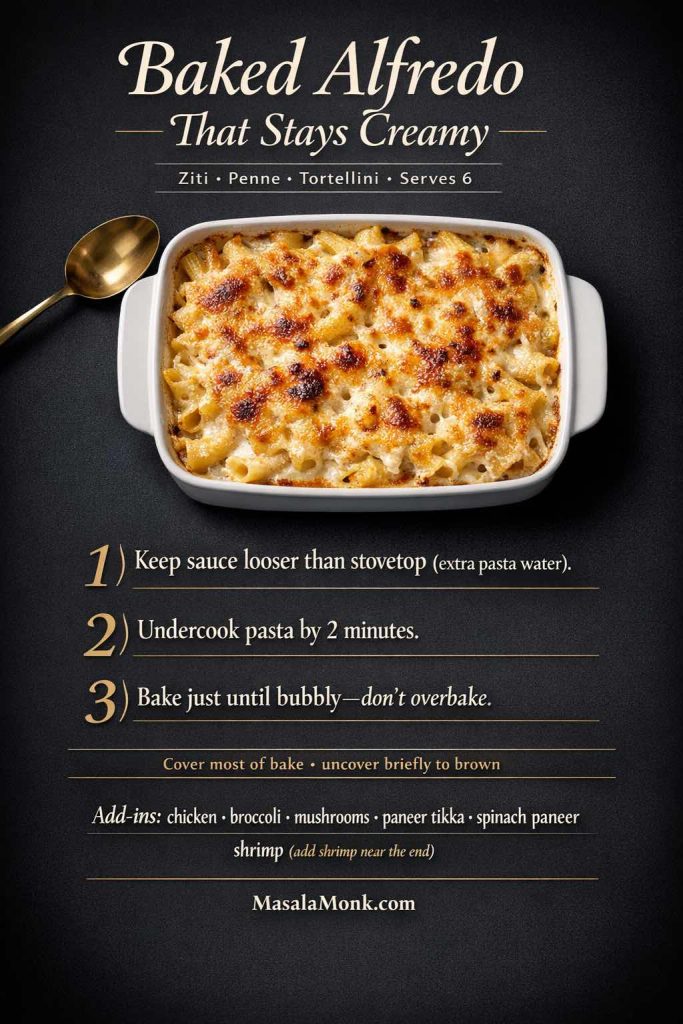
Baked ziti Alfredo sauce pasta plan (serves 6)
- 450–500 g ziti or penne
- Your chosen Alfredo twist sauce (make it slightly looser with extra pasta water)
- 1½ cups mozzarella (or a melt-friendly cheese)
- Add-ins: chicken, broccoli, mushrooms, paneer tikka, spinach paneer, or shrimp (shrimp is best added near the end)
Cook pasta slightly under al dente. Mix with sauce. Pour into a baking dish. Top with cheese. Bake until bubbly and lightly golden.
For more baked pasta inspiration in the same comfort lane, Baked ziti variations is an easy next step.
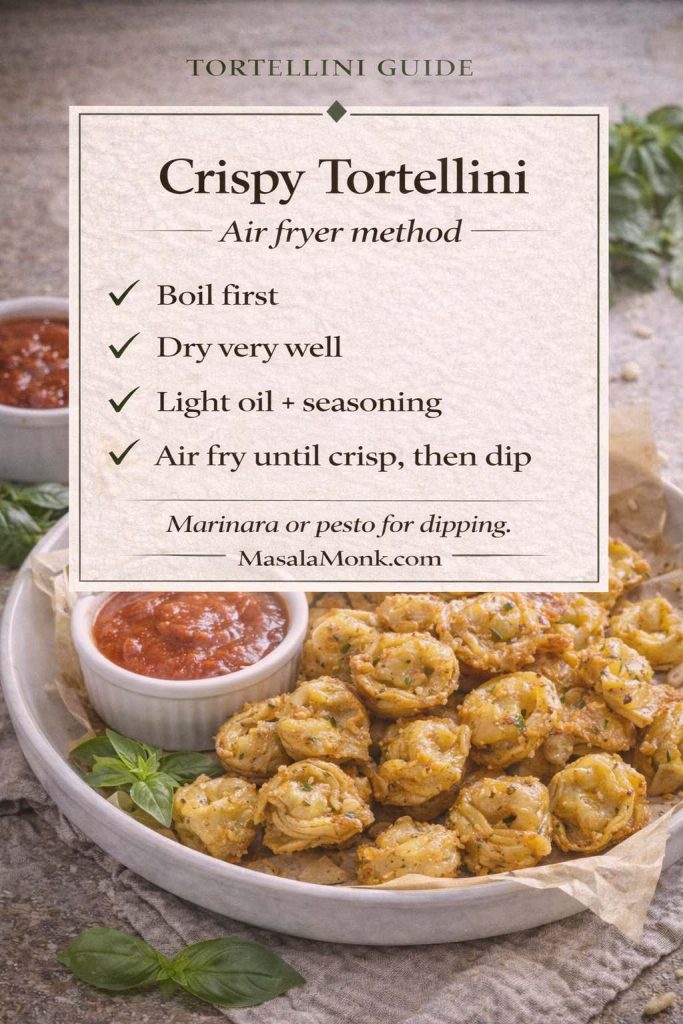
Baked tortellini with Alfredo sauce (fastest bake)
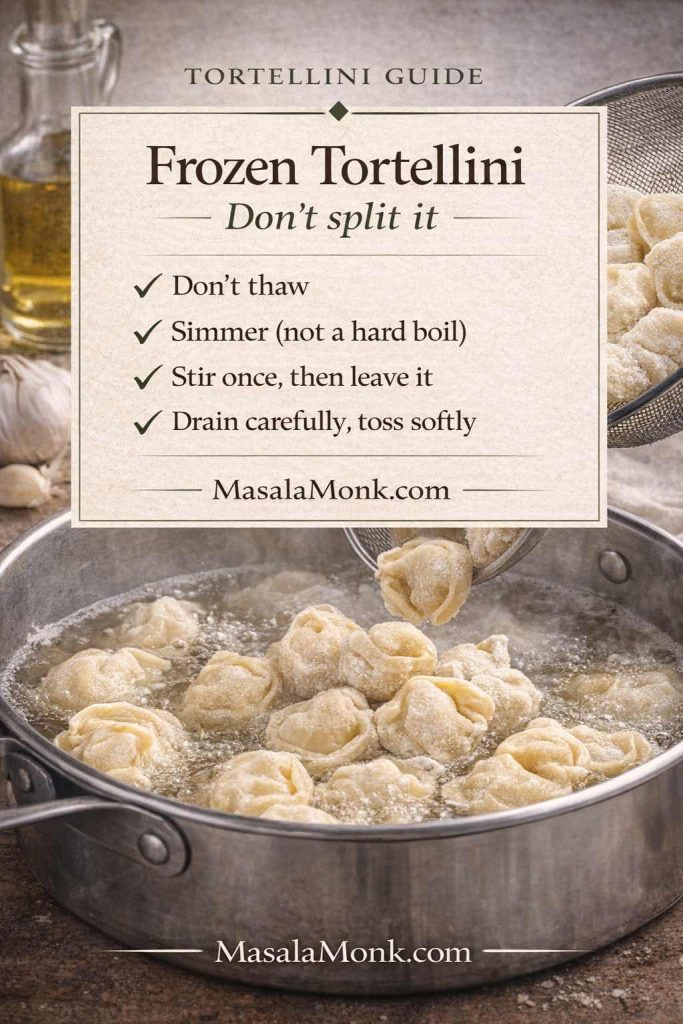
Tortellini cooks quickly, so it’s ideal for a weeknight baked dish. Warm sauce, fold in tortellini, top with cheese, bake until bubbling—then stop. If you’re unsure about timing differences between fresh and frozen tortellini, How to cook tortellini keeps it simple.
Also Read: Eggless Yorkshire Pudding (No Milk) Recipe
Flavor Directions That Work With Any Twist: Lemon, Basil, Cajun-Style Heat, and Truffle-Style Umami
Even within these five recipes, small changes keep dinner from feeling repetitive.
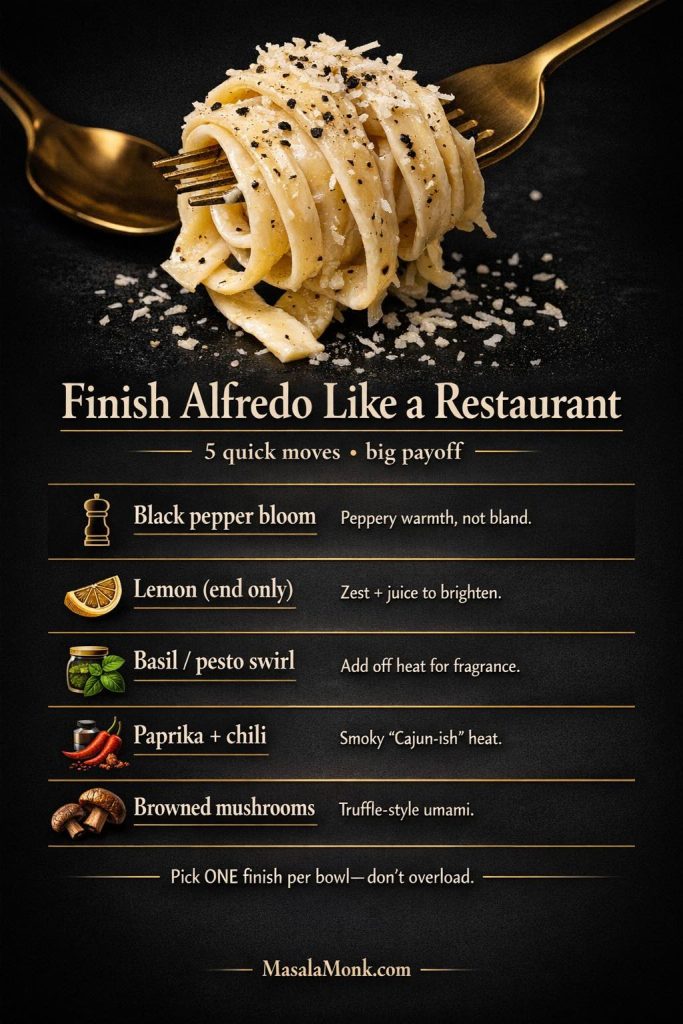
Lemon Alfredo
Lemon Alfredo is the quickest way to brighten a rich sauce. Add zest and juice at the end with black pepper. It’s especially good with chicken, shrimp, broccoli, and mushrooms because it keeps everything tasting alive.
Alfredo with basil
Fold in chopped basil off heat, or swirl pesto into the bowl right before serving. For pesto ideas that fit Indian kitchens, Pesto recipe variations helps you keep it fresh.
Cajun chicken Alfredo (Indian-friendly)
You don’t need a strict Cajun mix. Black pepper, paprika, garlic, and chili create a similar direction, while a tandoori-style rub can hit the same smoky lane. If you’re using jar Alfredo, this becomes a particularly easy weeknight version.
Truffle Alfredo (truffle-style mood without chasing ingredients)
Deeply browned mushrooms, extra black pepper, and gentle garlic create that “truffle-style” feeling—earthy, aromatic, luxurious—without relying on specialty products.
Also Read: Crock Pot Chicken Breast Recipes: 10 Easy Slow Cooker Dinners (Juicy Every Time)
Dairy-Free, Lactose-Free, Low Carb, and Keto Directions (Without Losing the Comfort)
Creamy pasta can still work for different needs; the foundation simply shifts.
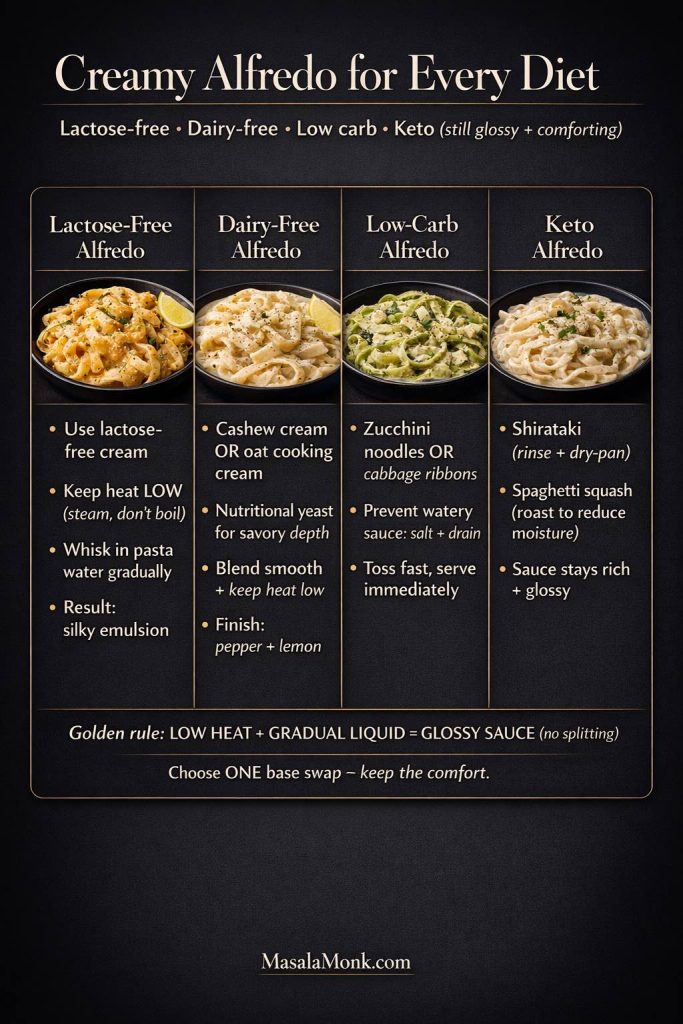
Lactose-free Alfredo
Use lactose-free cream and keep heat low. Add pasta water gradually to maintain a smooth emulsion.
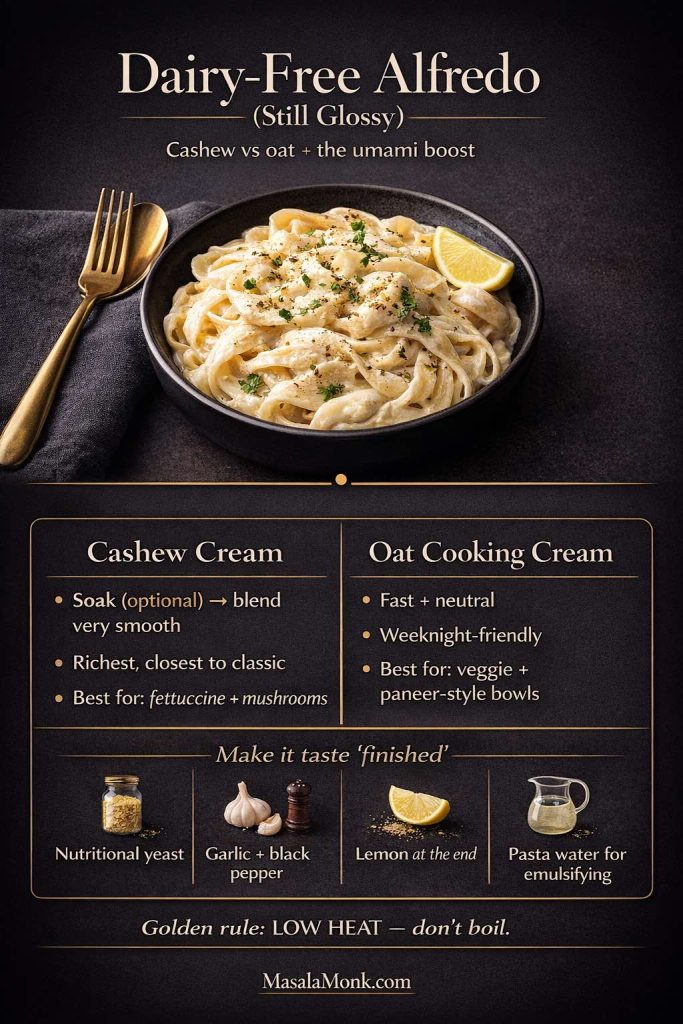
Dairy-free Alfredo / non dairy fettuccine Alfredo
Cashew cream or oat cooking cream can create a satisfying sauce. Nutritional yeast adds savory depth. The result won’t be identical to parmesan Alfredo, yet it can still be glossy, rich, and comforting.
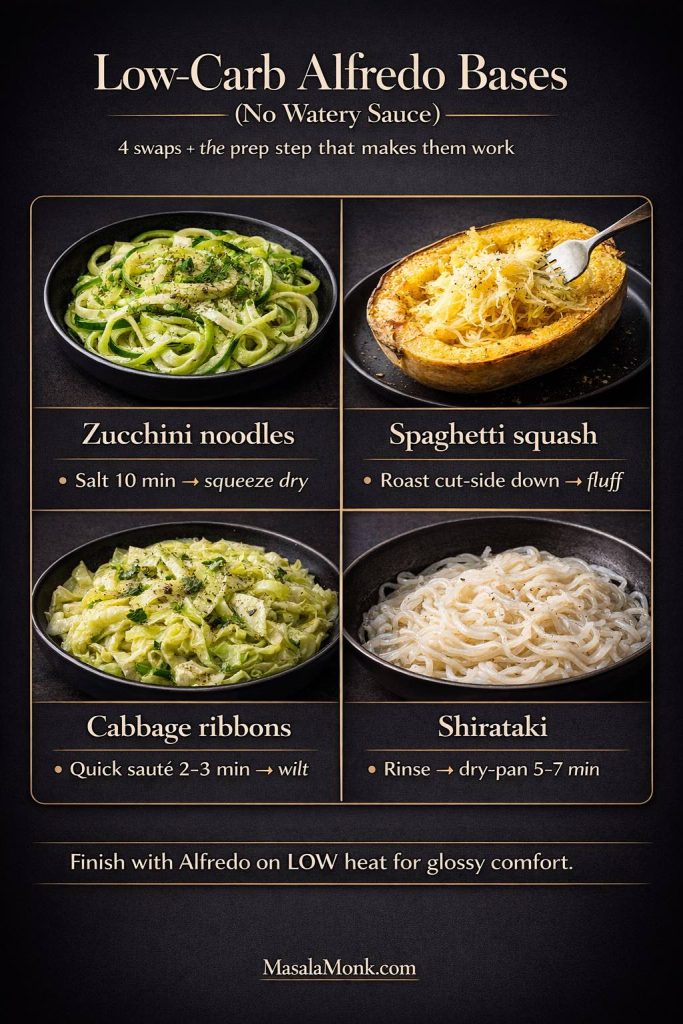
Low carb Alfredo Pasta and keto-friendly options
The sauce can stay creamy while the base changes:
- zucchini noodles
- spaghetti squash
- sautéed cabbage ribbons
- shirataki noodles (well rinsed and dried)
If you like the smart-carb pasta angle, Lentil pasta for weight loss (nutrition + recipes) is a helpful post that would allow you to move through a cohesive pasta ecosystem.
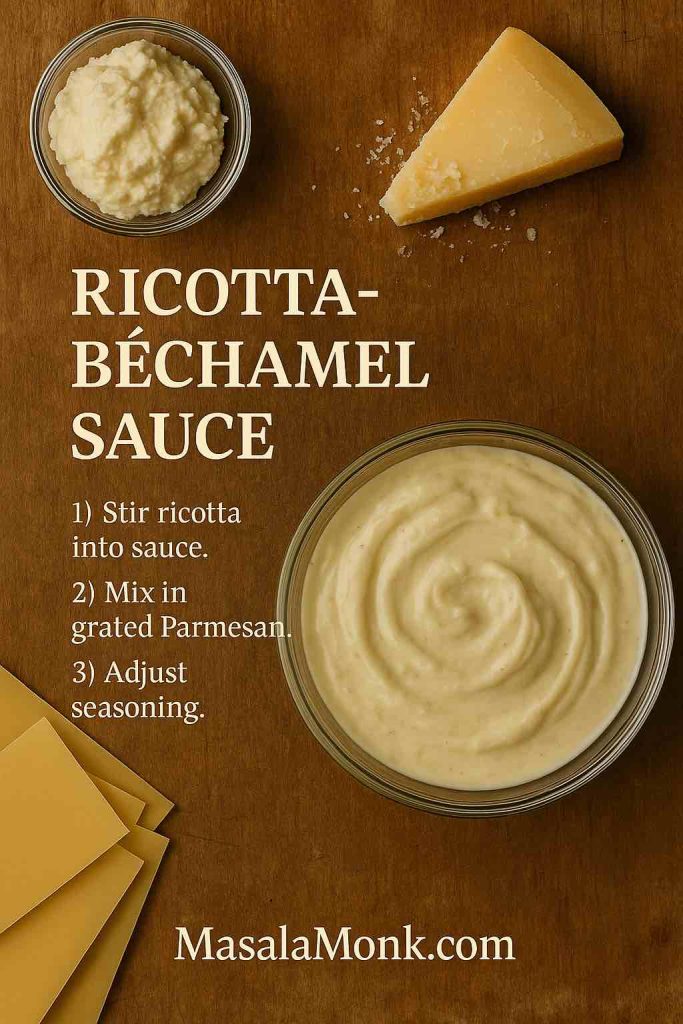
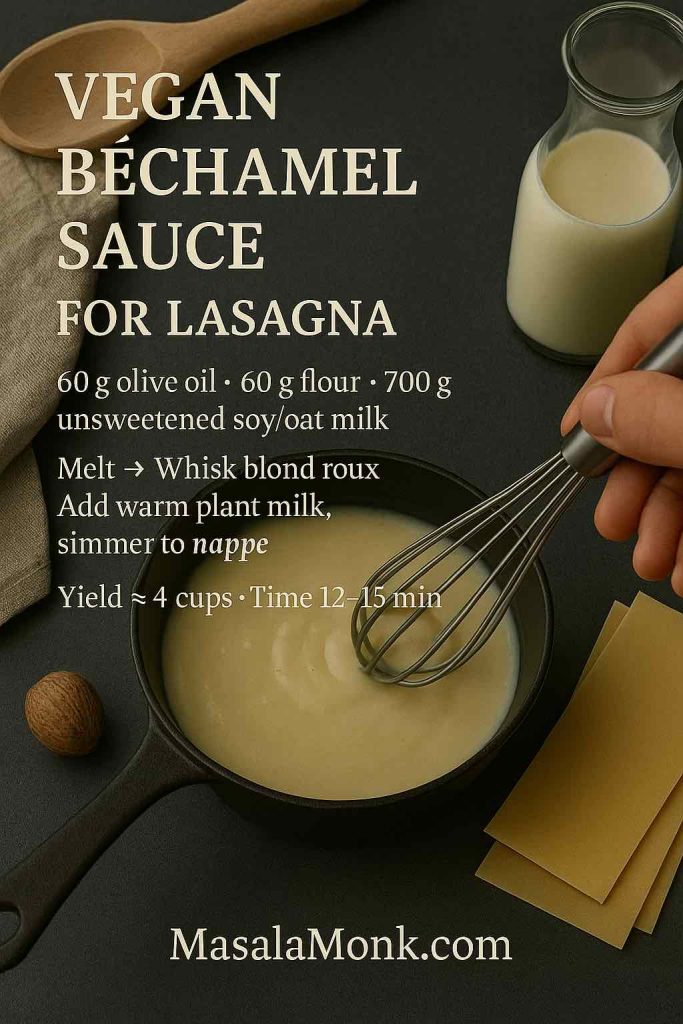
A White Sauce Detour That Makes Sense in Indian Kitchens
Many Indian home cooks already know white sauce from baked pasta nights. Alfredo and béchamel aren’t identical, yet they share a creamy logic that makes the comparison useful. If you want an Indian-friendly explanation of white sauce for baking, Tarla Dalal’s white sauce guide is a helpful reference. For a strong internal companion, Béchamel sauce for lasagna fits naturally if you’re building a small collection of creamy, bake-ready sauces.
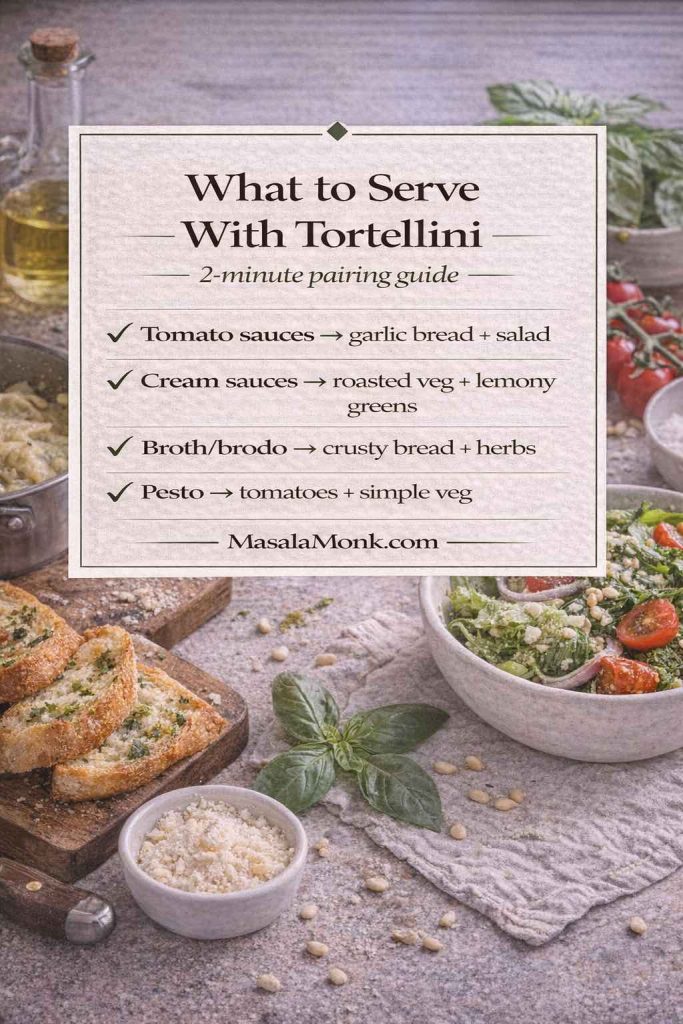
What to Serve With Indian Inspired Alfredo Pasta
Because Alfredo is rich, the best sides bring contrast—crunch, brightness, or both.
- A lemony salad
- Roasted vegetables
- Sautéed greens
- Garlic bread that makes everyone suspiciously cheerful
For a side that pairs with any Alfredo variation, Homemade garlic bread loaf is a perfect companion.
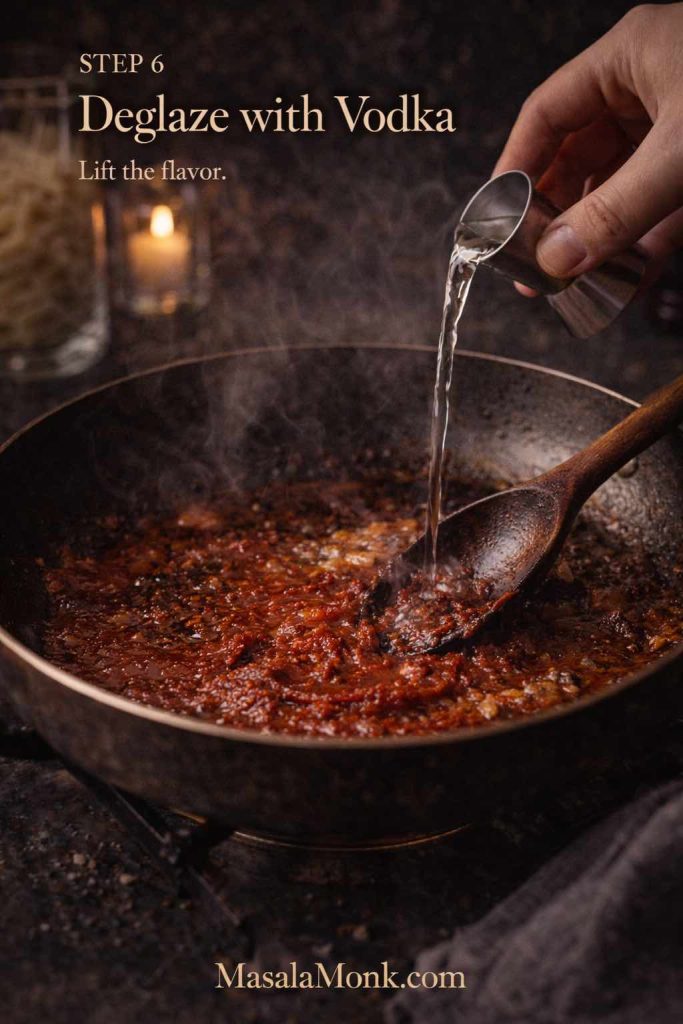
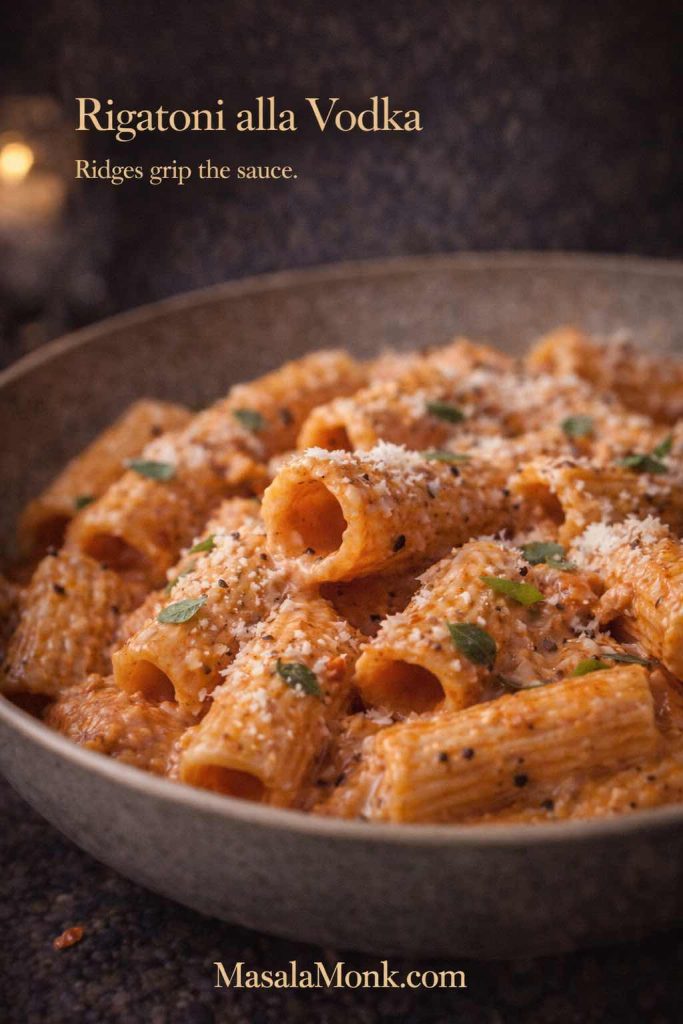
If you want another creamy pasta “cousin” that keeps you in the comfort lane without repeating Alfredo, try Vodka pasta recipe—it’s the same glossy, restaurant-style comfort, but with a totally different flavor direction.
Also Read: Sourdough Starter Recipe: Make, Feed, Store & Fix Your Starter (Beginner Guide)
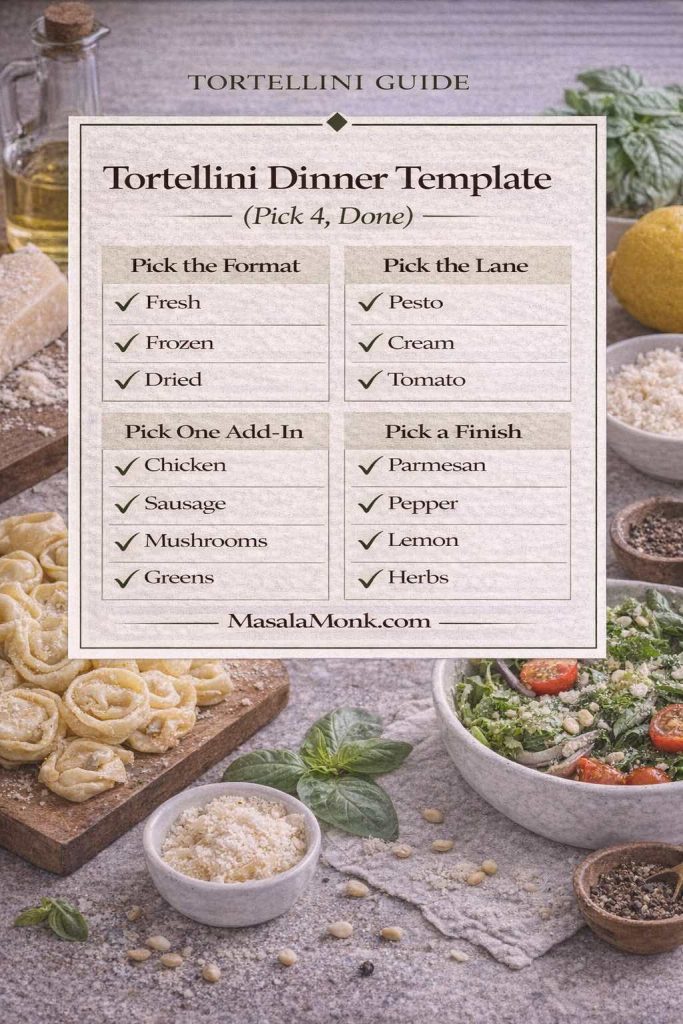
Bringing It All Together: A Simple Way to Choose Your Next Bowl
If you want bold and warming, go Masala Alfredo pasta. If you want smoky and festive, paneer tikka Alfredo is the answer. Then if you want mellow and luxurious, chicken korma Alfredo hits perfectly. For those who want green and balanced, spinach paneer Alfredo stays creamy while feeling fresh. And if you want coastal comfort, coconut curry Alfredo belongs on your table—especially with shrimp.
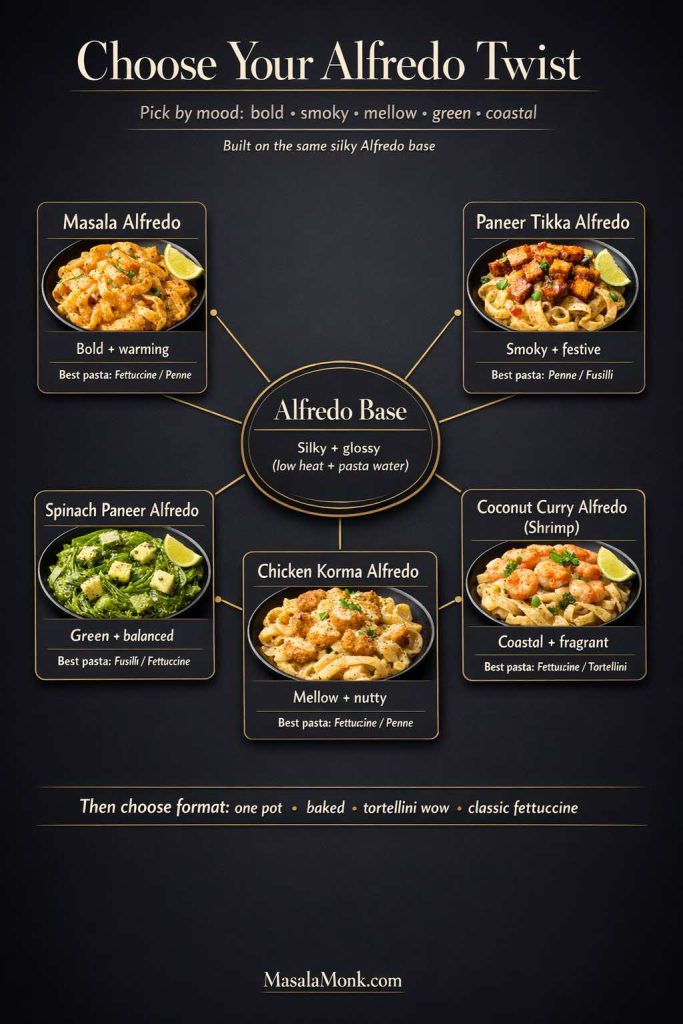
From there, pick the format: classic fettuccine Alfredo pasta when you want silky comfort, one pot Alfredo when you want fewer dishes, baked Alfredo pasta when you want bubbling edges, tortellini Alfredo when you want fast restaurant energy, or ziti with Alfredo sauce when you want a casserole you can share.
Once you’ve made one or two of these, you’ll start noticing something satisfying: you’re not repeating the same dinner—you’re rotating a creamy pasta universe. The base stays familiar, while the flavor moves. And that’s exactly what makes Indian inspired Alfredo pasta such a keeper.
Also Read: Peanut Butter Fudge: Recipes & Guide (8 Methods + Easy Variations)
FAQs: Indian Inspired Alfredo Pasta
1) What is Indian inspired Alfredo pasta?
Indian inspired Alfredo pasta is a creamy Alfredo-style pasta that’s finished with Indian flavors such as cumin, coriander, garam masala, kasuri methi, paneer tikka-style spice, spinach-paneer notes, or coconut curry warmth. In other words, the sauce stays rich and silky, yet the flavor shifts into an Indian-leaning comfort zone.
2) Can I make Alfredo pasta with an Indian twist using jar Alfredo sauce?
Yes. Start by warming the Alfredo pasta sauce jar on low heat, then loosen it with a splash of reserved pasta water (or warm milk) until it turns smooth and glossy. After that, fold in your Indian twist—masala bloom, tikka seasoning, spinach puree, or coconut curry base—so it tastes layered rather than flat.
3) What’s the best cheese for fettuccine Alfredo pasta?
Traditionally, a finely grated hard cheese gives the cleanest melt and the smoothest texture. Because Alfredo is simple, the cheese choice matters: it should taste nutty and savory without turning the sauce heavy or grainy. If you’re experimenting, combine a hard cheese for flavor with a small amount of melt-friendly cheese for extra creaminess.
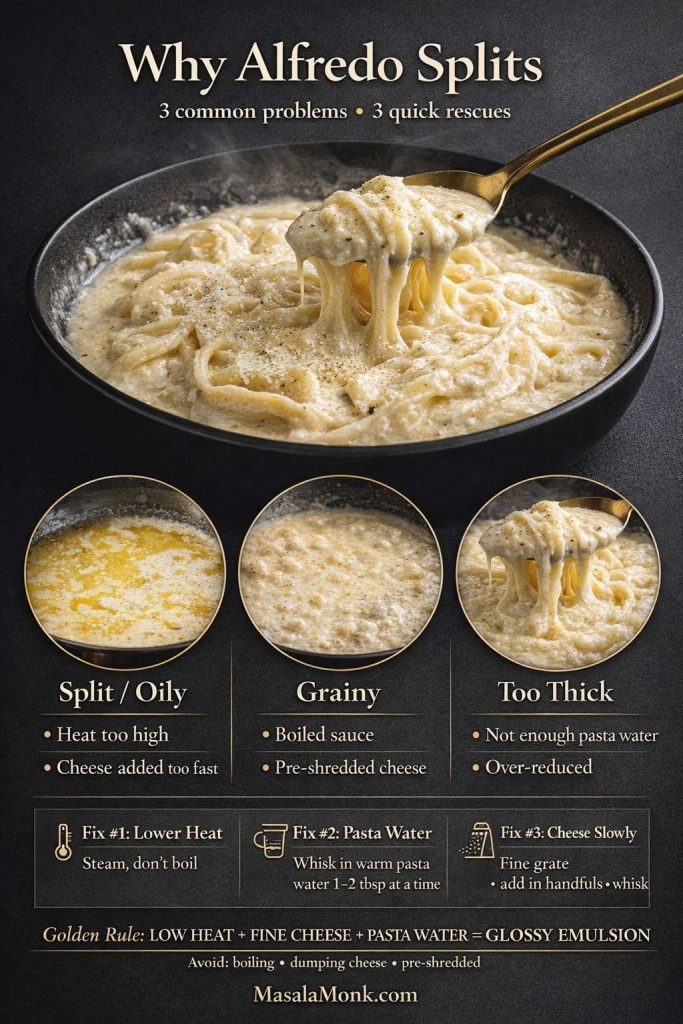
4) Why does my Alfredo sauce turn grainy or split?
Most often, Alfredo splits because the heat is too high or the cheese is added too quickly. Similarly, graininess can happen when the sauce boils or when pre-shredded cheese doesn’t melt smoothly. To fix it, reduce the heat, whisk steadily, and add small splashes of pasta water until the sauce comes back together.
5) How do I fix Alfredo sauce that’s too thick?
Add warm pasta water a tablespoon at a time while stirring until the sauce loosens and coats the pasta evenly. If you don’t have pasta water, warm milk or cream can help; however, pasta water usually creates the most “clingy” texture.
6) How do I make one pot Alfredo pasta without it turning gummy?
Use just enough water to barely cover the pasta and stir frequently so it doesn’t stick. When the pasta is nearly done, you should still have a little starchy liquid left—this helps the sauce bind. Then lower the heat before adding dairy and cheese so the sauce stays smooth rather than gluey.
7) Is one pot Alfredo pasta with jar sauce a good idea?
It can be, especially on busy nights. The key is gentle heat and enough liquid to keep the sauce silky. If the jar sauce seems overly thick, thin it gradually with pasta water. Afterward, add your chosen twist—masala, basil-aligned herbs, lemon, spinach, or coconut curry—so it tastes intentional.
8) Which pasta shape is best for Alfredo: fettuccine, penne, or ziti?
Fettuccine Alfredo pasta feels classic because wide noodles carry sauce beautifully. Meanwhile, penne Alfredo holds sauce inside the tubes, so each bite tastes richer. Ziti with Alfredo sauce is ideal when you’re planning a bake because it stays sturdy and doesn’t collapse.
9) Can I make Alfredo ziti or baked Alfredo pasta ahead of time?
Yes. For baked Alfredo pasta, slightly undercook the pasta, keep the sauce a little looser than usual, and assemble everything in a dish. Then bake just until hot and bubbly. If it sits too long in the oven, it can dry out, so aim for “bubbly and done,” not “baked forever.”
10) How do I make baked fettuccine Alfredo with jar sauce without drying it out?
First, loosen the jar sauce with pasta water or milk so it’s silky before mixing it with pasta. Next, cover the dish for most of the bake, then uncover briefly at the end for a golden top. Finally, avoid overbaking—Alfredo stays best when it’s heated through rather than aggressively reduced.
11) How do I make chicken broccoli and ziti Alfredo taste better?
Season each part. Brown the chicken well for flavor, blanch the broccoli briefly so it stays bright, and keep the sauce smooth with pasta water. Then combine everything and bake only until bubbly. As a result, you get a creamy chicken broccoli ziti Alfredo that tastes layered instead of bland.
12) What’s the easiest way to make chicken Alfredo penne with jar sauce?
Cook penne until al dente. Warm jar Alfredo on low heat, thin it with pasta water, and add black pepper. Then stir in cooked chicken and toss everything together. If you want an Alfredo pasta with an Indian twist, finish with a quick masala bloom or tikka-style seasoning.
13) How do I keep shrimp from turning rubbery in shrimp Alfredo pasta?
Cook shrimp separately and briefly—just until pink and curled. Then add it to the sauce at the end so it warms through without overcooking. This approach works especially well for shrimp fettuccine Alfredo with spinach or shrimp Alfredo tortellini.
14) Can I make shrimp and tortellini Alfredo?
Absolutely. Tortellini cooks quickly and feels extra hearty in Alfredo. Keep the sauce smooth, add shrimp at the end, and finish with lemon or black pepper. If you like, add spinach for a shrimp spinach Alfredo variation that tastes brighter.
15) How do I make Alfredo mushroom pasta taste richer?
Brown mushrooms deeply first so they develop a roasted, savory flavor. Then fold them into the sauce. In particular, mushroom Alfredo becomes even more satisfying with extra black pepper and a small squeeze of lemon to lift the richness.
16) How do I make basil Alfredo or Alfredo with basil without it tasting flat?
Add basil at the end, off the heat, so it stays fragrant. Also, balance it with black pepper and a little citrus. If you want more depth, a small spoon of herb paste or pesto-style basil mixture can intensify the flavor without overpowering the sauce.
17) What is lemon Alfredo, and when should I add the lemon?
Lemon Alfredo is Alfredo finished with lemon zest and juice for brightness. Add lemon at the very end so it stays fresh and doesn’t curdle the dairy. It’s especially good with chicken, shrimp, broccoli, and spinach.
18) Can I make Cajun chicken Alfredo using this Indian-inspired approach?
Yes. You can build a Cajun-style direction with black pepper, paprika, garlic, and a bit of chili. Then, if you want it to feel more Indian-leaning, add a pinch of cumin or garam masala and finish with lime. That way, the flavor stays bold while still fitting the Indian inspired Alfredo pasta theme.
19) How do I make Alfredo pasta with Italian sausage (or sausage Alfredo pasta) without making it too heavy?
Use browned sausage for flavor, then keep the sauce slightly looser with pasta water. Additionally, finish with black pepper and lemon so the bowl tastes lively instead of heavy. You can also add broccoli or spinach for balance.
20) Can I make Alfredo pasta with tuna or ham?
Yes—both tuna Alfredo pasta and ham Alfredo pasta are common quick options. Add the tuna or ham toward the end so it warms through gently. Then finish with lemon and pepper to brighten the sauce.
21) Is there a lactose-free fettuccine Alfredo option?
Yes. Use lactose-free cream (or lactose-free milk with a thickener), then choose a hard cheese that melts smoothly. Keep the heat low and rely on pasta water to help the sauce bind so it stays silky.
22) How do I make dairy free fettuccine Alfredo or non dairy Alfredo sauce?
Use cashew cream, oat cooking cream, or another creamy plant base. Then add savory depth with nutritional yeast, garlic, and black pepper. After that, use pasta water to create a cohesive, glossy texture so it still feels like Alfredo.
23) What’s a good low carb fettuccine sauce or keto Alfredo sauce option?
For keto fettuccine Alfredo sauce, keep the sauce creamy and swap the base: zucchini noodles, spaghetti squash, sautéed cabbage ribbons, or well-prepped shirataki. That way, you keep the comfort while cutting the carbs.
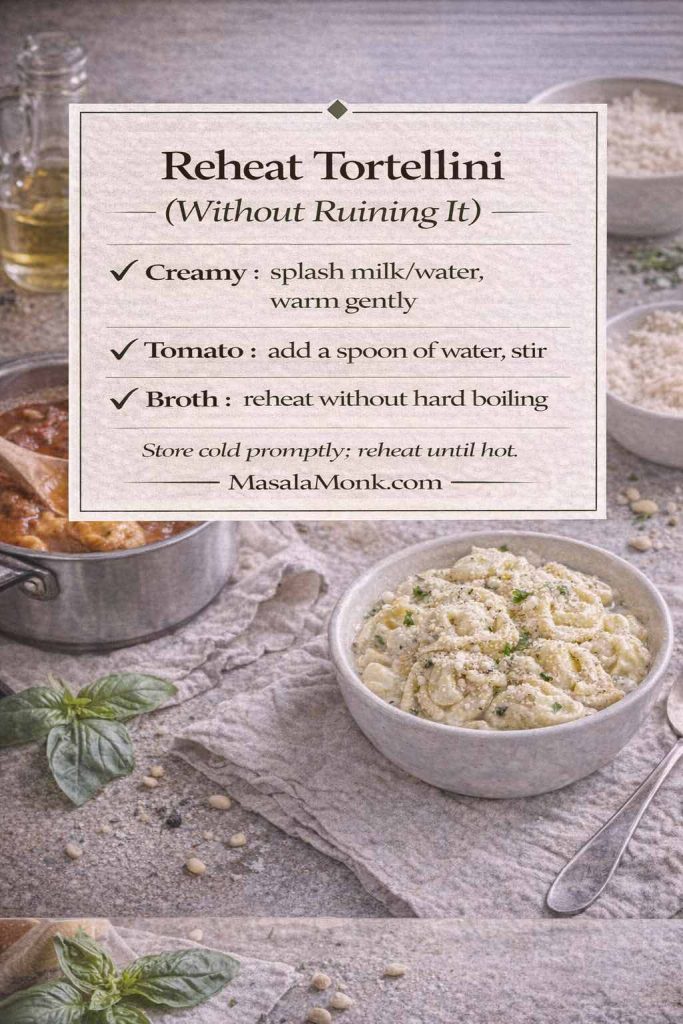
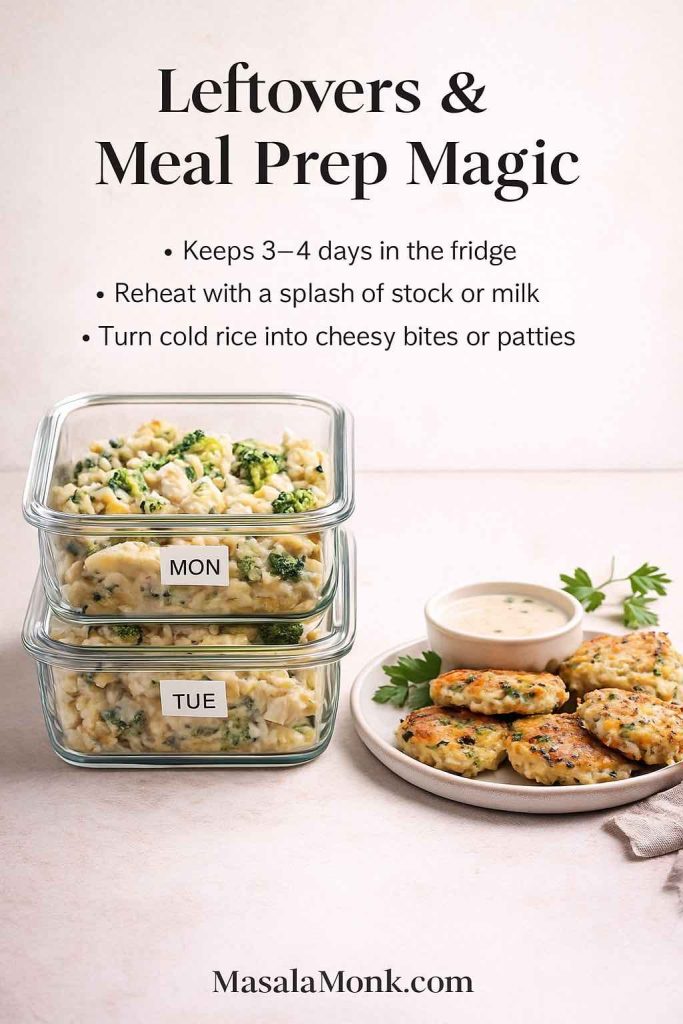
24) How long does Alfredo pasta last in the fridge, and what’s the best way to reheat it?
Typically, Alfredo pasta keeps well for a few days when stored properly in the fridge. When reheating, do it gently on low heat with a splash of milk, cream, or water to loosen the sauce. If you microwave it, stir halfway through so it warms evenly and doesn’t separate.
25) Why does my Alfredo sauce taste bland, and how do I fix it quickly?
Usually it needs salt, black pepper, and a bright finish. Add pepper, a tiny pinch of salt, and a squeeze of lemon. For an Alfredo pasta with Indian twist, add crushed kasuri methi or a quick masala bloom—those small touches often transform the flavor immediately.