Posted on 4 Comments

Wholewheat Carrot Orange Tea Cake- Kid Friendly Easy Recipe

Carrot cake is my and my child’s all time favourite. There’s something so heartwarming about a good carrot cake. As soon as those orange carrots hit the Indian market, this is one thing I crave. 

Why did I add orange to this cake? Well, I think it gives it that special subtle finesse that makes it stand out. Orange flavor goes beautifully with carrots. It gives a burst of citrus flavour along with a bright punch.

One bite of this can even convert those silly people who don’t like carrot cake 😄 Who are these people anyway!

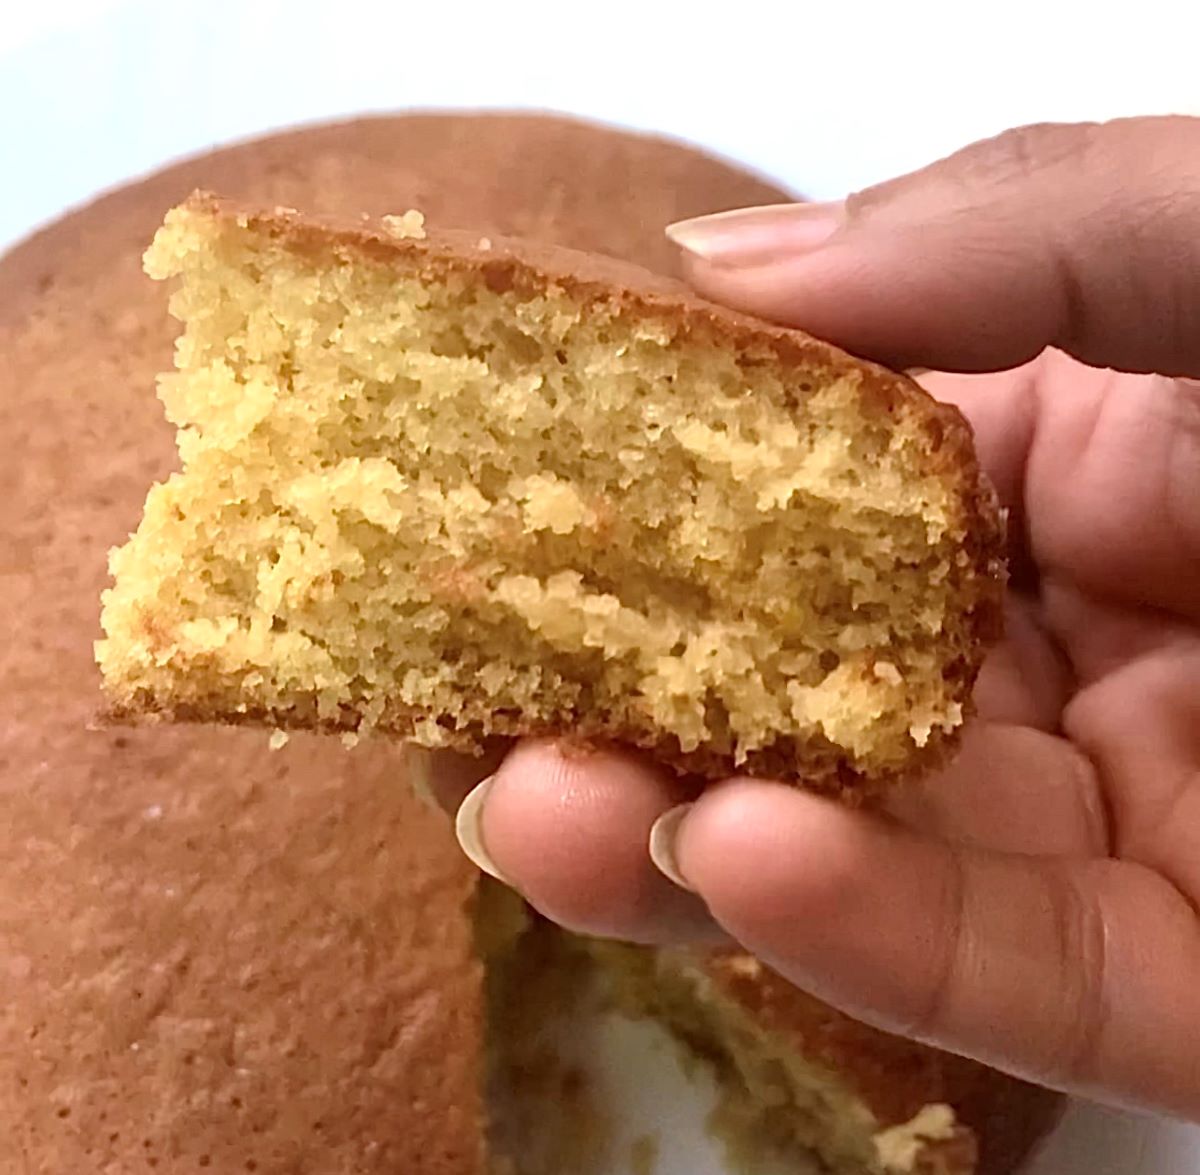
My child loves to carry a slice of cake or a muffin in his school snack box. So I had to make it healthy and equally delicious for my child. This is the recipe that I mastered after a few failed attempts. Well, not exactly failed though. Those failed attempts were edible too but this one comes out to be perfectly soft, moist and fluffy

It is made using Wholewheat flour and Jaggery. Now baking with wholewheat flour can be a little tricky. It can make the texture of the cake dense. To ensure that your cake remains light and fluffy, the trick is to sieve wholewheat flour 3-4 times. This will add more air and the cake will not come out dense.

This recipe is actually so easy to make that anyone who hasn’t tried baking before will be able to crack it. Being a mother I understand how busy days get and trying those time consuming recipes can be quite daunting at times. To save you from all that hassle, all you have to do is put everything in a blender and Viola! Your batter is ready in less than 5 minutes. This will also save you from washing too many bowls which is quite a task when you have to bake.

Do try out this recipe and let me know. Trust me it will not disappoint you. 🙂 You can frost this cake with your favourite cream cheese frosting. This recipe is a make-ahead cake recipe whose taste and texture will not be compromised.

This cake is not overly sweet. I don’t prefer too sweet desserts. Feel free to add more jaggery if you like.

Recipe: cup measurement 250 ml

Prep time: 15 minsCook time: 30 mins


Ingredients

  • 2 medium size Carrots, shredded
  • 3 heaped tbsps Orange Marmalade 
  • 60 grams softened unsalted Butter or any non-fragrant oil
  • 1/2 cup Jaggery powder
  • 1 1/2 cup Wholewheat flour
  • A generous pinch Salt
  • 2 small Eggs
  • 1/2 cup Milk 
  • 1/2 tsp Vanilla extract
  • 1/2 tsp Baking soda
  • 1 tsp Baking powder
  • Handful of Chopped Walnuts (optional)

Method

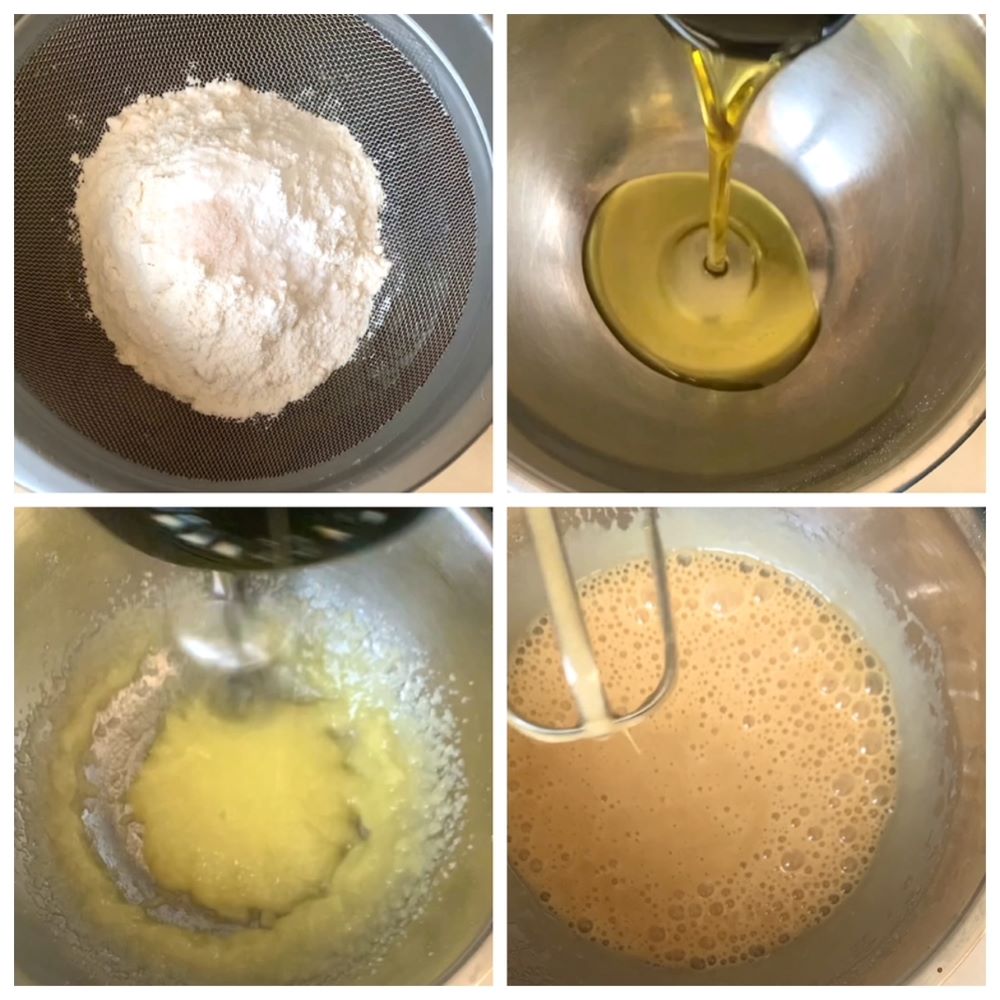
  • In a blender, add butter, jaggery, lightly beaten eggs, milk, shredded carrots, marmalade & vanilla extract. Blend well on high speed till everything comes together. Take it out in a large bowl.
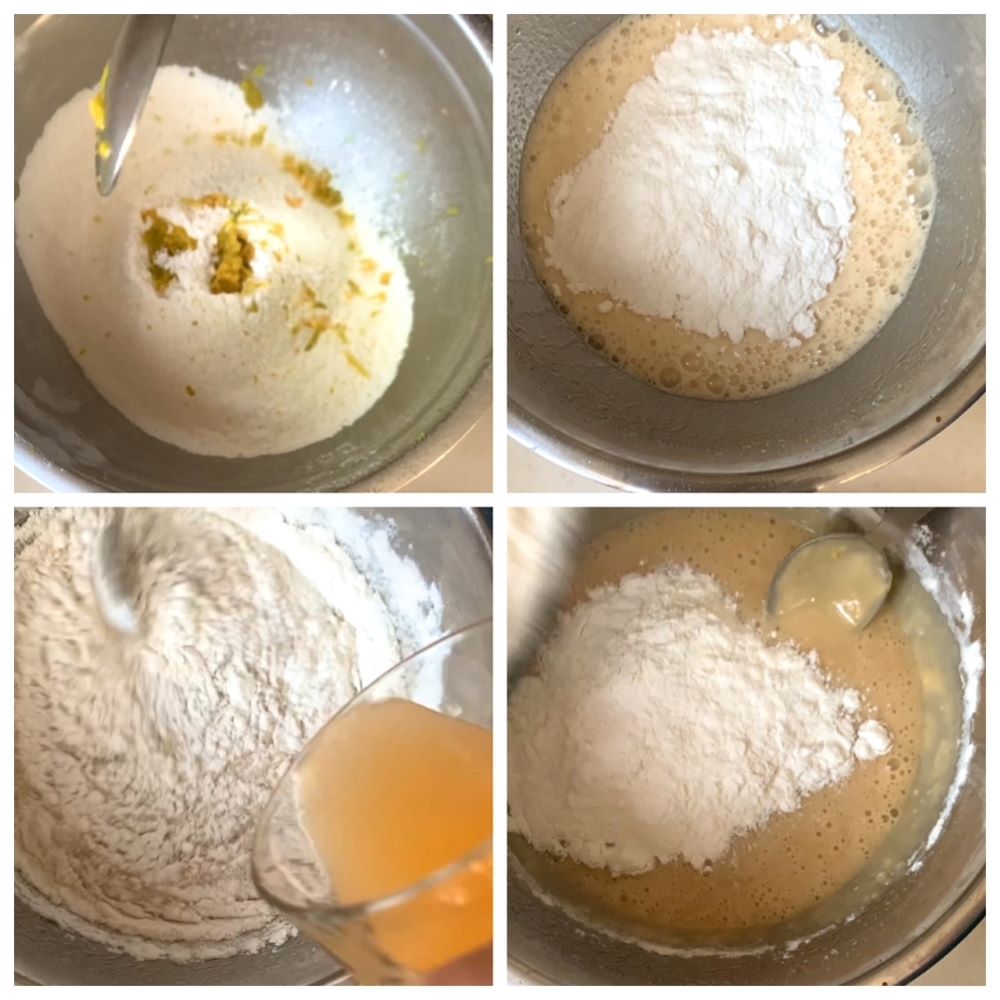
  • In another bowl, sieve wholewheat flour, baking powder, baking soda and salt. Add walnuts now if using and combine everything well. 
  • Add dry ingredients to wet ingredients in 2 to 3 batches. Gently cut & fold each time till everything incorporates well and there are no lumps. Don’t mix rigorously or over mix the batter. This will lead to a dense cake texture.
  • Preheat oven at 180C 10 minutes prior to baking. Grease a 7 inches diameter round pan or 11x7x2 inches rectangular baking pan with butter and line it with parchment paper or alternatively you can dust it with some flour. 
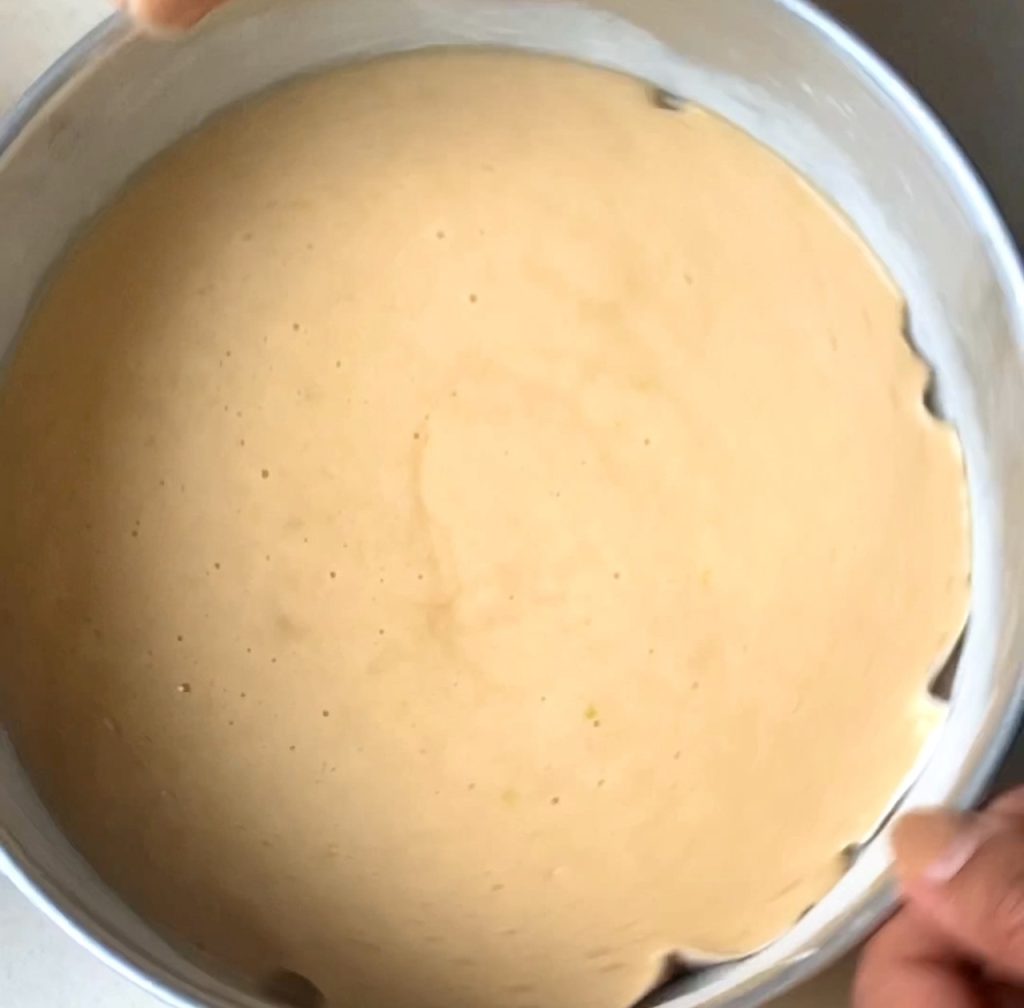
  • Add the batter. Tap the pan on the shelf 2-3 times to clear out all the air bubbles. Now, bake for 30 minutes on the middle rack of your oven or till a toothpick inserted at the center comes out clean. 
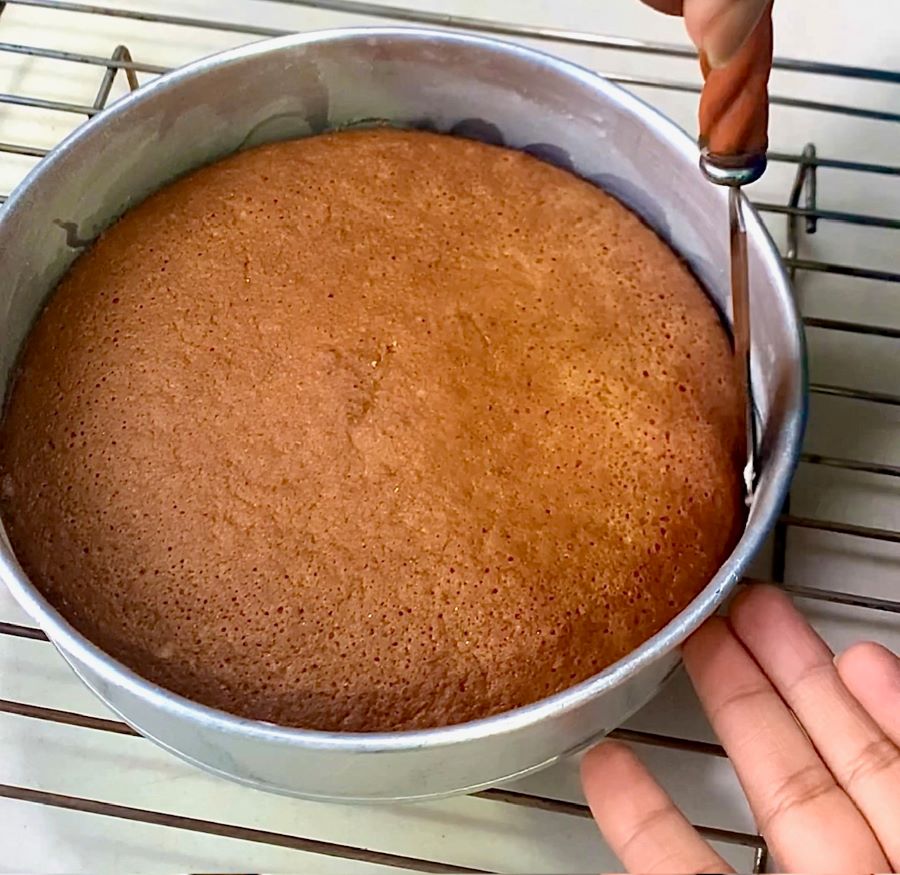
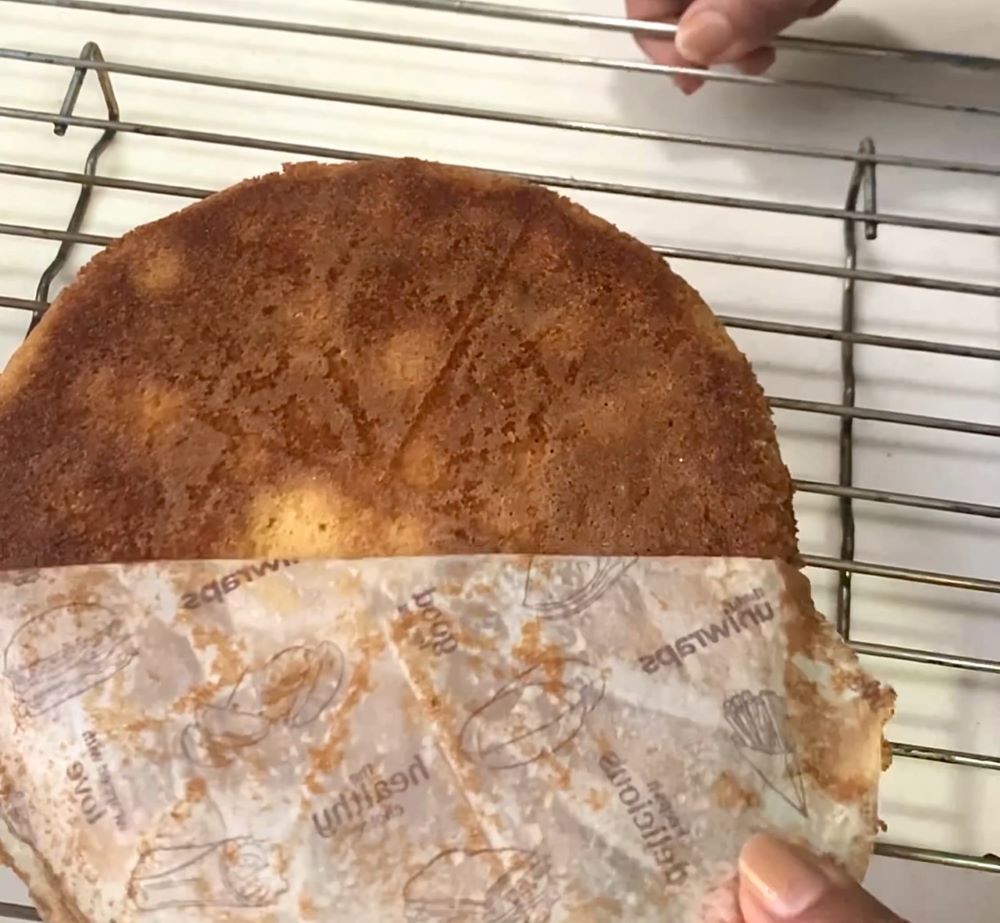
  • Allow it to cool for 15 minutes in the pan and then transfer it on a wire rack to cool completely. If you find that the cake is sticking to the bottom of the pan, leave the cake upside down for sometime and let gravity do it’s thing.

My Pro Tips:

  1. Use fresh baking soda. It looses it potency after 6 months of opening it.
  2. When measuring dry ingredients, level it off using the straight edge of a spoon or a butter knife.
  3. This recipe makes 12 muffins. Bake them for 14 to 18 minutes and allow the muffins to cool completely on wire rack.
  4. You can add cinnamon and ginger powder to this recipe to add a warm touch to it.
  5. If you want this cake to be perfectly moist, use fresh carrots and shred them. DO NOT USE packaged pre-shredded carrots for this recipe. This is the prime moisture for your cake and you don’t want to miss it.
  6. In case you want to bake this cake for yourself and are feeling fancy, I would highly recommend adding Orange Whiskey Marmalade. Orange and whiskey combination can lift your simple cake to something gourmet. You can buy it here-

Substitutes:

  • Eggs: You can either use flaxmeal or 1/4th cup Greek yogurt for every egg. For flaxmeal, take 1 tbsp flaxseeds for every egg. Coarsely ground them. Add 4 tbsps of water and let it sit for 15 minutes. It will become like a slimy gel like mixture. Use this as a substitute for one egg.
  • Orange Marmalade: If you don’t want to use Orange Marmalade, you can use 1/4th cup of freshly squeezed orange juice along with a tsp of orange zest instead. If using orange juice, you might have to adjust sugar accordingly. Add 1 or 2 tbsps of extra jaggery powder.
  • Jaggery: In case you don’t have jaggery powder, you can use any unprocessed sugar like palm sugar, coconut sugar etc.
Posted on 4 Comments

Silky Smooth Lemon Curd- ( Totally Fool-Proof Method)

Lemon Curd is a rich, soft, buttery and custard like spread or topping that has a deliciously tart yet sweet citrus flavour.

This method of making Lemon Curd is totally fool-proof. It will ensure a perfect velvety smooth lemon curd with no lumps. I discovered this perfect trick to make Lemon Curd after few hits and trials.  It is so easy that I started calling it Fool Proof Lemon Curd Recipe. 

I can bet that you will stop buying it from the market once you use this recipe. Your store bought doesn’t even come close to this. One spoonful of this and you will literally go “mmmmmm”. It’s that good.

The trick to make perfectly smooth lemon curd is whole egg. Most cooks don’t use egg white in Lemon Curd because chances of egg white coagulating is higher but egg white gives a very light, almost custardy texture which I love. The trick to get it right is simple. You just have to whip it well, keep stirring and cook on low flameDO NOT LET IT BOIL!

How to use Lemon Curd?

Well, there are countless ways to use it. While traditionally it was used as a spread for scones. But it makes a delicious filling or topping for tarts, pies, cakes, pancakes, crepes, cheesecakes and the list goes on and on. 

How long does it last?

If stored in a refrigerator in an airtight glass jar, this can last you almost a month. And yes, this freezes well too. Just thaw before using it and it is good to go. 

Points to Remember

  • I like to use Meyer lemon for making this but you can use whatever is easily available.
  • It is always good to weigh the ingredients and not use a rough estimate in recipes like these. 
  • Always use a double boiler for this recipe. If you don’t have a double boiler, make a makeshift double boiler by placing a heatproof glass bowl on top of a larger pot. Just make sure the bottom of the bowl does not touch the water in the larger pot. 

Recipe

Prep time: 5 minsServing: makes 400 ml
Cook time: 15 mins

Ingredients

  • Egg yolks: 2 large
  • Whole egg: 1
  • Castor sugar: 80 gms
  • Cornflour: 1 tbsp
  • Lemon juice: 90 ml
  • Cold Butter: 75 gms (cut in cubes)
  • Salt: 1/4th tsp
  • Lemon zest: 1 tsp

Method

  1. Before starting, keep all the ingredients ready. Keep butter cubes in refrigerator.
  2. Make a double boiler setting. Take a pan and a heat proof bowl. Use either a glass bowl or a stainless steel bowl. No aluminium. Add some water in the pan. The bowl should not be touching the water. 
  3. In the heat proof bowl, add egg yolks, whole egg, cornstarch & sugar. Whip till it becomes light and fluffy and sugar almost melts. This should take 2-3 minutes.
  4. Heat lemons in microwave for 10-15 seconds and squeeze out 90 ml juice. Add lemon zest to the heat proof bowl and then gradually add lemon juice in 2-3 batches, whisking each time. 
  5. While you are whisking, heat the water. Do not let the water boil. Now put the heat proof bowl on top. 
  6. Cook on the lowest flame. Keep stirring continuously till it thickens. This is very important otherwise chances are the eggs will coagulate. It’ll take roughly 15 minutes. 
    In case the water beneath starts boiling, take it off heat for a few seconds then put it back. The idea is to allow it to cook & thicken on low heat.
  7. Take a wooden spoon/spatula and check after 12 minutes. It should coat the back of the spoon. Slide your finger, if the path is clear then it’s cooked. If not or you are unsure, cook it for a few more minutes. 
  8. Once off heat, add cold butter cubes one by one and keep whisking continuously till it incorporates fully. Then sieve it for a smooth lemon curd. Transfer it to an airtight glass jar and refrigerate. It’ll thicken further on cooling.
  9. It tastes much better after 1-2 days. If you plan to make a dessert using lemon curd, make it a couple of days in advance. 
Posted on 3 Comments

KISS THE COOKIE! Peanut Butter Blossoms by Manjula Vijh

Traditionally called as “Peanut Butter Blossoms”, these are soft, chewy peanut butter cookies, rolled in sugar and then topped with a Hershey’s Kiss Chocolate!

Like the serving board? Check our range here : Good With Wood

It was during one lazy winter afternoon, while I was surfing the internet for some cookie recipes, that I came across these beauties. I had never worked with peanut butter as the main ingredient for cookies, but these looked so beautiful that I couldn’t resist giving them a try.

Like the serving board? Check our range here : Good With Wood

The recipe for these lovely looking cookies was first developed in 1957, by Mrs. Freda F. Smith of Gibsonburg, Ohio for the Ninth Grand National Pillsbury Bake-off competition. It’s an American classic recipe and many versions of this recipe are available online. My recipe is inspired from the one given on Hershey’s website, but since I am a vegetarian, I have modified the recipe to be an eggless one. These are chewy from the center and crisp from outside, and since these are topped with Hershey’s Kisses, I have named these cookies as, “Kiss the Cookie!”

Like the serving board? Check our range here : Good With Wood

When I first tried this recipe with one of my friends, I made them with store bought peanut butter. They came out nice but were little extra sweet. This time I tried them with the Natural Homemade Peanut Butter curated by Mr. Mohit Arora, which is available at Masala Monk. The peanut butter by Masala Monk has the right amount of salt and sugar unlike store bought peanut butter. The cookies came out to be perfect sweet and soft! They look lovely when presented and you can also gift them to your loved ones during festival time!

Like the serving board? Check our range here : Good With Wood

KISS THE COOKIE

Preparation time: 20 minutes

Cook time: 10 minutes

Serves:  40-45 cookies

Ingredients

  • Condensed Milk: 1 Can (400 gm.)
  • Peanut Butter: ¾ cup
  • All Purpose Flour: 1.5 cup
  • Baking Powder: 1tsp.
  • Butter(softened): ½ cup
  • Vanilla extract: 1tsp
  • Caster sugar for rolling the cookies: ½ cup
  • Hershey’s kisses: 40-45

Instructions

  1. In a medium bowl whisk together, flour and baking powder.
  2. In another bowl cream together, butter, peanut butter and vanilla to mix them well.
  3. Add the flour and make a dough. If, you are mixing with hands, and the dough sticks to your hand you can sprinkle some flour, apply butter to your hands and then again mix. You can taste the cookie dough too!! I did and it tastes great!
  4. Chill the dough to set. Cling wrap it and then keep it in the refrigerator for few hours.
  5. Preheat the oven at 190ºC.
  6. Shape dough into 1″-1.5″ balls, roll it in finely granulated caster sugar, and keep them into a baking tray.
  7. Bake the cookies at 190ºC for about 10-11 minutes, till cracks appear on sides. Do not over bake them. These cookies will not get brown in color.
  8. Meanwhile unwrap Hershey’s Kisses.
  9. After the cookies are baked, take out the baking tray, and gently press one kiss on each cookie. The warm cookies will melt the chocolate a little, but it will set after a while.
  10. Transfer the cookie onto a wire rack for cooling
  11. Store it in an airtight container.

Notes:

** Please check your oven temperature for baking.

** You can use a small ice-cream scoop, or a melon ball scoop to take out equally sized dough balls. I used one of my measuring spoons.

** You can keep the cookie dough cling wrapped for 2-3 days.

** If you want to cut down the recipe to half, you can do so. It works fine! I suggest to start with half the recipe if you are baking them for the first time.

** Use softened butter and not melted butter. I made this mistake and result was flat cookies.

** Chill the cookie dough before baking.

** If the chocolate falls of the cookie, you can dab little peanut butter on the bottom of the chocolate and press it back.

References:

http://www.post-gazette.com/life/food/2012/09/06/Cookies-Tracking-the-tale-of-a-favorite-the-Peanut-Blossom/stories/201209060264

https://abountifulkitchen.com/peanut-butter-blossoms/

http://americanheritagecooking.com/2014/12/peanut-butter-blossoms/

https://www.hersheys.com/kitchens/en_us/recipes/chewy-peanut-butter-blossoms.html

Posted on Leave a comment

Sweet Potatoes – Health, Nutrition and How to Use

Sweet potatoes, often overshadowed by their starchy counterparts, are finally having their moment in the nutritional spotlight. This vibrant root vegetable is not just a feast for the taste buds but also a cornucopia of health benefits, making it a must-have in your dietary arsenal. From their rich, earthy flavor to their impressive nutritional profile, sweet potatoes are the unsung heroes of the culinary world. Let’s dive deep into the world of sweet potatoes, exploring their health benefits, nutritional content, culinary versatility, and much more.


Sweet Potatoes: A Nutritional Powerhouse

Sweet potatoes are a nutritional powerhouse, packed with vitamins, minerals, fibers, and antioxidants. They are particularly rich in beta-carotene, which the body converts into vitamin A, crucial for maintaining healthy vision, skin, and immune function. But the goodness doesn’t stop there; these tubers are also loaded with vitamin C, potassium, and dietary fiber, all while being low in calories. This makes them an excellent ally in combating oxidative stress, supporting heart health, and promoting digestive wellness.

Unleashing the Health Benefits

  1. Immunity Booster: The high vitamin A content in sweet potatoes strengthens the immune system, making it more efficient at warding off infections.
  2. Heart Health Hero: With a significant amount of potassium, sweet potatoes help in regulating blood pressure levels, thus reducing the risk of heart disease.
  3. Weight Loss Wonder: High in fiber and water content, sweet potatoes keep you fuller for longer, aiding in weight management and appetite control.
  4. Glycemic Guardian: Despite their sweetness, sweet potatoes have a low glycemic index, making them a great choice for blood sugar regulation.
  5. Inflammation Inhibitor: The vibrant orange hue of sweet potatoes isn’t just for show; it’s a sign of the powerful antioxidants that help reduce inflammation throughout the body.

Culinary Creativity: Sweet Potatoes in the Kitchen

Sweet potatoes’ versatility makes them a star ingredient in any meal. From savory soups and salads to sweet desserts and smoothies, there’s no limit to how you can incorporate them into your diet. Here are a few ideas to get you started:

  • Morning Boost: Kickstart your day with a sweet potato breakfast hash, a perfect blend of savory flavors and nutritious goodness.
  • Lunch Delight: Toss roasted sweet potato cubes into your salads for a nutritious lunch that packs a punch.
  • Dinner Masterpiece: Sweet potato shepherd’s pie offers a comforting and healthy twist on a classic dish.
  • Snack Time: Sweet potato chips baked with a sprinkle of sea salt make for a crunchy, guilt-free snack.

Selecting, Storing, and Preparing

Choosing the perfect sweet potato is simple; look for smooth, firm skins and avoid any with soft spots or blemishes. Store them in a cool, dark place to preserve their freshness. When it comes to preparation, the possibilities are endless. Whether baked, boiled, steamed, or grilled, sweet potatoes retain their nutritional value and offer a delicious taste in every bite.


Sweet Potatoes in Folklore and Medicine

Sweet potatoes hold a place of honor in many cultures, not just as a food source but for their medicinal properties. They’ve been used to treat a variety of ailments, from inflammation to digestive issues, showcasing their importance in holistic health practices.

The Sweet Potato Challenge

In a world where diet trends come and go, the sweet potato stands the test of time. We challenge you to incorporate sweet potatoes into your meals for one week. Observe the changes in your health, energy levels, and overall well-being. We bet you’ll be pleasantly surprised!


Sweet potatoes are more than just a side dish; they’re a nutritional goldmine waiting to be explored. By incorporating these vibrant tubers into your diet, you’re not just enhancing your meals; you’re boosting your health, one delicious bite at a time. Embrace the sweetness and versatility of sweet potatoes and let them transform your culinary adventures and wellness journey.


Blog Tags: Sweet Potatoes, Superfood, Nutritional Benefits, Culinary Uses, Immune Boosting, Heart Health, Weight Loss, Blood Sugar Control, Anti-inflammatory, Healthy Recipes

Posted on Leave a comment

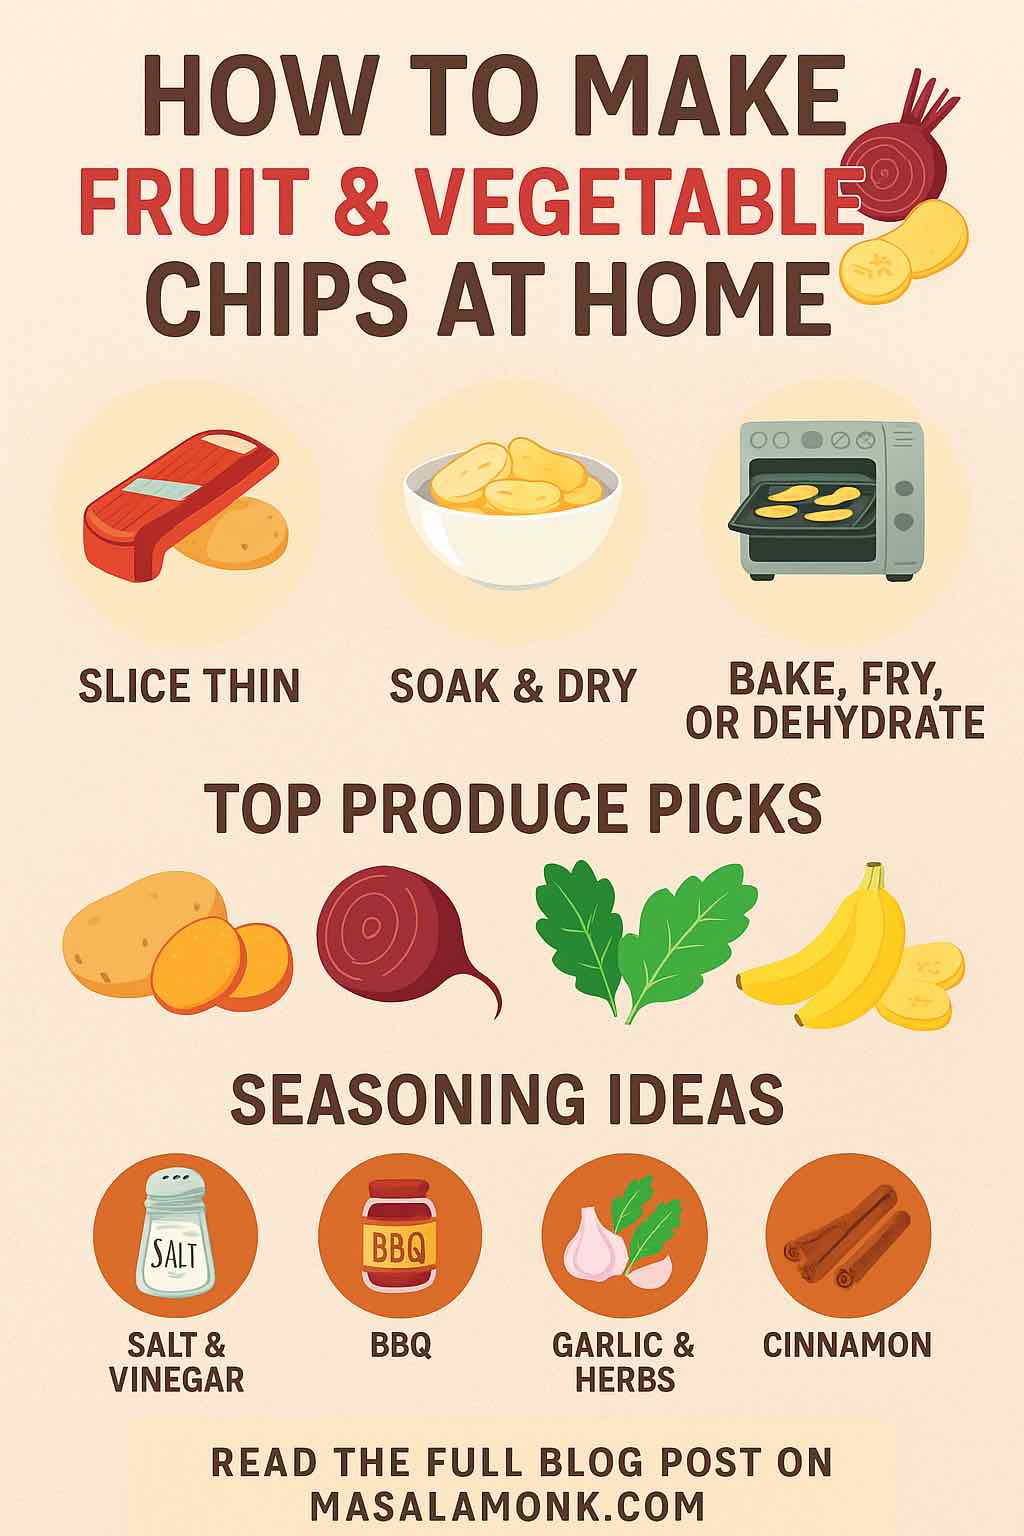
How to make Chips at home? 5 Fruits and Vegetables that can be made into Chips at home

In a world where snacking is almost a universal hobby, the quest for healthier options has led many to explore making their own chips at home. Masala Monk’s article provides a delightful guide on transforming fruits and vegetables into crispy, flavorful chips, offering a wholesome alternative to store-bought snacks. From the classic sweet potato to the unconventional beet, this guide not only introduces a variety of chip options but also emphasizes the benefits of homemade snacks, including the use of healthier ingredients, cost-effectiveness, and the joy of crafting unique flavor combinations.


The Art of Homemade Chips

Making chips at home is more than a culinary endeavor; it’s a journey towards healthier, more conscious eating. By selecting fresh and organic produce, you can avoid the additives and preservatives common in commercial snacks. The process itself, simple and engaging, becomes a pathway to understanding and appreciating the food we consume.

Top 5 Fruits and Vegetables for Homemade Chips

  1. Sweet Potato Chips: A nutritious alternative to traditional potato chips, sweet potatoes offer a rich source of fiber and vitamins. Thinly sliced and lightly seasoned, they bake into a crispy treat that’s both satisfying and healthy.
  2. Kale Chips: Kale transforms into a crunchy snack that’s impossible to resist. With a drizzle of olive oil and a sprinkle of sea salt, kale chips provide a nutrient-packed bite that supports your health goals.
  3. Apple Chips: For those with a sweet tooth, apple chips are a delightful choice. Cinnamon-topped and baked until crisp, they serve as a perfect snack or dessert that’s both tasty and beneficial.
  4. Carrot Chips: Carrot chips emerge as a vibrant and flavorful option, rich in beta-carotene and other essential nutrients. Their natural sweetness, enhanced with a hint of seasoning, makes for a deliciously crunchy snack.
  5. Beet Chips: Beets, with their deep color and earthy flavor, offer a unique twist on the homemade chip. Rich in antioxidants, they’re not only visually appealing but also packed with health benefits.

General Recipe for Homemade Chips

The process of making chips at home is straightforward and adaptable to a variety of fruits and vegetables:

  • Ingredients: 1-2 large fruits or vegetables of your choice, 1-2 tablespoons of oil (olive, coconut, or vegetable), and optional salt, pepper, or other seasonings.
  • Instructions: Preheat the oven to 350°F (180°C). Wash, dry, and thinly slice your chosen produce. Toss with oil and any desired seasonings, then spread in a single layer on a baking sheet lined with parchment paper. Bake until golden brown and crispy, about 10-20 minutes, depending on thickness.

Benefits of Homemade Chips

  • Healthier Ingredients: Control over oil type, salt level, and seasoning choices means you can enjoy chips that are as nutritious as they are delicious.
  • Cost-Effective: Making chips at home is often more economical than purchasing pre-packaged alternatives, especially if you buy produce in bulk.
  • Variety and Freshness: Experiment with different fruits and vegetables to discover new favorite snacks that are always fresh and free from preservatives.

Conclusion: A Crunchy Path to Healthier Snacking

Embracing the homemade chip revolution offers a creative way to enjoy your favorite fruits and vegetables, turning snack time into an opportunity for healthful indulgence. Whether you’re crafting a batch of sweet potato chips for movie night or experimenting with beet chips for a colorful appetizer, the possibilities are endless. So, preheat your oven and ready your slicer—it’s time to transform simple ingredients into extraordinary snacks that are sure to delight your taste buds and boost your health.


Blog Tags: Homemade Chips, Healthy Snacking, Fruits and Vegetables, Nutritious Snacks, Cooking at Home, DIY Chips, Healthy Eating, Oven-Baked Chips, Clean Eating, Snack Ideas