Air fryer chicken breast should be one of the easiest dinners in your week: quick enough for tonight, versatile enough for tomorrow’s lunch, and simple enough that you don’t need to hover over it.
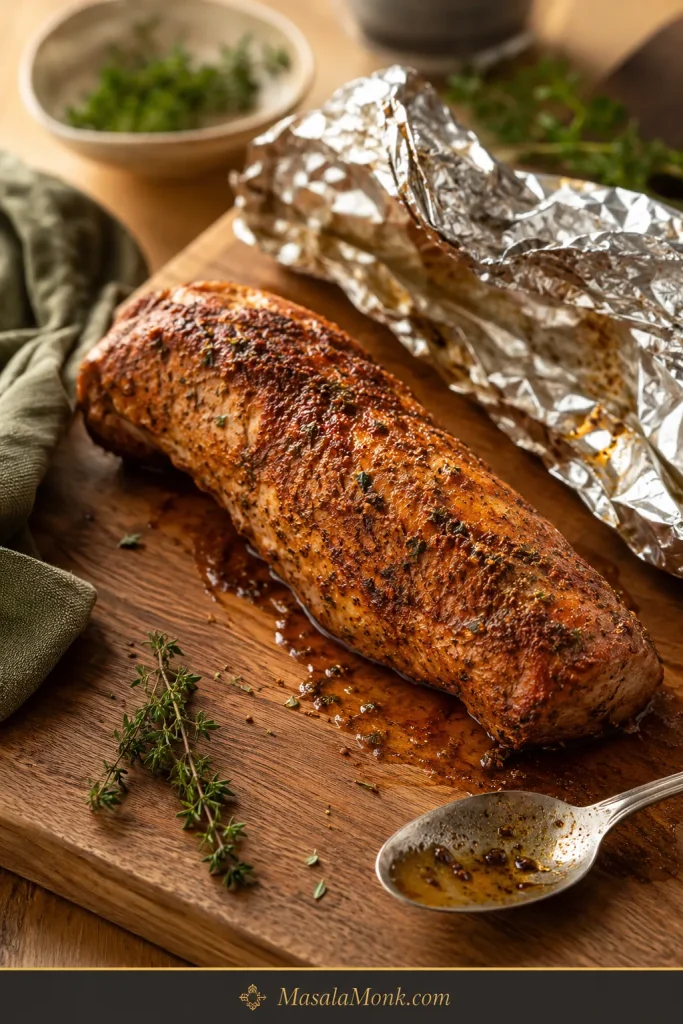
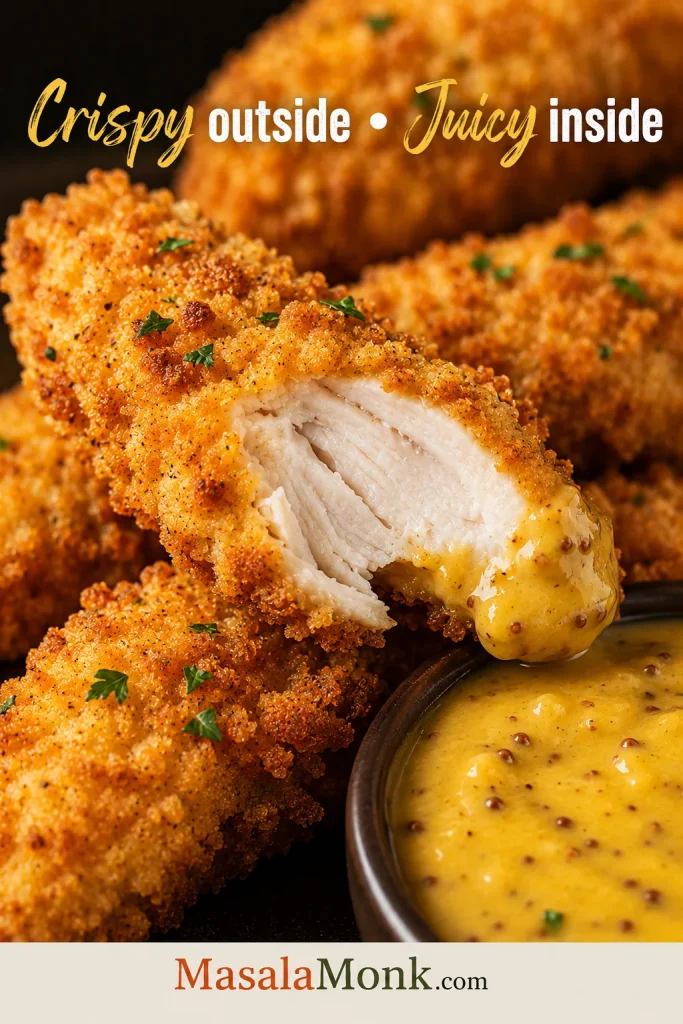
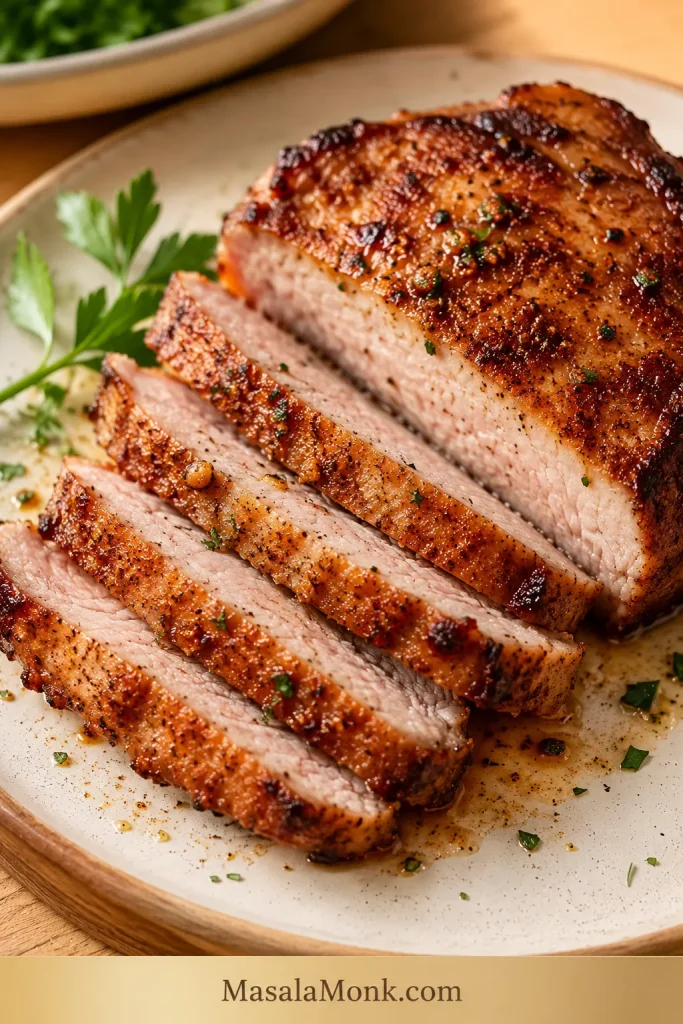
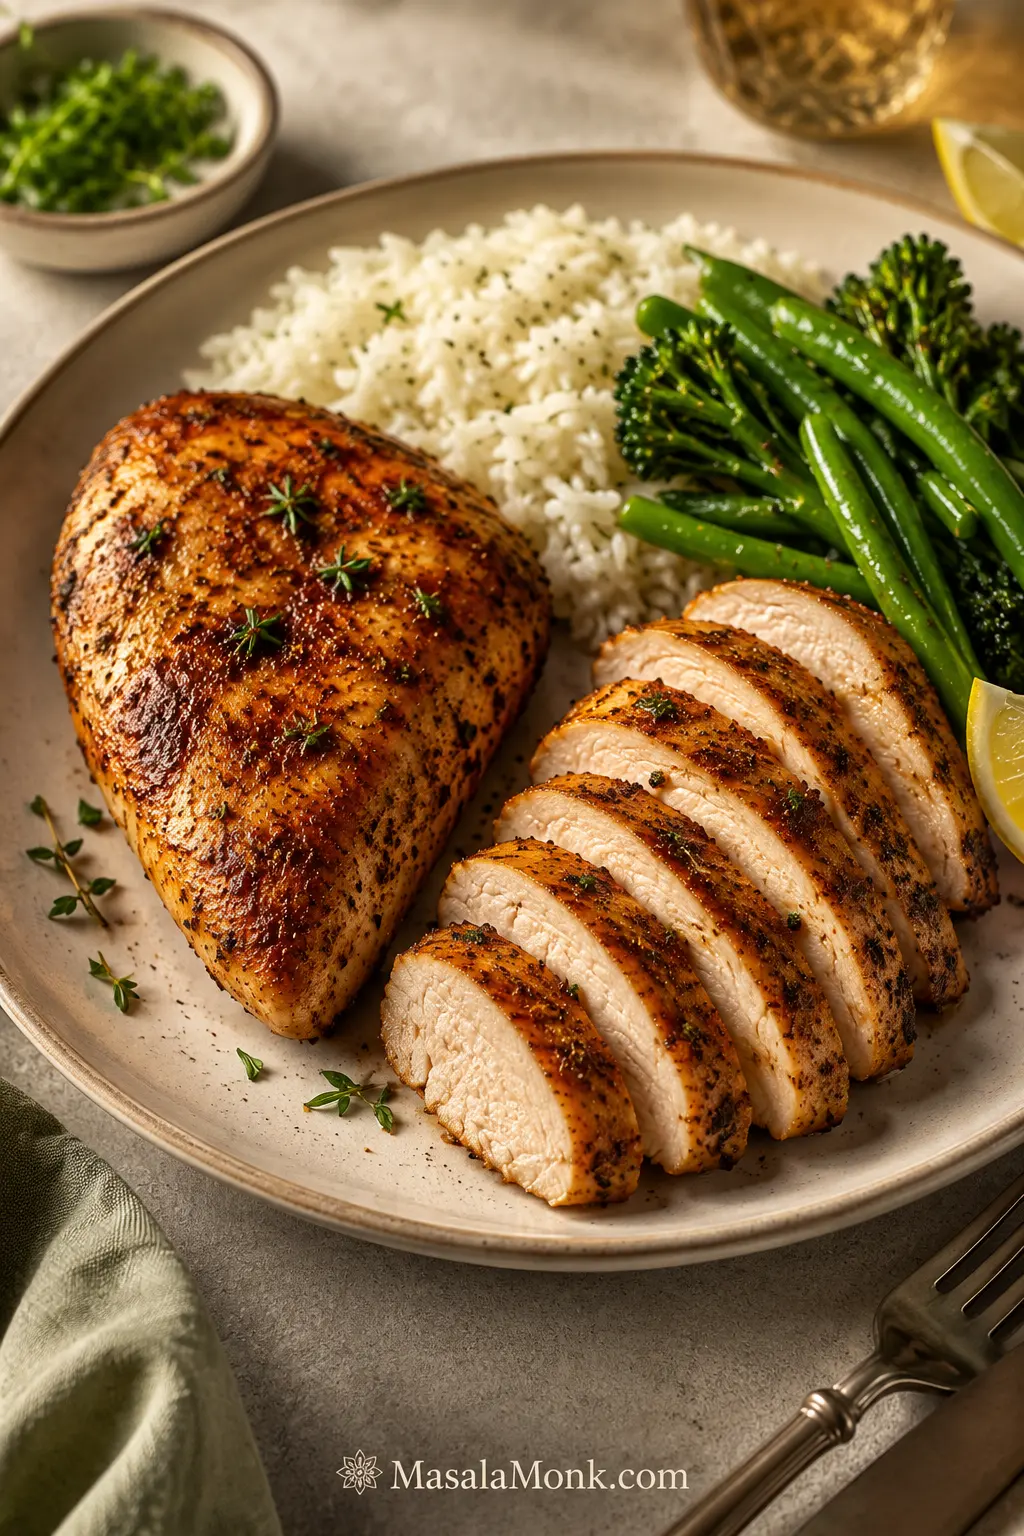
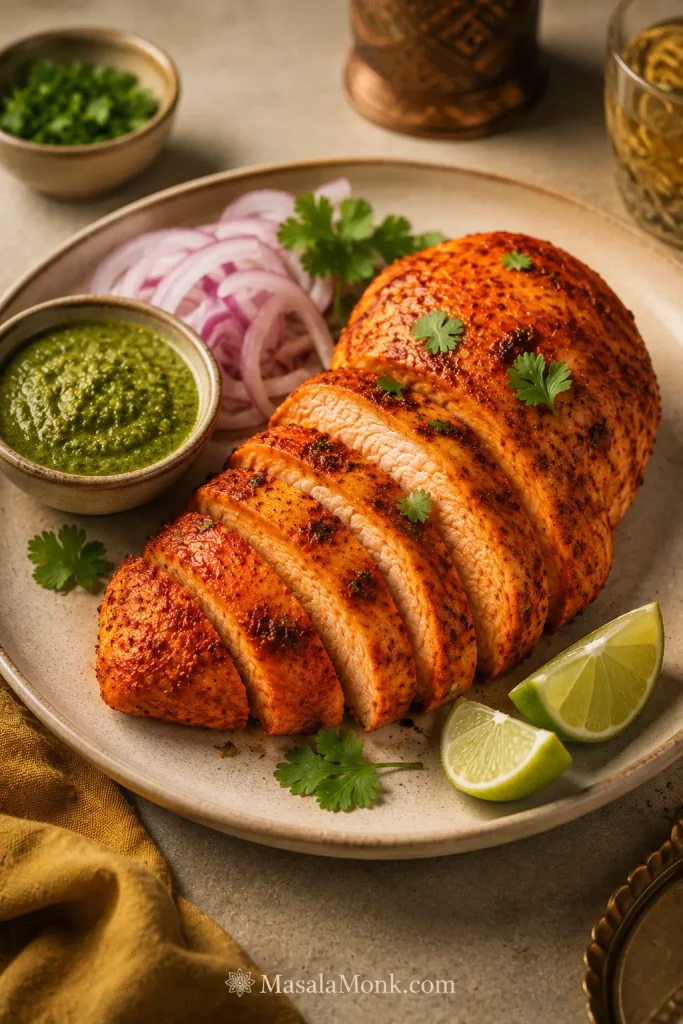
When it goes well, the paprika-garlic coating is warm, savoury and lightly bronzed. The rested centre stays tender enough to slice cleanly and juicy enough to eat without hiding it beneath a heavy sauce.
When it doesn’t, the narrow end turns dry while the thick centre is still catching up—or the seasoning darkens before the meat is ready. That inconsistency is real. Chicken breasts don’t arrive in one standard size, and air fryers don’t all move heat in exactly the same way.
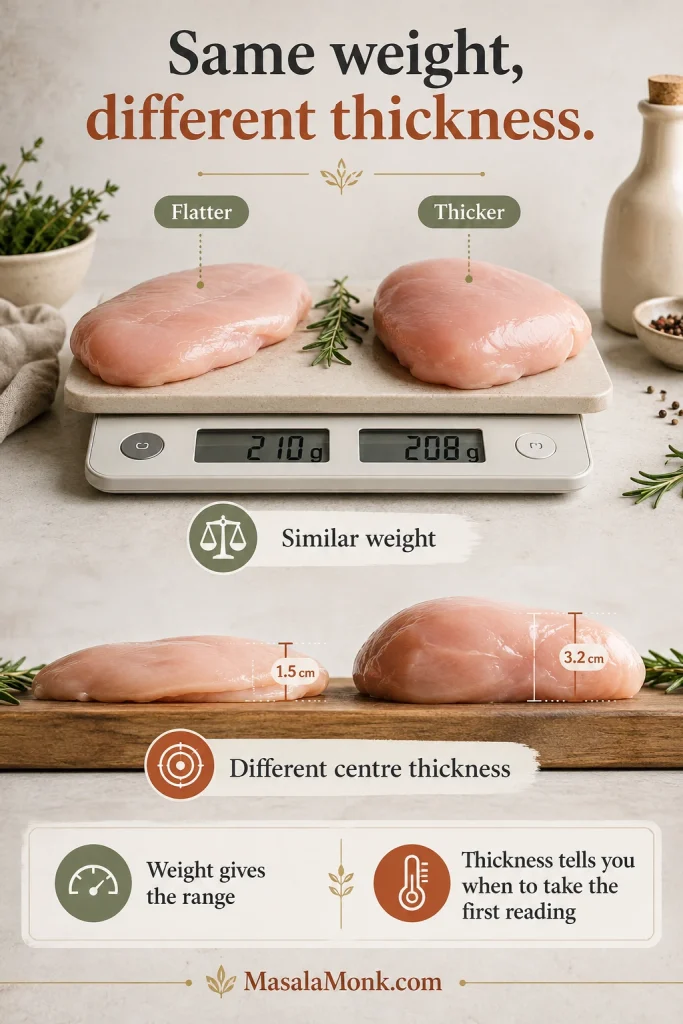
Start with the chicken, not the timer. Weight gives you the broad cooking window; thickness tells you when to check.
Two breasts can weigh almost the same and still cook differently when one is much thicker through the centre.
Quick Answer: How Long to Air Fry Chicken Breast
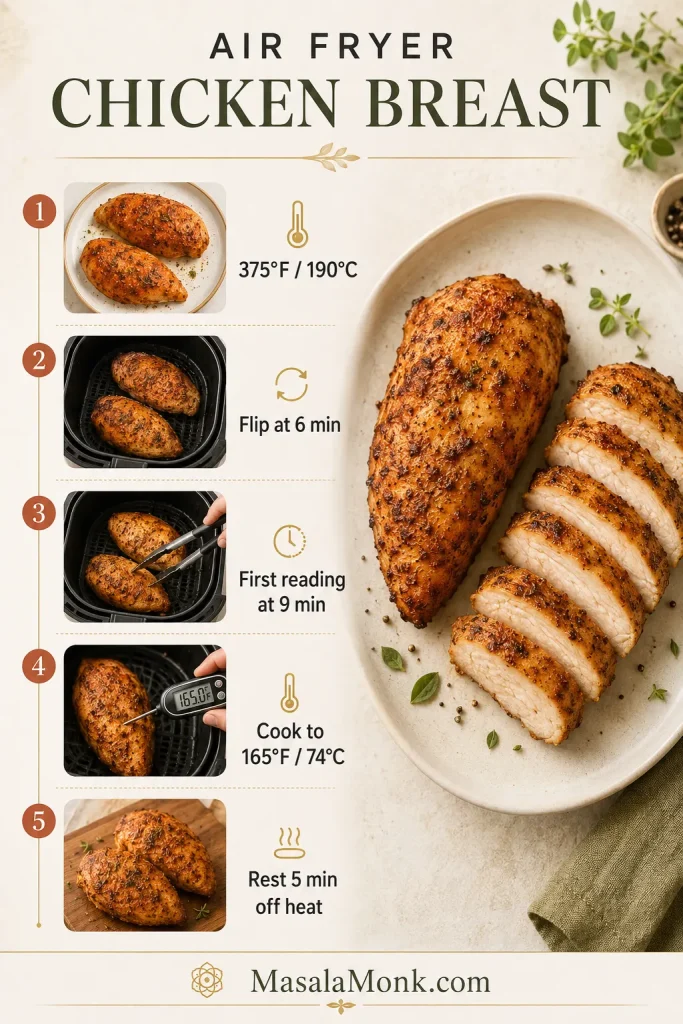
Air-fry fresh, boneless, skinless, unbreaded chicken breasts at 375°F / 190°C. For breasts weighing about 7–8 oz / 200–225 g each and evened to roughly ¾ inch / 2 cm thick, begin checking at 9 minutes. Many will finish between 10 and 14 minutes.
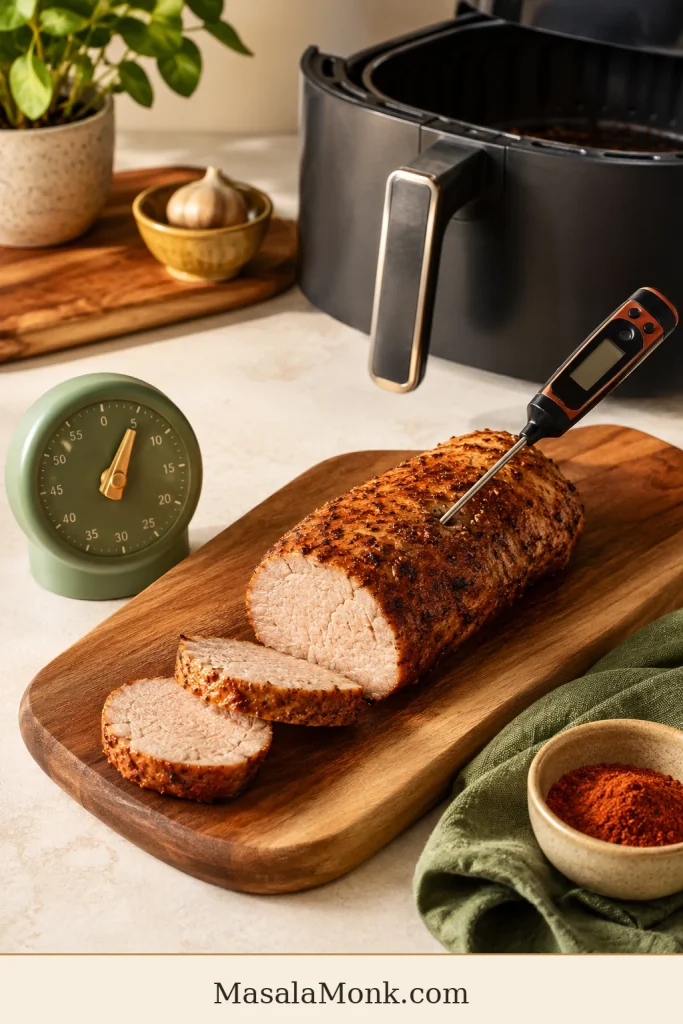
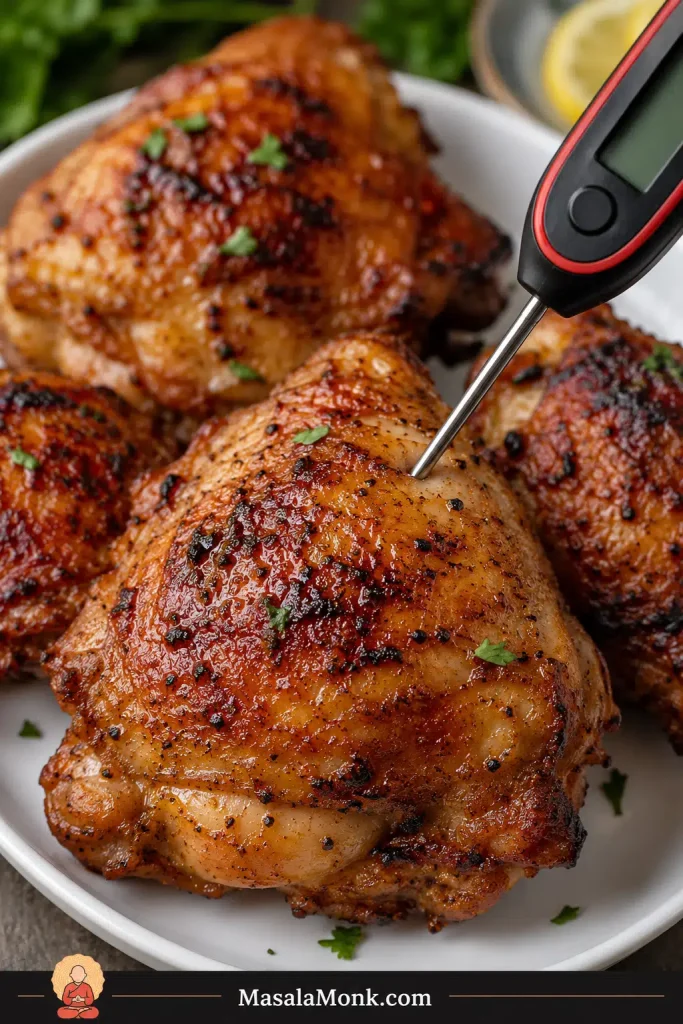
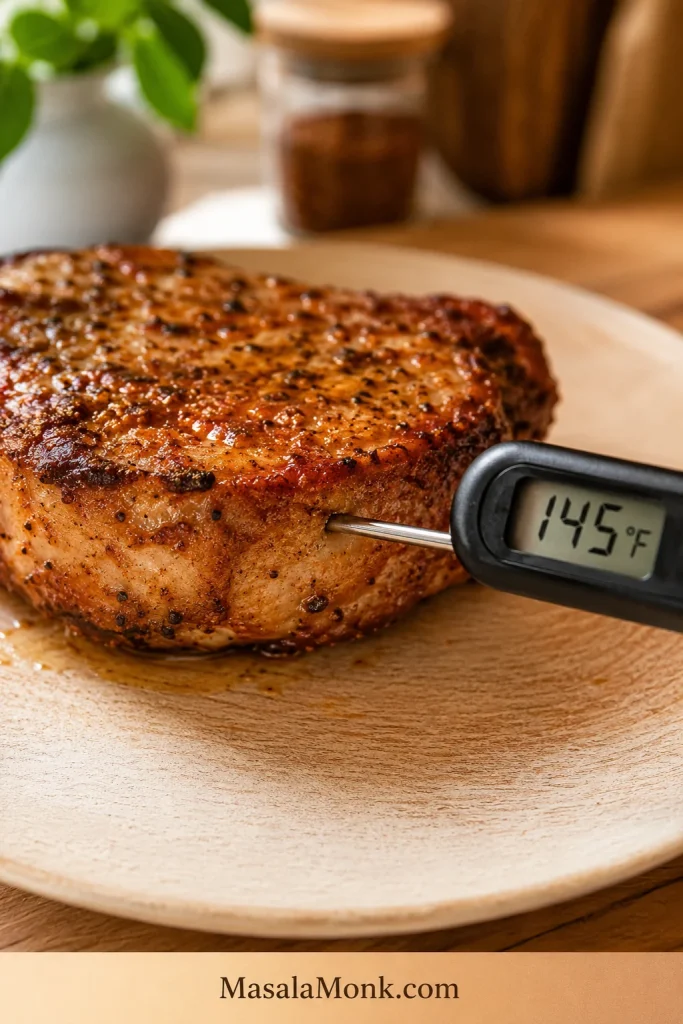
Flip once during cooking. Insert an instant-read thermometer sideways into the thickest part and remove each breast when the centre reaches 165°F / 74°C. Rest the chicken for five minutes on a clean plate or board rather than inside the hot basket.
The time range gets you close; the temperature in the centre gives you the final answer.
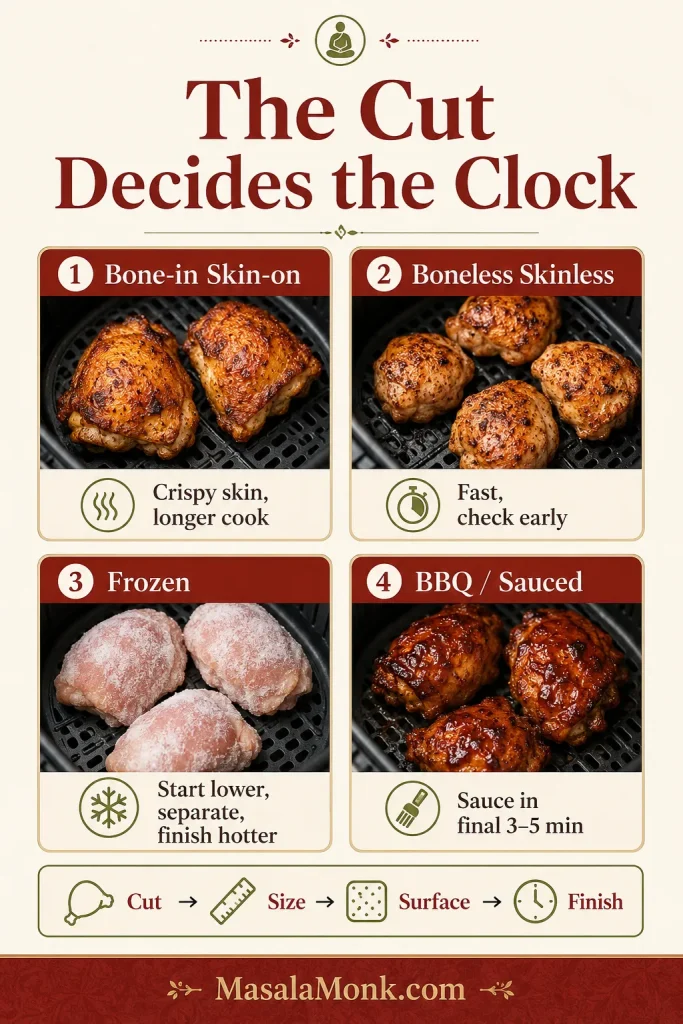
Which Chicken Are You Cooking?
Match your chicken to the row below before using the timing.
| What you have | Best approach |
|---|---|
| Fresh, whole, boneless and unbreaded breast | Use the recipe and timing chart below |
| Thin-sliced breast or chicken cutlet | Use the thin-cutlet row and check the centre much earlier |
| Raw frozen chicken breast | Choose a method written specifically for frozen chicken |
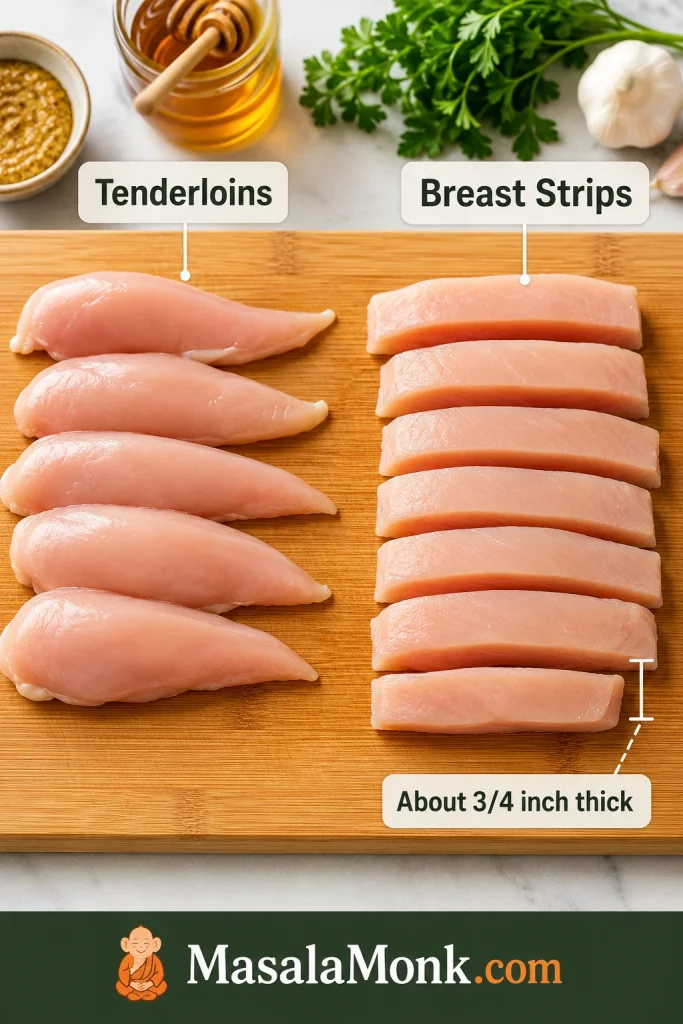
| Chicken tenderloins | Use these shorter air-fryer tenderloin directions |
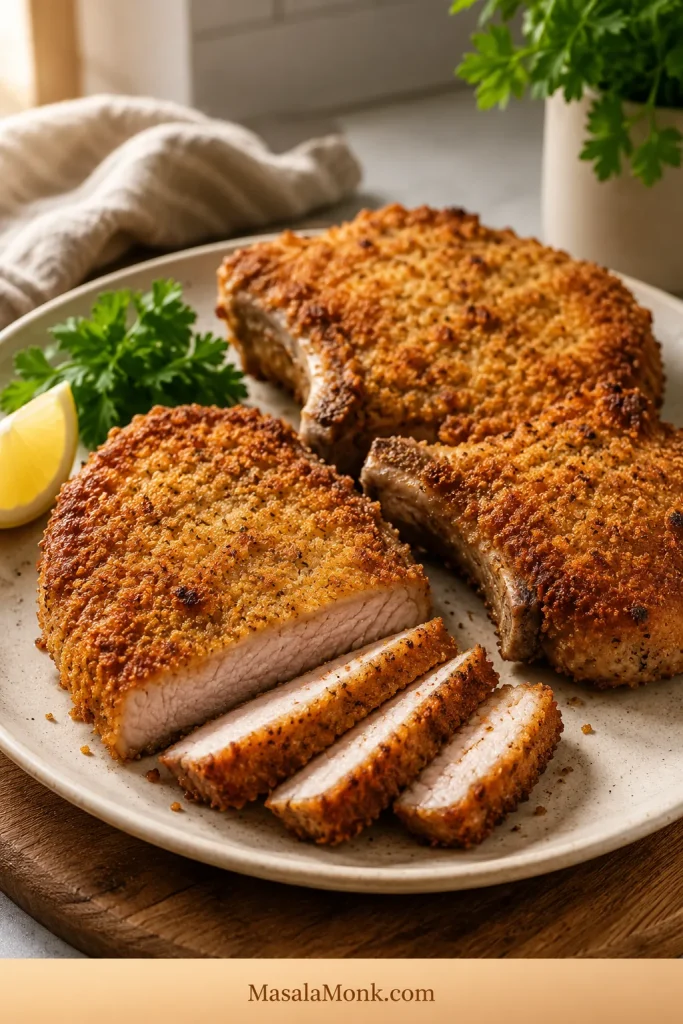
| Breaded breast or cutlets | Choose a method designed for breading and oil spray |
| Stuffed or bone-in breast | Choose instructions designed for that form |
Using fresh, whole, boneless chicken breast? Go straight to the recipe card. Cooking a thinner or thicker piece? Check the timing chart first.
Air Fryer Chicken Breast Recipe
Make this version first. The paprika-garlic coating develops golden patches and a savoury edge, while the seasoning is simple enough to work in salads, wraps, pasta, sandwiches and meal-prep bowls.
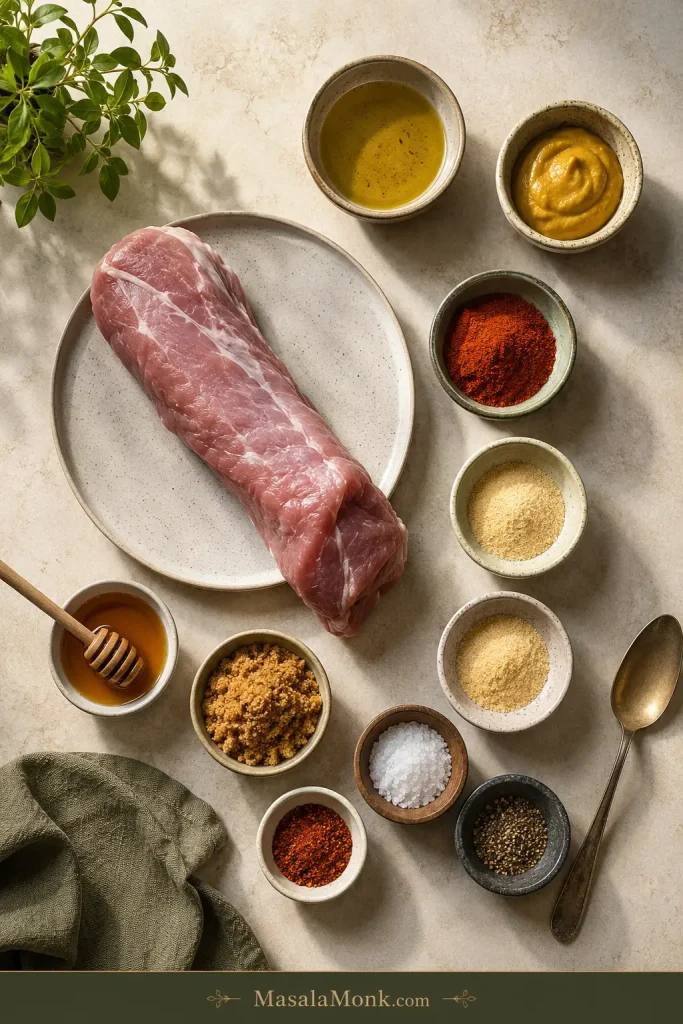
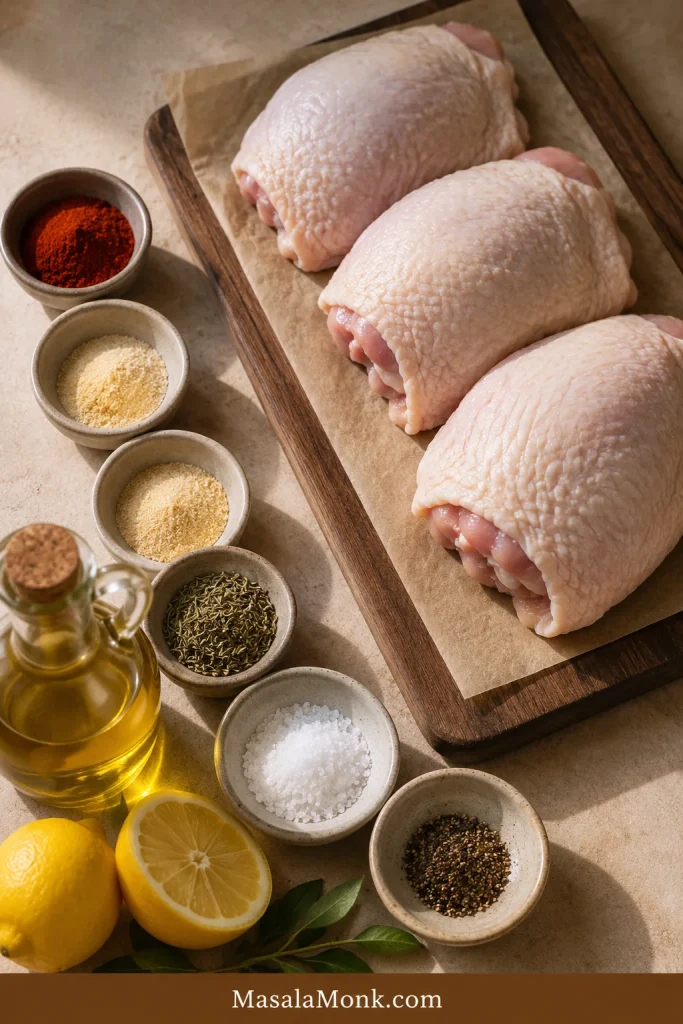
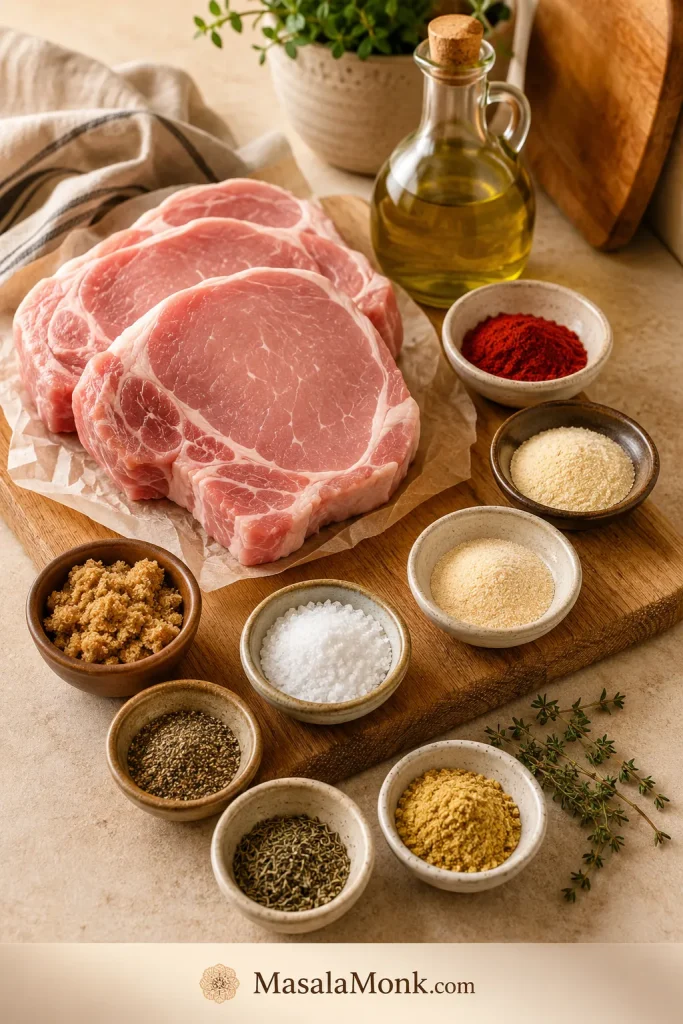
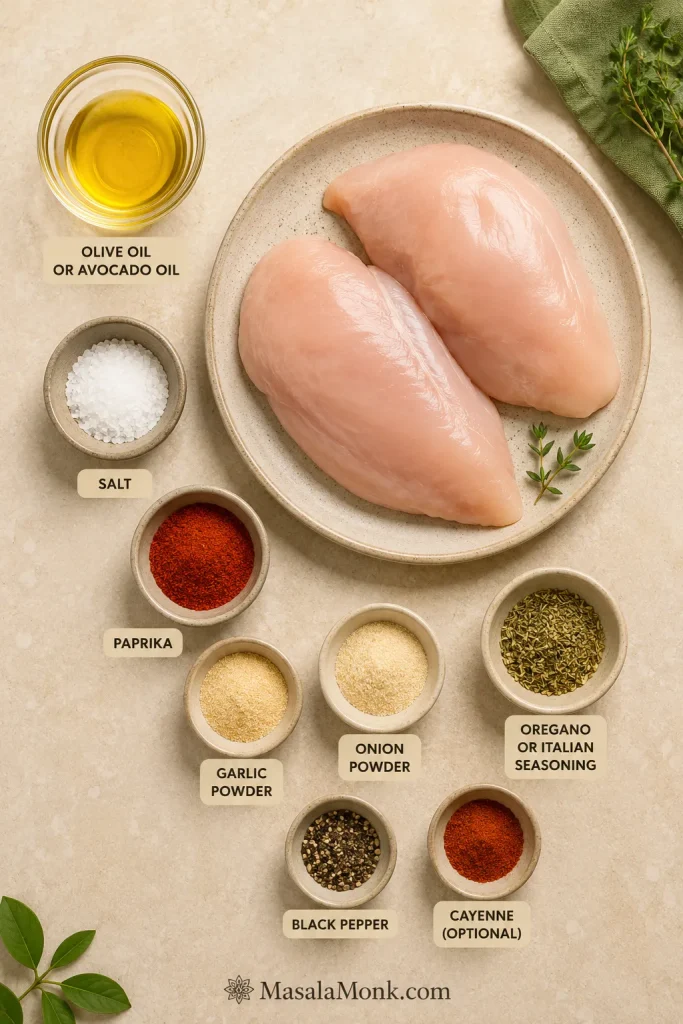
Ingredients
- 2 boneless, skinless chicken breasts, about 14–16 oz / 400–450 g total
- 2 teaspoons / 10 ml olive oil or avocado oil
- Fine salt, ¾ teaspoon, roughly 4–4.5 g depending on crystal size
- Paprika, 1 teaspoon
- Garlic powder, ¾ teaspoon
- Onion powder, ½ teaspoon
- Dried oregano or Italian seasoning, ½ teaspoon
- Ground black pepper, ¼ teaspoon
- Pinch of cayenne pepper, optional
Instructions
Prepare the chicken
- Check the size. The timing below works best for breasts weighing about 7–8 oz / 200–225 g each. Take a noticeably smaller piece out first if it reaches temperature sooner.
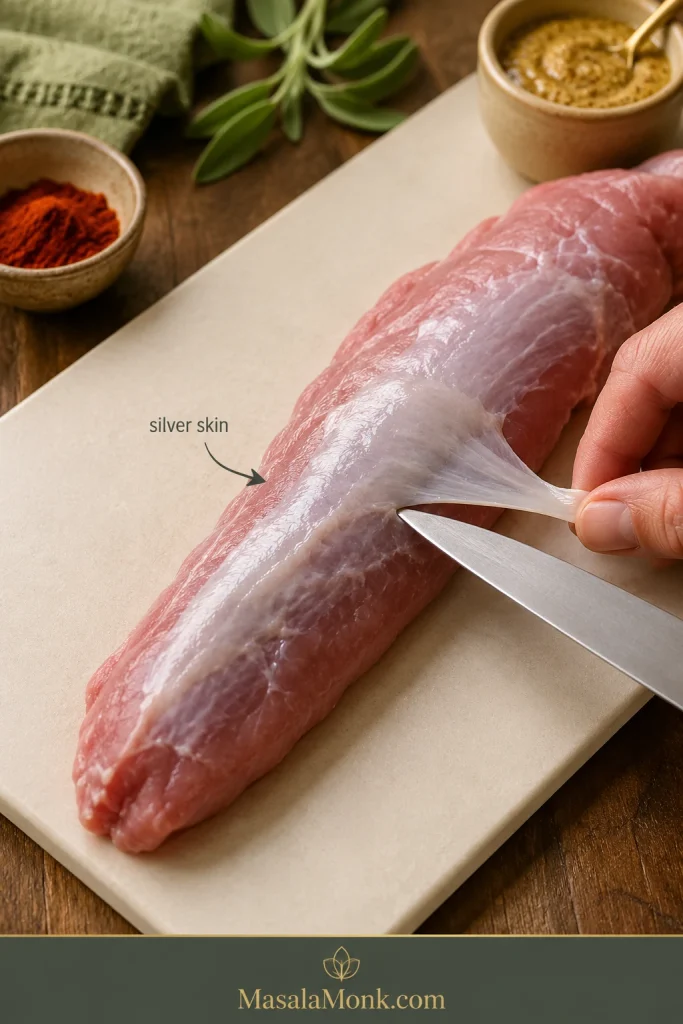
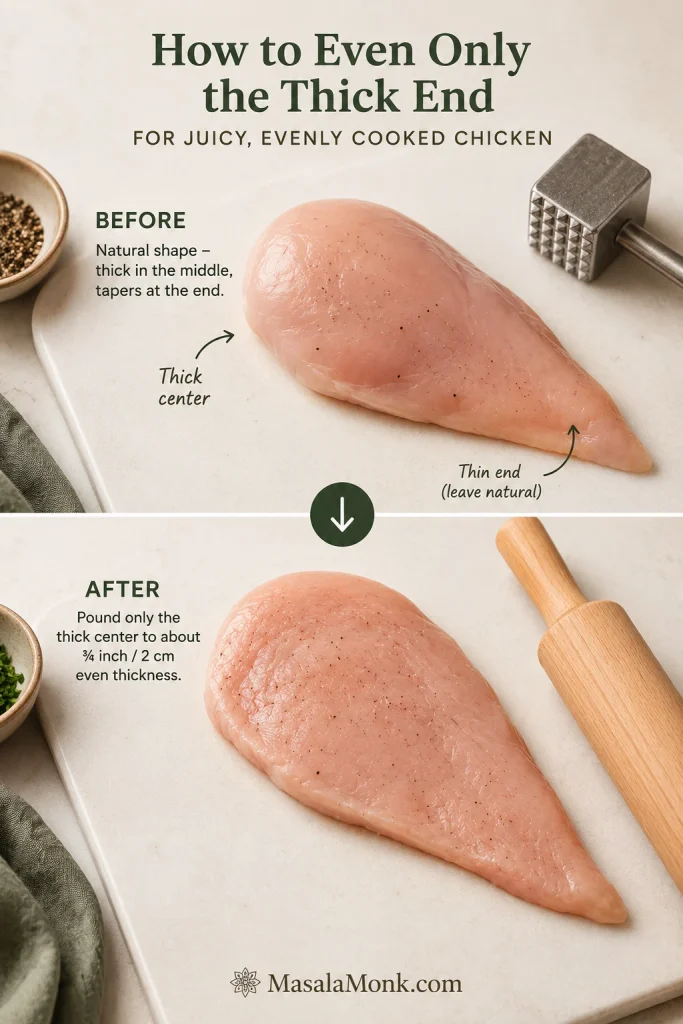
- Even the thickest section. Place the chicken between two sheets of baking parchment or inside a sturdy food-safe bag. Gently level only the thick central area until each breast is close to ¾ inch / 2 cm thick.
- Preheat the air fryer. Select Air Fry, or the equivalent Air Crisp setting, and heat to 375°F / 190°C for about three minutes. Follow the manufacturer’s guidance when it recommends a different preheating routine.
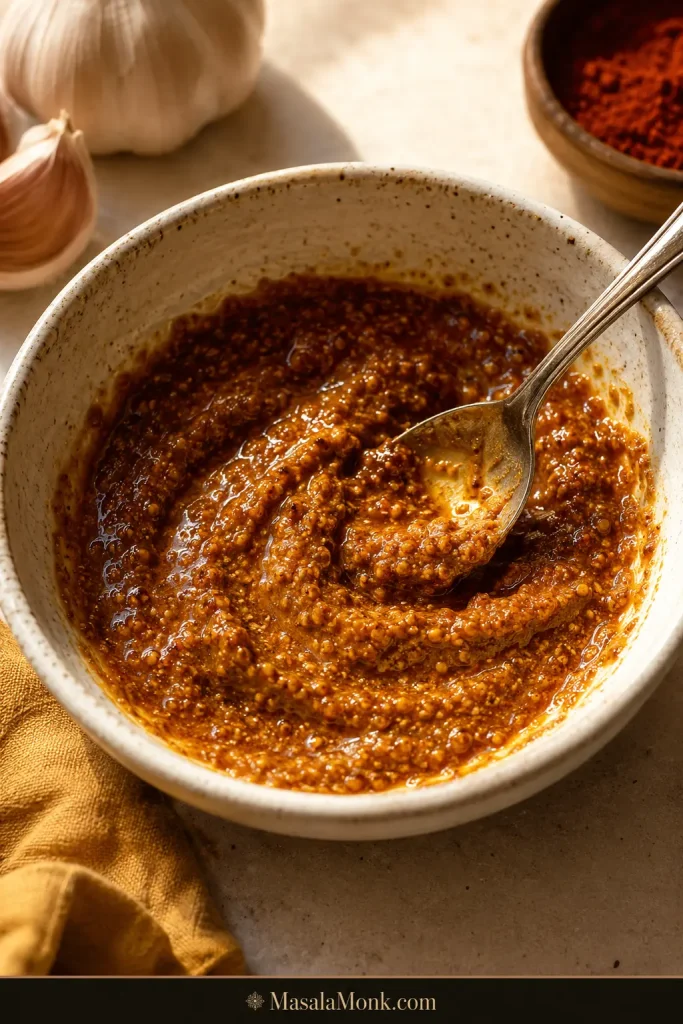
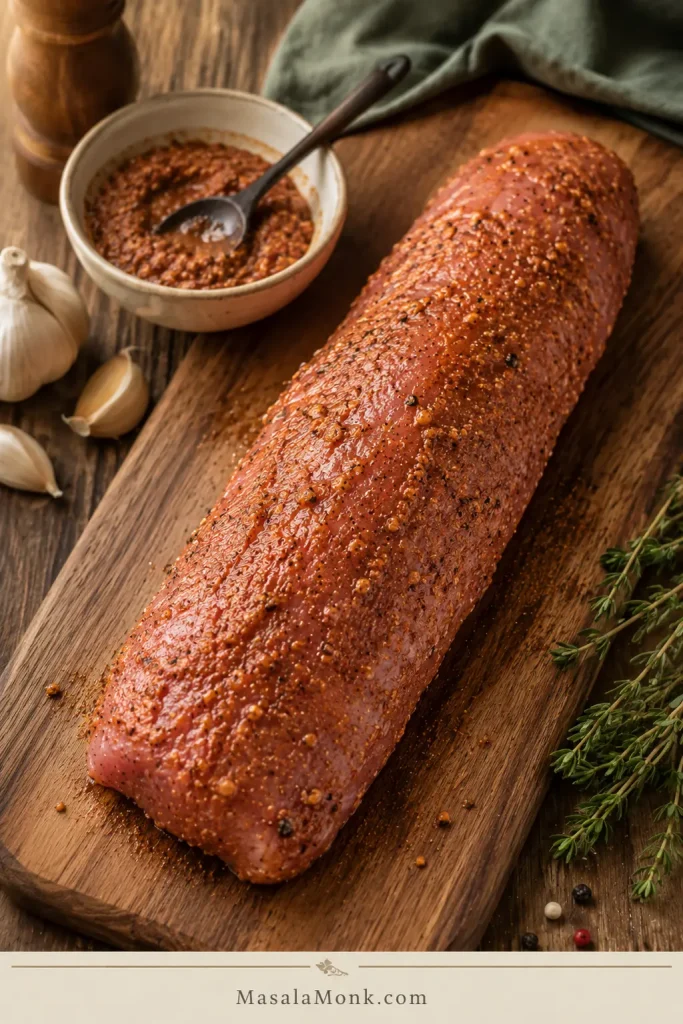
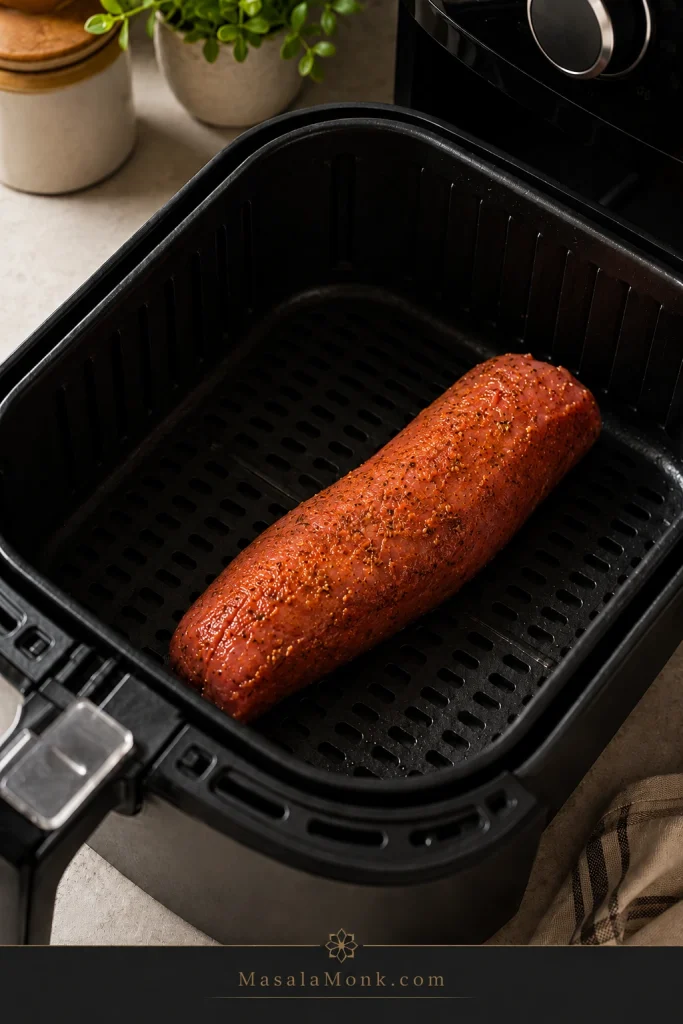
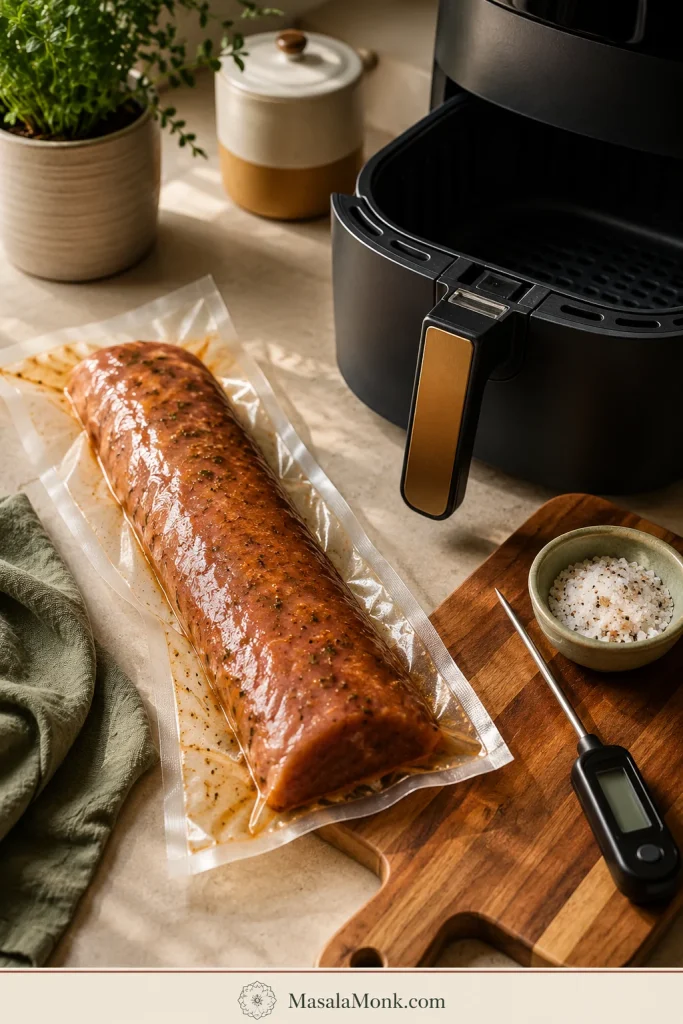
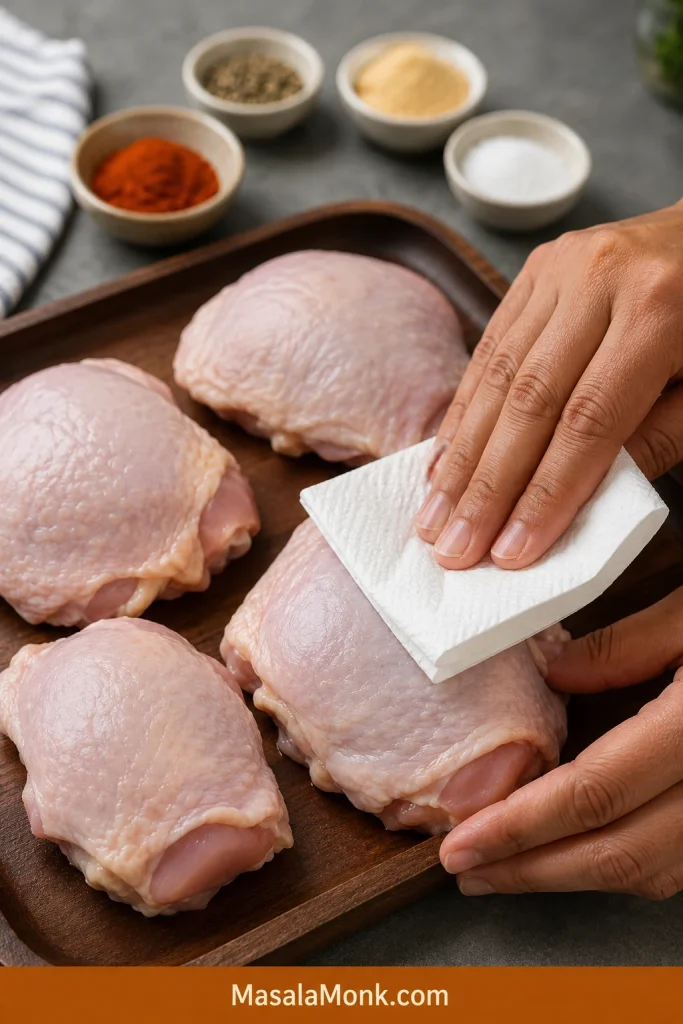
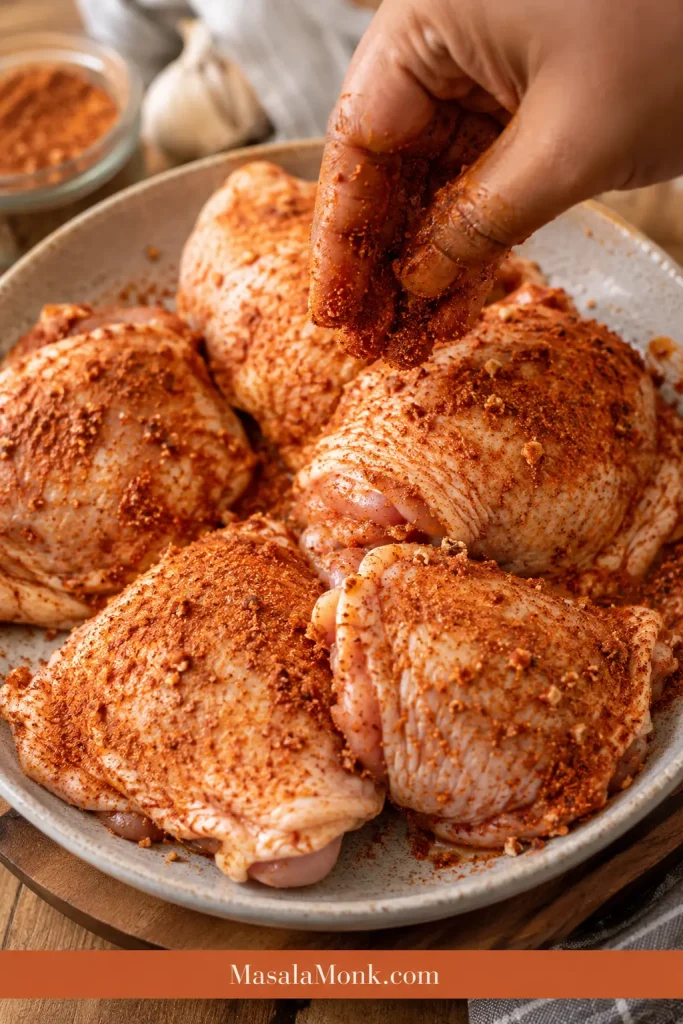
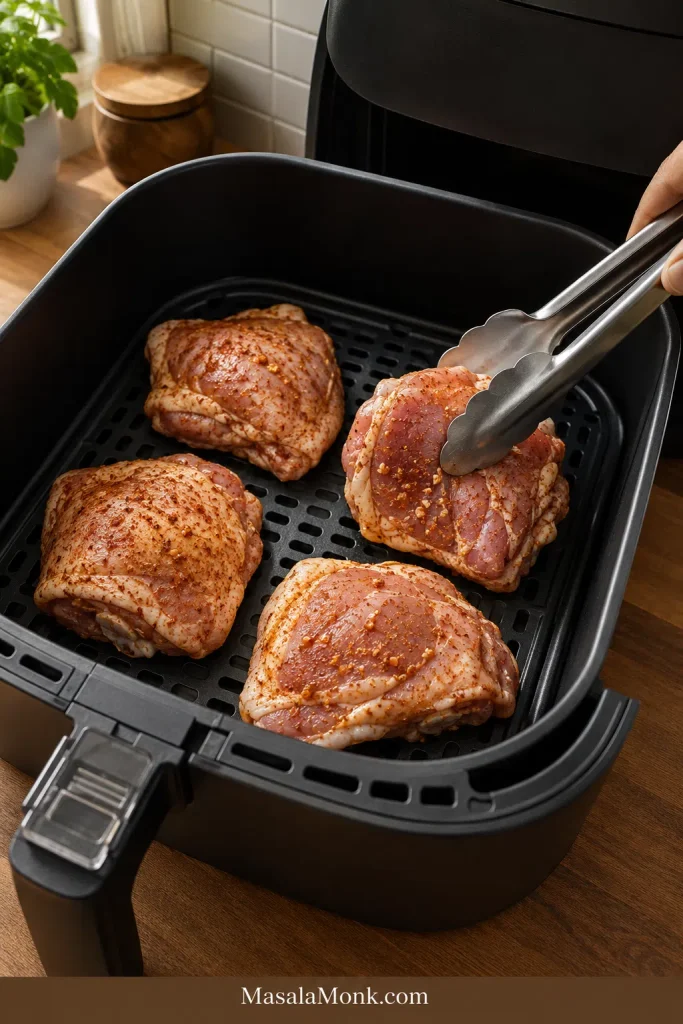
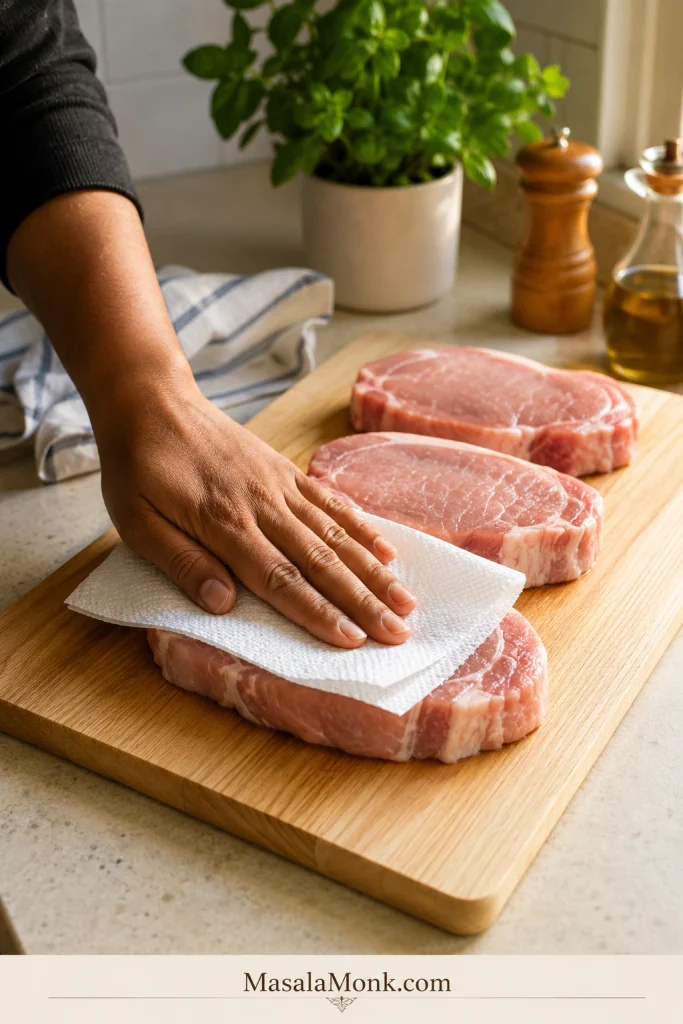
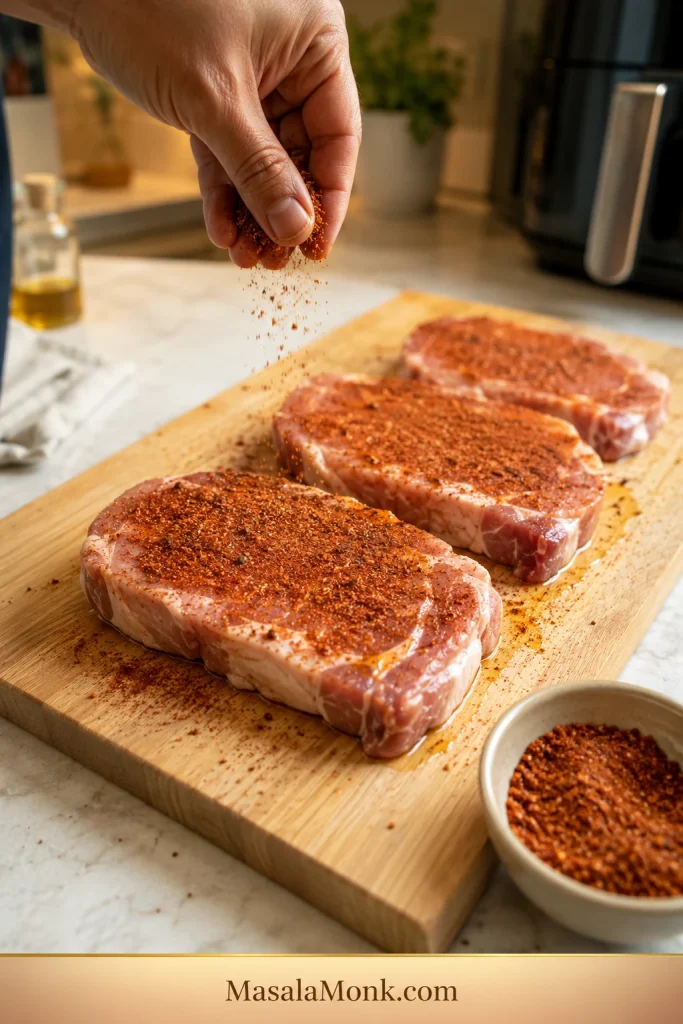
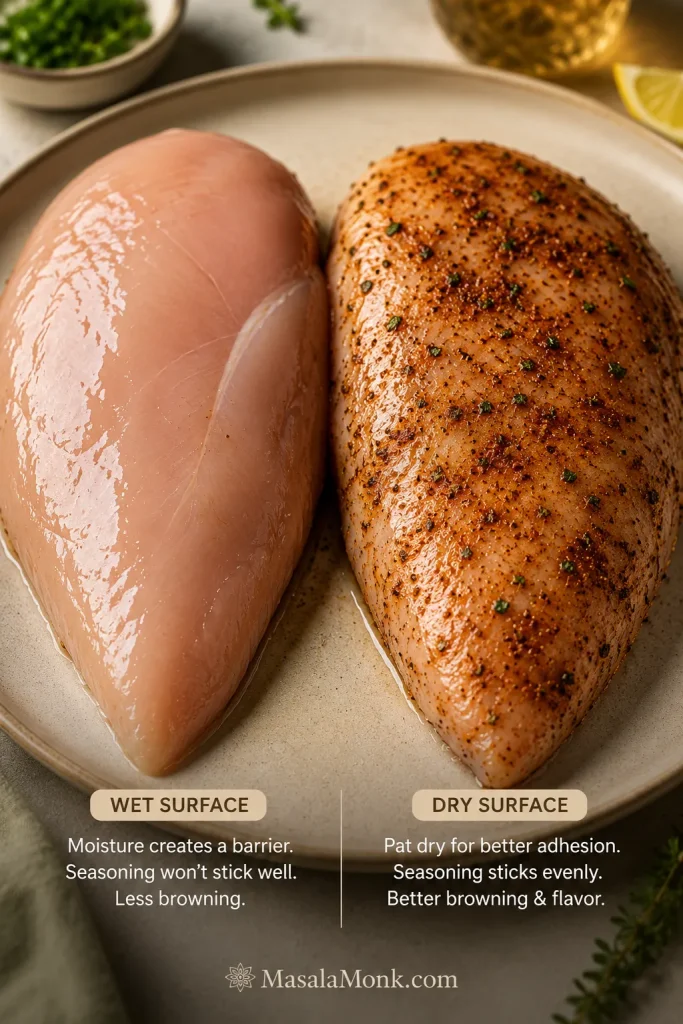
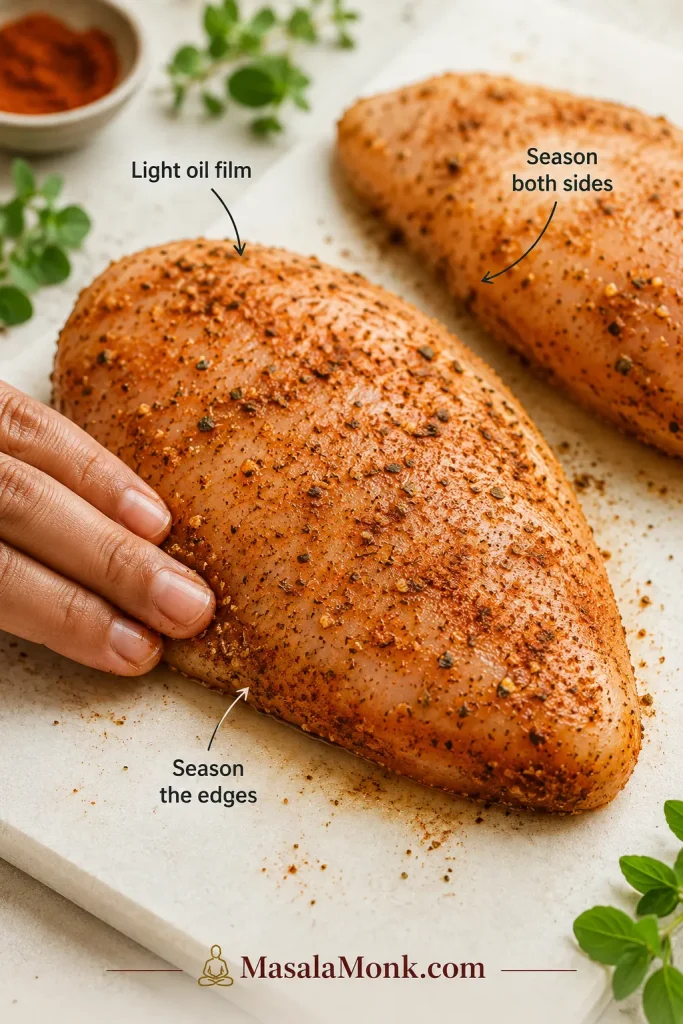
- Dry and season. Pat the breasts dry with paper towels and coat them with the oil. Mix the salt, paprika, garlic powder, onion powder, oregano, black pepper and optional cayenne, then season both sides and the thicker edges.
Cook, check and rest
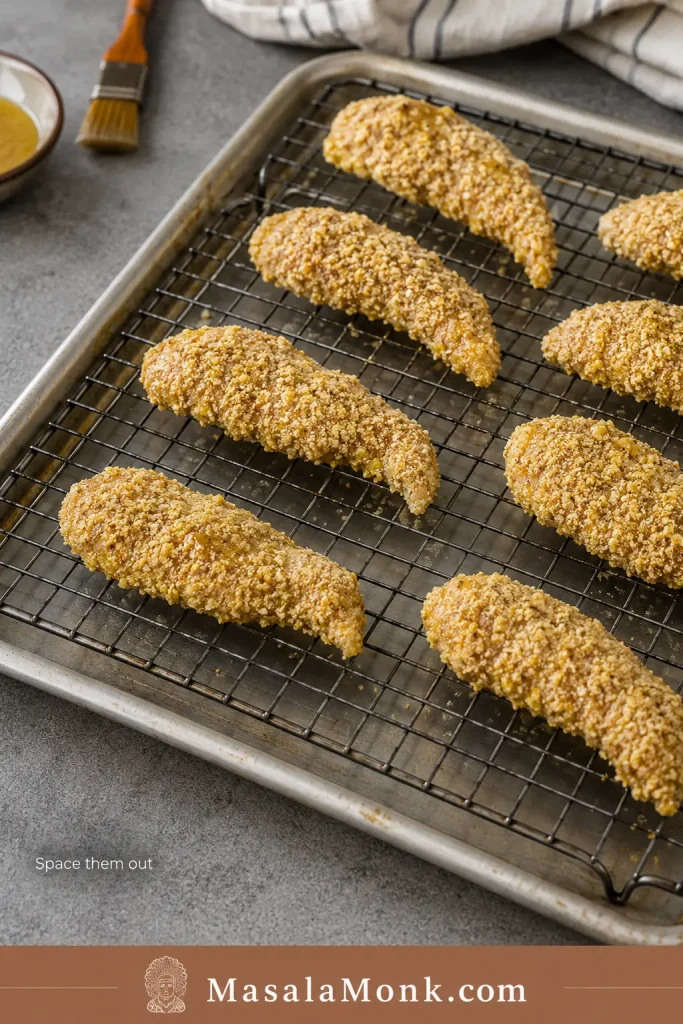
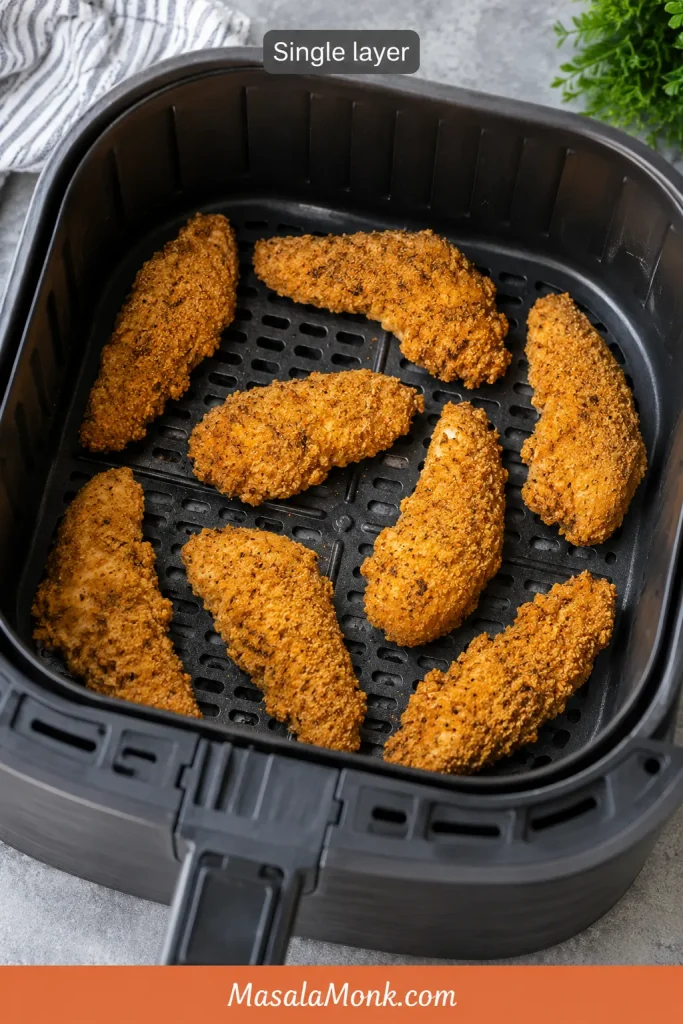
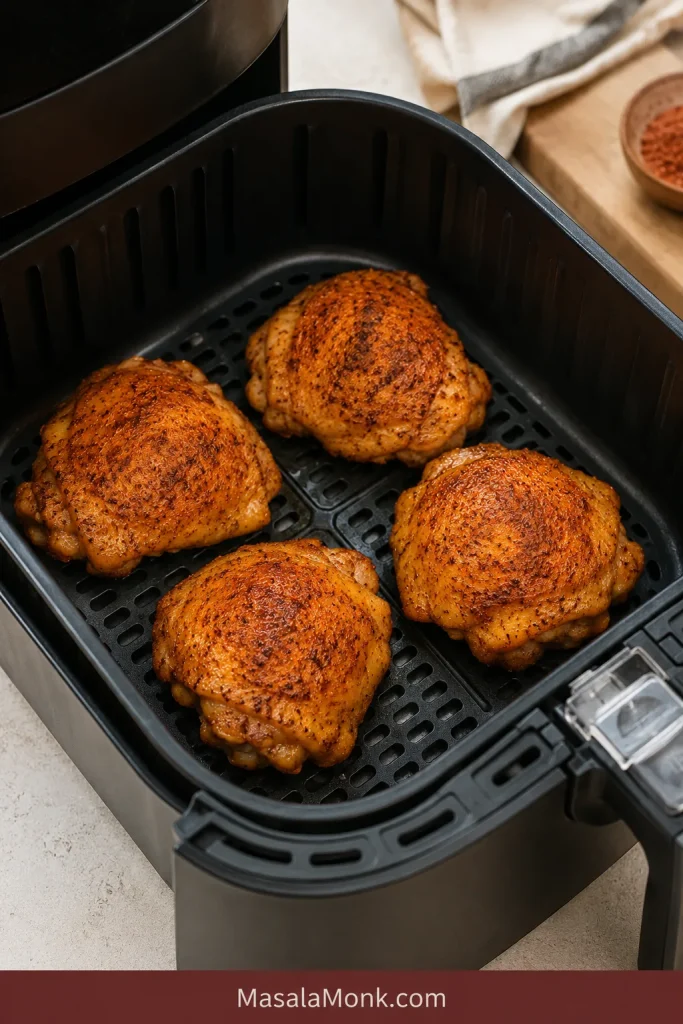
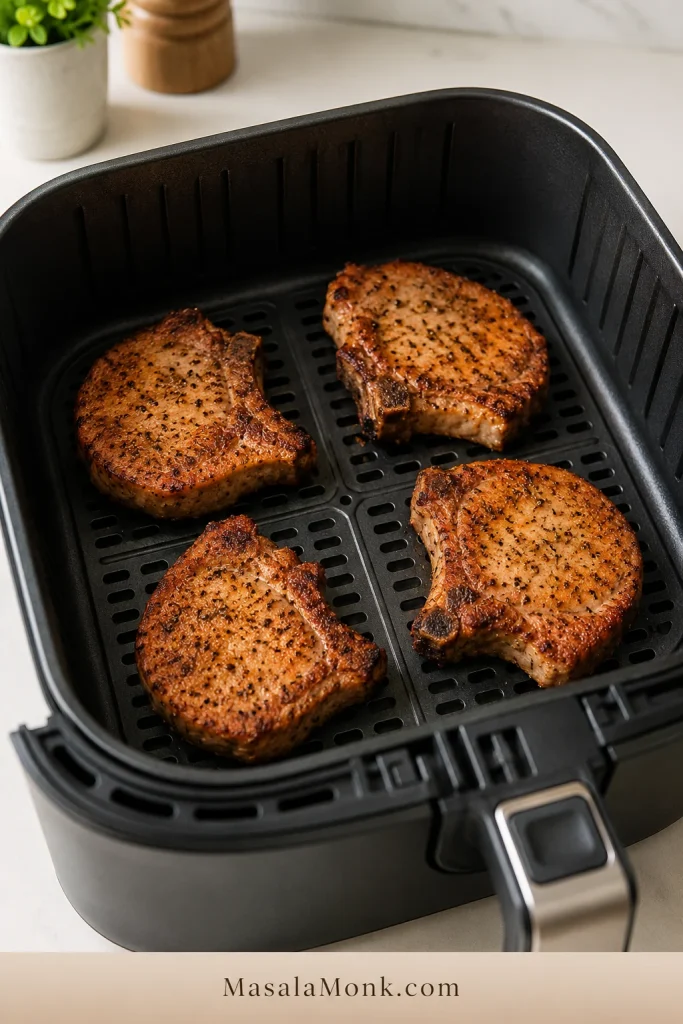
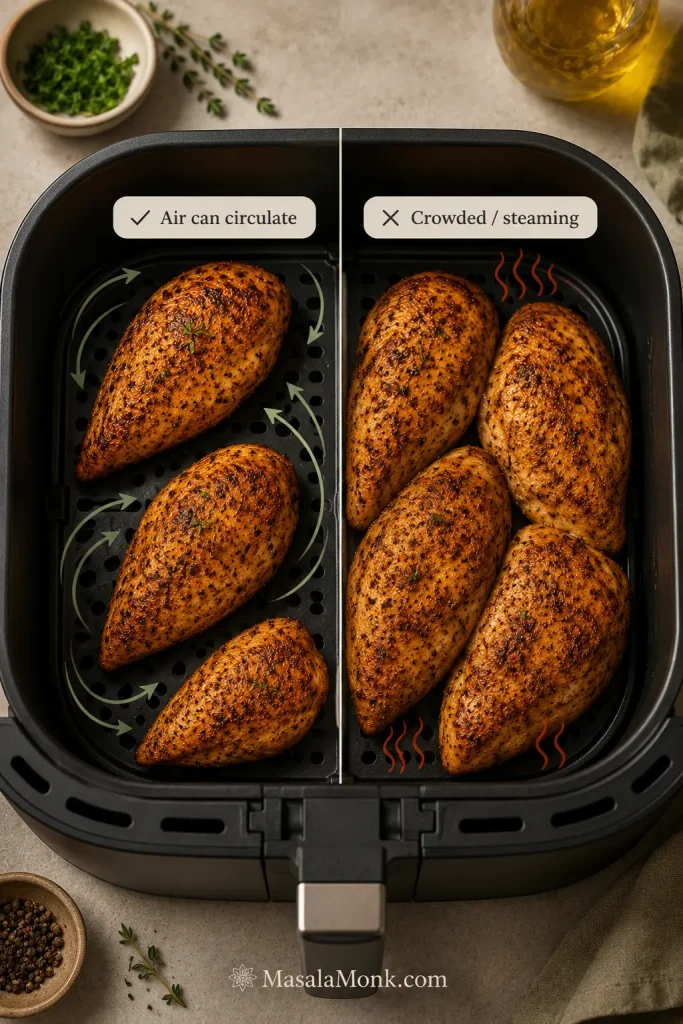
- Arrange the basket. Place the chicken in one layer with a visible gap between the pieces. Extra basket spray is usually unnecessary when the chicken is lightly oiled and the basket coating is in good condition.
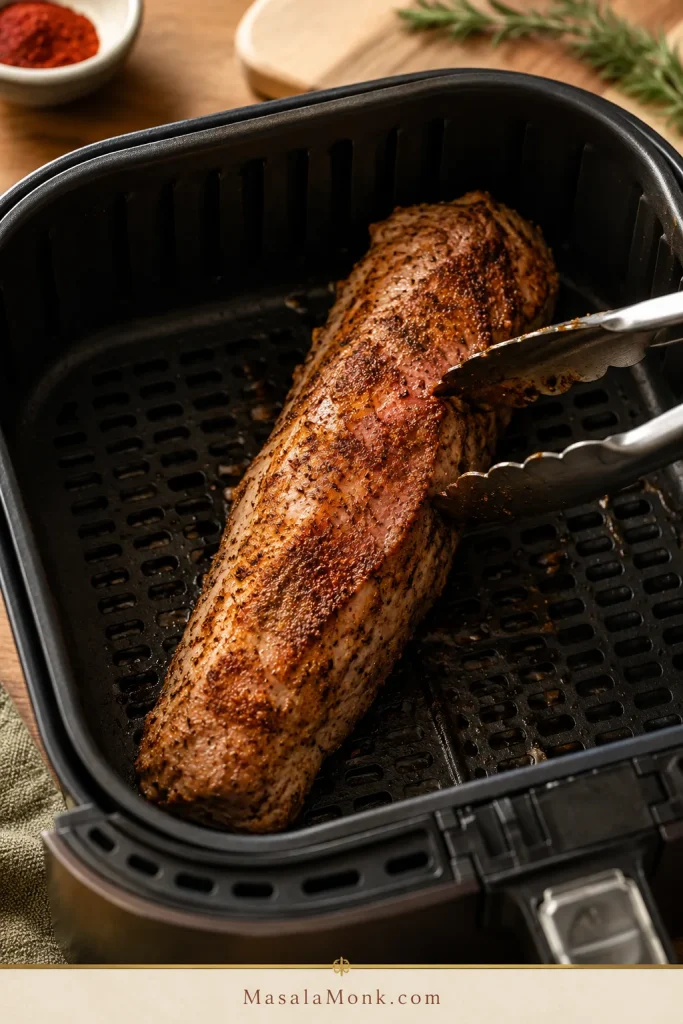
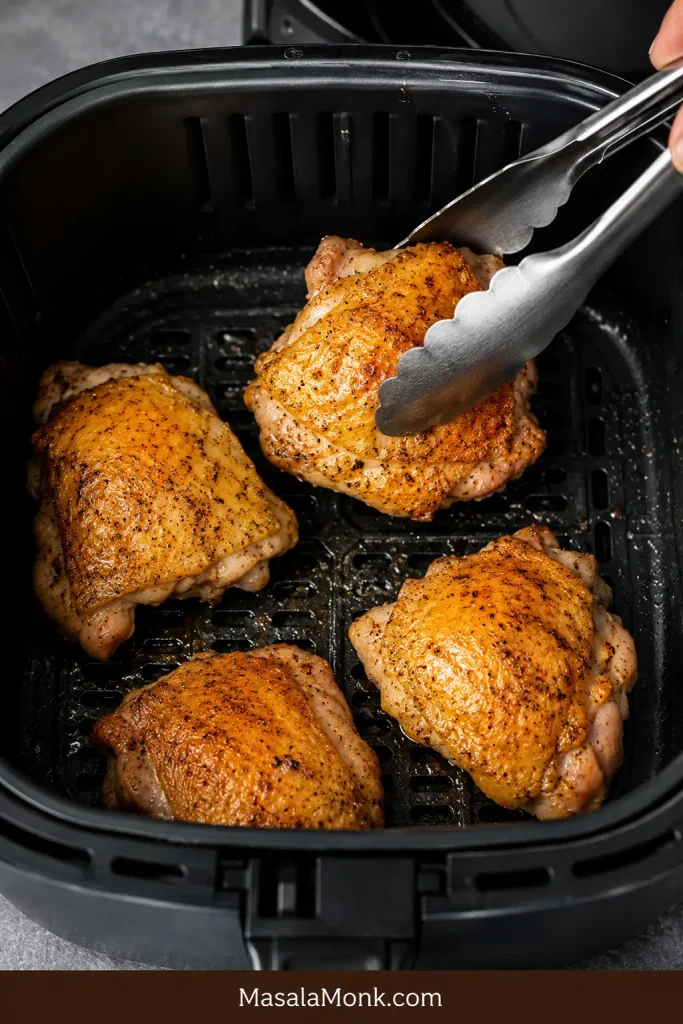
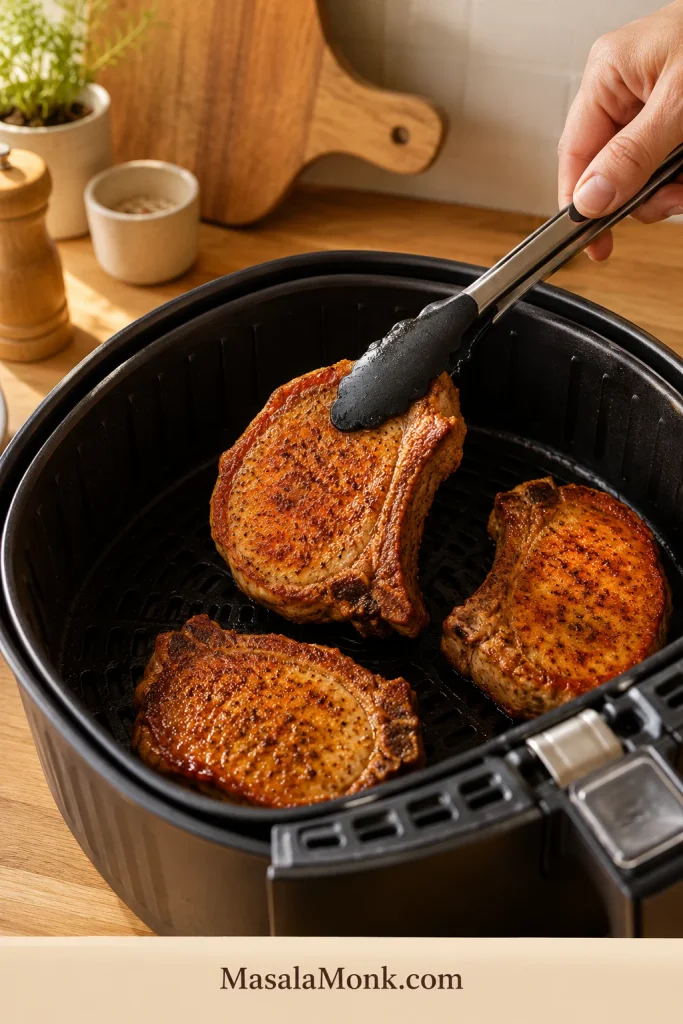
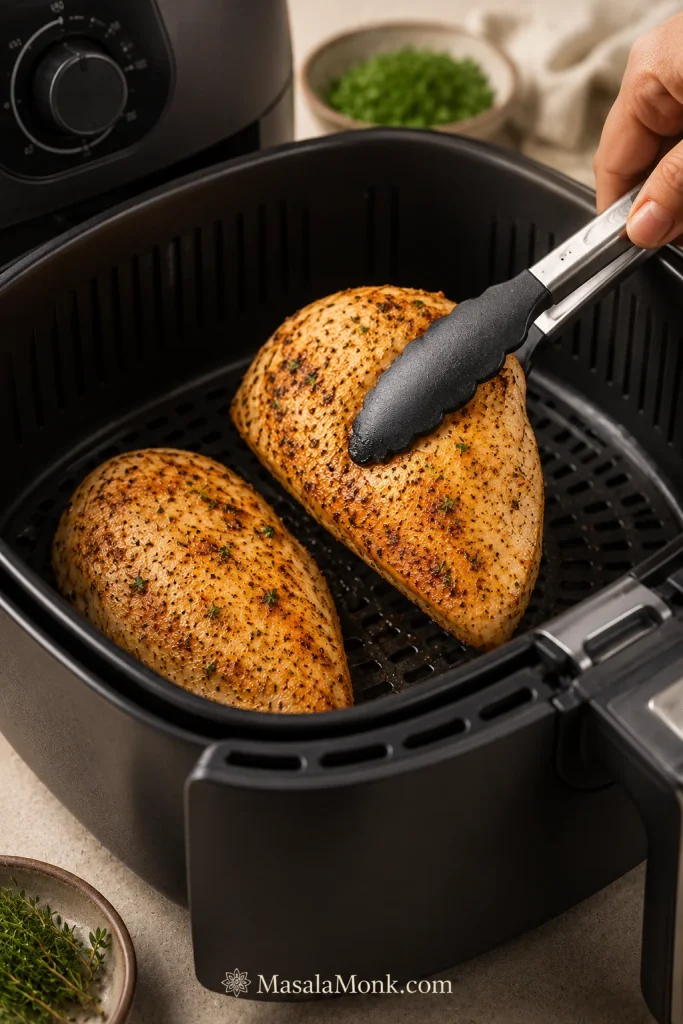
- Cook and flip. Air-fry for six minutes, then turn the chicken gently with tongs. Look for scattered golden patches and the aroma of toasted spices. Do not wait for a dark crust.
- Take the first temperature reading. Cook for another three minutes, then insert an instant-read thermometer sideways into the thickest central part.
- Finish the chicken. A reading below 165°F / 74°C is useful: you have caught the chicken while there is still room to finish it gently. Continue in one-minute increments and lift out each piece as soon as it reaches temperature.
- Rest away from the heat. Transfer the chicken to a clean plate or cutting board and rest for five minutes.
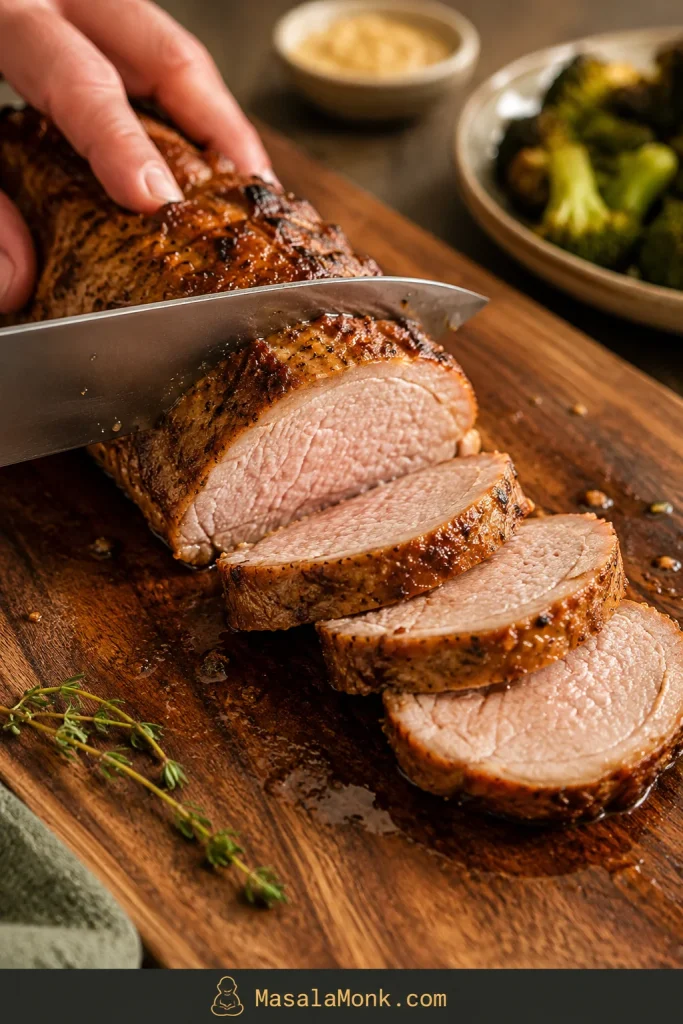
- Slice across the grain. Cut the rested chicken this way for shorter, more tender pieces.

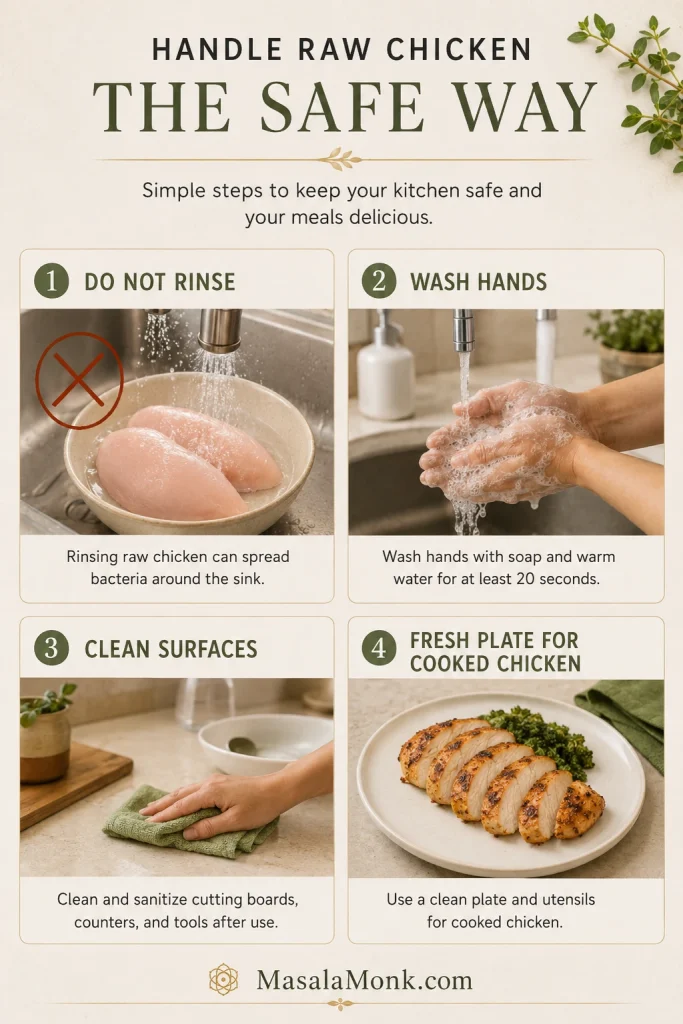
Food-safety reminder
Raw-chicken safety: Don’t rinse raw poultry. Wash your hands after handling it, clean any surface it touched, and use clean utensils and a fresh plate for the cooked chicken.
Recipe Notes
- Fridge-cold chicken: The breasts can go directly from the refrigerator to preparation. They do not need to reach room temperature.
- Enhanced chicken: When the package says the meat contains an added solution, reduce the salt and expect it to release more liquid.
- Optional 30-minute dry brine: Salt the chicken in advance and keep it refrigerated for deeper seasoning. Reduce or omit the salt in the later spice mixture.
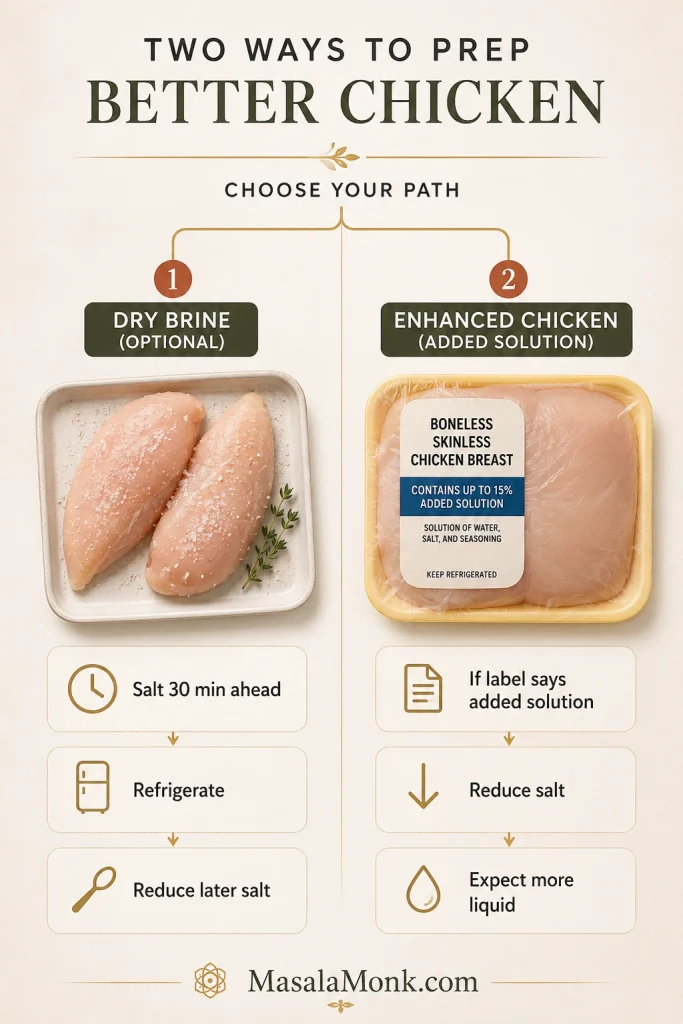
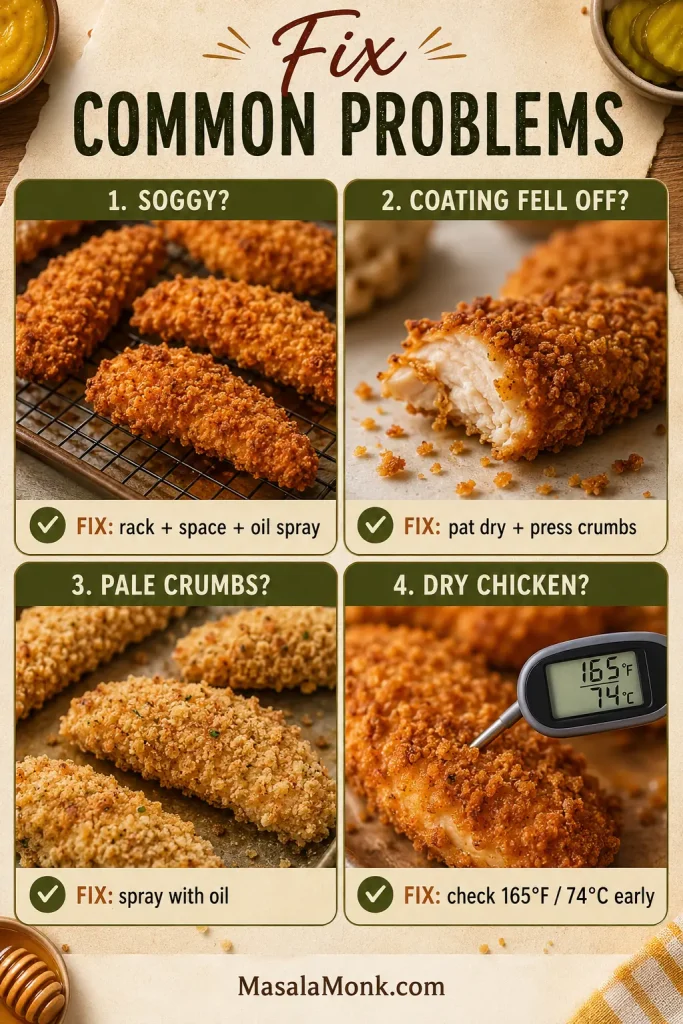
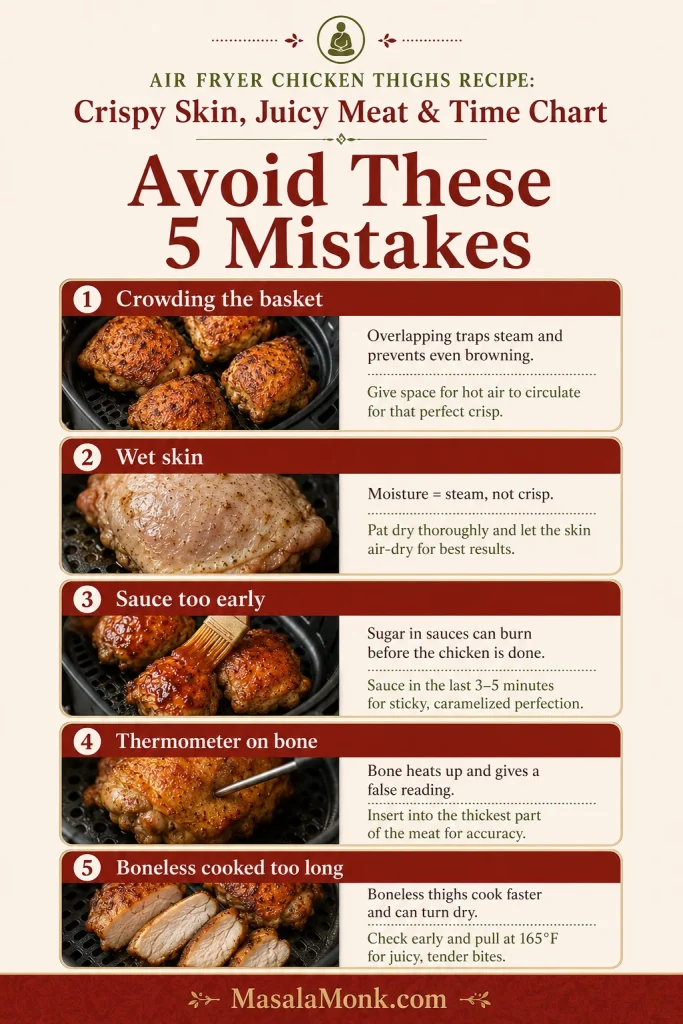
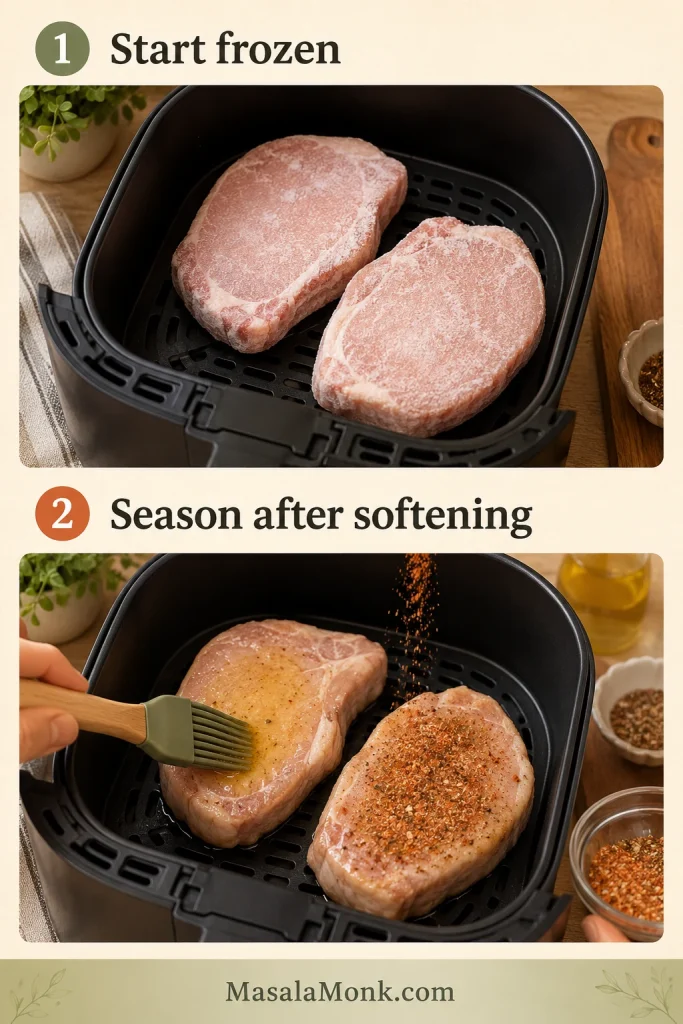
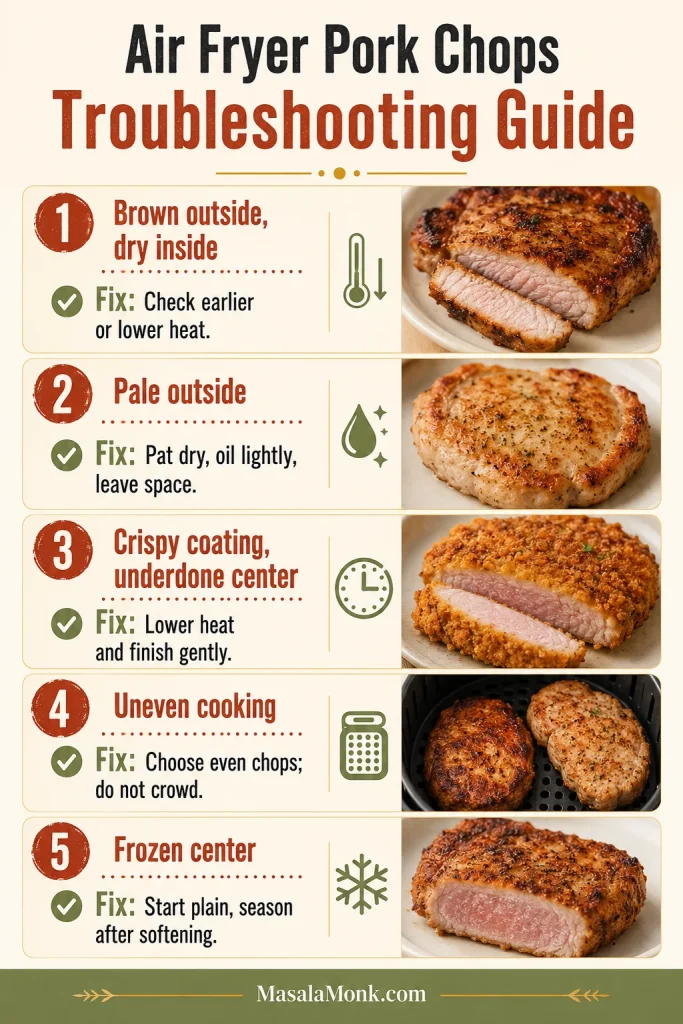
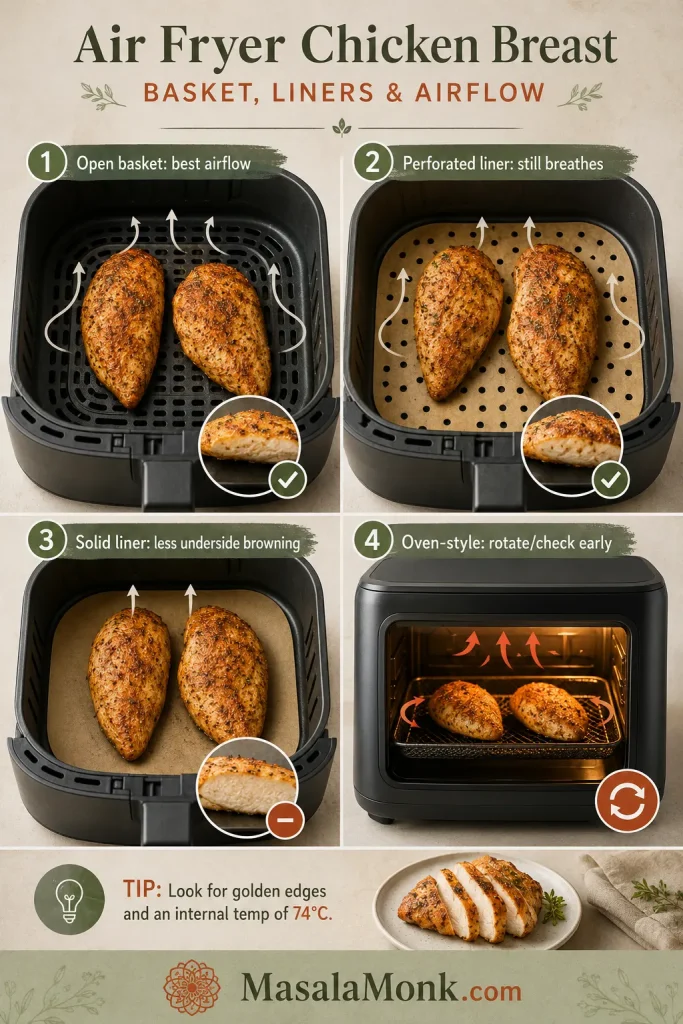
Use this visual checklist when your package does not match the fresh, whole, boneless chicken breast method above.

Four things make the difference: even the thick end, dry the surface, leave visible gaps and take the first temperature reading early. Together, they help the centre cook through without drying the tapered end.
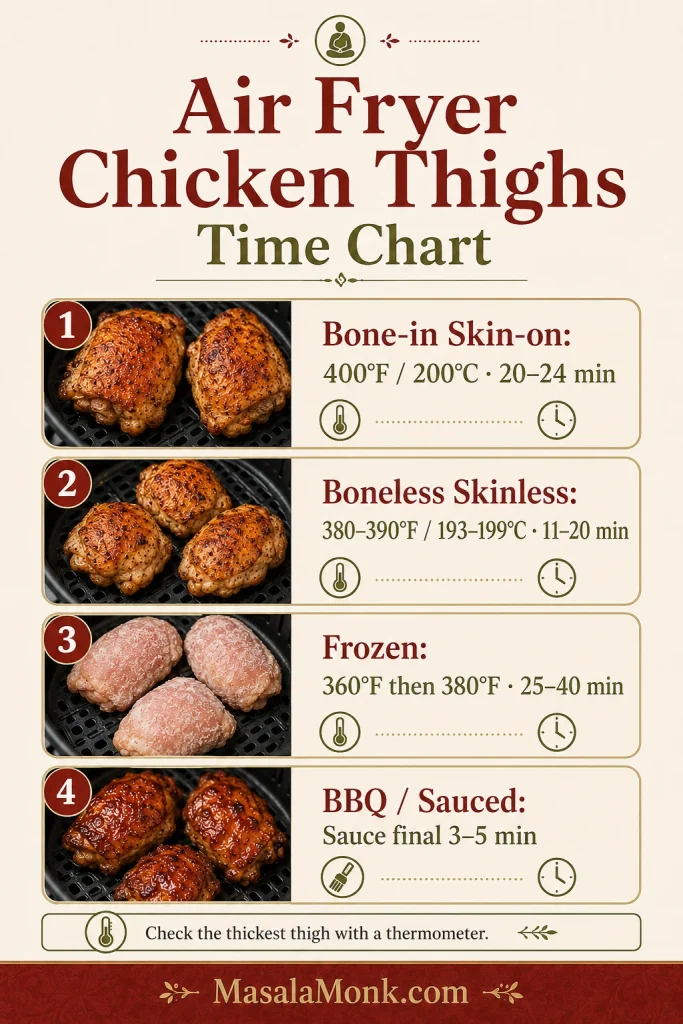
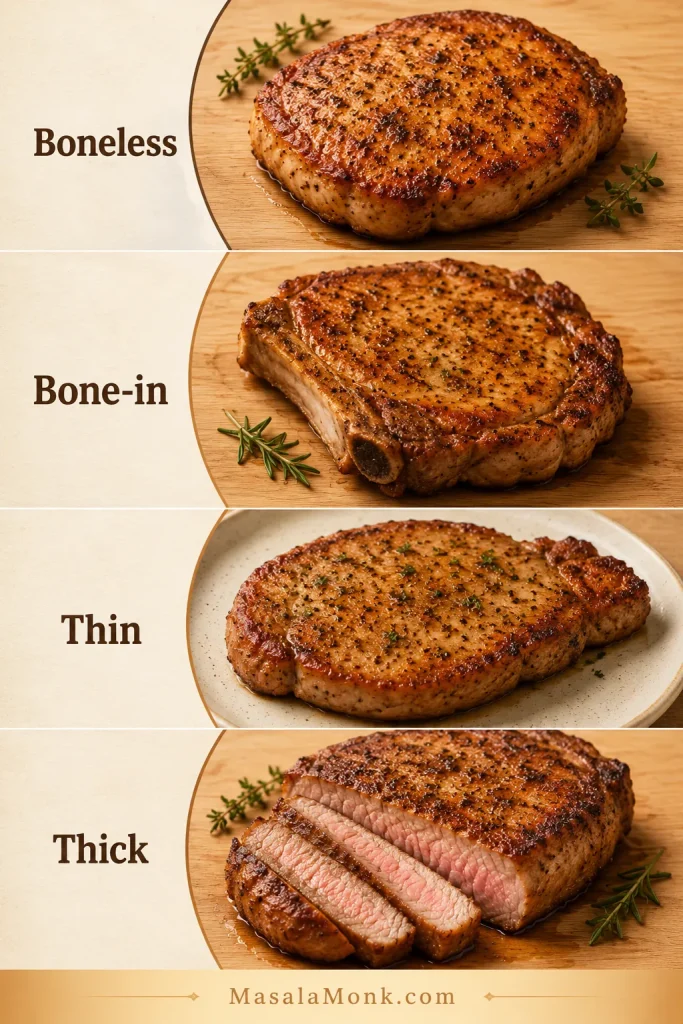
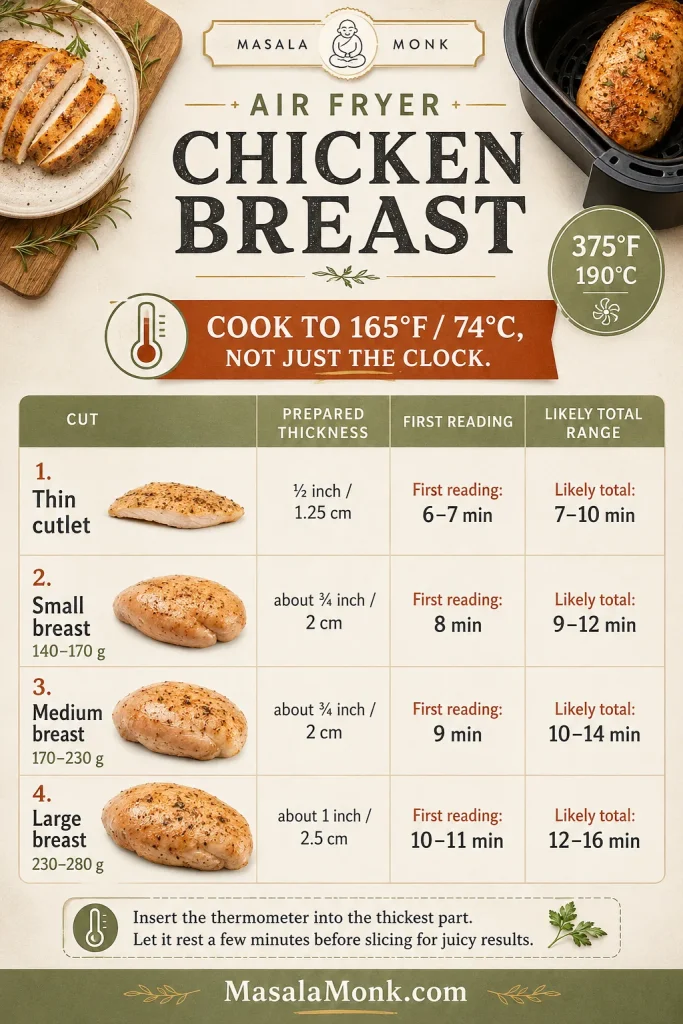
Air Fryer Chicken Breast Time and Thickness Chart
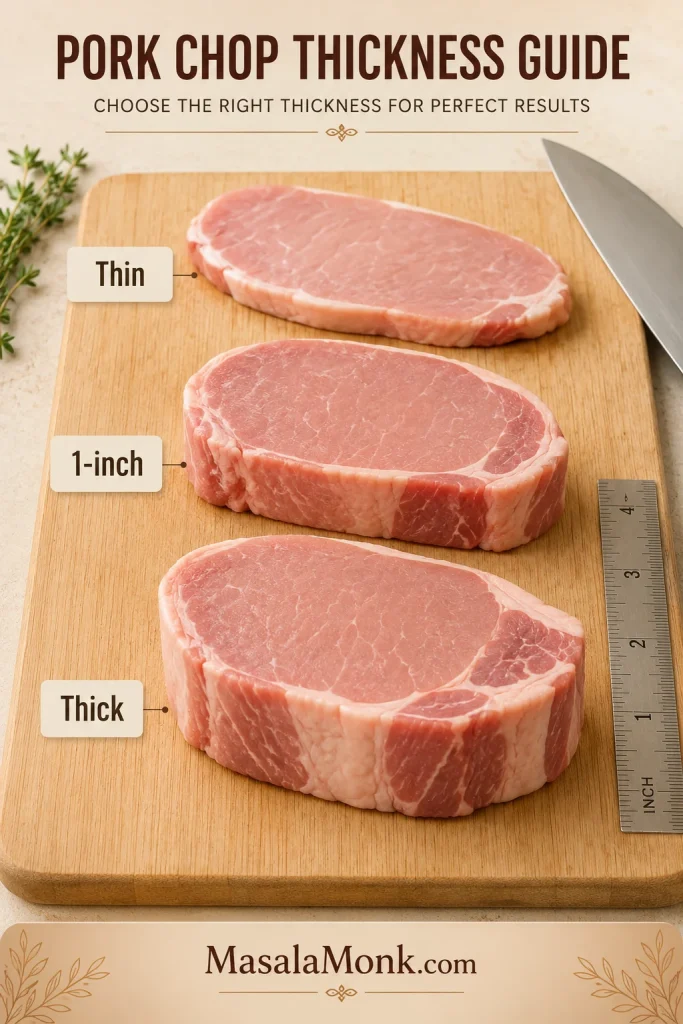
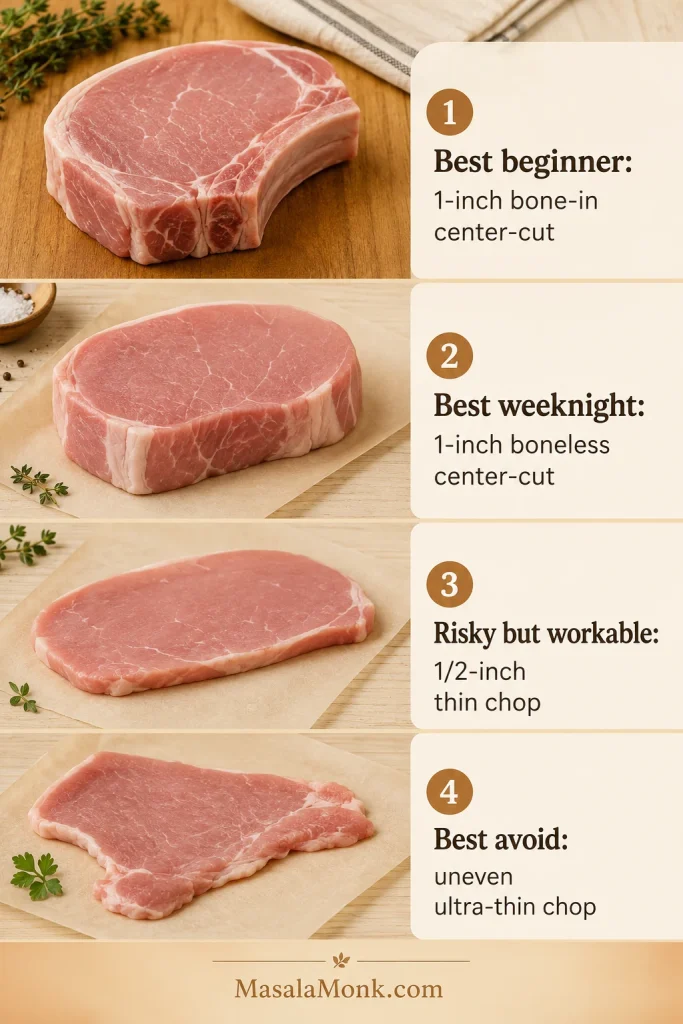
Start with the row that most closely matches the piece in front of you. Similar-sized breasts are easier to manage together, while extremely large or strongly tapered pieces are better sliced horizontally before cooking.
How to use this timing chart: These ranges are starting points for fresh, boneless, skinless chicken breasts prepared to the thickness shown. The first-reading time is intentionally early because breast shape, basket position and machine style can change the finish time. Use the chart to know when to start checking; use 165°F / 74°C in the thickest centre to know when to stop.
| Chicken form | Individual weight | Prepared thickness | Timing at 375°F / 190°C |
|---|---|---|---|
| Thin cutlet | 3–5 oz / 85–140 g | ⅜–½ inch / 1–1.25 cm | First reading: 5 minutes; often 6–10 minutes total |
| Small breast | 5–6½ oz / 140–185 g | About ⅝ inch / 1.5–1.6 cm | First reading: 7 minutes; often 8–11 minutes total |
| Medium breast | 6½–8 oz / 185–225 g | About ¾ inch / 2 cm | First reading: 9 minutes; often 10–14 minutes total |
| Large breast | 8–10 oz / 225–285 g | ¾–1 inch / 2–2.5 cm | First reading: 10–11 minutes; often 12–16 minutes total |
| Very large breast | More than 10 oz / 285 g | More than 1 inch / 2.5 cm | Butterfly or slice horizontally, then use the row matching the new thickness |
If your chicken needs another two or three minutes, nothing has gone wrong. The chart tells you when to start looking; it does not force every breast to finish on schedule.
Once you have the timing range, check how to confirm doneness or return to the recipe card.
How to Tell When the Chicken Is Done
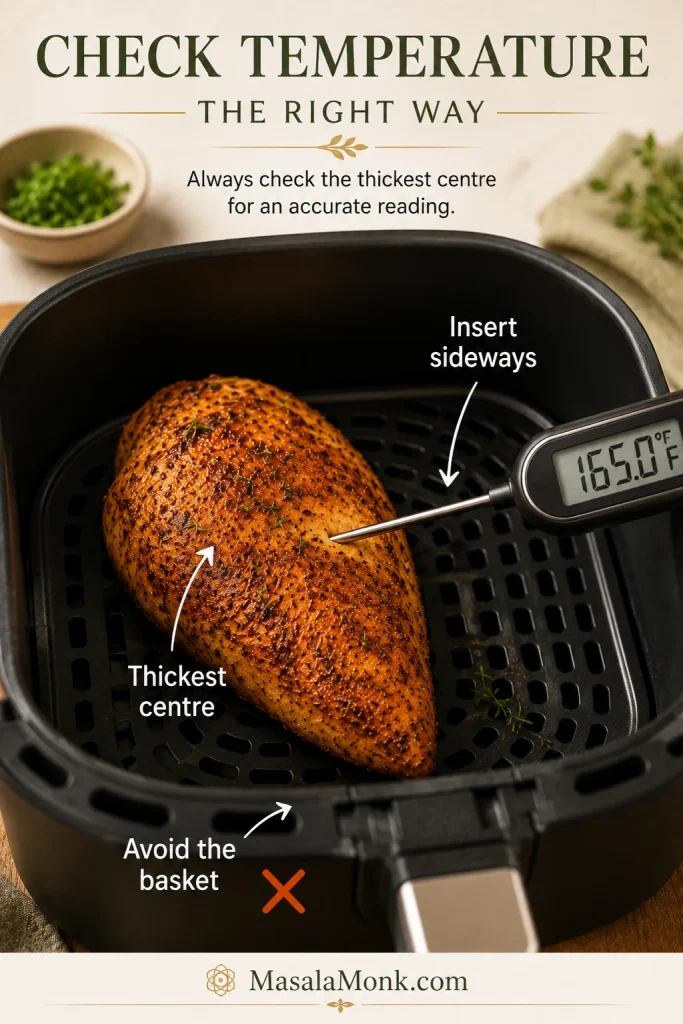
Use a thermometer first
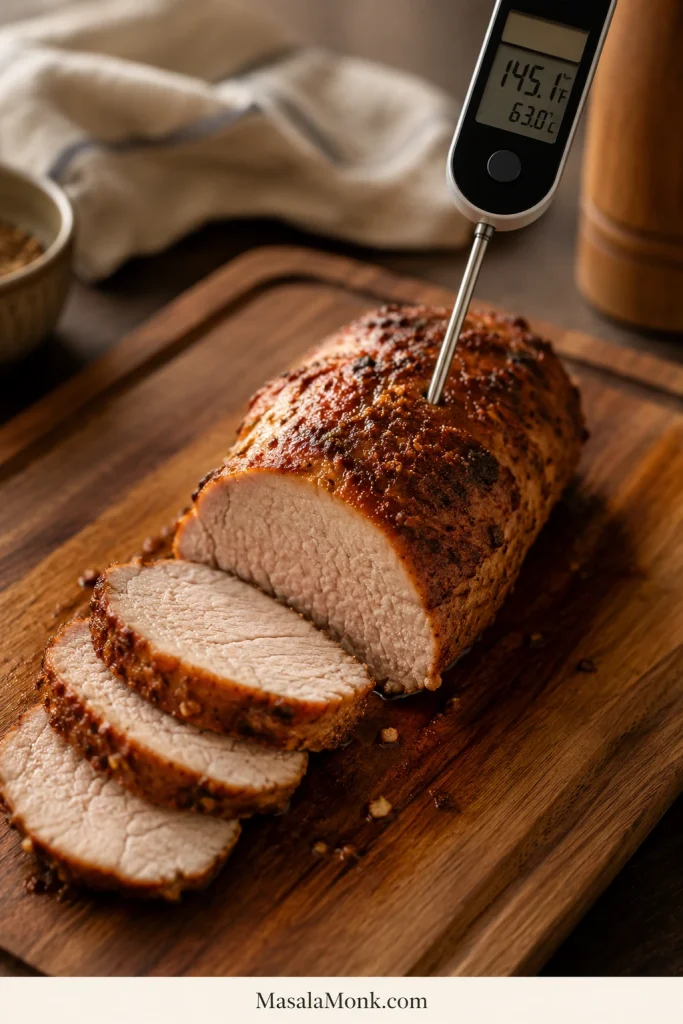
Chicken breast is safely cooked when the centre of its thickest part reaches 165°F / 74°C. Insert the thermometer from the side so the sensing tip reaches the middle instead of passing through the meat and touching the basket. Take the first reading before you expect the chicken to be done; a lower number means there is still room to finish it gently.
The official safe minimum internal temperature guidance lists 165°F / 74°C for poultry, including chicken breast.
If you do not have a thermometer
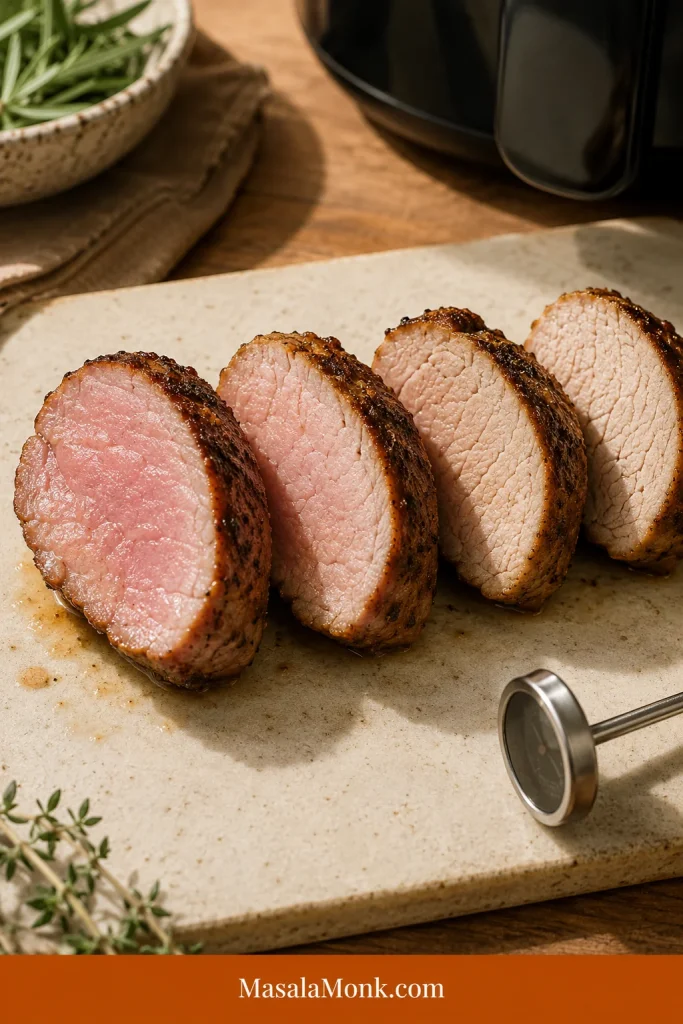
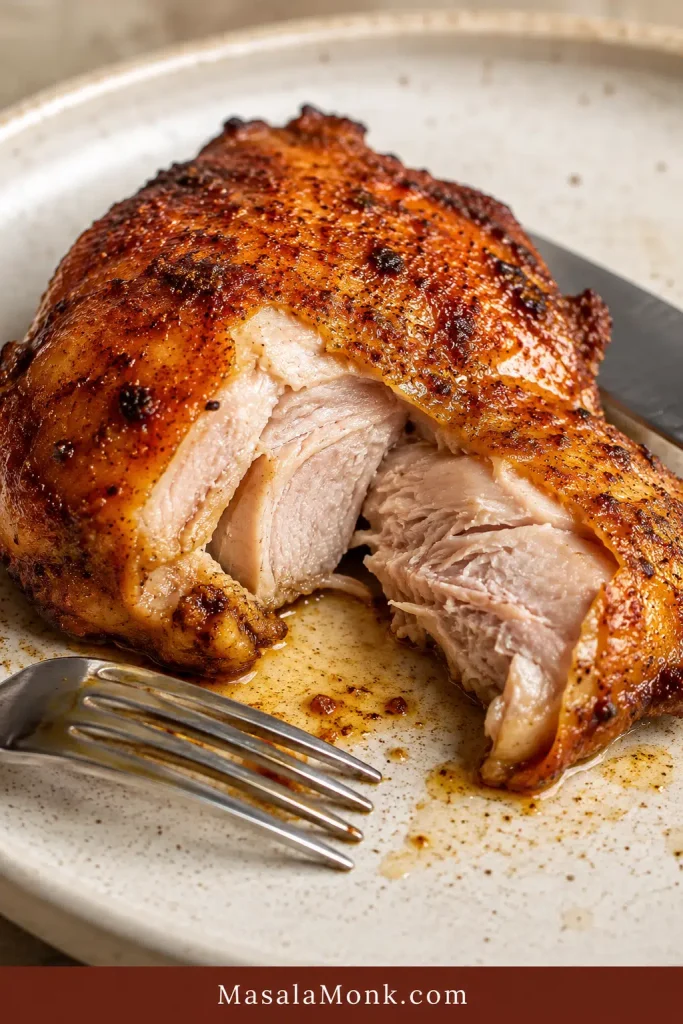
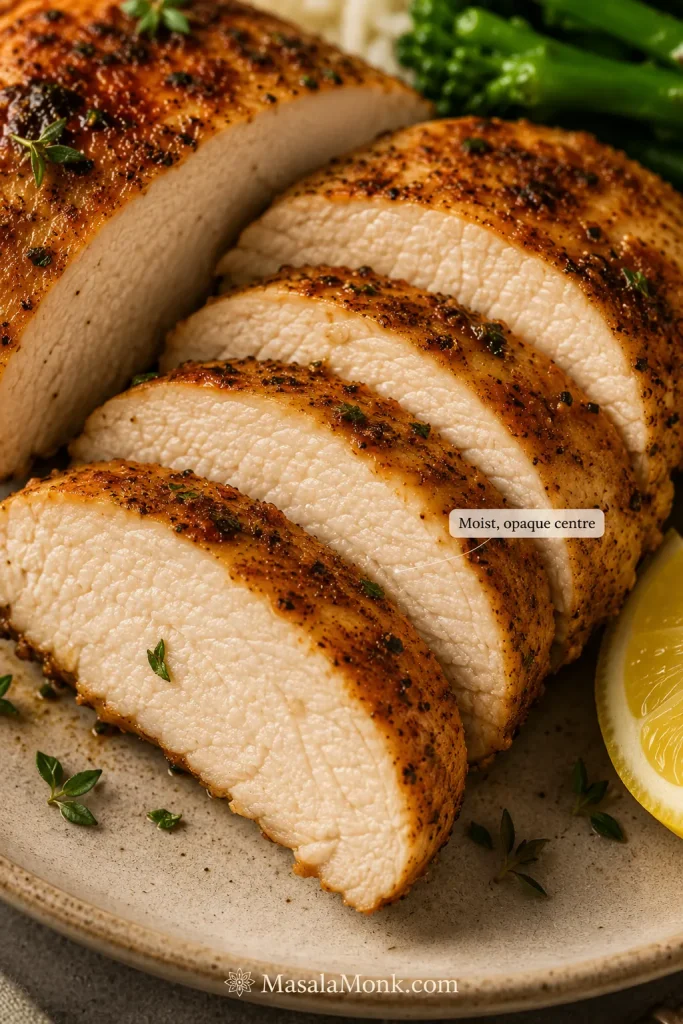
No thermometer? Cut into the centre of the thickest breast. The meat should be opaque with no glossy, translucent or raw-looking section. Return it to the air fryer in one-minute increments when needed. Visual checks are less dependable, so an instant-read thermometer remains the easiest way to remove the guesswork.
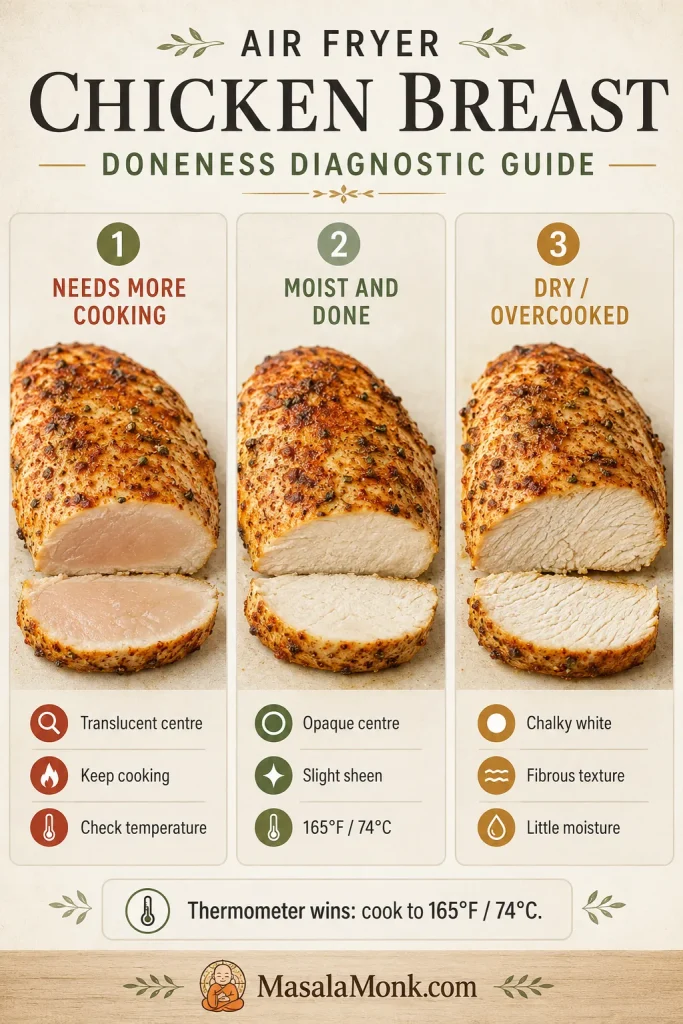
The first slice should look moist through the centre, with a slight sheen of juice rather than a wet raw appearance or dry, fibrous meat. Once you have seen that fully cooked centre, the next batch becomes much easier to judge.
Chicken breast is leaner and less forgiving than chicken thighs. For a richer cut with a wider timing margin, use this air fryer chicken thighs recipe.
Chicken is cooked and resting? Jump to serving ideas. Still troubleshooting texture? Go to the problem-solving section.
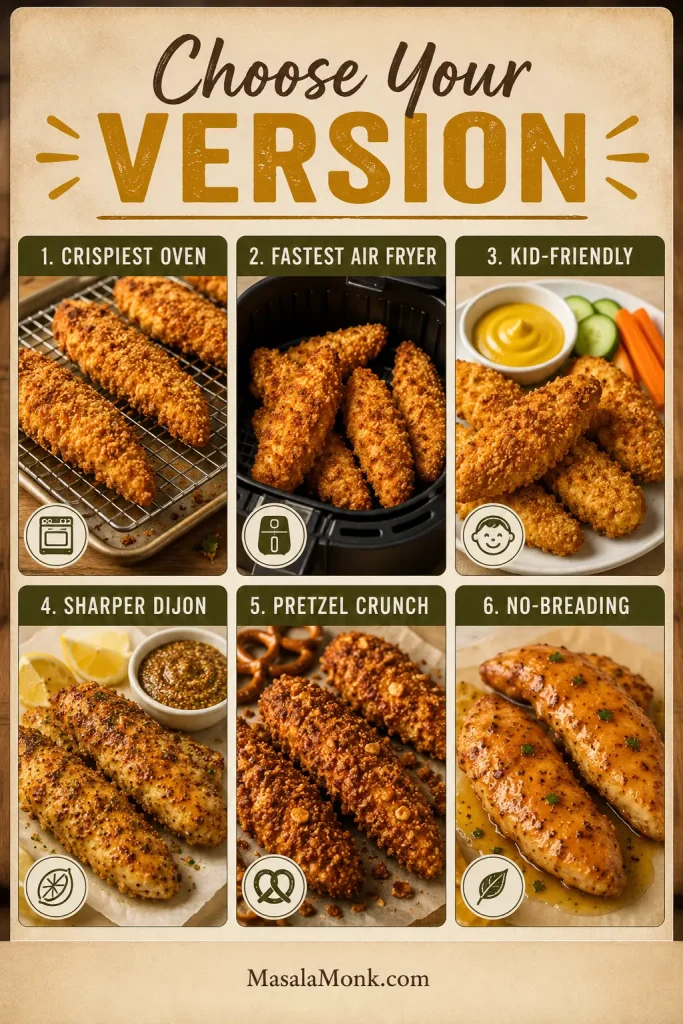
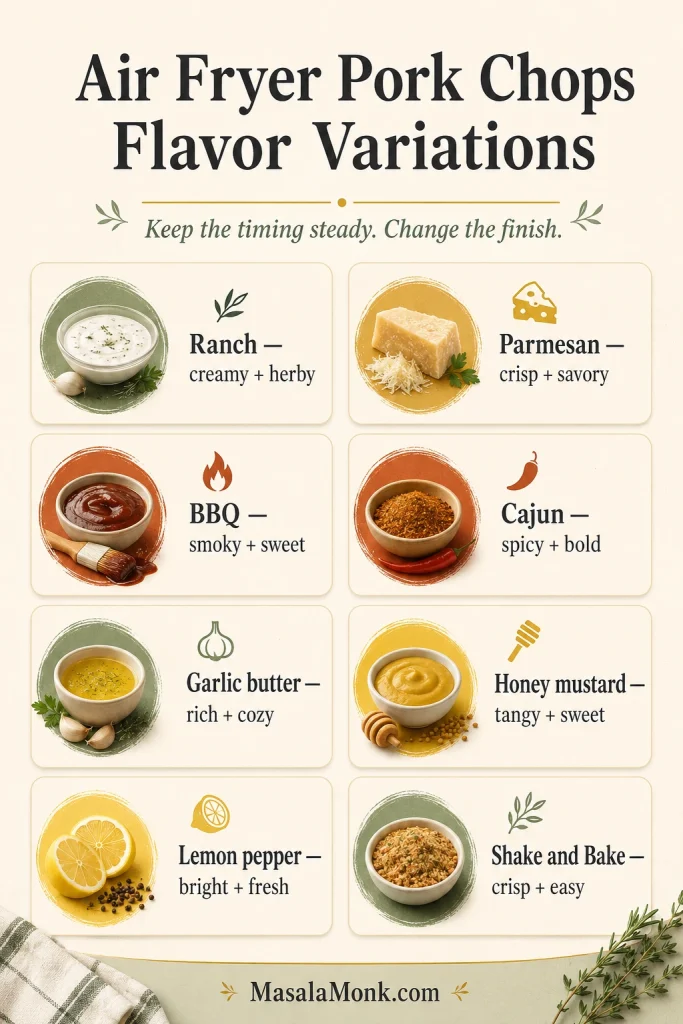
Seasoning Ideas and Marinades

Bright and fresh
For lemon pepper chicken, replace the paprika and oregano with a lemon-pepper blend, checking first to see how much salt it contains. Finish with fresh lemon after cooking.
For chilli lime, add chilli powder and cumin to the base seasoning, then squeeze lime over the warm slices. A spoonful of salsa also works well when the chicken is headed for tacos or rice bowls.
Prefer browned chicken with a proper lemon-butter pan sauce? Use this lemon pepper chicken recipe.
Smoky and savoury
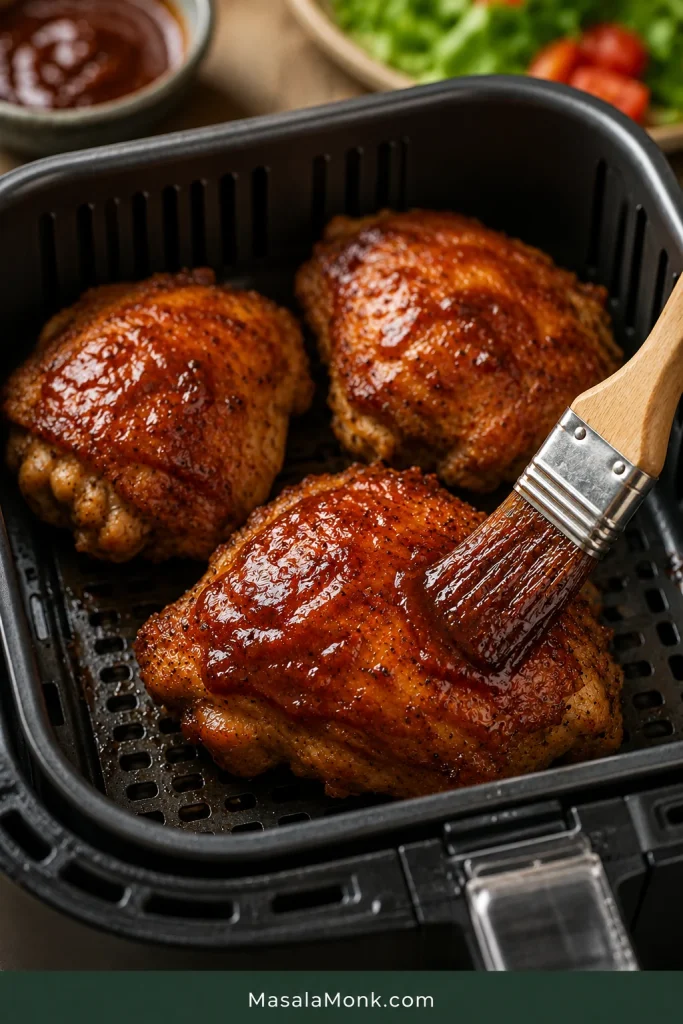
Cajun seasoning can replace the individual spices, although many blends already contain salt. For smoky barbecue chicken, use smoked paprika and add barbecue sauce only during the final one to two minutes so the sugars do not scorch.
With garlic Parmesan, lean into the garlic powder and add finely grated Parmesan near the end. Cheese left in the basket for the full cooking time can darken before a thick breast is ready.
Marinated chicken
A thin oil-based or yogurt marinade works well. Let the excess drip away so the chicken browns instead of steaming beneath a heavy coating.
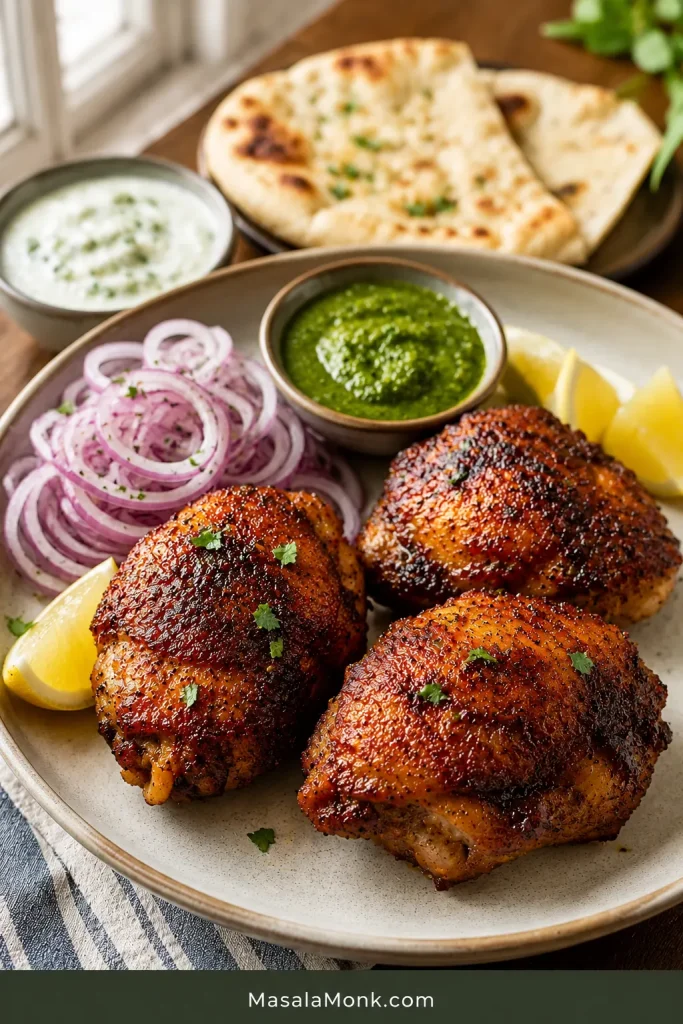
Tandoori-inspired chicken can be coated with yogurt, ginger, garlic, chilli, garam masala and salt. Serve it with a bright coriander-mint green chutney.
Keep acid-heavy marinades relatively short because a long soak in lemon or vinegar can soften the outer texture. Add sticky, sweet marinades closer to the end.
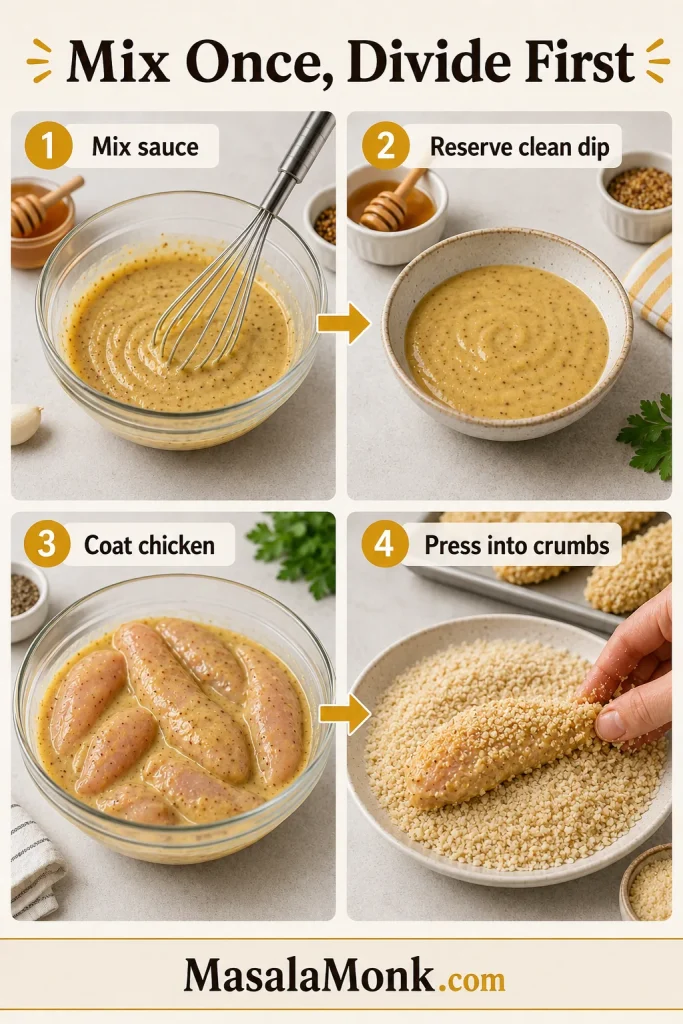
Keep any sauce intended for serving separate from marinade that touched raw poultry. If the same mixture is reused, it must be safely cooked first.
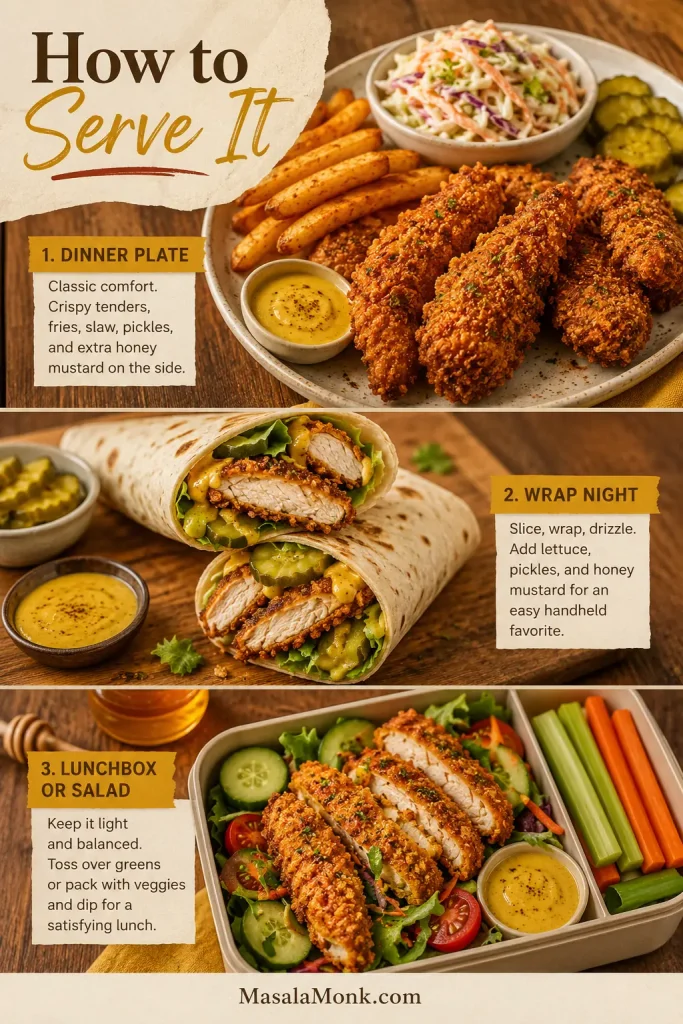
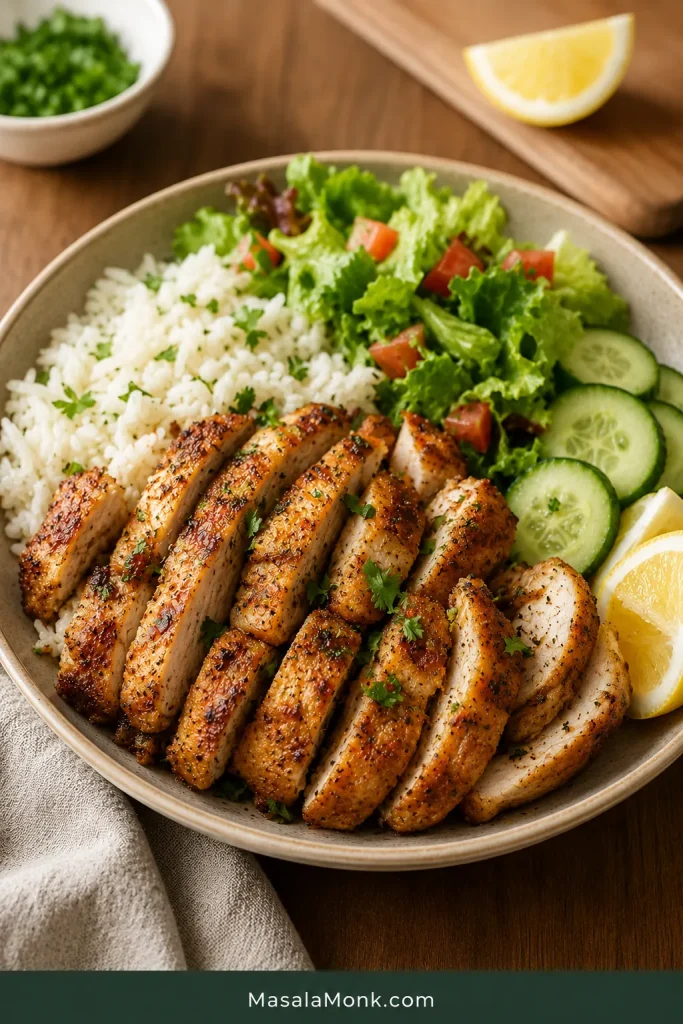
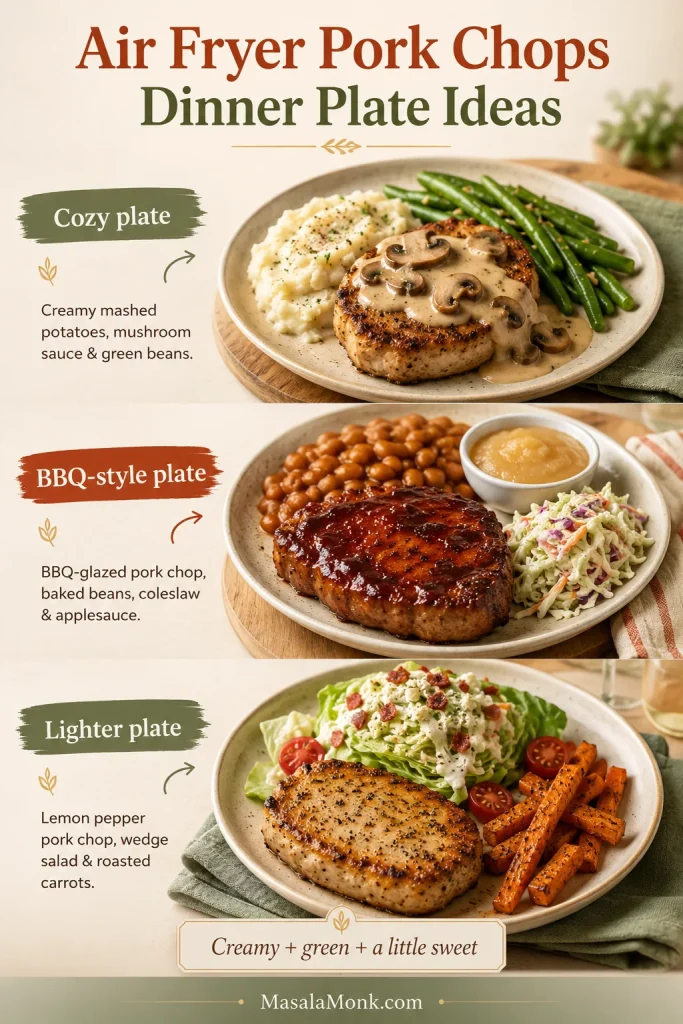
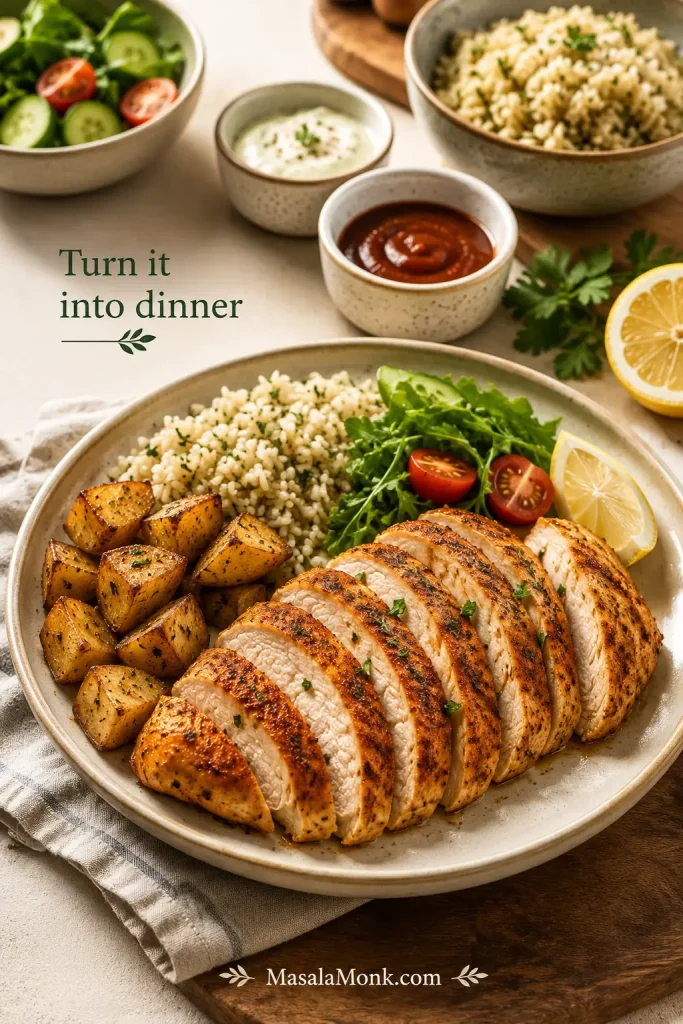
Turn It Into Dinner
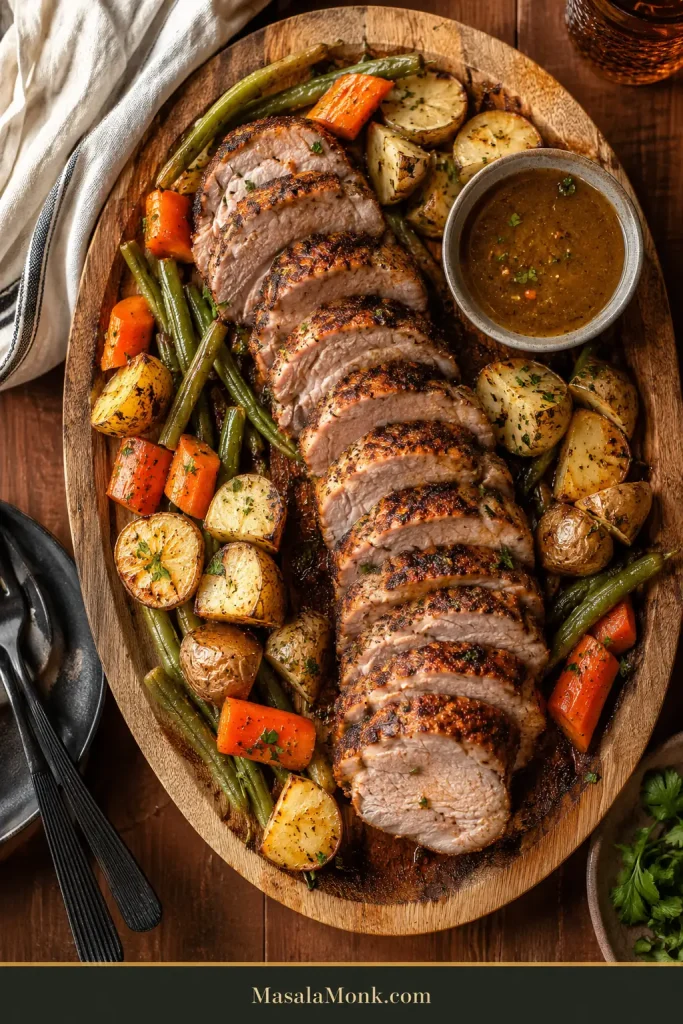
Spoon something cool, sharp or creamy over the warm slices—a squeeze of lemon, green chutney, honey mustard or herby chimichurri—and simple chicken immediately feels like a finished dinner.
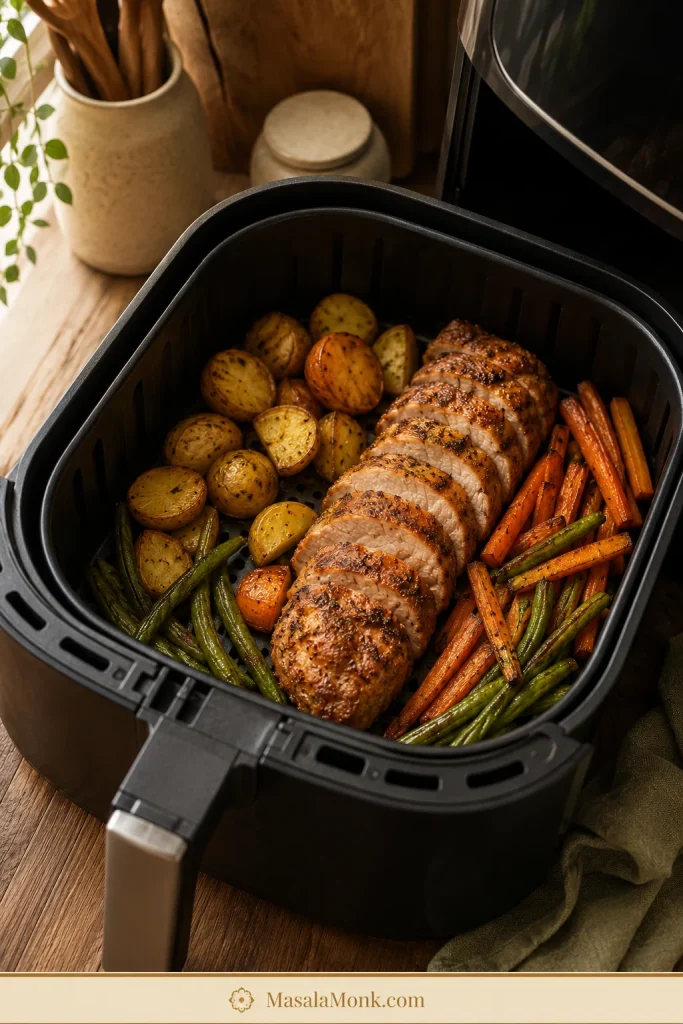
Eat it tonight
Serve it with fluffy rice, couscous or a tray of crispy ranch roasted potatoes. Add a green vegetable or a crisp salad.
For a quick sauce, finish the plate with lemon, pesto, salsa or a spoonful of homemade honey mustard dressing.
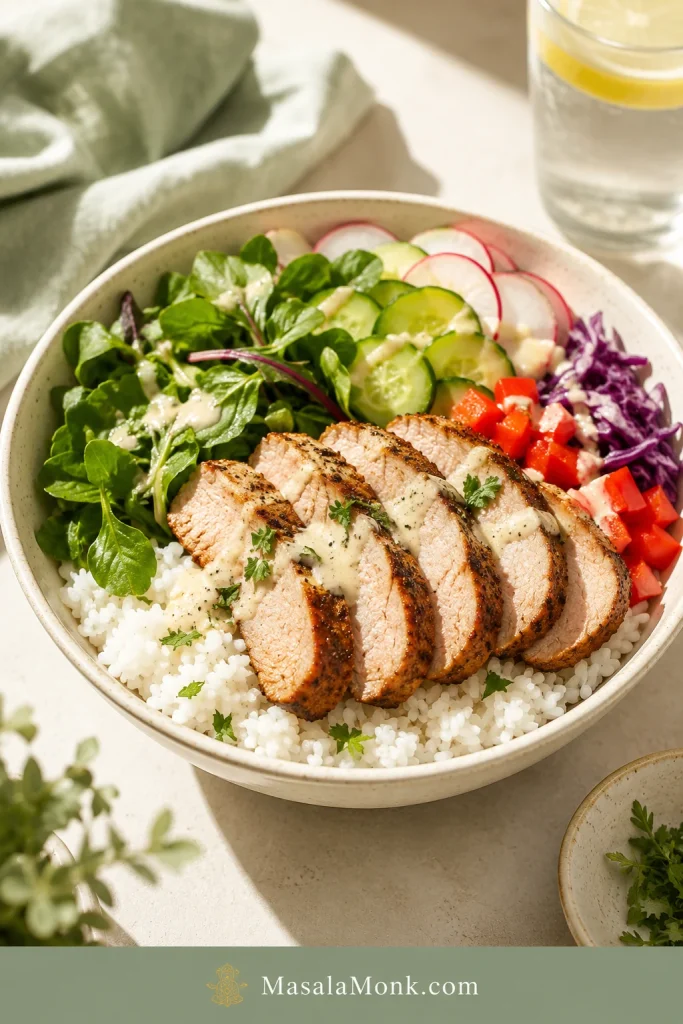
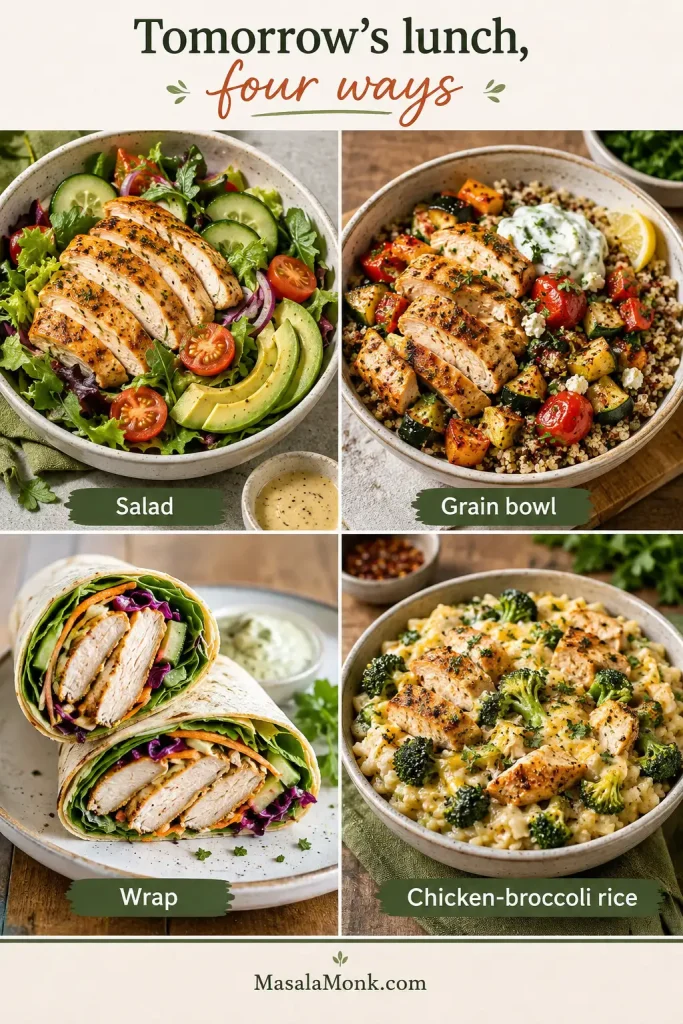
Make tomorrow easier
- Slice it cold for salads, wraps and sandwiches
- Cube it for rice or grain bowls
- Fold it into pesto pasta for an easy second-night dinner
- Chop it into cheesy chicken broccoli rice, adding the cooked chicken near the end so it warms without drying again
- Shred it into soup or pack it with vegetables and a separate sauce for lunch
Most cooks can stop after the serving ideas. If your basket, liner or machine behaves differently, use the setup notes below. Storing leftovers? Jump to storage and reheating.
Temperature and Air-Fryer Setup
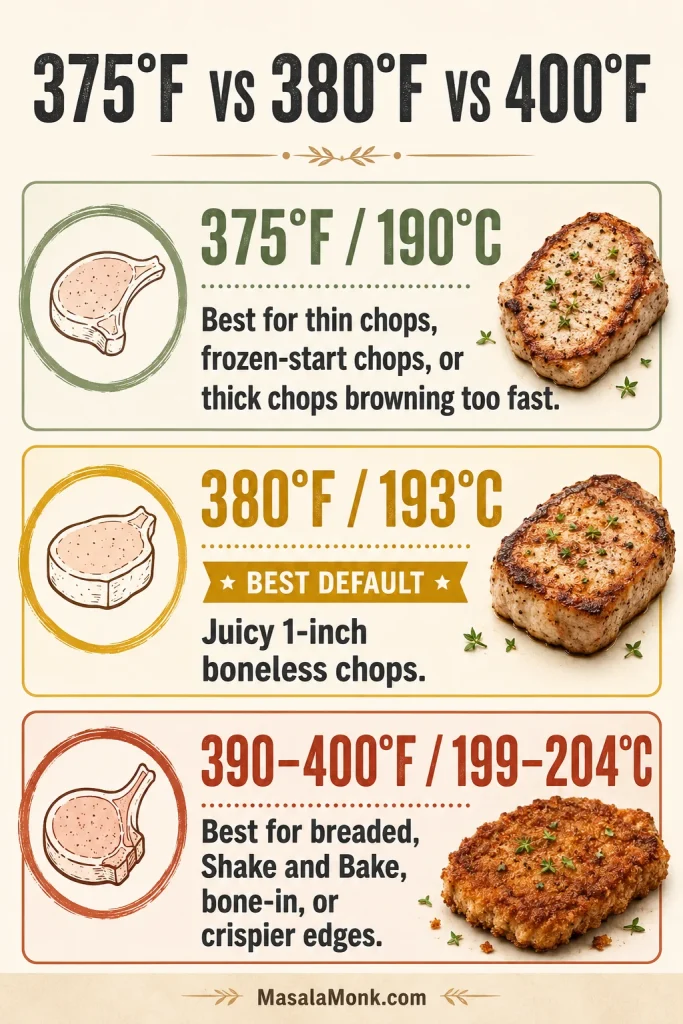
The main recipe uses 375°F / 190°C because it gives everyday chicken breasts a useful balance of colour, speed and control. Other settings still have their place.
| Temperature | Best use | Trade-off |
|---|---|---|
| 350°F / 177°C | Thicker but reasonably even pieces when gentler browning is preferred | Slower cooking with less surface colour |
| 375°F / 190°C | Everyday whole or evenly prepared breasts | The best general balance of speed, colour and control |
| 400°F / 204°C | Thin fillets and faster browning | A narrower margin before the edges dry or spices darken |
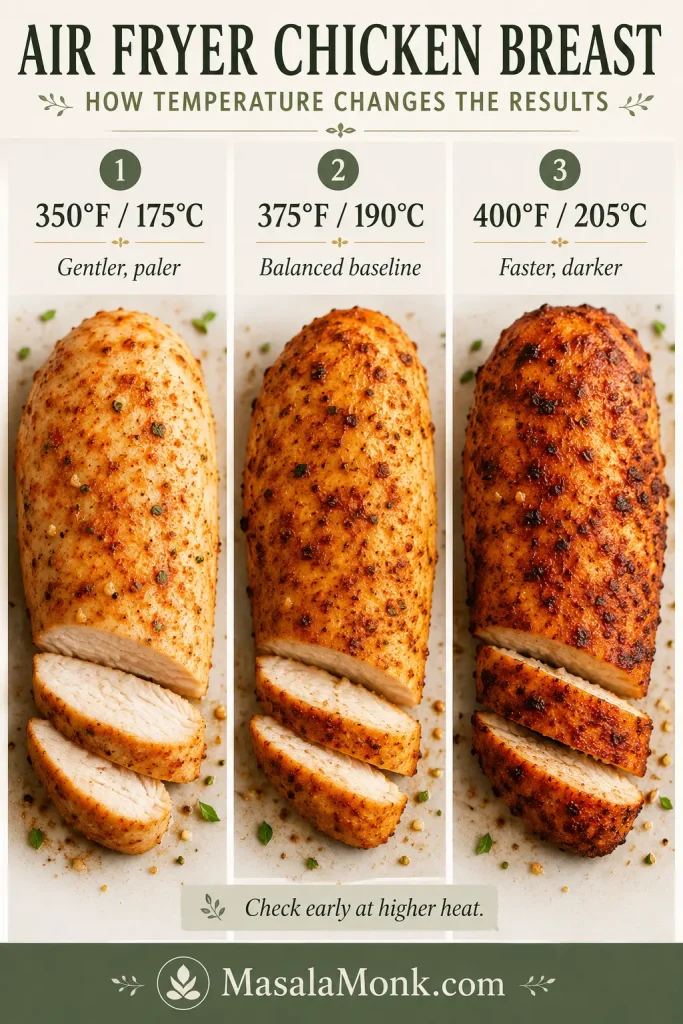
Save temperatures above 400°F / 204°C for thin pieces or specialised coatings.
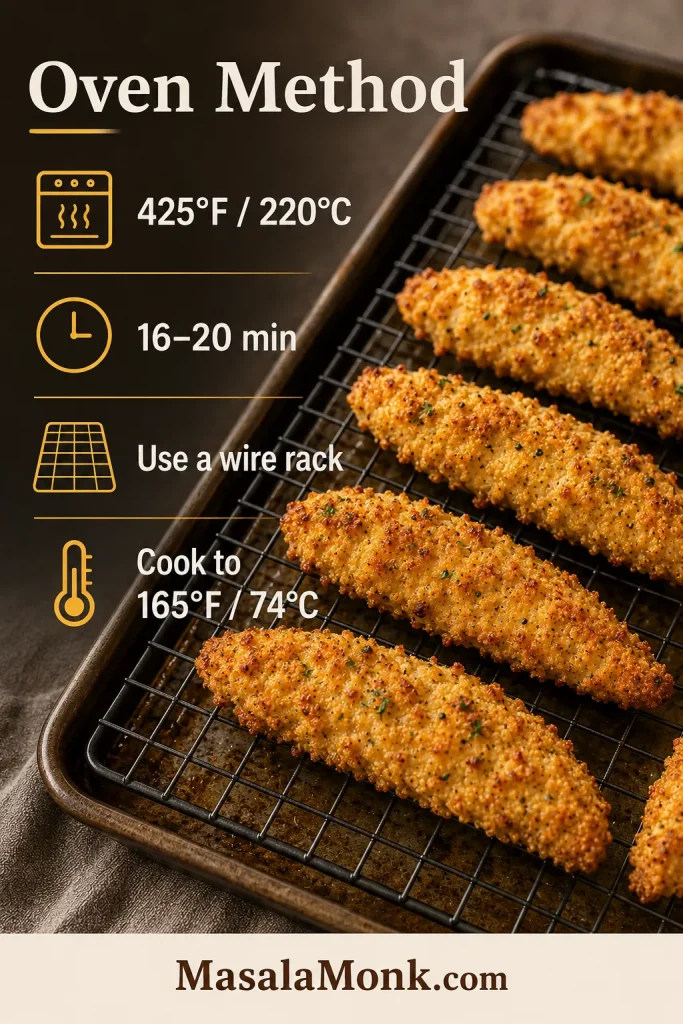
Cooking a larger batch in the oven? This baked chicken breast recipe uses the same weight-and-thickness approach.
Preheating, settings and basket capacity
Select Air Fry, or the equivalent Air Crisp setting, and preheat for the published timing. If an oven-style machine has no Air Fry setting, use convection Bake or Roast at 375°F / 190°C as a starting point.
Cook as many breasts as fit in one uncrowded layer. A full basket may need a little longer because several cold pieces pull down the heat at once. Check differently sized breasts separately and remove each one when it is ready.
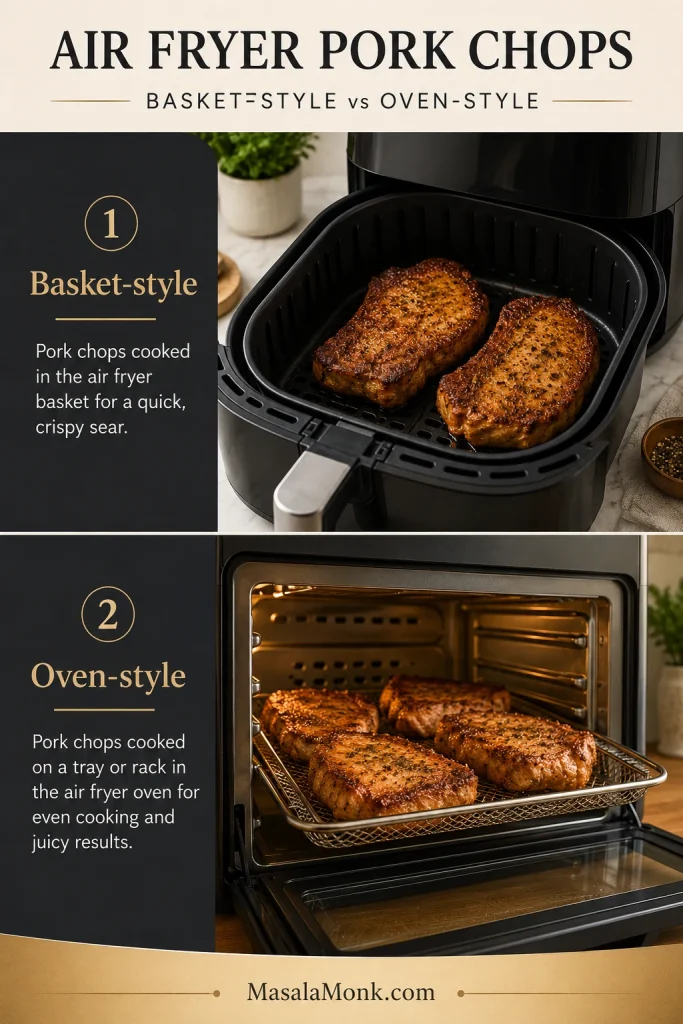
Parchment, silicone and machine styles
- Never preheat loose parchment without food holding it down; moving air can lift it toward the heating element.
- Solid liners reduce airflow beneath the chicken and can leave the underside paler or wetter.
- Perforated liners preserve more airflow than solid sheets.
- Compact baskets often colour food quickly, while oven-style models may brown more strongly near the back or upper rack.
For help with liners, blocked airflow, smoking and cleanup, see these common air-fryer mistakes and their fixes.
Storage and Reheating
Saving the second breast for tomorrow? Keep it whole when practical; whole chicken generally holds its moisture better than pre-sliced meat. Refrigerate it within two hours—or within one hour when the surrounding temperature is above 90°F / 32°C.
Divide a larger batch between shallow containers so it cools more quickly.
| Need | Best approach |
|---|---|
| Refrigerate | Store in an airtight container for 3–4 days |
| Freeze | Pack airtight, remove excess air and use within about 4 months for the best quality |
| Reheat one breast | Air-fry at 325–350°F / 160–177°C with a light brush of broth or oil |
| Reheat slices | Warm over low skillet heat with a splash of broth or sauce |
| Serve without reheating | Use properly refrigerated chicken in salads, wraps and sandwiches |
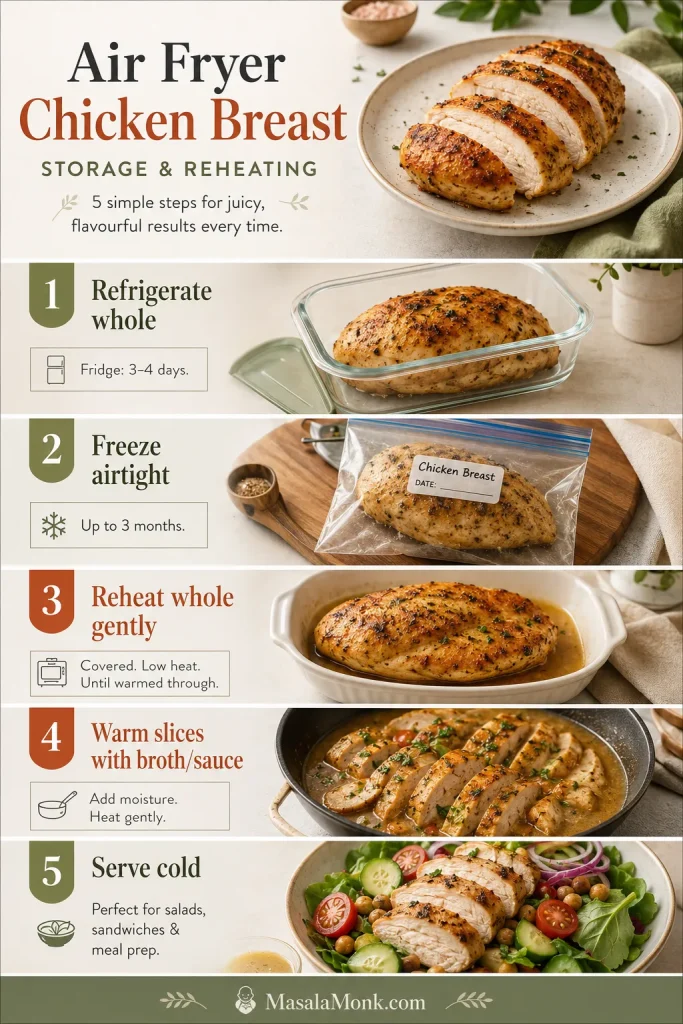
Reheat cooked chicken to 165°F / 74°C. Thin slices heat—and overheat—much faster than a whole breast.
Freezer note: Four months is a quality recommendation. Chicken held continuously at 0°F / −18°C remains safe longer, although its texture will gradually decline.
When you need a larger, hands-off batch rather than the air fryer’s quick small-basket method, these crock pot chicken breast recipes offer several dinner and meal-prep directions.
For detailed cooling, storage and reheating guidance, see the USDA leftovers and food-safety guide.
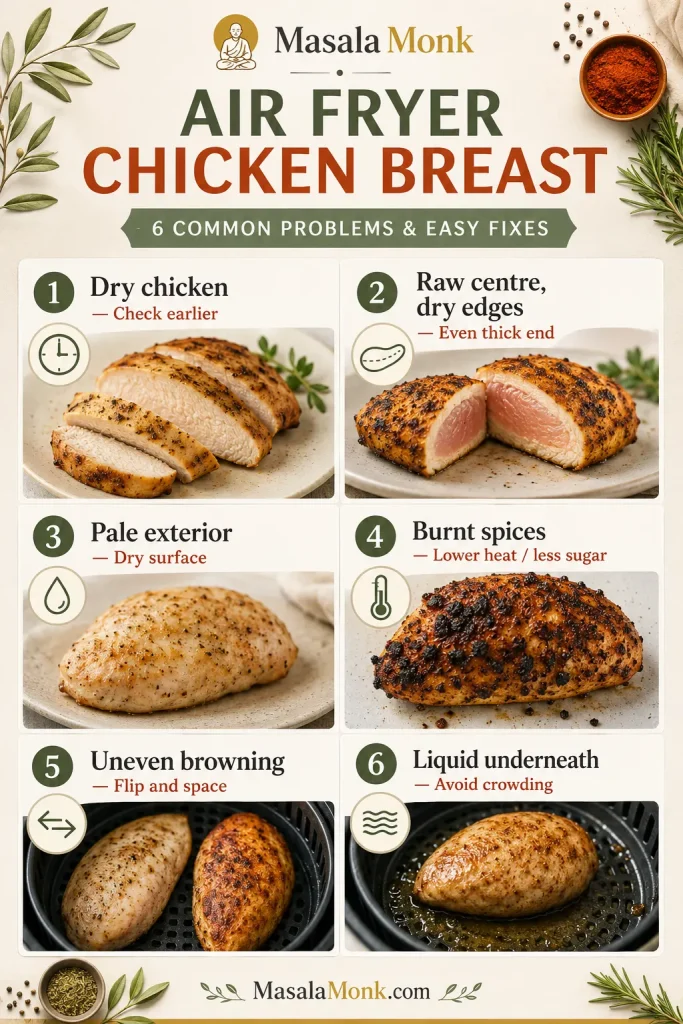
Troubleshooting Dry or Uneven Chicken
The way the chicken failed usually tells you what to change.
Cooking problems
| Problem | Likely reason | What to change |
|---|---|---|
| The chicken is dry | It cooked too long or stayed inside the hot basket after it was ready | Take the temperature earlier and transfer it out promptly |
| The centre is raw but the edges are dry | The breast was too thick or uneven | Butterfly it or gently even the thick section |
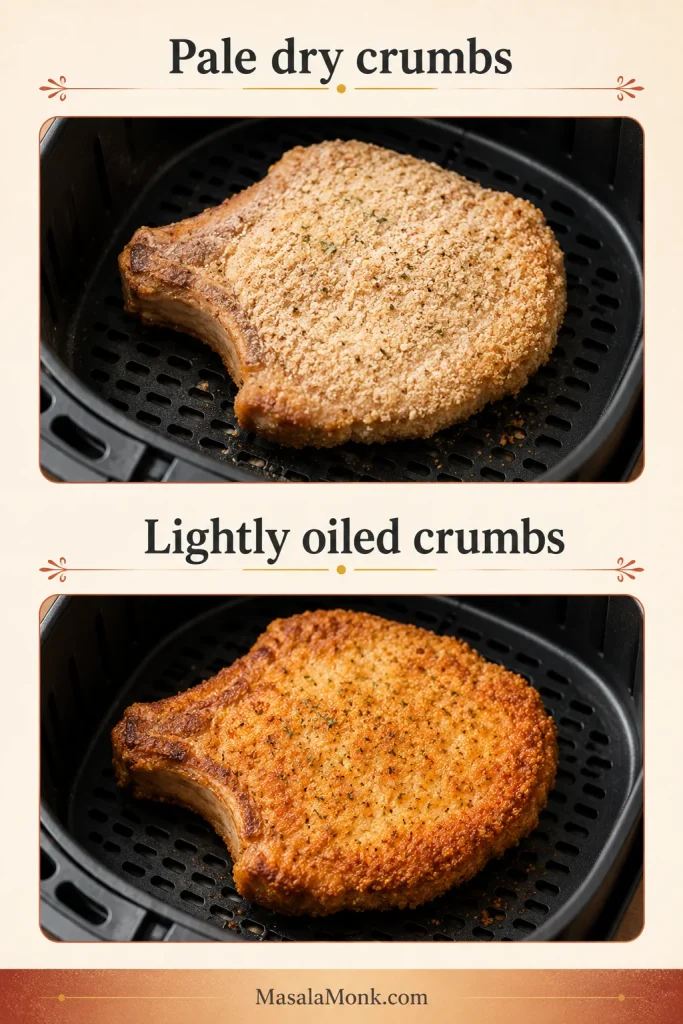
| The outside is pale | The surface was wet, the basket was crowded or there was very little oil | Pat the chicken dry and use a thin, even oil coating |
| The spices burnt | The heat was high or the seasoning contained sugar or a large amount of paprika | Use gentler heat or add sweet sauces near the end |
| The seasoning fell off | The surface was wet or the chicken was turned roughly | Dry the surface and flip gently with tongs |
| The chicken browned unevenly | The basket was crowded, the chicken was not flipped or the machine has a hot area | Leave more space and turn or rotate once |
Timing, reheating and basket problems
| Problem | Likely reason | What to change |
|---|---|---|
| The chicken took much longer | It was thicker, colder, crowded or cooked from a cold start | Continue in short increments and note the thickness for next time |
| One breast finished first | The pieces differed in weight, thickness or basket position | Lift out each piece when it is ready |
| Liquid collected beneath it | The meat contained added solution, the basket was crowded or the marinade was heavy | Reduce excess coating and leave more open space |
| The reheated chicken is rubbery | It was reheated too hot or for too long | Use gentler heat, add moisture and stop once it reaches temperature |
| The air fryer smoked | Old grease, excessive oil, loose spice or sugary marinade reached a hot surface | Stop cooking, clean the drawer and apply sweet sauce late |
Cooked correctly but still tough or fibrous? Occasionally, the problem comes from the meat rather than from overcooking. A poultry-quality condition commonly called woody breast can leave some pieces unusually firm even when they reach the correct temperature. Slice the chicken thinly and serve it with a moist sauce or dressing.
How to Rescue Chicken That Is Already Dry
You can’t uncook dry chicken, but you can make it much more enjoyable. Slice it thinly across the grain and add moisture instead of reheating it again as a plain whole breast.
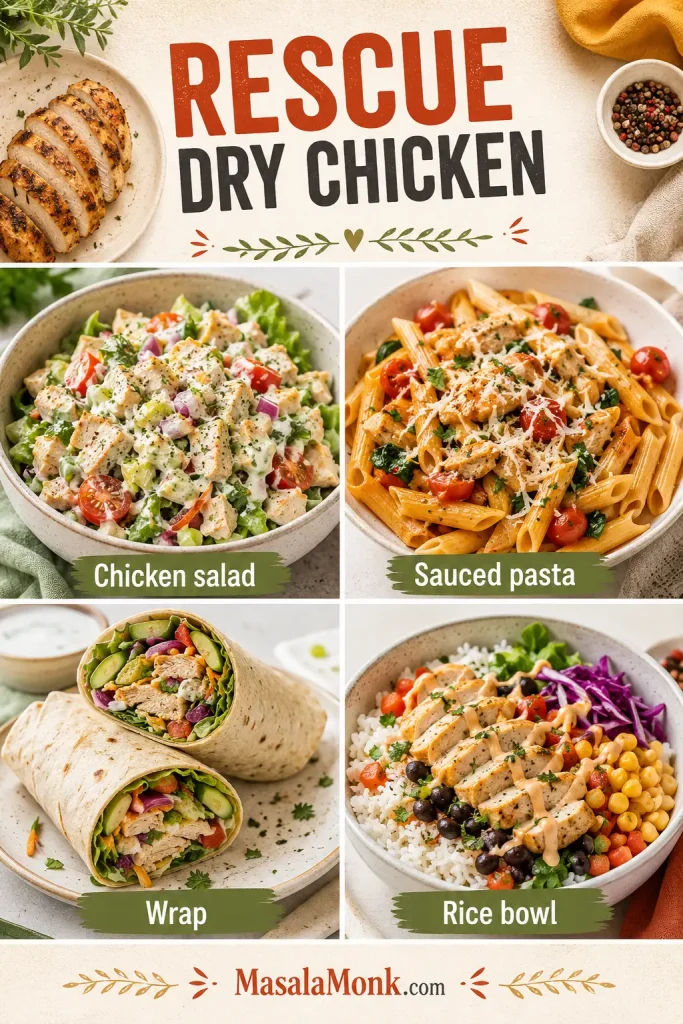
- Chop it finely and turn it into a creamy chicken salad sandwich
- Fold it into pasta with a creamy or tomato sauce
- Tuck thin slices into a wrap with dressing and crunchy vegetables
- Warm it briefly in broth, gravy or pan juices
- Cube it for a rice bowl and add salsa, yogurt sauce or a generous spoonful of homemade chimichurri
Starting over with fresh chicken? Return to the recipe card. Need the timing again? Open the time chart.
Frequently Asked Questions
Do I need to brine chicken breast before air frying?
No. Evening the thick section and taking an early temperature reading matter more for this baseline method. For deeper seasoning, salt the chicken about 30 minutes ahead and keep it refrigerated. A wet brine can also work, but it adds time, and chicken labelled as containing an added solution may already be seasoned.
Do I need to preheat the air fryer?
Preheating gives the published timing a more consistent starting point. You can cook from a cold start, but the chicken may need a little longer. Take the first reading at the usual time rather than automatically adding several minutes.
Do I have to flip air fryer chicken breast?
Flipping is recommended because most basket air fryers colour more strongly from above. The chicken can still cook through without flipping, but the underside may remain paler and the result may be less even.
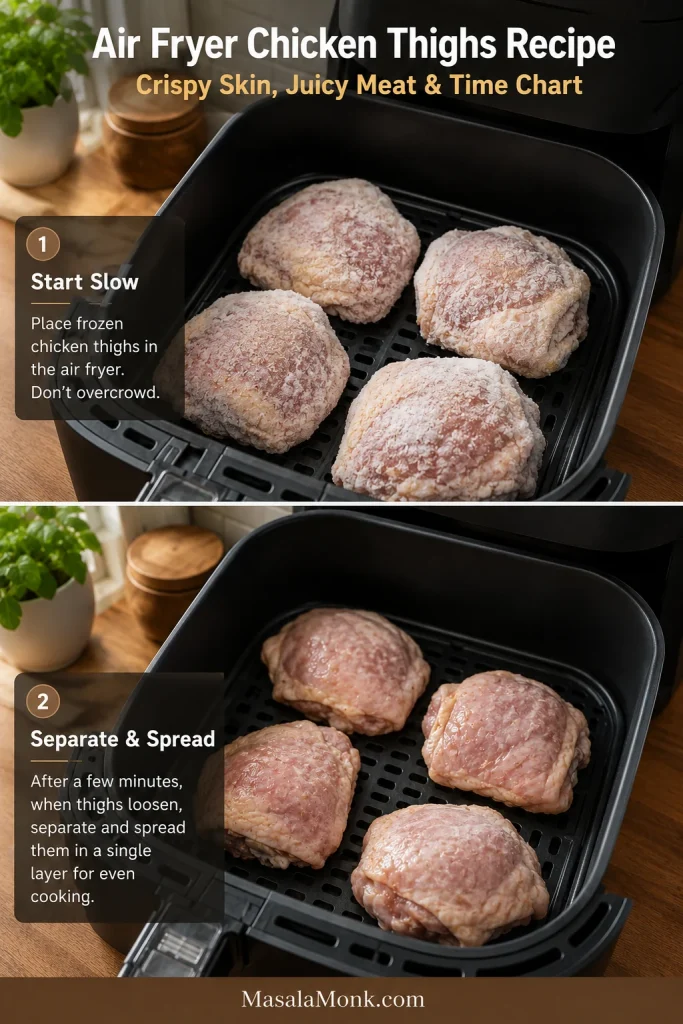
Can I use this timing for frozen chicken breast?
No. Frozen chicken needs a method designed around a longer cooking window and the way the centre thaws as it cooks. Do not simply add a few minutes to this fresh-chicken recipe.
Can I make air fryer chicken breast without oil?
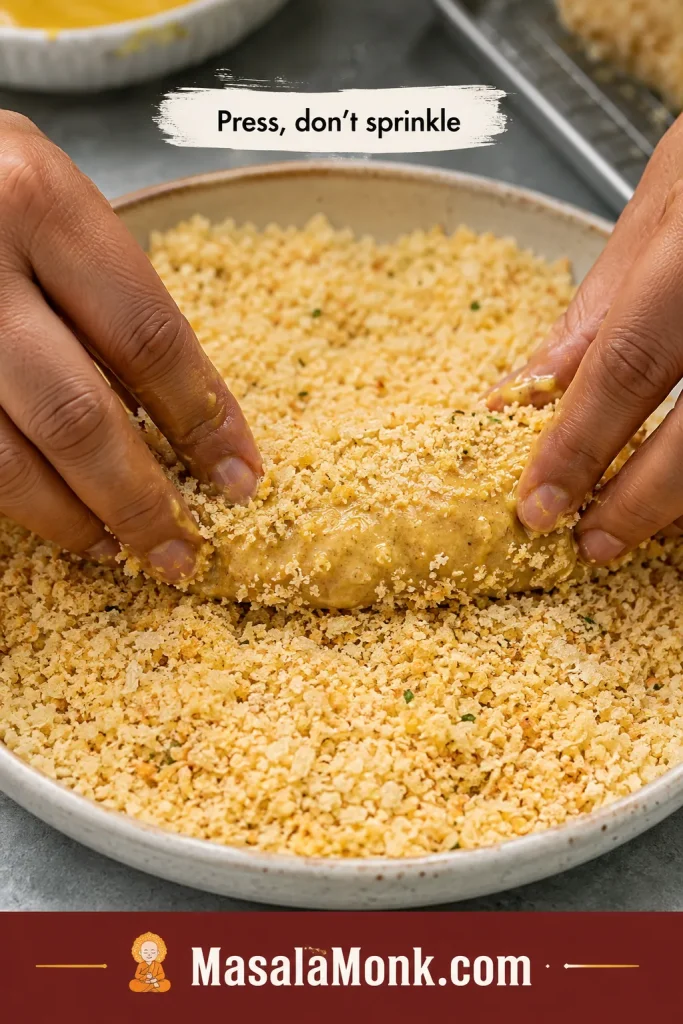
Yes. Oil is not required for the chicken to cook safely, but the seasoning may cling less evenly and the exterior may remain paler. Pat the surface very dry and press the seasoning on firmly before cooking.
The Takeaway
Start with the chicken, not the timer. Even the thick section and leave space around each breast. Weight gets you into the right range; thickness tells you when to take the first reading. Move each piece out of the hot basket as soon as it is ready.
Then let it rest while you finish the rice, dress the salad or warm the tortillas. Slice it while it is still moist, add the sauce that suits the evening, and keep the second breast for the lunch that will be easier tomorrow.
If you make it, tell us which air fryer you used, how large the breasts were, how long they took and what you served with them. Did the weight-and-thickness chart match your batch? Your experience may help the next person standing over the basket.