One-pan dinner · smoky chorizo · saffron rice
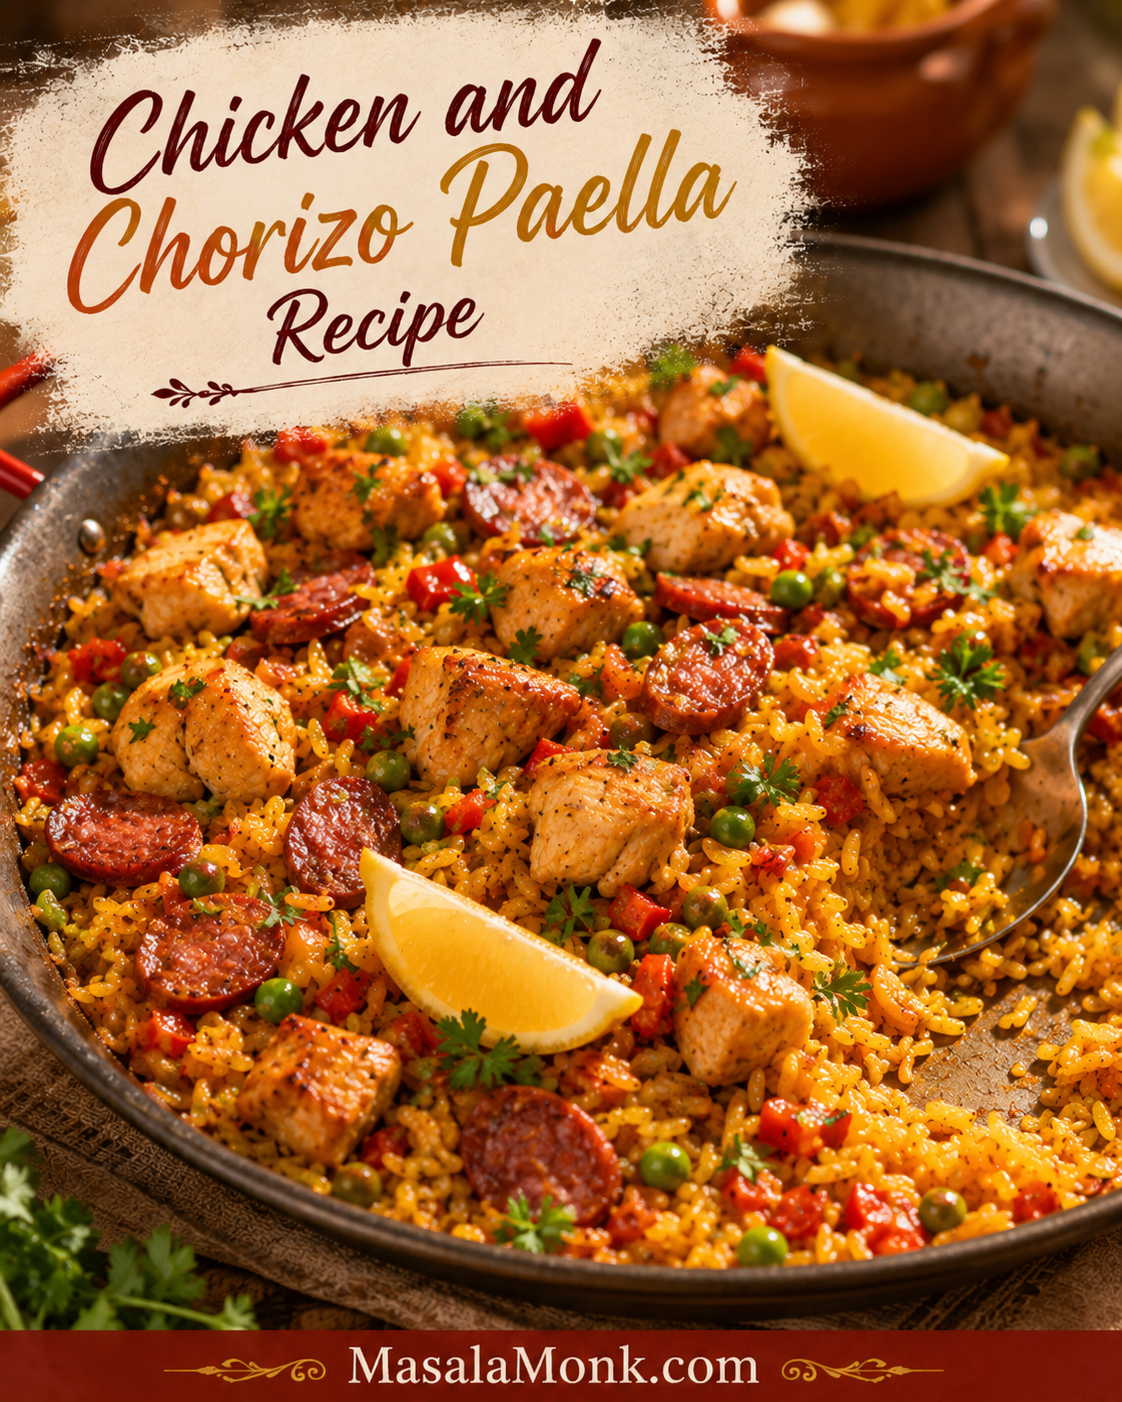
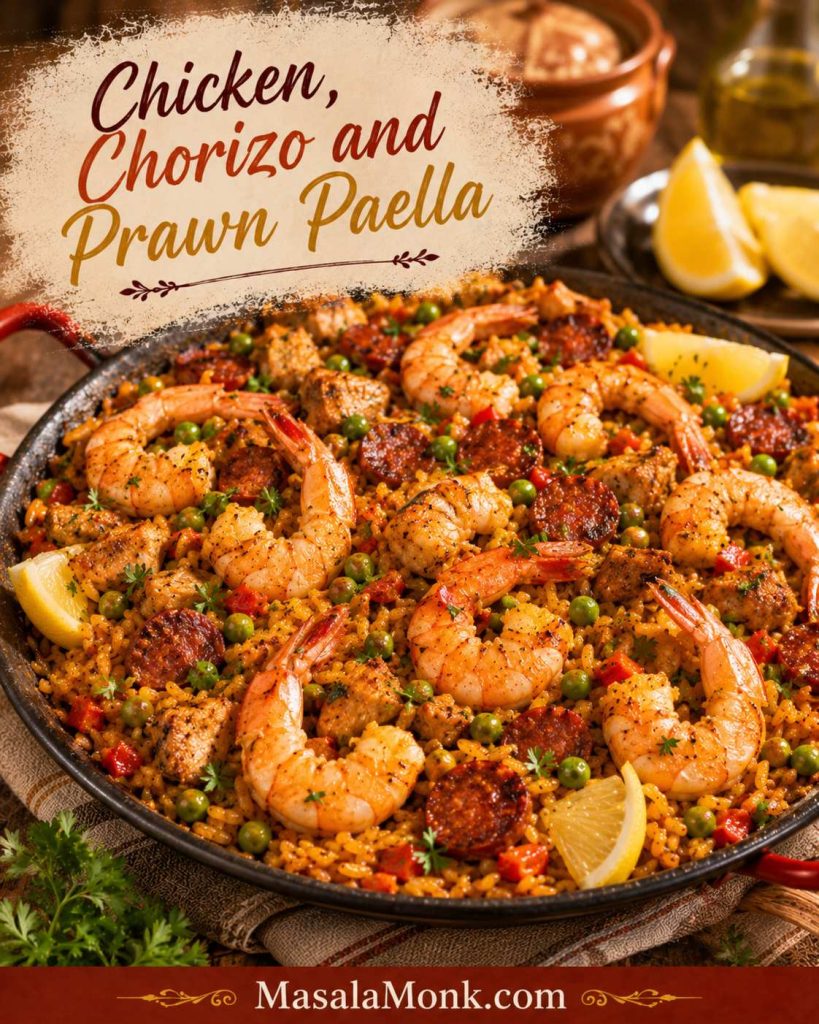
Golden rice, juicy chicken thighs, smoky Spanish-style chorizo, peas, lemon, and saffron stock all come together in one generous stovetop pan. This chicken and chorizo paella recipe gives you the drama of paella without needing an outdoor burner or restaurant setup.
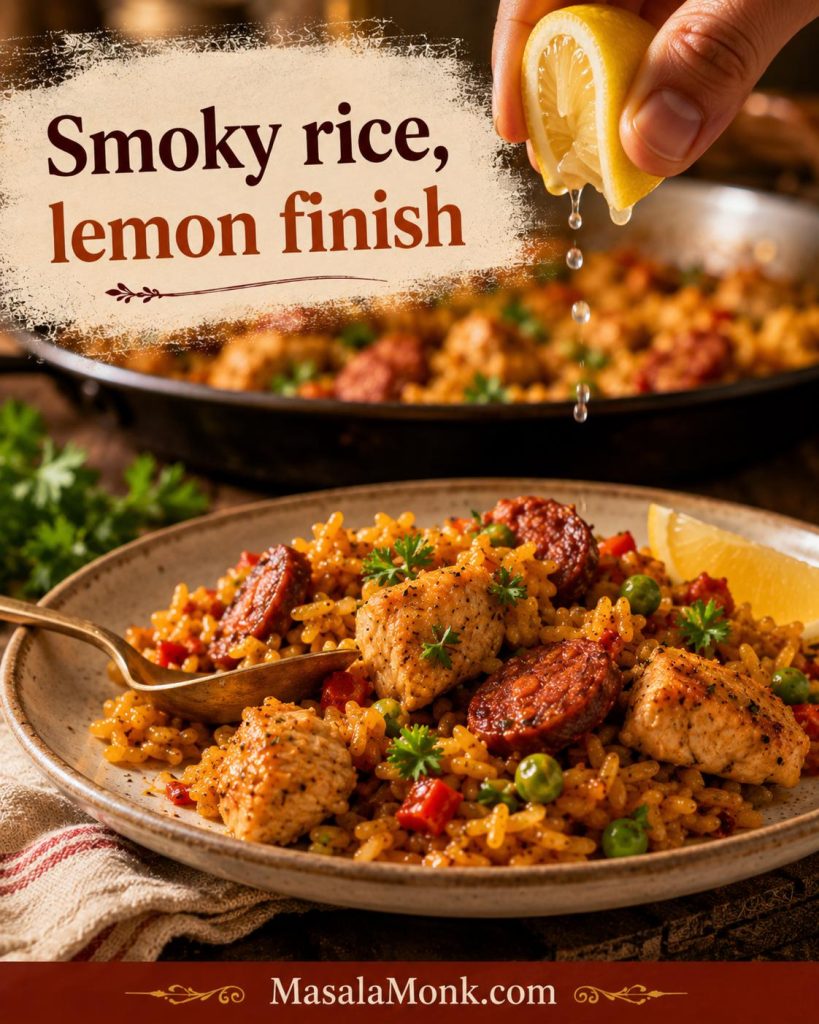
The promise is simple: rice that stays the hero, chorizo that seasons without taking over, chicken that stays juicy, and a lemon-bright finish that makes the whole dish wake up at the table.
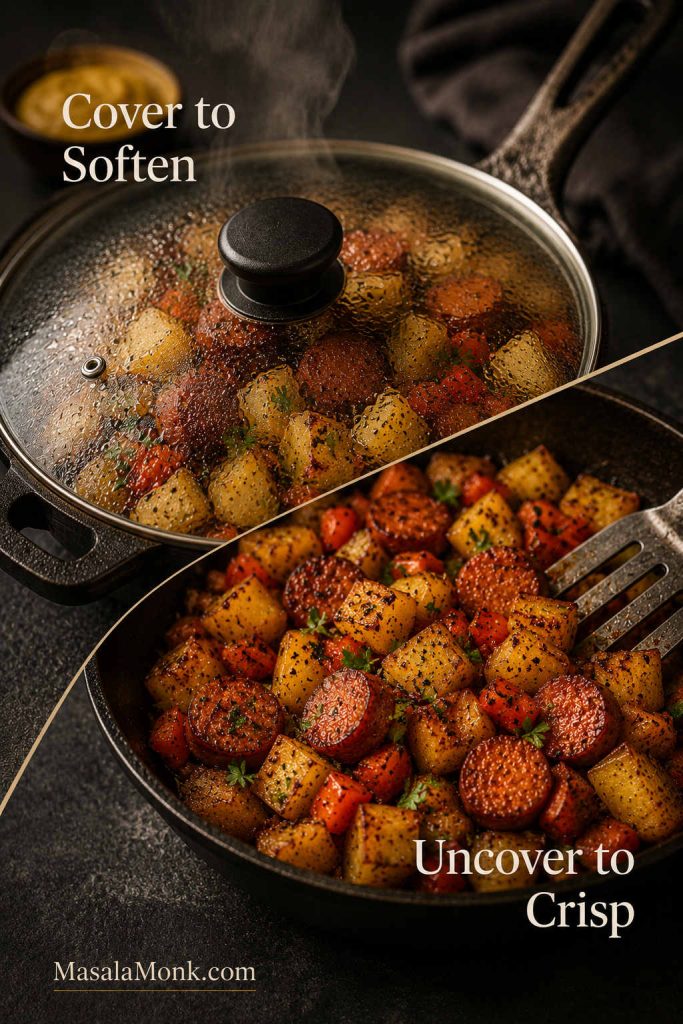
It looks like a weekend dish, but the method is straightforward: brown the chicken, let the chorizo turn the oil paprika-red, build a glossy base, add rice and hot stock, then leave the pan alone.
This is the kind of dinner that makes people go back for the rice: smoky at the edges, golden through the middle, dotted with peas, finished with lemon, and generous enough for a relaxed table.
If you want the broader classic version first, start with our full paella recipe. This page focuses on the home-stovetop chicken-and-chorizo version: which rice to use, how much stock to add, what pan works best, when to add prawns, and how to avoid the common texture problems.
Table of Contents
Quick Answer
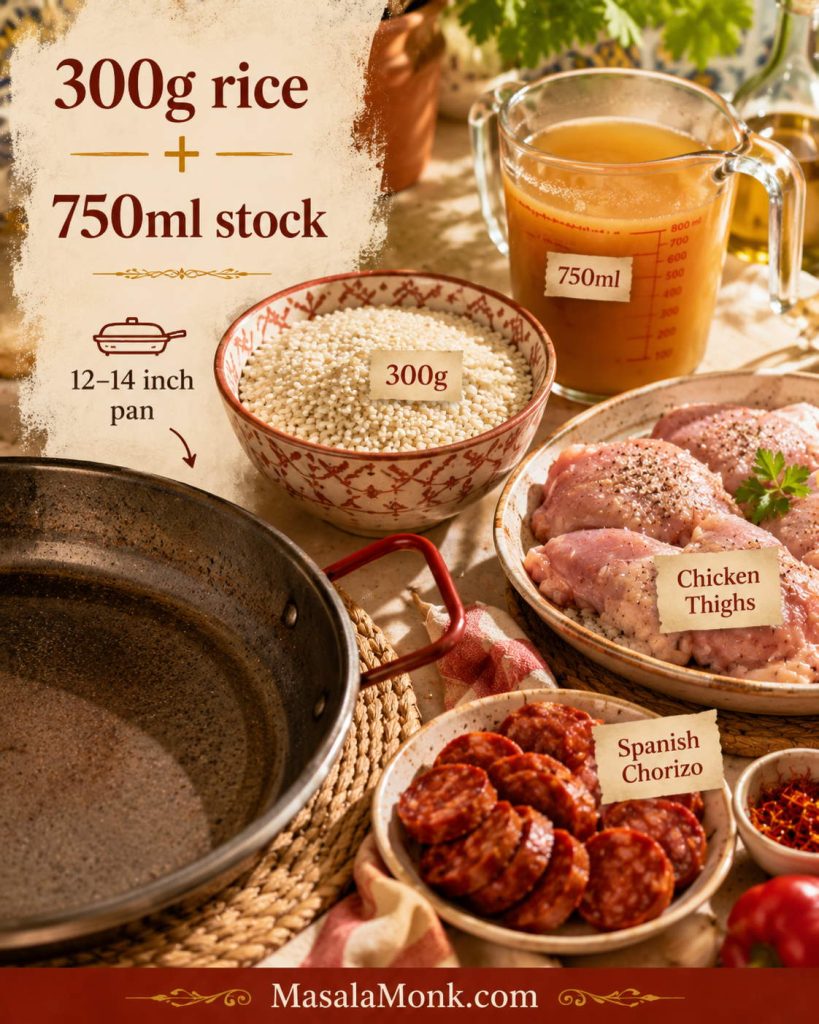
The best home-stovetop chicken and chorizo paella ratio is 300g paella rice to 750ml hot stock in a roomy 12–14 inch pan, with 350–450g chicken thighs and 100–140g Spanish-style chorizo.
Most important rule: stir before the stock goes in, then stop. Level the rice, let it simmer, and give the grains a covered rest before serving.
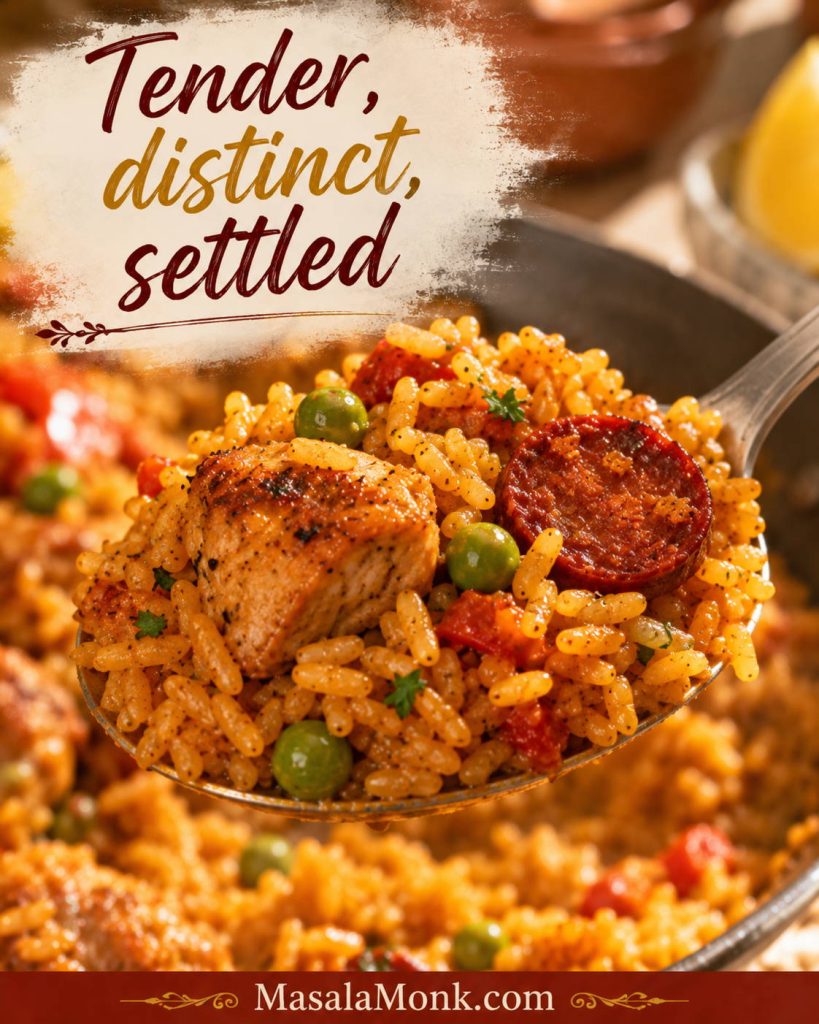
The dish takes about 50–55 minutes, including rest. Brown the chicken, render the chorizo, build the base, coat the rice, add hot saffron stock, then let the rice cook until tender, distinct, and settled. If you are scaling the recipe, use the rice-to-stock ratio guide before choosing your pan.
Chicken and Chorizo Paella at a Glance
Best with Bomba, Calasparra, Valencia rice, or supermarket paella rice. Use Spanish cooking chorizo or thinly sliced dry-cured Spanish chorizo. For a chicken, chorizo and prawn paella, add the prawns near the end so they stay tender.
What This Recipe Solves
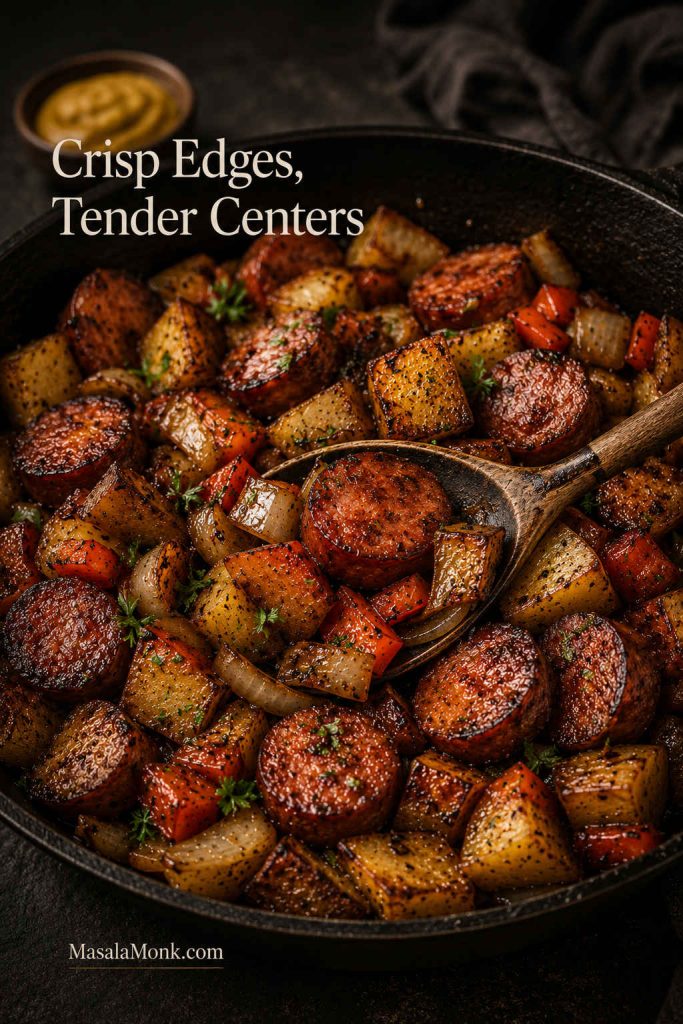
This version is for the home cook who wants smoky chorizo flavor without losing the rice. The chicken stays juicy, the chorizo seasons the oil, and the rice gets enough room to cook through without turning creamy.
It is built around the things that matter most in a normal kitchen: a roomy pan, hot saffron stock, controlled chorizo, and clear visual cues. Look for glossy sofrito, shiny coated rice, liquid dropping below the surface, and a soft crackle at the end.
The rice should be the reason people go back for seconds, while the chicken and chorizo make the first spoonful feel generous.
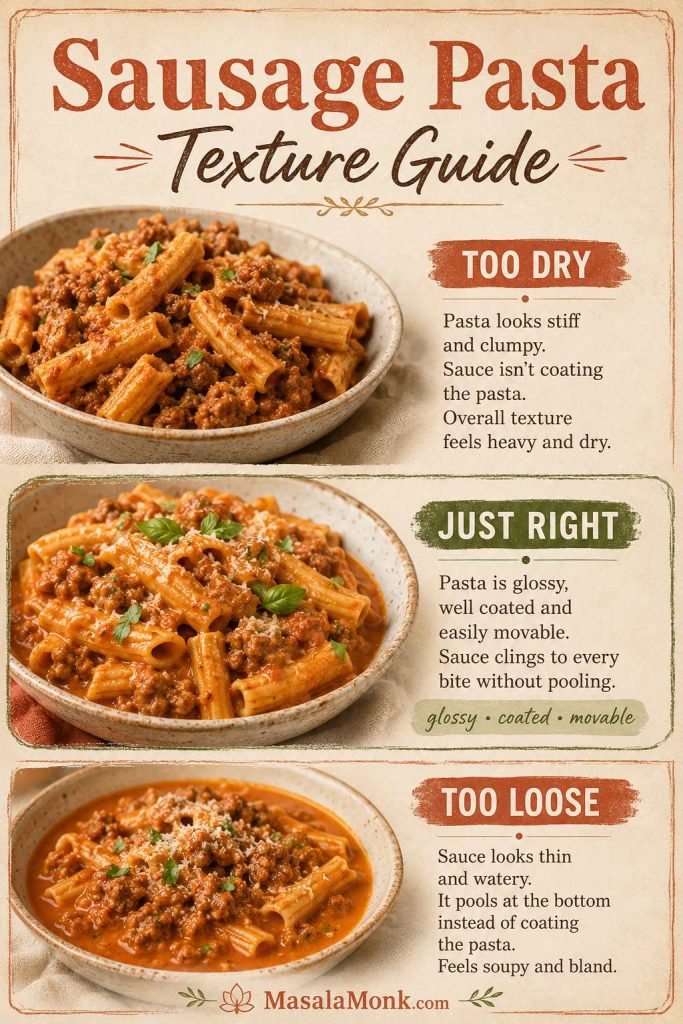
What the Finished Paella Rice Should Look Like
The most useful texture check happens after the rest. The rice should look settled and glossy, with grains that separate on the spoon instead of collapsing into a creamy mound.
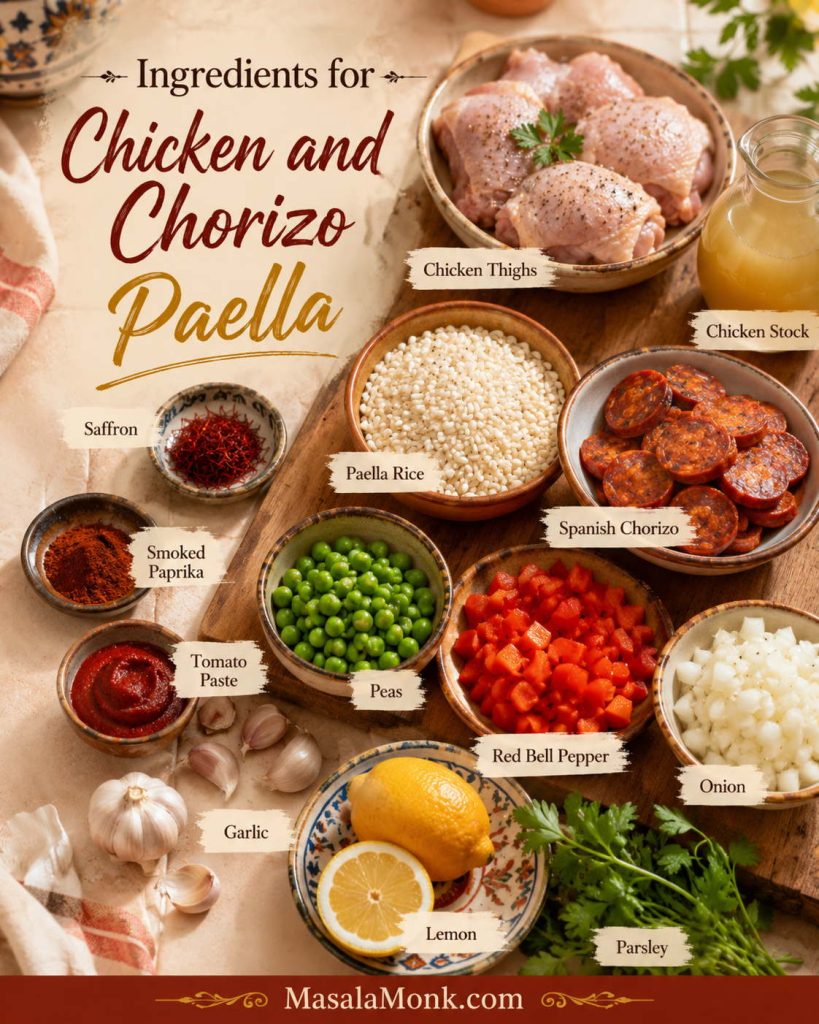
Chicken and Chorizo Paella Ingredients
Ingredient Overview Before You Cook
The ingredient list is short enough for a weeknight, but each piece has a job: chicken gives the dish comfort, chorizo turns the oil smoky and red, the sofrito sweetens the base, saffron stock carries aroma into the rice, and lemon gives the final lift.
If you are choosing ingredients at the store, the most important decisions are the chorizo, the rice, and the pan size that gives the grains enough room.
Protein, Chorizo and Sofrito Base
Start with the ingredients that build the base flavor before the rice goes in.
| Ingredient | Amount | Why it matters |
|---|---|---|
| Olive oil | 2 tbsp / 30ml | Starts the browning and gives the sofrito a richer base. |
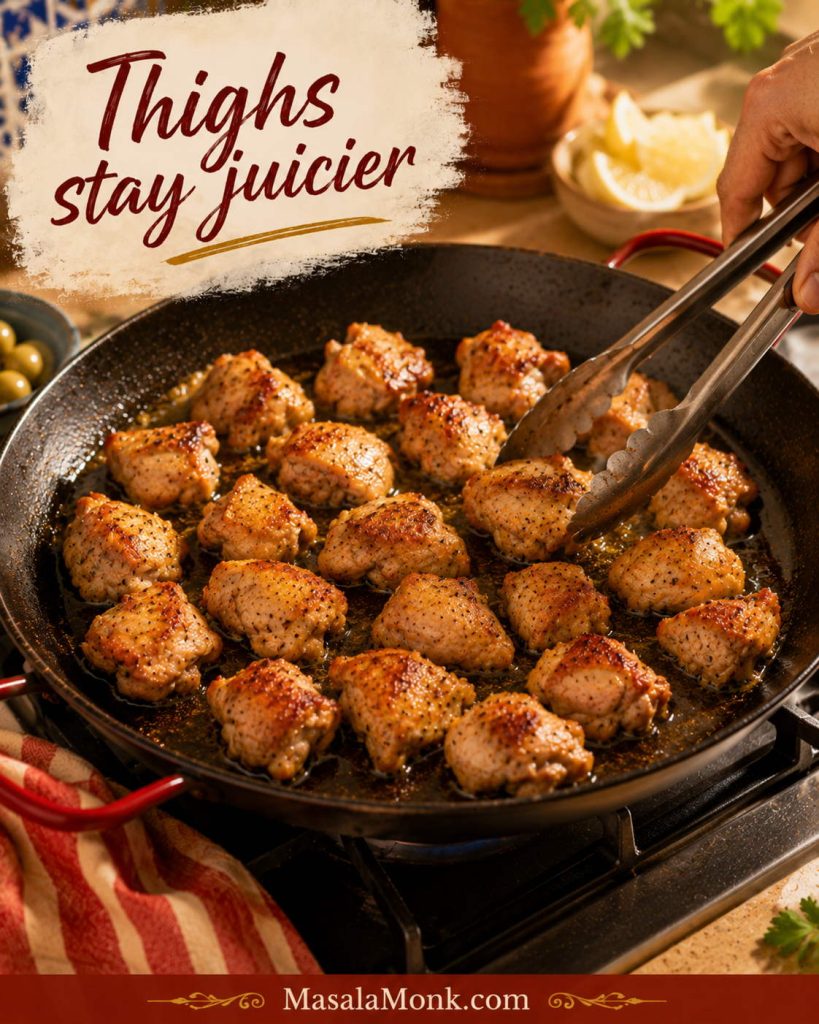
| Boneless skinless chicken thighs | 350–450g / 12–16 oz | Stays juicier than breast through browning and simmering. |
| Spanish-style chorizo | 100–140g / 3.5–5 oz | Creates paprika-red oil and smoky depth without overpowering the rice. |
| Onion | 1 medium | Softens into the base and brings gentle sweetness. |
| Red bell pepper | 1 medium | Adds color, sweetness, and a familiar home-paella feel. |
| Garlic | 3 cloves | Rounds out the paprika and chorizo. |
| Smoked paprika | 1 tsp | Deepens the smoky warmth already coming from the chorizo. |
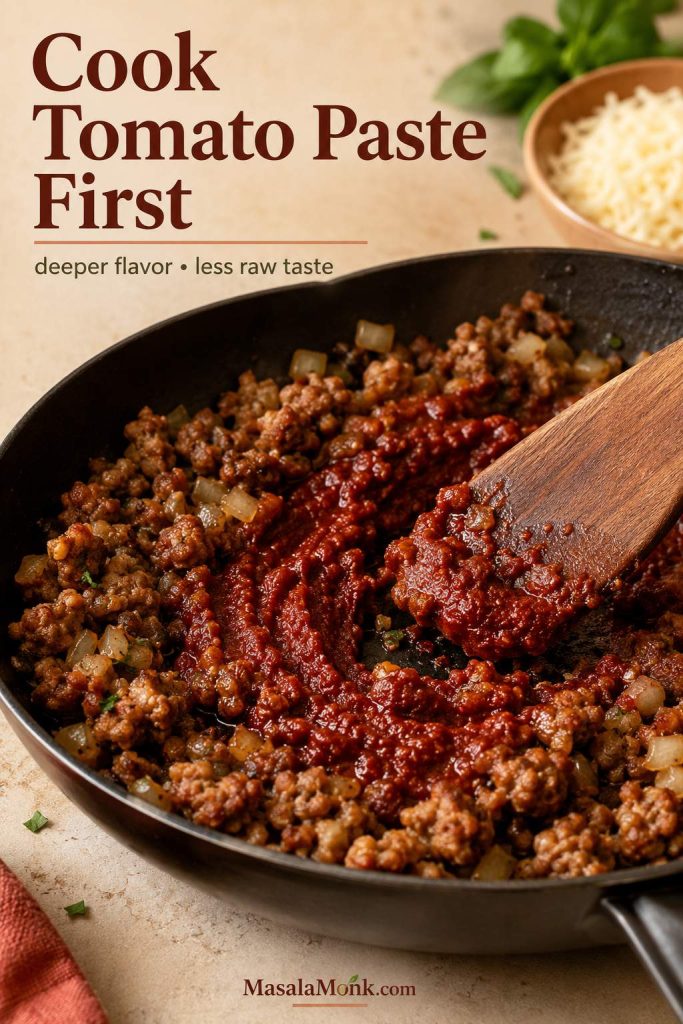
| Tomato paste | 1 tbsp | Adds color and body without making the base watery. |
| Optional grated tomato | 150–200g / 5–7 oz | Adds a softer tomato richness if you like a deeper sofrito. |
Rice, Stock and Finishers
Once the base is ready, these ingredients decide the rice texture, aroma and final brightness.
| Ingredient | Amount | Why it matters |
|---|---|---|
| Saffron | Big pinch, about 15–20 threads | Gives the rice aroma and golden color. |
| Paella rice | 300g / about 1½ cups | Short-grain rice absorbs stock while keeping structure. |
| Hot chicken stock | 750ml / about 3 cups plus 3 tbsp | Cooks and seasons the rice from the inside out. |
| Frozen peas | 75–100g / ½–¾ cup | Adds sweetness and color near the end. |
| Lemon | 1 | Cuts through the chorizo richness. |
| Parsley | Small handful | Adds a clean green finish. |
Once the chorizo stains the oil red and the saffron stock hits the rice, the ingredients stop feeling separate. That is when the dish starts to smell like a full pan of dinner, not a list of parts.
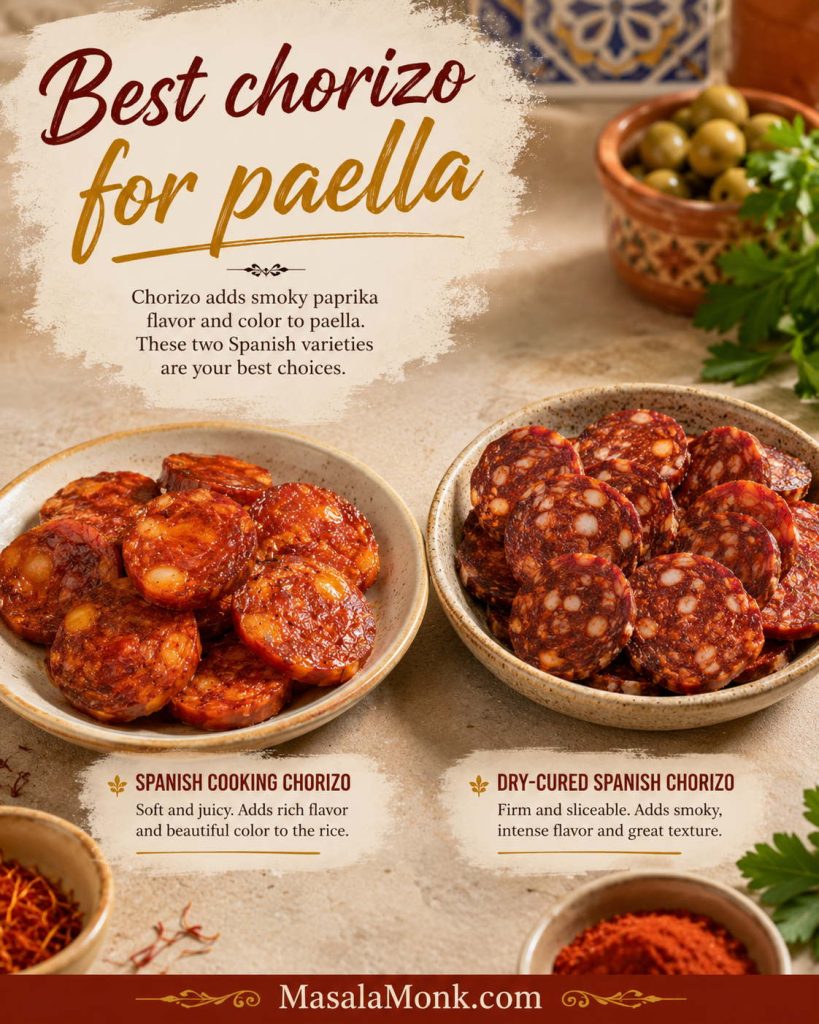
Best Chorizo for Paella
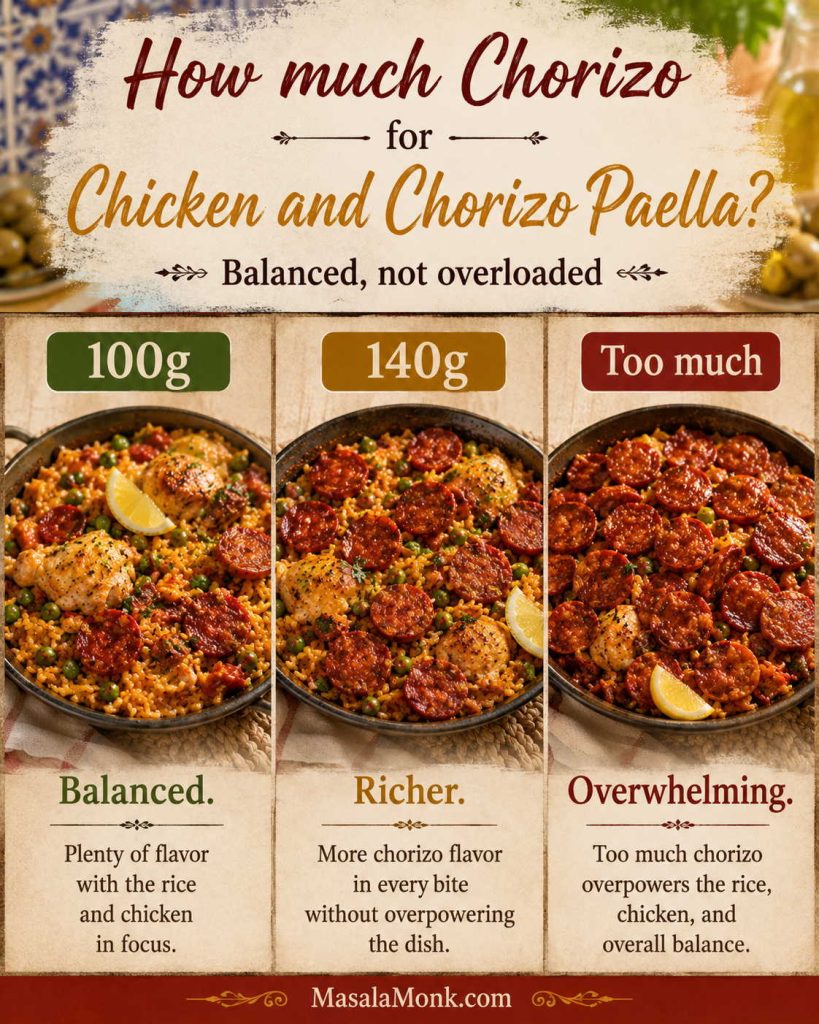
The best choice is Spanish-style chorizo. Use 100g if you want the rice to stay cleaner and more saffron-forward; use 140g if you want a richer, smokier pan. Above that, the dish can start tasting more like sausage rice than paella.
| Chorizo type | Use it? | How to handle it |
|---|---|---|
| Spanish cooking chorizo | Best first choice | Slice into half-moons or small chunks so it browns and seasons the oil. |
| Dry-cured Spanish chorizo | Good backup | Slice thinly so it softens and does not become chewy. |
| Fresh Mexican-style chorizo | Only if changing the dish | It is wetter, crumbly, and more strongly seasoned, so the result will be different. |
How Much Chorizo to Use in Paella
Chorizo should season the rice, not crowd it. Use the lower end if your sausage is salty or very fatty, and save the richer end for a deeper, smokier pan.
If your chorizo is very salty, use the lower end of the amount and choose a low-salt stock. If you are choosing between Spanish and Mexican chorizo at the store, this Food & Wine guide to Spanish vs Mexican chorizo is a useful quick check.
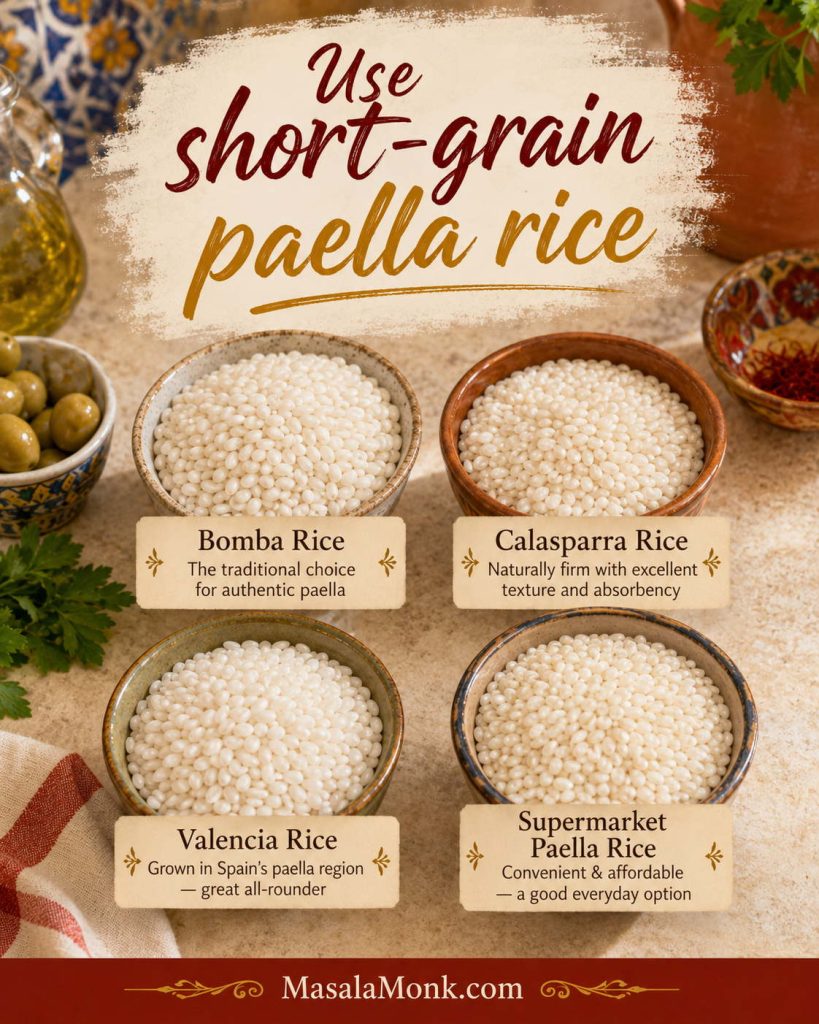
Best Rice for Chicken and Chorizo Paella
The best bite is tender but not creamy: rice that has soaked up the saffron stock and chorizo flavor while still holding its shape.
| Rice | Use it? | What to expect |
|---|---|---|
| Bomba rice | Best choice | Absorbs stock well and stays distinct when cooked properly. |
| Calasparra rice | Best choice | Excellent texture, especially in a broad pan. |
| Valencia rice | Good choice | A proper short-grain option for this kind of cooking. |
| Supermarket paella rice | Good practical choice | Usually the easiest option for home cooks; follow the texture cues. |
| Arborio rice | Backup only | Works in a pinch, but it is starchier and can turn creamy if stirred. |
| Long-grain rice | Not ideal | Makes a good chicken chorizo rice dish, but the texture moves away from paella. |
| Brown rice | Avoid for this method | Needs different timing and liquid. |
| Basmati or jasmine rice | Avoid for this method | The aroma and texture pull the dish in a different direction. |
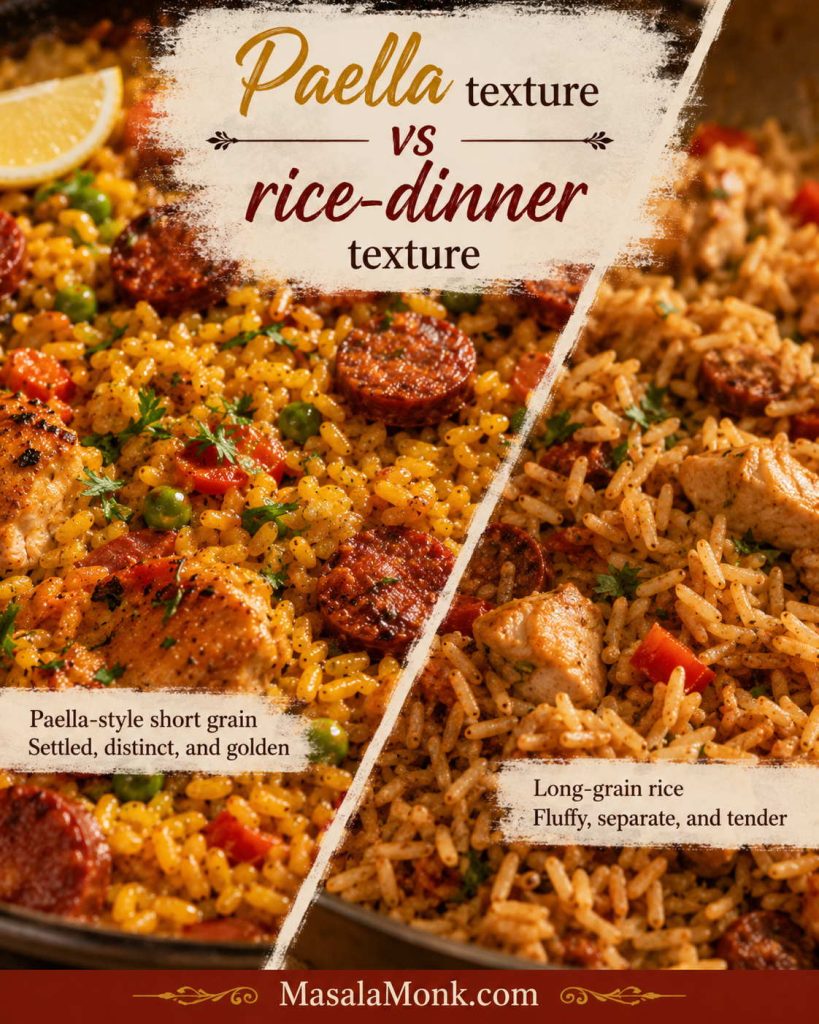
Paella Rice vs Long-Grain Rice
Long-grain rice can still make a good chicken chorizo rice dinner, but it changes the bite. For paella-style texture, short-grain rice gives the stock somewhere to go without losing shape. Already cooking? The no-stir simmer cues below will help you judge the pan.
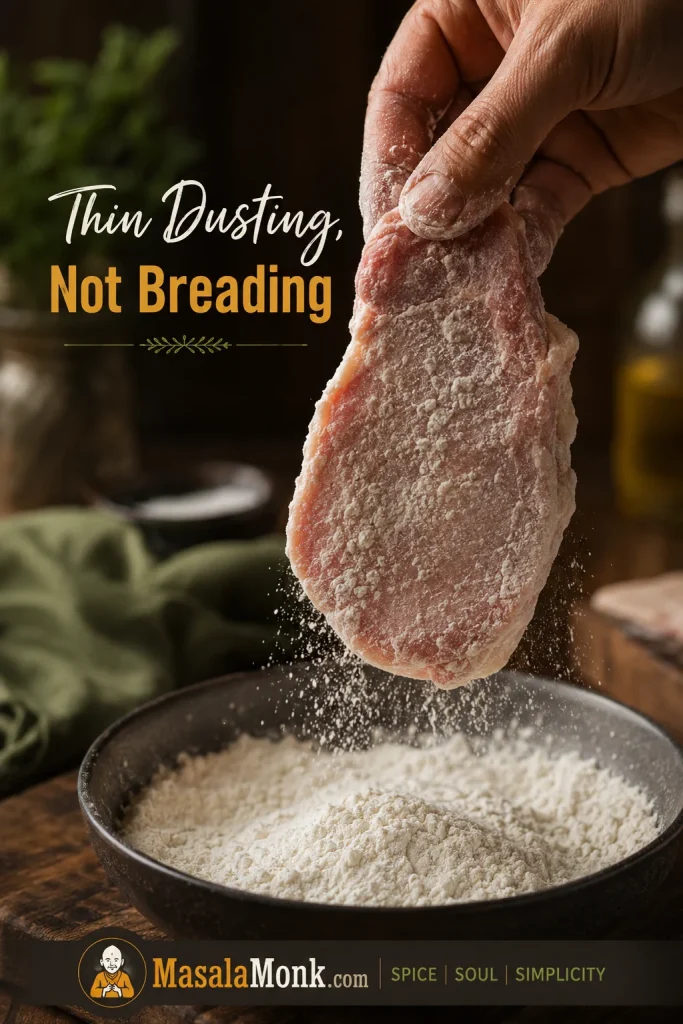
Use dry, unrinsed rice here. Add it straight to the pan and stir it briefly through the sofrito before adding stock.
For everyday rice cooking, rinsing, soaking, and stovetop timing, MasalaMonk’s how to cook rice guide is useful. For this paella, stay with short-grain rice and the ratio below.
Chicken Thighs vs Chicken Breast
Chicken thighs are the better default. They stay juicier during browning and simmering, and they reheat better if you have leftovers.
Chicken breast can work, but it dries out faster. Cut it into slightly larger pieces, brown it briefly, and avoid cooking it hard at the beginning. If you often struggle with dry white meat, MasalaMonk’s baked chicken breast recipe goes deeper into timing and doneness cues.
Best Pan and Rice-to-Stock Ratio
This is the section that saves the rice. Not because paella is difficult, but because pan size changes everything.
The pan is not about equipment snobbery. It is about giving the rice enough room to become the best part of the meal.
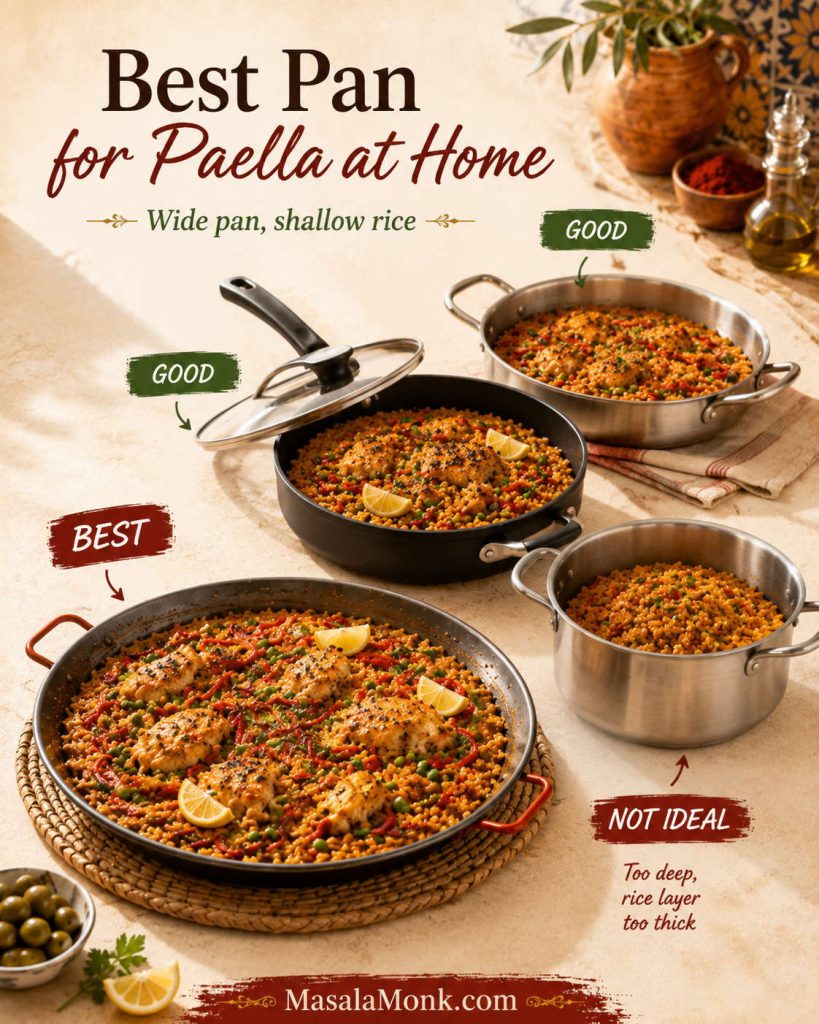
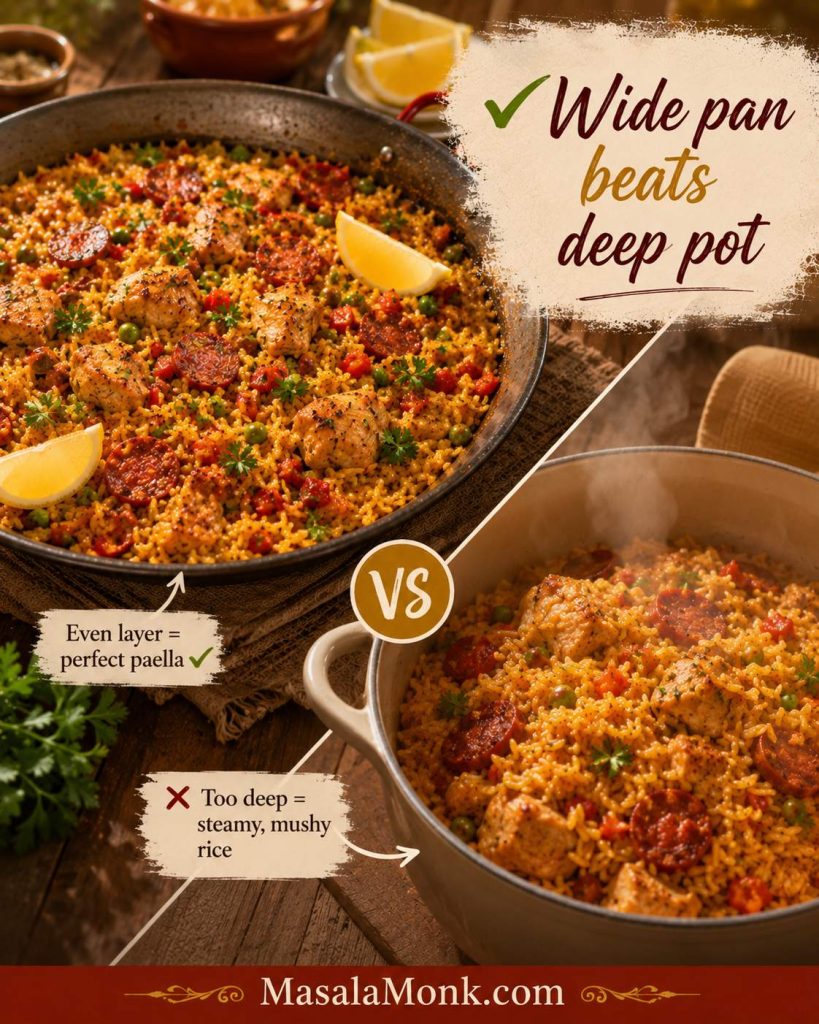
Choose a Wide Pan, Not a Deep Pot
You do not need a perfect paella pan. You need enough surface area for the rice to sit shallow, not piled. A deep saucepan can still make a tasty chicken chorizo rice dinner, but it traps steam and gives a softer finish.
| Pan | Works? | Best use |
|---|---|---|
| 12–14 inch / 30–35cm paella pan | Best | Gives the rice the most even spread and evaporation. |
| 12 inch / 30cm skillet with lid | Excellent | Best everyday home option. |
| Wide sauté pan | Good | Works well if the base is broad and not too deep. |
| Cast iron skillet | Good, but watch heat | Great crust potential, but it can go from toasted to scorched quickly. |
| Deep saucepan | Not ideal | Better for chicken chorizo rice than paella-style texture. |
Paella Rice-to-Stock Ratio
Best default: 300g paella rice + 750ml / about 3 cups plus 3 tbsp hot stock in a roomy 12–14 inch pan.
| Rice | Hot stock | Best pan | Serves |
|---|---|---|---|
| 200g | 500ml / about 2 cups plus 2 tbsp | 10–12 inch pan | 2–3 |
| 300g | 750ml / about 3 cups plus 3 tbsp | 12–14 inch pan | 4 |
| 400g | 1 litre / about 4¼ cups | 14–16 inch pan | 5–6 |
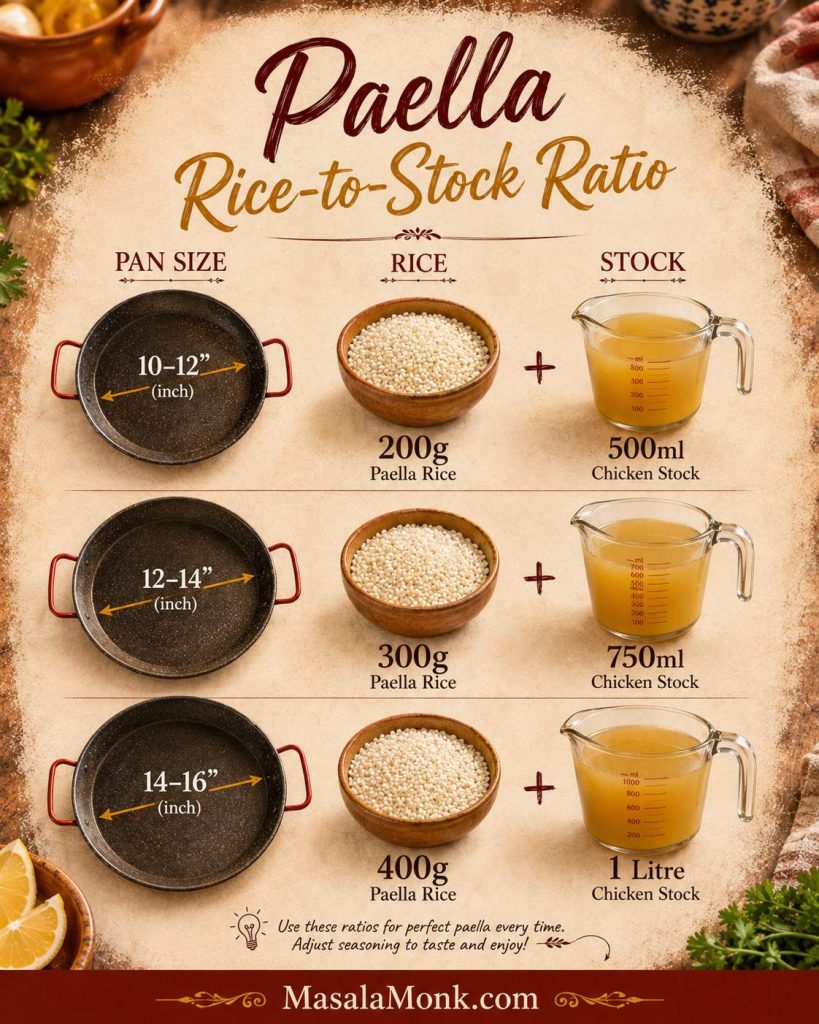
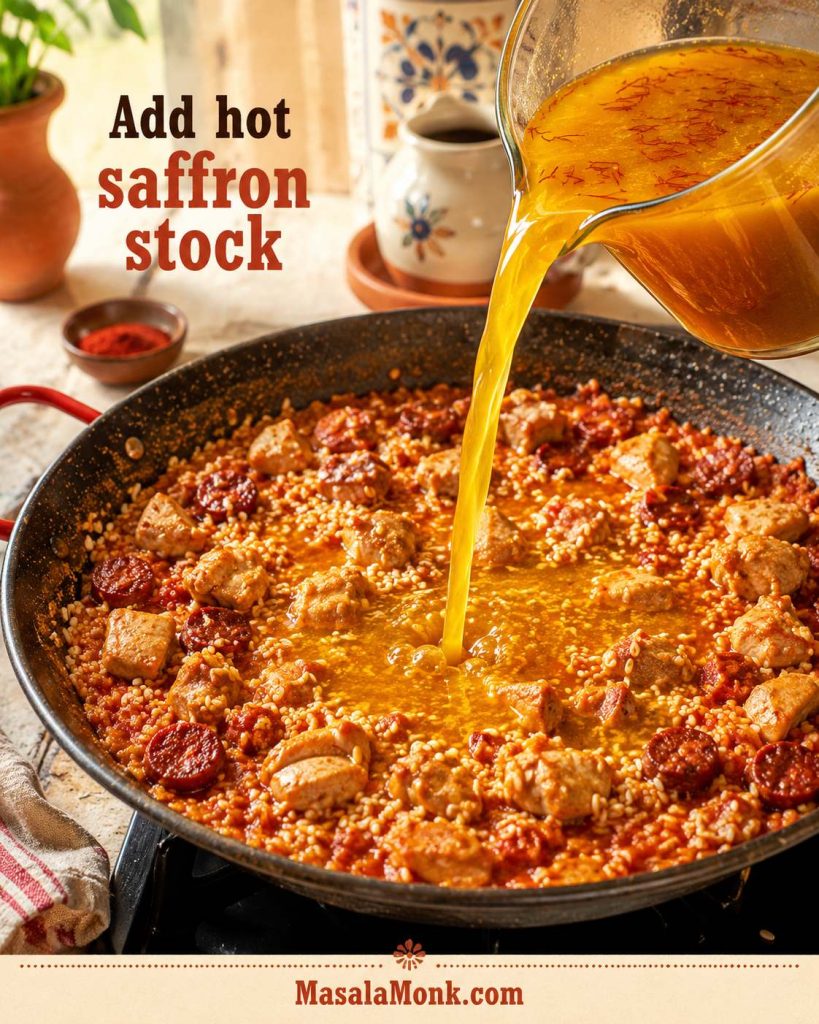
Warm the stock first, then bloom the saffron in that hot liquid. Cold stock slows the pan down; hot stock keeps the simmer steady and helps the rice cook predictably.
Once your pan and ratio are set, the next big texture move is to level the rice before simmering.
- Rice nearly tender but dry? Add 2–4 tbsp hot stock around the edge and cover loosely for a few minutes.
- Working with a smaller pan? Reduce the batch instead of piling the rice deep.
- No lid? Use foil for the resting stage.
If you are using cast iron, watch the final heat push closely. MasalaMonk’s cast iron skillet guide is useful if you cook often with heavy pans.
How to Make Chicken and Chorizo Paella
The cooking is straightforward, but each stage has a cue. Watch what is happening rather than only the clock: paprika-red oil, glossy sofrito, shiny rice, steady bubbling, the liquid dropping below the surface, and a soft crackle at the end.
Once the chorizo and paprika hit the warm oil, the kitchen starts to smell like dinner is already halfway there.
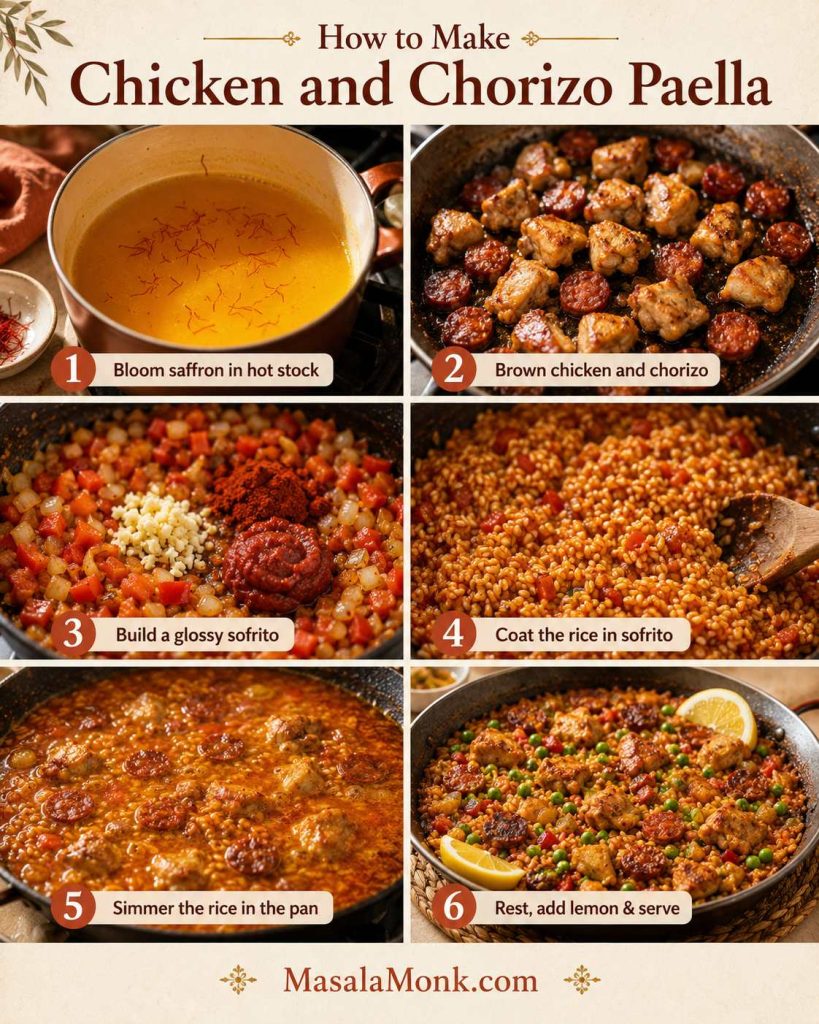
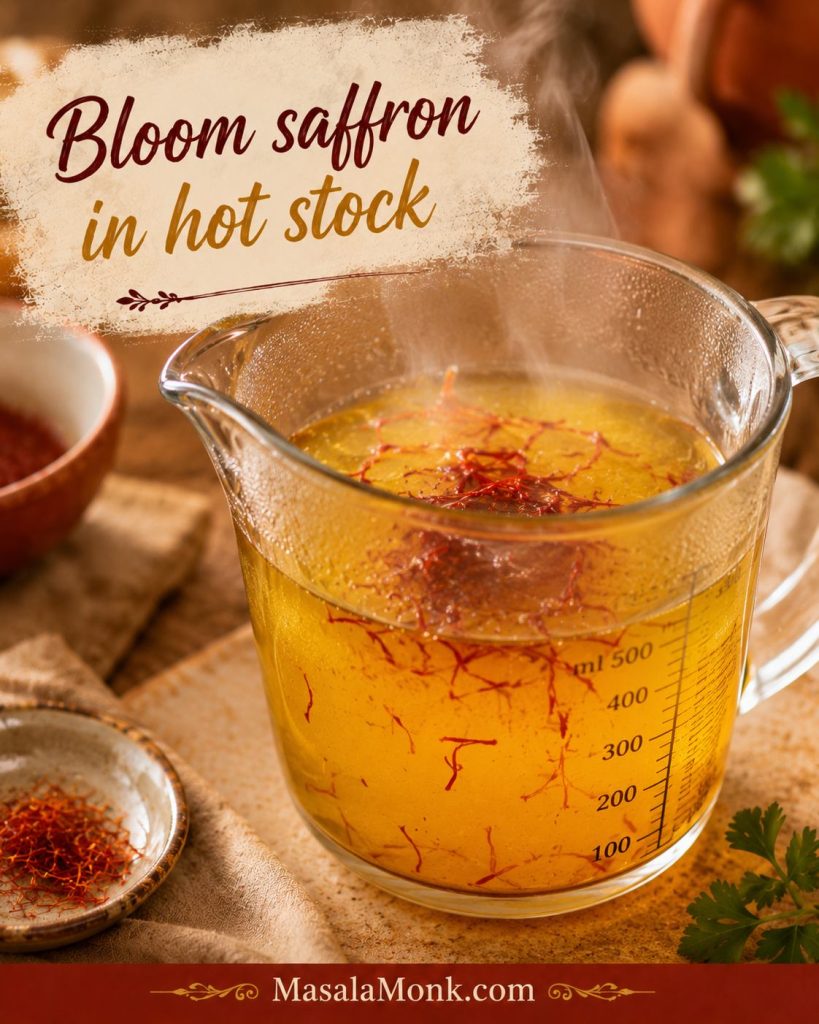
1. Bloom the saffron
Warm the chicken stock and add the saffron. Let it steep while you start the pan. The stock should be hot when it goes into the rice, but it does not need to boil aggressively.
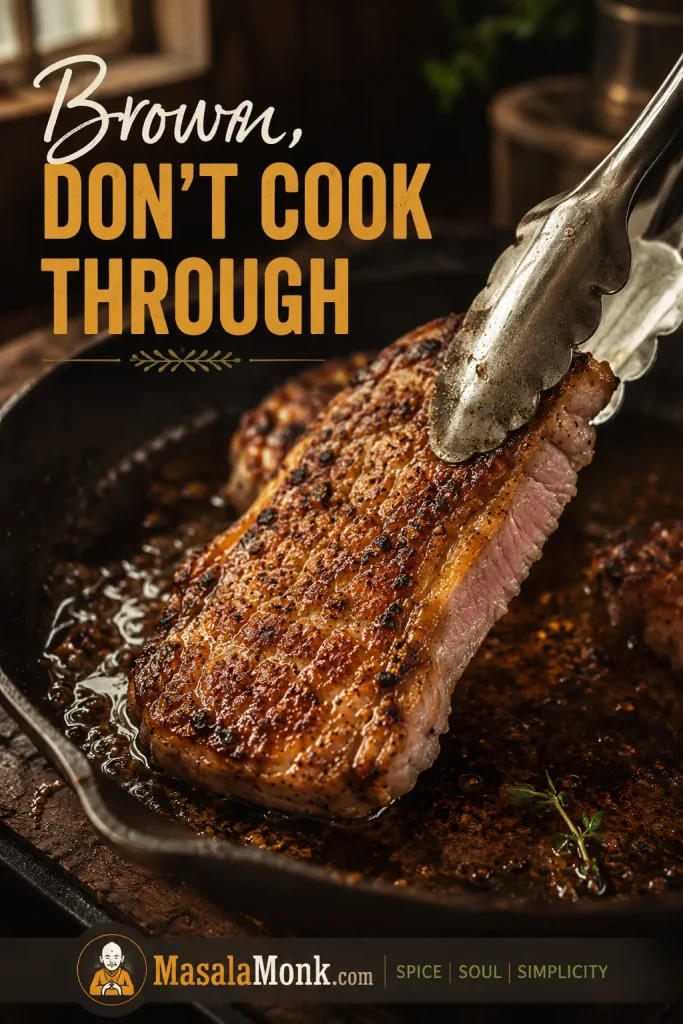
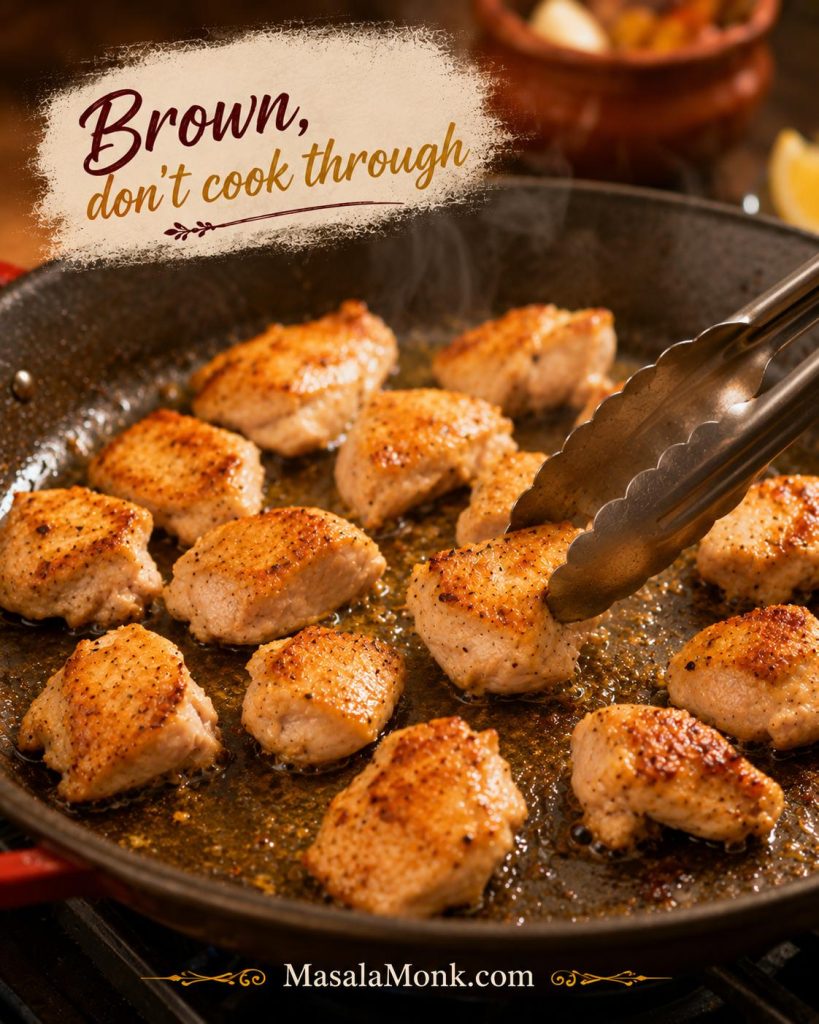
2. Brown the chicken and chorizo
Cut the chicken thighs into large bite-size pieces and season them lightly. Heat olive oil in a wide pan over medium-high heat, then brown the chicken for 4–6 minutes. You want color on the outside, not fully cooked chicken. Move it to a plate.
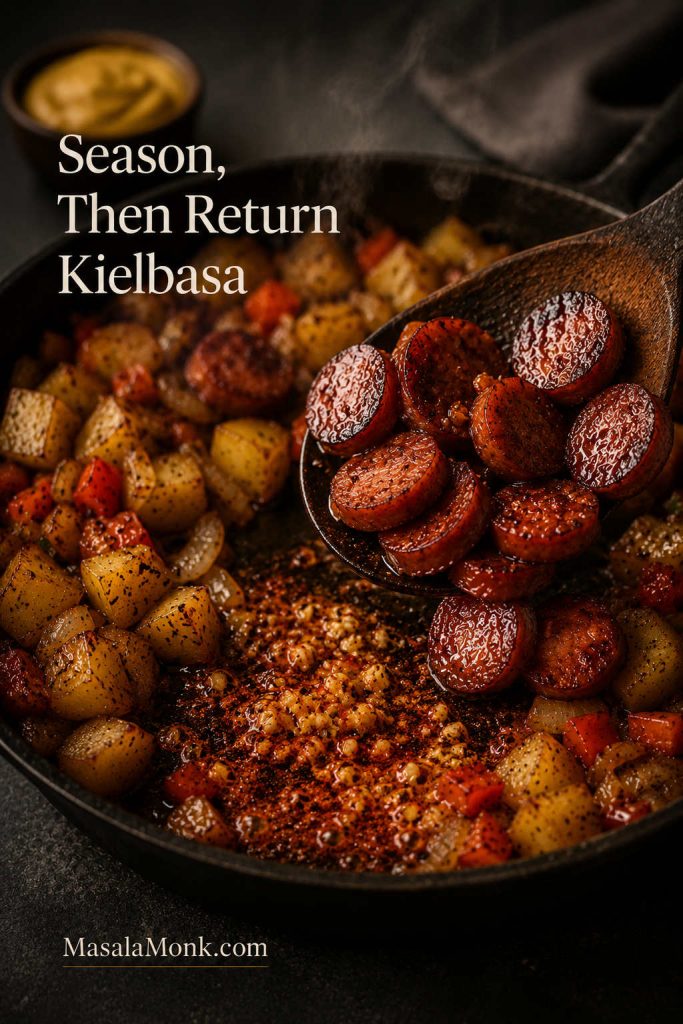
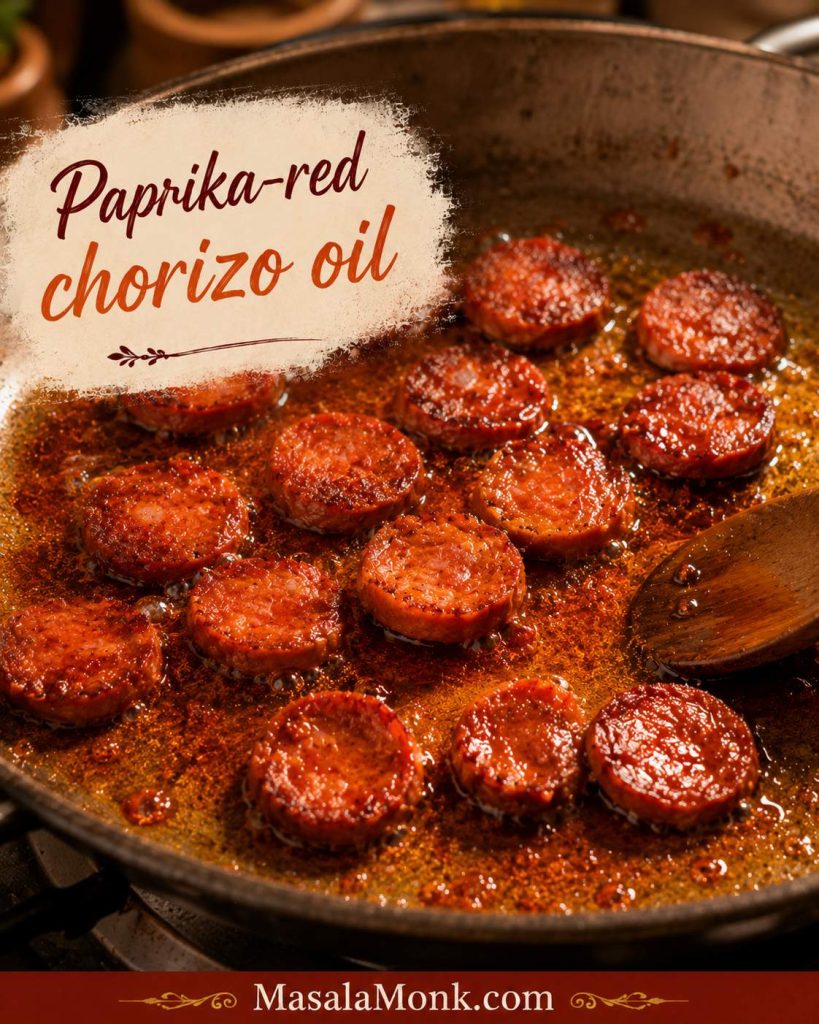
Add the chorizo to the same pan. Let it sizzle for 2–3 minutes, just until the edges brown and the oil turns paprika-red. If the chorizo releases a lot of fat, spoon off a little before moving on.
When the pan turns red-orange, pay attention: that oil will carry the chorizo flavor through the rice.
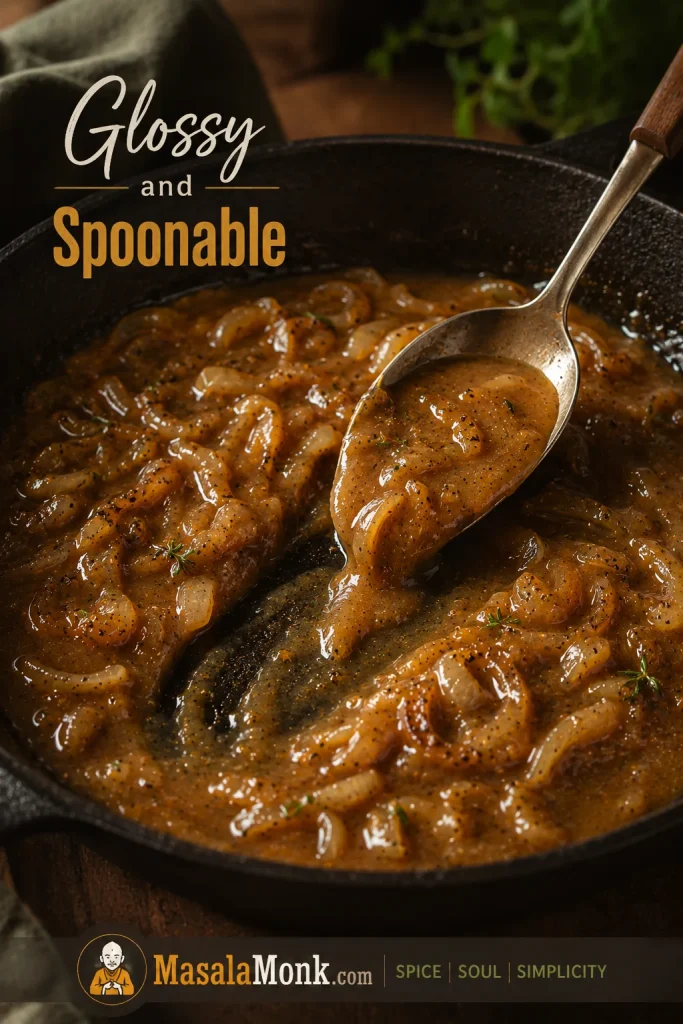
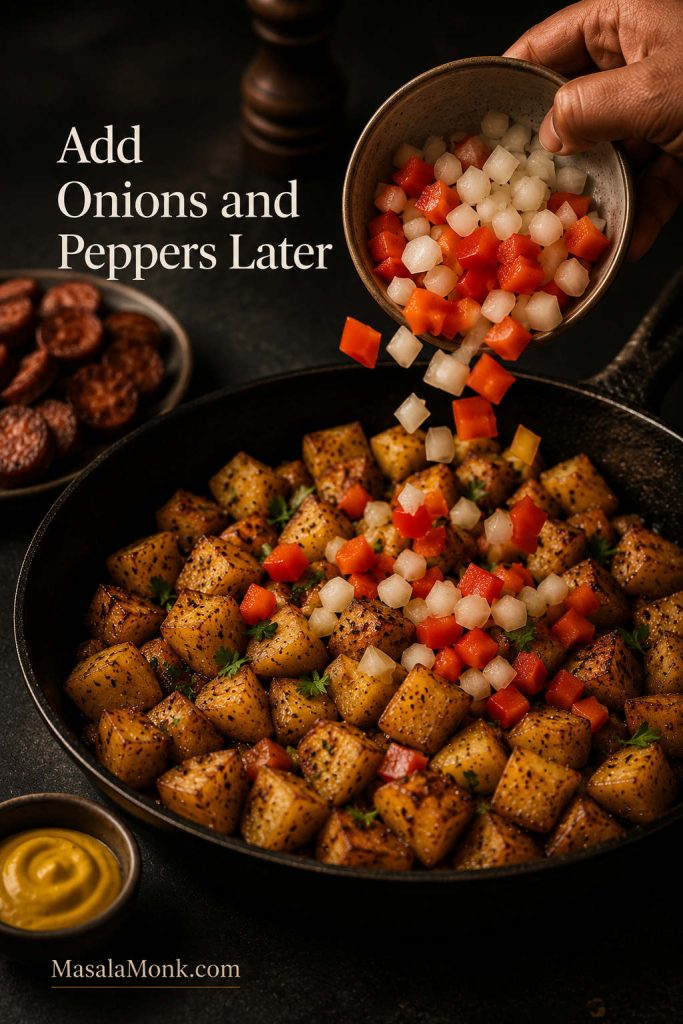
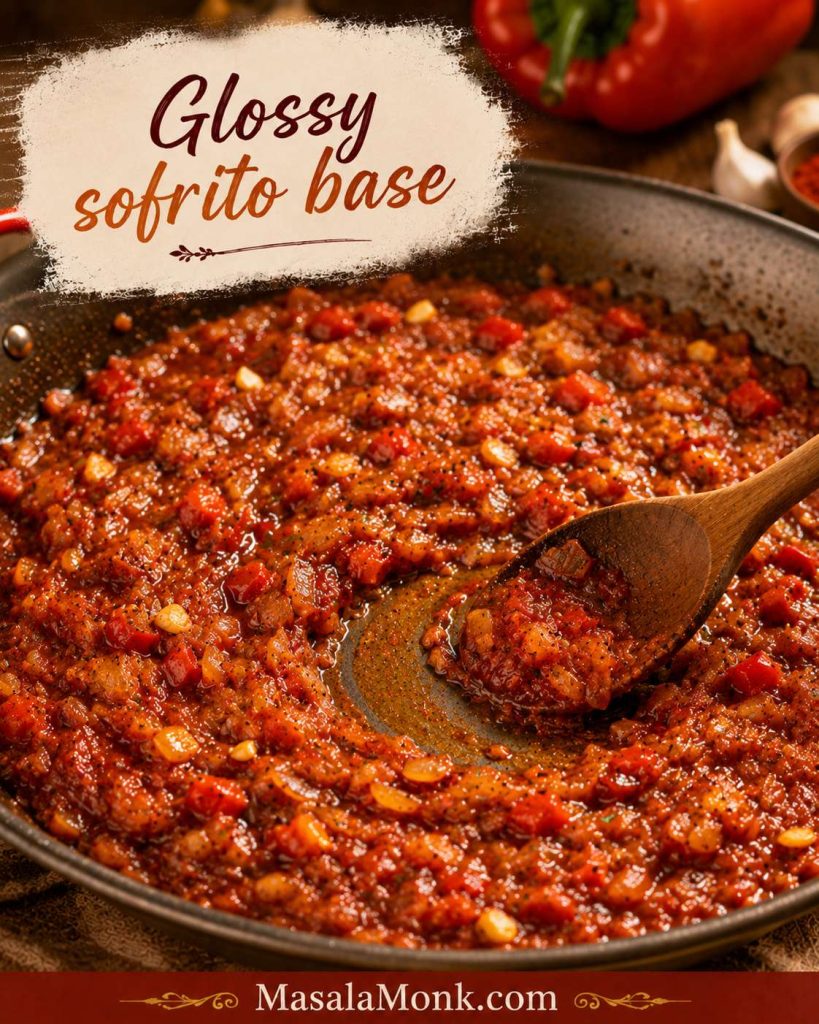
3. Build the sofrito
Add the onion and red bell pepper. Cook over medium heat for 5–7 minutes, until the vegetables soften and smell sweet and smoky. Add garlic, smoked paprika, and tomato paste, then cook for 1 minute.
If using grated tomato, add it now and let it reduce until the mixture looks glossy rather than watery. The rice should meet a concentrated base, not a loose sauce.
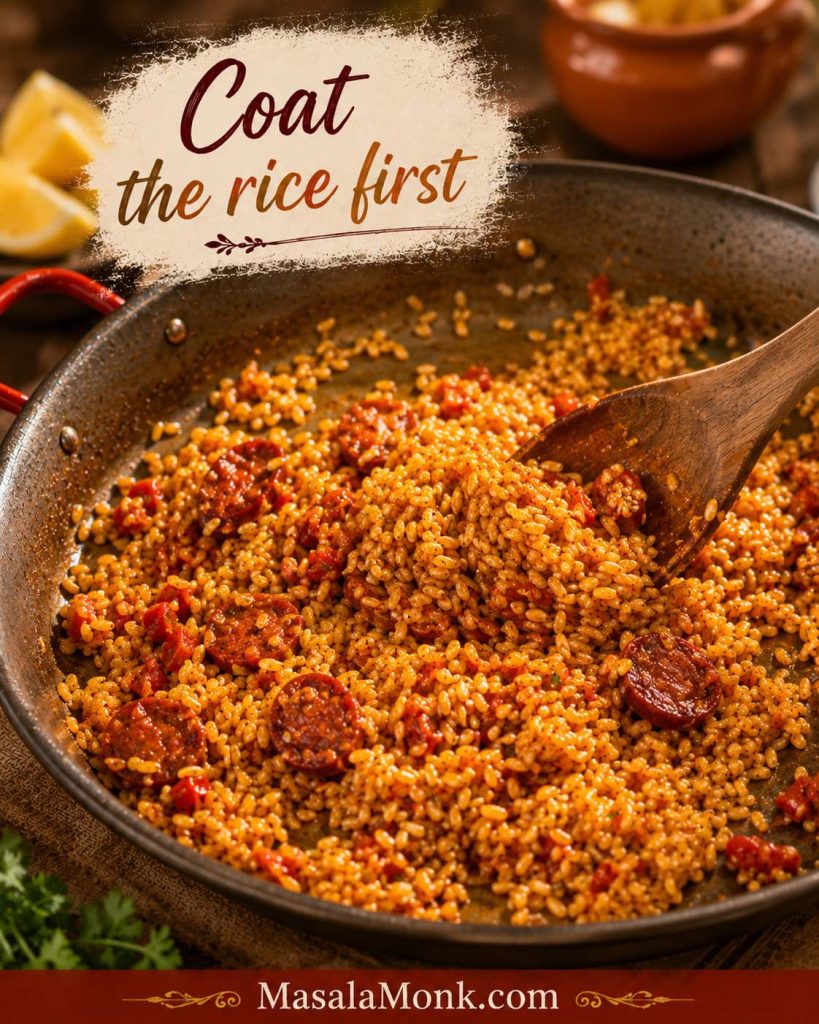
4. Add the rice and stock
Add the dry paella rice and stir for 1–2 minutes, just until the grains look shiny and coated. Pour in the hot saffron stock, scrape the bottom gently, return the chicken, and spread everything into an even layer.
Before the stock goes in, the rice should look coated and glossy rather than wet. This short stir builds flavor without turning the dish into risotto.
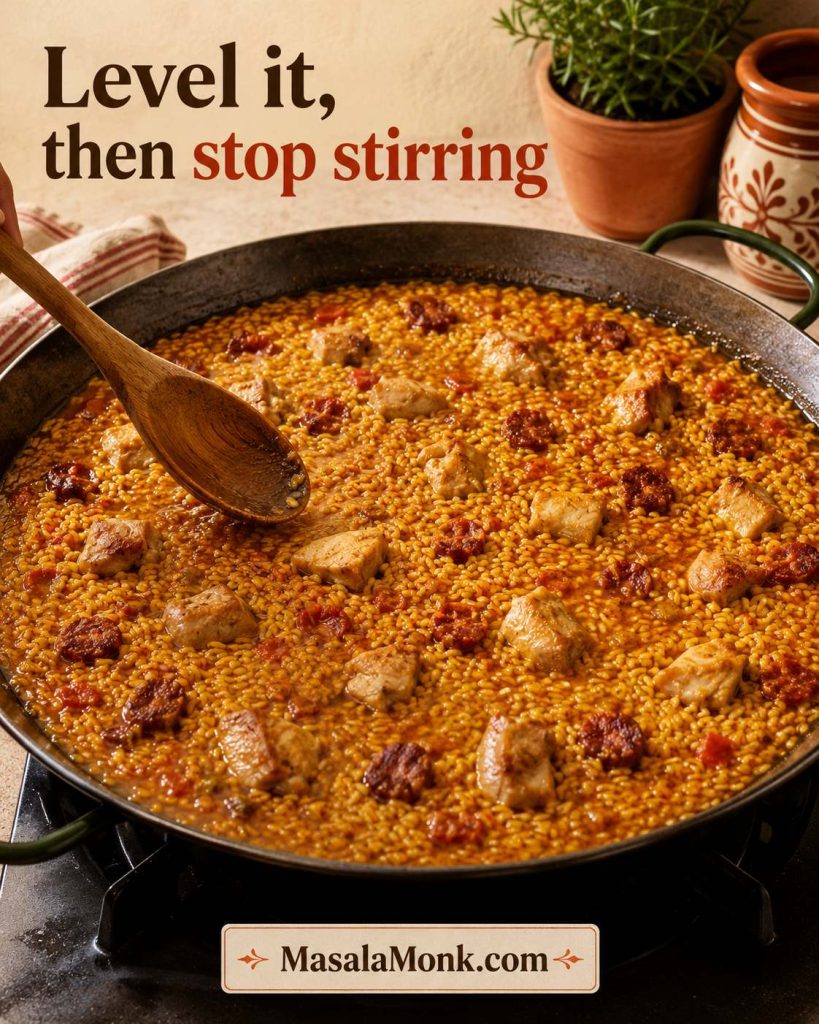
Once the rice is level, stop moving it around. This is the moment the dish changes from “stirring dinner” to paella-style cooking.
Level the Rice, Then Stop Stirring
Spread the rice into one even shallow layer, then let the simmer take over. Next, watch for the steady simmer and liquid-level cues.
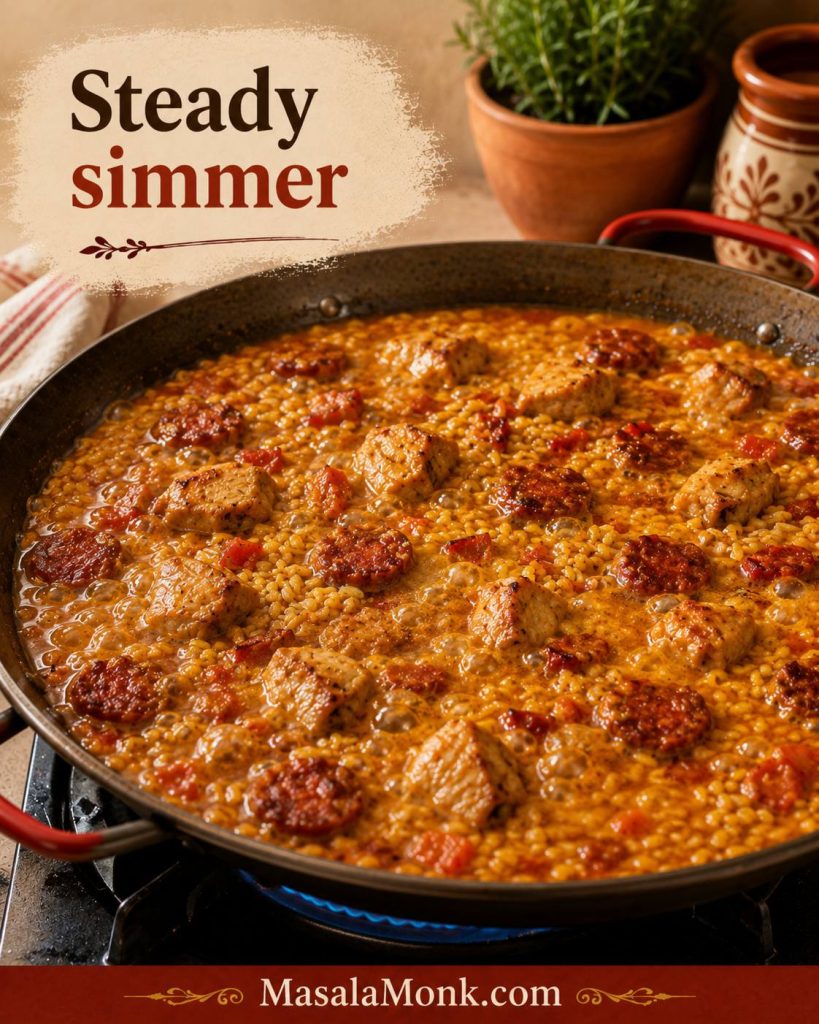
5. Simmer without stirring
Bring the pan to a lively simmer, then reduce the heat to low or medium-low so it bubbles steadily. Early on, the surface should look active. Later, the rice will swell, the liquid will sit lower, and small gaps may open between the grains.
When the Liquid Drops Below the Rice
Later in the simmer, the rice will swell and the liquid will sit below the surface. If the texture starts looking wrong, use the troubleshooting guide before guessing.
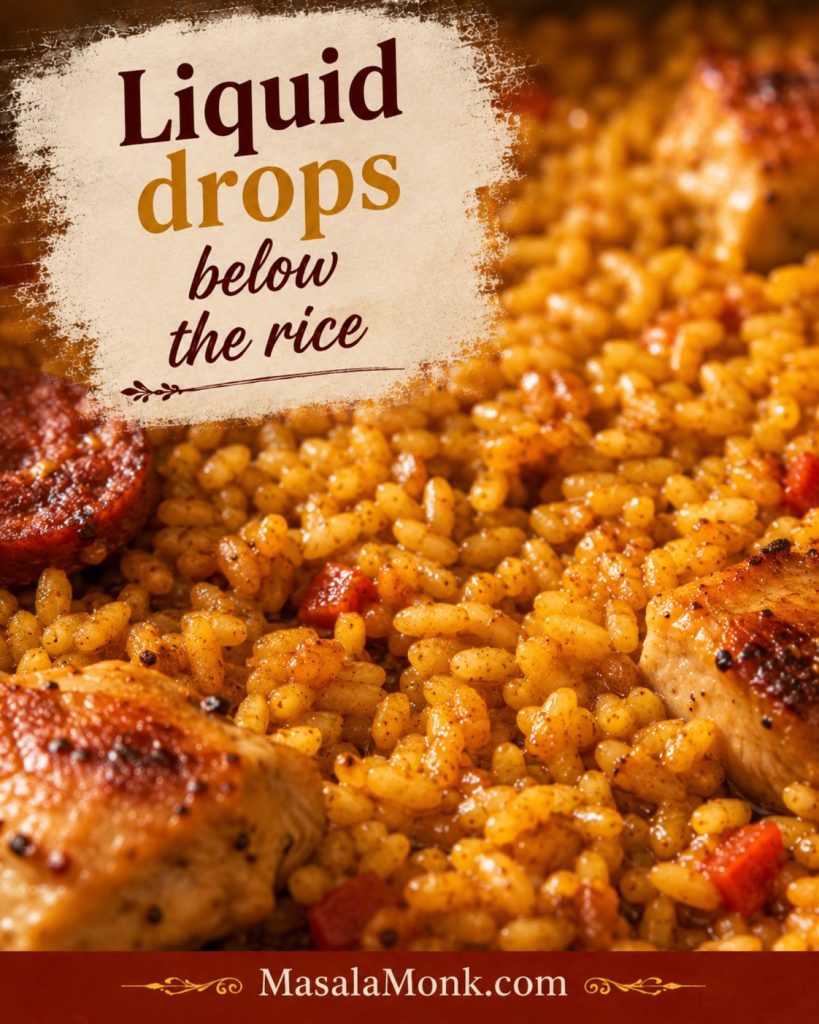
Rotate the pan if one side cooks faster. If the rice is still firm and the pan looks dry, add a little hot stock around the edge. The grain should be cooked through with a slight bite, not chalky in the center.
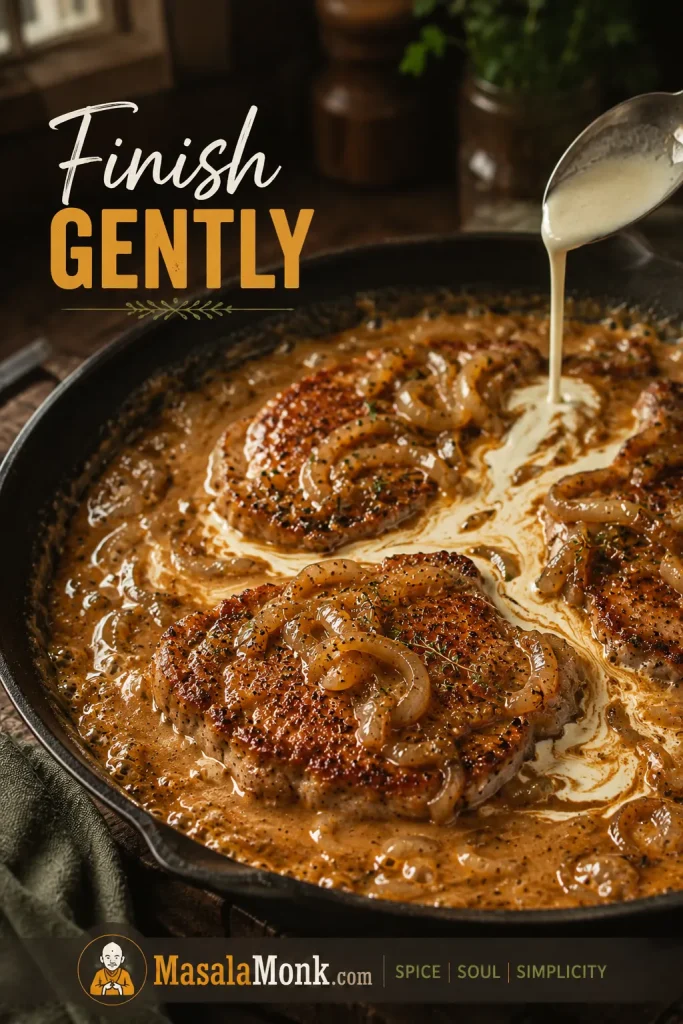
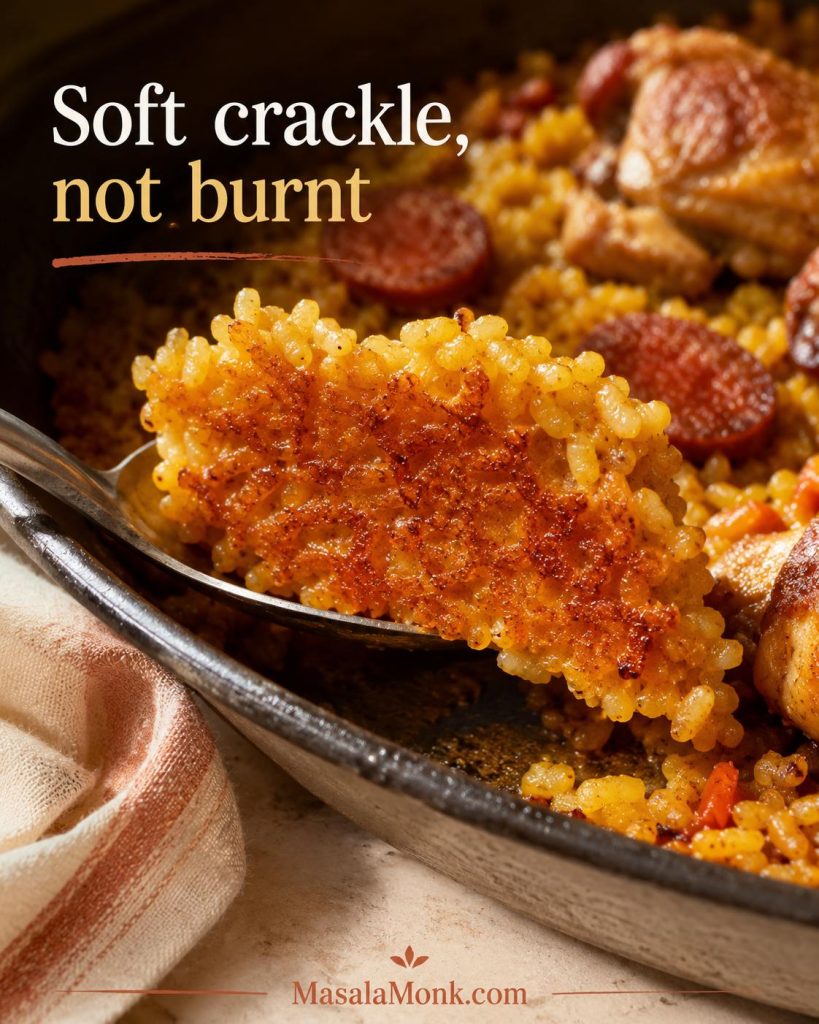
6. Finish the bottom and rest
Scatter the peas over the rice during the final 5 minutes. Once the rice is just tender and the liquid is absorbed, raise the heat for 30–60 seconds. Listen for a soft crackle and smell for toasted rice.
Stop as soon as it smells nutty and warm. If you smell bitterness, stop immediately. A lighter toasted bottom is still a win if the rice tastes good.
Remove from the heat, cover with a lid or foil, and rest for 5 minutes. The chicken should be cooked through by now; if checking with a thermometer, aim for 74°C / 165°F in the thickest pieces. Finish with lemon and parsley just before serving.
Rest the Paella Before Serving
This short pause is part of the cooking, not a delay. It helps the rice settle before the first serving spoon goes in.
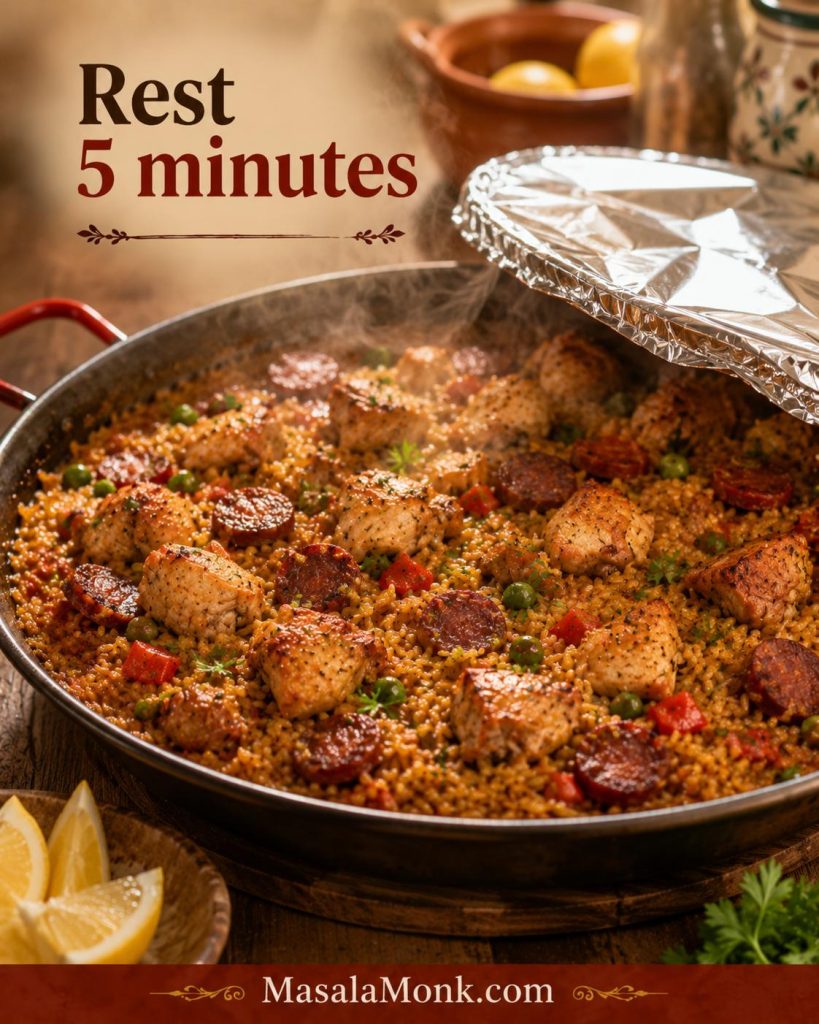
Resist the urge to keep adding extras. Steady heat, a short rest, and a bright finish do more for the dish than a crowded surface.
Chicken, Chorizo and Prawn Paella Variation
Prawns make the dish feel more festive, especially when they sit on top during the final minutes. Add 150–200g prawns or shrimp to the base recipe without changing the stock ratio.
When to Add Prawns to Paella
The timing changes depending on whether the prawns are raw or already cooked. Use the quick guide below before adding them to the pan.
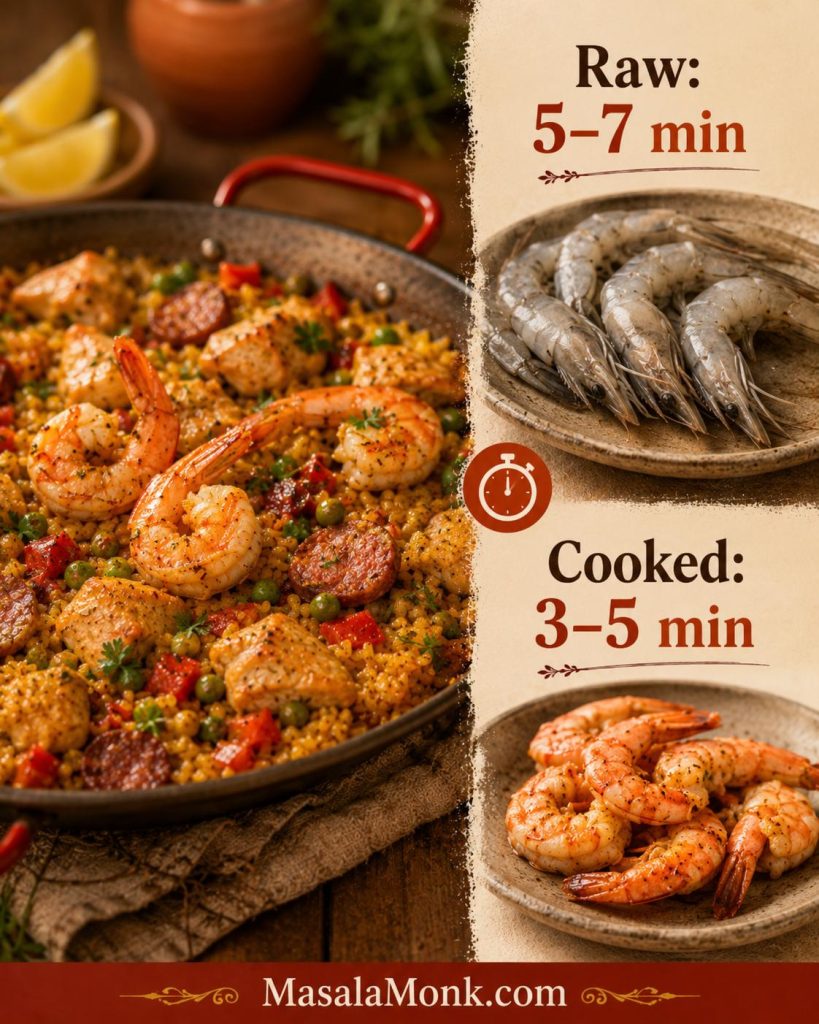
- Raw prawns: add for the final 5–7 minutes, until pink and opaque.
- Cooked prawns: add for the final 3–5 minutes, just to heat through.
- Crowded pan? reduce chicken slightly to 300–350g so the rice still has room.
Keep the prawns on top where you can see them. They should turn opaque and gently curled, not tight and rubbery. Peeled prawns are easiest for weeknights; shells or tails look more dramatic for guests.
Chicken and Chorizo Paella Recipe
A home-stovetop chicken and chorizo paella with juicy thighs, Spanish-style chorizo, saffron stock, short-grain rice, peas, lemon, and a method that keeps the rice smoky, tender, and distinct, with grains that hold their shape.
Equipment: 12–14 inch paella pan, 12 inch skillet with lid, or wide sauté pan
Ingredients
Protein
- 350–450g / 12–16 oz boneless skinless chicken thighs, cut into large bite-size pieces
- 100–140g / 3.5–5 oz Spanish-style chorizo, sliced or diced
- Salt and black pepper, to taste
Sofrito Base
- 2 tbsp / 30ml olive oil
- 1 medium onion, finely chopped
- 1 red bell pepper, chopped
- 3 garlic cloves, minced
- 1 tsp smoked paprika
- 1 tbsp tomato paste
- Optional: 150–200g / 5–7 oz grated or finely chopped tomato
Rice and Liquid
- Big pinch saffron, about 15–20 threads
- 750ml / about 3 cups plus 3 tbsp hot chicken stock
- 300g / about 1½ cups paella rice, such as Bomba, Calasparra, or Valencia rice
Finish
- 75–100g / ½–¾ cup frozen peas
- 1 lemon, cut into wedges
- Small handful parsley, chopped
Optional Prawn Variation
- 150–200g prawns or shrimp
- Raw prawns: add during final 5–7 minutes
- Cooked prawns: add during final 3–5 minutes
Instructions
Build the Base
- Bloom the saffron. Add saffron to the hot chicken stock and let it steep while you begin the recipe.
- Brown the chicken. Heat olive oil in a wide pan over medium-high heat. Season the chicken lightly, then brown for 4–6 minutes. It should be golden outside but not fully cooked. Remove to a plate.
- Cook the chorizo. Add chorizo to the same pan and cook for 2–3 minutes, until lightly browned and the oil turns paprika-red. Spoon off excess fat if the pan looks greasy.
- Build the sofrito. Add onion and red bell pepper. Cook for 5–7 minutes until softened. Add garlic, smoked paprika, and tomato paste. Cook for 1 minute. If using grated tomato, add it now and cook until reduced and glossy.
- Coat the rice. Add the dry paella rice and stir for 1–2 minutes so the grains look shiny. This is the last proper stir.
Cook, Rest and Serve
- Add stock and chicken. Pour in the hot saffron stock. Scrape the pan gently, return the chicken, and spread everything into an even layer.
- Simmer without stirring. Bring to a lively simmer, then reduce heat to low or medium-low. Cook for 16–20 minutes without stirring, until the rice is nearly tender and the liquid sits below the surface.
- Add peas and prawns. Scatter peas over the rice during the final 5 minutes. If using prawns, place raw prawns on top for the final 5–7 minutes, or cooked prawns for the final 3–5 minutes.
- Finish the bottom. When the rice is cooked and liquid absorbed, increase the heat for 30–60 seconds. Listen for a soft crackle and stop if it smells burnt.
- Rest and serve. Remove from heat, cover with a lid or foil, and rest for 5 minutes. Chicken should be cooked through; use 74°C / 165°F as the thermometer cue. Finish with parsley and lemon wedges.
Notes
- Use dry, unrinsed paella rice.
- After the stock is added, leave the rice level and mostly undisturbed.
- If the rice is firm but the pan is dry, add a few tablespoons of hot stock around the edge.
- A lighter toasted bottom is fine; stop before the rice smells bitter or burnt.
- For 2–3 servings, use 200g rice and 500ml / about 2 cups plus 2 tbsp stock in a 10–12 inch pan.
- For larger batches, use a larger pan or two pans so the rice stays spread out.
- If the rice looks hard, wet, greasy or burnt, check the troubleshooting section before making a big adjustment.
By the time the pan rests, the rice should look settled and golden, with chicken tucked through the grains, chorizo at the edges, and lemon ready to cut through the smoky oil. If something looks off, use the fixes below.
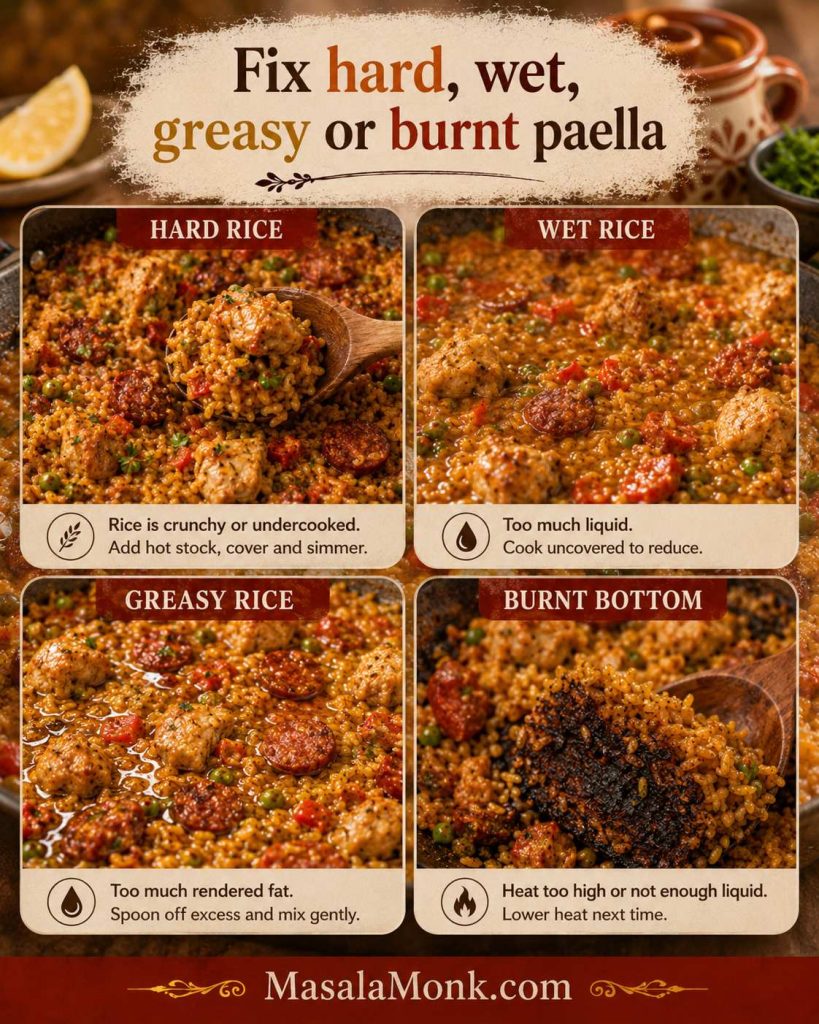
Chicken and Chorizo Paella Troubleshooting
Quick Paella Fixes Before You Guess
If the rice is not behaving, do not panic. Paella usually tells you what it needs: more heat, less stirring, a splash of hot stock, or a shorter final toast.
Rice Texture Fixes
| Problem | Likely cause | Fix |
|---|---|---|
| Rice is still hard | Heat too high or liquid evaporated too quickly. | Add 2–4 tbsp hot stock around the edge, cover loosely, and cook a few more minutes. |
| Rice is wet or soupy | Too much liquid, heat too low, or pan too deep. | Uncover and simmer gently until excess liquid evaporates. Avoid stirring hard. |
| Rice is mushy | Over-stirring, too much liquid, or wrong rice. | Use paella rice next time and leave the pan alone once the stock is added. |
| Rice is bland | Weak stock, under-seasoned chicken, or rushed sofrito. | Season chicken lightly at first, use better stock, and adjust final salt after the rice rests. |
Heat, Chorizo and Prawn Fixes
| Problem | Likely cause | Fix |
|---|---|---|
| Paella is too salty | Salty chorizo plus salty stock. | Use low-salt stock next time. Serve this batch with extra lemon and a fresh salad. |
| Paella is greasy | Too much chorizo fat left in the pan. | Spoon off excess fat after browning the chorizo, while leaving some paprika-rich oil for flavor. |
| Chicken is dry | Breast cooked too long or chicken pieces cut too small. | Use thighs, cut larger pieces, and brown only until golden before simmering. |
| Bottom burned | Final heat push was too long or pan has hot spots. | Stop the toasted-bottom finish sooner and rotate the pan during cooking. |
| No toasted bottom | Heat too low at the end or too much liquid left. | Once the rice is cooked and liquid absorbed, increase heat briefly for 30–60 seconds. |
| Prawns are rubbery | Added too early. | Add raw prawns only for the final 5–7 minutes, cooked prawns for 3–5 minutes. |
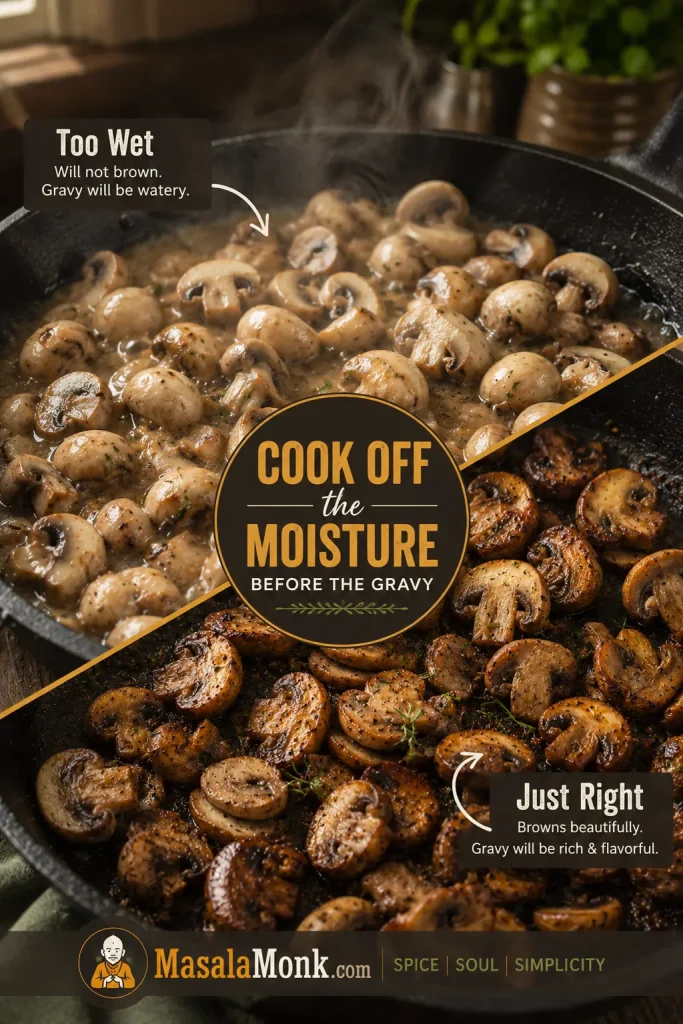
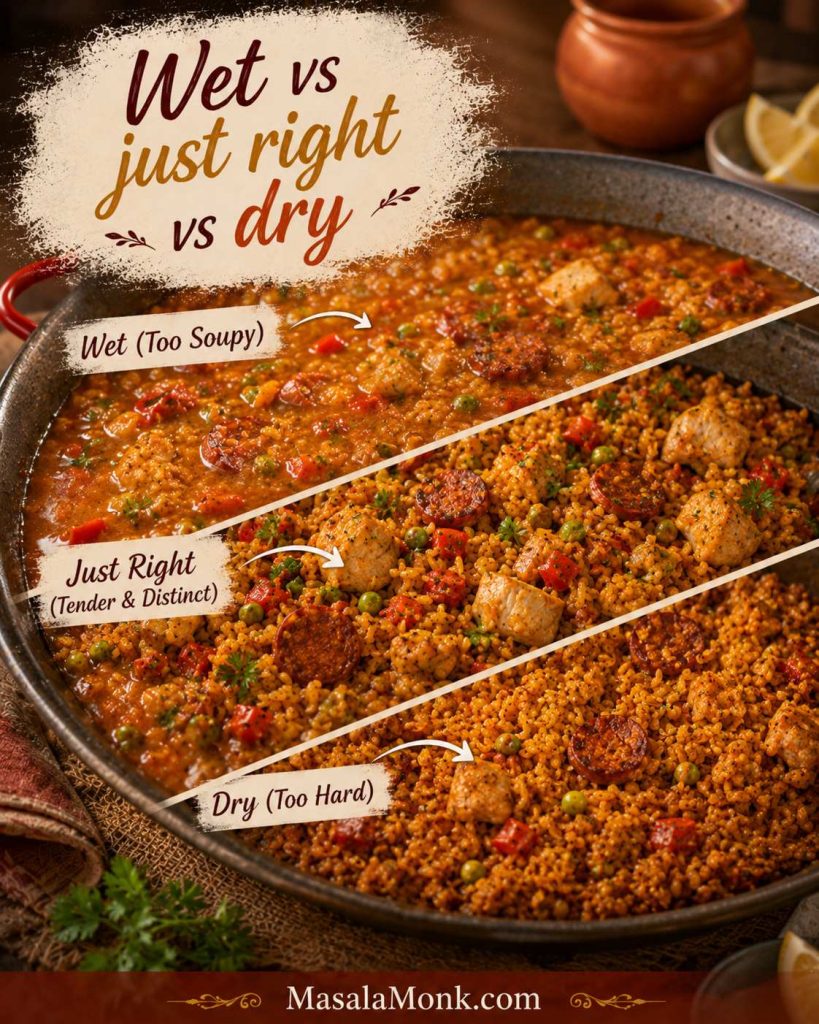
Wet, Just-Right and Dry Paella Rice
For a visual texture check, compare wet, just-right and dry rice before deciding whether to simmer uncovered, add a splash of hot stock or stop cooking.
Uneven Burner? Use a Short Oven Finish
If your burner heats unevenly, cover the pan and transfer it to a 175°C / 350°F oven for 5–8 minutes once most of the liquid is absorbed. This helps the rice finish more evenly without stirring.
For a full oven-style version, use a hotter oven, around 220°C / 200°C fan / about 425°F, and bake with hot stock before adding prawns and peas near the end. That is a different approach from the stovetop method here, but it can be useful if your stove has strong hot spots.
Authenticity and Home-Cook Notes
Is Chicken and Chorizo Paella Authentic?
This is the chicken-and-chorizo paella many home cooks search for: smoky, generous, and made for an ordinary stovetop. Traditional Valencian paella is different, and this recipe does not need to pretend otherwise.
For comparison, Spain’s official tourism site describes Valencian paella with rice, chicken, rabbit, beans, tomato, olive oil, saffron, paprika, water and salt. That is why this chorizo version is better described as Spanish-inspired: Spain.info’s paella reference.
What it keeps from paella is the home-cook logic that matters here: short-grain rice, a broad cooking surface, saffron stock, a concentrated flavor base, minimal stirring after the stock goes in, and a rested finish.
Chicken Chorizo Rice vs Paella
If your only option is a deep pot, make the dish anyway and enjoy it honestly as chicken chorizo rice. It will be softer, but still delicious. For a result closer to paella, use the roomiest pan you have and keep the rice layer shallow.
Slow Cooker Chicken Chorizo Paella
A slow cooker can make a convenient chicken chorizo rice dish, but it will not create the same texture as paella. Paella depends on shallow evaporation, direct pan heat, and the chance of a lightly toasted bottom. Use the slow cooker only if convenience matters more than texture, and add peas or prawns near the end.
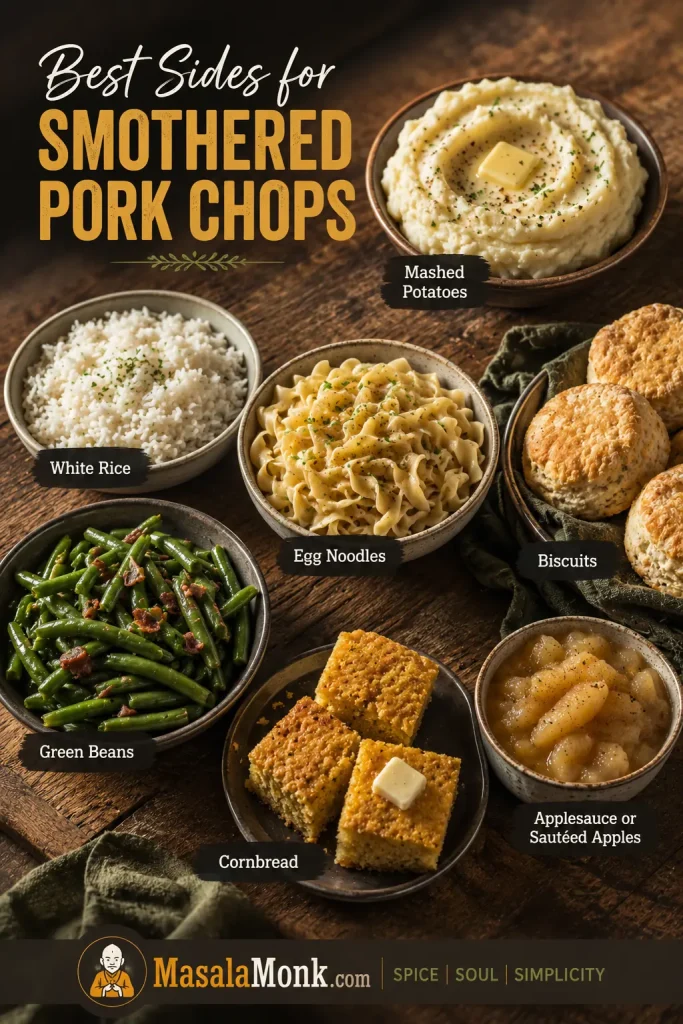
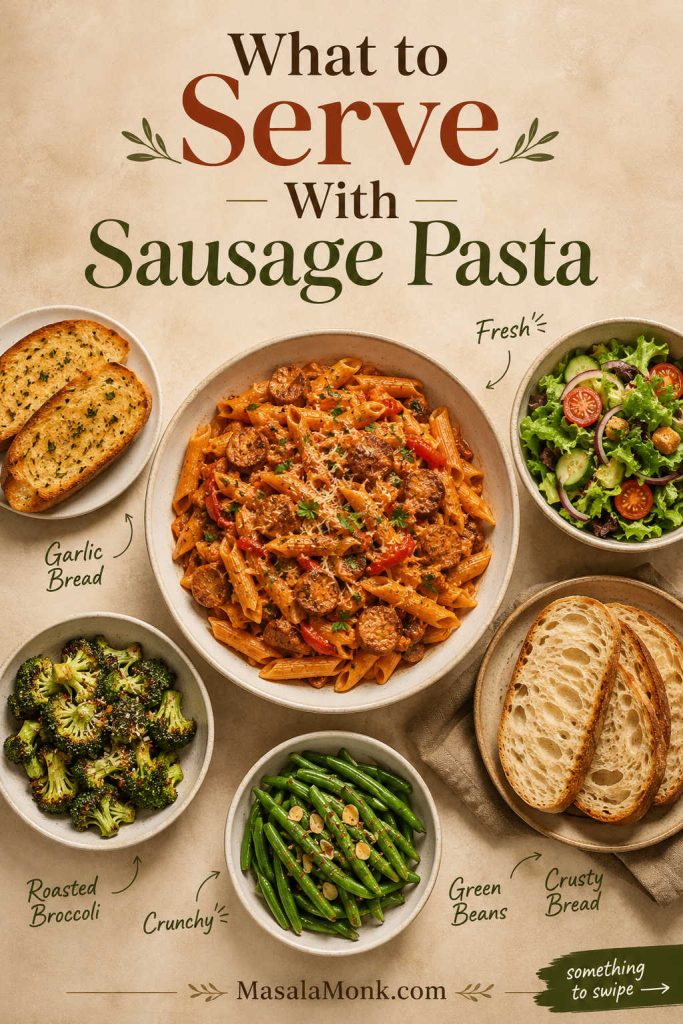
What to Serve with Chicken and Chorizo Paella
Because the rice is smoky and rich, the best sides are the ones that make the next spoonful feel lighter. Keep the plate bright, sharp, or fresh rather than heavy.
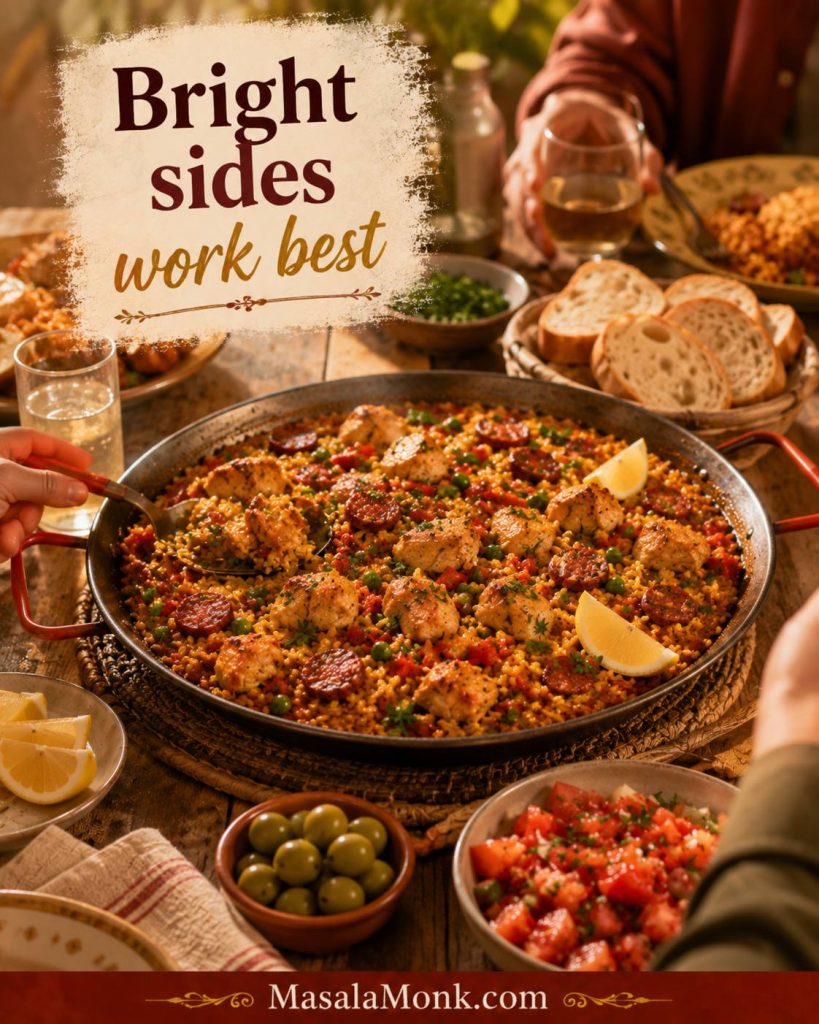
- Bright: lemon wedges, tomato salad, or a sharp green salad.
- Snacky: marinated olives, roasted peppers, or crusty bread.
- Simple: garlic bread or a light cucumber salad.
- Drinks: dry rosé, Rioja-style red, sparkling water with lemon, or a crisp white wine.
A squeeze of lemon matters more than a heavy side. The paella is rich and savory, so the bright finish wakes it up. For another low-stress chicken dinner with minimal cleanup, MasalaMonk’s sheet pan chicken fajitas keeps the same easy-dinner spirit in a completely different flavor direction.
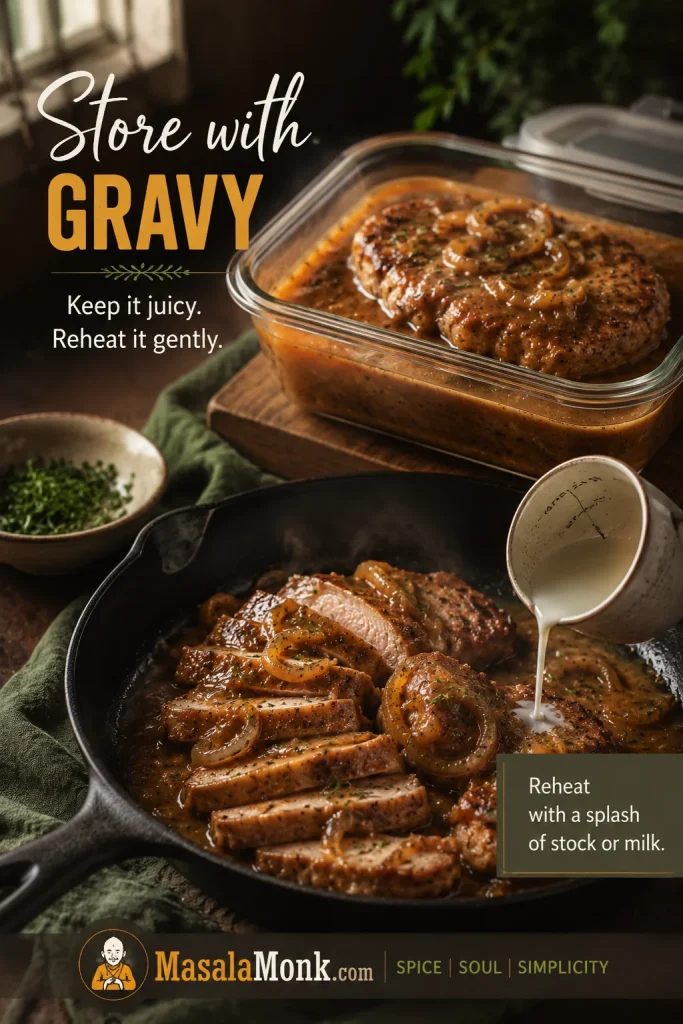
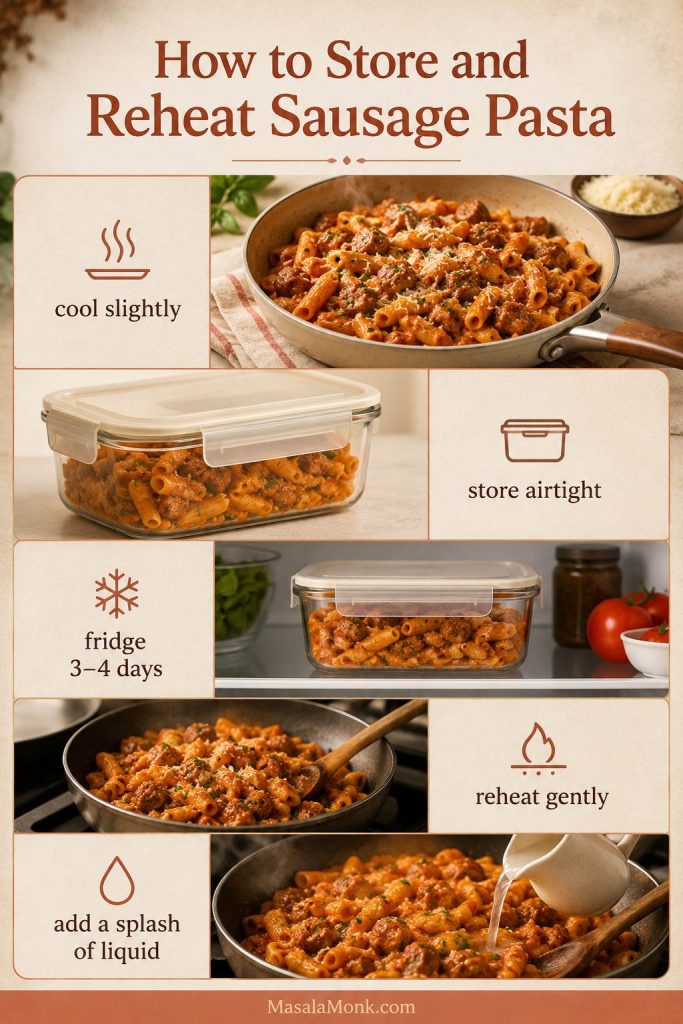
Storage, Reheating and Make-Ahead Tips
- Best make-ahead move: chop the ingredients and cook the chicken-chorizo sofrito base ahead, but add rice and stock only when you are ready to cook.
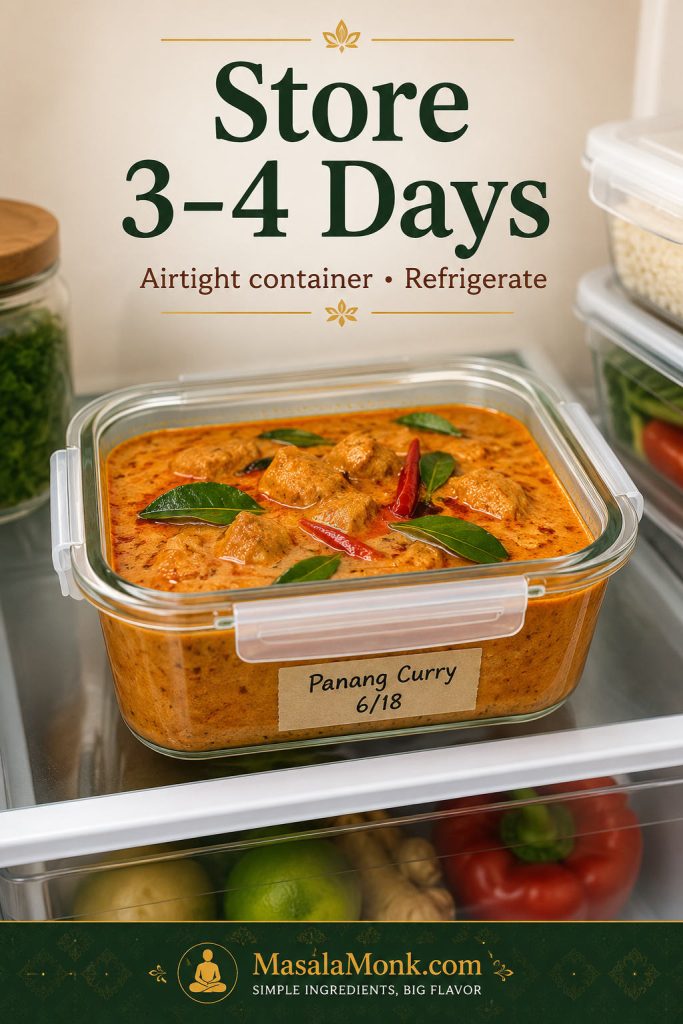
- Storage: cool leftovers quickly and refrigerate them in an airtight container.
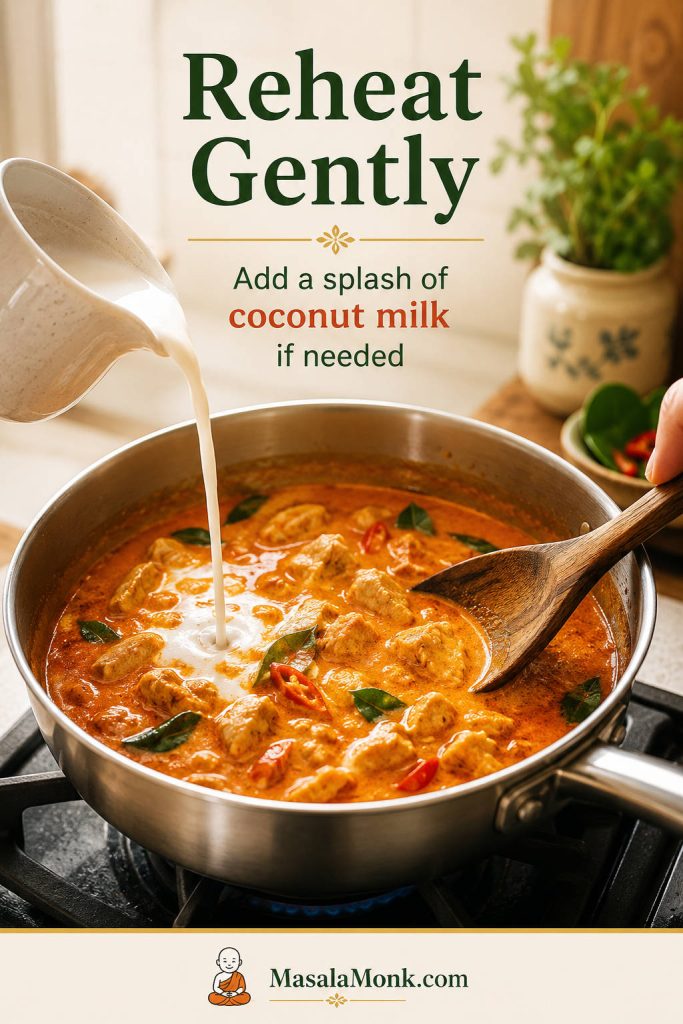
- Reheating: reheat until piping hot all the way through; if checking with a thermometer, aim for 74°C / 165°F.
- Seafood note: if your paella includes prawns, refrigerate promptly and reheat only once.
A covered skillet with a small splash of water or stock gives the best leftover texture. The rice will soften after storage, so leftovers will taste more like chicken chorizo rice than freshly made paella.
FAQs
Best saffron substitute for chicken and chorizo paella
A tiny pinch of turmeric can help with color, but it will not give the same floral aroma. Use it lightly, or the dish starts to taste like curry rice instead of saffron rice.
Arborio rice in paella: what changes?
Arborio will get dinner on the table, but it is not ideal here. Because it releases more starch, it can turn creamy if you treat it like risotto. Stir before the stock goes in, then leave it alone.
Why long-grain rice makes it more like chicken chorizo rice
Long-grain rice can still make a good dinner, but it moves the dish away from paella texture. Use it when you want a softer, more flexible chicken chorizo rice rather than distinct paella-style grains.
Using brown rice in chicken and chorizo paella
Brown rice needs its own method. It takes longer to cook and needs a different liquid ratio, so it is better saved for a separate brown-rice version rather than swapped into this one.
Chicken breast instead of thighs
Chicken breast can work, but it needs a gentler hand than thighs. Cut it into slightly larger pieces, brown it briefly, and avoid cooking it hard at the beginning so it does not dry out before the rice is ready.
Should chorizo go in paella?
Chorizo is not part of strict Paella Valenciana, but it is common in the Spanish-inspired chicken-and-chorizo paella many home cooks are looking for. This recipe uses it honestly as a flavor base rather than claiming to be the traditional Valencian dish.
When to add prawns without making them rubbery
Add raw prawns for the final 5–7 minutes, or cooked prawns for the final 3–5 minutes. They should be opaque and gently curled, not tight and rubbery.
White wine in chicken and chorizo paella
White wine can add a little brightness to the base. Add 50–75ml dry white wine after the tomato paste and let it reduce before adding the rice. Keep the amount small, or reduce the stock slightly if you add more.
How to double paella without mushy rice
Use a larger pan or two pans. Piling double the rice into the same skillet makes the layer too thick, so the bottom can overcook while the top stays firm.
Freezing chicken and chorizo paella
You can freeze leftovers, but the rice softens after thawing. If texture matters, refrigerated leftovers usually taste better than frozen-and-reheated paella.
Is this gluten-free?
It can be gluten-free if your chorizo and stock are certified gluten-free. Check both labels carefully, because sausages and packaged stocks can include additives or thickeners.
Final Thought
A good chicken and chorizo paella is built on restraint: enough chorizo to turn the oil smoky and red, enough stock to cook the rice, and enough patience to let the grains settle.
Give the rice room, let the pan do its work, and finish with lemon while everything is still warm. That is when this becomes the kind of one-pan dinner that looks generous, smells incredible, and makes people go back for the rice.
Start with the classic chicken-and-chorizo version once, then try prawns, extra lemon, or a deeper toasted bottom the next time you want the pan to feel a little more festive.