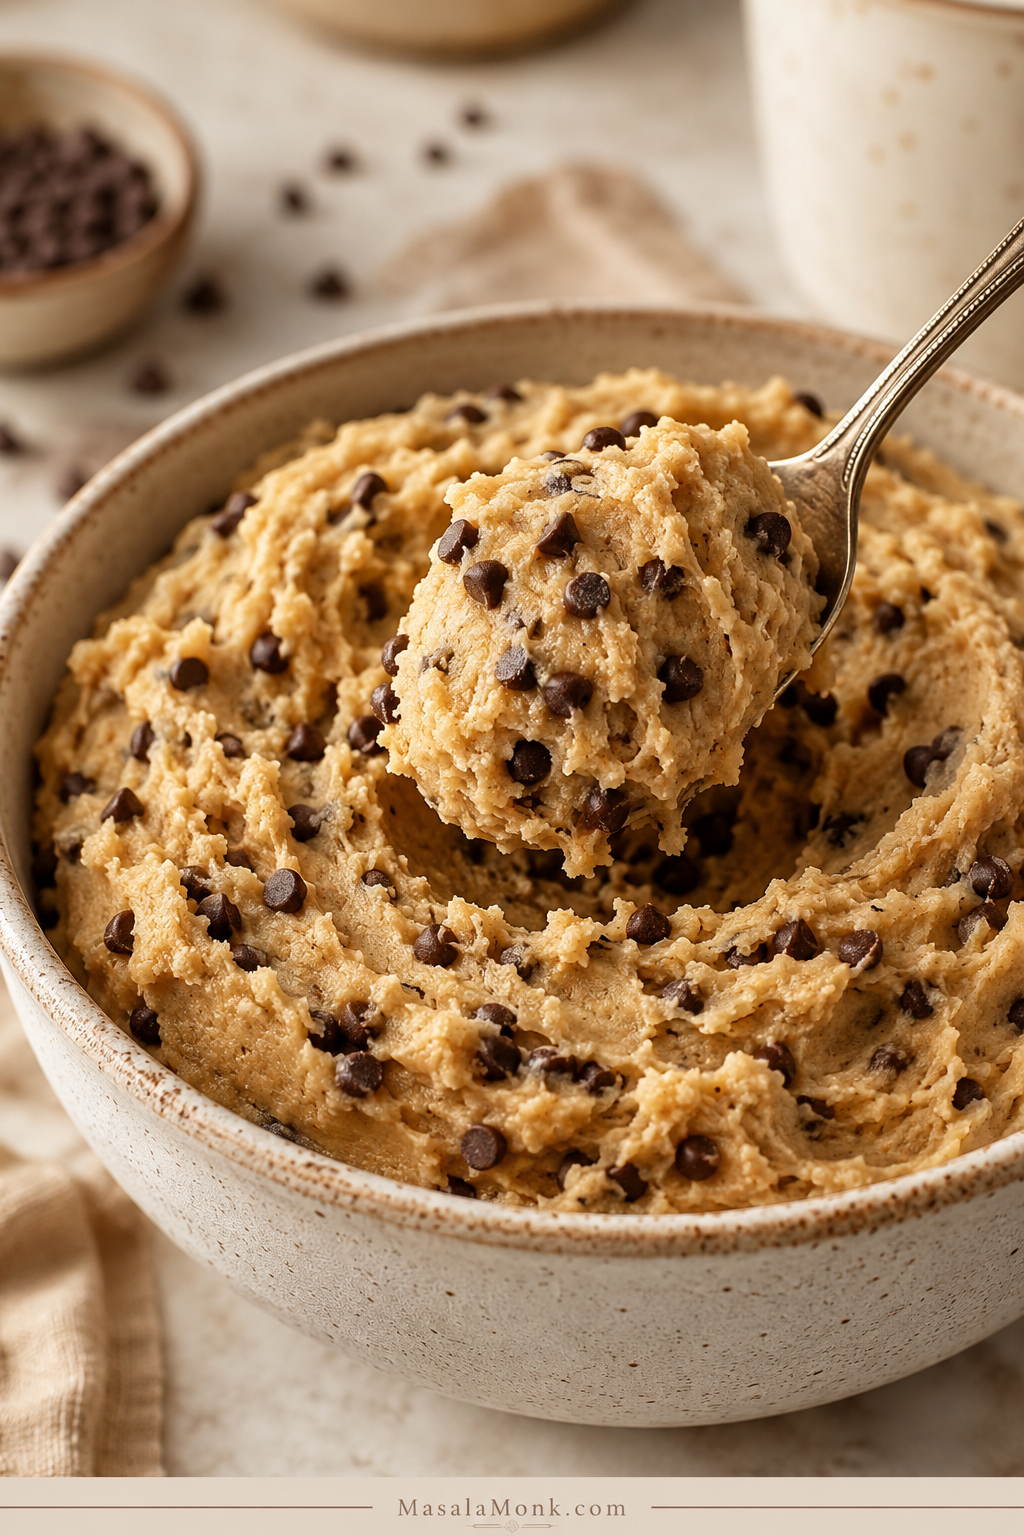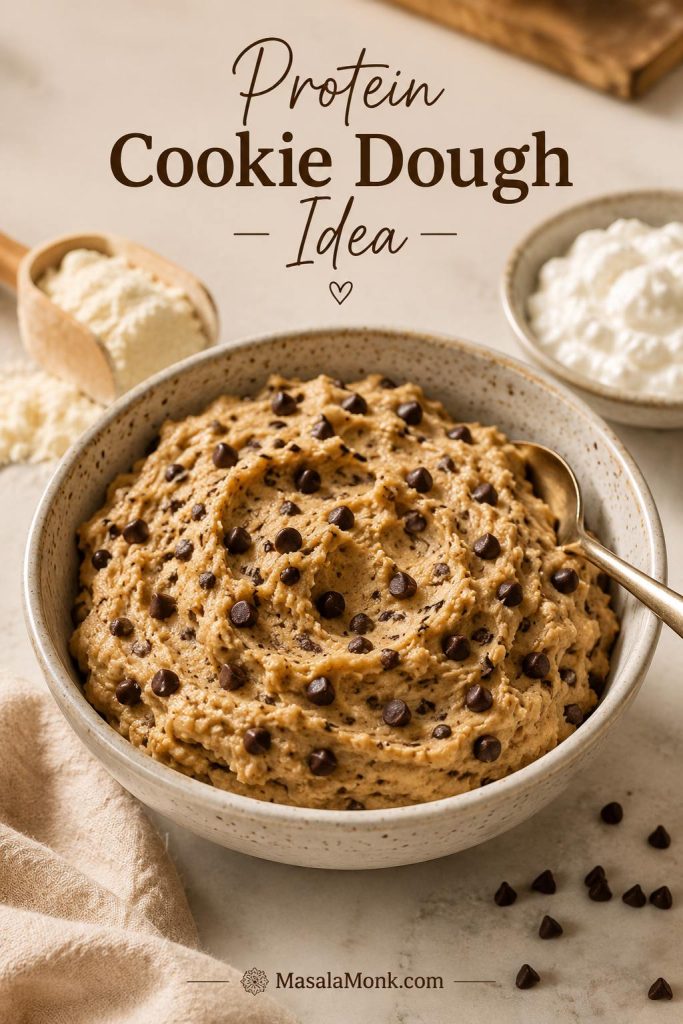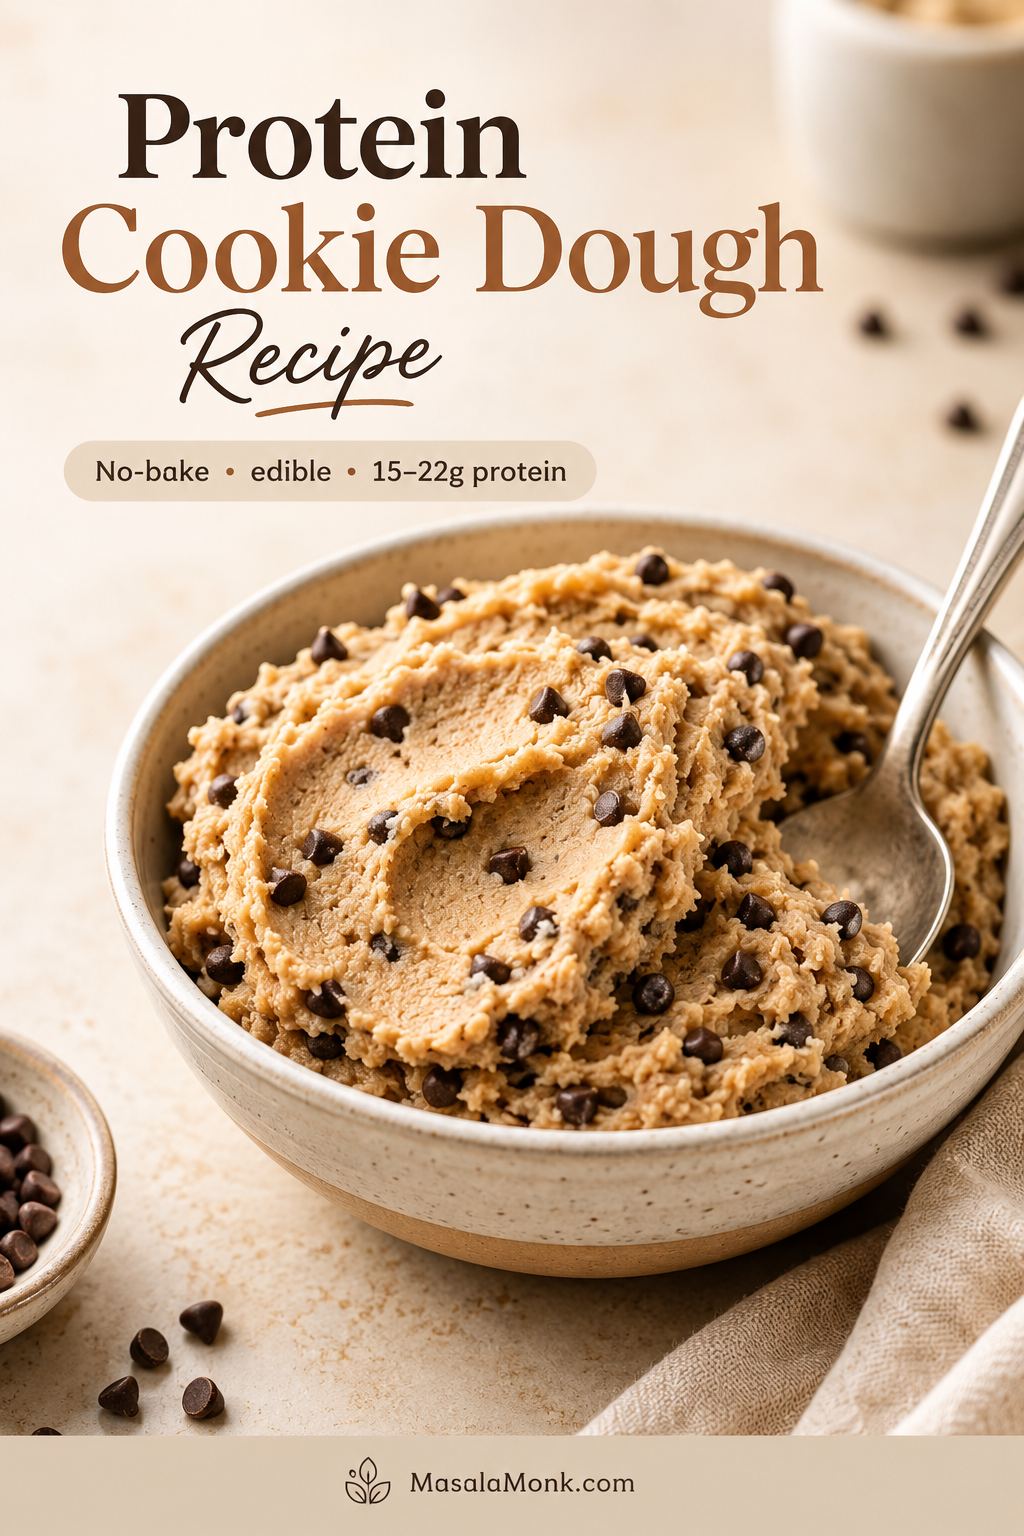
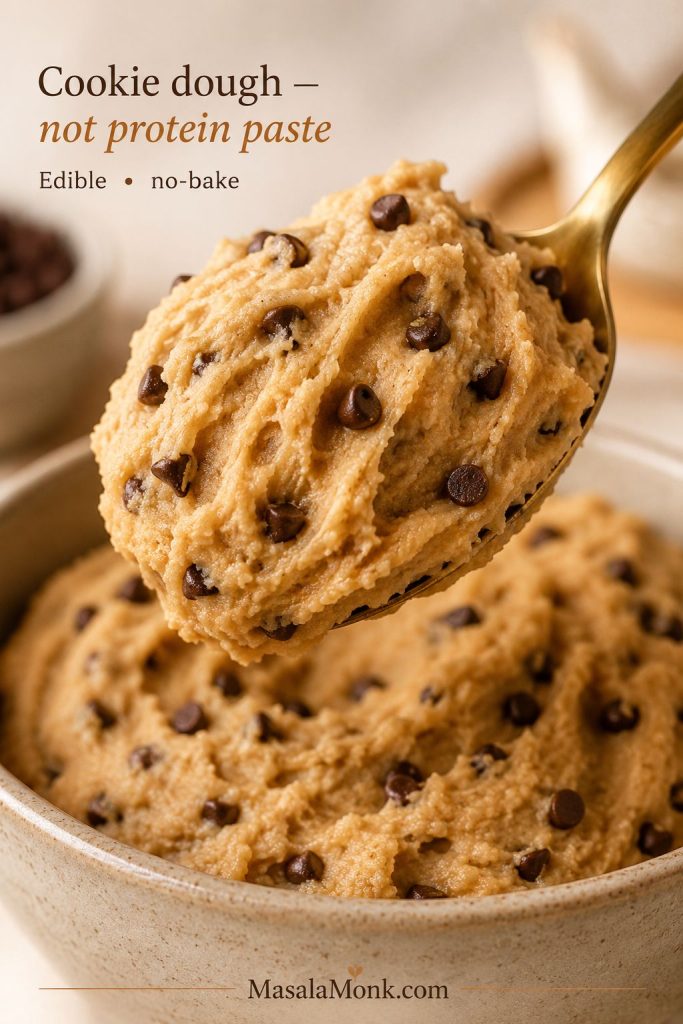
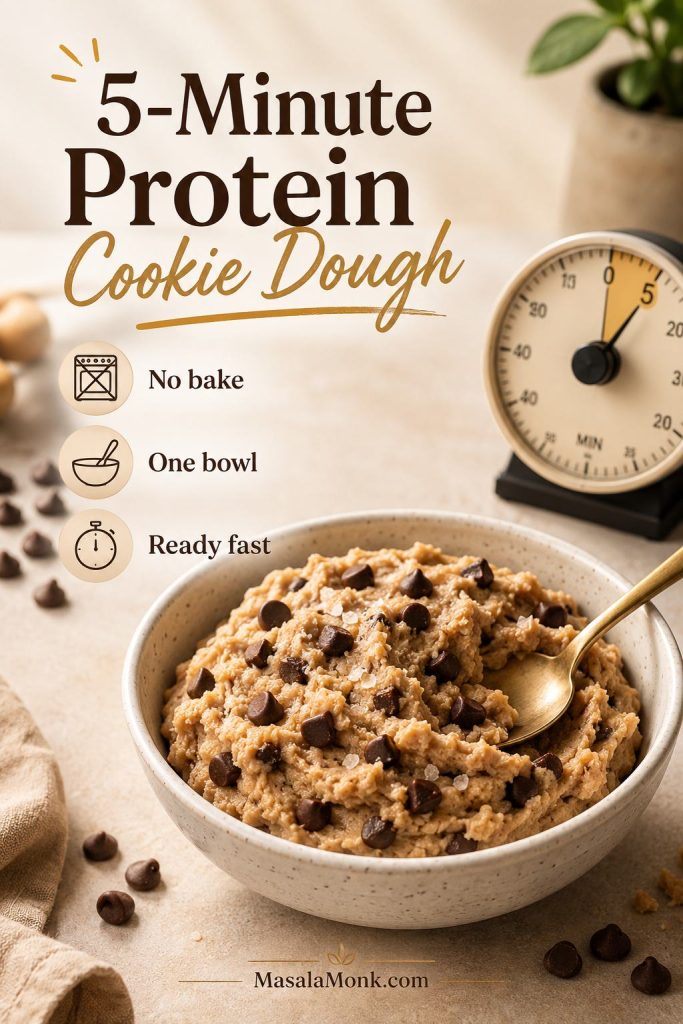
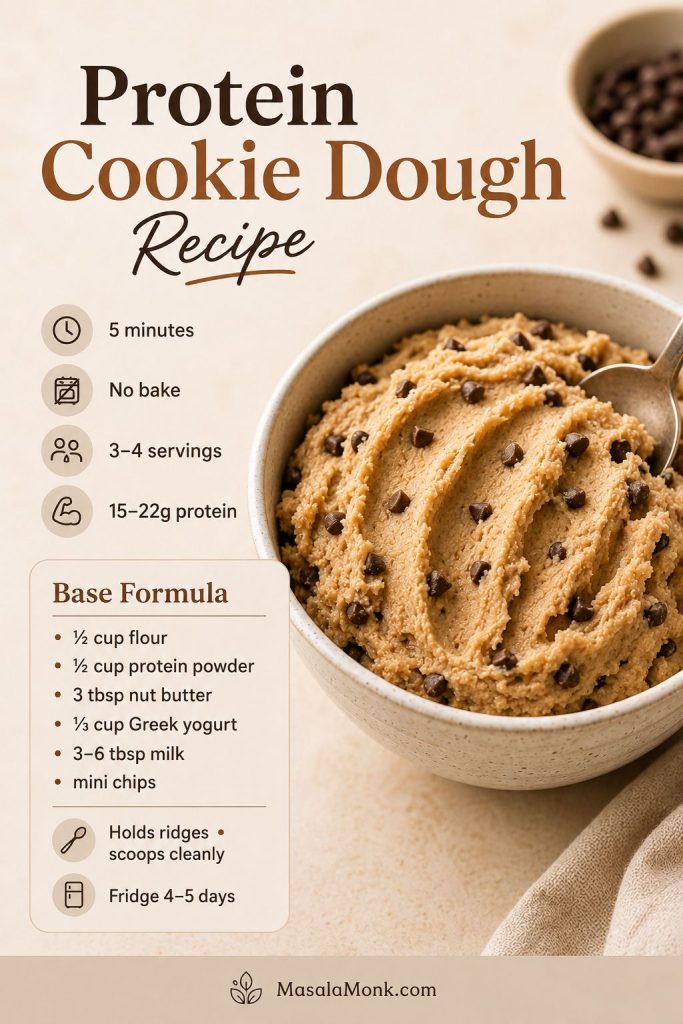
This protein cookie dough recipe is edible, no-bake, ready in about 5 minutes, and built to taste like cookie dough — not protein paste. It is egg-free, made without raw all-purpose flour, and gives you a scoopable, chocolate-studded dough with about 15–22g protein per serving when divided into 3–4 portions.
No oven, no mixer, no waiting for cookies to cool — just one bowl, a spoon, and a sweet snack that feels more like dessert than a protein shake.
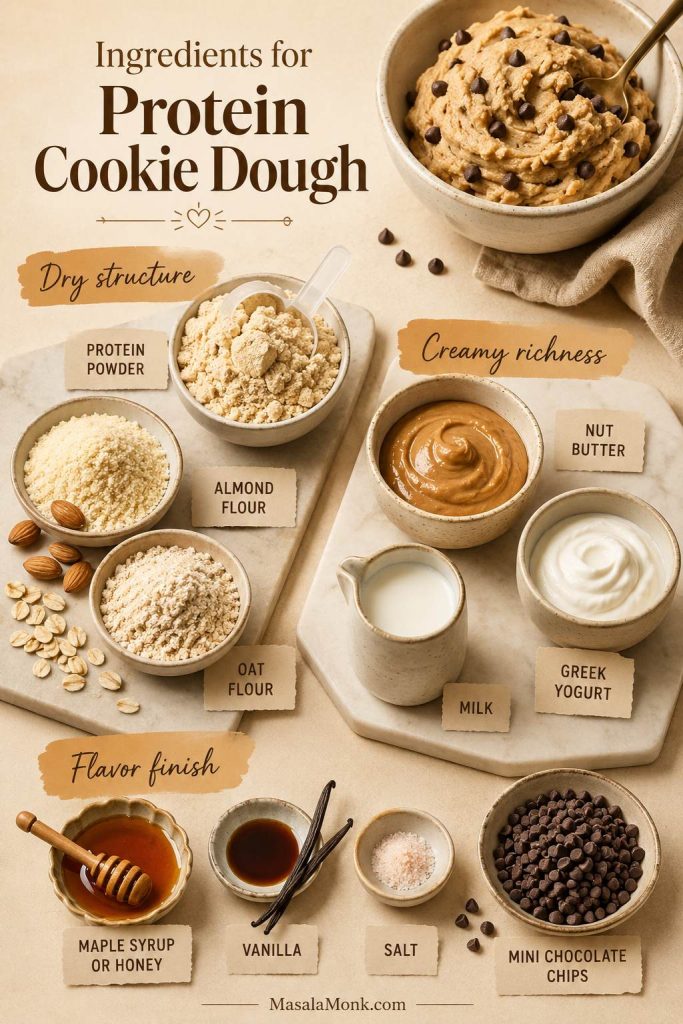
The difference between good protein cookie dough and chalky protein paste is balance. Protein powder adds structure, nut butter gives richness, Greek yogurt softens the dough, and almond flour or oat flour makes it thick enough to scoop. Then vanilla, salt, and mini chocolate chips bring it closer to a real cookie dough bite. If you like this kind of high-protein dessert, this dough gives you the same treat-like feeling without needing a freezer or blender.
It should feel like sneaking a spoonful of cookie dough from the bowl, only with enough protein to make it feel more satisfying than a random bite of dessert.
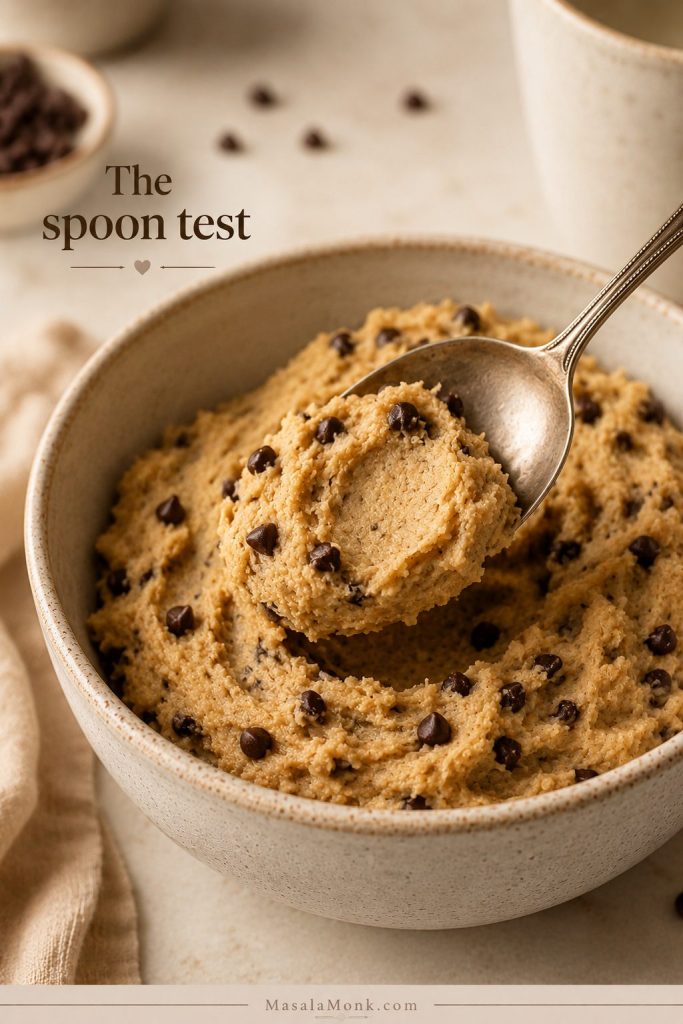
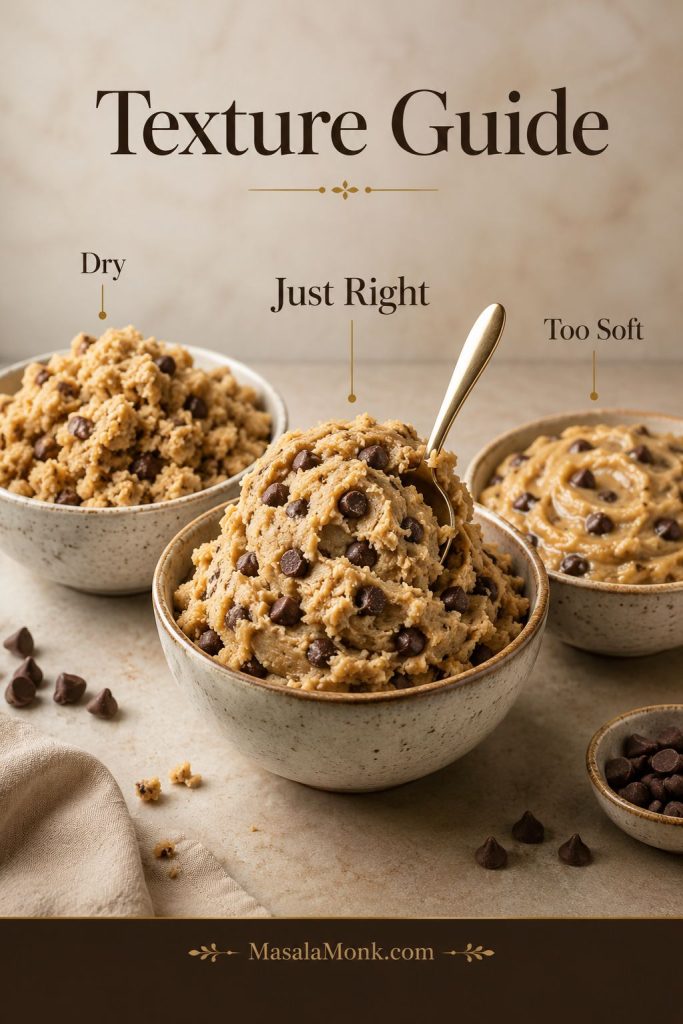
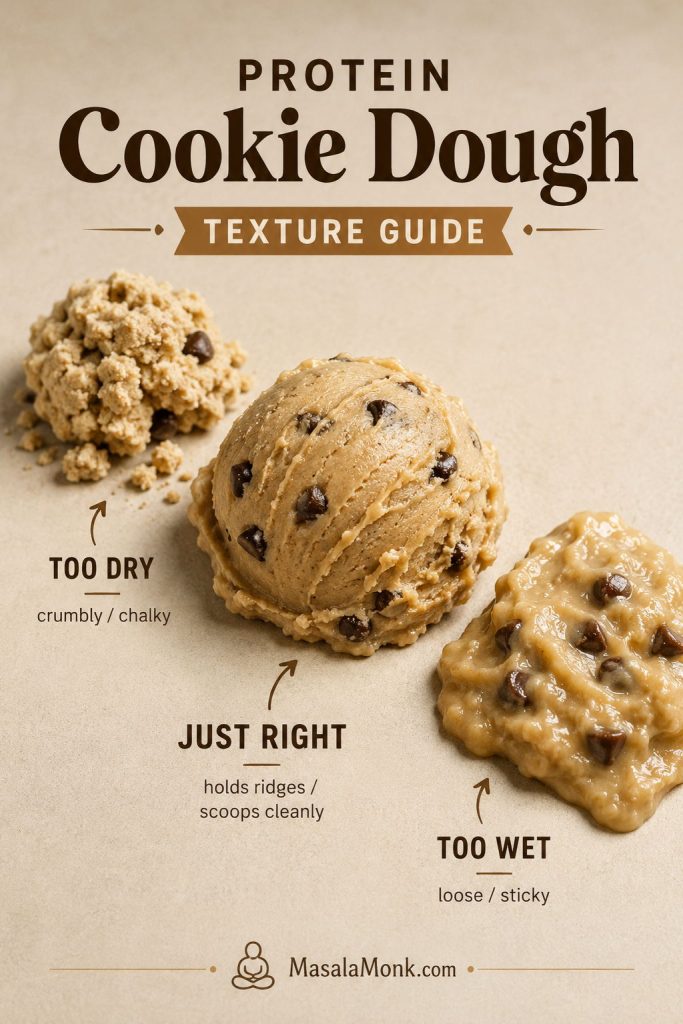
Texture check: Before you start, look for a dough that feels creamy, sturdy, and scoopable rather than loose or stiff.
What You’ll Find in This Protein Cookie Dough Guide
Make It Right
Choose Your Version
Quick Answer: The Best Protein Cookie Dough Ratio
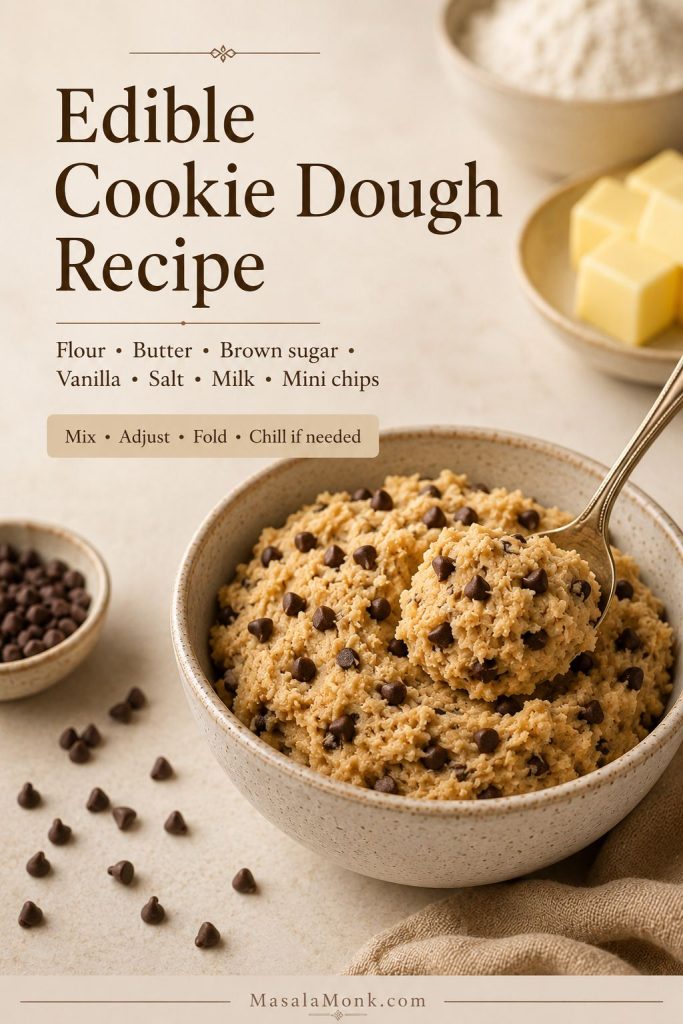
For edible protein cookie dough that holds its shape, start with ½ cup almond or oat flour, ½ cup vanilla protein powder, 3 tablespoons nut butter, ⅓ cup Greek yogurt, 2–3 teaspoons maple syrup, and 3–6 tablespoons milk. Mix the dry ingredients first, stir in the creamy ingredients, loosen the dough gradually with milk, then fold in mini chocolate chips.
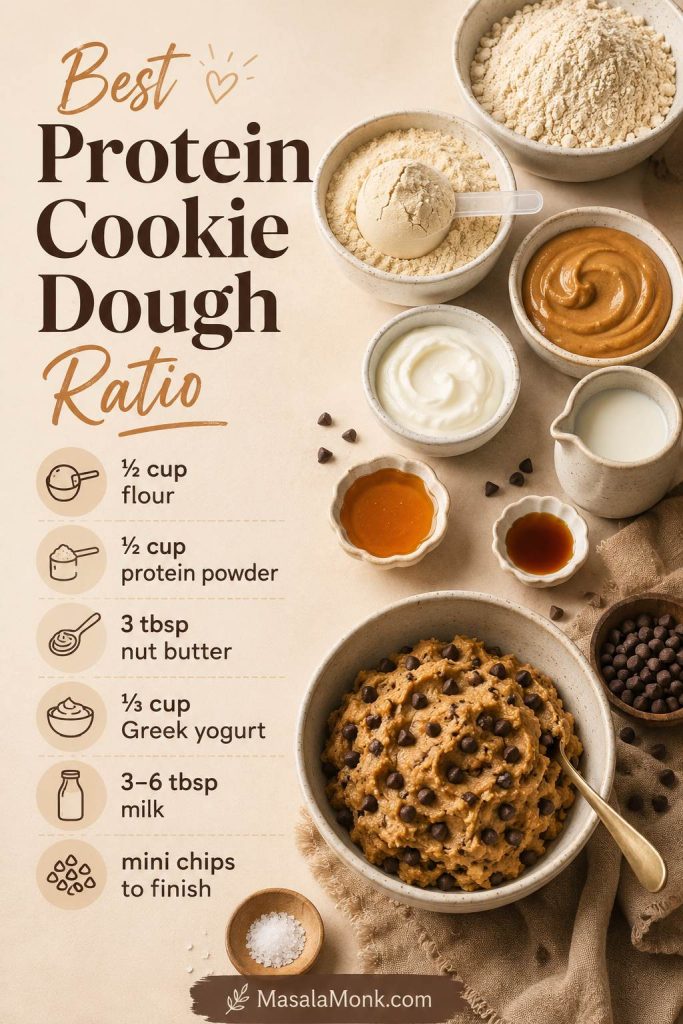
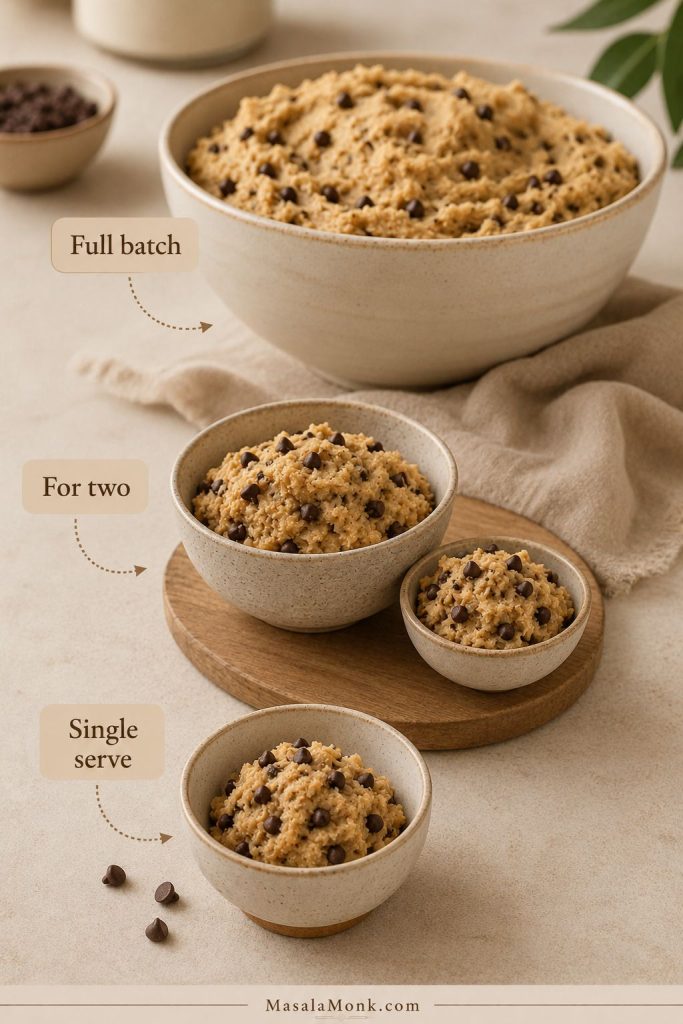
Use less milk for a firmer dough and more milk for a softer, scoop-and-eat texture. Divide the batch into 3 portions for a higher-protein snack, or 4 portions for smaller dessert-style servings.
Not sure how your powder will behave? See the protein powder guide before adding all the milk.
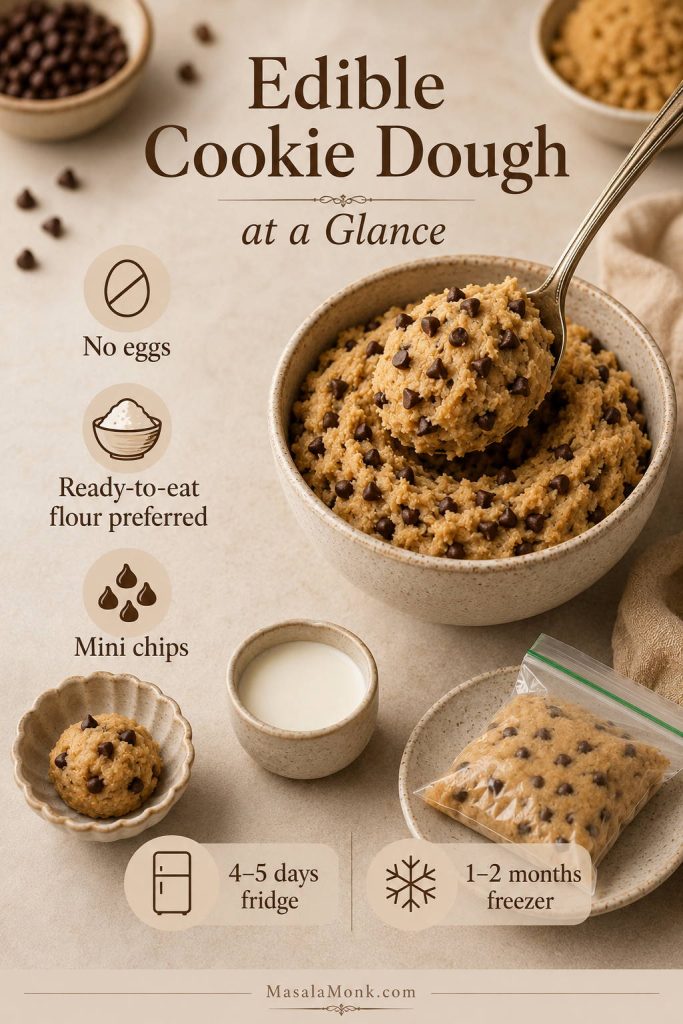
Protein Cookie Dough at a Glance
Why this works fast: This is a one-bowl, no-bake dough, so the important work happens while you mix and adjust the texture.
| Prep time | 5 minutes |
|---|---|
| Cook time | 0 minutes |
| Chill time | Optional 20–30 minutes for firmer dough |
| Servings | 3–4 servings |
| Protein estimate | About 15–22g per serving, depending on powder and serving size |
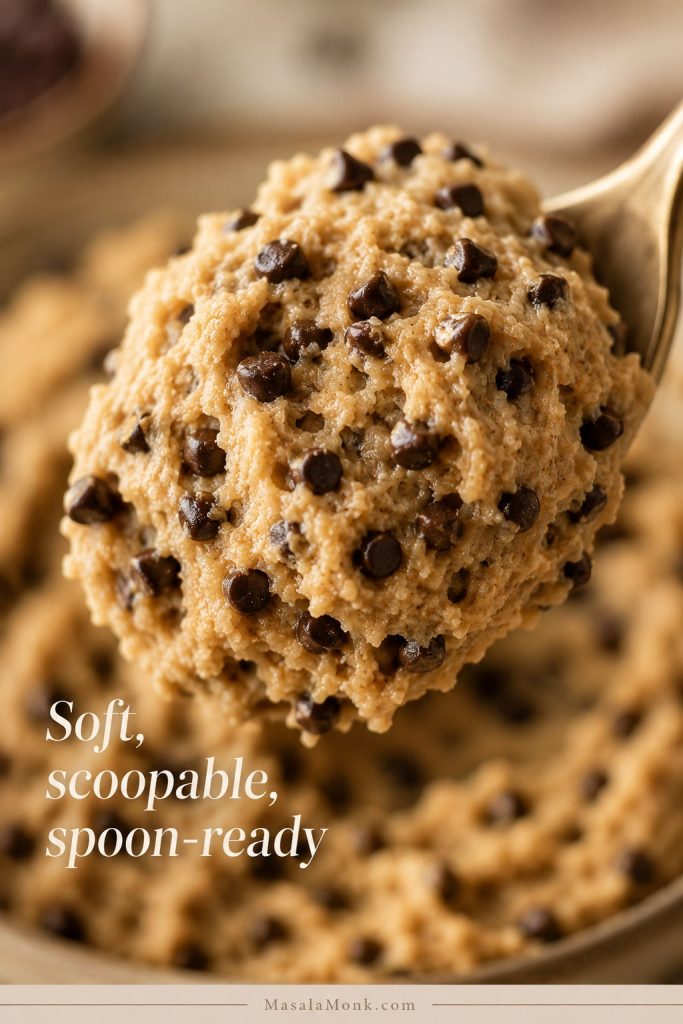
| Best texture | Scoopable, sturdy, and easy to eat with a spoon |
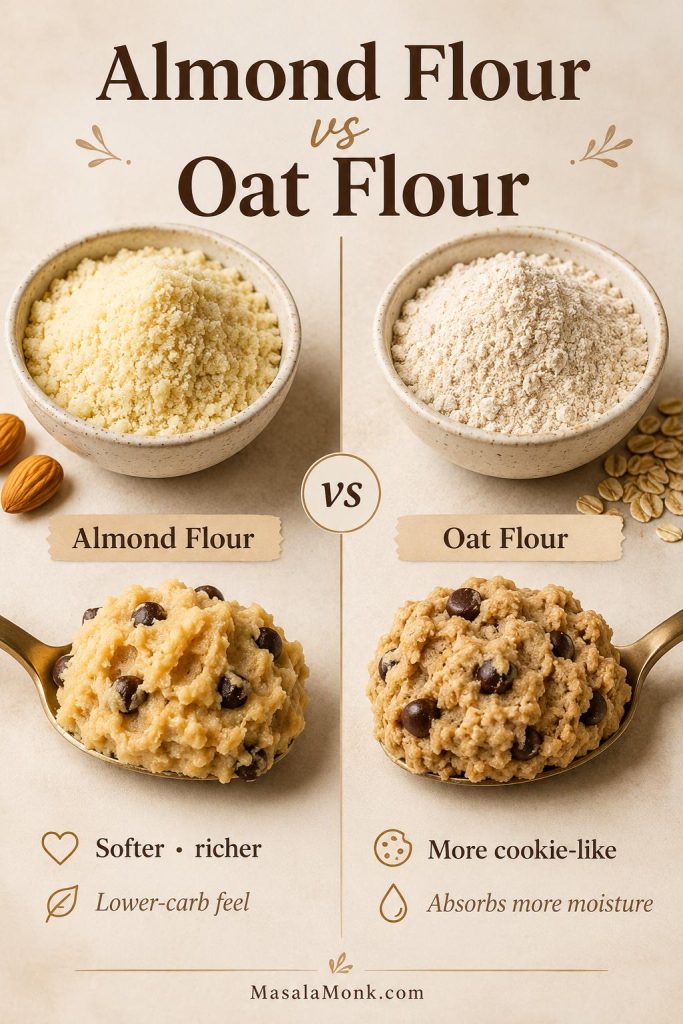
| Best flour | Almond flour for soft/rich, oat flour for more cookie-like |
| Main fix | Add liquid slowly, then fine-tune the texture in small spoonfuls |
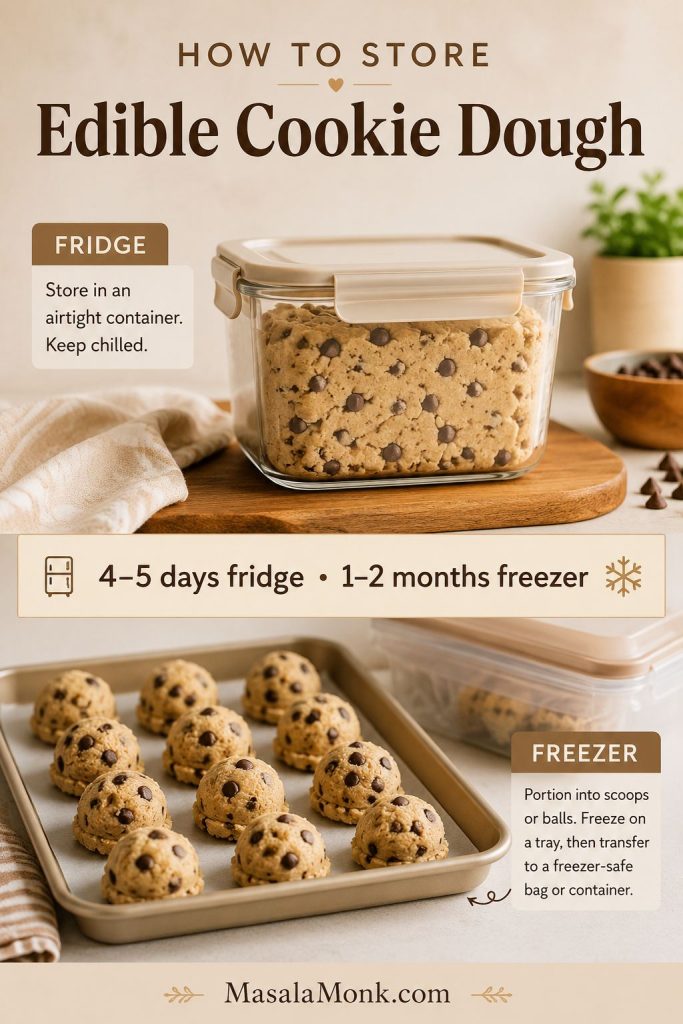
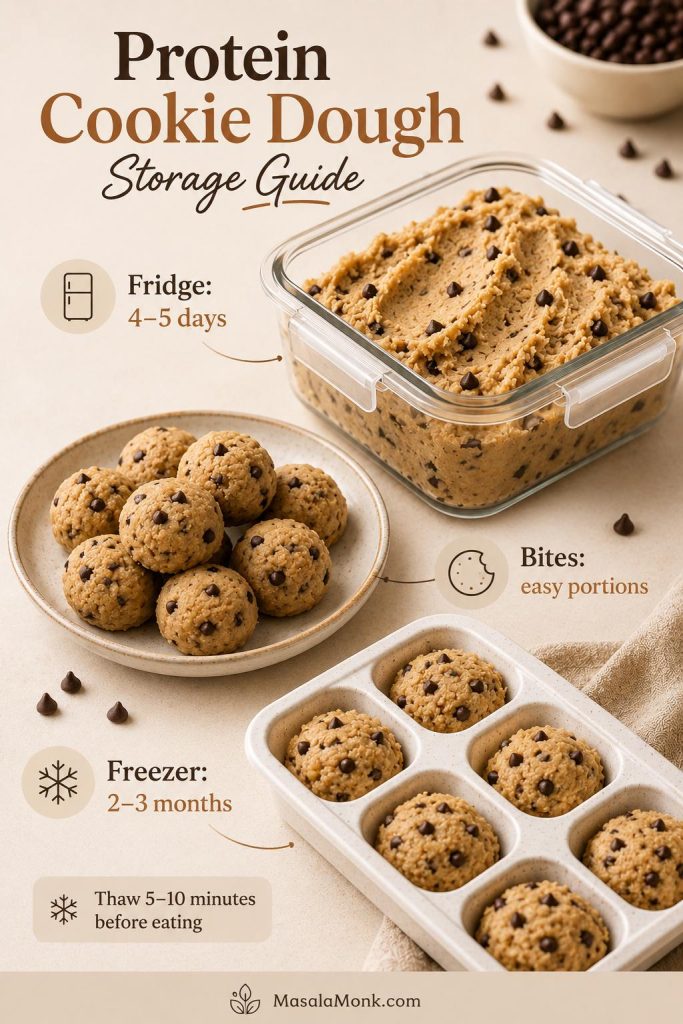
| Storage | 4–5 days in the fridge or 2–3 months frozen in portions |
The best part is that the recipe is forgiving. If the first mix looks too dry, too sticky, or too thick, you do not have to start over — you just adjust the bowl in small steps.
Estimated Protein, Calories, and Serving Size
Protein and calorie estimate: This recipe is easiest to estimate by serving size. Dividing the batch into 3 larger portions gives a higher-protein snack, while 4 smaller portions gives a lighter dessert-style serving. With most vanilla protein powders, the batch usually lands around 15–22g protein per serving.
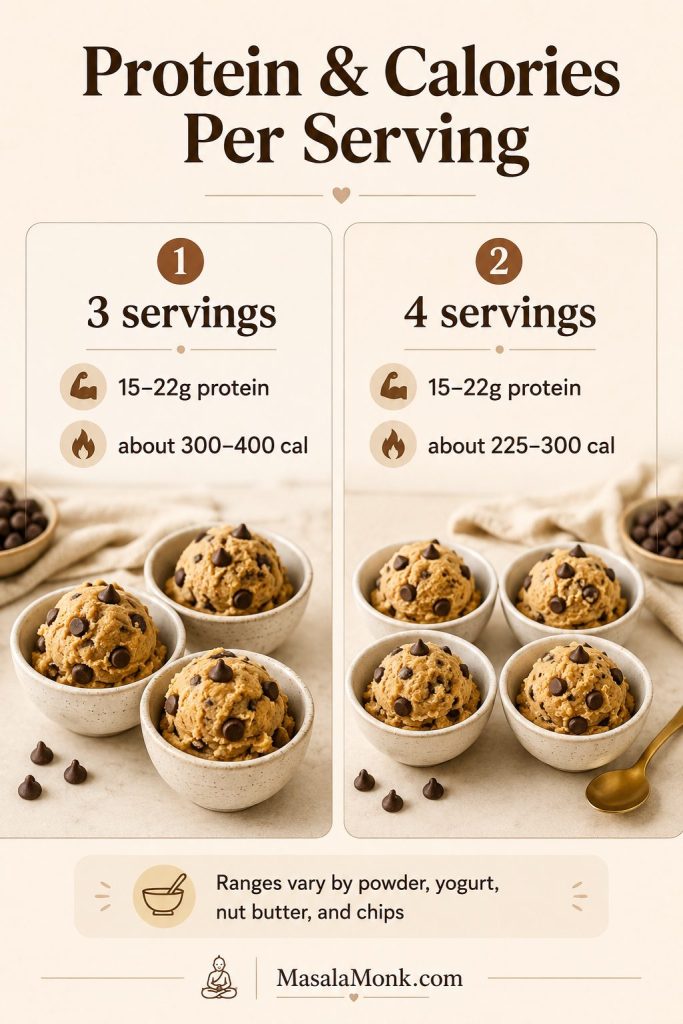
As a rough range, the full batch often lands around 900–1,200 calories, depending on the protein powder, nut butter, yogurt, milk, syrup, and chocolate chips used. That works out to about 300–400 calories if divided into 3 larger servings, or about 225–300 calories if divided into 4 smaller servings. Use your own ingredient labels for the most accurate number.
Calories vary most from the nut butter, chocolate chips, protein powder, syrup, and yogurt you use. A richer dessert bowl usually comes from regular nut butter, maple syrup or honey, and the full chocolate chip amount. If you want a lighter version, use powdered peanut butter, nonfat Greek yogurt, almond milk, and fewer mini chocolate chips.
To keep the bowl lighter without making it taste flat, jump to the low-calorie protein cookie dough version and use the swaps there.
Why This Protein Cookie Dough Works
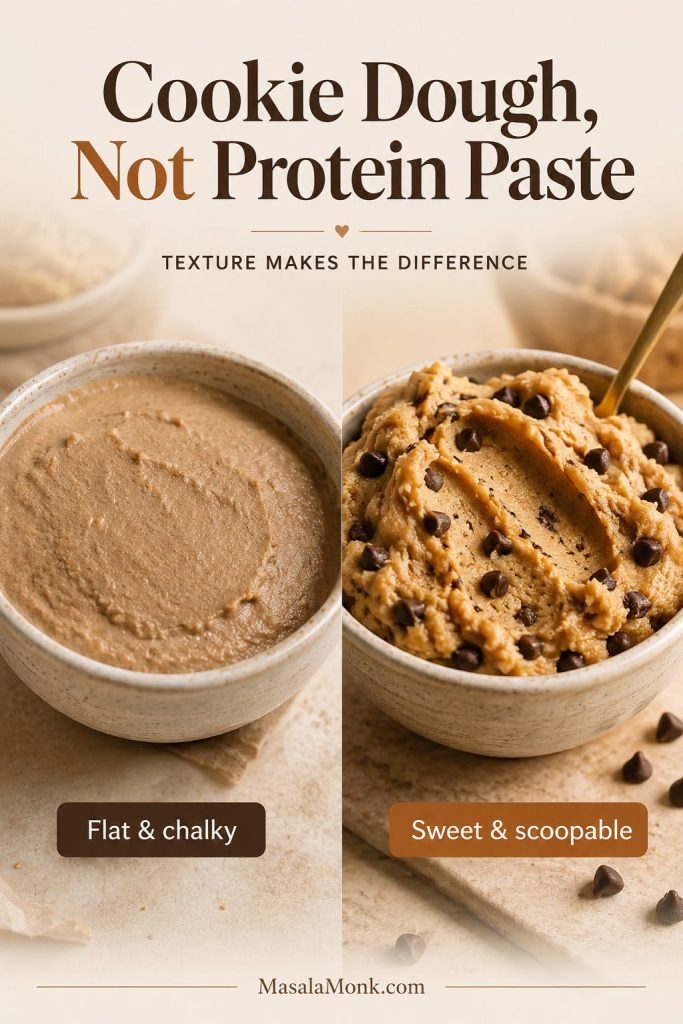
A good high-protein cookie dough has to solve the real problem: it needs enough protein to feel worth making, but it still has to satisfy the part of you that wanted cookie dough in the first place. When the balance is off, the texture changes quickly. Extra protein powder can make the dough dry or chalky, too much liquid can turn it sticky, and not enough fat can make it taste like sweet paste instead of cookie dough.
This version works because each ingredient protects the dough from the usual protein-dessert problems: dry, sticky, chalky, or bland. Protein powder gives the snack its purpose, almond flour or oat flour keeps it from turning loose, nut butter makes it taste richer, and Greek yogurt softens the bite so it feels more like dessert than a scoop of powder. Vanilla, salt, and mini chocolate chips finish the flavor so it tastes more like cookie dough and less like a protein shake in a bowl.
When that balance is right, the dough tastes sweet and familiar instead of “healthy” in the disappointing way.
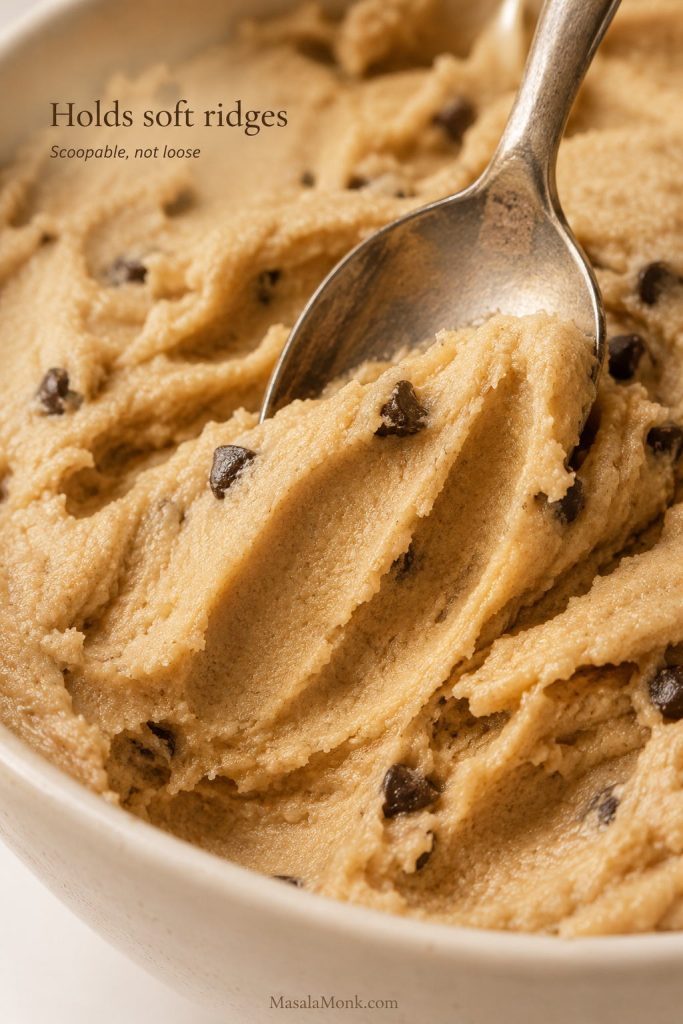
The finished dough should hold ridges when stirred, scoop cleanly, and firm up slightly after chilling. It should not pour like batter, crumble like dry powder, or cling aggressively to the spoon.
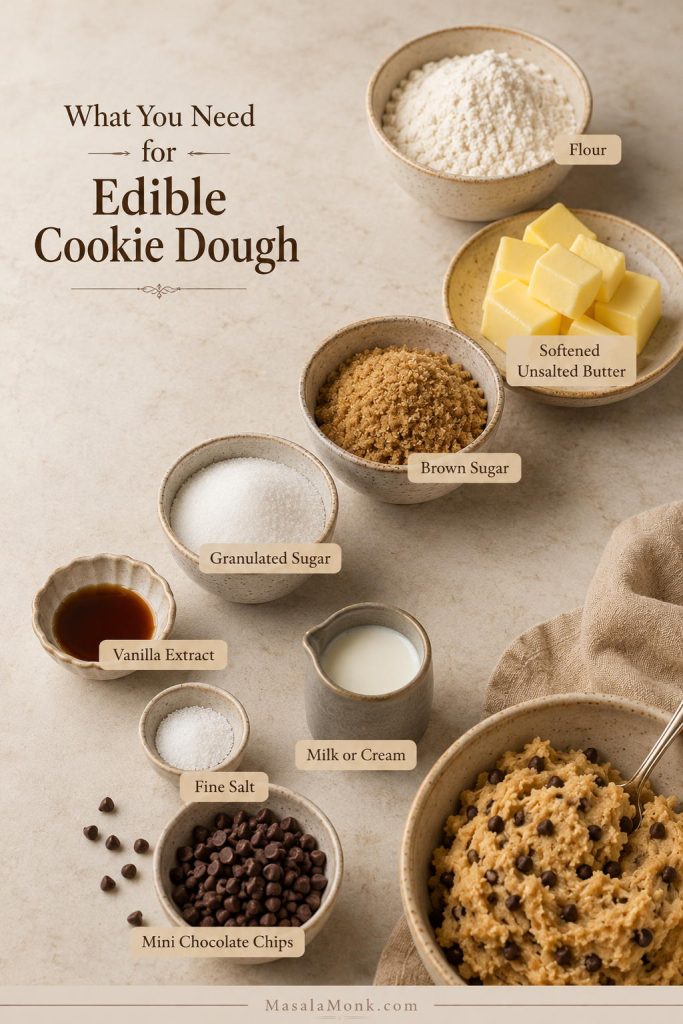
Ingredients You Need
Think of the ingredients as texture controls: dry ingredients build the dough, creamy ingredients soften it, and the small flavor ingredients make it taste like dessert instead of a protein bowl.
Protein powder
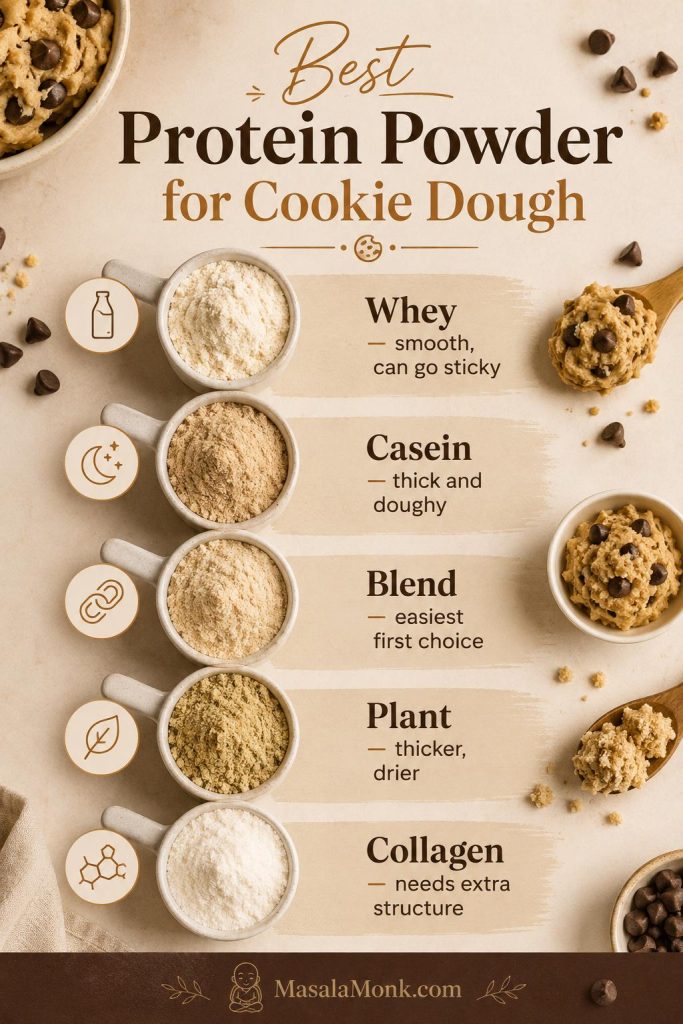
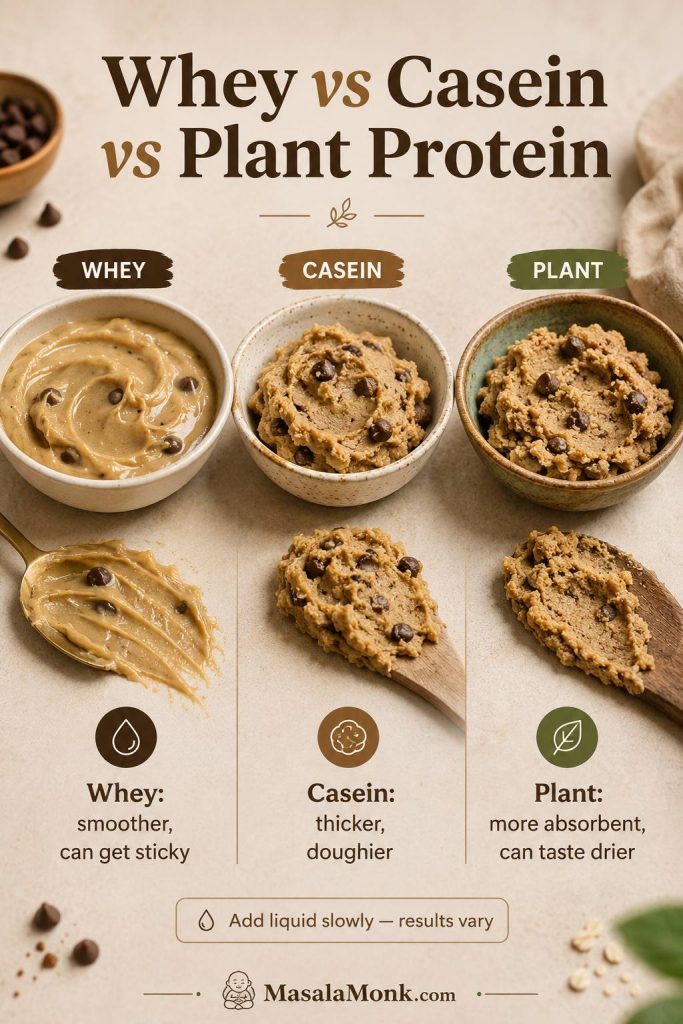
Vanilla protein powder is the easiest choice because it already brings sweetness and dessert flavor. Whey protein can make a smoother dough, but it may become sticky if you add too much liquid. Casein and plant protein usually thicken more aggressively, so they often need extra milk or yogurt. A whey-casein blend is often the easiest option for a classic cookie dough texture.
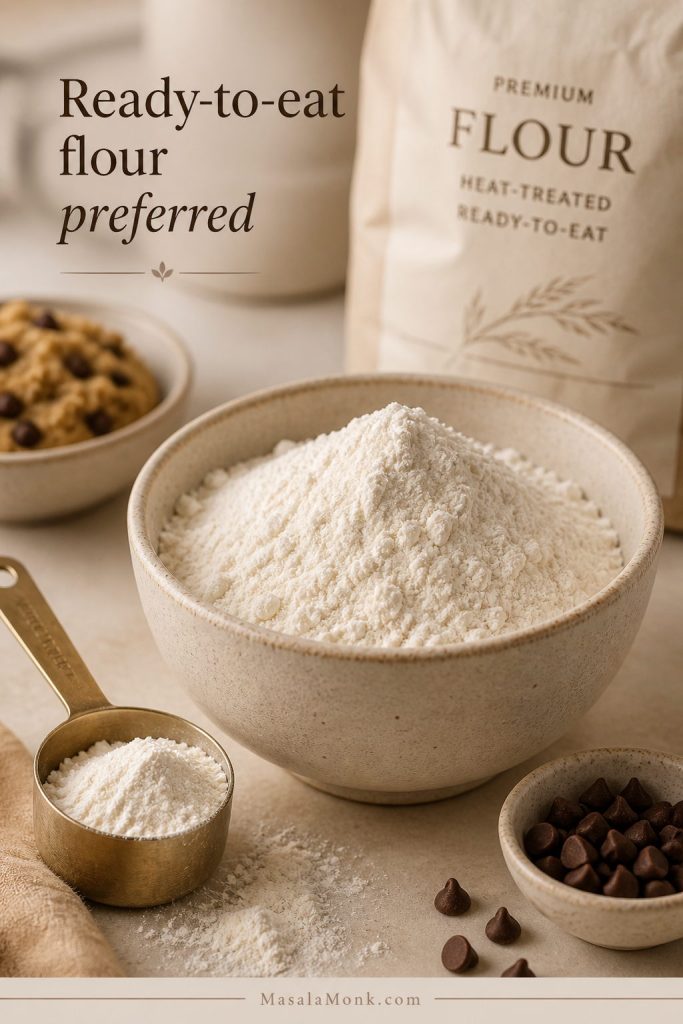
Almond flour or oat flour
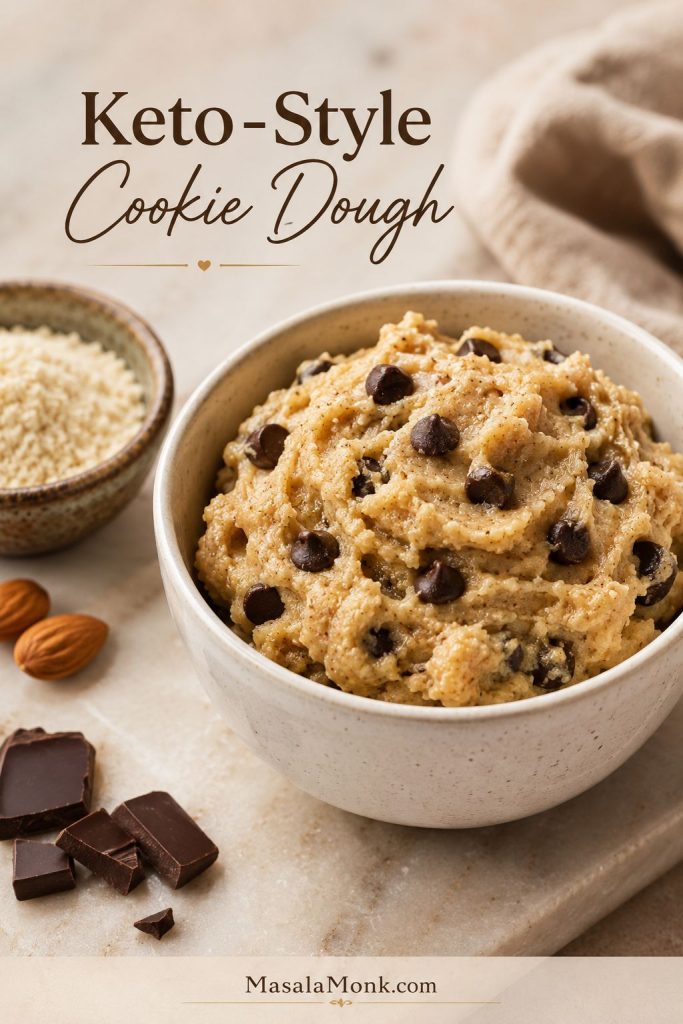
Almond flour gives the dough a soft, rich texture and keeps it lower in carbs than oat flour. Oat flour makes the dough taste a little more familiar and cookie-like, but it can absorb more moisture. Use whichever fits your taste and dietary needs. For a deeper look at almond flour, coconut flour, and other low-carb baking options, see this low-carb flour guide.
Do not use regular raw all-purpose flour in this no-bake recipe. The safety section below explains why.
For the raw-dough details, read the edible cookie dough safety section before swapping flours.
Nut butter
Peanut butter gives the strongest flavor and the richest dough. Almond butter is milder. Cashew butter gives a softer, almost bakery-style sweetness. Sunflower seed butter works if you need a nut-free option, though it has a more noticeable flavor.
Greek yogurt
Greek yogurt keeps the dough creamy while adding more protein. Thick plain Greek yogurt works best. If your yogurt is thin or watery, start with less milk. If your yogurt is very thick, you may need an extra spoonful of milk to bring the dough together.
Maple syrup or honey
Maple syrup and honey do more than sweeten the dough. They also add moisture and help the texture feel less powdery. Sugar-free syrup can work, but the texture may be thinner or less rich depending on the brand.
Vanilla, salt, and mini chocolate chips
These small ingredients make a big difference. Vanilla gives the dough a dessert-like aroma, salt keeps the flavor from tasting flat, and mini chocolate chips spread more evenly than large chips, especially in a single-serving bowl.
Is Protein Cookie Dough Safe to Eat Raw?
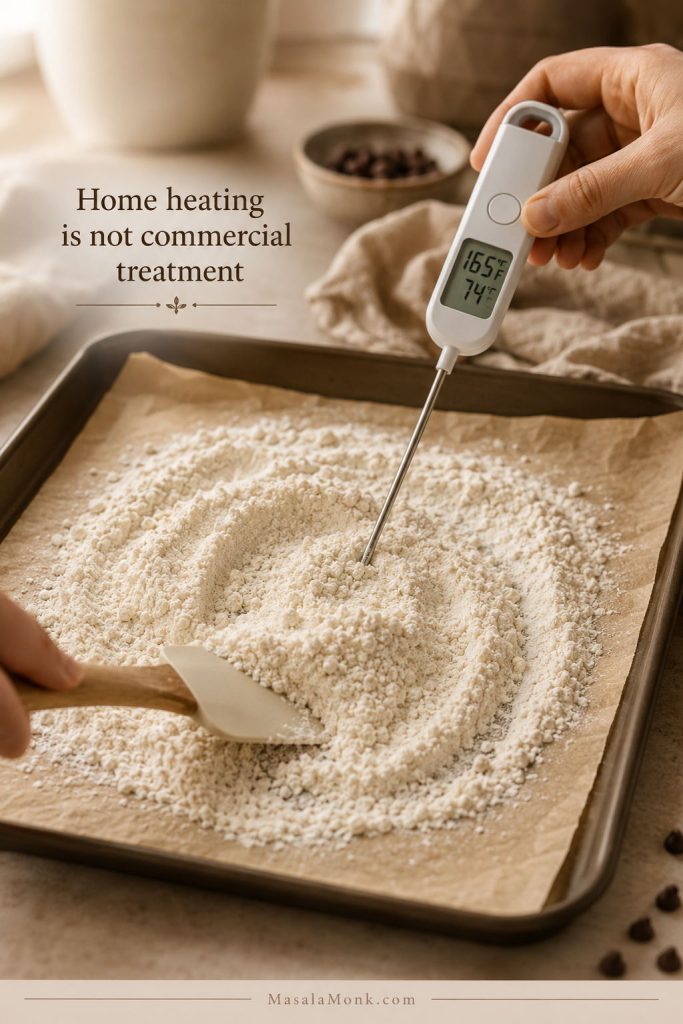
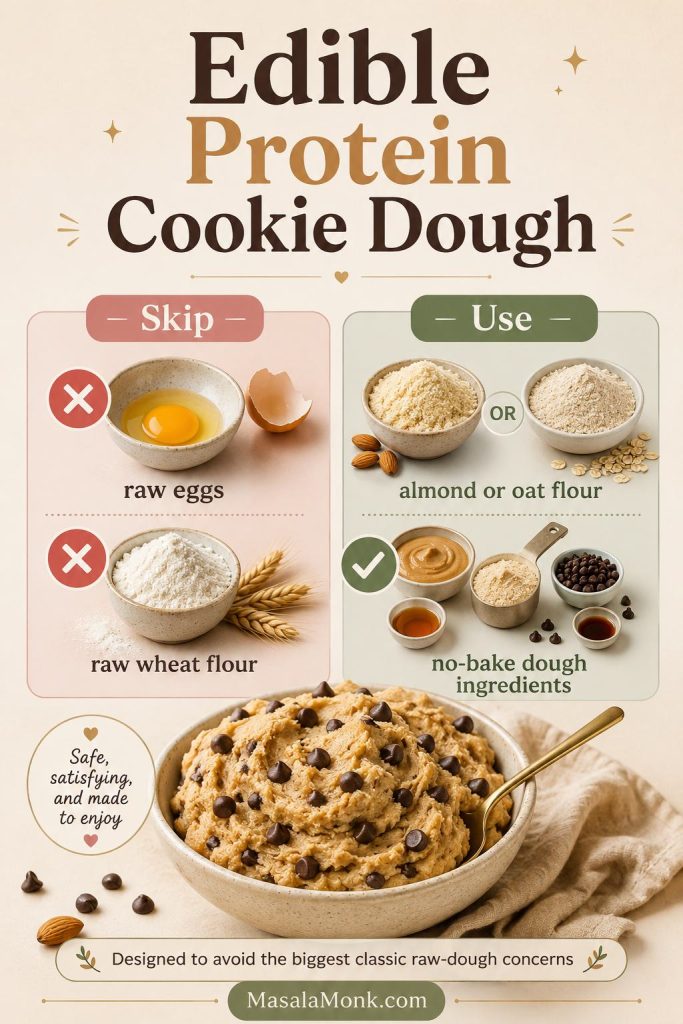
This recipe is designed as edible cookie dough because it avoids the two biggest classic raw-dough concerns: raw eggs and raw all-purpose wheat flour. That matters because regular flour is usually a raw ingredient, and raw dough or batter made with uncooked flour is not considered safe to taste before cooking.
The FDA explains that most flour is raw and has not been treated to kill germs. The CDC also warns against eating raw dough made with uncooked flour because flour can carry germs that are killed only when the flour is baked or cooked.
For this no-bake dough, use fresh almond flour, oat flour from a trusted package, or a flour product specifically labeled for edible dough. Do not swap in regular raw wheat flour.
If you want the classic version without protein powder, this edible cookie dough recipe follows the same no-bake, spoonable dessert idea with a more traditional cookie-dough flavor.
Best Protein Powder for Cookie Dough
The best protein powder is the one that tastes good to you and thickens predictably. Because this recipe is not baked, there is nowhere for a harsh protein-powder flavor to hide. Use a vanilla powder you already like in smoothies, yogurt bowls, or protein shakes.
Texture matters just as much as flavor. Whey, casein, plant protein, collagen, and blends all absorb moisture at a different pace, which is why the recipe gives a range for milk instead of one fixed amount.
This is why two people can use the same recipe and get different results. The recipe may not be the problem — the powder may simply need more or less moisture.
Protein powder texture guide
| Protein powder | Texture in cookie dough | Best fix |
|---|---|---|
| Whey protein | Smooth, but can become sticky or wet if overhydrated. | Add milk slowly. Thicken with almond flour, oat flour, or a little more protein powder. |
| Casein protein | Thick, doughy, and very absorbent. | Add milk or Greek yogurt 1 teaspoon at a time until spoonable. |
| Whey-casein blend | Usually the most balanced cookie dough texture. | Best first choice for a balanced, cookie-dough-like texture. |
| Plant protein | Thick, sometimes chalky or earthy. | Add nut butter, yogurt, vanilla, salt, and enough milk to soften the texture. |
| Collagen powder | Adds protein but does not give much dough structure. | Use it with almond flour or oat flour, not as the only dry ingredient. |
| Powdered peanut butter | Lower in fat, peanut-forward, and slightly dry. | Pair with Greek yogurt or milk to keep the dough creamy. |
Why protein powder changes the texture: Whey, casein, and plant protein all work, but they do not absorb liquid the same way.
For the first batch, use the recipe as written but hold back some of the milk. Once you see how your protein powder thickens, the recipe becomes easy to repeat.
If your dough already turned dry, sticky, or loose, go straight to the texture fixes instead of guessing.
How to Make Protein Cookie Dough
You only need one bowl for the classic version. A spatula or sturdy spoon is better than a whisk because the mixture becomes thick quickly.
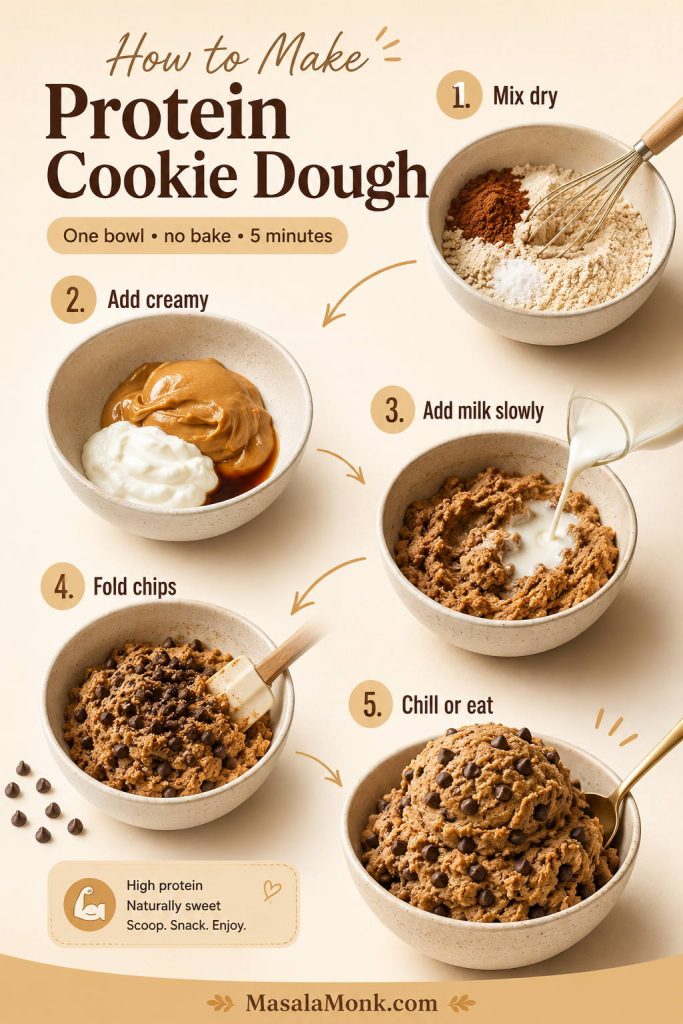
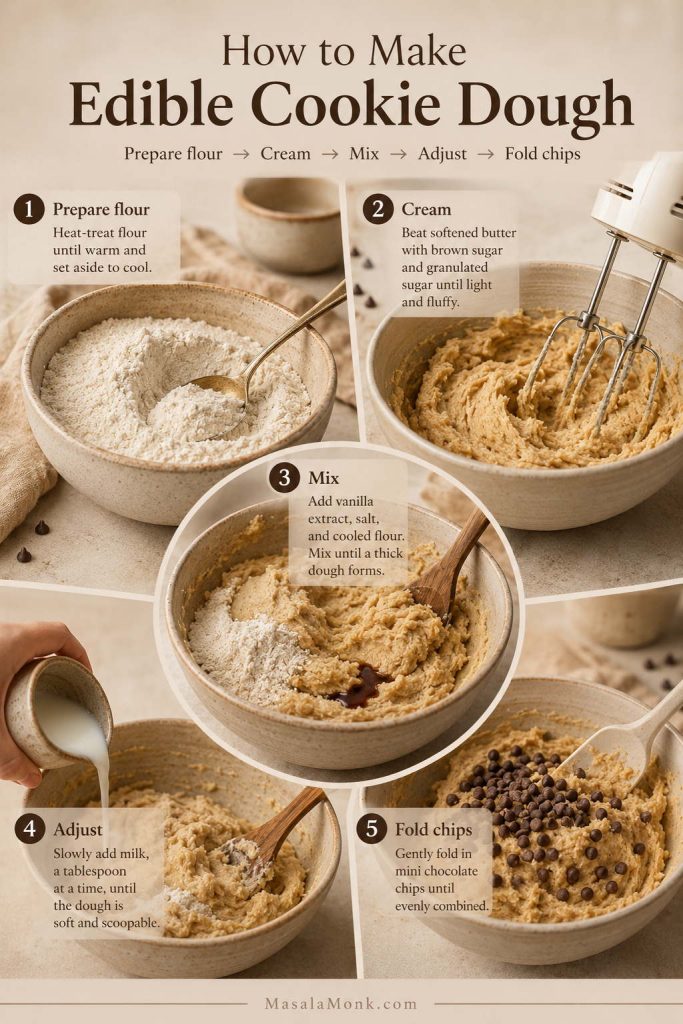
Step 1: Mix the dry ingredients
Place the almond flour or oat flour, protein powder, and salt in a medium bowl. Stir them together first so the protein powder is evenly distributed before the wet ingredients go in.
Step 2: Add the creamy ingredients
Stir in the nut butter, Greek yogurt, maple syrup or honey, and vanilla. The dough may start to clump together and look too thick at this point, which is fine.
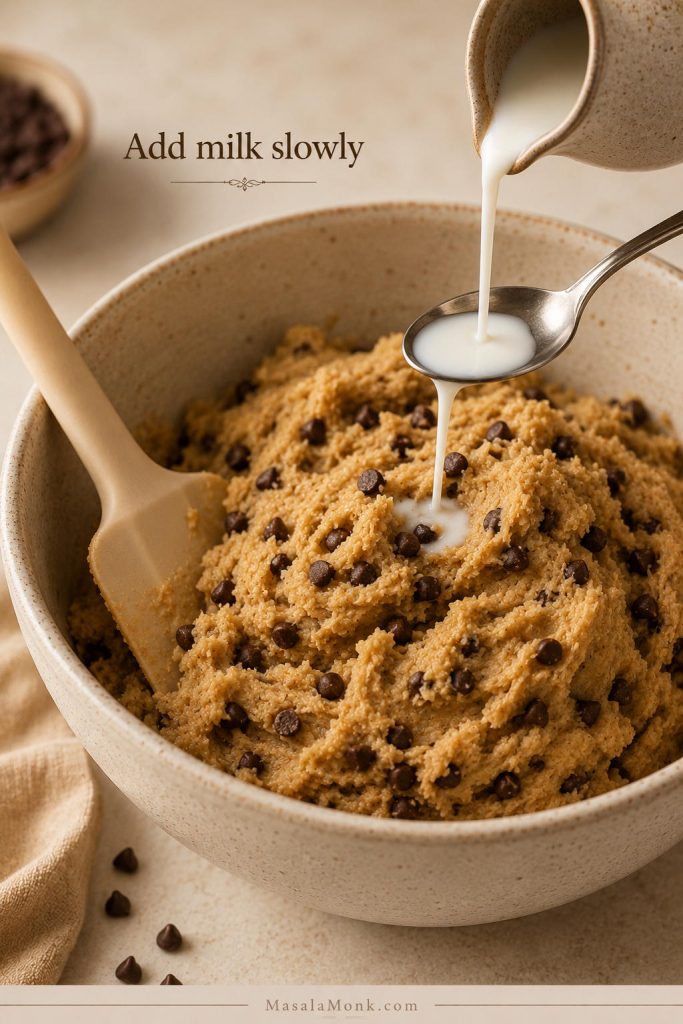
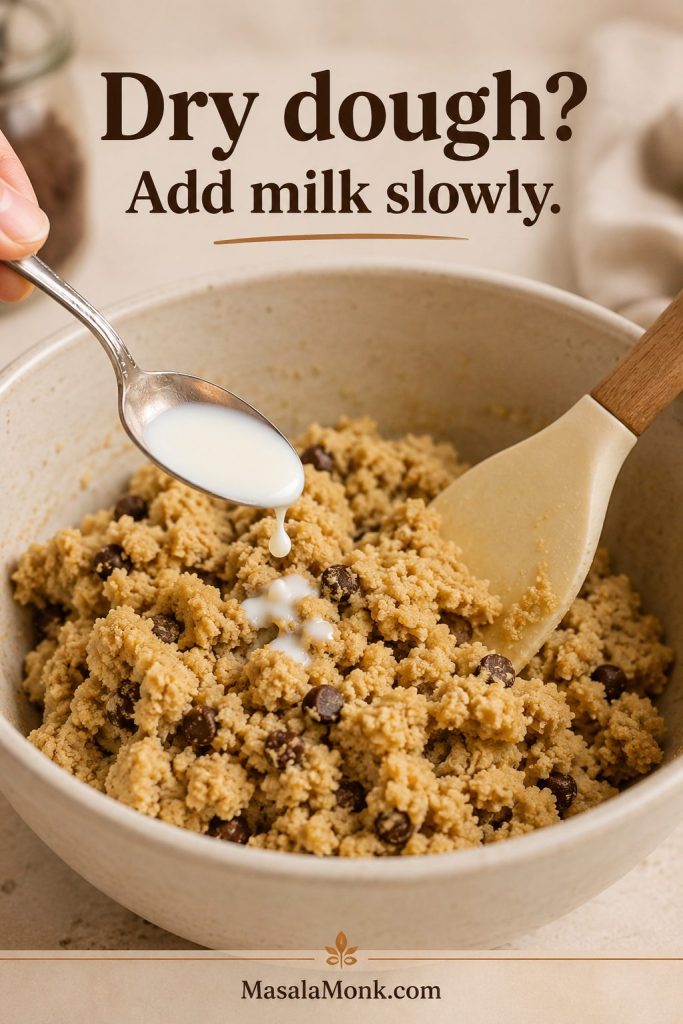
Step 3: Loosen the dough gradually
Pour in milk or almond milk 1 tablespoon / 15ml at a time. Mix well after each addition and stop when the dough is soft but sturdy. You may not need all the milk, especially if your yogurt is loose or your protein powder is whey-based.
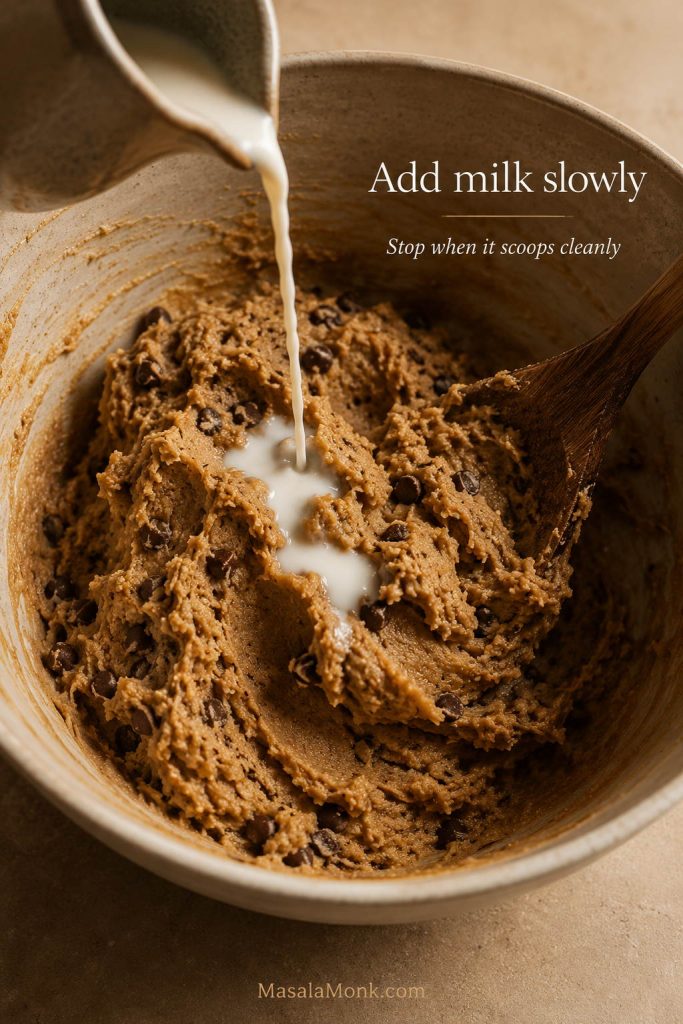
At the right point, the dough should drag slightly against the spoon, hold soft ridges, and scoop cleanly without sliding back into the bowl.
If your dough does not look like this yet, use the texture guide to fix it before folding in the chocolate chips.
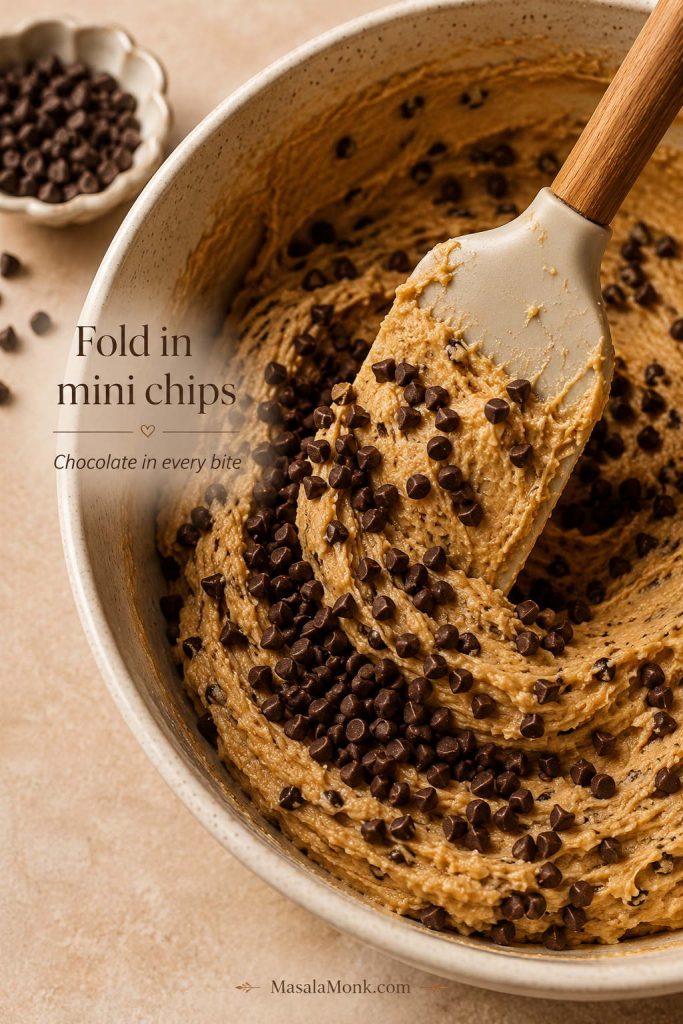
Step 4: Fold in mini chocolate chips
Fold in the mini chocolate chips once the texture is right. Adding them at the end keeps them evenly distributed and prevents the dough from becoming overmixed.
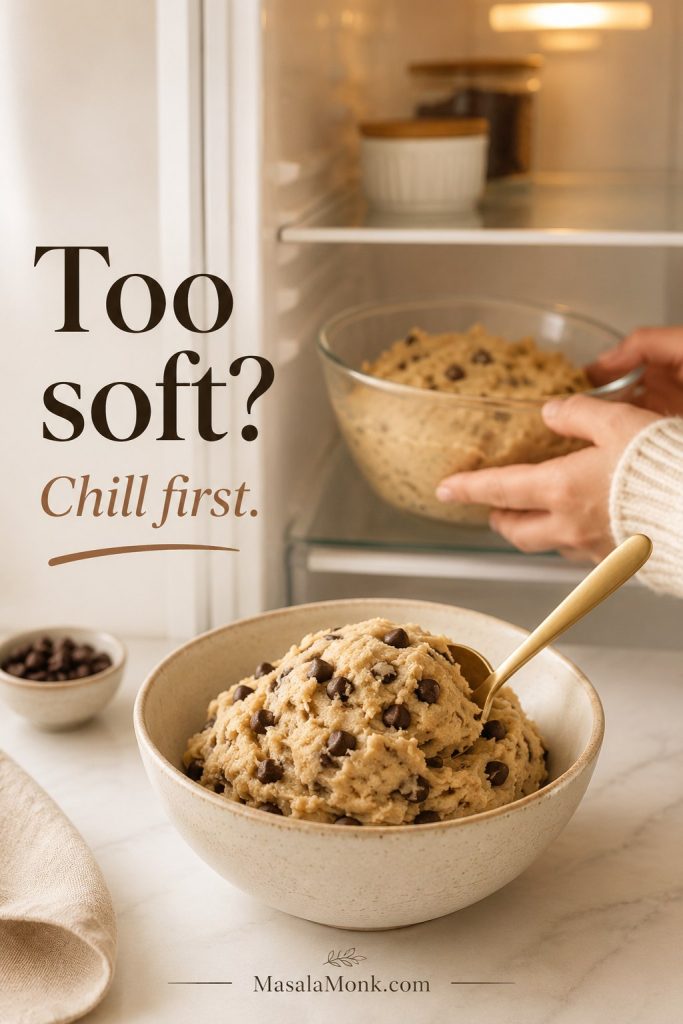
Step 5: Eat right away or chill
You can eat the dough immediately if you like a softer, freshly mixed texture. For a firmer, more classic cookie dough feel, cover the bowl and chill it for 20–30 minutes.
Protein Cookie Dough Texture Guide
If your first spoonful does not look perfect, do not panic. Protein cookie dough is easy to fix because most texture problems come down to one thing: the dough either needs a little more moisture or a little more dry structure.
| Problem | Why it happened | How to fix it |
|---|---|---|
| Too wet | Too much milk, loose yogurt, or a whey protein that does not absorb much liquid. | Stir in 1 teaspoon almond flour, oat flour, or protein powder at a time. |
| Too dry | Casein or plant protein absorbed the liquid quickly. | Loosen it with 1 teaspoon milk or Greek yogurt at a time. |
| Chalky | Too much protein powder, plant protein, or not enough fat/moisture. | Work in 1–2 teaspoons nut butter or Greek yogurt, plus vanilla and a pinch of salt. |
| Too sticky | Too much syrup, nut butter, or liquid. | Chill 20–30 minutes, or sprinkle in a little almond/oat flour. |
| Not sweet enough | Unsweetened protein powder or not enough syrup. | Sweeten with 1 teaspoon maple syrup, honey, or your preferred sweetener. |
| Too protein-y | The protein powder flavor is too strong. | Balance it with vanilla, salt, mini chocolate chips, or a better-tasting vanilla protein powder next time. |
Once the texture is right, the bowl stops feeling like a protein workaround and starts feeling like what you actually wanted: cold, sweet cookie dough with little pockets of chocolate in every spoonful.
How to Make It Taste More Like Cookie Dough
If the dough tastes too much like protein powder, do not add more milk first. Milk changes the texture, but it does not always fix the flavor. Start with the little things that make cookie dough taste like cookie dough.
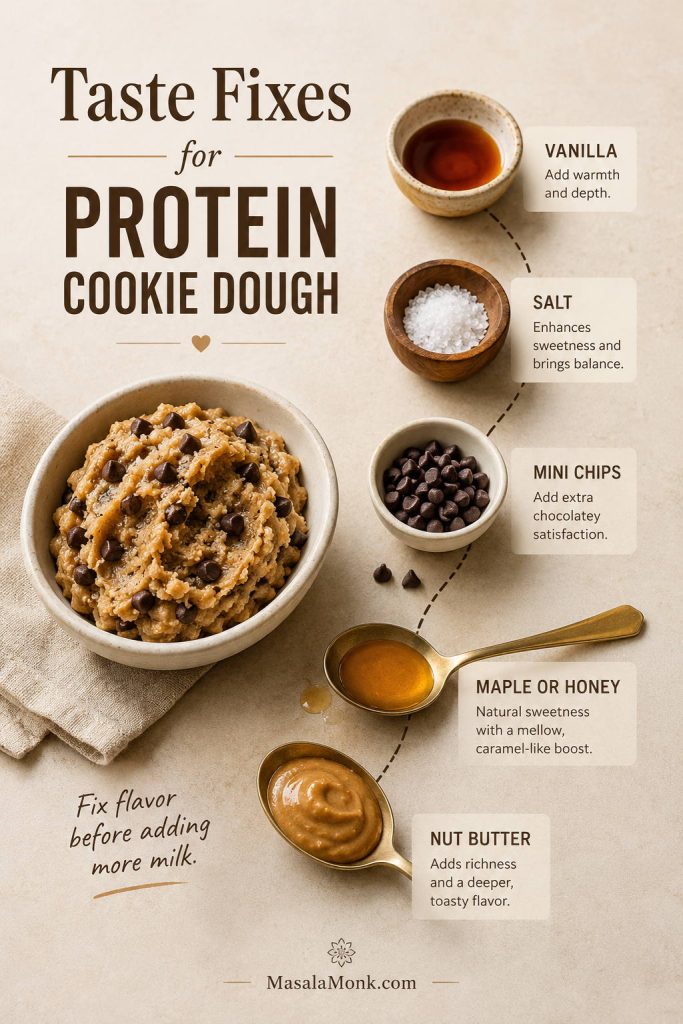
- Add a little more vanilla if the flavor tastes flat.
- Add a tiny pinch of salt if the dough tastes too sweet, bland, or protein-heavy.
- Use mini chocolate chips so every spoonful gets chocolate.
- Add 1 teaspoon maple syrup or honey if your protein powder is not very sweet.
- Add 1 teaspoon nut butter if the dough tastes chalky or thin.
- Chill the dough for 20–30 minutes if the flavor feels sharp right after mixing.
Craving check: A good high-protein dough should still feel like dessert, not a bowl of sweet protein paste.
Once the base flavor tastes right, try one of the flavor variations to make the dough more dessert-like.
Protein Cookie Dough Flavor Variations
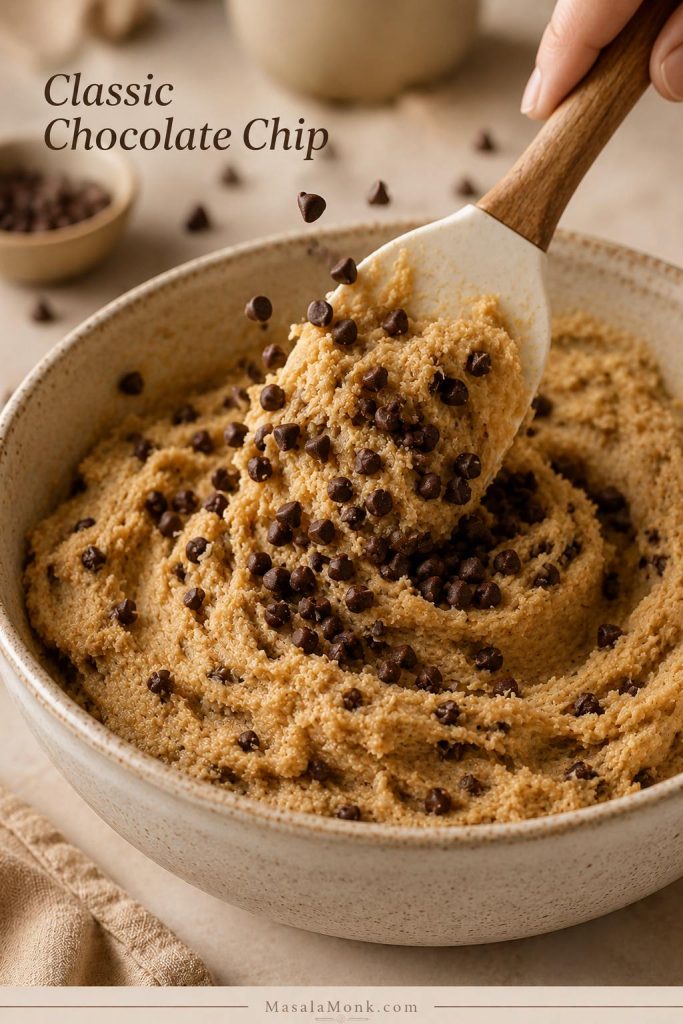
Once the base texture is right, the easiest way to change the dough is with mix-ins and small flavor cues. Keep the same dough formula, then adjust the add-ins based on whether you want it more dessert-like, lower-sugar, or macro-friendly.
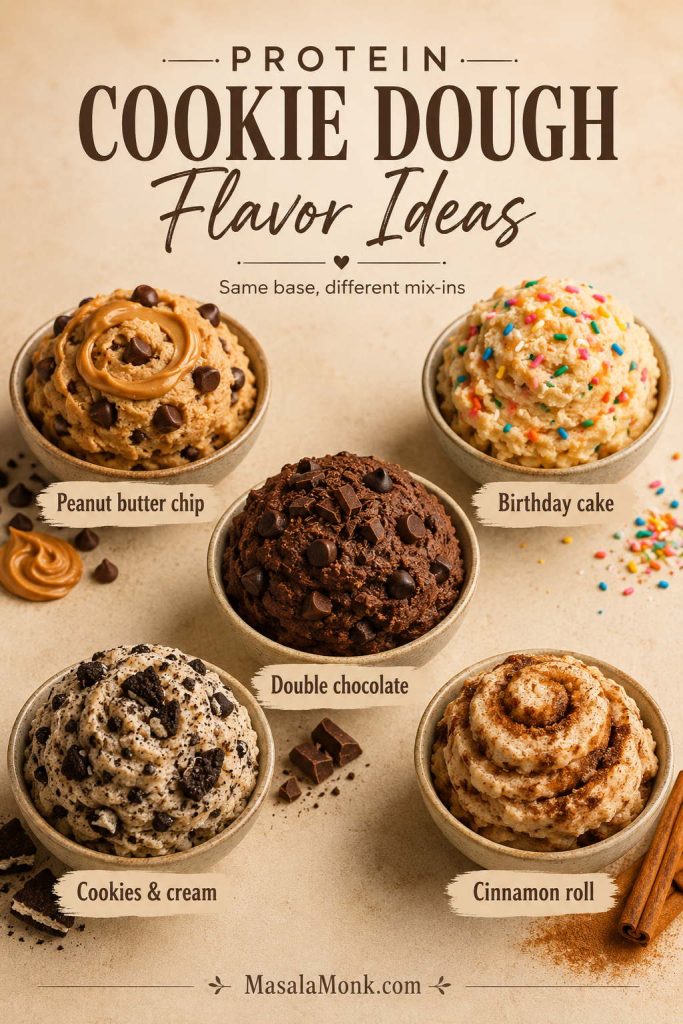
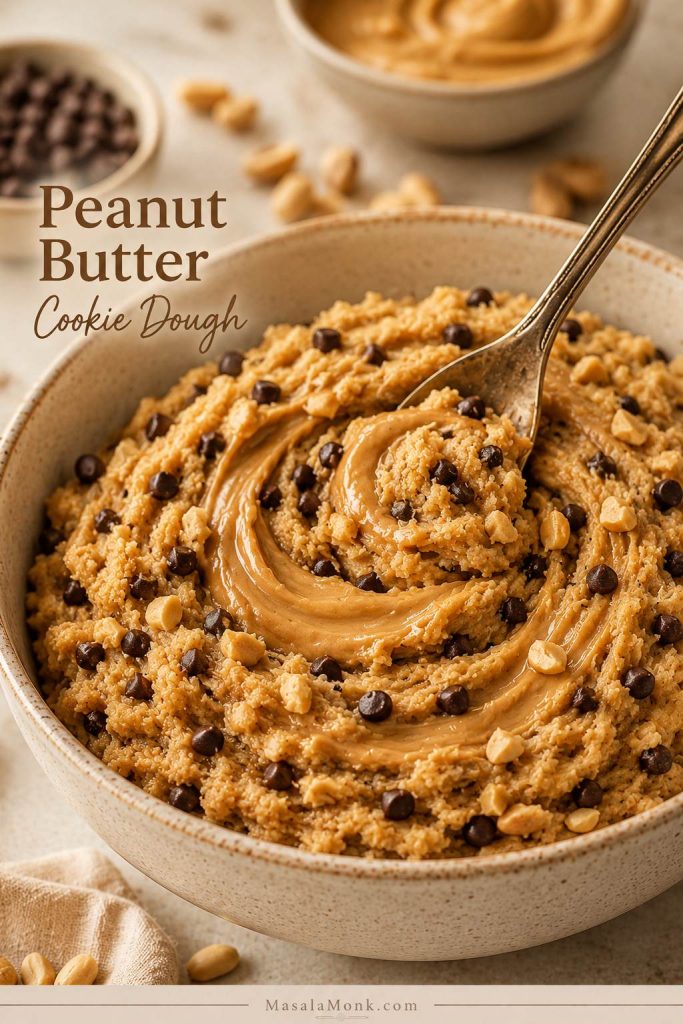
- Peanut butter chocolate chip: Use peanut butter as the nut butter and keep the mini chocolate chips.
- Birthday cake: Use vanilla protein powder, cashew butter, and a small spoonful of sprinkles.
- Double chocolate: Add 1 tablespoon cocoa powder and a little extra milk if the dough gets too thick.
- Cookies and cream: Fold in crushed chocolate sandwich cookies or a lighter cookie-style mix-in.
- Cinnamon roll: Add cinnamon, vanilla, and a tiny pinch more salt.
For any dry mix-in like cocoa powder or crushed cookies, add a tiny splash of milk only after the dough is mixed so you do not accidentally make it loose.
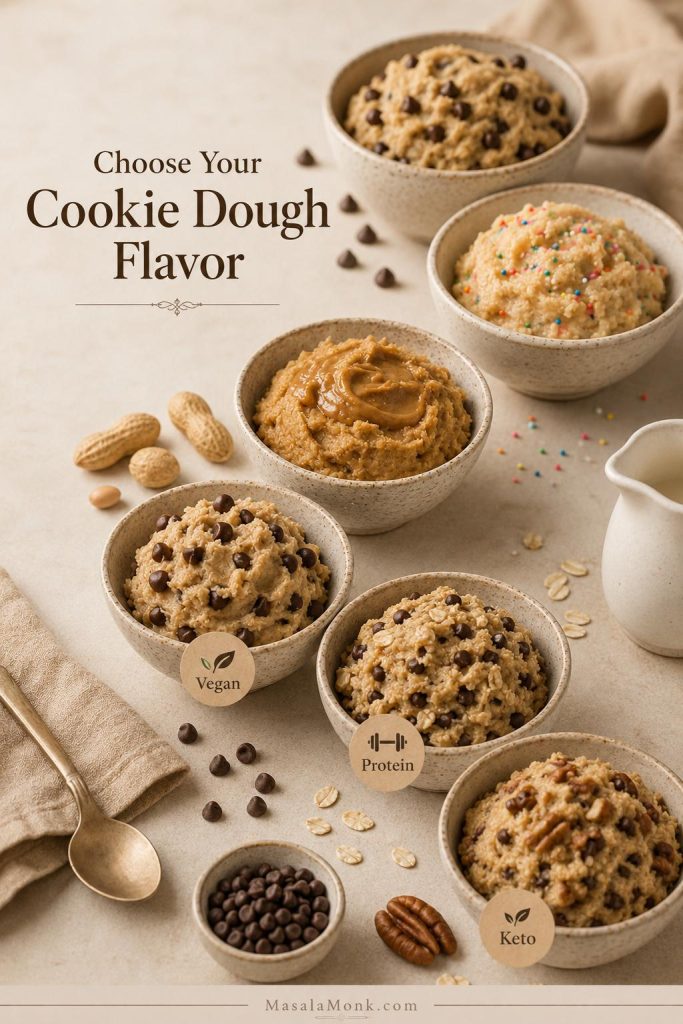
Which Protein Cookie Dough Version Should You Make?
Start with the classic version when you want the easiest bowl. Once the base dough works, the variations are simple: make it creamier for dessert, lighter for macros, dairy-free for plant-based snacking, higher-fiber with chickpeas, or firm enough to slice into bars.
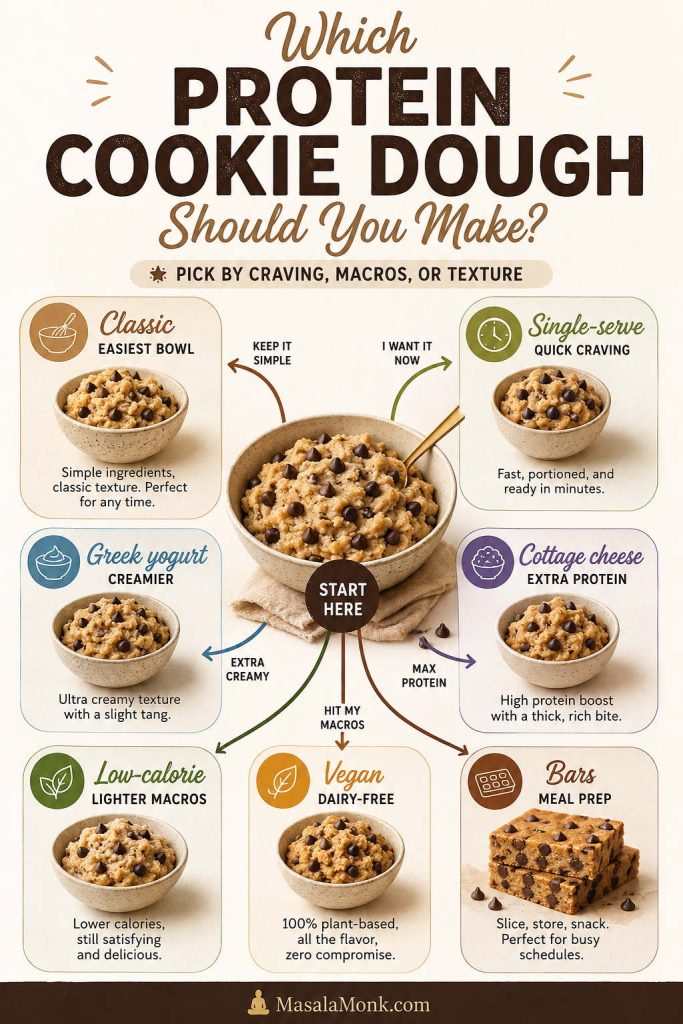
| Version | Best for | Texture | Use this base |
|---|---|---|---|
| Classic protein cookie dough | Best overall | Thick enough to scoop, soft enough to eat with a spoon | Protein powder + flour + nut butter + Greek yogurt |
| Single serve | Quick craving | Small-batch dough | 30g protein powder + nut butter |
| Greek yogurt | Creamier snack | Smoother, tangier, and more spoonable | Greek yogurt + protein powder |
| Cottage cheese | Extra creamy, higher-protein variation | Smooth and creamy when blended first | Blended cottage cheese |
| Low calorie | Macro-friendly snack | Lighter and less rich | Powdered peanut butter + nonfat Greek yogurt |
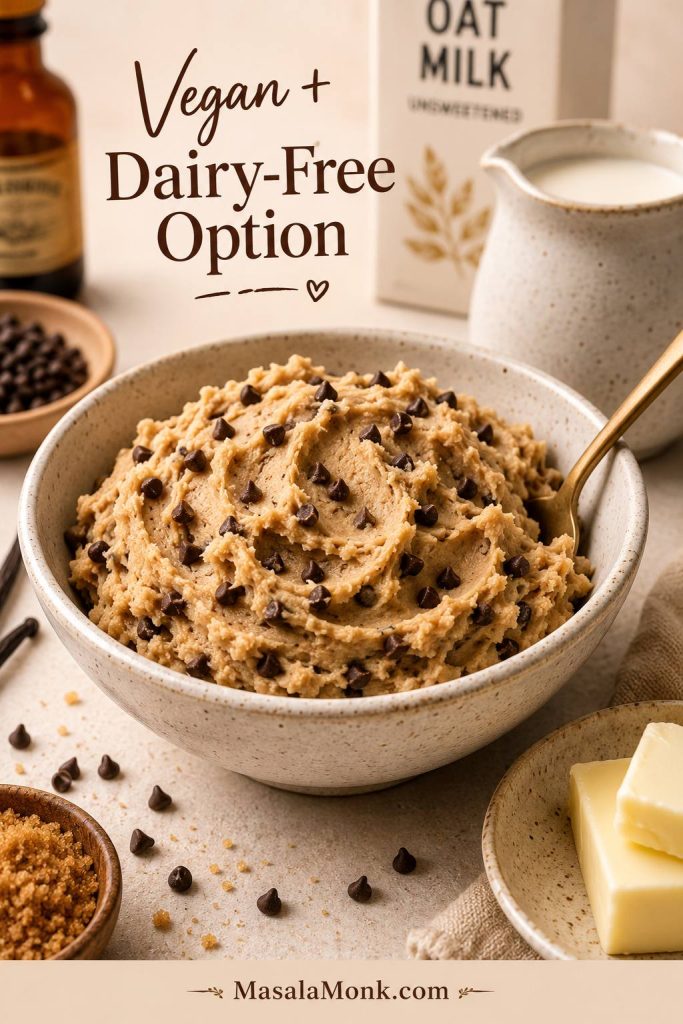
| Vegan | Dairy-free version | Thick, sometimes chalkier | Plant protein + dairy-free milk |
| Chickpea | Plant-based/fiber-rich | Thicker and dip-like | Chickpeas + protein powder |
| Bars | Meal prep | Firm and sliceable | Thicker dough + pan chill |
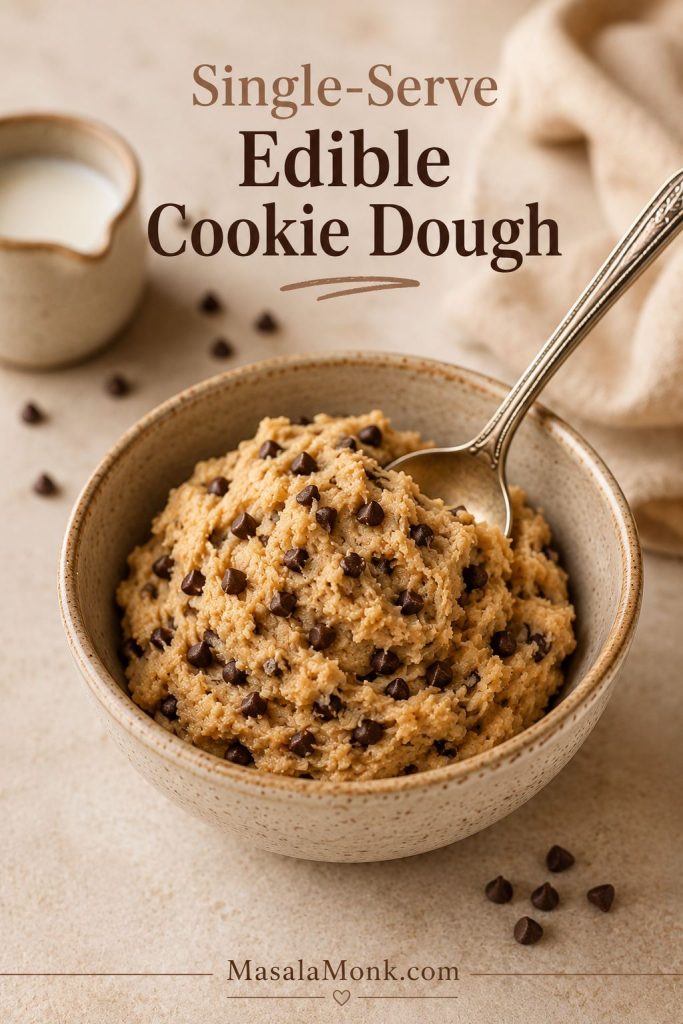
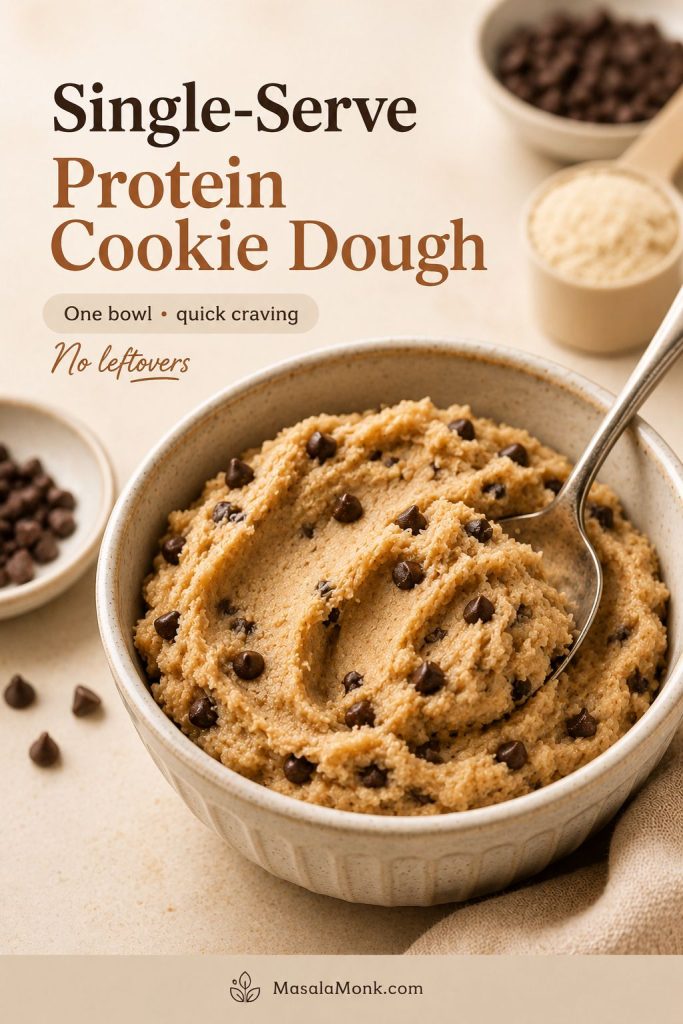
Single-Serve Protein Cookie Dough
For a quick one-bowl snack, make a single serving instead of a full batch. This version is useful when you want a sweet high-protein bite without storing leftovers.
| Ingredient | Amount |
|---|---|
| Vanilla protein powder | 30g |
| Almond flour or oat flour | 2–3 tablespoons |
| Nut butter | 1½ tablespoons |
| Greek yogurt or milk | 1–2 tablespoons |
| Maple syrup or honey | 1–2 teaspoons, optional |
| Vanilla extract | ¼ teaspoon |
| Salt | Pinch |
| Mini chocolate chips | 1–2 tablespoons |
Mix the dry ingredients first, stir in the nut butter and yogurt, then adjust with tiny splashes of milk until the dough is scoopable but not loose. This version can be higher in protein than the main recipe because it uses a full scoop of protein powder in one serving.
Greek Yogurt Protein Cookie Dough
If you like a softer, creamier bowl, Greek yogurt is the easiest way to get there. It gives the dough a smoother bite and a little tang, without making it feel heavy. If you like Greek-yogurt-based meal prep, these high-protein overnight oats use the same creamy, filling idea in breakfast form.

To make the Greek yogurt version, increase the Greek yogurt to ½ cup and reduce the milk. Stir the dough well, then chill it for 20–30 minutes so the flour and protein powder can absorb the moisture. If the yogurt is very thick, add milk 1 teaspoon at a time. If the yogurt is loose, add a little more almond flour or oat flour.
Cottage Cheese Protein Cookie Dough
Cottage cheese works well when you want a creamy, high-protein base with a little extra body. The key is to blend it smooth before adding it to the dough. If you skip that step, the texture can taste curdy instead of cookie-dough-like.
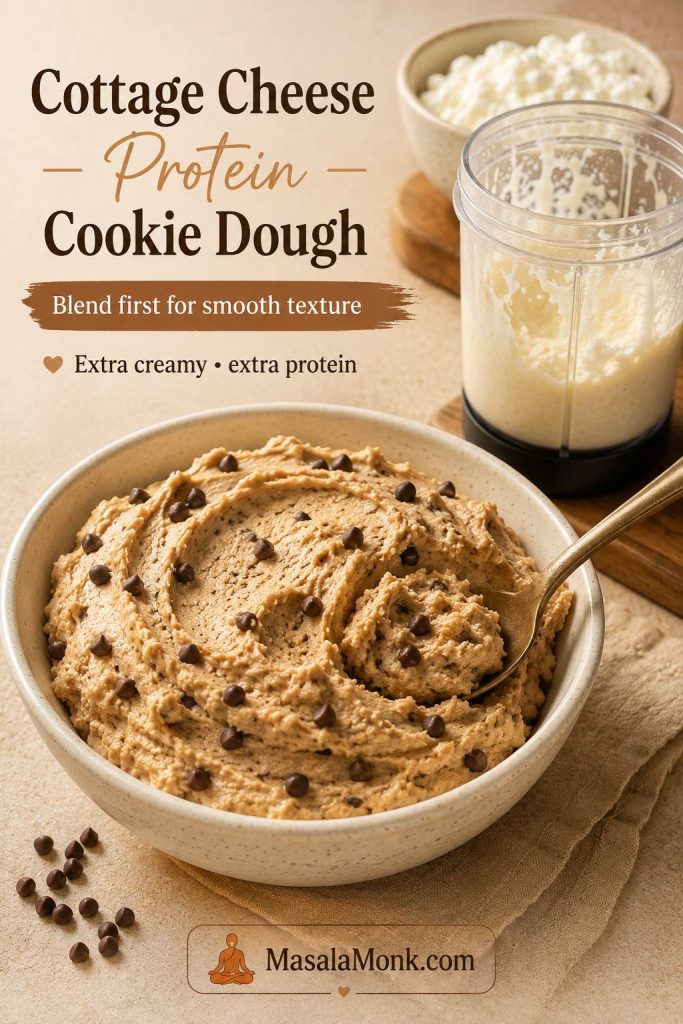
For a cottage cheese version, blend ½ cup cottage cheese with vanilla and 2–3 teaspoons maple syrup until smooth. Then stir it by hand into the protein powder, almond flour or oat flour, nut butter, salt, and chocolate chips. Add the chips after blending, not before.
If your blended cottage cheese is very loose, start with less milk or skip the milk completely until the dough is mixed.
If you enjoy creamy low-carb desserts, this keto cheesecake recipe is another good one to keep nearby, especially when you want something chilled and richer than a snack bowl.
Low-Calorie Protein Cookie Dough
For a lighter bowl, the goal is not to strip the dough down until it tastes sad. Keep enough creaminess, sweetness, and chocolate to make it feel like dessert, then use a few smart swaps to bring the calories down.
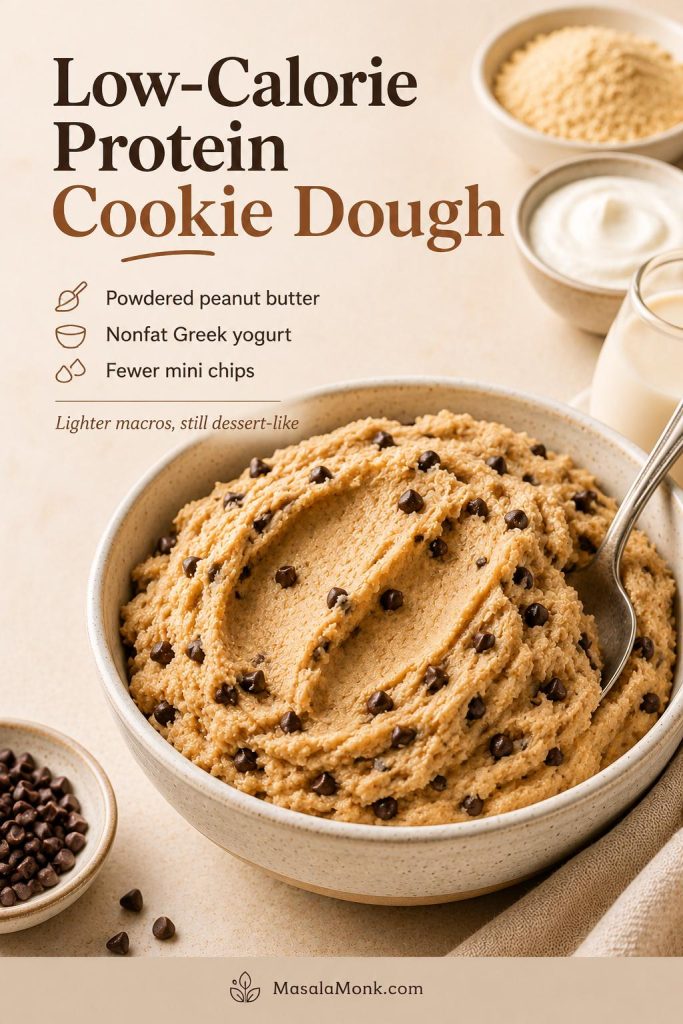
| Swap | What it does |
|---|---|
| Powdered peanut butter | Reduces fat and calories while keeping peanut flavor. |
| Nonfat Greek yogurt | Adds creaminess and protein with fewer calories. |
| Mini chocolate chips | Gives more chocolate in every bite with a smaller amount. |
| Sugar-free syrup, carefully | Can reduce sugar, but may make the dough thinner or less rich. |
| Single-serving batch | Helps with portion control and avoids extra leftovers. |
For one lighter serving, start with 30g vanilla protein powder, 2 tablespoons powdered peanut butter, ¼ cup nonfat Greek yogurt, 1–2 teaspoons syrup or sweetener, vanilla, salt, and 1 tablespoon mini chocolate chips. Add almond milk 1 teaspoon at a time until the dough becomes scoopable.
For another creamy dessert with a lighter, healthier feel, this avocado chocolate mousse is a good next option when you want chocolate without baking.
Vegan Protein Cookie Dough
The vegan version works best when the dough has enough fat and moisture to balance the plant protein. Plant powders usually make the mixture thicker than whey, and some can taste earthy if the dough is too dry.
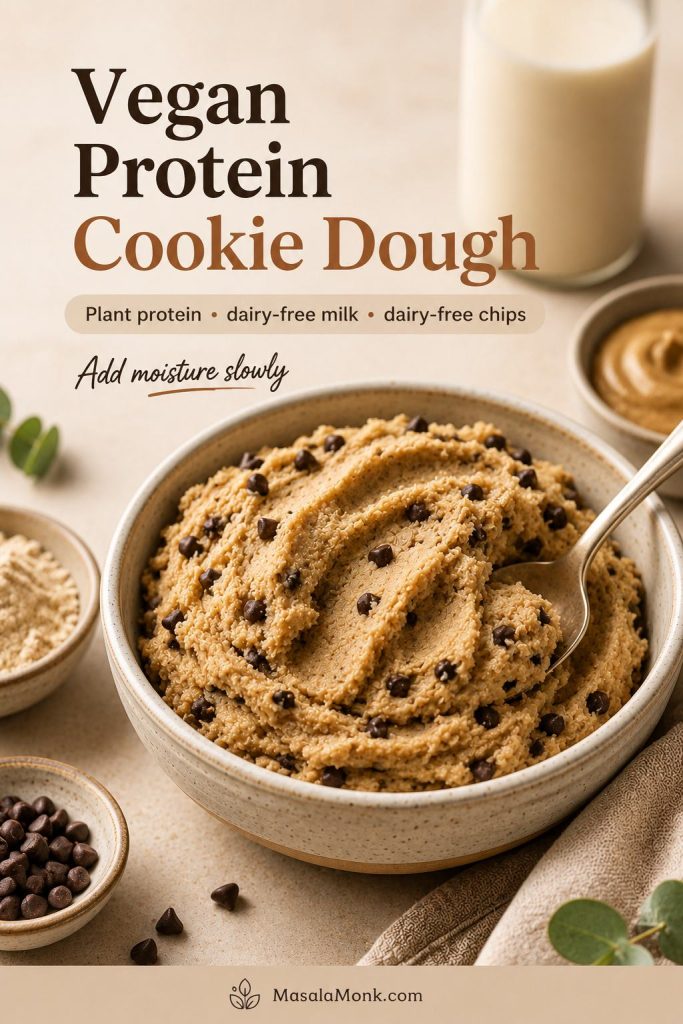
For a vegan batch, use ½ cup almond or oat flour, ½ cup plant protein powder, 2–3 tablespoons almond or cashew butter, 2–3 teaspoons maple syrup, vanilla, salt, dairy-free milk as needed, and dairy-free mini chocolate chips. Add the milk slowly because plant protein often thickens fast.
When plant protein tastes earthy, extra vanilla, a tiny pinch of salt, and mini chocolate chips help a lot. A little more nut butter can also soften the chalky edge without making the dough too loose.
Chickpea Protein Cookie Dough
Chickpea protein cookie dough is a plant-based variation with more fiber and a thicker dip-like texture. It works best in a food processor, not by hand.
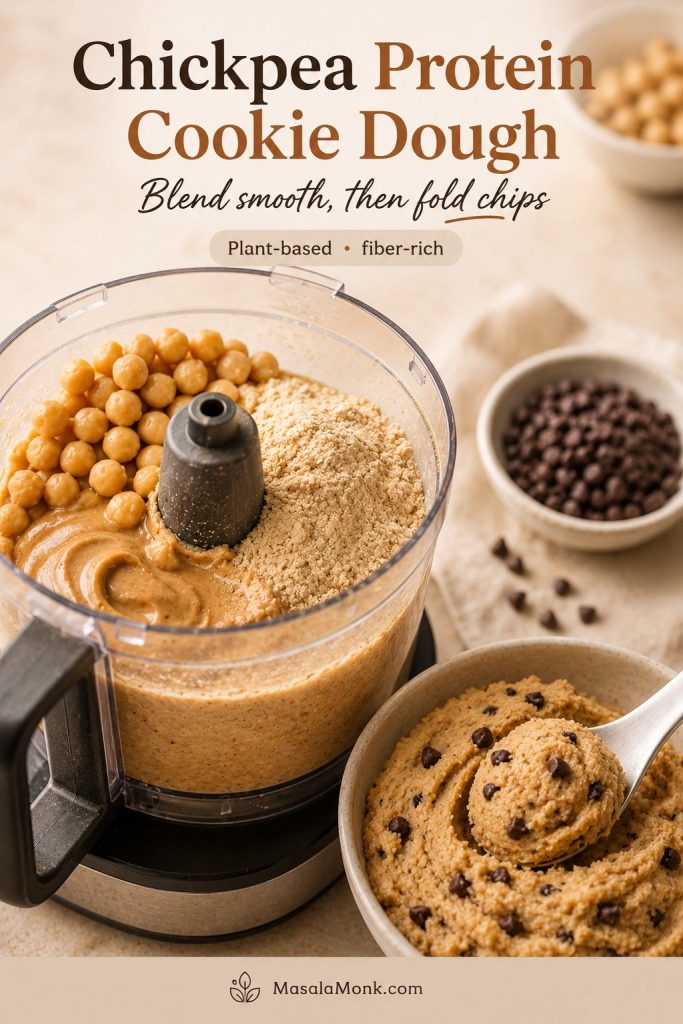
For a chickpea version, start with 1 cup well-rinsed chickpeas, 30g vanilla protein powder, 2 tablespoons nut butter or sunflower seed butter, 1–2 tablespoons maple syrup, vanilla, salt, and 1–2 tablespoons milk as needed. Blend everything except the chocolate chips until smooth, then fold in the chips.
For the smoothest texture, rinse the chickpeas very well and remove the skins if you have time. Chilling the dough for 20–30 minutes also helps the flavor mellow and the texture thicken.
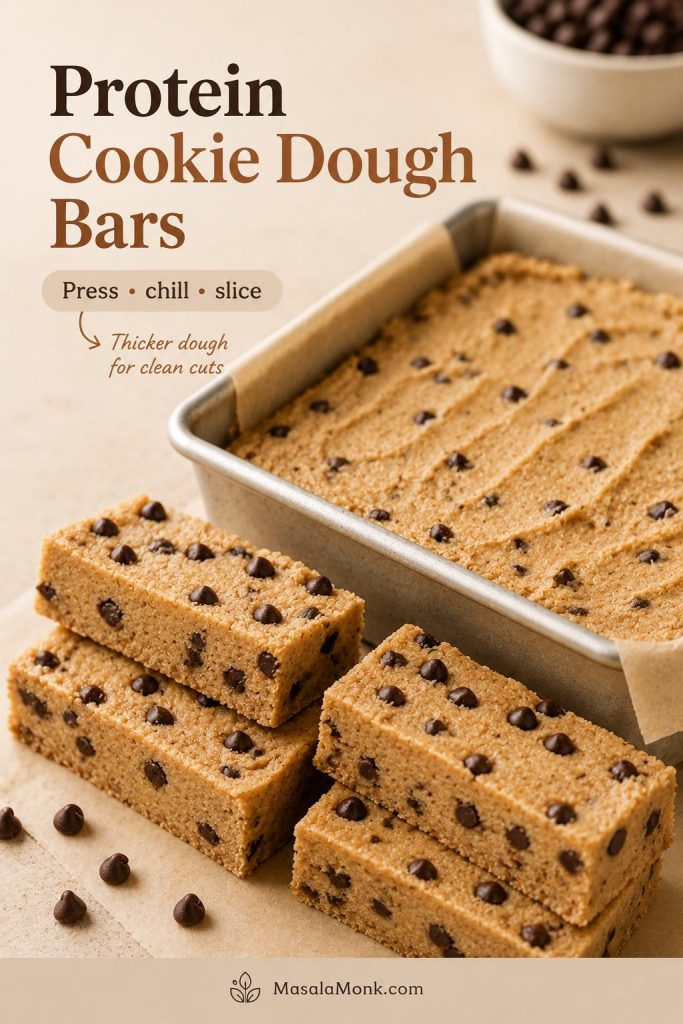
Can You Turn This Into Protein Cookie Dough Bars?
Yes. For cookie dough bars, make the mixture thicker by using only 1–2 tablespoons milk and adding a little more almond flour or oat flour if needed. Press the dough firmly into a parchment-lined loaf pan or small square pan, chill for 1 hour, then slice into bars.
After slicing, use the storage guide so the bars stay firm instead of drying out.
A loaf pan works well for a thicker small batch. Use an 8-inch square pan only if you are doubling the recipe, otherwise the bars may be too thin.
For a more dessert-like bar, spread melted chocolate over the chilled dough and chill again until set. For a softer snack bar, skip the chocolate coating and keep the chocolate chips mixed into the dough.
Storage and Freezer Tips
This dough stores well, which makes it useful for snack prep. Keep it chilled because it contains yogurt and nut butter. Like a no-bake cheesecake, the texture gets better when the mixture has time to firm up in the refrigerator.
| Storage method | How long | Best tip |
|---|---|---|
| Airtight container in the fridge | 4–5 days | Stir before serving if it firms up. |
| Rolled balls in the fridge | 4–5 days | Use a small cookie scoop for even portions. |
| Freezer portions | 2–3 months | Freeze on a tray first, then move to a container. |
| Cookie dough bars | Up to 1 week chilled | Keep parchment between layers if stacking. |
Protein cookie dough bites
For bites, chill the dough until it is firm enough to scoop, then roll it into small balls and store them in the fridge or freezer. They are easier to portion than a full bowl and work well for snack prep.
Frozen portions taste best after sitting at room temperature for 5–10 minutes. They should soften slightly but still hold their shape.
What to Eat With Protein Cookie Dough
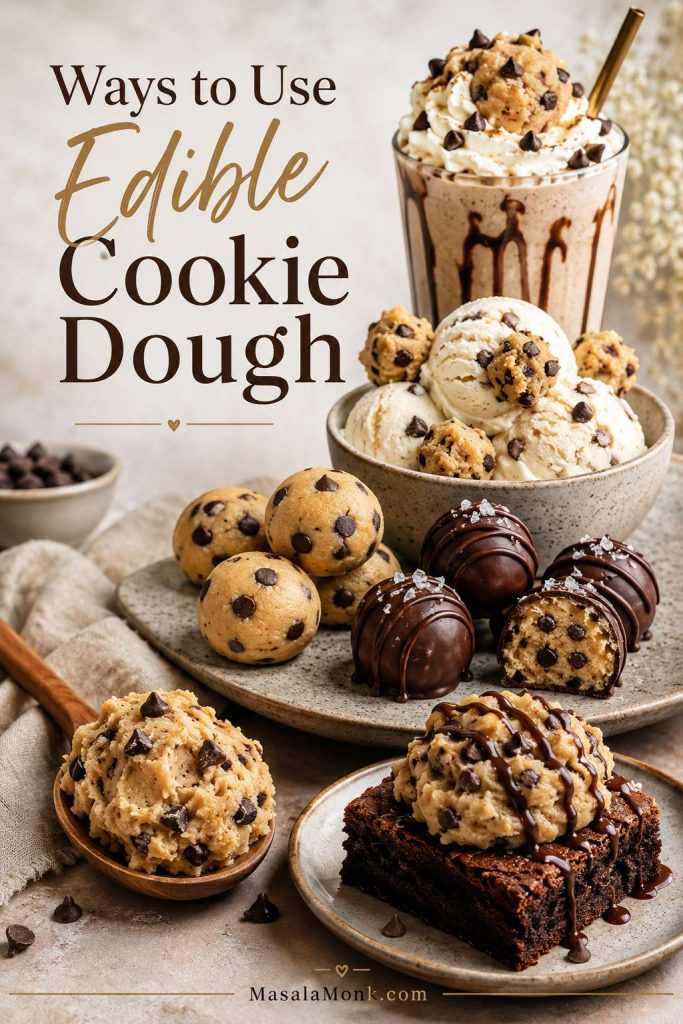
You can absolutely eat this straight from the bowl. That is the point. But if you make extra, it also turns into an easy topping, dip, or freezer snack.
Think of it as a spoonable snack first, then use leftovers anywhere you would normally want a sweet, cookie-dough-style topping.
- Scoop it into small snack balls.
- Serve it with apple slices.
- Swirl it into Greek yogurt.
- Crumble it over smoothie bowls.
- Press it into bars.
- Freeze it into bite-size portions.
- Use it as a high-protein dessert dip.
Once you understand the texture, this becomes the kind of recipe you can make by feel: a little more milk for spoonable, a little more flour for scoopable, and a little more vanilla and salt when the protein powder tries to take over.
Different protein powders can change this dough a lot. If you try it with whey, casein, collagen, or plant protein, note how much milk it needed and whether the final texture turned out scoopable, sticky, dry, or firm. That is the kind of detail other readers actually want before they open a new tub of protein powder, so it is worth sharing if your powder behaved differently.
After one batch, you will probably know exactly how your protein powder behaves. From there, this becomes an easy fridge snack you can make by feel — thicker for cookie dough bites, softer for spooning, sweeter when it is dessert, and lighter when you just want a quick protein treat.
Ready to make it now? Jump to the full protein cookie dough recipe card.
FAQs About Protein Cookie Dough
Why is my protein cookie dough dry?
Your protein powder probably absorbed more liquid than expected. Casein and plant-based protein powders are especially thirsty, so add milk or Greek yogurt 1 teaspoon at a time until the dough softens.
Why did my protein cookie dough turn sticky?
Sticky dough usually means too much syrup, nut butter, or milk. First, chill it for 20–30 minutes. After that, add almond flour or oat flour 1 teaspoon at a time if the mixture still feels too loose.
Which protein powder tastes best in cookie dough?
A good vanilla whey-casein blend is usually the easiest choice for a balanced dough texture. Whey can be smooth but sticky, casein can be thick and dry, and plant protein may need more moisture and flavor support.
Best peanut butter substitutes for protein cookie dough
Peanut butter is not required. Almond butter, cashew butter, sunflower seed butter, tahini, or a mix of Greek yogurt and powdered peanut butter can all work. The flavor and texture will change slightly, but the recipe still holds together.
Using powdered peanut butter in protein cookie dough
Powdered peanut butter works best in the low-calorie version because it keeps peanut flavor while reducing fat. Since it can taste drier than regular nut butter, pair it with Greek yogurt and add milk slowly until the dough is scoopable.
No Greek yogurt? Use this texture fix
Greek yogurt helps with creaminess, but the recipe can work without it. Replace it with more nut butter and a little milk, or use dairy-free yogurt for a vegan version. Since yogurt also adds thickness, add the liquid slowly so the dough does not become loose.
Is almond flour safe in no-bake cookie dough?
This recipe avoids raw all-purpose wheat flour, which is the main flour concern in classic raw cookie dough. Use fresh almond flour or oat flour from a reputable source, keep the finished dough chilled, and do not swap in regular raw wheat flour unless it is specifically labeled for edible dough.
Freezing protein cookie dough without ruining the texture
Roll the dough into balls or portion it into small scoops, freeze on a tray, then transfer to an airtight container. Let frozen portions sit for 5–10 minutes before eating so they soften slightly without turning mushy.
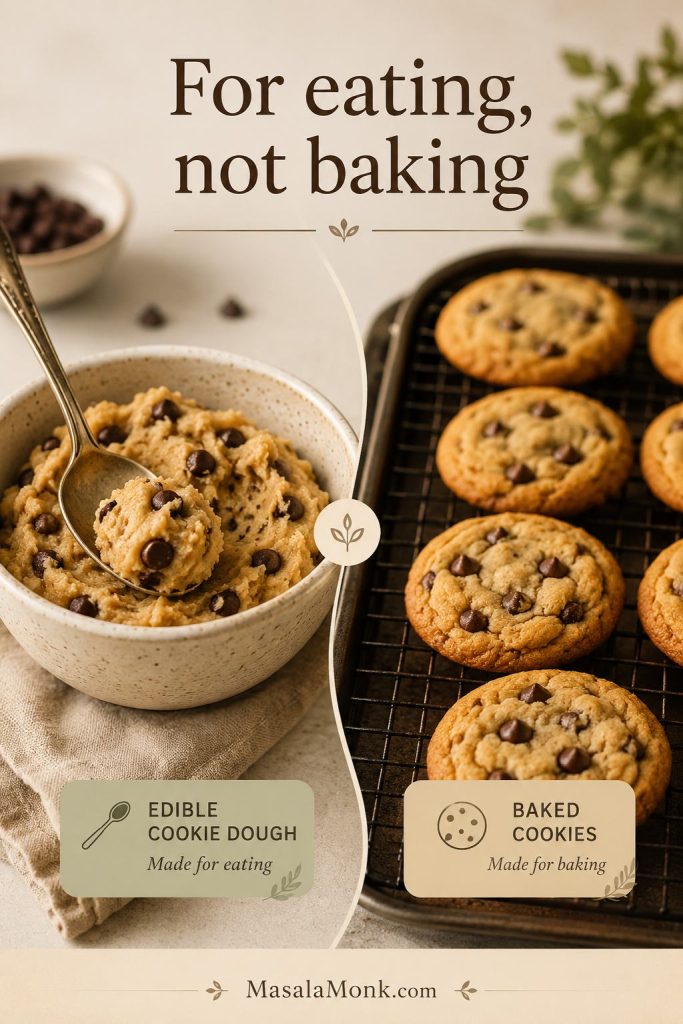
Should you bake this dough into cookies?
This recipe is designed as edible no-bake dough. Protein powder behaves differently when baked, so a dedicated protein cookie recipe will give you a better baked texture.
Lower-calorie protein cookie dough swaps that still taste good
Use powdered peanut butter, nonfat Greek yogurt, sugar-free syrup if you like it, and a smaller amount of mini chocolate chips. A single-serving batch is usually the easiest way to keep the calories controlled without making a large bowl of leftovers.
Vegan protein cookie dough: what changes?
Plant-based protein powder usually thickens more and can taste earthier than whey. Use almond or oat flour, nut butter, maple syrup, dairy-free milk, and dairy-free chocolate chips, then add extra milk or nut butter if the dough tastes chalky.
Save the base formula: Keep this quick ratio, texture target, and storage guide nearby for the next time a cookie-dough craving hits.
Protein Cookie Dough Recipe Card
This edible protein cookie dough is no-bake, egg-free, creamy, and ready in about 5 minutes. Chill it for a firmer cookie-dough bite, or eat it right away while it is softer and freshly mixed.
Texture target: The dough should hold ridges when stirred, scoop cleanly, and feel thick but not dry. Pourable dough needs more dry structure, while crumbly dough needs a little more moisture.
Equipment
- Medium mixing bowl
- Spatula or sturdy spoon
- Measuring cups and spoons
- Kitchen scale, optional but helpful
- Airtight container for storage
Ingredients
| Ingredient | US amount | Metric amount |
|---|---|---|
| Almond flour or oat flour | ½ cup | 50–56g |
| Vanilla protein powder | ½ cup | 50–60g |
| Creamy peanut, almond, or cashew butter | 3 tablespoons | About 48g |
| Plain thick Greek yogurt | ⅓ cup | About 80g |
| Maple syrup or honey | 2–3 teaspoons | 10–15ml |
| Milk or almond milk | 3–6 tablespoons, added gradually | 45–90ml |
| Vanilla extract | ½ teaspoon | 2.5ml |
| Fine salt | ¼ teaspoon | About 1.5g |
| Mini chocolate chips | 3 tablespoons | 30–40g |
Instructions
- Stir the almond flour or oat flour, protein powder, and salt together in a medium bowl.
- Mix in the nut butter, Greek yogurt, maple syrup or honey, and vanilla until a thick dough starts to form.
- Add milk or almond milk 1 tablespoon / 15ml at a time, mixing well after each addition, until the dough holds ridges when stirred and scoops cleanly.
- Fold in the mini chocolate chips.
- Eat immediately for a softer dough, or cover and chill for 20–30 minutes for a firmer cookie-dough bite.
Notes
- Protein powders absorb liquid differently, so start with less milk and add more gradually.
- Chilling is optional, but it improves both texture and flavor because the flour and protein powder have time to hydrate.
- Divide the batch into 3 servings for a higher-protein snack or 4 servings for smaller dessert portions.
- Use 3 teaspoons maple syrup or honey for a sweeter dessert-style dough, or start with 2 teaspoons for a less sweet snack.
- When the dough is wet, build it back up with almond flour, oat flour, or protein powder 1 teaspoon at a time.
- For dry dough, add milk or Greek yogurt 1 teaspoon at a time until it softens.
- Strong protein-powder flavor usually improves with extra vanilla, a tiny pinch of salt, or 1 teaspoon nut butter before adding more milk.
- Do not use regular raw all-purpose flour in this no-bake recipe.
Storage
Store protein cookie dough in an airtight container in the fridge for 4–5 days. For longer storage, portion it into balls or scoops and freeze for 2–3 months. Let frozen portions sit for 5–10 minutes before eating.
Estimated Protein and Calories
Protein and calories will vary by powder, yogurt, flour, nut butter, milk, syrup, chocolate chips, and serving size. As a rough guide, this batch usually lands around 15–22g protein per serving when divided into 3–4 portions, with about 225–400 calories per serving depending on portion size and ingredients. Use your own labels for the most accurate numbers.