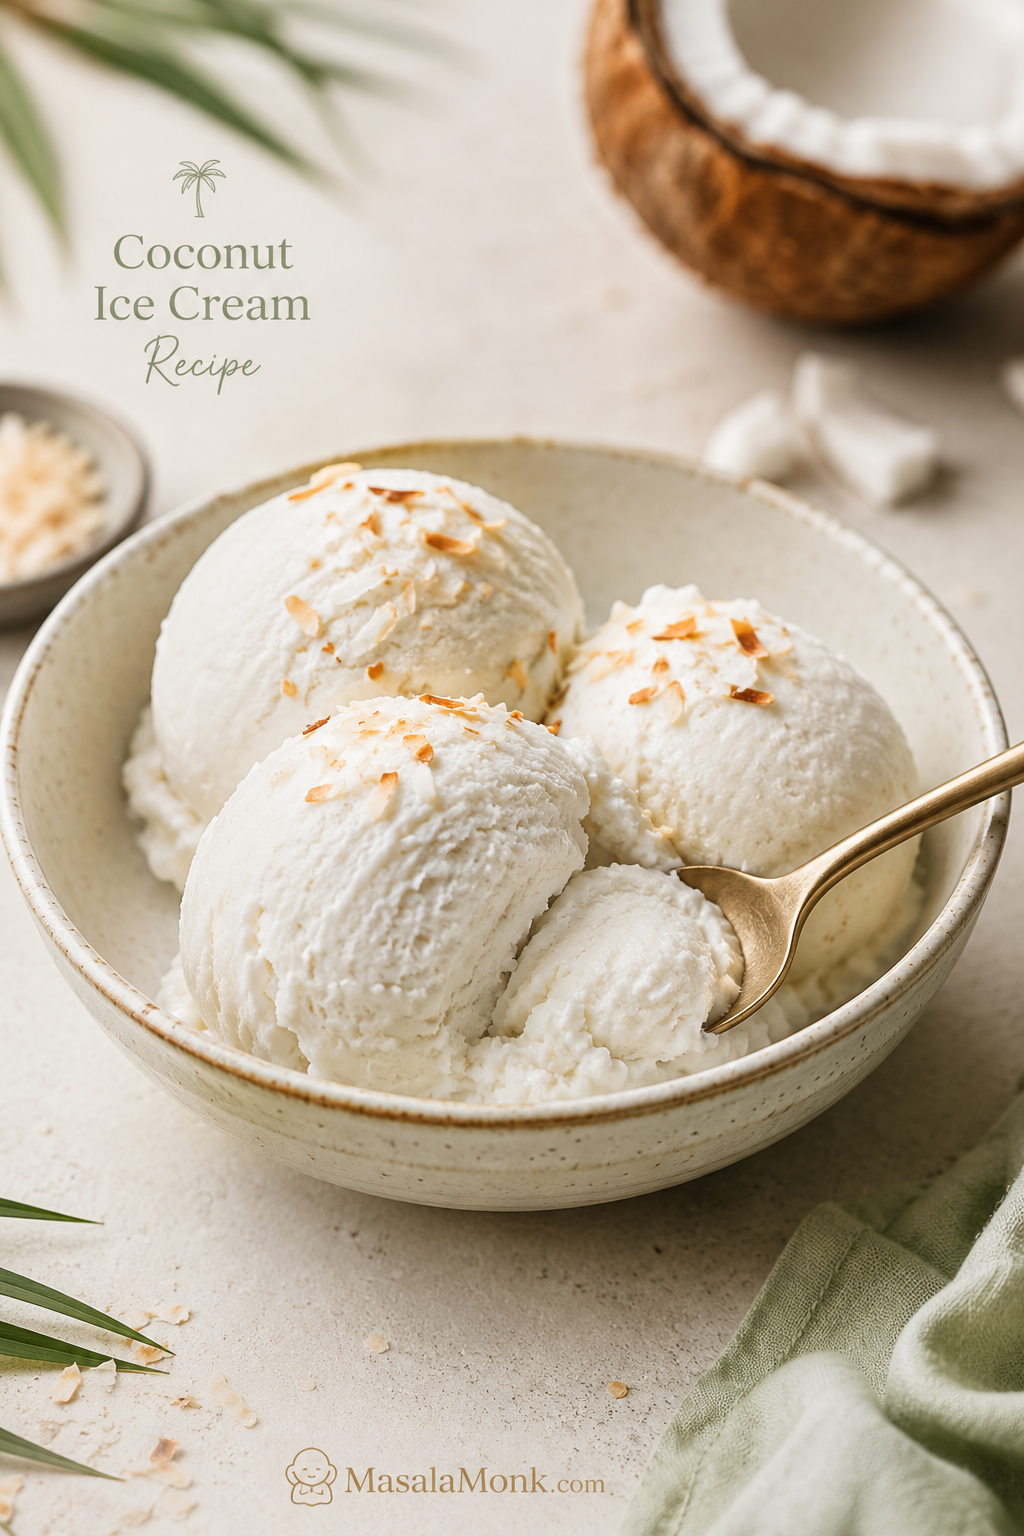
This coconut ice cream recipe is for the kind of scoop that tastes deeply coconutty, creamy, and smooth—not icy, watery, or rock-hard straight from the freezer. The base uses full-fat coconut milk and coconut cream for a rich dairy-free texture, with just enough sugar to keep it soft enough to scoop.
You can churn it for the smoothest, parlor-style finish, or use the no-churn freeze-and-blend method when you do not have an ice cream maker. There is also a sweeter cream of coconut batch, a condensed milk shortcut, Ninja Creami notes, and tender coconut and Thai-style ideas if you want a more tropical bowl.
The only part of this coconut ice cream recipe that really needs care is choosing the right coconut product. Coconut milk, coconut cream, and cream of coconut sound similar, but they behave very differently once frozen. Get that part right, and you are already most of the way to a creamy scoop.
In This Guide
Start Here
Quick Answer: The Best Coconut Ice Cream Recipe
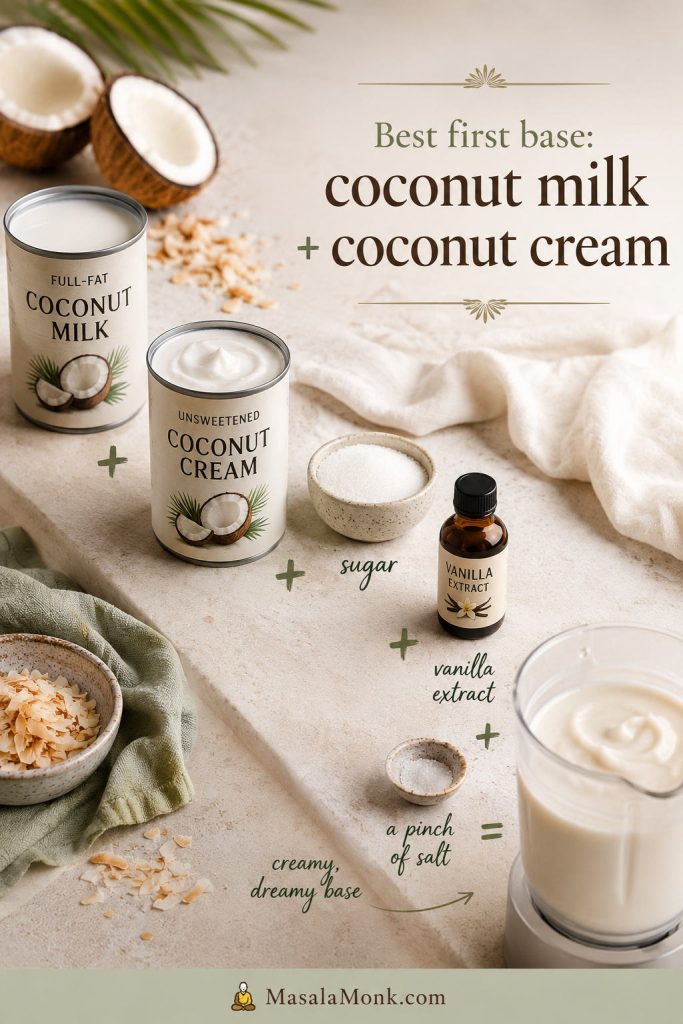
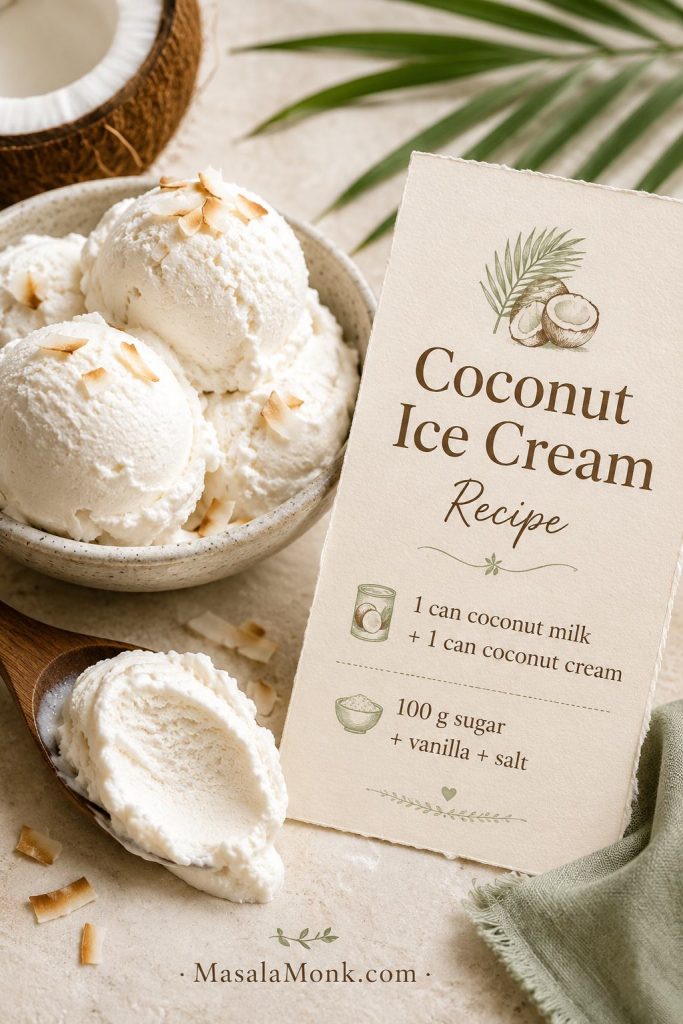
The creamiest dairy-free coconut ice cream starts with 1 can full-fat coconut milk plus 1 can unsweetened coconut cream, blended with sugar, vanilla, and salt. Churn it for the smoothest, parlor-style texture, then freeze until firm. If you do not have an ice cream maker, freeze the base in cubes and blend it until creamy. For a richer dairy-style shortcut, use the condensed milk method below.
| Best base | 1 can full-fat coconut milk + 1 can unsweetened coconut cream |
|---|---|
| Best method | Ice cream maker for the smoothest texture; freeze-and-blend for no-churn |
| Texture | Creamy, coconut-forward, scoopable after resting briefly |
| Avoid | Thin carton coconut milk, lite coconut milk, and using sweetened cream of coconut without reducing sugar |
Still deciding? See coconut milk vs coconut cream vs cream of coconut, or skip straight to the recipe card.
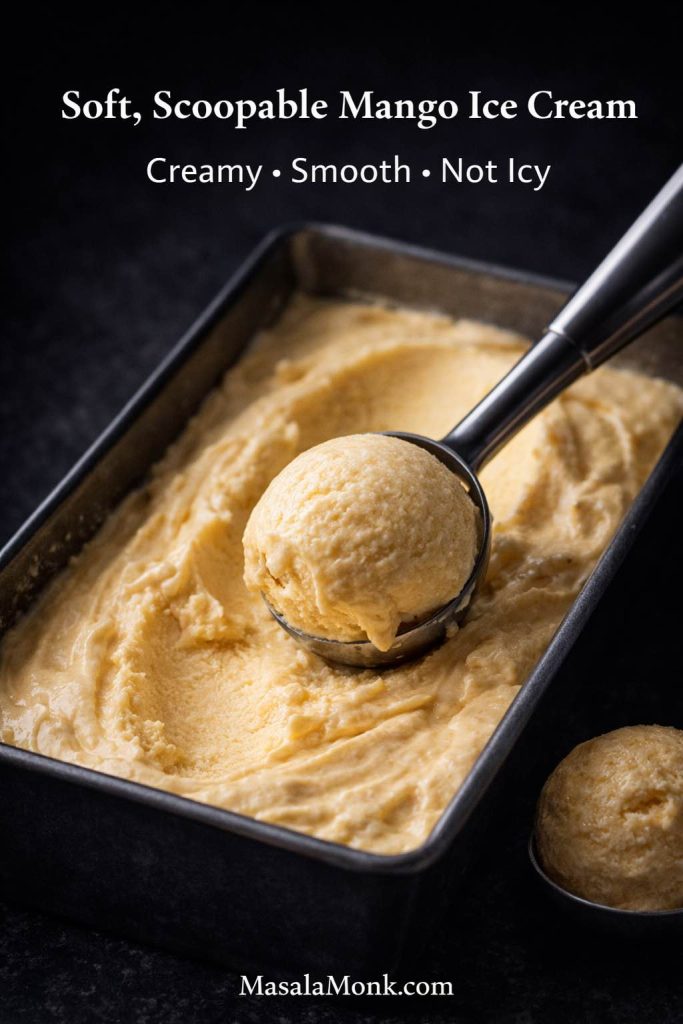
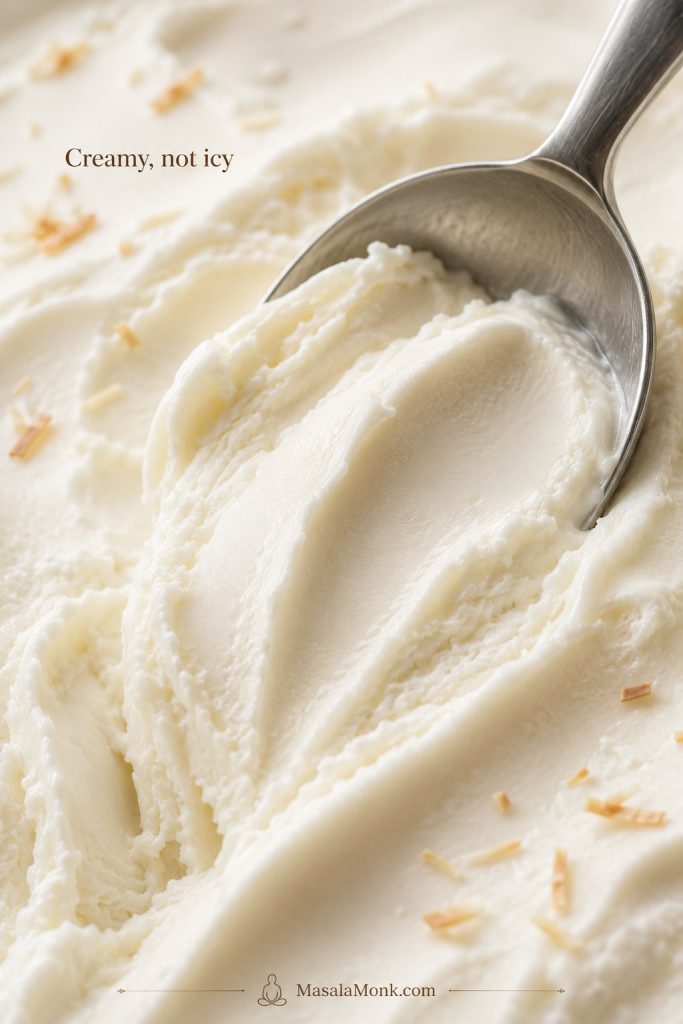
Before you choose a method, look at the texture you are aiming for: smooth, dense, creamy coconut ice cream that drags softly on the spoon instead of breaking into icy crystals.
At a Glance
| Yield | About 1 quart / 900 ml to 1 liter |
|---|---|
| Prep time | 10 minutes |
| Base chill time | At least 4 hours; overnight is better |
| Churn time | 20–30 minutes for most machines |
| Final freeze | 4–6 hours for firm scoops |
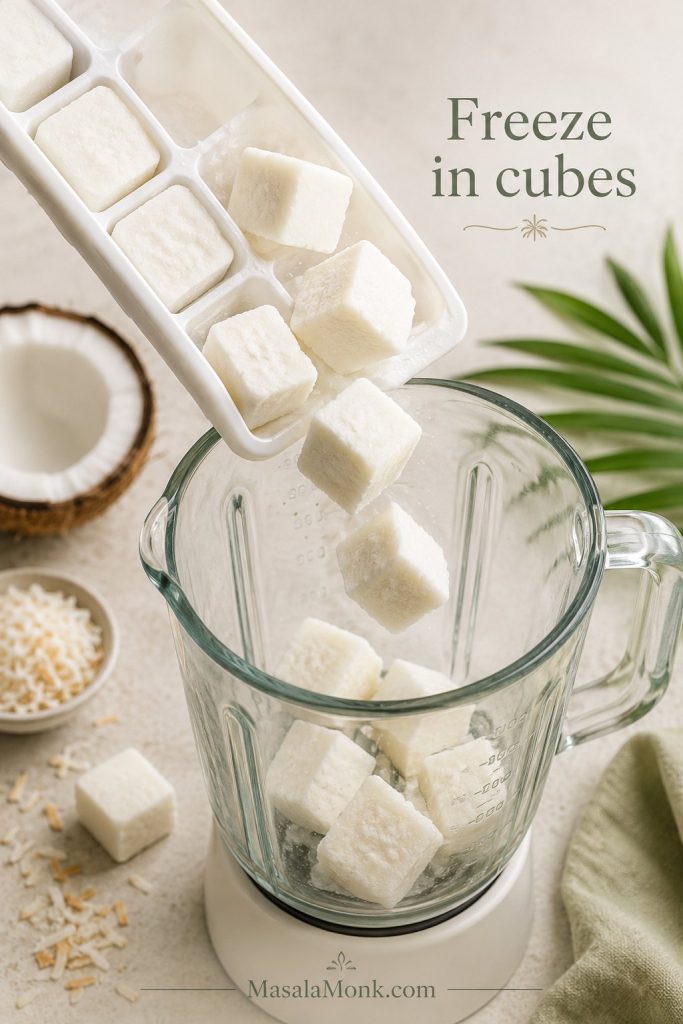
| No-machine option | Freeze the blended base in ice cube trays, then blend the frozen cubes |
| Equipment | Blender, ice cream maker, freezer-safe container, spatula, measuring cups or scale |
Why This Coconut Ice Cream Recipe Works
This coconut ice cream recipe works because it balances coconut flavor, fat, sugar, and temperature instead of relying on coconut milk alone. Because of that, the goal is a scoop that tastes rich and coconut-forward, but still feels smooth on the spoon—not icy, brittle, greasy, or waxy.
- Coconut milk keeps the base pourable. It brings clean coconut flavor without making the mixture too heavy.
- Coconut cream adds body. The extra fat helps the finished scoop feel creamier and less icy.
- Sugar improves scoopability. It is not only for sweetness; cutting it too far can make homemade coconut ice cream freeze harder.
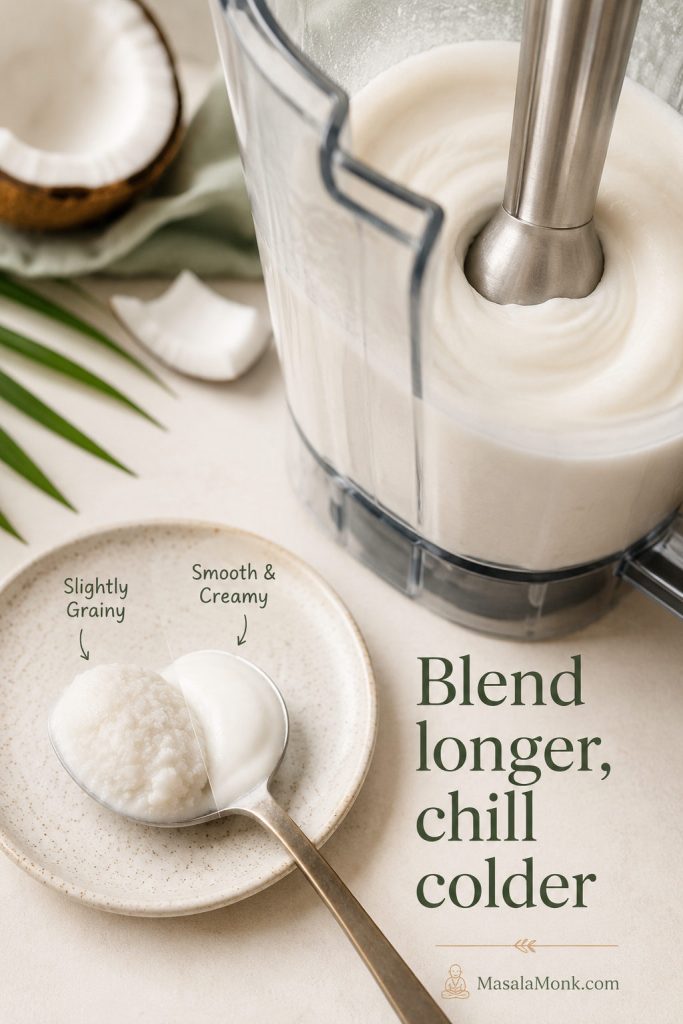
- Blending and chilling protect the texture. Blending dissolves the sugar and smooths the coconut fat, while a cold base churns thicker and faster.
The easiest way to remember the main base is simple: coconut milk keeps it fluid, coconut cream gives it body, and sugar helps the finished scoop stay softer.
Which Coconut Ice Cream Version Should You Make?
Start here if you are staring at coconut milk, coconut cream, or cream of coconut and wondering whether you bought the right can. You probably can still make a good batch, but the method changes depending on what is in front of you.
If you have ever bought the wrong can for a coconut dessert, this is the section that saves the batch. From there, pick the row that matches your pantry, then follow that route instead of forcing every coconut product into the same recipe.
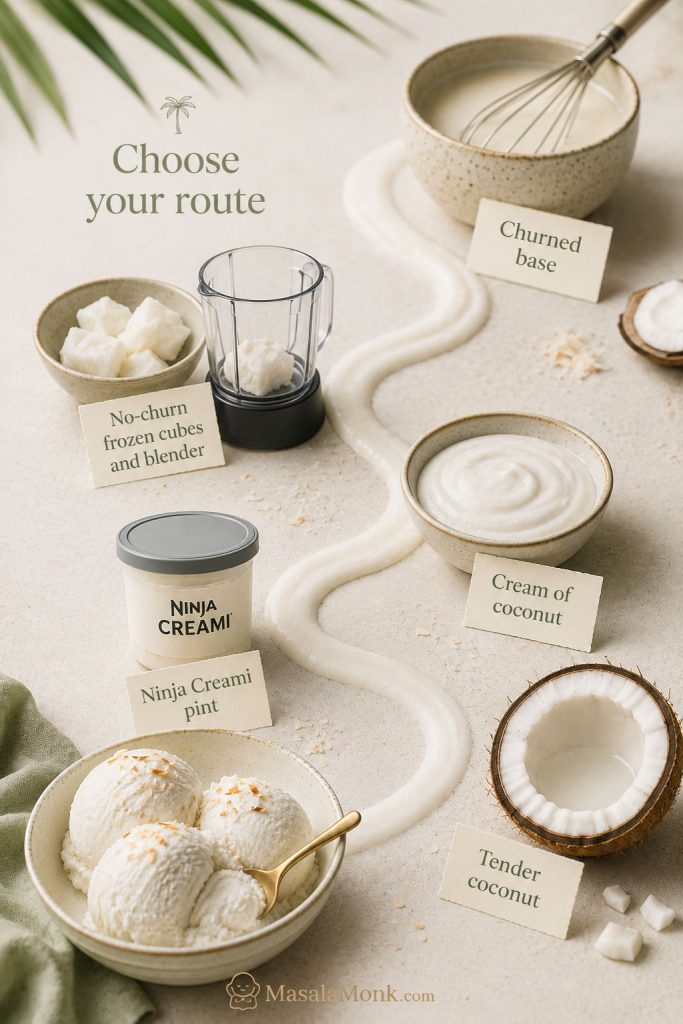
| What you have or want | Best route to take | What to expect |
|---|---|---|
| Full-fat coconut milk + unsweetened coconut cream | Best first version | Balanced coconut flavor, creamy texture, dairy-free, and less icy than coconut milk alone |
| Only full-fat canned coconut milk | Coconut milk ice cream | Lighter coconut flavor, slightly icier texture |
| Unsweetened coconut cream | Coconut cream ice cream | Richer, smoother, more indulgent |
| Sweetened cream of coconut | Cream of coconut ice cream | Sweeter, stronger coconut flavor, pina-colada-style |
| No ice cream maker | Freeze-and-blend no-churn method | Soft-serve texture first, firmer after a short freeze |
| Heavy cream + condensed milk | Condensed milk no-churn shortcut | Very creamy and easy, but not dairy-free |
| Ninja Creami | Ninja Creami method | Freeze 24 hours, spin, then Re-Spin if crumbly |
| Tender coconut malai | Tender coconut style | Fresh coconut texture, Indian-style flavor |
| Palm sugar or pandan | Thai coconut style | More fragrant, street-dessert-style coconut flavor |
| Keto or sugar-free goal | See the keto note in variations | Needs sweetener-specific testing because texture changes |
Picked your path? Jump to the ice cream maker method, no-churn coconut ice cream, cream of coconut ice cream, or Ninja Creami method.
Coconut Milk vs Coconut Cream vs Cream of Coconut
The wrong-can mistake
This is where most coconut ice cream problems start. The names sound almost interchangeable, but the products are not the same. For the main base, reach for full-fat canned coconut milk and unsweetened coconut cream. Save sweetened cream of coconut for the separate cream of coconut batch below.
If you have ever stood in the aisle wondering whether coconut cream and cream of coconut are the same thing, this is the section that prevents the wrong-can mistake.
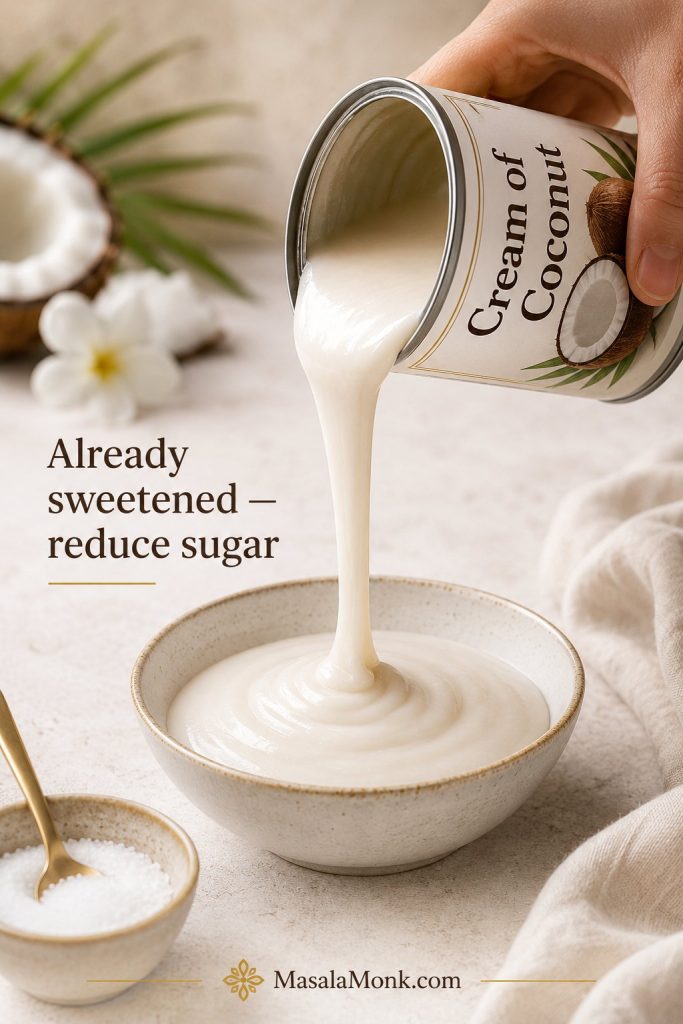
Do not pour cream of coconut into the main recipe as a straight swap. It is already sweetened, so the batch can turn too sweet and heavy unless you reduce the sugar. Instead, use it in the separate cream-of-coconut version below.
Before you open a can, it helps to see the three products side by side: coconut milk is pourable, coconut cream is thicker, and cream of coconut is sweetened and glossy.

What each can actually does
| Coconut product | What it is | Best use in coconut ice cream | Important note |
|---|---|---|---|
| Full-fat canned coconut milk | A pourable coconut base with moderate fat | Main dairy-free coconut milk ice cream | Choose canned full-fat coconut milk, not thin drinking coconut milk |
| Unsweetened coconut cream | Thicker, richer coconut base with more fat | Creamier coconut ice cream with better body | Best paired with coconut milk so the texture is rich but not waxy |
| Cream of coconut | Sweetened coconut product used in drinks and desserts | Sweet, pina-colada-style coconut ice cream | Already sweetened, so reduce or skip added sugar |
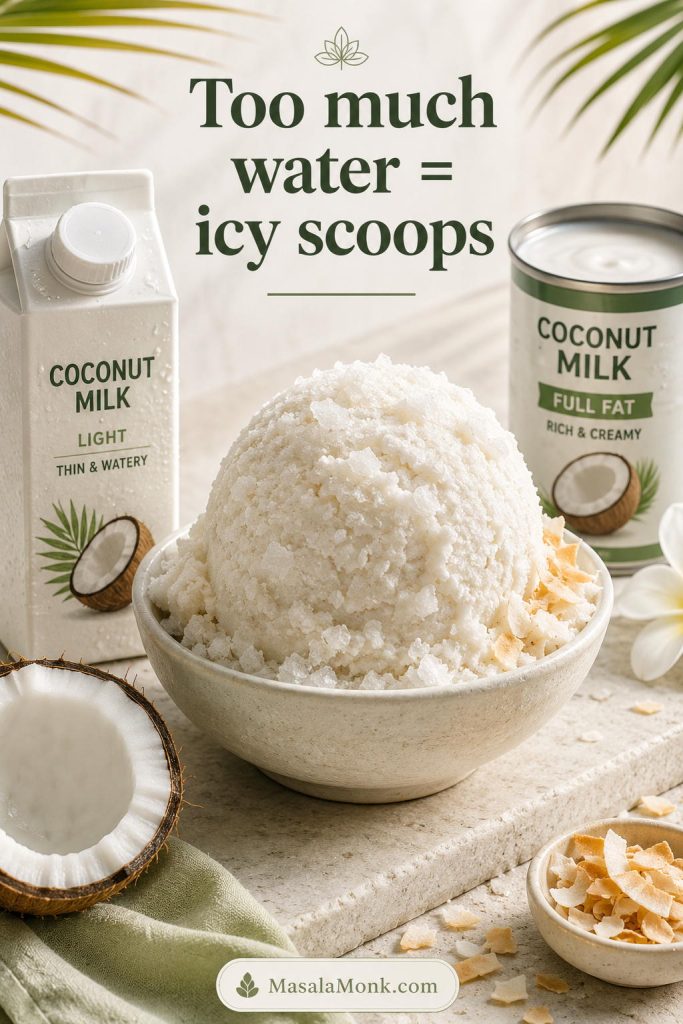
| Carton coconut milk | Thin drinking-style coconut milk | Usually not ideal | Often too watery and can freeze icy |
| Condensed coconut milk | Sweetened vegan condensed milk alternative | Vegan no-churn or Ninja Creami routes | Counts as both sweetener and texture helper |
| Tender coconut flesh | Soft coconut malai from young coconut | Tender coconut ice cream style | Add it for flavor and texture, not as the only base |
Helpful ingredient note: for a deeper ingredient explanation, Epicurious has a useful guide to cream of coconut, including how it differs from coconut cream and coconut milk.
Now that the coconut products are clear, head to the ingredients list, the cream of coconut batch, or the main recipe card.
Ingredients
You do not need a long ingredient list for good coconut ice cream. Instead, what matters most is using full-fat coconut products, dissolving the sugar well, and giving the base enough time to chill before freezing.
In this coconut ice cream recipe, sugar is important not only for sweetness but also for scoopability. When the sweetener is reduced too aggressively, the finished scoop often freezes harder and icier.
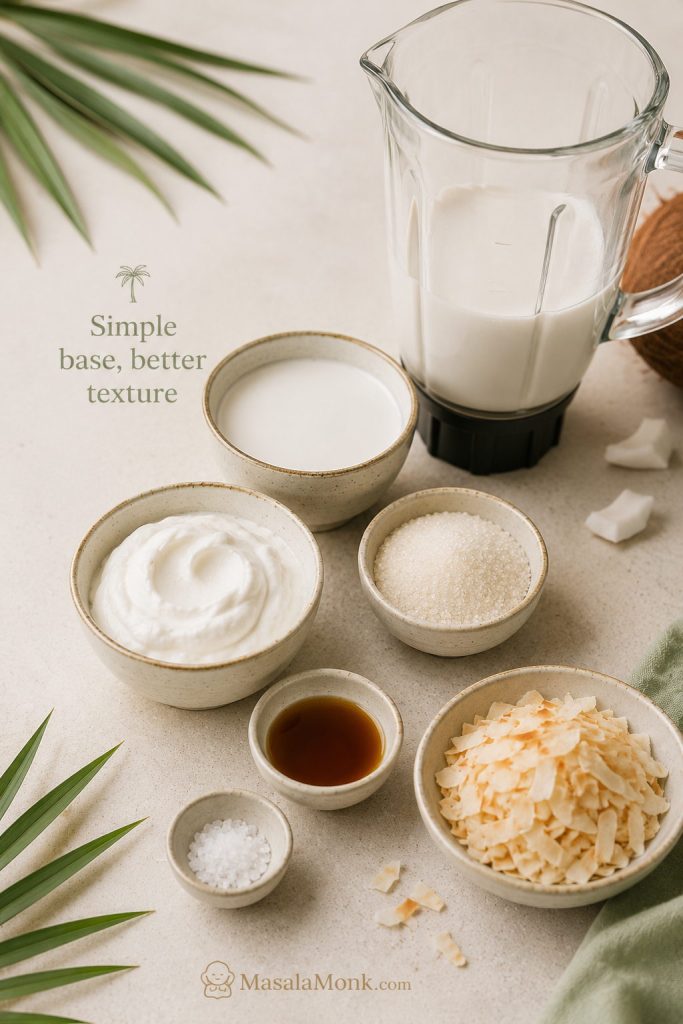
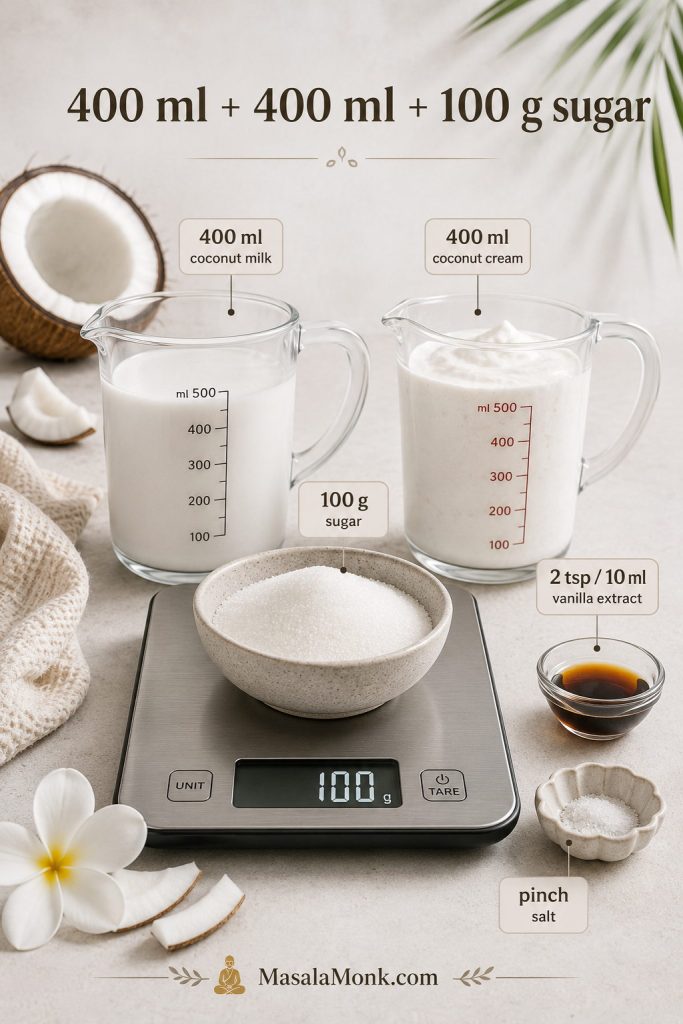
| Ingredient | US amount | Metric amount | Why it matters |
|---|---|---|---|
| Full-fat canned coconut milk | 1 can, 13.5–14 oz | 400 ml | Gives the ice cream its coconut base without making it too heavy |
| Unsweetened coconut cream | 1 can, 13.5–14 oz | 400 ml | Adds richness and helps prevent an icy texture |
| Granulated sugar | 1/2 cup | 100 g | Sweetens and improves scoopability |
| Fine salt | 1/8 tsp | About 0.7–1 g | Makes the coconut flavor taste fuller |
| Vanilla extract | 2 tsp | 10 ml | Rounds out the coconut flavor |
| Toasted coconut, optional | 1/3–1/2 cup | 25–40 g | Adds texture and stronger coconut flavor |
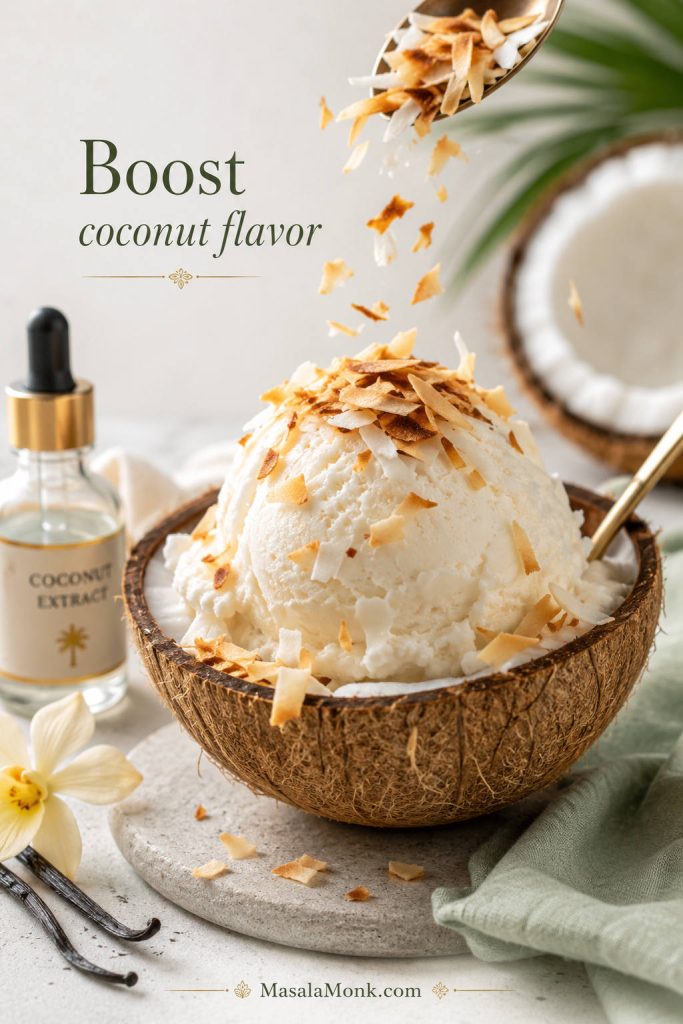
| Coconut extract, optional | 1/4 tsp | 1 ml | Useful if your coconut milk tastes mild |
Taste before chilling: the base should taste slightly sweeter than you want the finished ice cream to taste. Cold dulls sweetness, so a base that tastes just right before freezing can taste a little flat once frozen.
Use the measurements below as a quick check before you blend, especially if you are switching between cans, cups, grams, and milliliters.
Start with full-fat canned coconut milk
For the coconut milk-only version, use canned full-fat coconut milk rather than the thin drinking-style cartons. The canned product has more body, while carton coconut milk is usually too watery for a creamy frozen dessert.
Add unsweetened coconut cream for richness
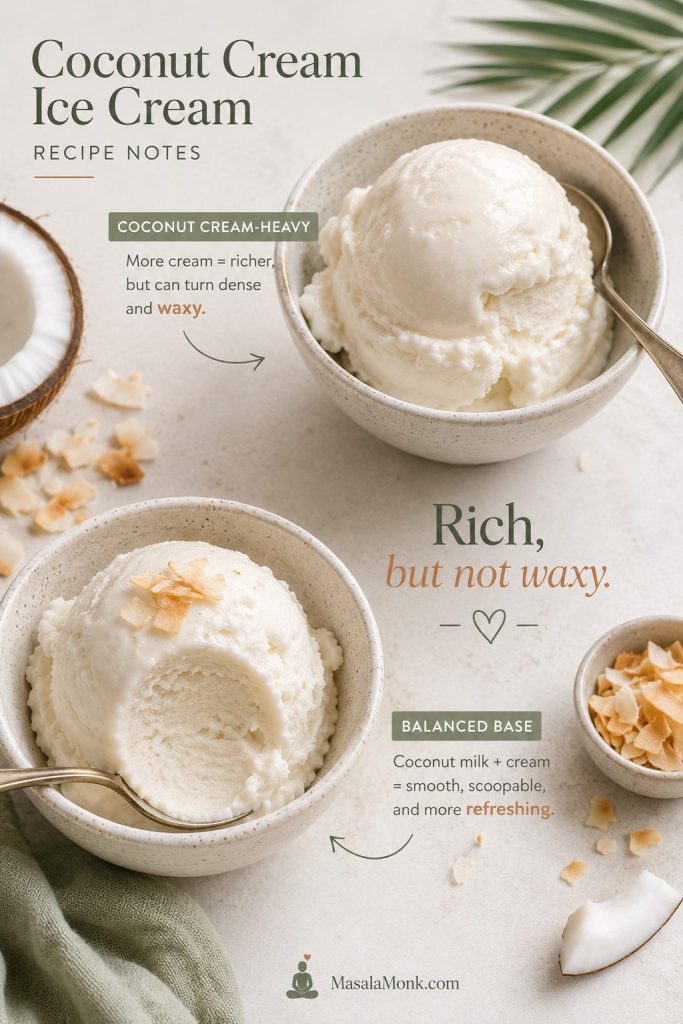
The cream adds body, but balance matters. One can of each gives you richness without the waxy heaviness that can happen when the base is all cream.
A little salt makes the flavor fuller
A tiny amount of salt makes the coconut and vanilla taste more complete. It should not make the ice cream taste salty; it simply keeps the sweetness from tasting flat.
Ice Cream Maker Method
For this coconut ice cream recipe, an ice cream maker is the easiest route to a smooth, parlor-style scoop because it freezes the base while keeping it moving. That movement keeps ice crystals smaller, which matters with coconut bases because they can freeze firmer than dairy ice cream.
Blend and chill the coconut base
- Freeze the ice cream maker bowl. If your machine uses a freezer bowl, freeze it for 12–24 hours, or according to the manufacturer’s directions.
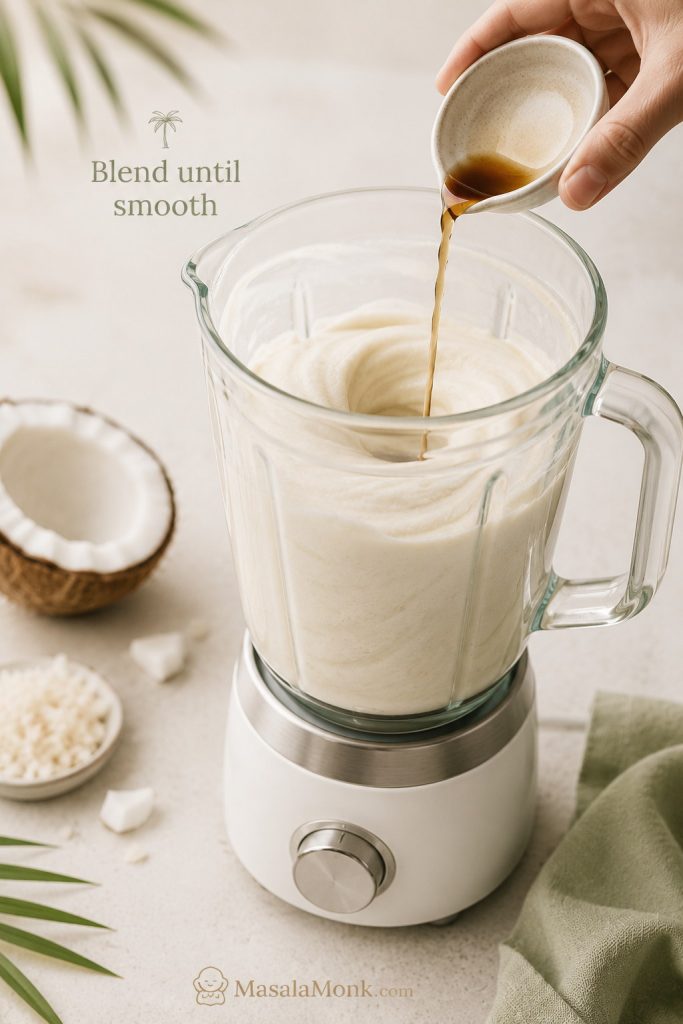
- Blend the base. Add coconut milk, coconut cream, sugar, salt, and vanilla to a blender. Blend for 1–2 minutes, until smooth and the sugar is fully dissolved.
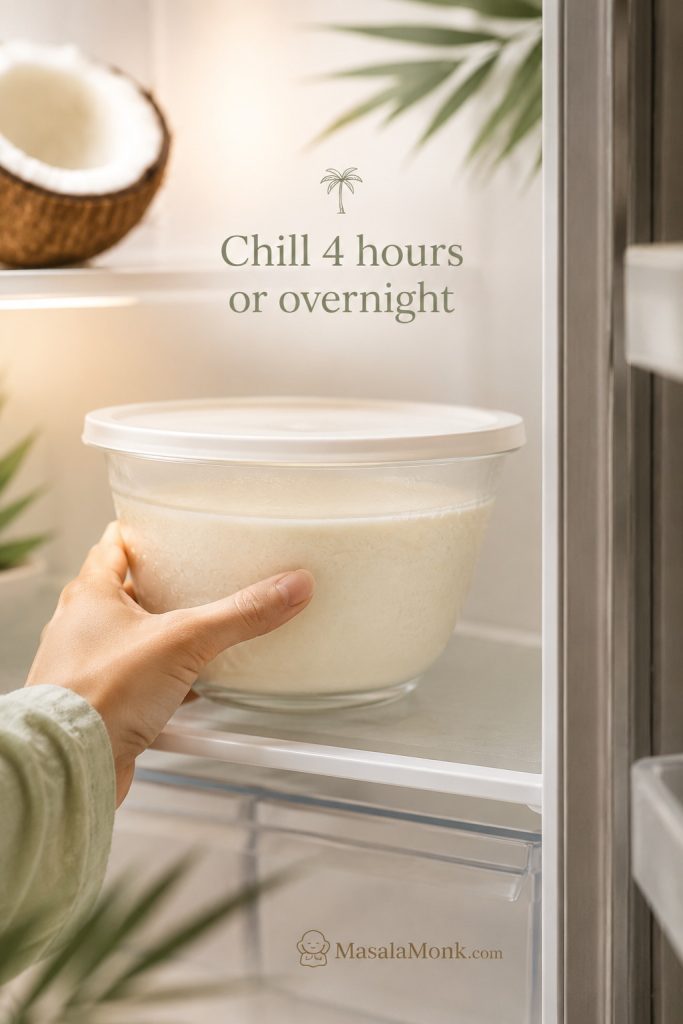
- Chill the base. Refrigerate for at least 4 hours, preferably overnight. A cold base churns thicker and faster.
Blend until the base looks completely smooth, because this step helps dissolve sugar and even out the coconut fat before the mixture chills.
After blending, chill the base until it is properly cold; this gives the machine a better chance to thicken the mixture quickly.
Churn, freeze, and rest before scooping
- Churn. Pour the chilled base into the ice cream maker and churn for 20–30 minutes, or until it looks like thick soft serve.
- Add coconut texture. Fold in toasted coconut at the end if you want little chewy-crisp coconut pieces.
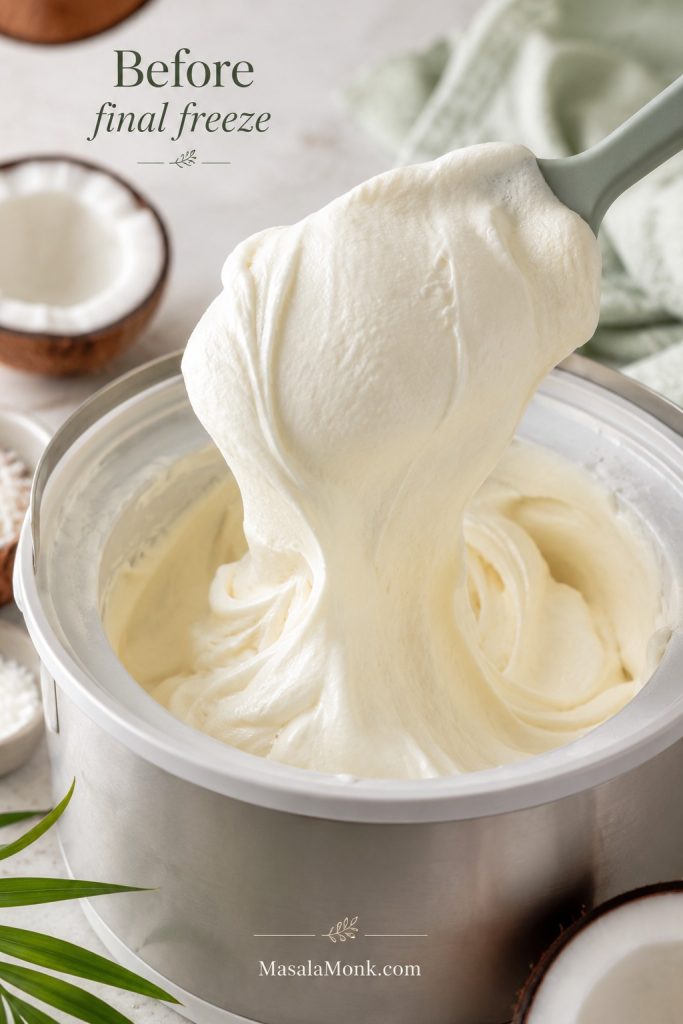
- Freeze until scoopable. Transfer to a freezer-safe container and freeze for 4–6 hours.
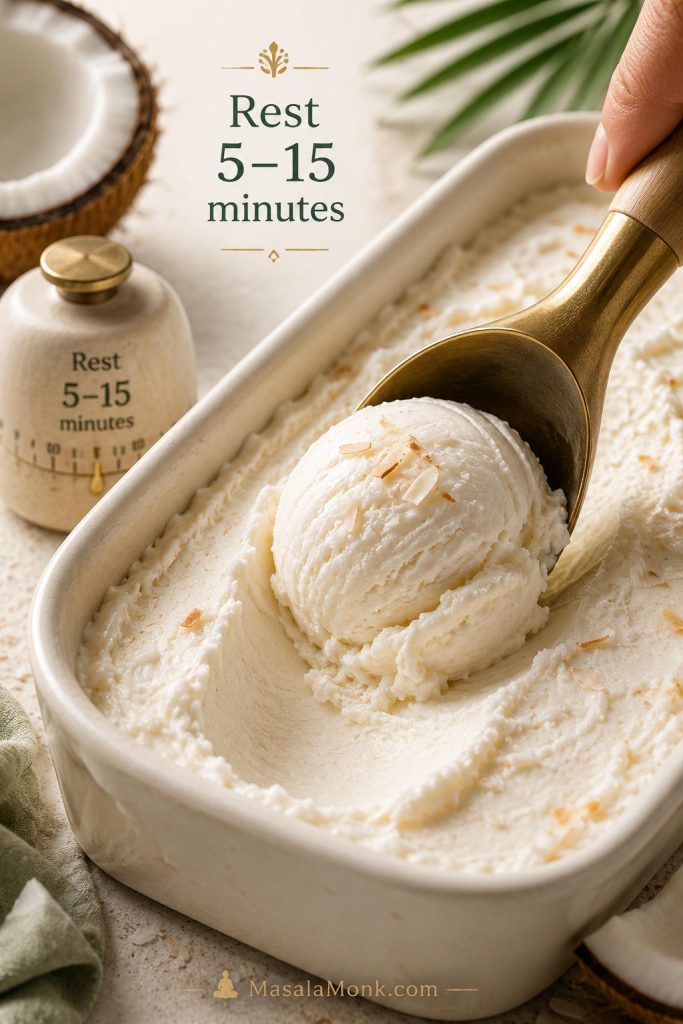
- Rest before scooping. Let the ice cream sit at room temperature for 5–15 minutes before scooping, especially if it has been frozen overnight.
During churning, watch the texture rather than the clock alone; the base should look thick and soft-serve-like before you transfer it to the freezer.
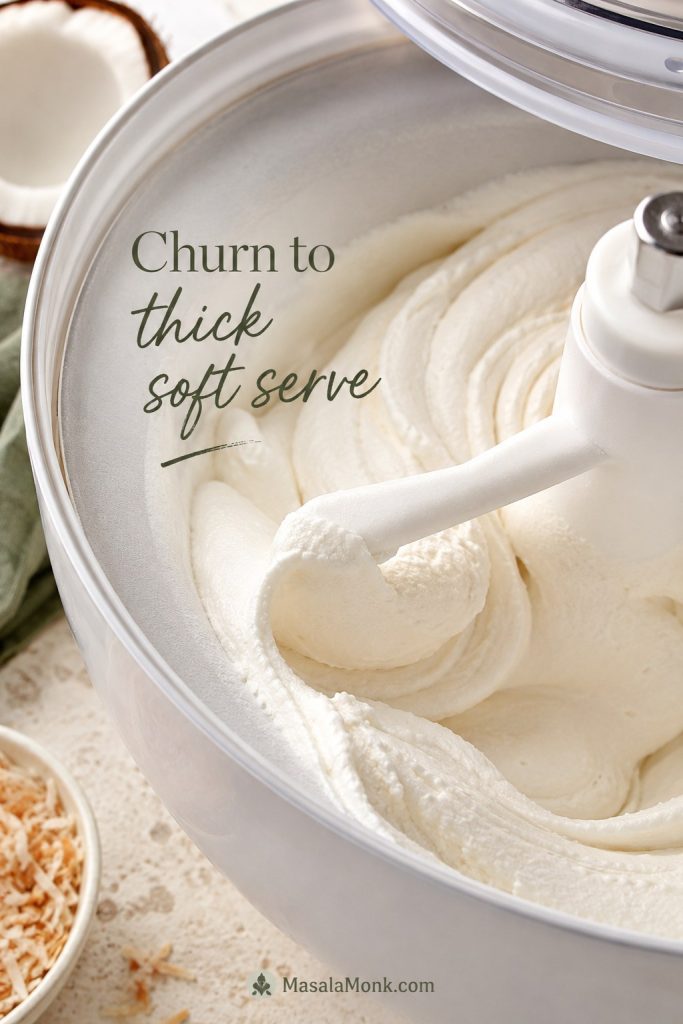
Texture cue: after churning, the coconut ice cream should look like thick soft serve. It will not be fully firm until it has had several hours in the freezer.
Do not panic if the freshly churned batch is still soft; that soft-serve stage is exactly what should happen before the final freezer rest.
No-Churn Coconut Ice Cream Without an Ice Cream Maker
No ice cream maker? This coconut ice cream recipe still gives you two solid routes. The freeze-and-blend method keeps things dairy-free and fresh-tasting; meanwhile, the condensed milk route gives you the easiest rich, creamy no-churn scoop.
For more no-machine dessert methods, this guide to homemade ice cream without a machine is also useful, while the coconut method below gives more specific coconut milk and coconut cream guidance.
Option 1: Dairy-free freeze-and-blend coconut ice cream
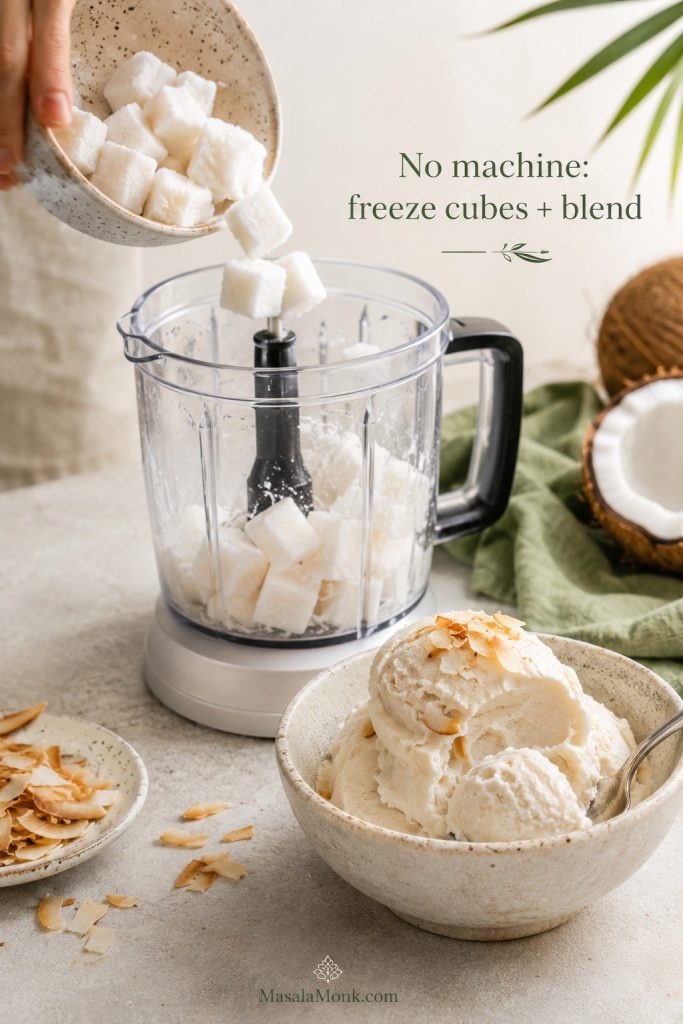
Blend the main coconut base, then pour it into ice cube trays. Freeze for at least 6 hours or overnight. Smaller cubes are easier for the blender to turn smooth than one large frozen block.
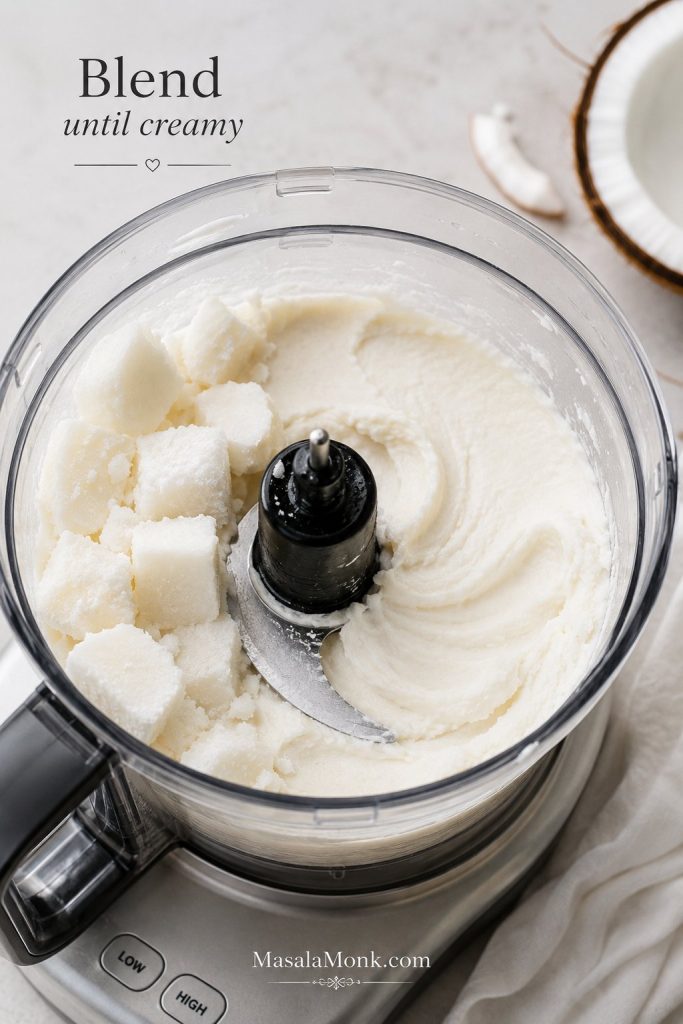
Blend the frozen cubes in a strong blender or food processor until creamy and soft-serve-like, then eat immediately or freeze briefly for firmer scoops.
Option 2: Condensed milk no-churn coconut ice cream
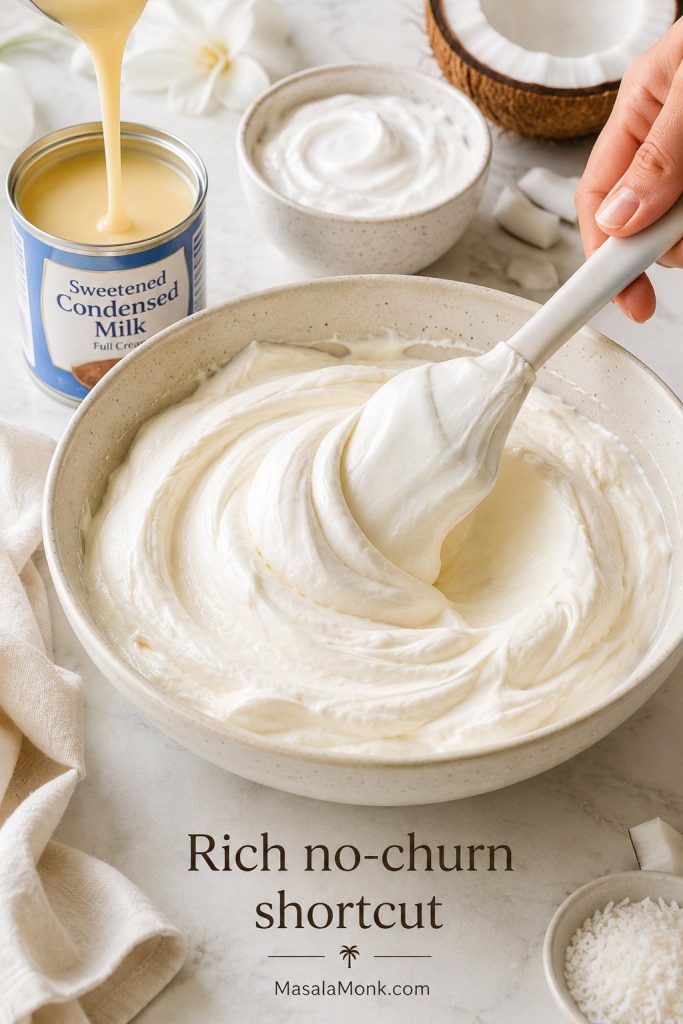
For a richer dairy-style no-churn version, whip 2 cups / 480 ml heavy cream to stiff peaks, then fold in 1 can / 14 oz sweetened condensed milk, 1 can / 400 ml unsweetened coconut cream, 1/8 tsp salt, and 1/2 tsp coconut extract. Freeze in a loaf pan or freezer container for 8 hours or overnight.
| No-churn method | Best for | Texture | Trade-off |
|---|---|---|---|
| Freeze-and-blend | Dairy-free or vegan batches | Soft and creamy when freshly blended | Needs a strong blender or food processor |
| Whipped cream + condensed milk | Easy no-churn dessert | Rich, creamy, softer | Not dairy-free unless using vegan alternatives |
If you want the most coconut-forward no-machine route, use the freeze-and-blend method rather than the dairy shortcut.
Using the no-churn method? You may also want the troubleshooting guide or the full recipe card.
Coconut Ice Cream Recipe
This coconut ice cream recipe is made with full-fat coconut milk, unsweetened coconut cream, sugar, vanilla, and salt. Churn it in an ice cream maker for the smoothest texture, or use the no-churn freeze-and-blend method if you do not have a machine.
Ingredients
- 1 can full-fat canned coconut milk, 13.5–14 oz / 400 ml
- 1 can unsweetened coconut cream, 13.5–14 oz / 400 ml
- 1/2 cup / 100 g granulated sugar
- 1/8 teaspoon fine salt
- 2 teaspoons / 10 ml vanilla extract
- 1/3–1/2 cup / 25–40 g toasted coconut, optional
- 1/4 teaspoon coconut extract, optional, for stronger coconut flavor
Ice Cream Maker Method
- If using a freezer-bowl ice cream maker, freeze the bowl for 12–24 hours.
- Add coconut milk, coconut cream, sugar, salt, and vanilla to a blender.
- Blend for 1–2 minutes, until completely smooth and the sugar is dissolved.
- Cover and chill the base for at least 4 hours, preferably overnight.
- Pour the chilled base into the ice cream maker and churn for 20–30 minutes, or until it reaches thick soft-serve texture.
- Fold in toasted coconut, if using.
- Transfer to a freezer-safe container and freeze for 4–6 hours, until scoopable.
- Rest at room temperature for 5–15 minutes before scooping.
No-Churn Freeze-and-Blend Method
- Blend the coconut milk, coconut cream, sugar, salt, and vanilla until smooth.
- Pour into ice cube trays and freeze for at least 6 hours or overnight.
- Blend the frozen cubes in a strong blender or food processor until creamy.
- Serve as soft-serve coconut ice cream, or freeze briefly for firmer scoops.
Notes
- Use full-fat canned coconut milk, not thin carton coconut milk.
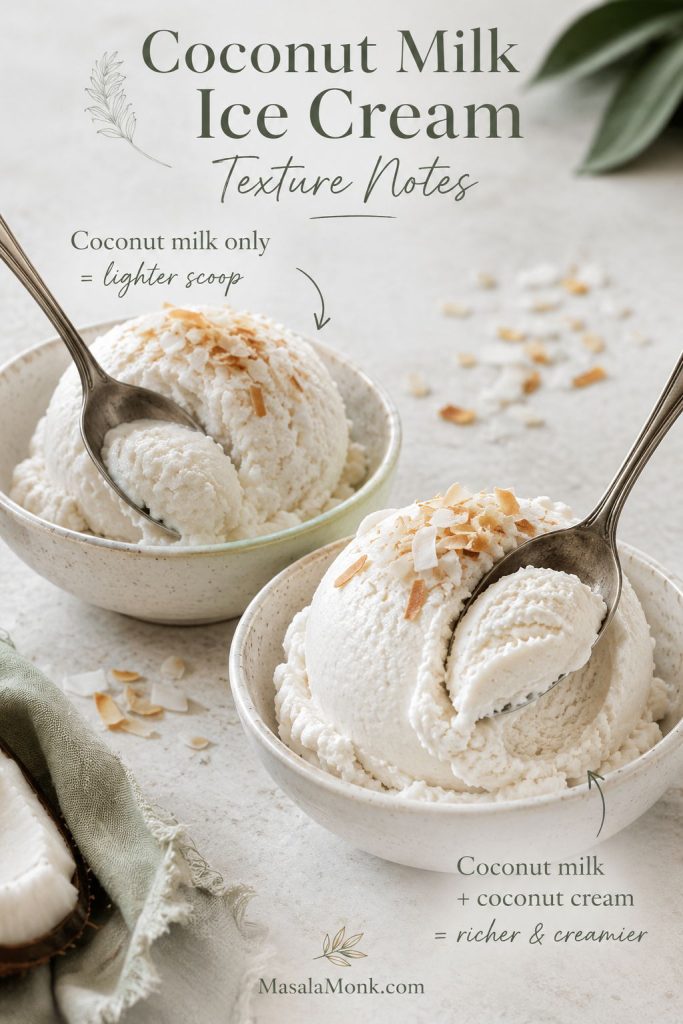
- A coconut milk-only batch can be made with 2 cans full-fat coconut milk, but the texture will be slightly lighter.
- A coconut cream-heavy batch still needs some coconut milk so the texture does not turn too heavy or waxy.
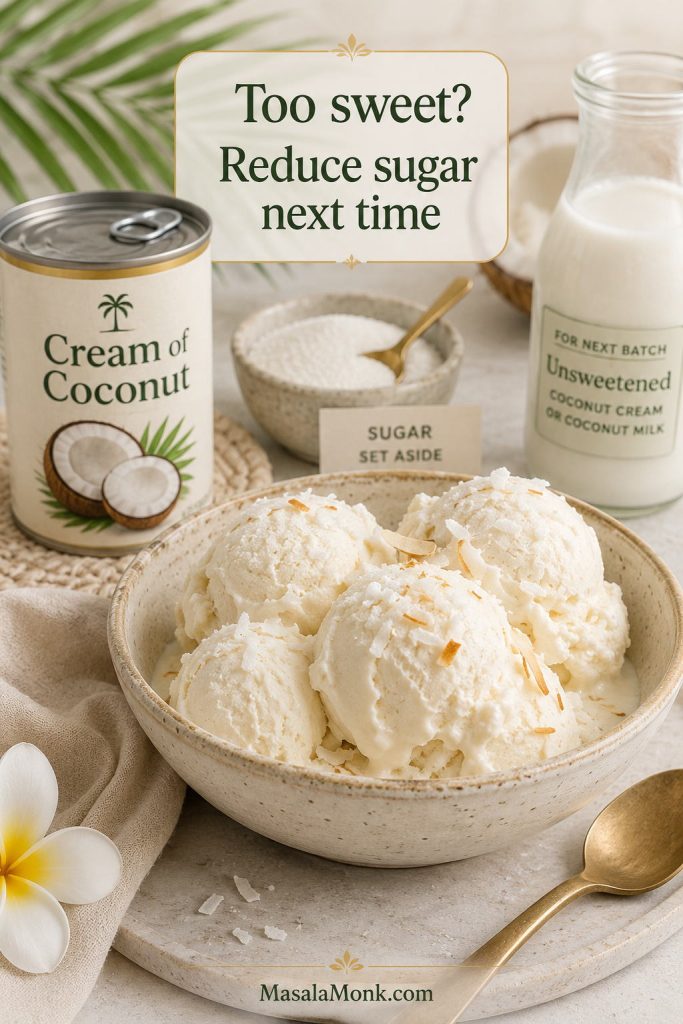
- A cream-of-coconut version should skip the added sugar because cream of coconut is already sweetened.
- The Ninja Creami method needs a 24-hour freeze in the Creami pint; if the first spin looks crumbly, add 1 tablespoon coconut milk and Re-Spin.
- For a slightly softer scoop, replace 1–2 tablespoons of the sugar with golden syrup, maple syrup, or agave. Do not remove too much sweetener, or the ice cream may freeze harder.
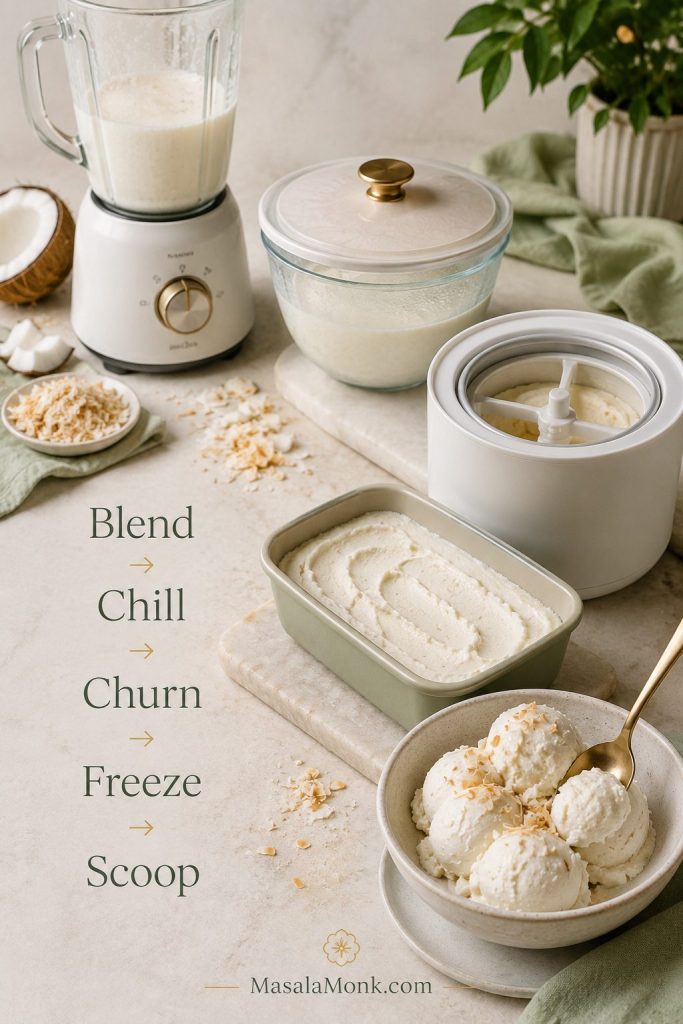
Use this visual recipe card when you want the core formula without scrolling back through every method note.
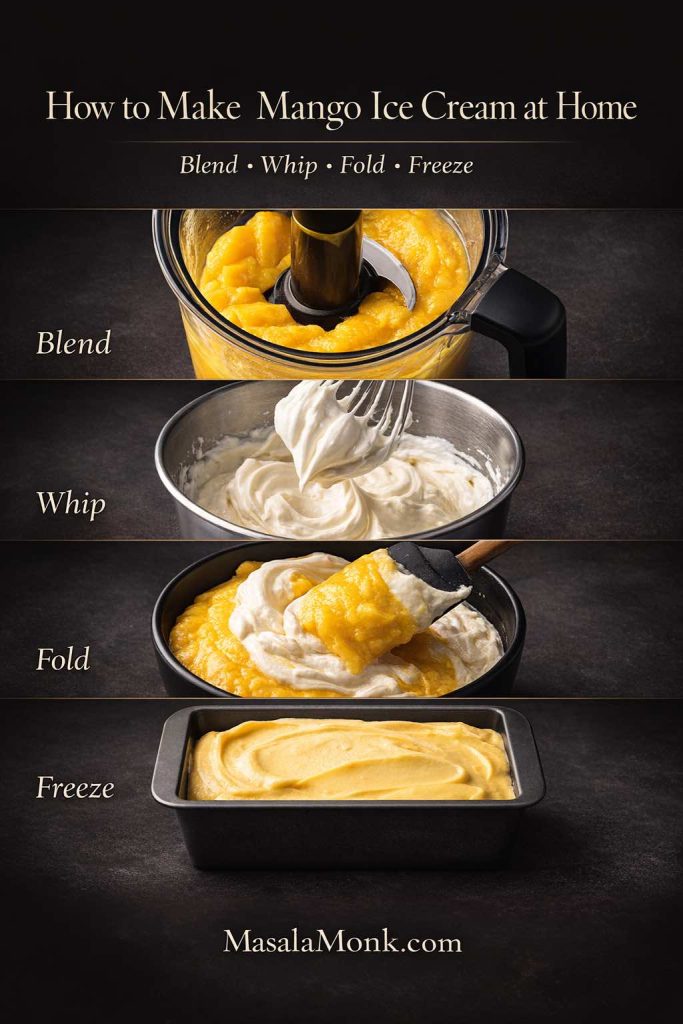
The full workflow is easier to follow when you keep the order clear: blend, chill, churn, freeze, and rest before scooping.
Easy 2-Ingredient and 3-Ingredient Shortcuts
When speed matters more than the creamiest possible scoop, these shortcut batches can help. They are useful for quick desserts, but the texture will be different from the full coconut milk and coconut cream base.
| Shortcut | Ingredients | Best for | Texture note |
|---|---|---|---|
| 2-ingredient cream of coconut ice cream | Cream of coconut + heavy cream | Fast no-churn dessert | Sweet, rich, not dairy-free |
| 3-ingredient coconut milk ice cream | Full-fat coconut milk + sugar + vanilla | Simple dairy-free coconut ice cream | Lighter and icier than the coconut cream base |
| 3-ingredient Ninja Creami coconut ice cream | Coconut milk + sweetener + vanilla | Creami users | Needs a 24-hour freeze and usually benefits from a Re-Spin |
Coconut Milk Ice Cream Recipe Notes
If you only have full-fat canned coconut milk, the recipe will still work. Use 2 cans / about 800 ml full-fat coconut milk in place of the coconut milk and coconut cream combination. The flavor will still be good, but the texture may be slightly lighter and a little icier than the batch made with one can of coconut cream.

For a smoother coconut milk-only batch, chill the cans overnight and use the thick coconut layer from the top if your coconut milk separates. You can also add 1 tablespoon cornstarch or tapioca starch to a cooked base if you want a more custard-like dairy-free texture.
Coconut Cream Ice Cream Recipe Notes
Coconut cream ice cream is richer because the cream has more fat and less water. For the best balance, combine one can of coconut milk with one can of coconut cream. If the base is made only with cream, the result can be very rich but sometimes heavier on the palate.
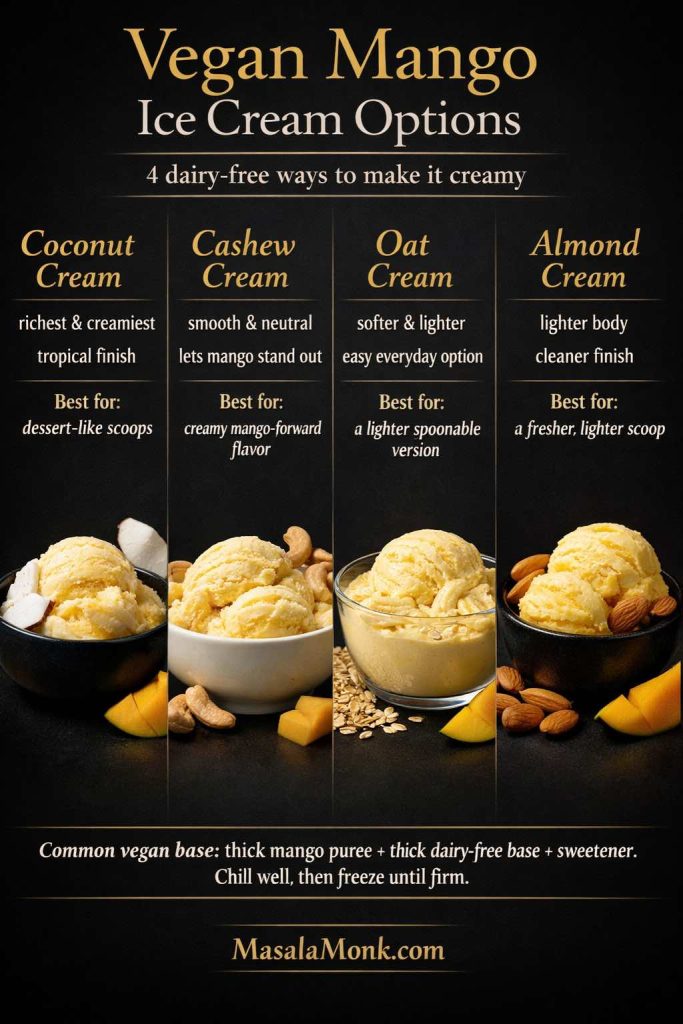
This is the route to choose when you want a vegan scoop that still feels creamy and indulgent. It also works well with toasted coconut, vanilla bean, dark chocolate pieces, mango puree, or pineapple.
Cream of Coconut Ice Cream
The cream-of-coconut version is its own style because the product is already sweetened. As a result, it gives the finished scoop a stronger, sweeter, almost pina-colada-style flavor. Choose this route when you want a richer dessert-style batch rather than a cleaner coconut milk base.
Important: cream of coconut is not the same as unsweetened coconut cream. If you use cream of coconut, skip the 1/2 cup sugar from the main recipe.
For a cream of coconut batch, blend 1 can / 14–15 oz cream of coconut with 1 cup / 240 ml milk or coconut milk, 1 1/2 cups / 360 ml heavy cream or coconut cream, and a pinch of salt. Churn as directed, or freeze and blend for a softer no-churn result.
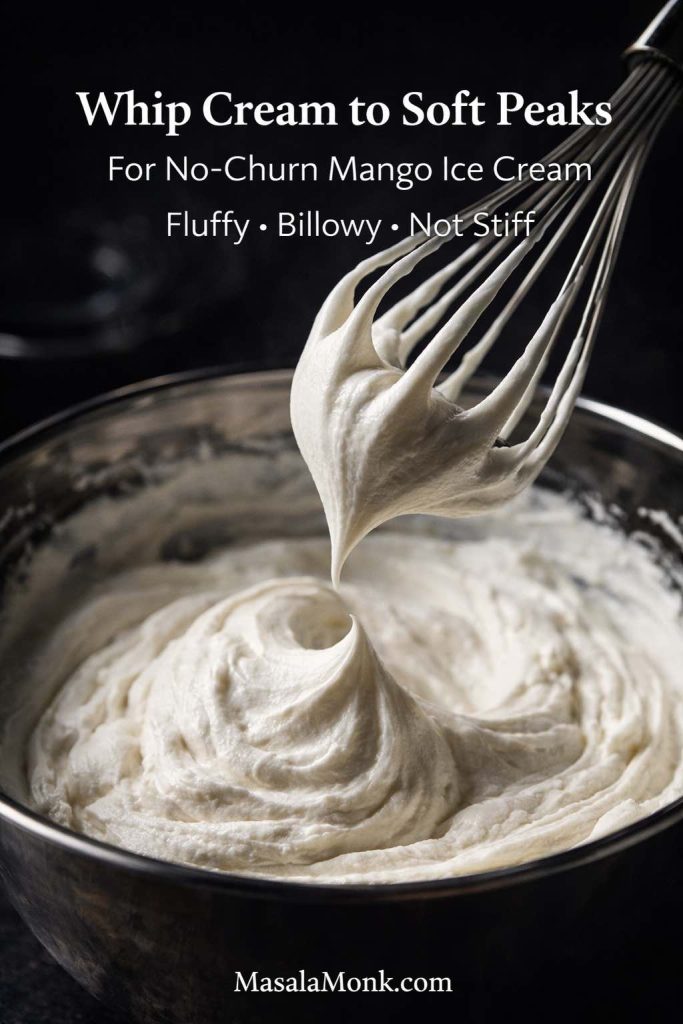
For a very simple no-churn cream of coconut ice cream, whip 2 cups / 480 ml cold heavy cream to soft peaks, then fold in 1 can / 14–15 oz cream of coconut and a pinch of salt. Freeze for 8 hours or overnight. This shortcut is rich and sweet, so it does not need extra sugar.
Using cream of coconut? Check why coconut ice cream turns too sweet or icy, or compare it again with coconut milk and coconut cream.
Vegan and Dairy-Free Notes
The main coconut milk and coconut cream base is naturally dairy-free and vegan as long as your sugar is vegan-friendly. It does not need eggs, heavy cream, or condensed milk. For the creamiest vegan coconut ice cream, keep the fat level high and avoid thin coconut beverages.
For an even smoother vegan batch, however, one of these optional helpers can improve the texture:
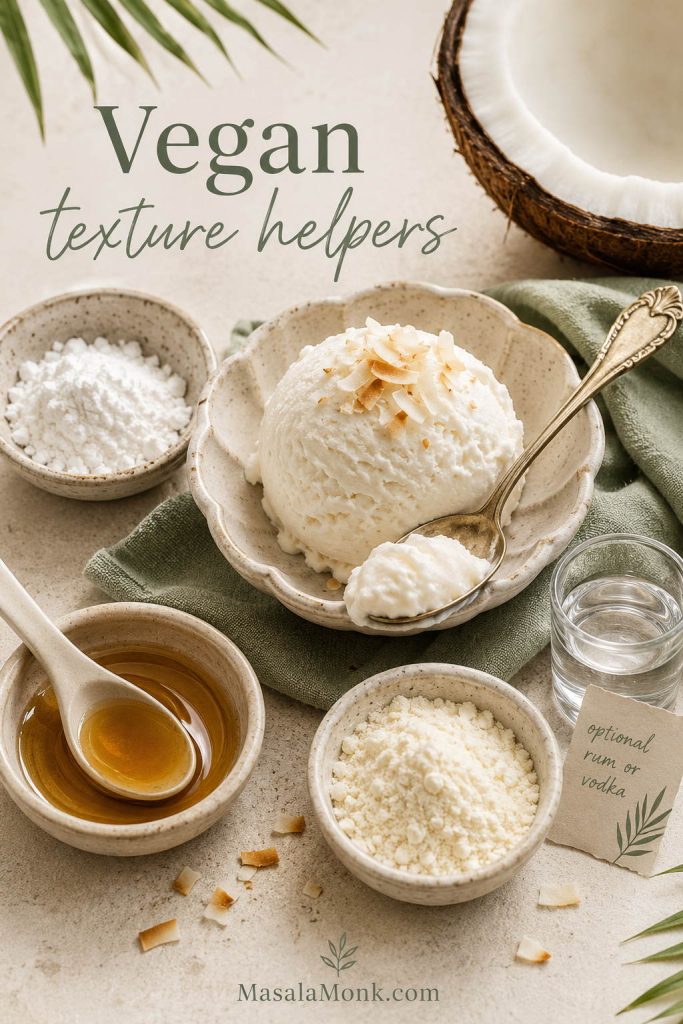
- 1 tablespoon cornstarch or tapioca starch, cooked briefly into the base for a vegan custard feel.
- 1–2 tablespoons golden syrup, maple syrup, or agave, replacing part of the sugar for softer scooping.
- 1–2 tablespoons coconut milk powder, for extra coconut flavor and body.
- 1 teaspoon vodka or rum, optional, to slightly soften the freeze and add a grown-up note.
Thai-Style and Tender Coconut Notes
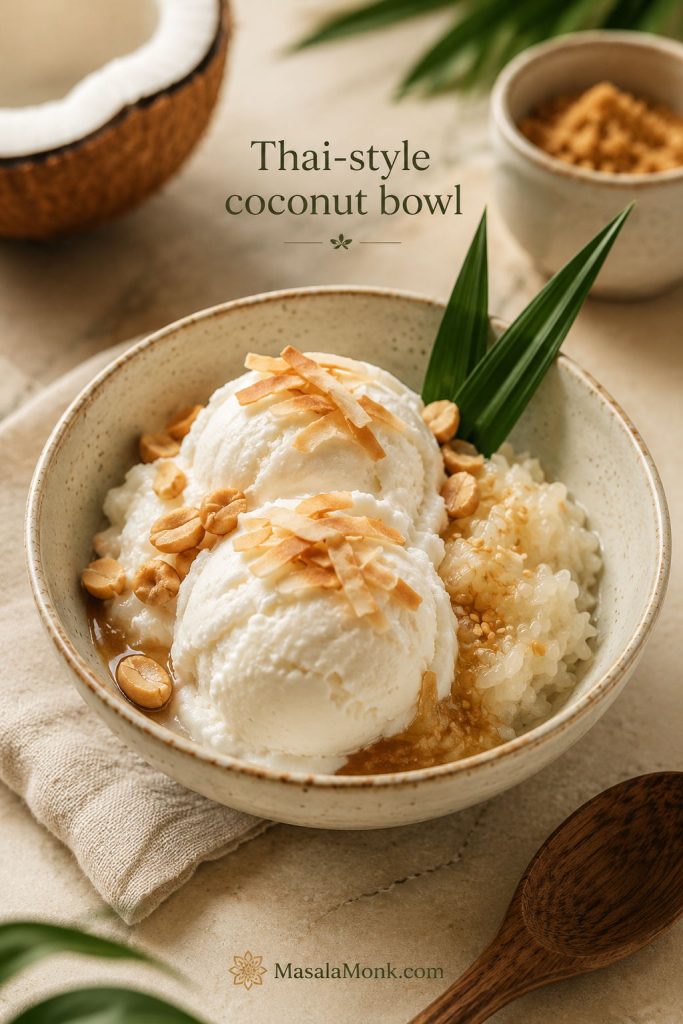
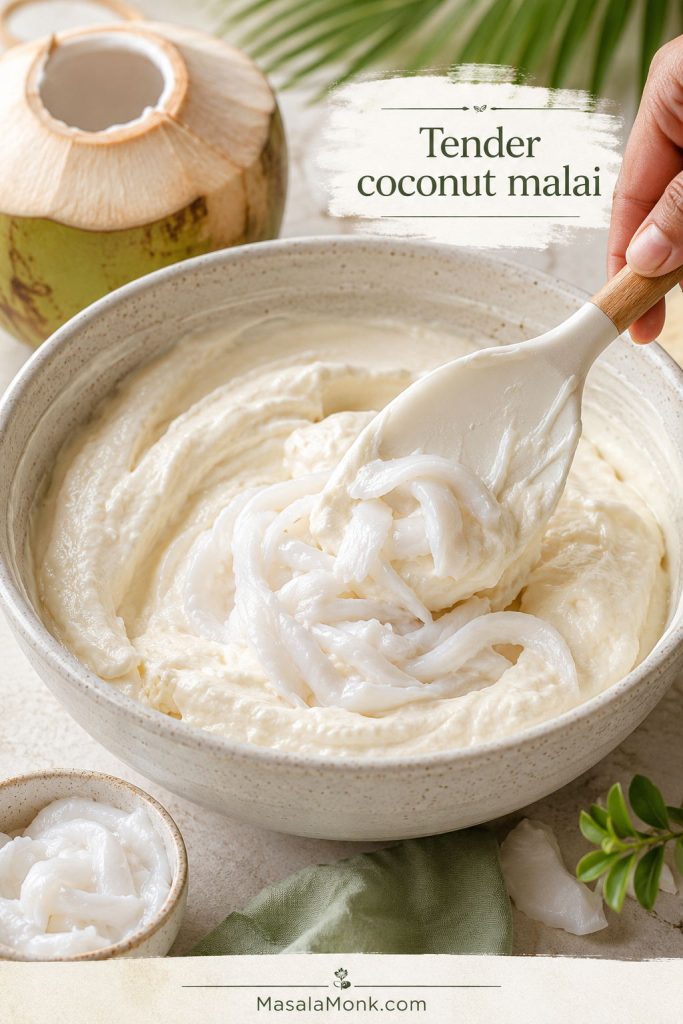
Thai coconut ice cream and tender coconut ice cream are related to this recipe, but they have their own flavor logic. Thai-style coconut ice cream often uses coconut milk, coconut cream or coconut water, palm sugar, salt, and sometimes pandan. Tender coconut ice cream usually includes soft tender coconut flesh, also called malai, for a fresh coconut texture.
Thai coconut ice cream variation
For a Thai-inspired batch, replace the granulated sugar with palm sugar, add a pandan leaf while gently warming the base, then remove it before chilling. Serve with roasted peanuts, sticky rice, toasted coconut, jackfruit, or sweet corn if you want a Thai street-dessert style bowl.
Tender coconut ice cream variation
For tender coconut ice cream, blend the main coconut base and add chopped tender coconut flesh after churning, or pulse some of the tender coconut into the base before chilling. A small splash of tender coconut water can brighten the flavor, but too much will make the ice cream icier.
Ninja Creami Coconut Ice Cream
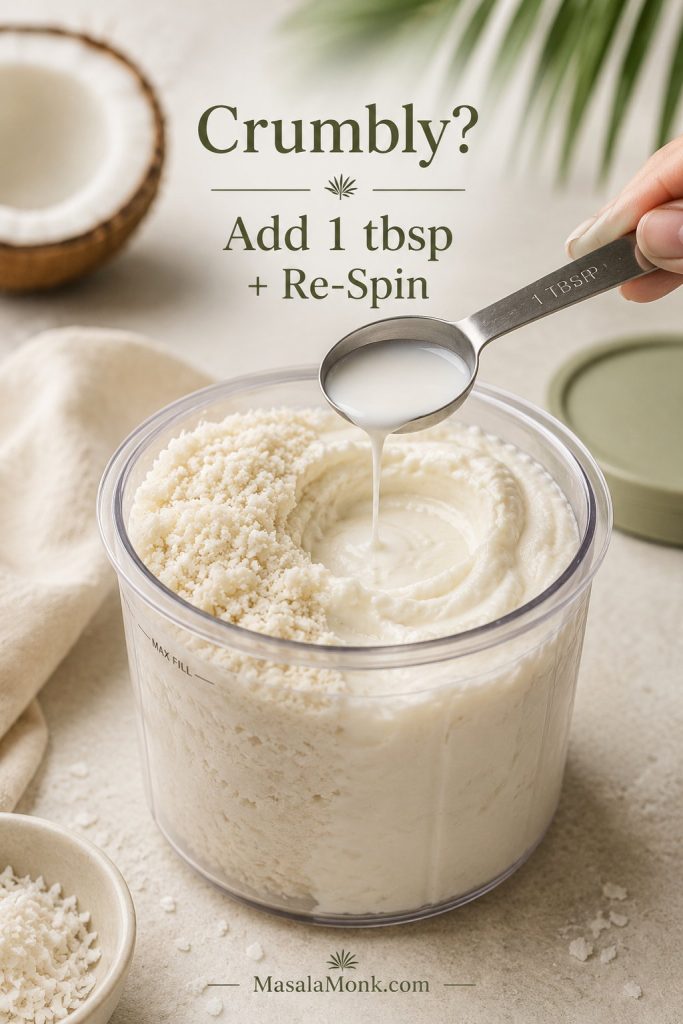
To make coconut ice cream in a Ninja Creami, blend the main base until smooth, pour it into the Creami pint without passing the max fill line, and freeze it level for 24 hours. Process on the Ice Cream or Lite Ice Cream setting depending on your machine and base.

If the mixture looks crumbly after the first spin, add 1 tablespoon coconut milk or coconut cream and use Re-Spin. After that, add toasted coconut, chocolate chips, or chopped fruit with the Mix-In function once the base is creamy.
Freeze the pint level and keep the mixture below the max fill line. If the surface is uneven after freezing, let it sit for a few minutes and level the top before spinning so the blade processes the base evenly.
| Creami result | What to do |
|---|---|
| Powdery or crumbly | Add 1 tablespoon coconut milk or coconut cream, then Re-Spin. |
| Too soft | Freeze the pint longer and make sure the base was not overfilled or too warm before freezing. |
| Uneven top | Let it sit briefly, level the surface, then process so the blade catches evenly. |
| Weak coconut flavor | Add toasted coconut as a Mix-In or use a small amount of coconut extract next time. |
If the Creami pint looks powdery or crumbly after the first spin, use a small splash of coconut milk or coconut cream before you change the whole base.
For another fruit-based frozen dessert with blender, no-machine, ice cream maker, and Ninja Creami notes, this mango sorbet recipe is a useful companion.
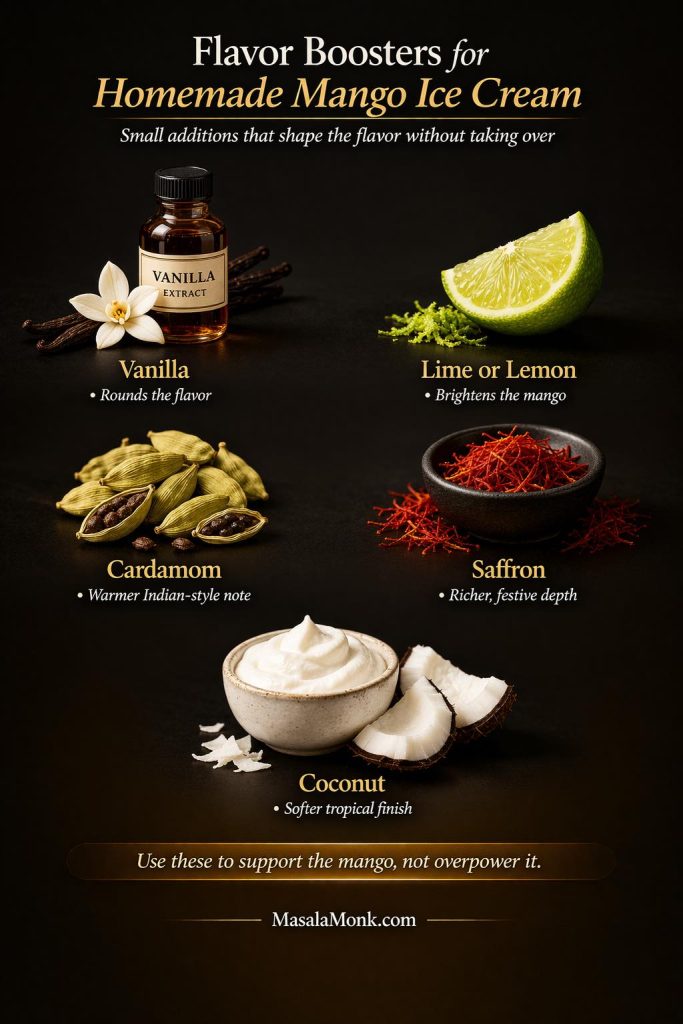
Flavor Variations
Once the base is balanced, you can take it in several directions without wrecking the texture. Mango makes it sunny and tropical, pineapple pushes it toward a pina-colada-style scoop, chocolate makes it deeper and richer, and toasted coconut gives every bite a stronger coconut finish.
| Variation | How to make it | Best note |
|---|---|---|
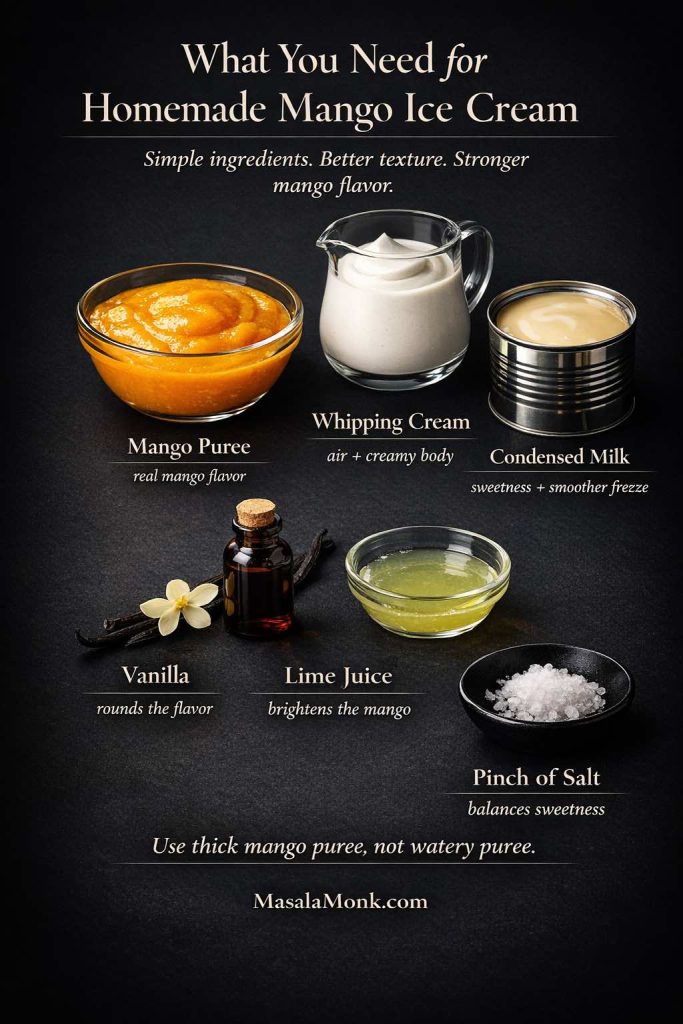
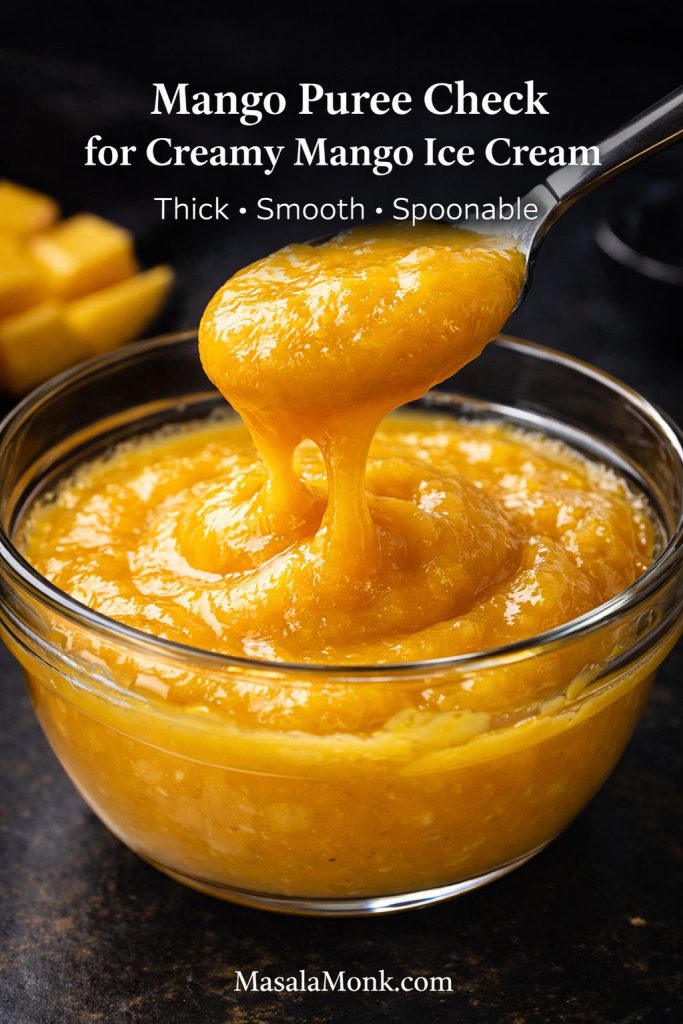
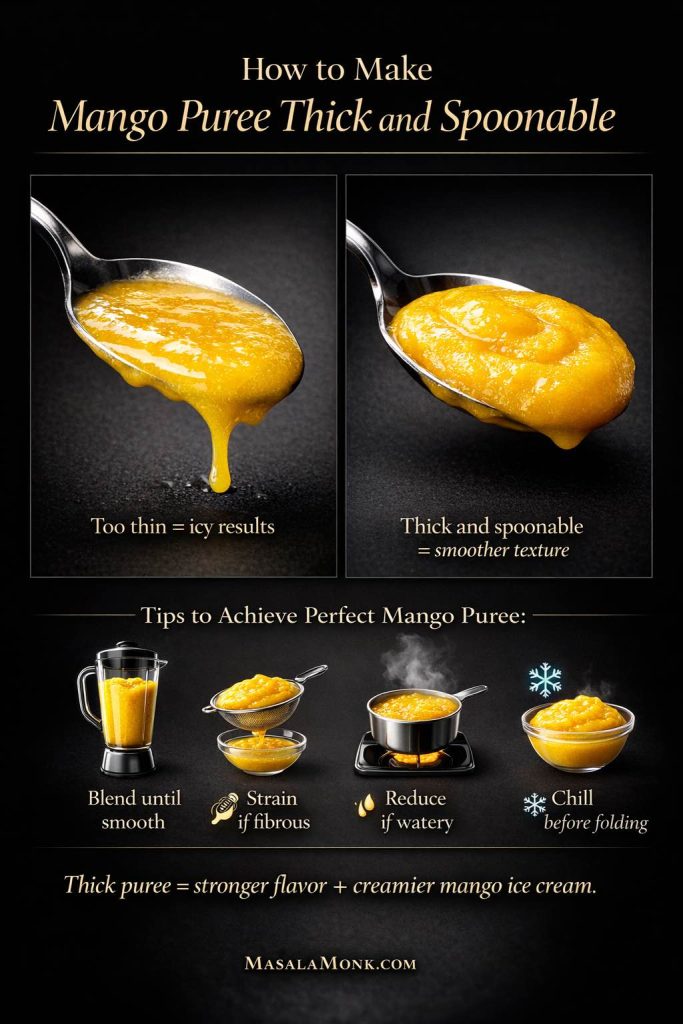
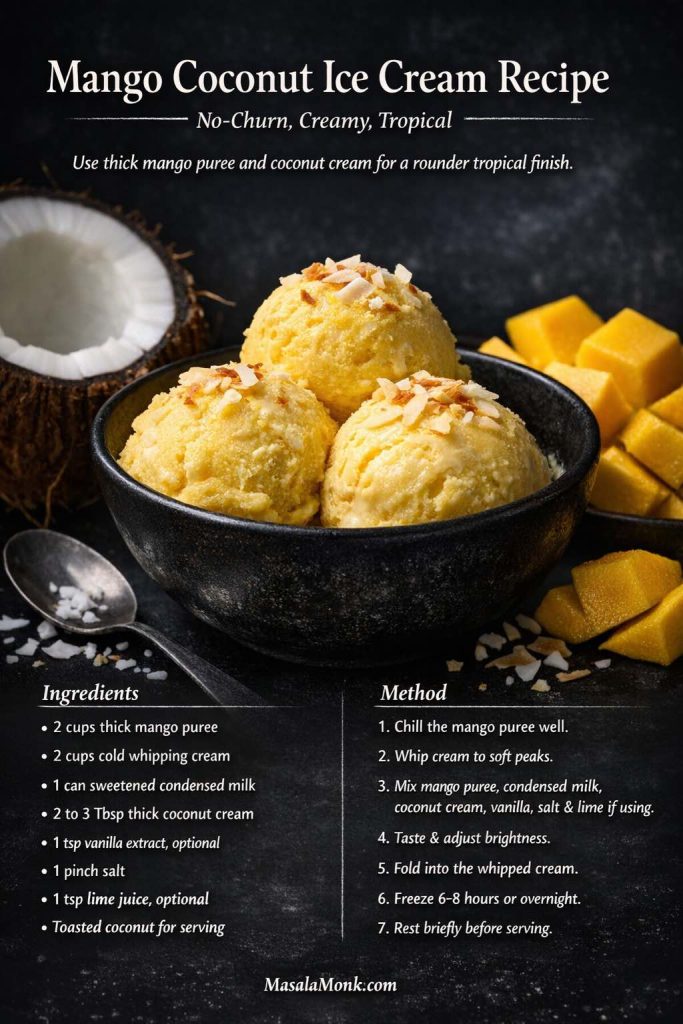
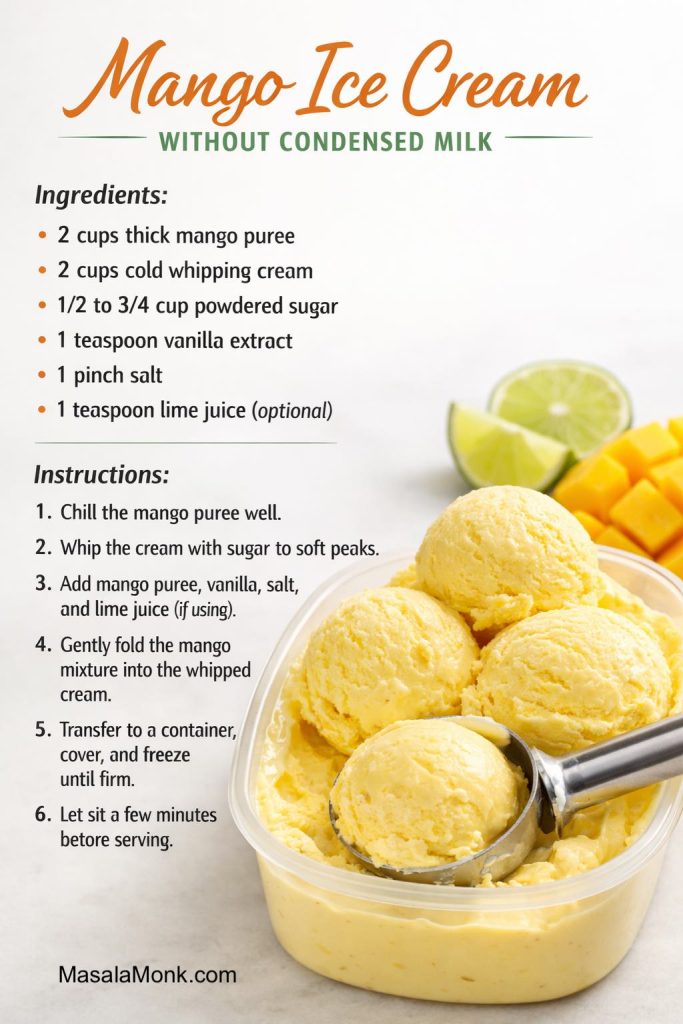
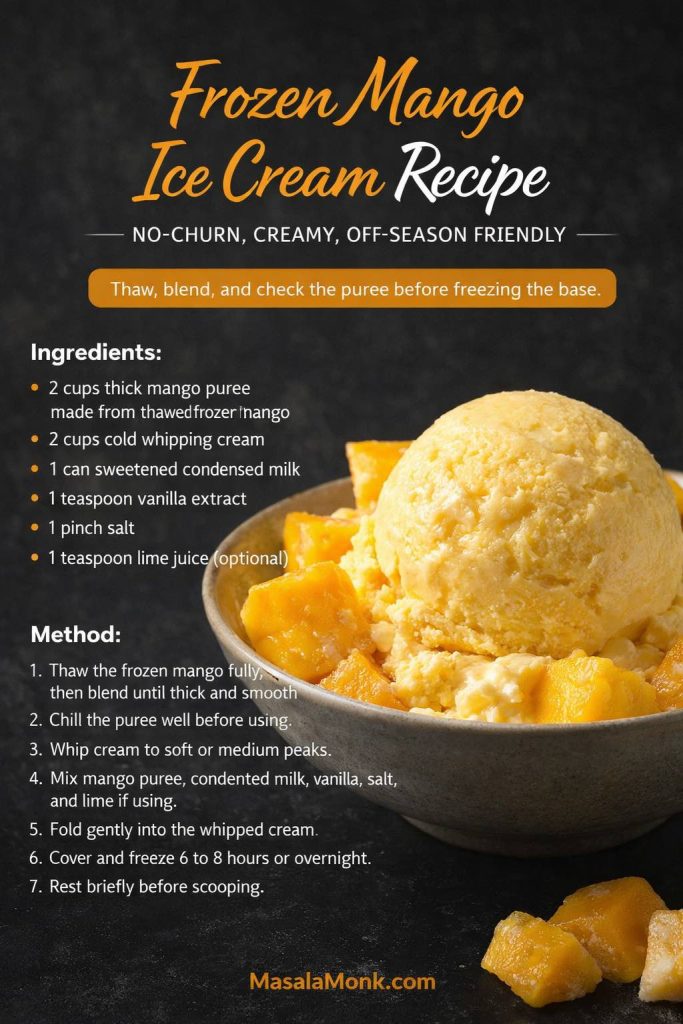
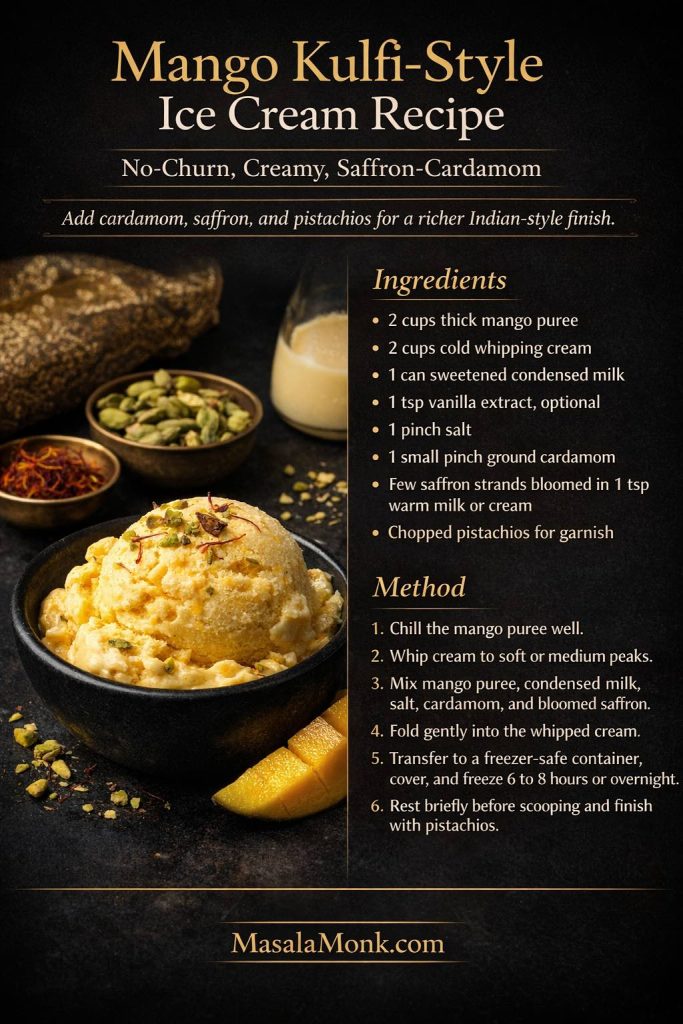
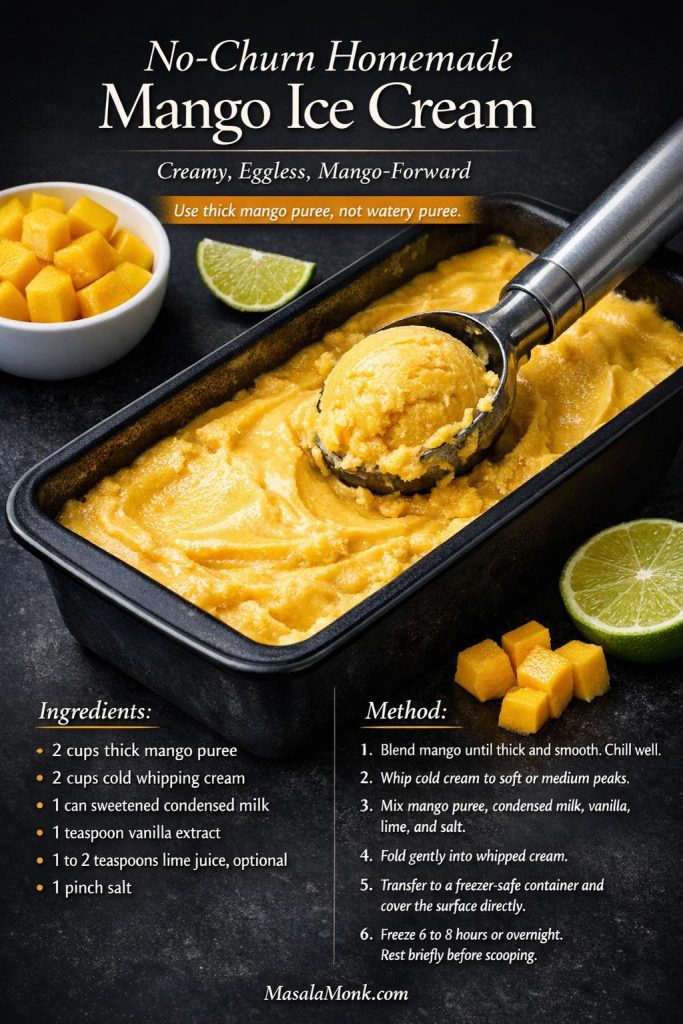
| Mango coconut ice cream | Use thick mango puree, not thin mango juice. If adding a full cup, reduce the coconut milk by 1/4 cup. | For a mango-first route, start with this homemade mango ice cream recipe, then use coconut cream or coconut milk as the tropical variation. |
| Pineapple coconut ice cream | Use drained crushed pineapple or thick pineapple puree. | Avoid loose pineapple juice unless you want a more icy, sorbet-like result. |
| Pina colada ice cream | Use cream of coconut, pineapple, and optional rum. | Reduce added sugar because cream of coconut is sweet. |
| Chocolate coconut ice cream | Use cocoa powder for the easiest version, or cooled melted dark chocolate for a richer texture. | Add a pinch more salt to deepen the chocolate flavor. |
| Mint chocolate coconut ice cream | Add peppermint extract and chopped dark chocolate or mini chips to the chilled base. | For a classic dairy-style flavor path, see this mint chocolate chip ice cream recipe. |
| Toasted coconut ice cream | Fold toasted coconut into the churned base. | Best for stronger coconut flavor and texture. |
| Old-fashioned coconut custard ice cream | Use coconut milk with cream, sugar, egg yolks, vanilla, and salt; cook to a custard before chilling and churning. | Richest dairy-style route, but not vegan or egg-free. |
| Keto coconut ice cream | Use coconut cream and a freezer-friendly low-carb sweetener. | Needs separate sweetener testing because many keto sweeteners freeze harder. |
Keto coconut ice cream note
Keto coconut ice cream needs a freezer-friendly sweetener because many low-carb sweeteners freeze harder than sugar. Allulose usually behaves better than many granular sugar alcohol blends, but the texture still needs separate testing.
If you are building a low-carb dessert menu rather than only one frozen recipe, this keto cheesecake recipe is a better tested make-ahead option because frozen keto desserts need more careful sweetener choices.
Want to try one of these flavors? Go back to the main recipe card, or revisit coconut cream ice cream notes if you want a richer base.
Troubleshooting
Start with the likely cause
If your first batch is not perfect, do not toss the recipe. Coconut ice cream is sensitive to fat, sugar, water, and temperature, so small changes can make a big difference in how creamy, scoopable, or icy it turns out.
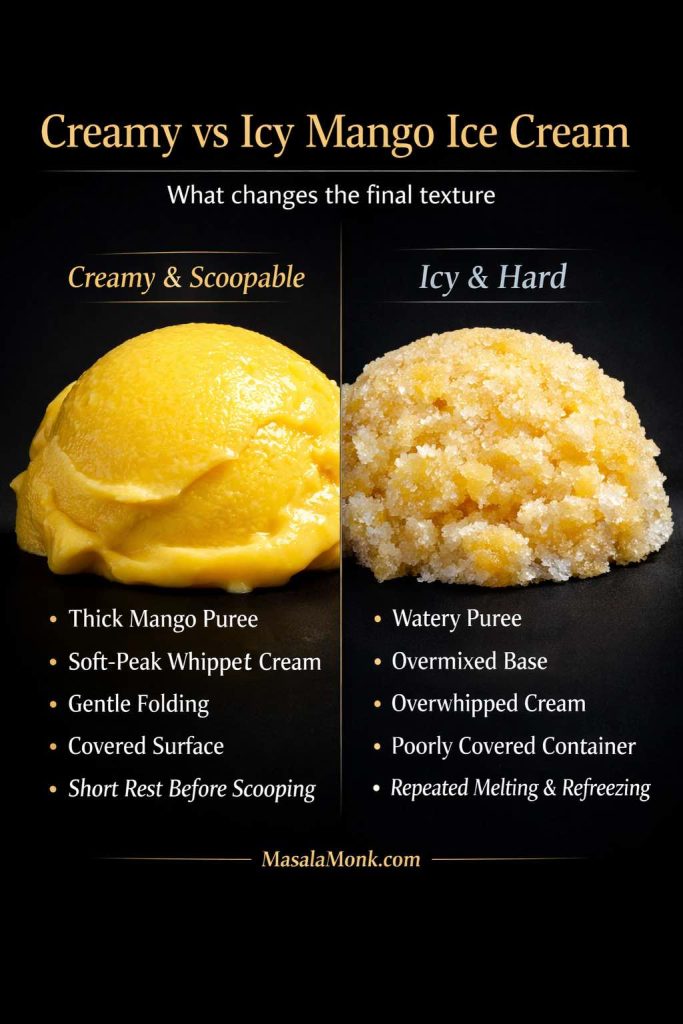
Most failed batches come down to one of four things: too much water, not enough fat, not enough sugar, or a base that was not cold enough. Rather than changing the whole recipe, find the likely problem below and adjust from there.
Fix icy or hard coconut ice cream first
Icy coconut ice cream usually points to too much water, too little fat, thin carton coconut milk, or a base that was not chilled enough before churning.
| Problem | Likely cause | Fix |
|---|---|---|
| Icy coconut ice cream | Low fat, too much water, carton coconut milk, or warm base | Use full-fat canned coconut milk and coconut cream; chill the base at least 4 hours |
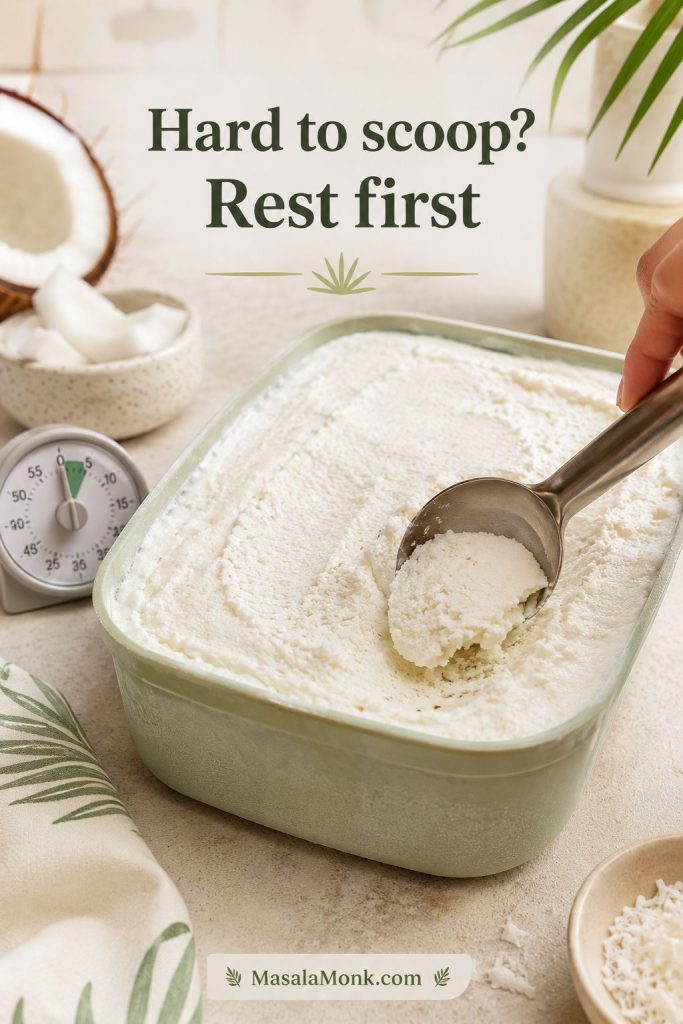
| Too hard to scoop | Low sugar, low fat, or long freezer time | Rest 5–15 minutes before scooping; slightly increase sugar next time |
| Grainy texture | Sugar not dissolved or coconut fat separated | Blend the base for 1–2 minutes; avoid overheating coconut cream |
| Slushy after churning | Ice cream bowl or base was not cold enough | Freeze the bowl fully and chill the base overnight if possible |
| Too sweet | Cream of coconut or condensed milk used with extra sugar | Use unsweetened coconut cream next time or skip added sugar with cream of coconut |
| Weak coconut flavor | Mild coconut milk or too much vanilla/sugar | Add toasted coconut, coconut extract, or more coconut cream |
| Fatty or waxy mouthfeel | Too much coconut cream and not enough coconut milk | Use the balanced 1 can coconut milk + 1 can coconut cream formula |
| Crumbly Ninja Creami result | Base froze very hard | Add 1 tablespoon coconut milk or cream and Re-Spin |
If the batch is hard but not icy, start with resting time before you change the recipe. Coconut-based ice cream often needs a few minutes on the counter.
Fix grainy, weak, or waxy batches
If the texture tastes grainy, the base usually needs better blending, better chilling, or gentler handling so the sugar dissolves and the coconut fat stays smooth.
When the texture is fine but the flavor tastes quiet, strengthen the coconut note with toasted coconut, coconut extract, or a slightly richer base.
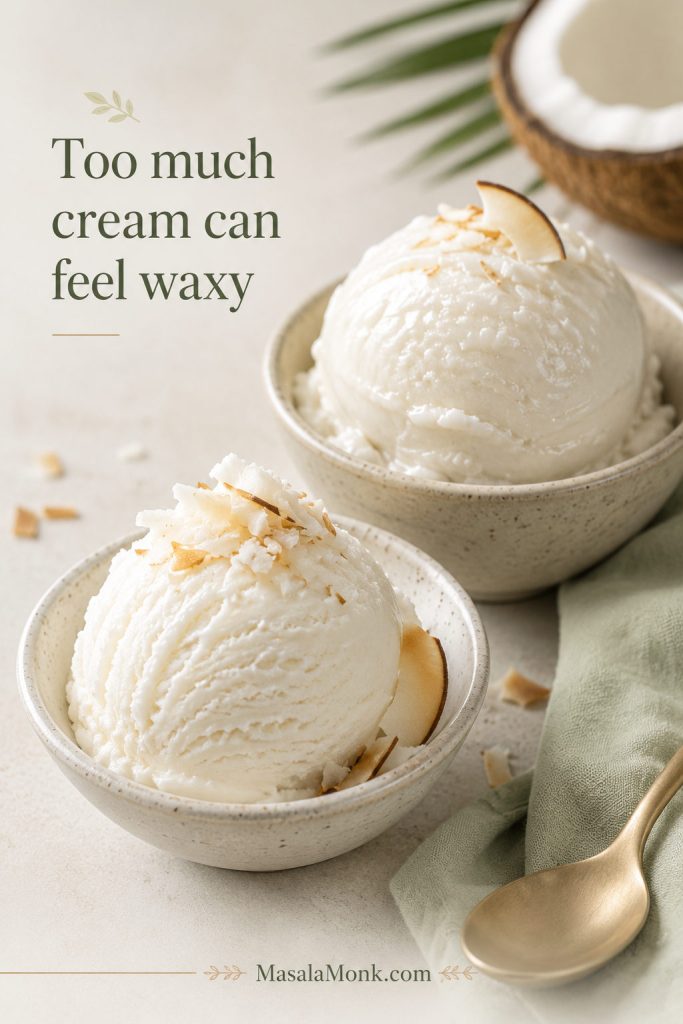
If the scoop tastes rich but leaves a heavy coating on the palate, the base may have too much coconut cream and not enough coconut milk.
Texture note: sugar affects more than sweetness in homemade ice cream. King Arthur Baking has a helpful explainer on how sugar affects scoopability and freezer texture, which is why this recipe does not cut the sweetener too aggressively.
Storage and Scooping
In practice, homemade coconut ice cream is usually at its best when it is treated a little differently from store-bought dairy ice cream. The container, surface protection, and resting time all matter.
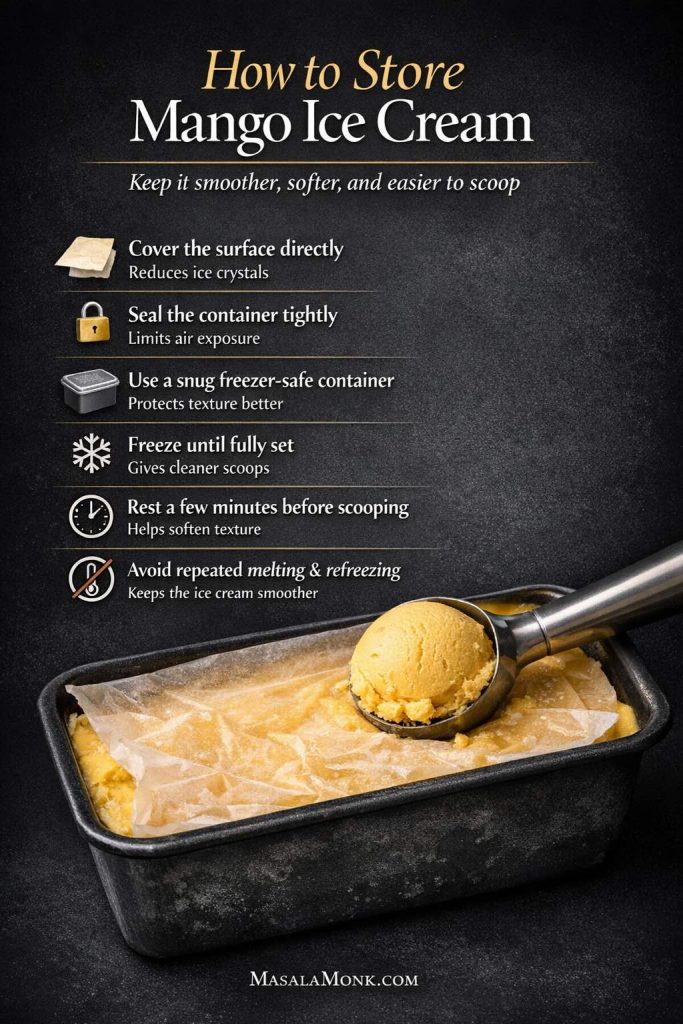
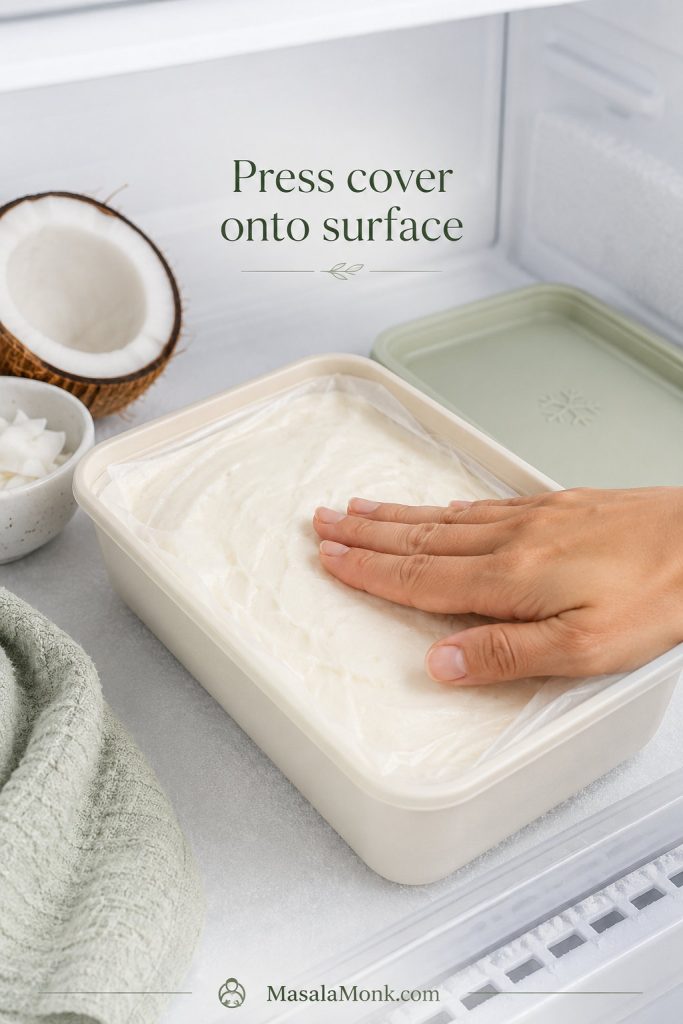
Store it in a shallow freezer-safe container with a tight lid. Press parchment paper or plastic wrap directly against the surface before closing the lid if you want to reduce ice crystals. The texture is best in the first 1–2 weeks.
Dairy-free coconut ice cream often freezes firmer than dairy ice cream. Let it sit at room temperature for 5–15 minutes before scooping. If it has been frozen for several days, use a warm scoop and drag firmly through the ice cream rather than forcing it straight down.
If this is your first homemade coconut ice cream, do not judge the batch straight from the freezer. First, let it rest for a few minutes; then scoop it with a warm spoon and decide whether it needs more sugar, more coconut cream, or a longer chill next time.
Before you start, check which route fits your ingredients or skim the common coconut ice cream problems if you want to avoid icy, hard, or overly sweet results.
FAQs
Need the main recipe again? Jump back to the recipe card or the quick answer.
What coconut milk works best for coconut ice cream?
Full-fat canned coconut milk works best because it has enough fat and body to freeze into a creamier scoop. Skip thin carton coconut milk for this recipe; it is usually too watery and can leave you with a hard, icy texture.
What is the difference between coconut cream and cream of coconut?
Coconut cream is usually unsweetened and thick. Cream of coconut is sweetened and syrupy. Use coconut cream for the main base. Use cream of coconut only for the sweeter cream-of-coconut batch, and reduce or skip added sugar.
Why did my coconut ice cream turn icy?
Coconut ice cream usually turns icy when the base is too watery, too low in fat, too warm before churning, or made with thin carton coconut milk. Full-fat canned coconut milk, coconut cream, and a fully chilled base make the texture smoother.
Can I make coconut ice cream without an ice cream maker?
The best dairy-free no-churn method is to freeze the blended coconut base in ice cube trays, then blend the frozen cubes until creamy. For a richer dairy route, whipped cream plus sweetened condensed milk makes a softer no-churn coconut ice cream.
Do I need eggs for coconut ice cream?
This coconut ice cream recipe does not need eggs because coconut cream gives the base enough richness. Egg yolks can be used for a custard-style coconut ice cream, but they are not necessary for the main dairy-free method.
How long should I chill the coconut ice cream base?
Chill the base for at least 4 hours, though overnight is better. If the base goes into the machine cold, it churns thicker and smoother; if it starts warm, it can stay loose and slushy for too long.
How do I make coconut ice cream easier to scoop?
Sugar, fat, and a fully chilled base all help the finished scoop stay softer. Let the container sit at room temperature for 5–15 minutes before scooping, especially with dairy-free batches, and use a warm scoop instead of forcing it straight from the freezer.
Is this coconut ice cream vegan?
The main base is vegan and dairy-free as long as your sugar is vegan-friendly. It gets richness from coconut milk and coconut cream instead of heavy cream, condensed milk, or eggs.
Why does keto coconut ice cream need a separate approach?
Keto coconut ice cream needs separate sweetener testing because many low-carb sweeteners freeze harder than sugar. Coconut cream gives a strong base, but the sweetener choice matters for texture. Allulose usually behaves better than many granular sugar alcohol blends.
Once you understand the difference between coconut milk, coconut cream, and cream of coconut, homemade coconut ice cream becomes much easier to control. After one batch, this coconut ice cream recipe becomes easy to adjust: start with the churned base for the smoothest scoop, use the freeze-and-blend method if you do not have a machine, and do not worry if the first try needs a small adjustment. A little more fat, sugar, chill time, or resting time can be the difference between icy and creamy.