Most disappointing piña coladas fail for the same few reasons: the drink turns thin, tastes like straight sugar, or the alcohol-free version feels empty once the rum is gone. A great piña colada recipe — often searched as a pina colada recipe — solves that with the right coconut base, enough pineapple, the right chill, and a small hit of lime.
The first sip should taste cold before it tastes sweet: pineapple first, coconut next, rum in the background, and a clean finish that makes the glass feel refreshing instead of heavy.
Start with the frozen blender version, then use the same balance to make it shaken, virgin, Malibu-style, lighter with coconut milk, mixed ahead, or batched for a party. The promise is simple: a piña colada that stays smooth, avoids syrupy sweetness, and tells you exactly which coconut product belongs in the glass.
Table of Contents
Make the Pina Colada
Variations, Fixes, and Planning
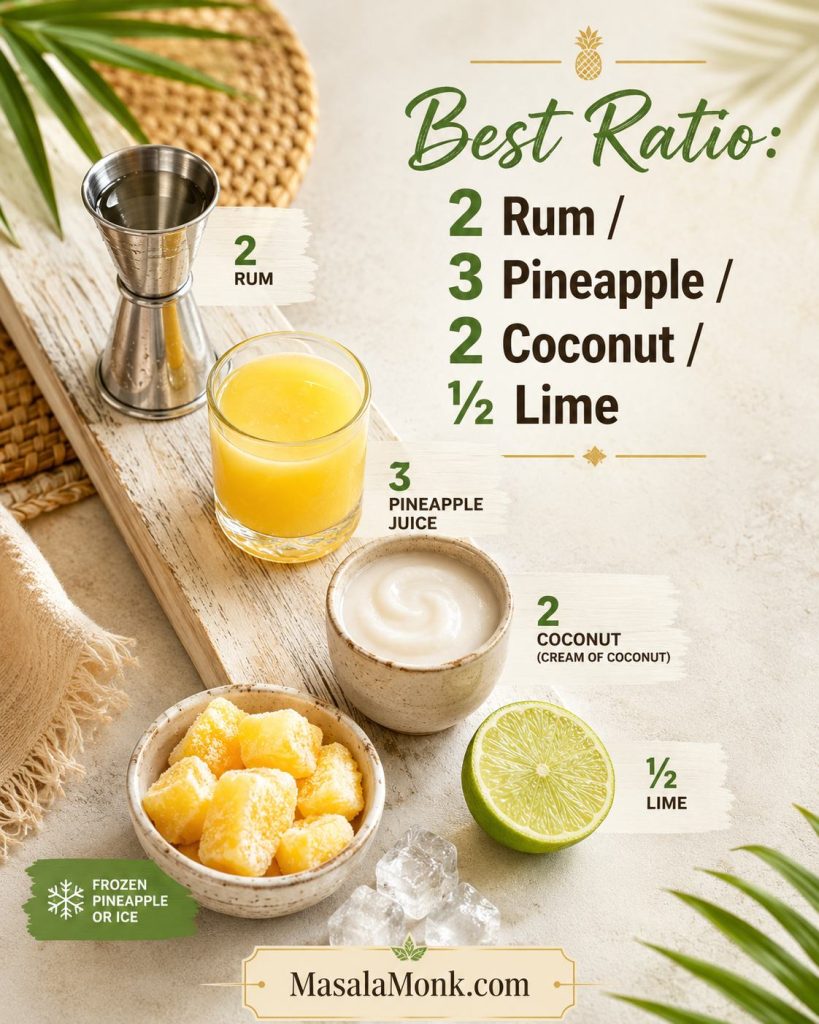
Quick Answer: The Best Pina Colada Recipe Ratio
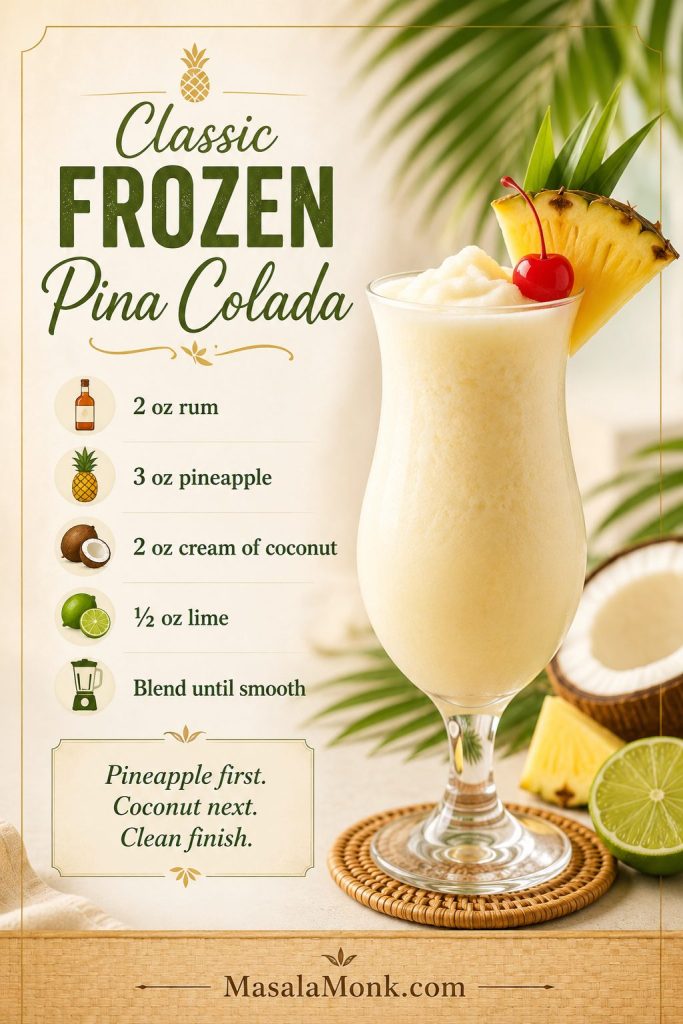
For one frozen piña colada, use 2 oz white rum, 3 oz pineapple juice, 2 oz cream of coconut, ½ oz fresh lime juice, and 1 to 1½ cups ice. For a thicker, fruitier drink, add ½ cup frozen pineapple.
Frozen, shaken, or alcohol-free shortcuts
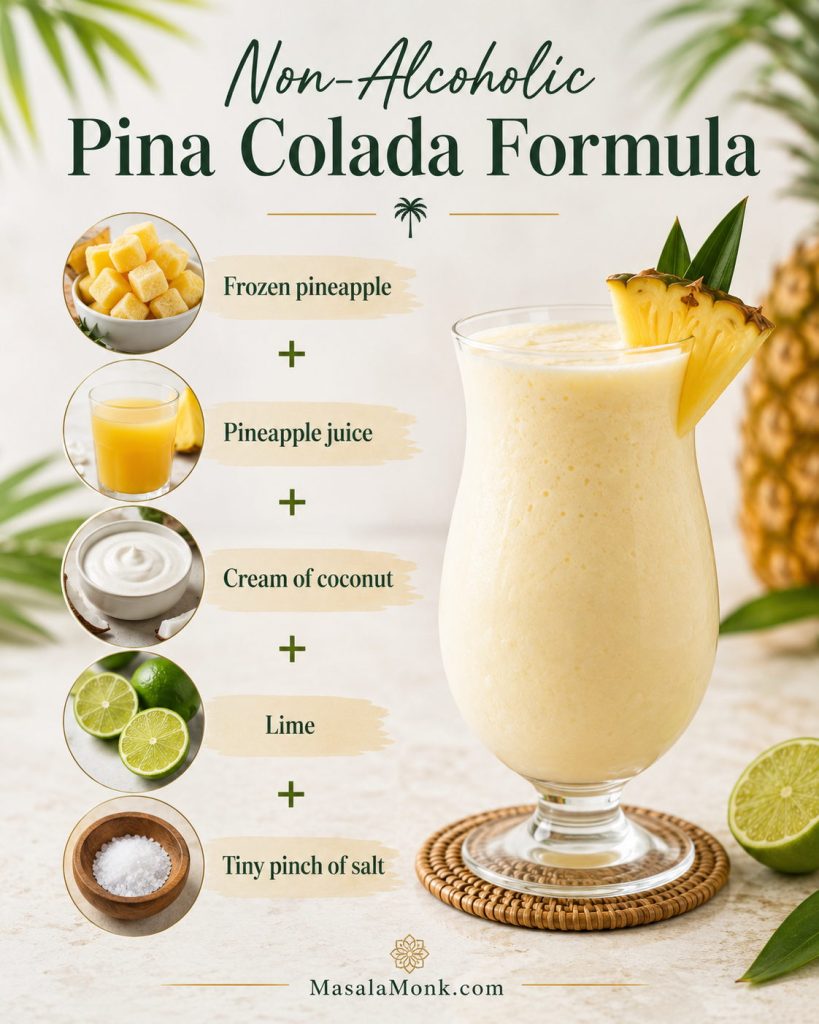
No blender? Shake 2 oz white rum, 2 oz pineapple juice, 1½ oz cream of coconut, and ½ oz lime juice, then strain into a fresh glass over fresh ice. No alcohol? Blend frozen pineapple, pineapple juice, cream of coconut, lime, and a tiny pinch of salt so the mocktail still has depth.
Need a different route? Go straight to the on-the-rocks version, the virgin pina colada, or the pina colada mix section.
The classic flavor is simple — rum, pineapple, coconut — but the texture depends on measurement. Cream of coconut gives the familiar sweet body, while lime keeps the finish from turning sticky.
Measured ratio for one drink
| Ingredient | Amount for 1 drink | Job in the glass |
|---|---|---|
| White rum | 2 oz / 60 ml | Clean cocktail base that lets the fruit lead. |
| Pineapple juice | 3 oz / 90 ml | Main tropical flavor and blending liquid. |
| Cream of coconut | 2 oz / 60 ml | Sweet coconut body and classic richness. |
| Fresh lime juice | ½ oz / 15 ml | Clean finish and better balance. |
| Ice | 1–1½ cups / 140–210 g | Cold, frosty texture. |
| Frozen pineapple | ½ cup / 70–75 g, optional | Fruitier thickness without dulling the flavor. |
Once the base ratio makes sense, use the version guide to pick your path or the success checks to fine-tune the glass.
Best first batch: measure the coconut base and frozen ingredients once. After that, you can adjust by feel without turning the drink thin, syrupy, or heavy.
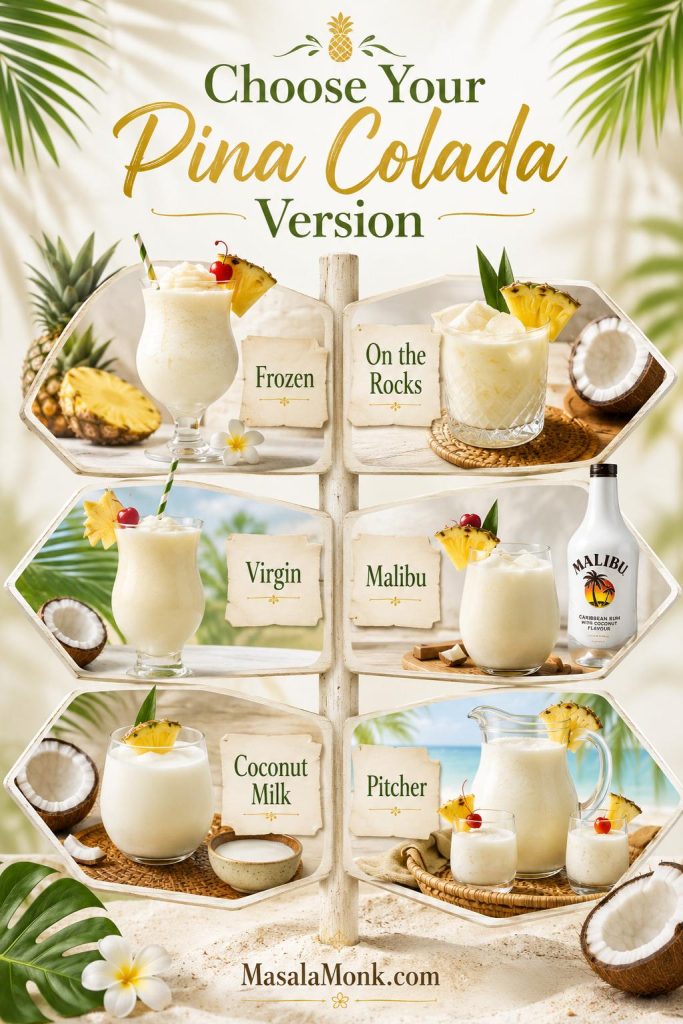
Pina Colada at a Glance: Choose Your Version
The best version depends on the glass you want: thick and vacation-style, lighter and shaken, alcohol-free but still complete, or party-ready without turning watery. Start with the classic frozen version once, then use this guide to choose your path.
| Version | Best for | Texture | Key adjustment |
|---|---|---|---|
| Frozen Pina Colada Recipe | Classic resort-style drink | Frosty, smooth, sippable | Use the base ratio and optional frozen fruit. |
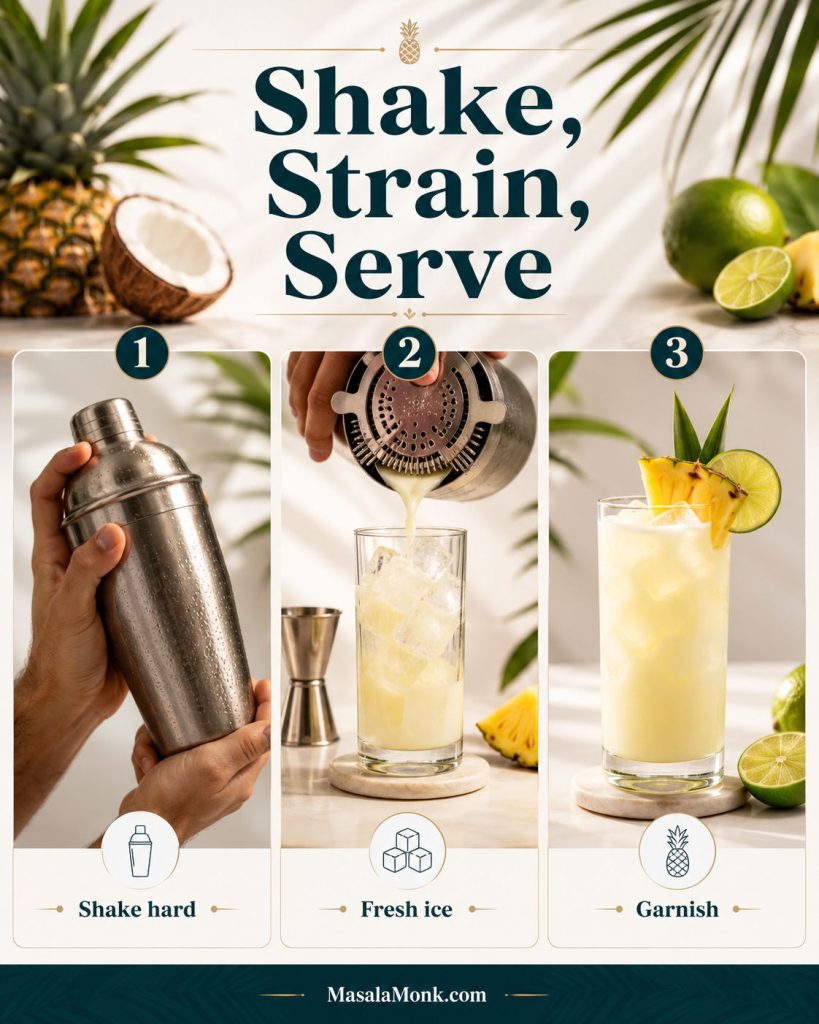
| Pina Colada on the Rocks | No blender, lighter cocktail | Chilled and frothy | Shake hard; serve right away. |
| Virgin Pina Colada Mocktail | Non-drinkers and family-friendly glasses | Creamy and fruit-forward | Use lime, salt, and pineapple for depth. |
| Malibu Pina Colada Recipe | Sweeter coconut-rum flavor | Soft and coconut-forward | Use less cream of coconut. |
| Pina Colada with Coconut Milk | Lighter, less dessert-like drink | Thinner and fresher | Add sweetener only if needed. |
| Pina Colada Pitcher | Parties | Depends on serving method | Chill the base; finish at serving. |
Why This Pina Colada Ratio Works
This recipe is built around three checks: the drink should pour thick but sip easily, taste pineapple-first, and finish clean instead of sticky. That is the difference between a lush piña colada and a glass of sweet melted slush.
| Success check | What you should notice | Adjustment |
|---|---|---|
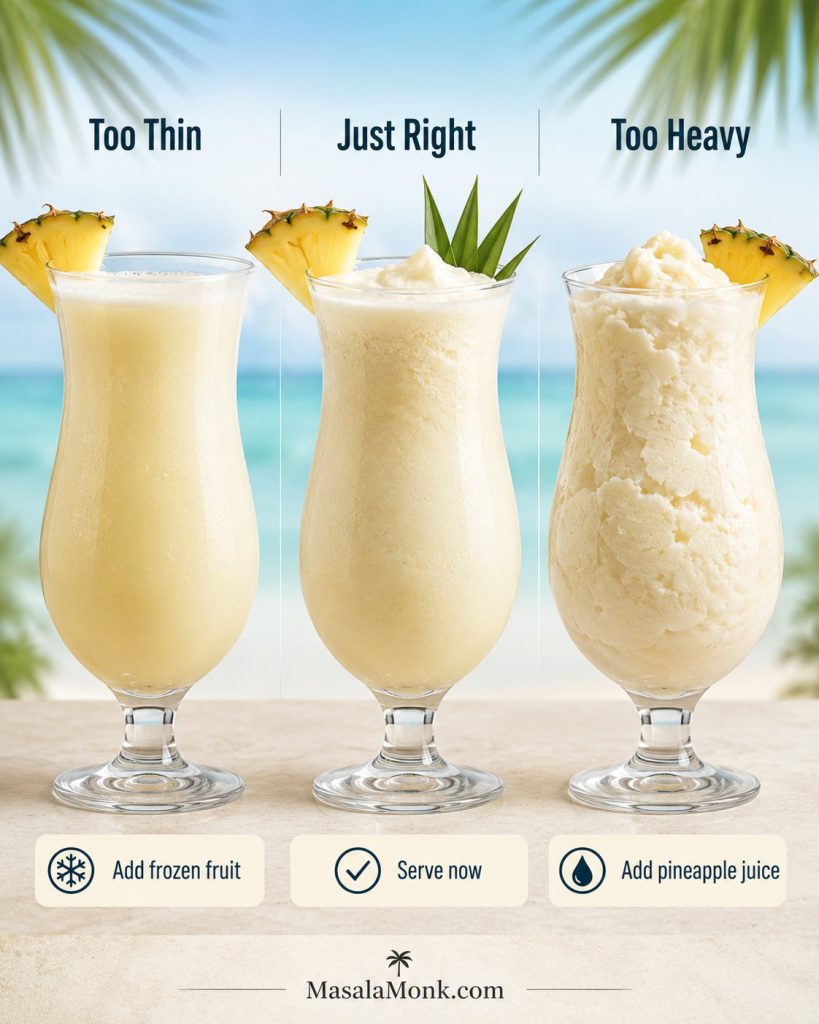
| Texture | Frosty pour, but still sippable through a straw. | Too heavy? Add a splash of juice. Too thin? Add frozen fruit. |
| Flavor order | Pineapple first, coconut second, rum in the background. | If rum dominates, add a little more pineapple or coconut base. |
| Sweetness | Soft and tropical, not candy-like. | Use less cream of coconut next time, or add a small squeeze of lime now. |
| Finish | Cool, clean, and refreshing. | Flat drinks need acid or a tiny pinch of salt, not more sugar. |
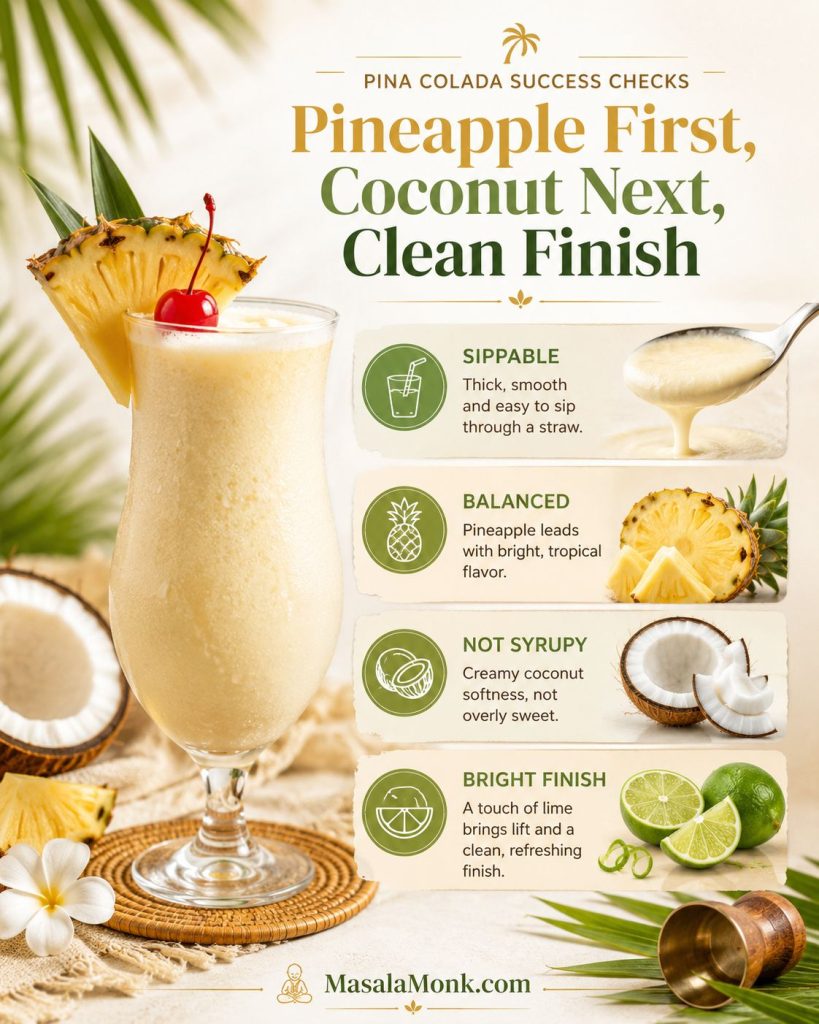
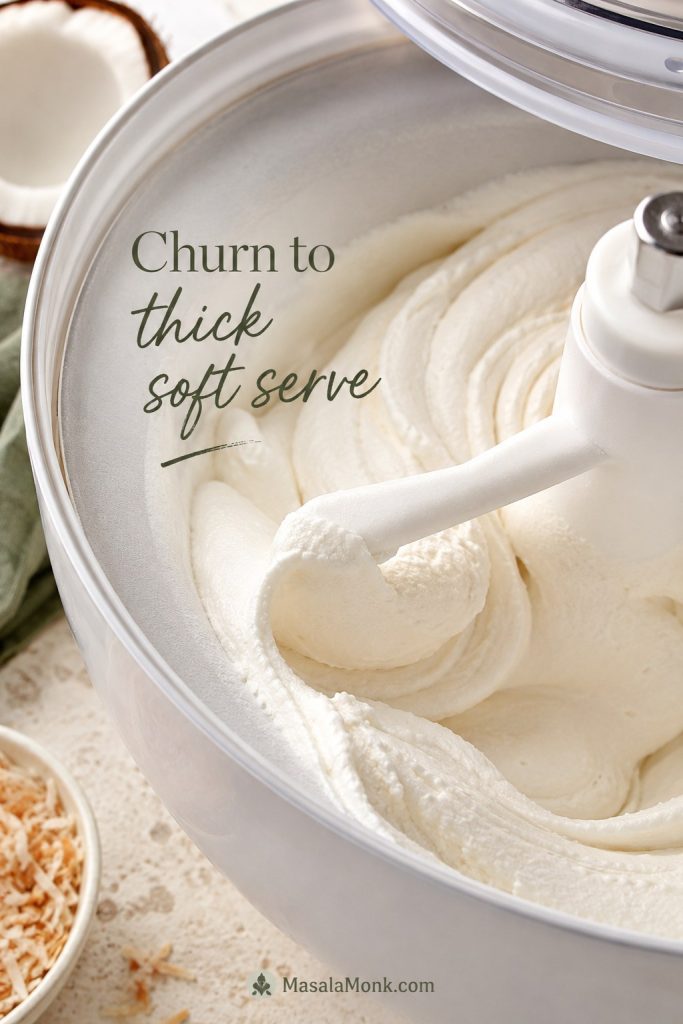
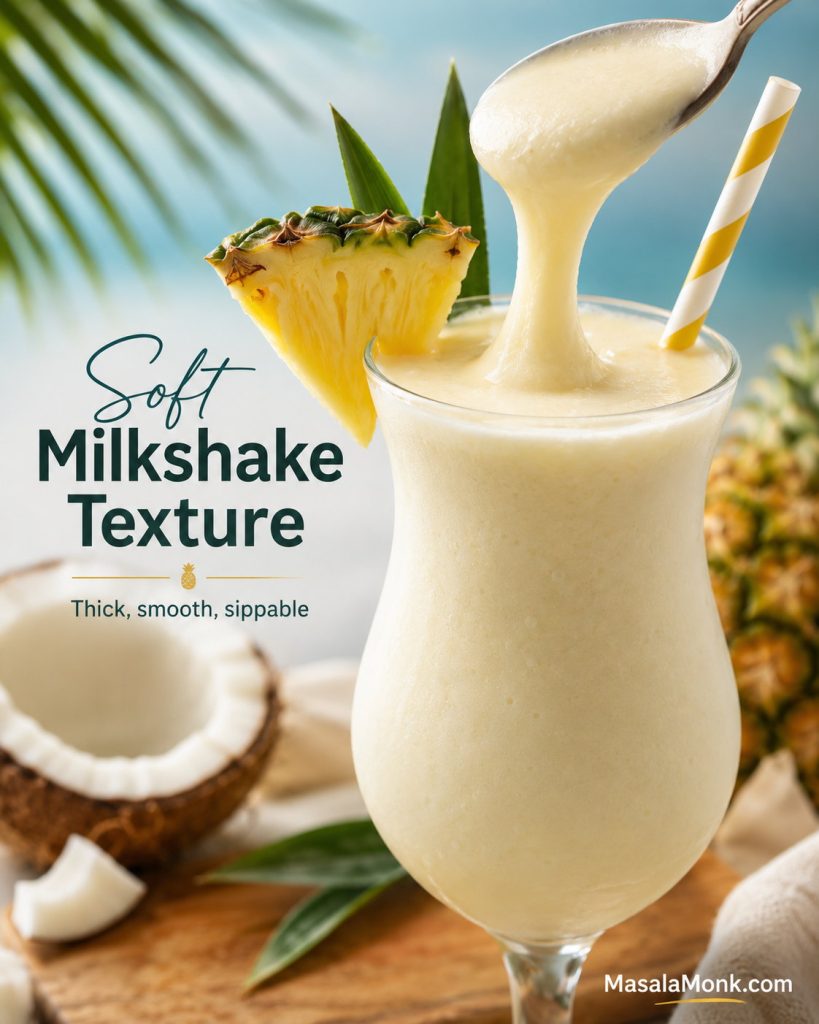
What success looks like: a good frozen pina colada should move like a soft milkshake, not crushed ice in juice. It should feel lush for the first sip and still clean by the last.
Pina Colada Recipe Card
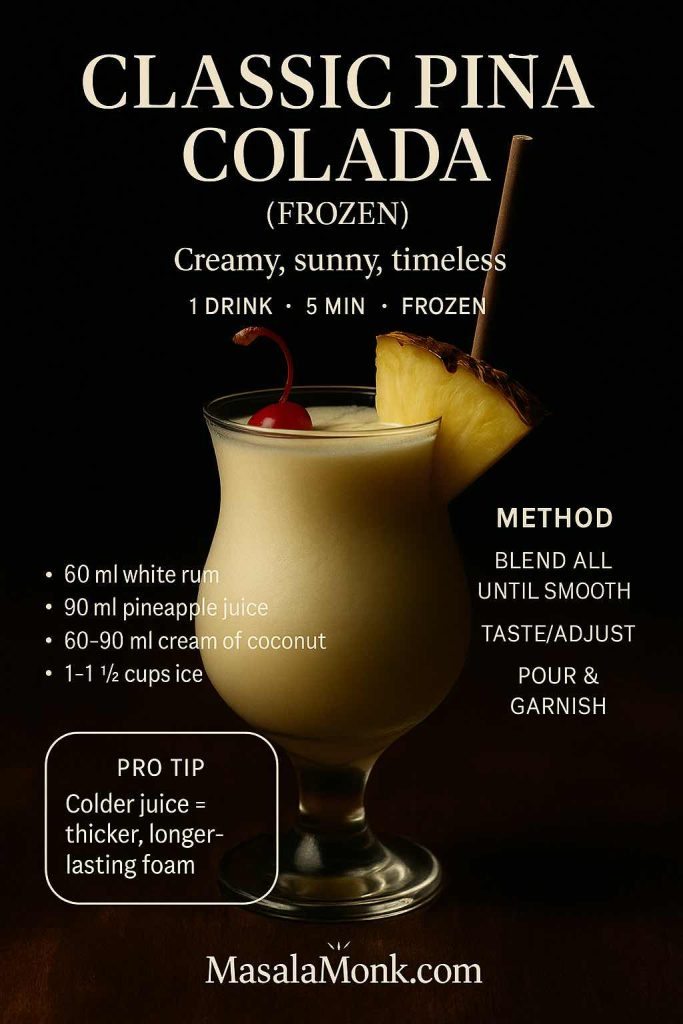
Classic Frozen Pina Colada Recipe
This frozen pina colada is pineapple-forward, coconut-rich, cold, smooth, and balanced with fresh lime. It makes one generous drink or two smaller cocktail glasses.
Equipment
- Blender
- Jigger, measuring cup, or kitchen scale
- Hurricane glass, highball, or tall glass
Ingredients
- 2 oz / 60 ml white rum
- 3 oz / 90 ml pineapple juice, chilled if possible
- 2 oz / 60 ml cream of coconut, shaken or stirred well before measuring
- ½ oz / 15 ml fresh lime juice
- 1 cup / about 140 g ice, plus more only if needed
- ½ cup / about 70–75 g frozen pineapple chunks, optional but recommended
- Pineapple wedge and maraschino cherry, optional
Method
- Add the pineapple juice, white rum, cream of coconut, and lime juice to the blender.
- Add the frozen pineapple, if using, then add the ice.
- Blend for 20–30 seconds, just until smooth and frosty.
- Check before pouring: it should look thick but still sip easily through a straw.
- Too thick? Blend in 1 tablespoon pineapple juice. Too thin? Add a little frozen pineapple and blend briefly.
- Pour into a chilled glass, garnish if you like, and serve immediately.
Success Cue
Before serving, check three things: the drink should sip easily, taste pineapple-first, and finish clean rather than sticky. Thin drinks need frozen fruit; heavy drinks need pineapple juice; overly sweet drinks need lime.
Recipe Notes
- Prefer it less sweet? Use 1½ oz cream of coconut.
- Want a lighter cocktail? Use 1½ oz rum.
- Want more rum warmth? Use up to 2½ oz rum and keep the finish bright.
- Making it alcohol-free? Use the mocktail formula below instead of simply removing the rum.
What Is a Pina Colada?
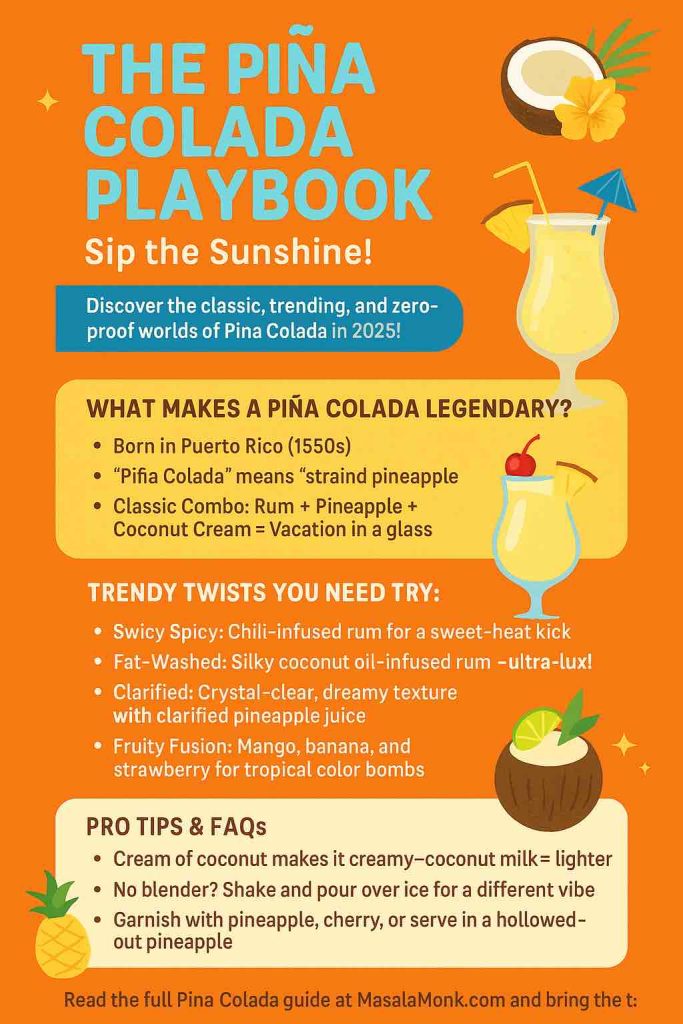
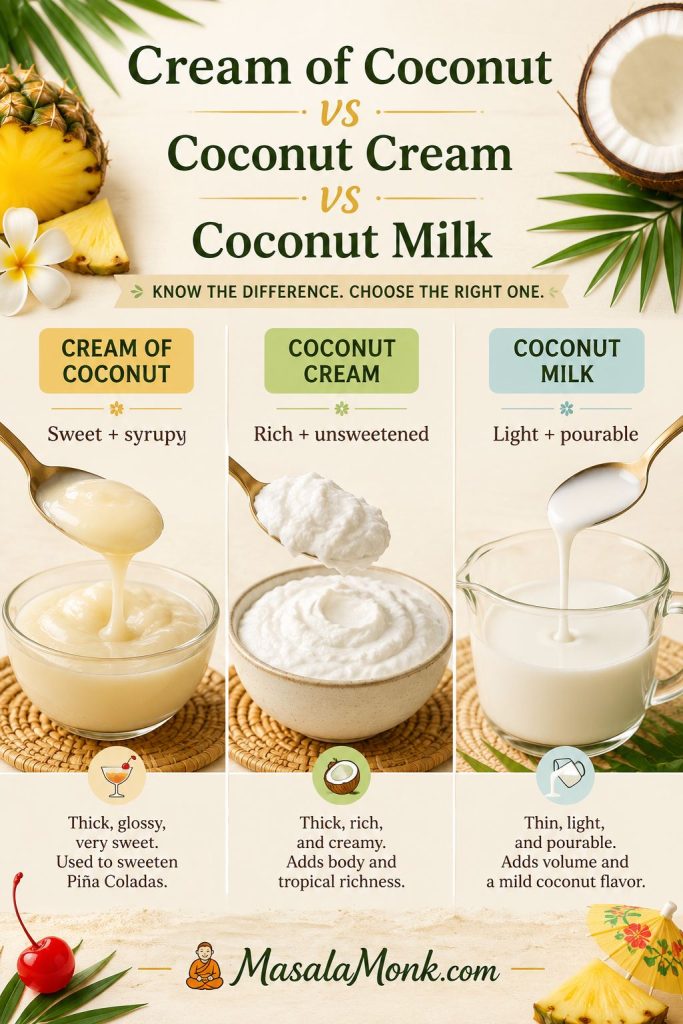
A piña colada is a tropical cocktail made with rum, pineapple, coconut, and a cold blended or shaken texture. It is strongly associated with Puerto Rico, but home versions vary because shoppers often find cream of coconut, coconut cream, coconut milk, and coconut water sitting near each other.
Classic formulas are simple; the home-cocktail confusion usually starts in the coconut aisle. Cream of coconut gives the familiar sweet resort-style body, coconut cream creates a richer but less sweet path, and coconut milk makes a lighter glass. The biggest mistake usually happens before the blender starts: choosing the wrong can.
Pina Colada Ingredients
The ingredient list is short, so each choice shows up clearly in the glass. Use the classic route when you want a sweet, creamy vacation-style drink; use the lighter swaps only when you actually want a fresher, less dessert-like result.
If the coconut aisle is the confusing part, jump to the cream of coconut vs coconut cream guide before you start blending.
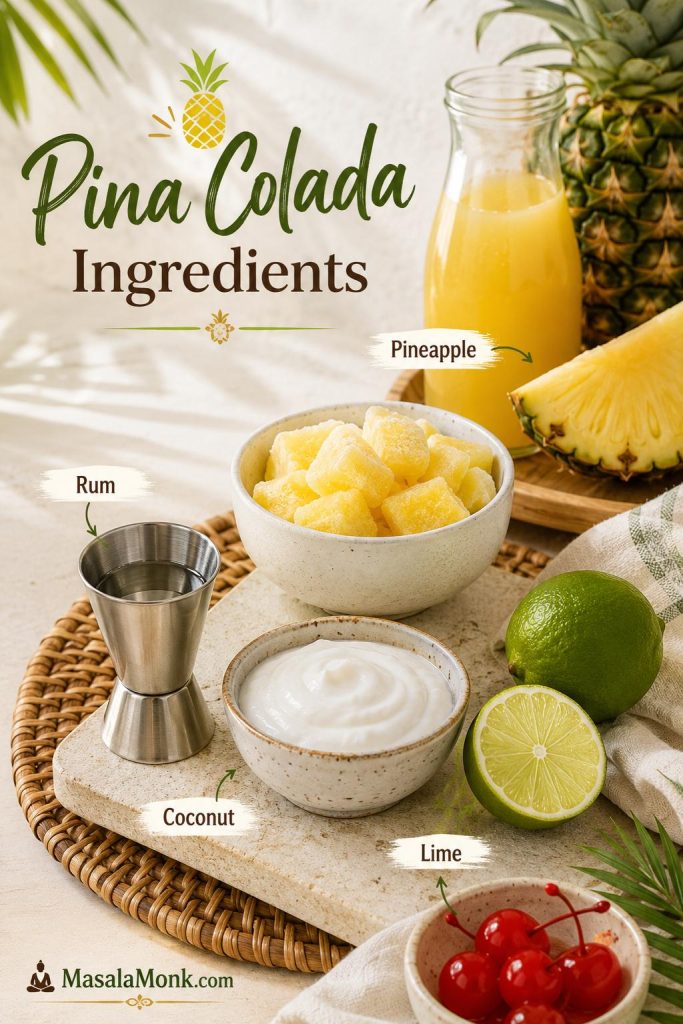
White rum
White rum is the best default because it keeps the drink clean, sunny, and pineapple-forward. Coconut rum is softer and sweeter. Dark or aged rum adds warmth, especially as a small float.
Pineapple
Use 100% pineapple juice for the smooth base. Fresh juice tastes vivid but varies by fruit; canned juice is more consistent. Avoid pineapple juice cocktail unless you are prepared to reduce sweetness elsewhere.
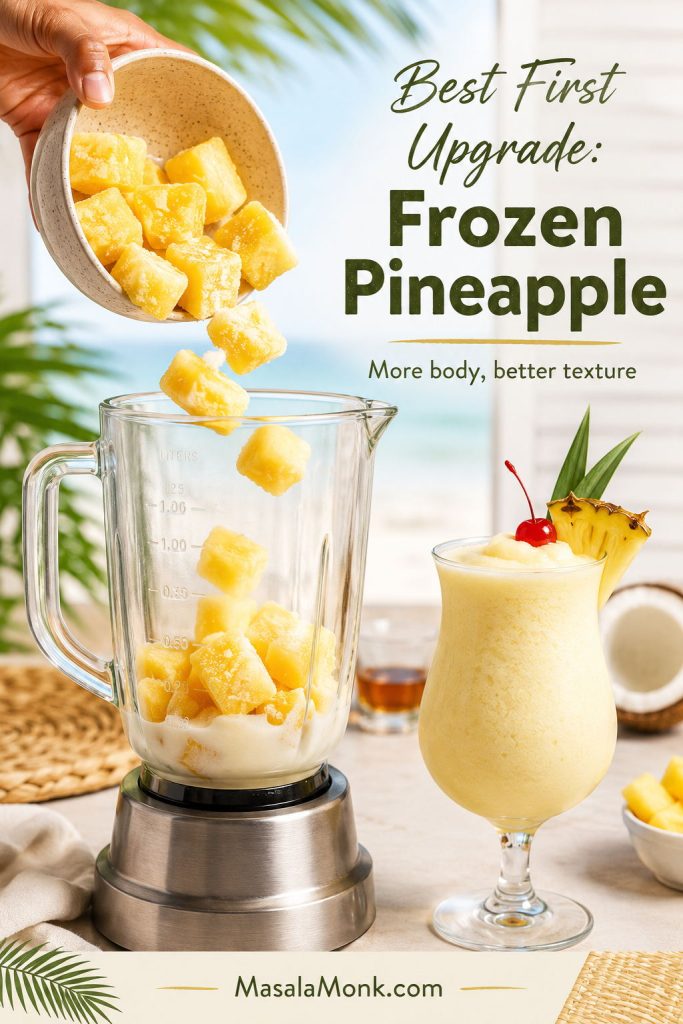
Frozen pineapple chunks are the easiest upgrade for a blender version because they add structure and real fruit flavor. Drained canned chunks can work, but syrup-packed fruit may push the drink too sweet.
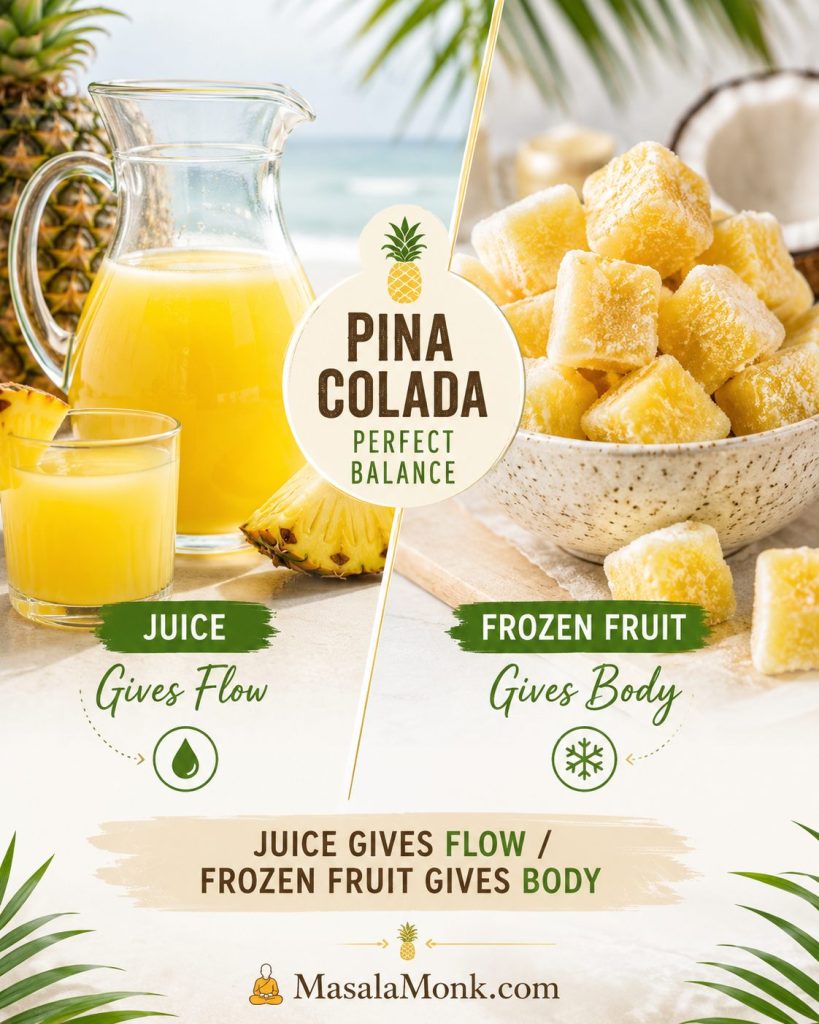
Pineapple juice vs frozen pineapple
Use pineapple juice when the blender needs flow and frozen pineapple when the drink needs body. Together, they create a frozen pina colada that tastes like fruit rather than diluted ice.
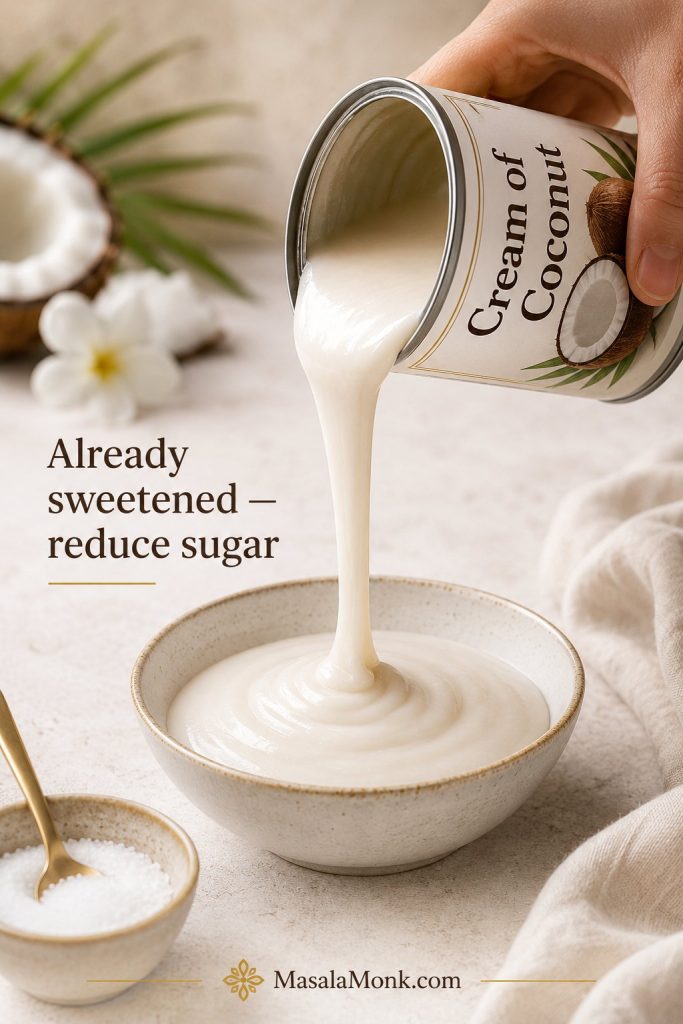
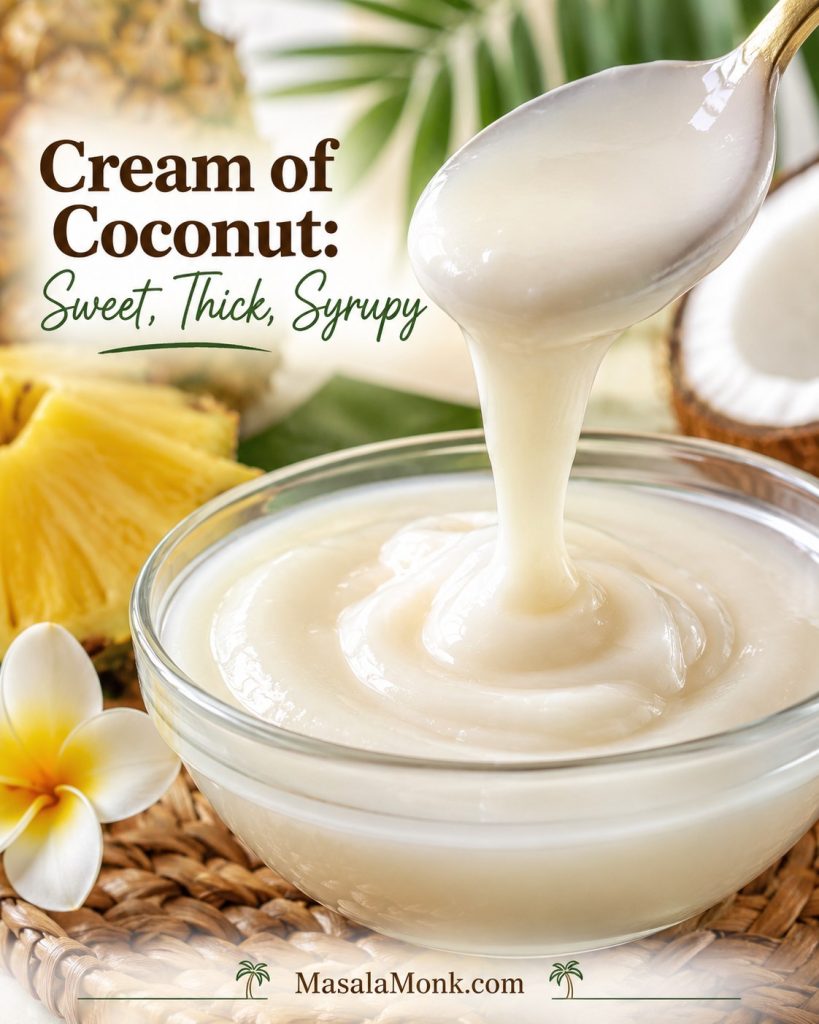
Cream of coconut
Cream of coconut is sweetened, thick, and syrupy. It gives the familiar body most people expect from a classic pina colada, so shake or stir the can well before measuring.
If it is too thick to pour, warm the closed container in a bowl of warm water for a few minutes, then shake again. Brands vary, so taste before making big adjustments.
Fresh lime juice
Lime is the small polish move. It is not required in every traditional formula, but it keeps the coconut from tasting heavy and makes the pineapple feel brighter.
Frozen texture ingredients
For a frozen drink, measured ice gives chill while frozen fruit gives body. Too much plain ice can dull the flavor, so use pineapple chunks when you want a thicker drink that still tastes tropical.
Cream of Coconut vs Coconut Cream vs Coconut Milk
This is the aisle where many homemade piña coladas are won or lost. The names sound close, but the products do not behave the same way. If you have ever stood in front of coconut milk, coconut cream, and cream of coconut wondering which one the recipe actually means, this is the part that saves the drink.
| Product | Sweetened? | Texture | Best use in a pina colada |
|---|---|---|---|
| Sweetened cream of coconut | Yes | Thick, syrupy, rich | Classic sweet, creamy version. |
| Unsweetened coconut cream | Usually no | Thick and rich | Less sweet version when paired with simple syrup or agave. |
| Full-fat coconut milk | Usually no | Thinner and fluid | Lighter drink with a fresher, less dessert-like finish. |
| Coconut water | No | Thin and refreshing | Skinny or hydrating variation, not a classic creamy one. |
| Homemade coconut syrup | Yes | Adjustable | Fallback when bottled cream of coconut is not available. |
Already have the right coconut base? Move to the frozen method, the coconut milk version, or the fix guide if your drink is too thin, too sweet, or not creamy enough.
For the safest classic choice, use cream of coconut. A less-sweet modern route starts with coconut cream plus sweetener. If you want a lighter glass, use full-fat coconut milk with extra pineapple for body.
What cream of coconut should look like
Look for a thick, glossy pour. That texture is what gives the classic pina colada its familiar body without needing to overdo the ice.
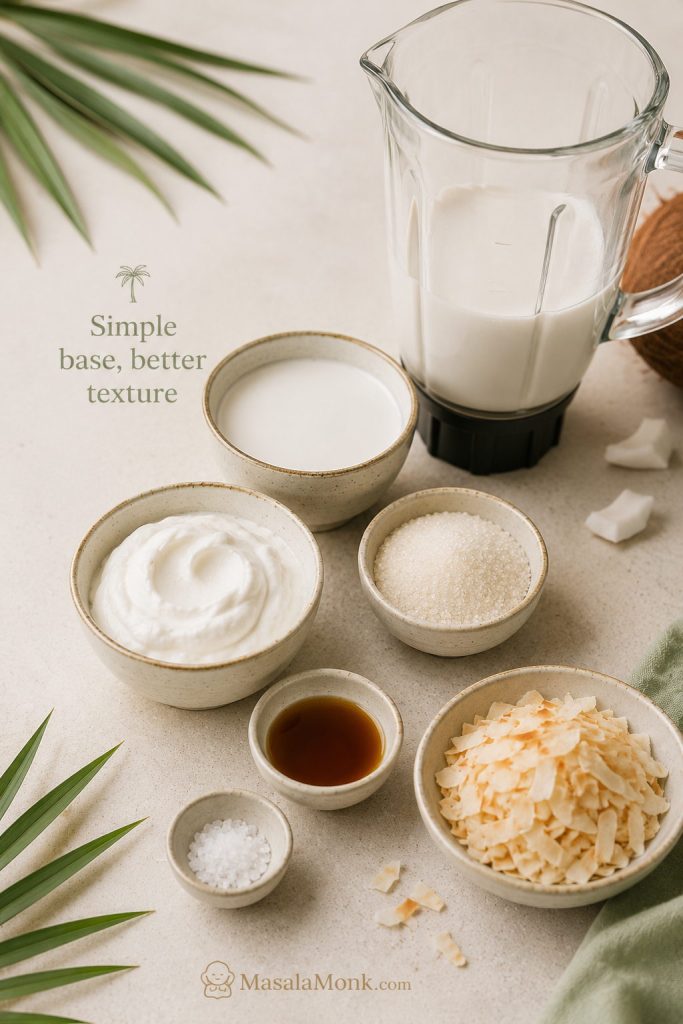
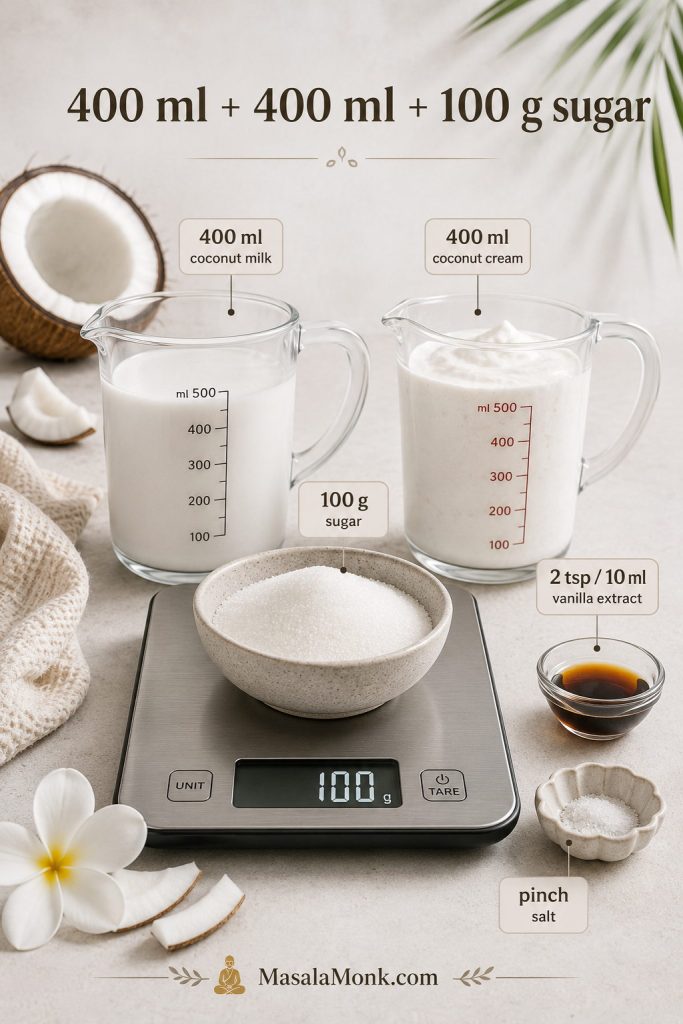
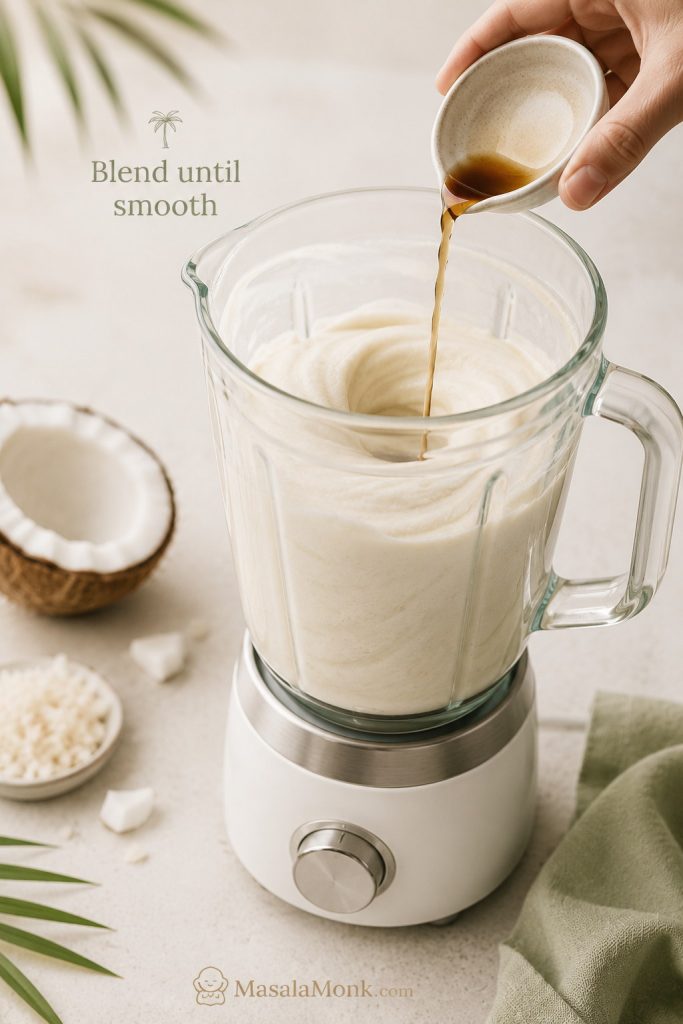
Quick homemade fallback: gently warm 1 cup full-fat coconut milk or coconut cream with ¾ cup sugar and a small pinch of salt, stirring until dissolved. Cool, refrigerate in a clean jar, and use within about 1 week. Shake before measuring.
For more detail on the coconut-aisle confusion, Epicurious has a helpful guide to cream of coconut, coconut cream, and coconut milk.
If the coconut-water direction sounds more refreshing than creamy, our coconut water cocktails guide has more long, bright drinks built around coconut water, lime, and ice.
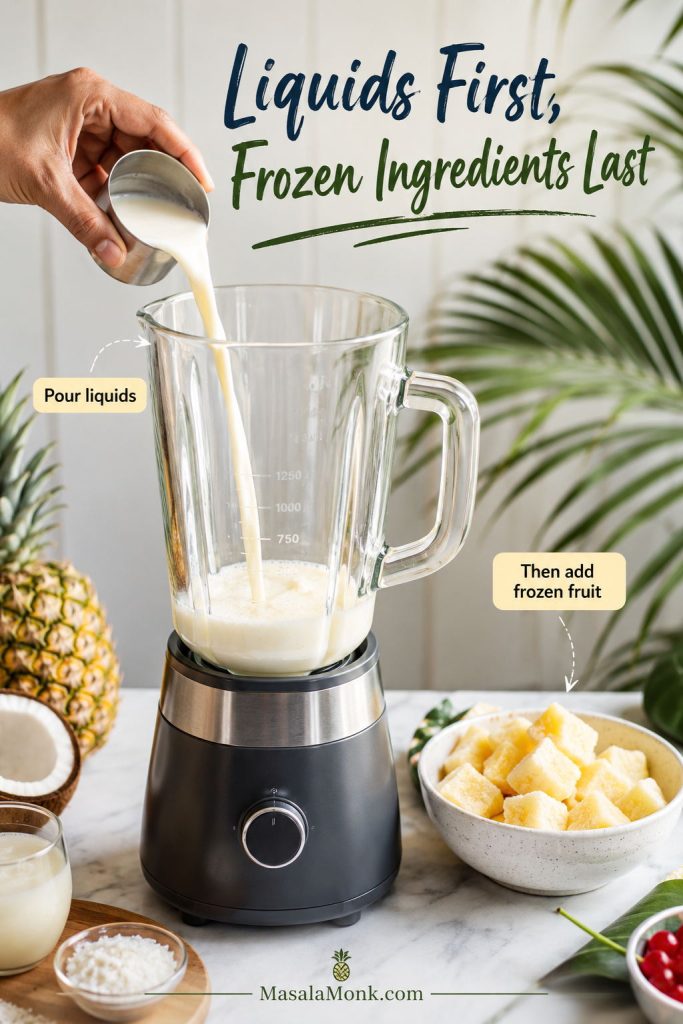
Equipment and Cold Control
A piña colada has no cooking temperature, but it does have a temperature problem: once it warms up, the tropical flavor turns dull and the texture collapses.
- Use a blender for the frozen version and a shaker or clean jar for the on-the-rocks version.
- Chill the juice when possible so the drink starts cold.
- Add liquids first so the blender catches before the frozen ingredients settle around the blades.
- Blend briefly, usually 20–30 seconds, then stop once smooth.
- For pitchers, chill the base ahead and finish each round right before serving.

These small moves protect the drink’s first-sip feeling: frosty, lush, and refreshing instead of loose and tired.
Avoid these common mistakes: do not use unsweetened coconut milk as a direct cream-of-coconut swap, do not over-blend after the drink turns smooth, and do not fix a flat mocktail with more sugar. Use acid and a tiny pinch of salt instead.
How to Make a Frozen Pina Colada
A frozen pina colada should pour thick, then relax slightly in the glass. It should not scoop like sorbet or run like juice.
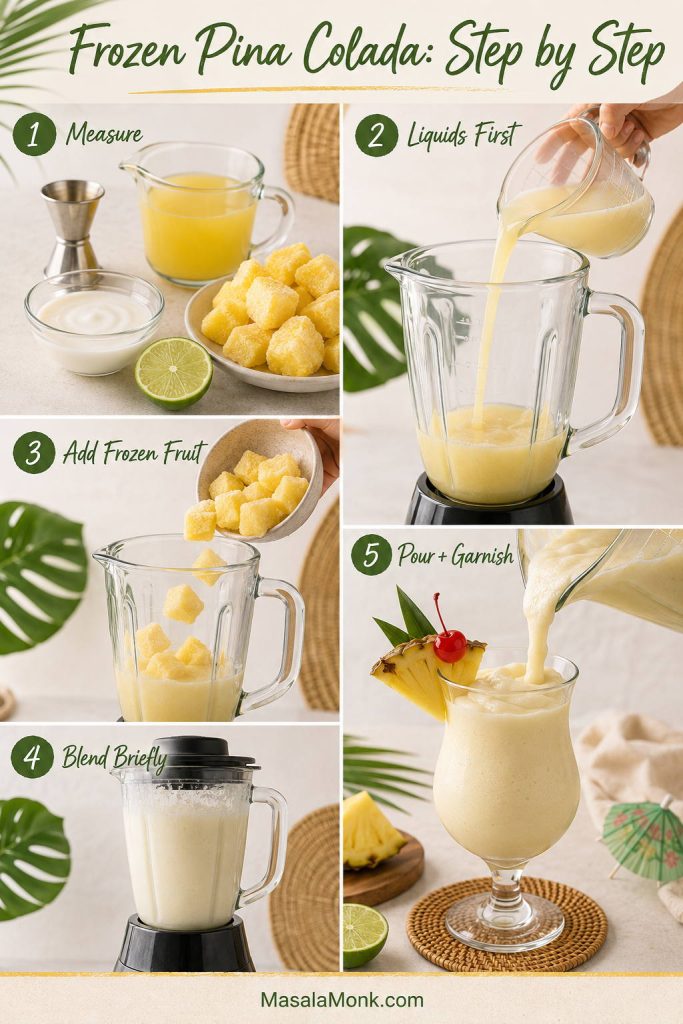
Add pineapple juice, rum, cream of coconut, and lime to the blender first. Add frozen pineapple and ice last so the blades can catch and move smoothly.
Blend for 20–30 seconds, just until smooth. If the blender struggles, start with less frozen material, blend the liquid and fruit, then add the rest gradually.
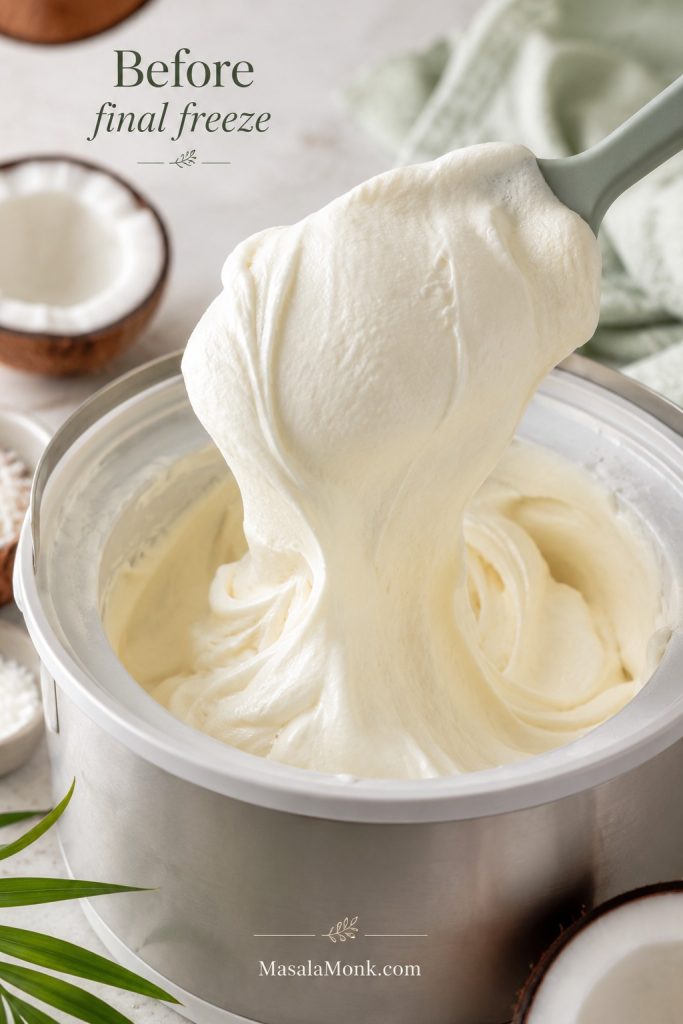
Texture target: thick enough to look lush, loose enough to sip. Too heavy? Add pineapple juice. Too thin? Add frozen pineapple. Too sweet? Add lime.
Frozen pina colada texture target
Use this texture cue before you pour. A frozen pina colada should look plush, but it should still move through a straw without effort.
Too thin, just right, or too heavy?
For quick rescue, compare your drink with this texture guide or jump to the full pina colada troubleshooting section.
The same frozen-fruit logic is useful in a frozen strawberry daiquiri: fruit gives body, lime keeps it bright, and the blender stays on your side instead of against you.
If you want to compare this with a bartender-style baseline, the International Bartenders Association lists a simple white-rum, pineapple, and coconut piña colada formula.
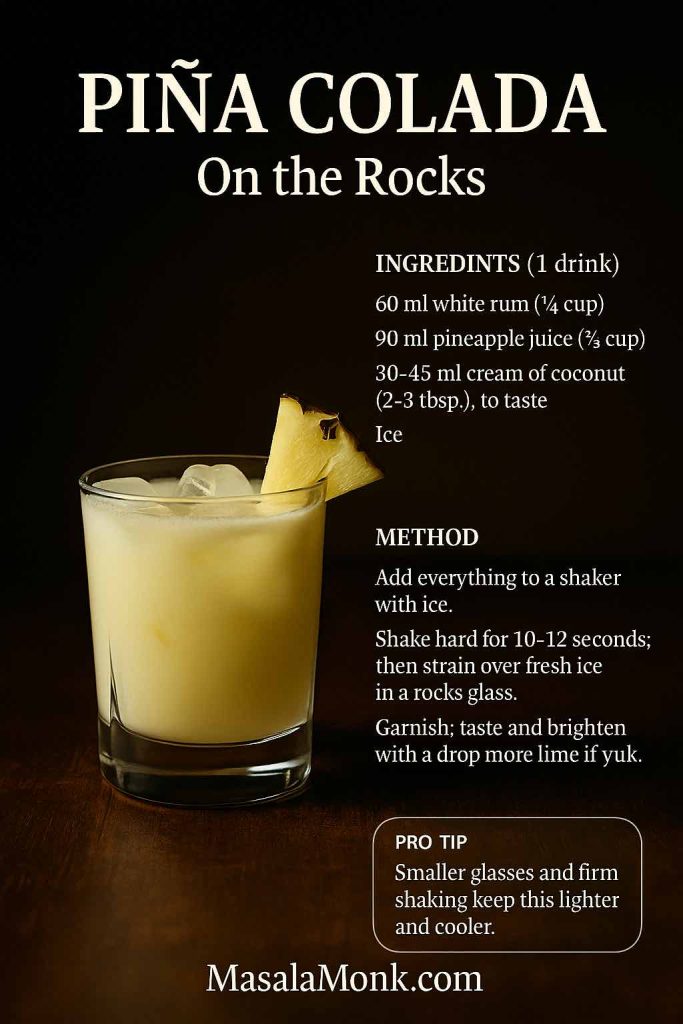
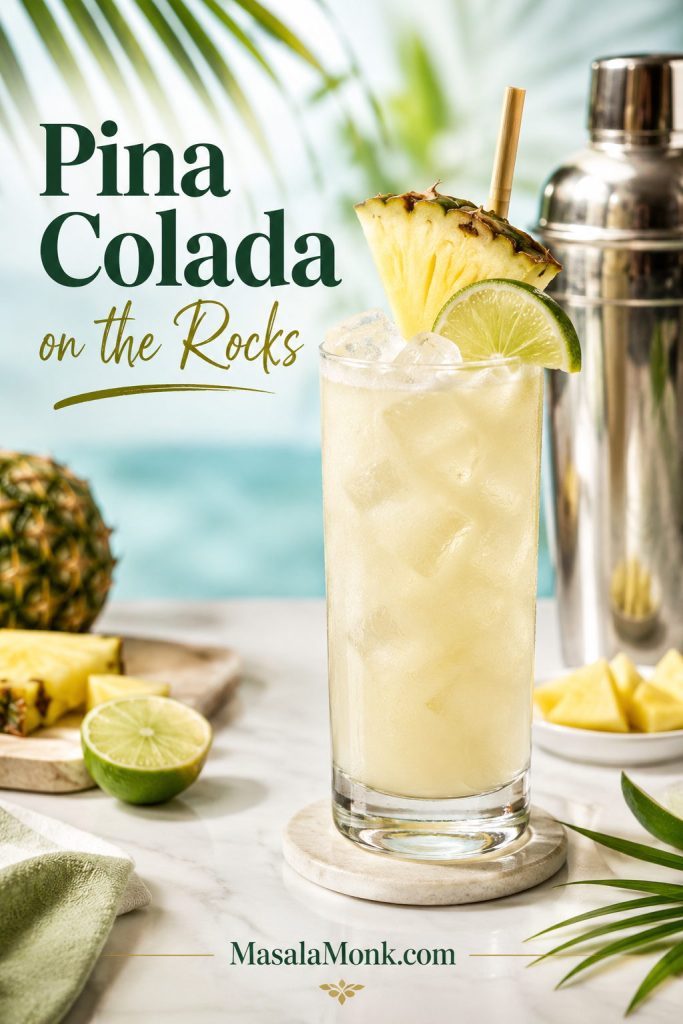
How to Make a Pina Colada on the Rocks
A pina colada on the rocks is the cleaner, faster version: same pineapple-coconut flavor, but lighter on the palate and less dessert-like than the frozen drink. Choose it when you want a chilled cocktail that still feels tropical without turning into a smoothie.
| Ingredient | Amount for 1 drink |
|---|---|
| White rum | 2 oz / 60 ml |
| Pineapple juice | 2 oz / 60 ml |
| Cream of coconut | 1½ oz / 45 ml |
| Fresh lime juice | ½ oz / 15 ml |
| Fresh ice | For shaking and serving |
Add the rum, pineapple juice, cream of coconut, and lime juice to a cocktail shaker. Shake hard for 12–20 seconds, until the outside feels cold and the drink looks lightly frothy. Strain into a fresh glass over fresh ice.
The shorter ratio matters because this version has no blender full of frozen fruit to soften the drink. It should land silky and cold, with coconut on the edges rather than a thick milkshake texture.
No cocktail shaker? Use a clean jar with a tight lid. No strainer? Pour carefully or use a small sieve. If your coconut base is very thick, stir it with the pineapple juice first so it shakes evenly.
If you like the cleaner shaken style, a classic daiquiri is the leaner rum-lime cousin: no coconut, no blender, just balance.
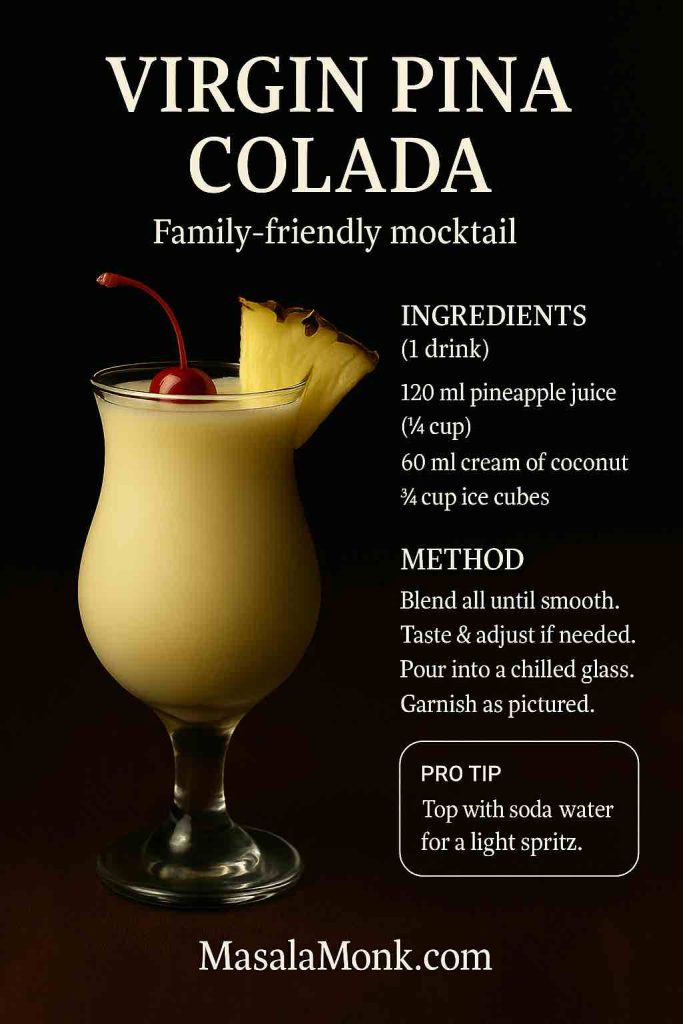
Virgin Pina Colada / Non-Alcoholic Pina Colada Mocktail
For one generous virgin pina colada, blend 1 cup frozen pineapple, ½ cup pineapple juice, ⅓–½ cup cream of coconut, 1 tablespoon lime juice, ½–1 cup ice, and a tiny pinch of salt. Use the smaller amount of coconut for a less sweet adult mocktail and the larger amount for a creamier dessert-style drink.
A good non-alcoholic pina colada should not taste like the rum was simply removed. Lime, frozen fruit, and a tiny pinch of salt replace some of the bite and depth, while the coconut keeps the drink smooth. The mocktail should still feel like a drink someone chose, not the version left after the rum was removed.
Non-alcoholic pina colada formula
| Ingredient | Classic sweet mocktail | Less sweet mocktail |
|---|---|---|
| Frozen pineapple | 1 cup / about 140 g | 1 cup / about 140 g |
| Pineapple juice | ½ cup / 120 ml | ½ cup / 120 ml |
| Cream of coconut | ½ cup / 120 ml | ⅓ cup / 80 ml |
| Coconut milk or coconut water | Optional splash | 2–3 tablespoons |
| Fresh lime juice | 1 tablespoon / 15 ml | 1 tablespoon / 15 ml |
| Ice | ½–1 cup, as needed | ½–1 cup, as needed |
| Optional depth | Tiny pinch of salt, 2–3 drops vanilla, or non-alcoholic rum | Tiny pinch of salt, 2–3 drops vanilla, or non-alcoholic rum |
Serving both versions? Use the pitcher section to make a shared pineapple-coconut base, then add rum only to the glasses that need it.
Blend until smooth, then taste before serving. Too sweet? Add lime. Dull? Add the smallest pinch of salt. Too thick? Loosen it with pineapple juice, coconut milk, or coconut water.
For a more grown-up mocktail, add a few drops of vanilla or a splash of non-alcoholic rum. If you are also serving lighter alcohol-free drinks, our low-sugar mocktails guide has more ideas.
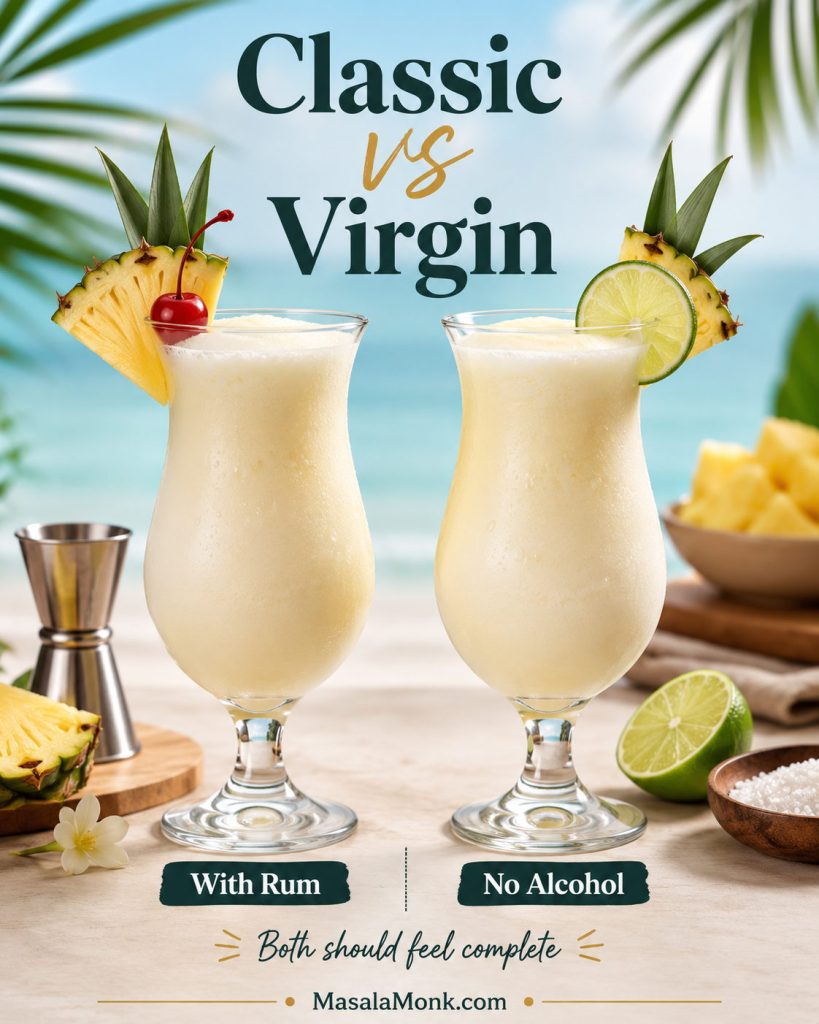
Classic vs virgin pina colada
Use the same care with garnish, texture, and balance for both versions. That is what makes the non-alcoholic glass feel intentional instead of secondary.
Best Rum for Pina Colada
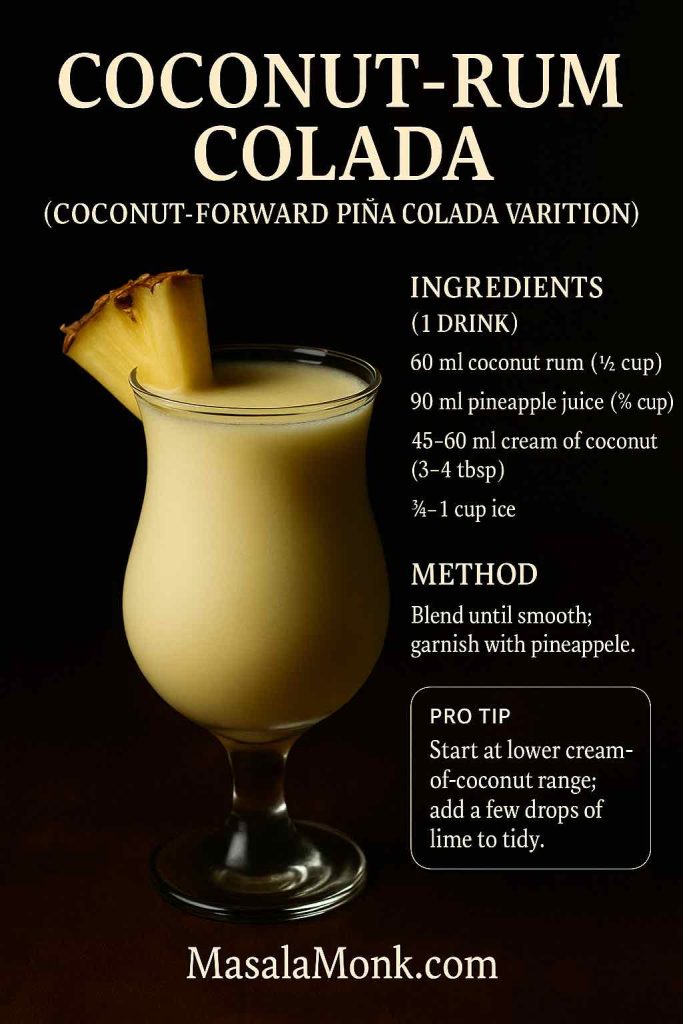
The best rum for a pina colada depends on the mood of the drink. Choose white rum for the clean classic. Coconut rum gives you a sweeter party glass. For a more grown-up finish, keep white rum as the base and add a small dark rum float.
| Rum choice | Best use | What to adjust |
|---|---|---|
| White rum | Best default for the classic pineapple-coconut flavor. | Use the main recipe as written. |
| Malibu or coconut rum | Best sweet party version. | Reduce cream of coconut so the drink does not turn candy-sweet. |
| White rum + dark rum float | Best deeper, more grown-up version. | Keep the base light, then float a little dark rum on top. |
| Spiced rum | Dessert-style variation, not the clean classic. | Use extra lime and keep the coconut controlled. |
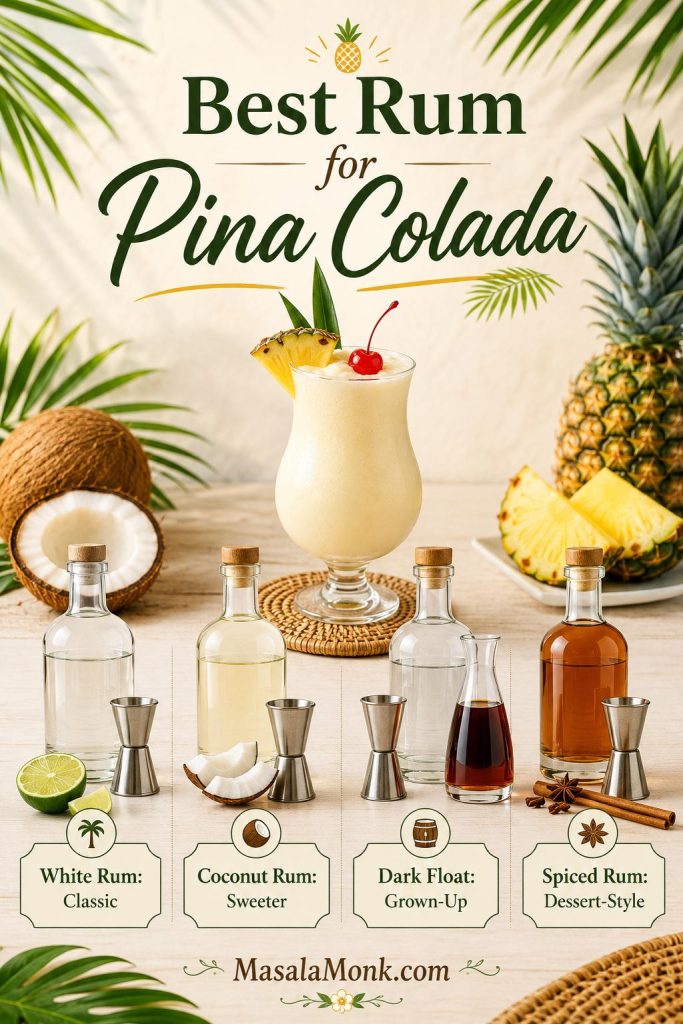
First time making this recipe? Start with white rum. It lets the pineapple and coconut stay in front, which is the easiest way to understand the drink before you make it sweeter, darker, or warmer.
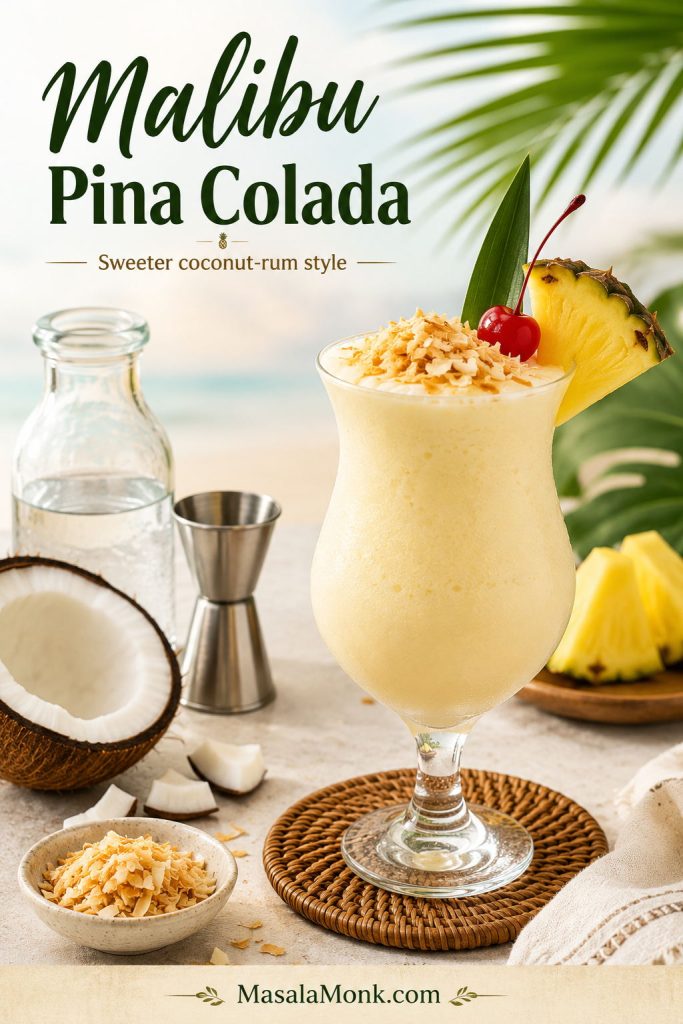
Malibu Pina Colada
For one Malibu pina colada, use 2 oz Malibu or coconut rum, 2 oz pineapple juice, 1 oz cream of coconut, ½ oz fresh lime juice, and ice. Because Malibu is already sweet and coconut-flavored, do not use the full classic amount of cream of coconut unless you want a very sweet drink.
| Ingredient | Amount for 1 drink |
|---|---|
| Malibu or coconut rum | 2 oz / 60 ml |
| Pineapple juice | 2 oz / 60 ml |
| Cream of coconut | 1 oz / 30 ml |
| Fresh lime juice | ½ oz / 15 ml, optional but useful |
| Ice | For shaking or blending |
Shake the ingredients with ice and strain over fresh ice, or blend with about 1 cup ice for a frozen drink. Too sweet? Add lime. Too light? Use half Malibu and half white rum. Want it more coconutty without making it sugary? Add a splash of unsweetened coconut milk instead of more cream of coconut.
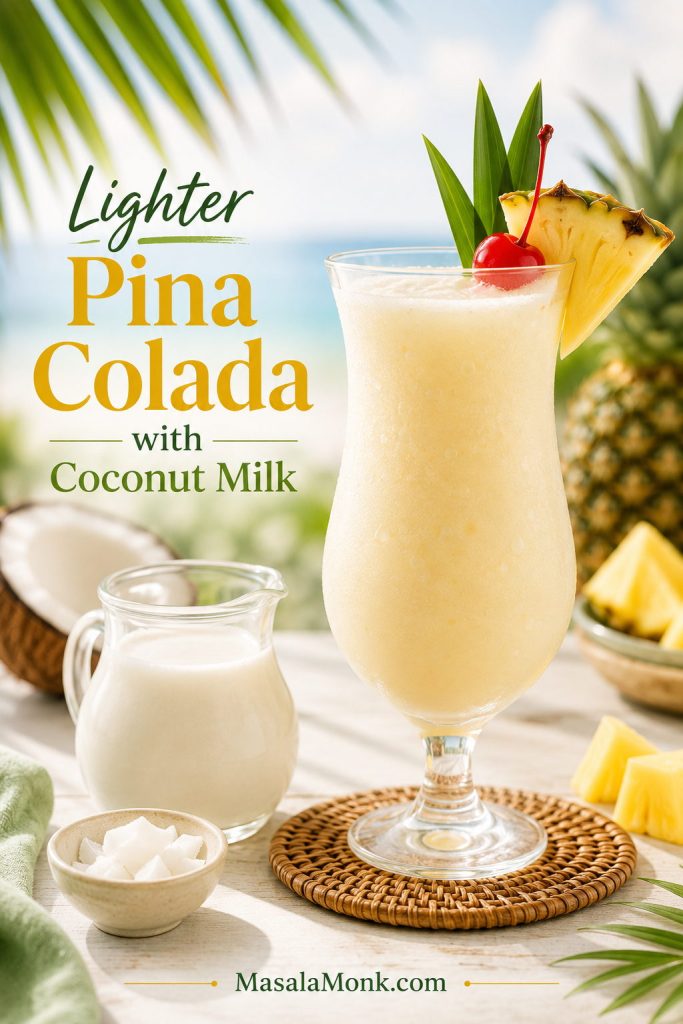
Pina Colada with Coconut Milk
A pina colada with coconut milk is lighter than the cream-of-coconut version. Choose it when you want the pineapple to feel brighter and the coconut to whisper rather than coat the glass.
Use full-fat coconut milk, not watery light coconut milk. Because it is usually unsweetened, add a little simple syrup, maple syrup, or agave only if the drink tastes sharp or thin.
| Ingredient | Amount for 1 lighter drink |
|---|---|
| White rum | 2 oz / 60 ml |
| Pineapple juice | 3 oz / 90 ml |
| Full-fat coconut milk | 2 oz / 60 ml |
| Fresh lime juice | ½ oz / 15 ml |
| Simple syrup, maple syrup, or agave | ½–1 oz / 15–30 ml, to taste |
| Frozen pineapple | ½ cup / about 70–75 g |
| Ice | ½–1 cup, as needed |
Blend just until smooth. Thin? Add more frozen pineapple. Sharp? Add sweetener gradually. Want it richer? Add 1 tablespoon cream of coconut or coconut cream.
Easy Pina Colada Variations
Once the base ratio is clear, variations become easy. Keep the pineapple-coconut structure, then change one thing at a time: fruit, rum, sweetness, or finish.
If you only try one variation first, make the frozen pineapple version. It improves body and fruit flavor without changing the identity of the drink.
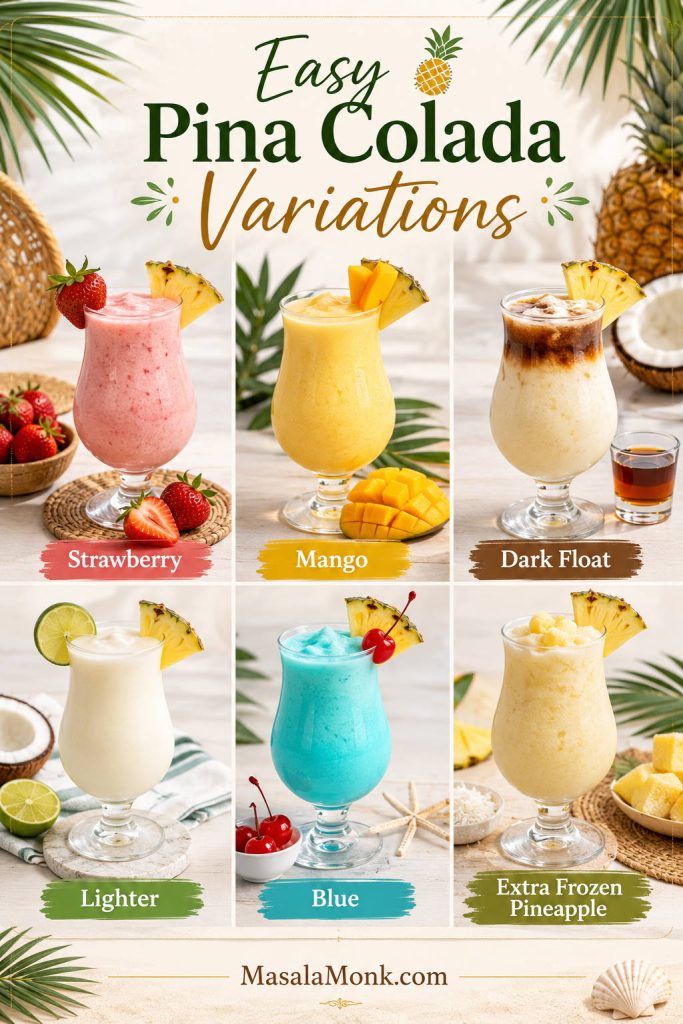
| Variation | How to make it |
|---|---|
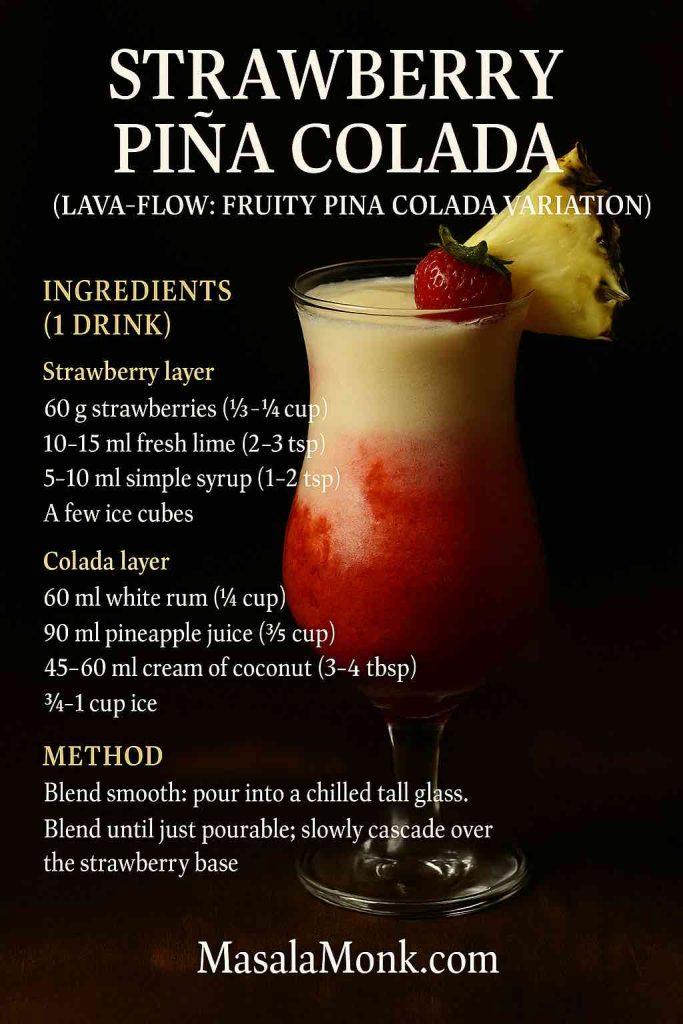
| Strawberry pina colada | Add ½–1 cup frozen strawberries and keep the coconut slightly lighter. |
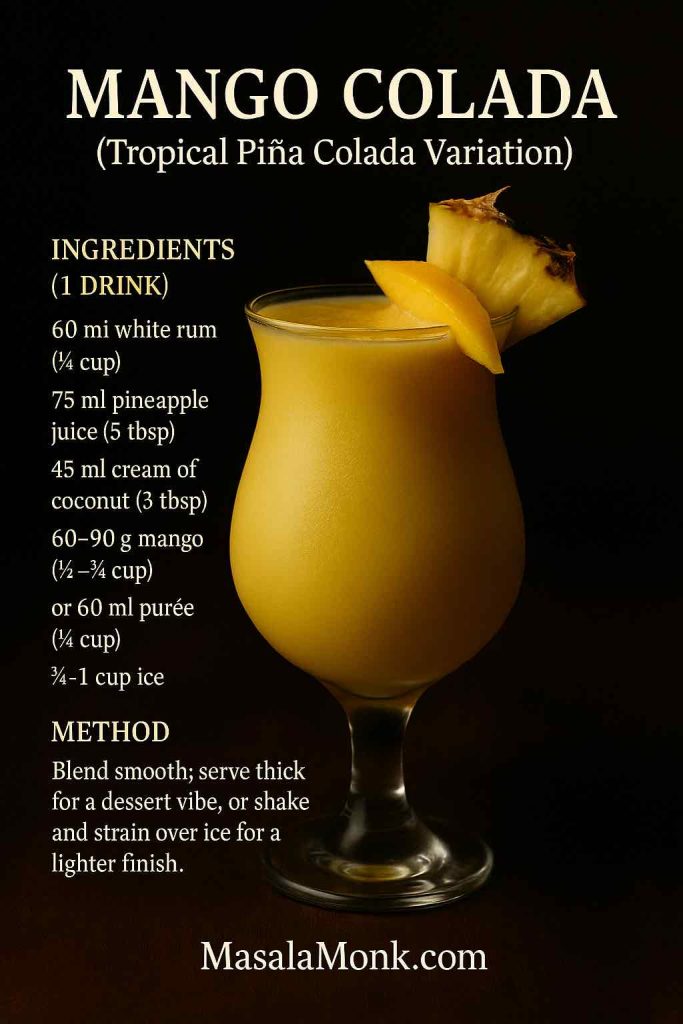
| Mango pina colada | Add ½ cup frozen mango for a thicker, golden tropical version. |
| Frozen pineapple pina colada | Use more frozen pineapple for stronger fruit flavor and a smoother pour. |
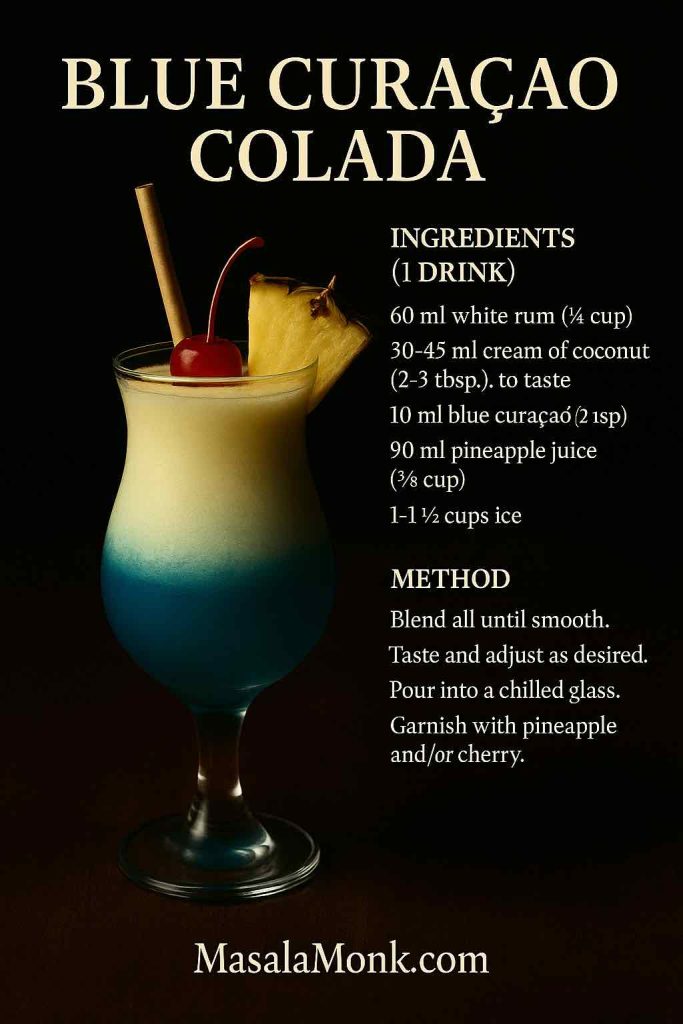
| Blue pina colada | Add a small amount of blue curaçao and reduce other sweet elements. |
| Dark rum float | Make the classic recipe, then float a little dark rum on top before serving. |
| Skinny pina colada | Use coconut water or coconut milk, frozen fruit, and less cream of coconut. |
For a deeper list of flavor twists, see our full guide to Piña Colada variations, including strawberry, mango, coconut rum, frozen pineapple, and non-alcoholic versions.
Pina Colada Mix: Homemade or Store-Bought
Pina colada mix is useful when speed matters, but it can taste dull if you only add rum and blend. Store-bought mix is not a failure; it just needs freshness added back. Treat it as a shortcut base, then wake it up with acid, cold, and real pineapple flavor.
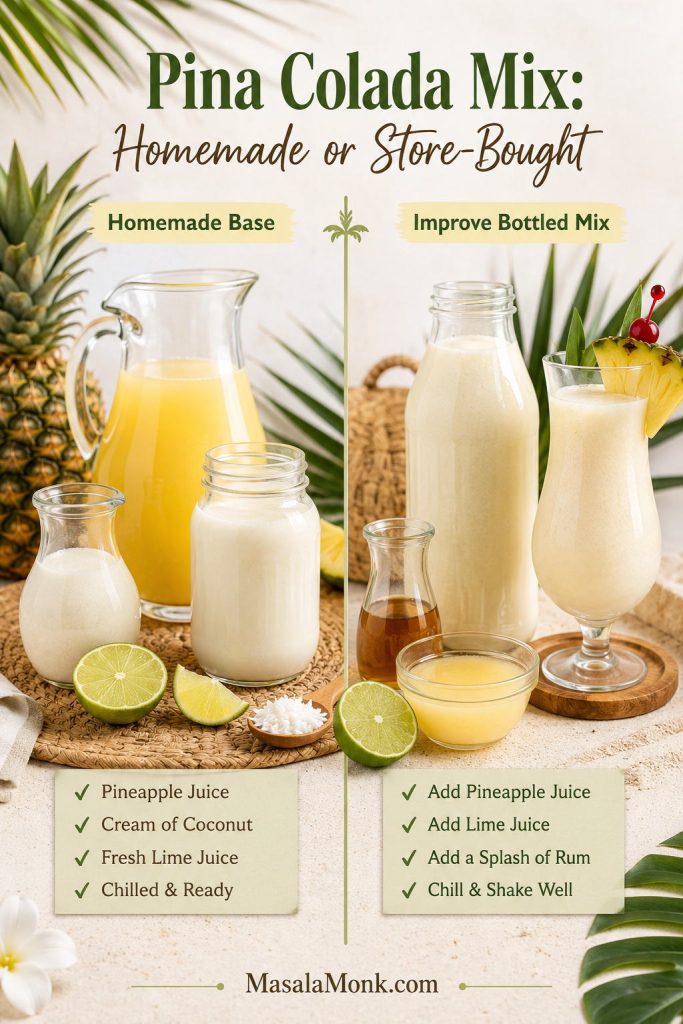
Homemade pina colada mix
| Homemade mix ingredient | Amount |
|---|---|
| Cream of coconut | 1 cup |
| Pineapple juice | ¾ cup |
| Fresh lime juice | 3 tablespoons |
Stir or blend until smooth, then refrigerate in an airtight container for 2–3 days. This is the liquid base, not the finished cocktail.
How much mix per drink?
Use about 4 oz homemade mix with 2 oz white rum. Blend for a frozen drink or shake for an on-the-rocks version. For a mocktail, skip the rum and add pineapple or coconut water if the glass needs loosening.
Using bottled mix for a party? The pitcher guide and store-bought mix fixes will help keep the drink fresh instead of flat.
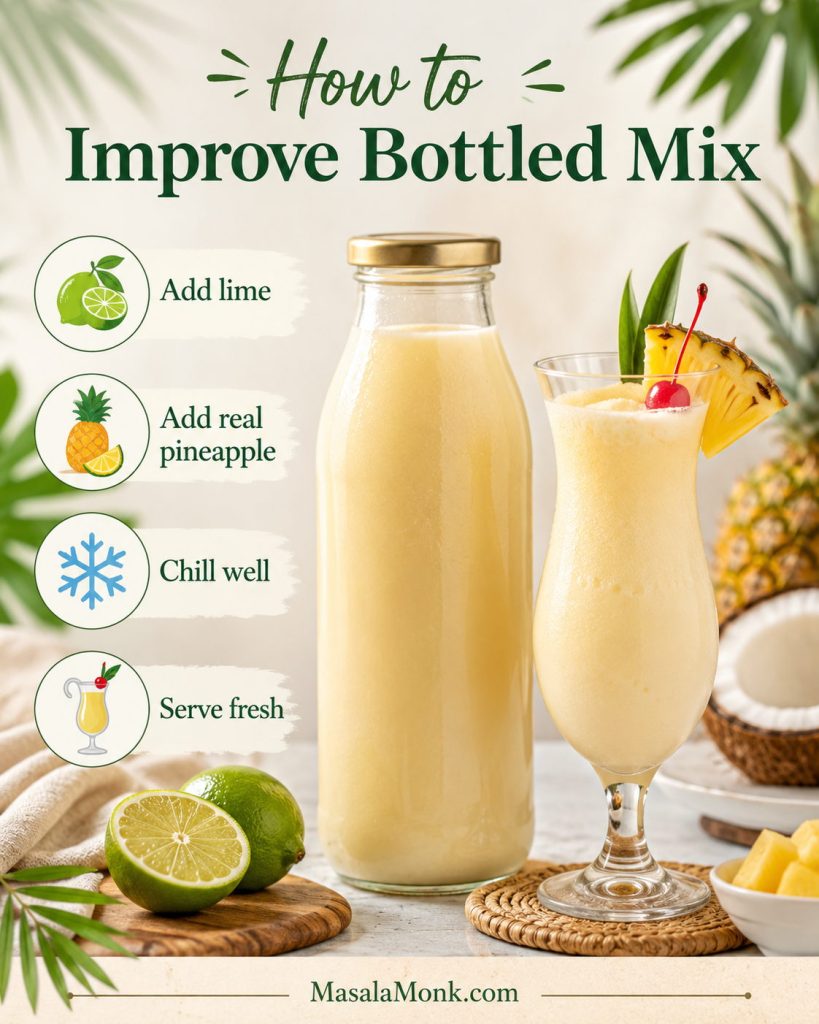
How to improve store-bought pina colada mix
- Add fresh lime if it tastes syrupy.
- Use white rum instead of coconut rum when the mix is already very sweet.
- Add frozen pineapple if the flavor feels thin.
- Avoid extra cream of coconut unless the drink truly lacks body.
If you are making a big non-blended bowl instead, this punch with pineapple juice guide is better for ginger ale, Sprite, sherbet, cranberry, lemonade, and party punch variations.
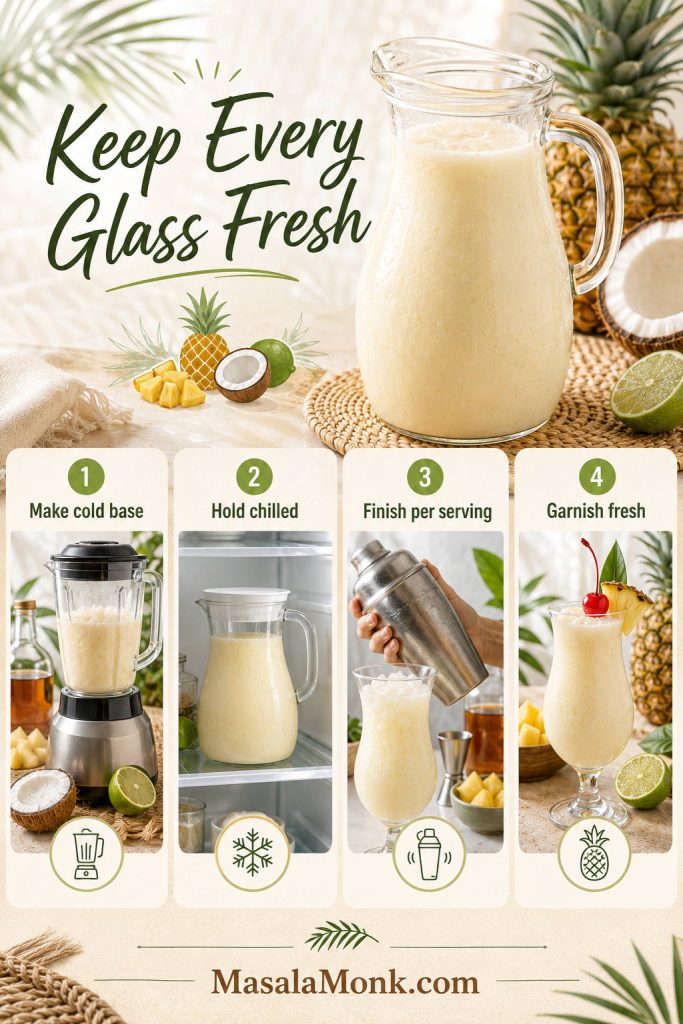
Pina Colada Pitcher for a Party
A pitcher works best when you make the liquid base ahead and finish each round at serving. Do not blend the whole pitcher and park it in the fridge; that is how a good piña colada becomes sweet pineapple-coconut water.
| Ingredient | For 4 drinks |
|---|---|
| White rum | 1 cup / 240 ml |
| Pineapple juice | 1½ cups / 360 ml |
| Cream of coconut | 1 cup / 240 ml |
| Fresh lime juice | ¼ cup / 60 ml |
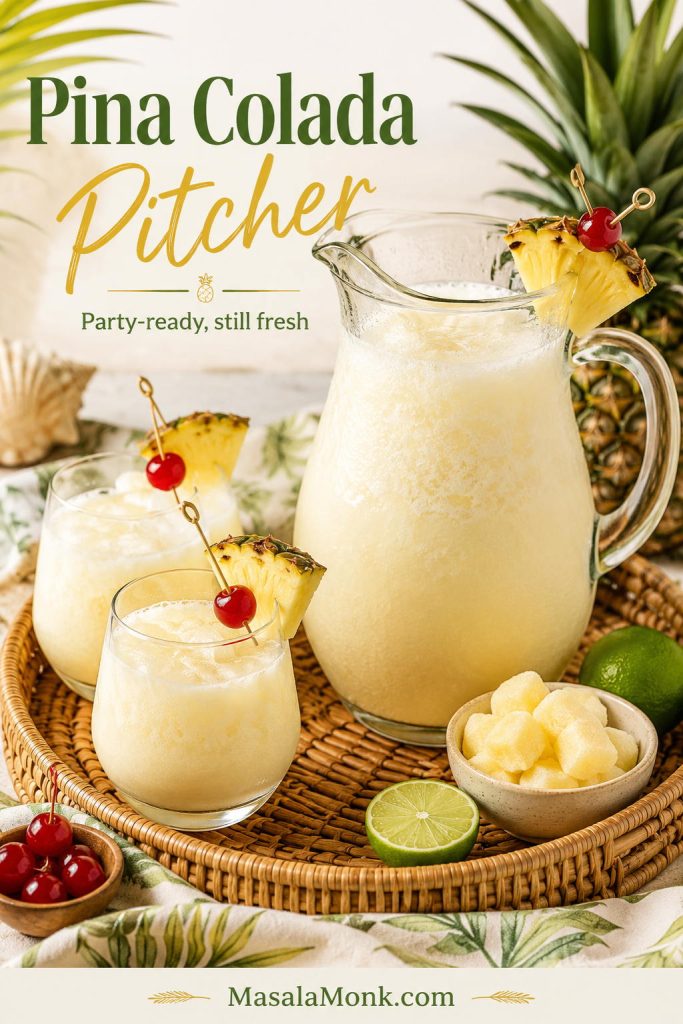
Whisk or blend the base until smooth, then refrigerate. For frozen drinks, blend in 1–2 drink portions. For on-the-rocks drinks, shake individual servings or stir the base well over fresh crushed ice. This way, every glass tastes like the first one, not the leftover one.
If serving both alcoholic and alcohol-free drinks, make a pineapple-coconut-lime base without rum. Add rum to individual glasses for adults and label the alcohol-free batch clearly.
For alcohol-free guests, use the virgin pina colada formula. For texture problems during serving, use the troubleshooting table.
If you want a pitcher-first tropical drink rather than individual frozen glasses, this rum punch recipe is built for fruit juice, lime, rum, and party-style serving.
How to Fix a Pina Colada
Most piña colada problems are easy to fix once you know what caused them. Taste first, then adjust one thing at a time.
Fast rescue guide: thin? Add frozen pineapple. Heavy? Add pineapple juice. Too sweet? Add lime. Dull? Add lime and a tiny pinch of salt. Not rich enough? Add a little more coconut base.
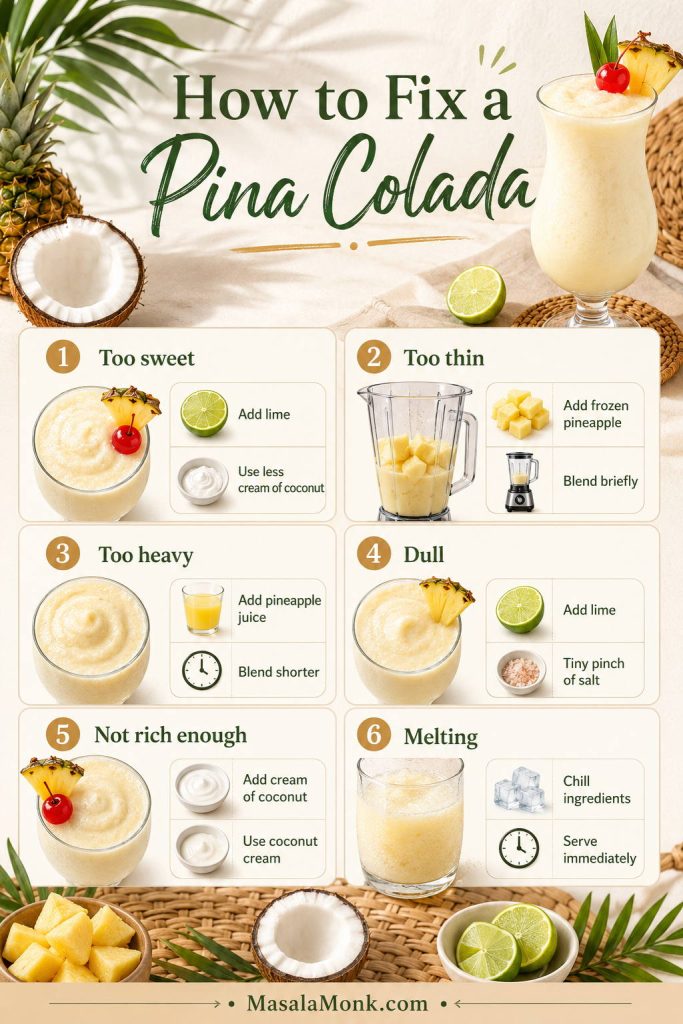
| Problem | Likely reason | Fix |
|---|---|---|
| Too watery | Too much liquid, melted dilution, or over-blending | Add frozen pineapple, then blend briefly. |
| Too thick | Too much frozen fruit or not enough liquid | Add pineapple juice 1 tablespoon at a time. |
| Too sweet | Too much cream of coconut or coconut rum | Add lime juice, pineapple juice, or a splash of white rum. |
| Not creamy | Coconut milk was used instead of cream of coconut | Add cream of coconut or coconut cream. |
| Bland or flat | Not enough acid or contrast | Add fresh lime and a tiny pinch of salt. |
| Separating | The drink sat too long or the coconut was not mixed well | Stir, shake, or re-blend briefly and serve immediately. |
| Too icy | Too much frozen bulk and not enough creamy liquid | Add pineapple juice or coconut base and blend briefly. |
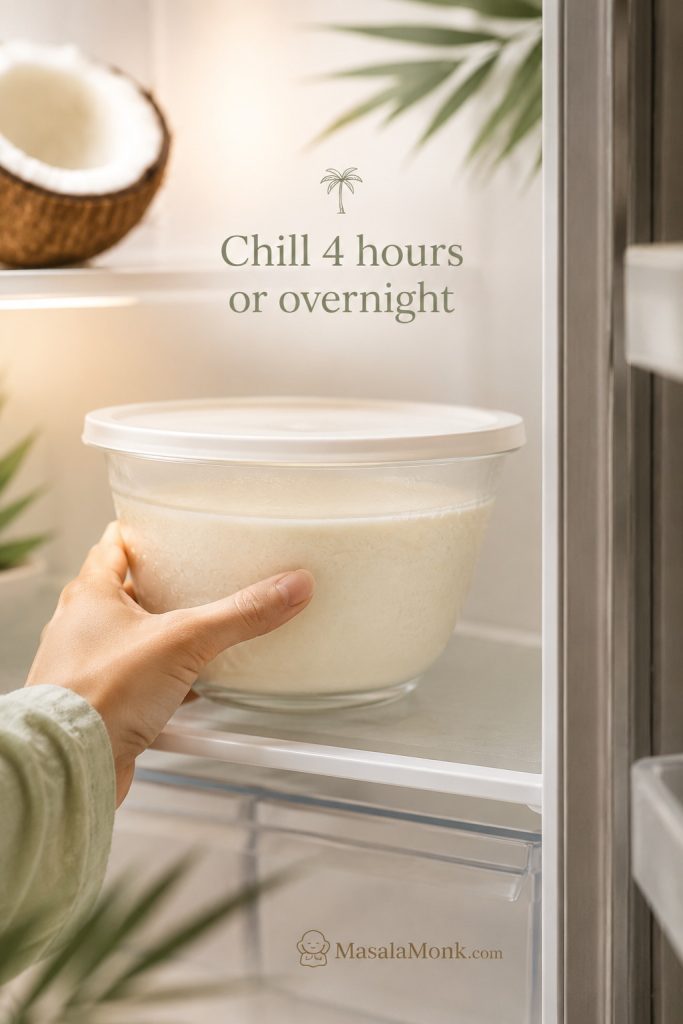
Make-Ahead and Storage
A pina colada is best served immediately, especially when frozen. The make-ahead move is simple: prepare the pineapple-coconut-rum base, chill it, then finish the drink right before serving.
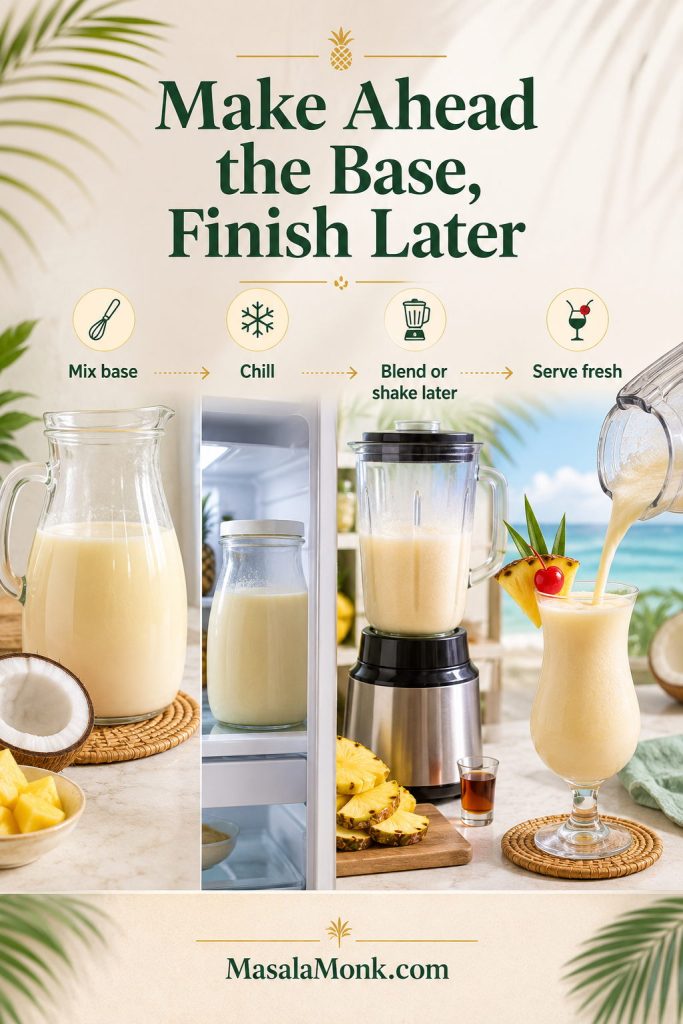
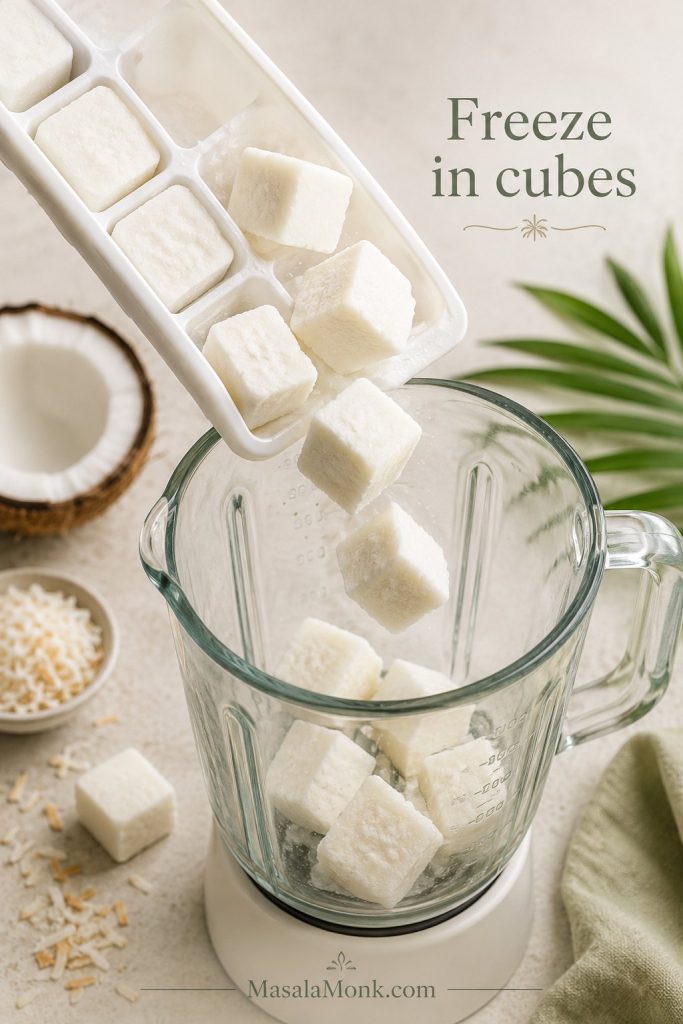
An alcohol-free base works the same way. Keep it cold, then blend or shake when guests are ready. Leftover blended drink can be frozen and re-blended with a splash of pineapple juice, but the fresh texture will always be better.
Pina Colada FAQs
What are the three main ingredients in a pina colada?
Rum, pineapple, and coconut are the core ingredients. Most creamy home versions also need a frozen element, and fresh lime makes the finish cleaner.
What is the best alcohol for a pina colada?
White rum is the best classic choice. Coconut rum is sweeter, while a small dark rum float gives a deeper finish.
Should I use cream of coconut or coconut milk?
Use cream of coconut for the classic sweet, creamy piña colada. Use coconut milk only when you want a lighter drink and are willing to adjust sweetness.
Is cream of coconut the same as coconut cream?
No. Cream of coconut is sweetened and syrupy; coconut cream is usually unsweetened and rich, so it needs added sweetener in most recipes.
How do I make a non-alcoholic pina colada taste less flat?
Use frozen pineapple, lime, and a tiny pinch of salt. Vanilla or non-alcoholic rum can add some of the depth that regular rum normally brings.
How do I make a pina colada without a blender?
Shake rum, pineapple juice, cream of coconut, and lime hard until cold, then serve in a fresh glass. It will be frothy and chilled, not frozen.
What makes a pina colada too watery?
Too much liquid, melted dilution, weak coconut body, or over-blending can make it watery. Measure the first batch and serve right away.
How do I make a pina colada less sweet?
Use less cream of coconut, choose white rum instead of coconut rum, or add fresh lime. Make small changes so the drink stays balanced.
Can I make pina coladas ahead of time?
Yes, but make only the liquid base ahead. Chill it, then blend or shake with the frozen/cold ingredients when ready to serve.
What is the difference between a pina colada and a Chi-Chi?
A pina colada is usually made with rum. A Chi-Chi is the similar pineapple-coconut drink made with vodka instead.
Final Sip
A good piña colada should taste cold before it tastes sweet: pineapple first, coconut next, rum in the background, and lime keeping the finish clean. Once that balance is right, the rest is easy — frozen, shaken, virgin, Malibu, lighter with coconut milk, or batched for a party.
Make the classic version once with measured ingredients. After that, you will know exactly how the drink should feel: tropical, smooth, refreshing, and just rich enough to feel like a small vacation in the glass.