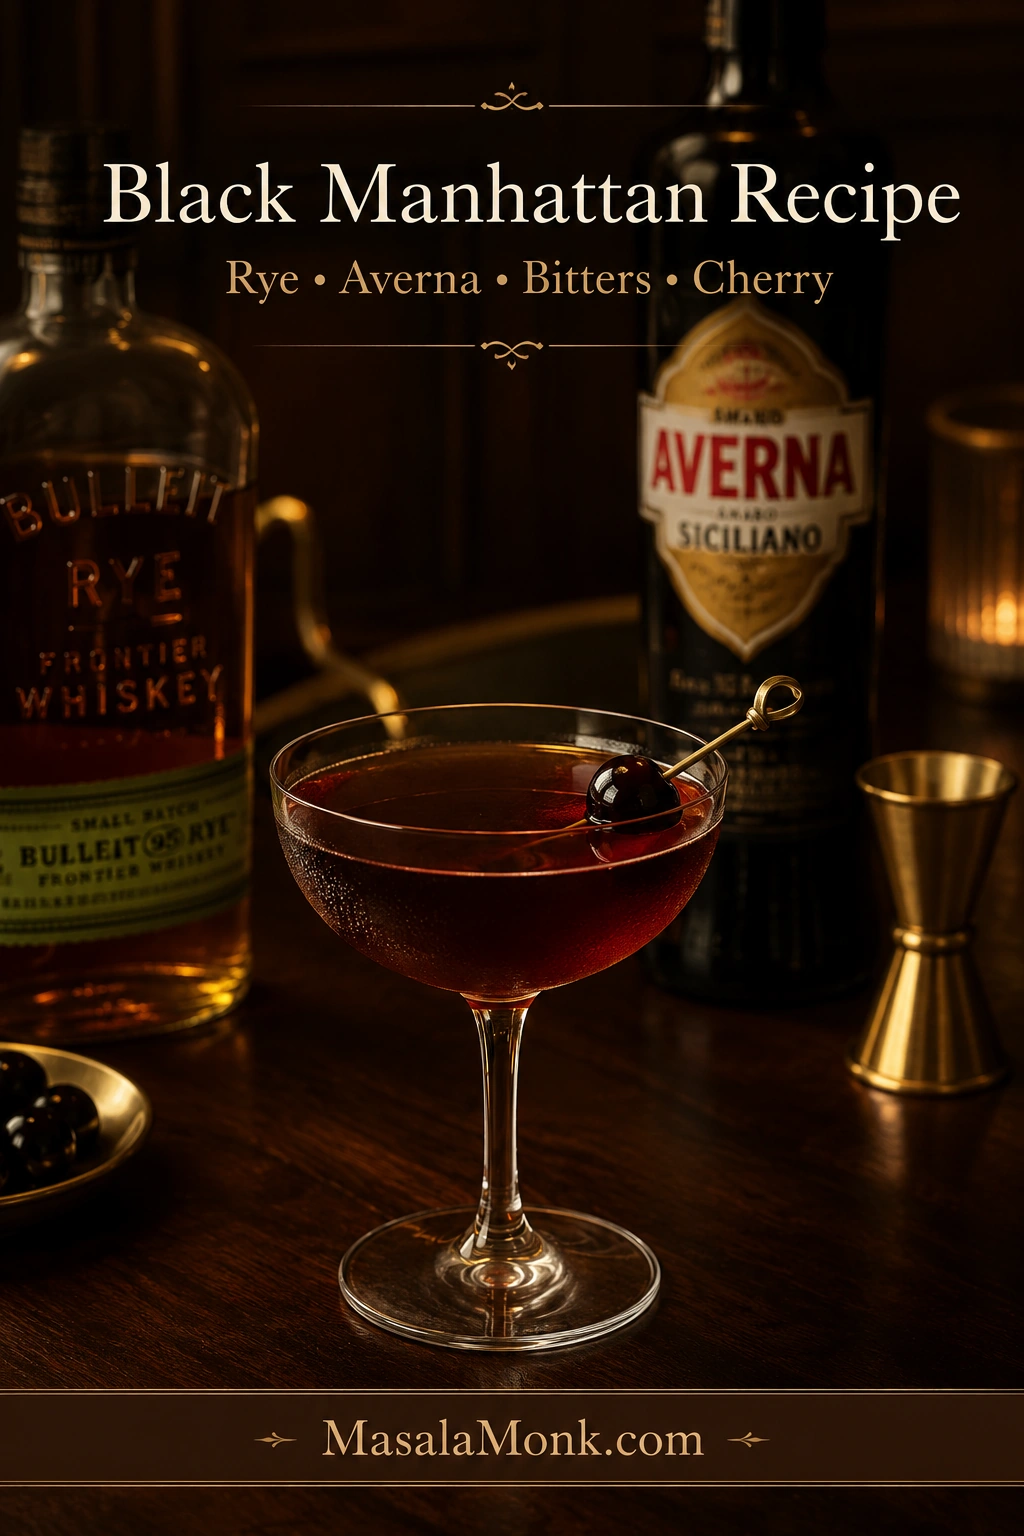
A Black Manhattan is what happens when a classic Manhattan turns moodier. Rye whiskey gives it spine, Averna brings bittersweet caramel and herbs, and a good cherry waits at the bottom like a small reward.
It is not a complicated cocktail, but it does ask for care. A cold glass, a proper stir, and the right amaro make the difference between a drink that tastes hot and heavy and one that feels dark, smooth, structured, and composed.
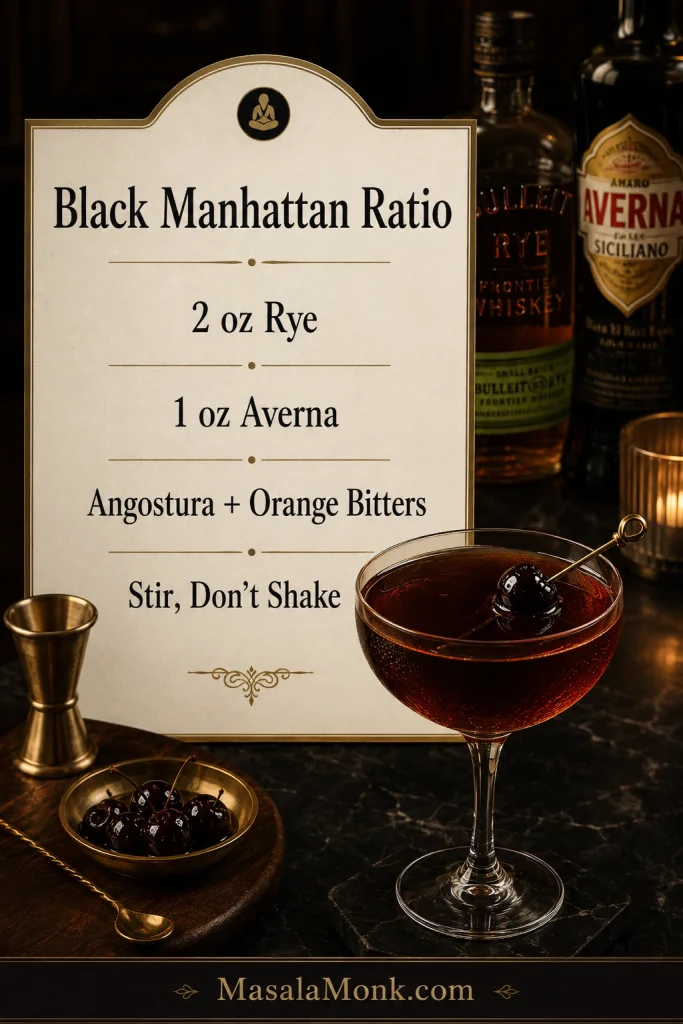
The core formula is easy to remember: 2 oz rye whiskey, 1 oz Averna amaro, bitters, ice, and a cherry. Make that rye-and-Averna build first. Once it tastes balanced, you can try bourbon, switch the amaro, add black walnut bitters, batch it for guests, or serve it over one large cube.
Black Manhattan Recipe Quick Answer
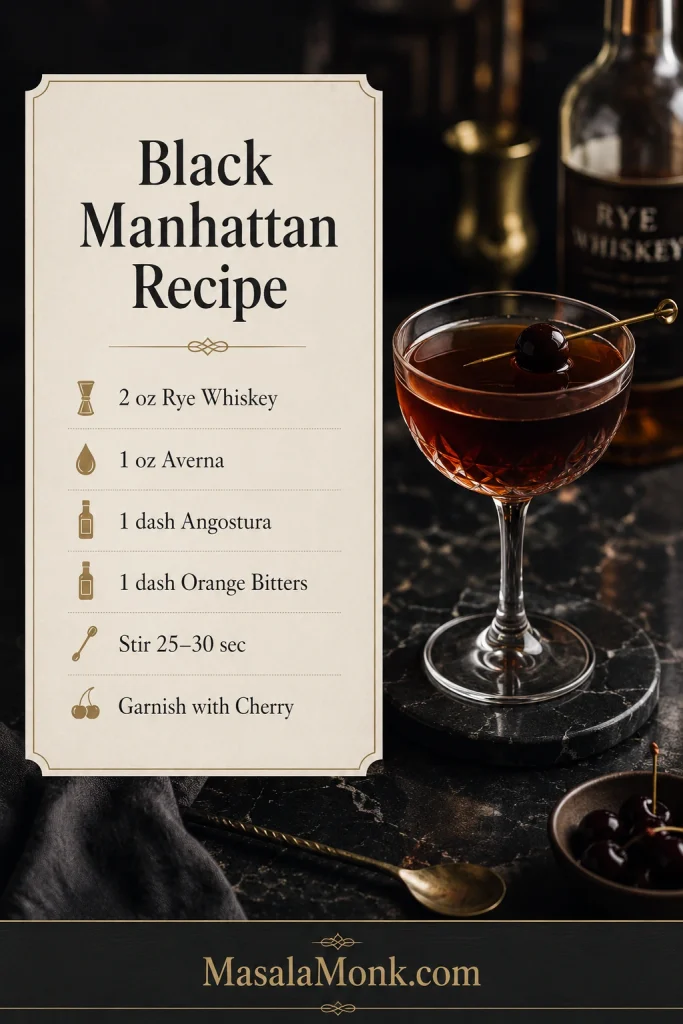
A Black Manhattan is a stirred whiskey cocktail made with 2 oz rye whiskey, 1 oz Averna amaro, Angostura bitters, orange bitters, and a brandied cherry. It is a Manhattan variation where amaro replaces sweet vermouth, giving the drink a darker, more herbal, bittersweet flavor.
Stir the whiskey, amaro, and bitters with plenty of ice for 25–30 seconds, then strain into a chilled coupe or Nick & Nora glass. Start with rye and Averna if this is your first round; use bourbon when you want a softer, sweeter drink.
- Best first build: rye whiskey + Averna.
- Main ratio: 2 parts whiskey to 1 part amaro.
- Method: stir, never shake.
- Garnish: brandied cherry or dark cocktail cherry.
Ratio cue: check this 2:1 guide before measuring the first drink, especially if you are new to stirred whiskey cocktails.
Black Manhattan Recipe Card
Recipe cue: keep this rye-and-Averna card close while you make the reference version.
Black Manhattan With Rye and Averna
Start here. This is the version that teaches the drink: rye whiskey, Averna, Angostura bitters, orange bitters, and a brandied cherry. Rye keeps the cocktail dry and upright, while the amaro gives it the caramel-herbal depth that separates it from a regular Manhattan.
| Prep Time | 5 minutes |
| Total Time | 5 minutes |
| Servings | 1 cocktail |
| Method | Stirred |
| Glass | Chilled coupe or Nick & Nora |
| Equipment | Mixing glass, jigger, bar spoon, strainer |
Ingredients
| Ingredient | Amount |
|---|---|
| Rye whiskey | 2 oz / 60 ml |
| Averna amaro | 1 oz / 30 ml |
| Angostura bitters | 1 dash |
| Orange bitters | 1 dash |
| Ice | Enough to fill the mixing glass |
| Brandied cherry | 1, for garnish |
Instructions
- Chill a coupe or Nick & Nora glass for at least 5 minutes.
- Add the rye whiskey, Averna, Angostura bitters, and orange bitters to a mixing glass.
- Fill the mixing glass with ice.
- Stir for 25–30 seconds, until the drink is very cold.
- Strain into the chilled glass.
- Garnish with a brandied cherry and serve right away.
Bar-Style Adjustments
For a more aromatic Black Manhattan, use 2 dashes each of Angostura and orange bitters. If your bitters bottle pours very lightly, 2 dashes of each may taste closer to a cocktail-bar pour.
Choose a rye with enough proof and spice to stand up to Averna. A bottle around 90–100 proof usually gives enough backbone without making the cocktail harsh. If your rye is very soft, the drink may need an extra dash of Angostura, a brighter orange twist, or a spicier rye next time.
House Rules Before You Experiment
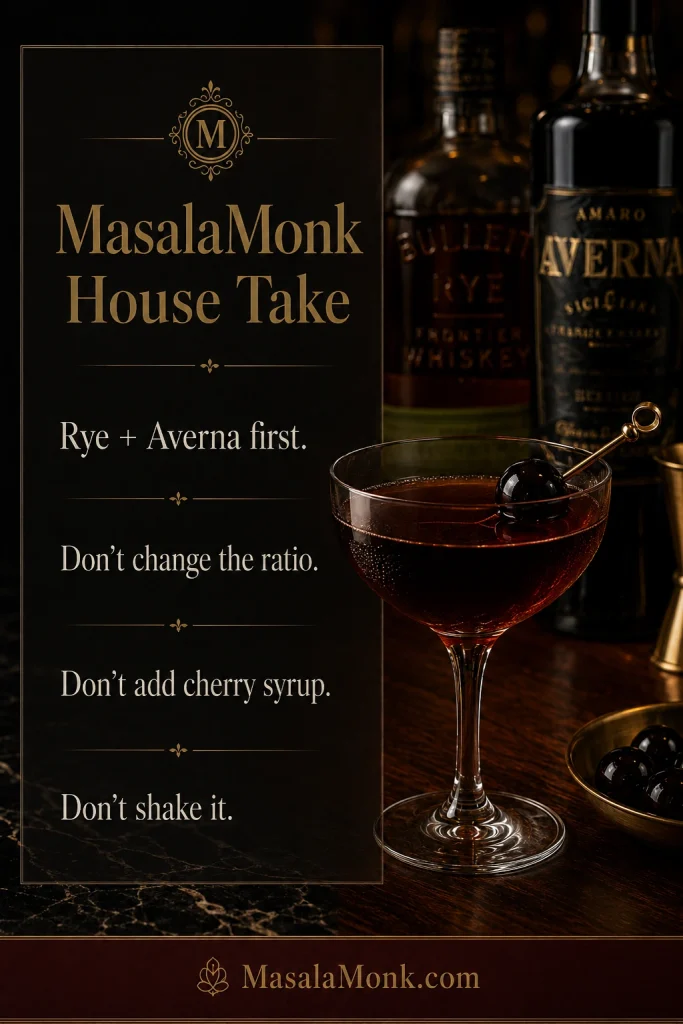
MasalaMonk house take: Make the first one with rye and Averna. Do not change the ratio, do not add cherry syrup, and do not shake it. Once that drink tastes right, make one controlled swap at a time: the whiskey, the amaro, or the bitters.
Strength note: A Black Manhattan is a spirit-forward cocktail. Serve it cold, small, and slow, and only to adults of legal drinking age. For a general reference, the NIAAA explains what counts as a standard drink.
House cue: get the disciplined version right first, then make only one bottle or bitters swap at a time.
When to Make a Black Manhattan
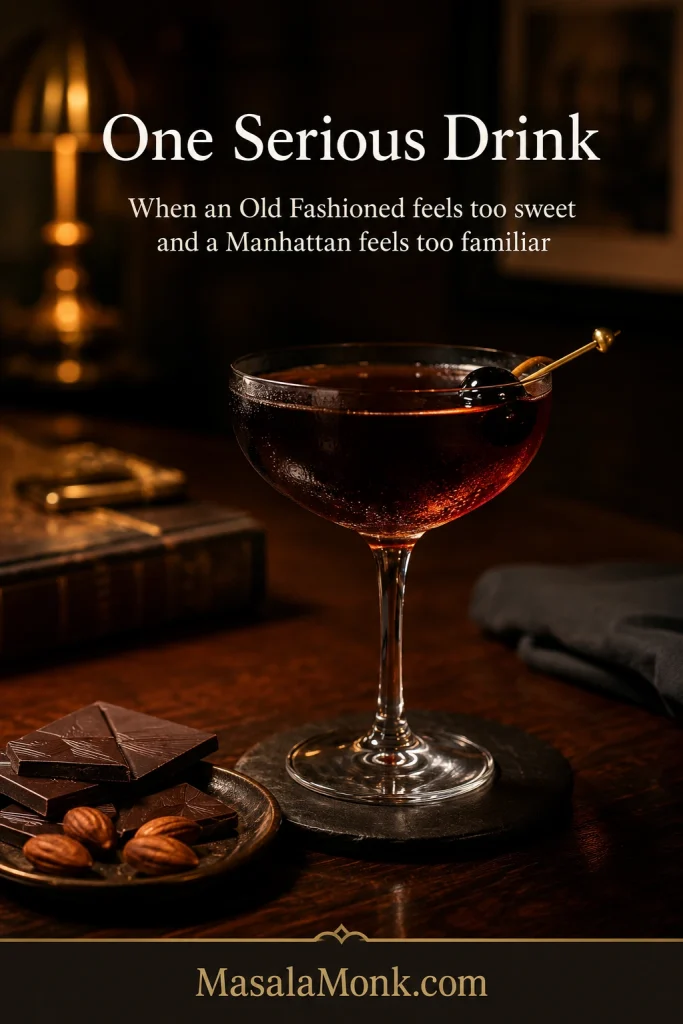
Make a Black Manhattan when you want one serious drink, not a round of light cocktails. It is ideal after dinner, with a small snack board, or on a quiet night when an Old Fashioned feels too sweet and a classic Manhattan feels too familiar.
Serving cue: this is the mood for the drink — serious, slow, and better after dinner than before a loud round.
Make it when you want whiskey, but not another Old Fashioned — the elegance of a Manhattan with more shadow, less winey sweetness, and a slower finish.
It is dark without being harsh, bitter without being punishing, and slow enough to make you pay attention. This is not the drink for a blender, a shaker tin, or a crowded glass of crushed ice. It is the drink for a chilled glass, a quiet stir, and one good cherry at the end.
Black Manhattan at a Glance
| Main ratio | 2 parts whiskey to 1 part amaro |
| Sweet vermouth? | No. Amaro replaces sweet vermouth. |
| Best whiskey | Rye for the traditional build; bourbon for a softer pour |
| Best amaro to start | Averna |
| Serve style | Stirred, served up, without ice |
| Flavor | Cold, whiskey-led, herbal, bittersweet, polished |
Why This Recipe Works
A good Black Manhattan works because nothing in the glass is wasted. Rye brings the dry, spicy backbone. Averna gives the cocktail its low light. Angostura adds spice, while orange bitters keeps the amaro from feeling too heavy.
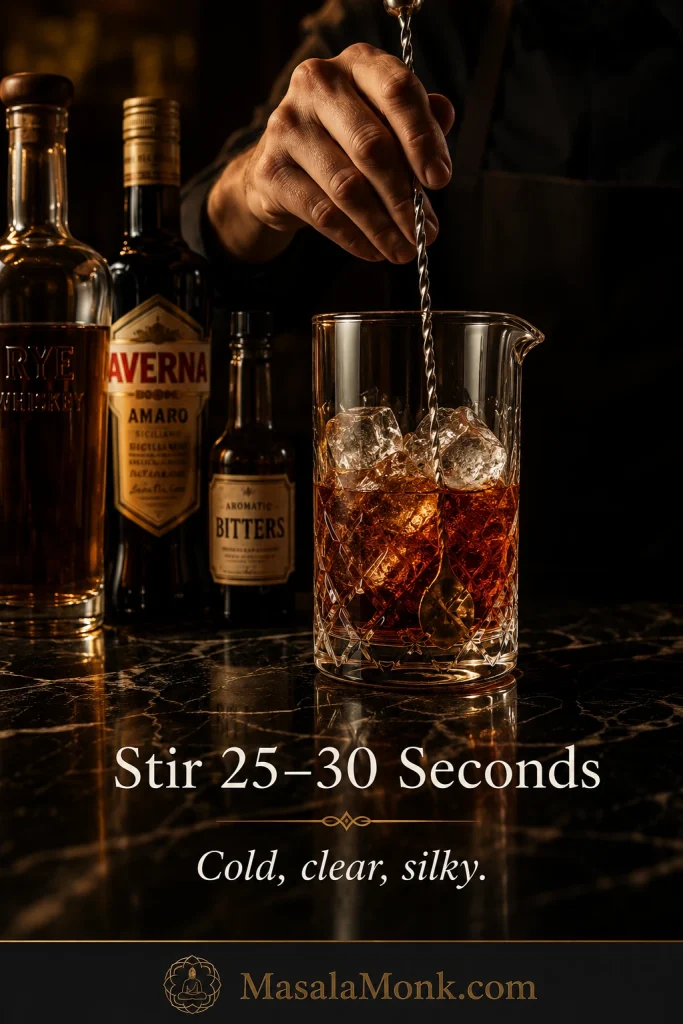
Stirring is just as important as the ingredients. This is an all-spirit cocktail, so it needs controlled dilution, not shaking. A gentle 25–30 second stir chills the drink, softens the alcohol heat, and gives the final pour the clear, silky texture you want.
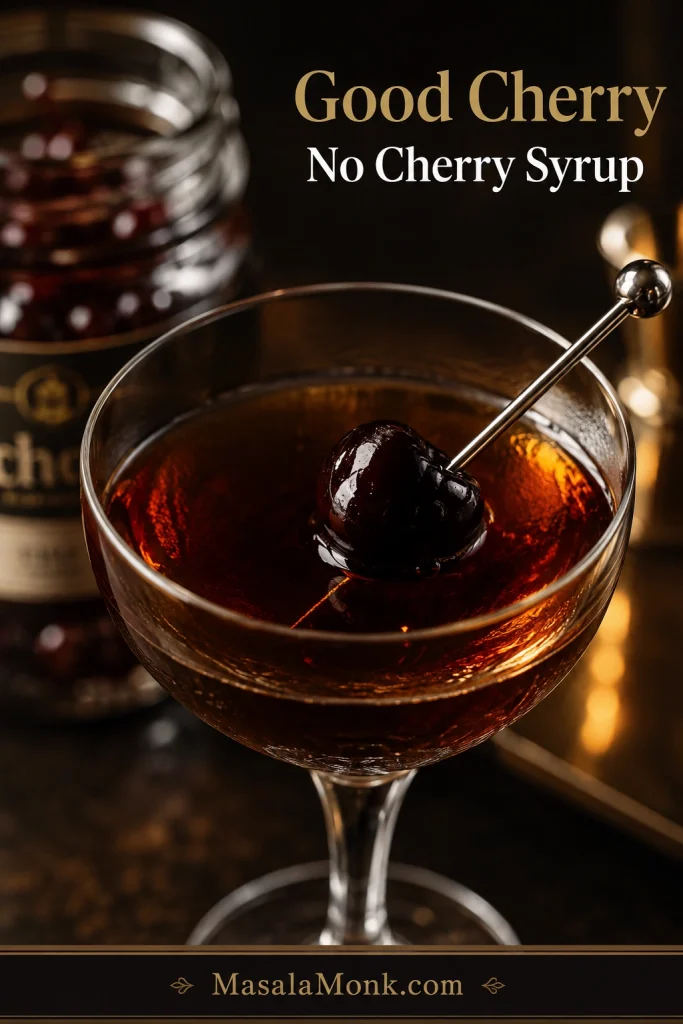
The cherry should feel like a finish, not the whole story. A bad cherry will not ruin the drink, but a good one makes the last sip feel intentional. Too much cherry syrup pushes the cocktail away from balance and into something sticky.
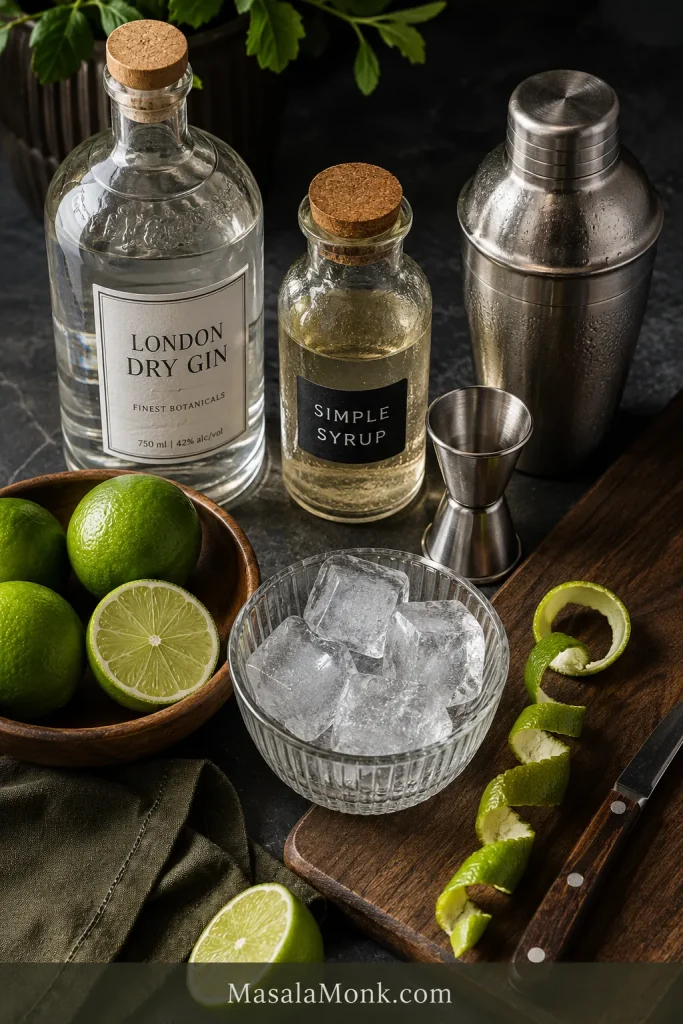
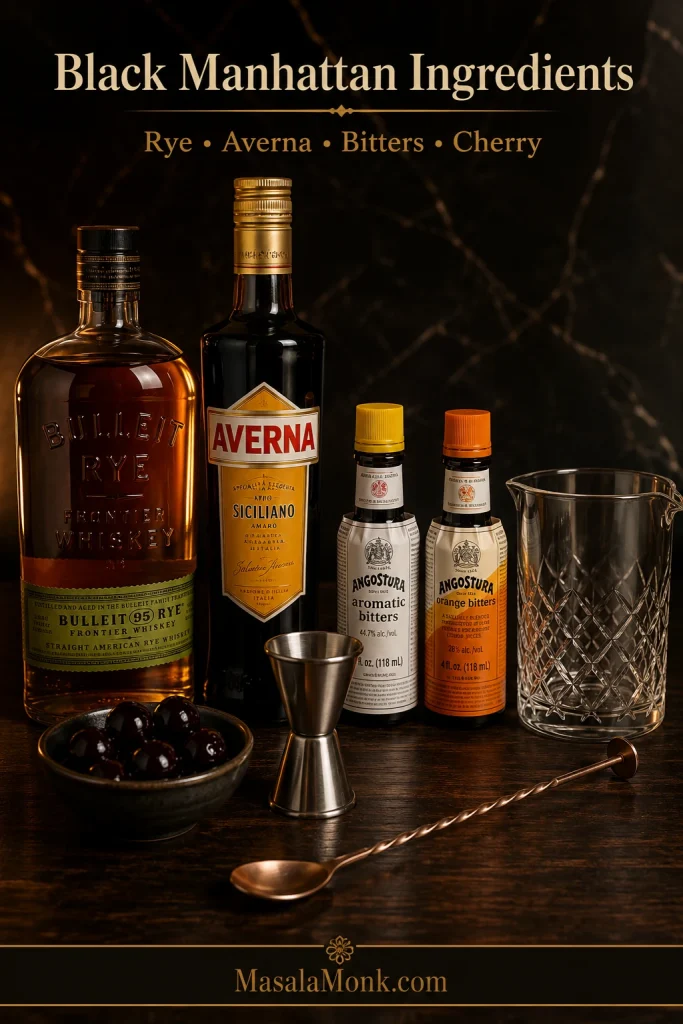
Black Manhattan Ingredients
With a drink this spare, every bottle shows. You do not need a huge home bar to make this well, but you do need a whiskey and amaro that work together instead of fighting each other.
Ingredient cue: the whiskey, amaro, bitters, and cherry each change the balance, so choose them with intention.
Rye Whiskey
Rye whiskey is the traditional choice because it brings spice, dryness, and structure. It is not here to shout; it is here to keep the drink upright while Averna brings the dark, sweet-herbal weight.
Choose a bottle you enjoy in stirred drinks. Something around 90–100 proof usually gives enough backbone without making the cocktail harsh. If the whiskey is very soft, the drink may need an extra dash of Angostura, a brighter orange twist, or a spicier bottle next time.
Averna or Another Amaro
Averna is the most reliable starting point for a Black Manhattan. It is bittersweet, rounded, and gently herbal, with caramel and orange-like notes that work beautifully with whiskey.
The amaro replaces sweet vermouth, and that one swap changes the whole cocktail. A classic Manhattan tastes winey, smooth, and lightly sweet; by contrast, a Black Manhattan tastes deeper, more herbal, and more bittersweet.
Do not worry about finding the “perfect” bottle on your first try. Averna gives you the reference point; the other amari make more sense after you know what the first version tastes like.
If you are choosing your first bottle, do not overthink it: Averna first, Cynar later, Montenegro if you want something gentler.
For a brighter bourbon-and-amaro drink, the Paper Plane cocktail uses amaro in a completely different way, with citrus and Aperol instead of a dark stirred build.
Angostura and Orange Bitters
Angostura bitters add spice and structure. Orange bitters add lift and brightness, which helps the drink feel polished instead of heavy. Start with 1 dash of each; go to 2 dashes each if you want a more aromatic bar-style version.
Brandied Cherry
Brandied cherries or Luxardo-style cocktail cherries work better than bright neon-red sundae cherries. The garnish should add a small, rich finish, not turn the drink into a cherry cocktail.
An orange twist can also work, especially if you are using a brighter amaro. For the classic build, start with a cherry.
Garnish cue: the cherry should finish the cocktail with richness, not turn it into a syrupy cherry drink.
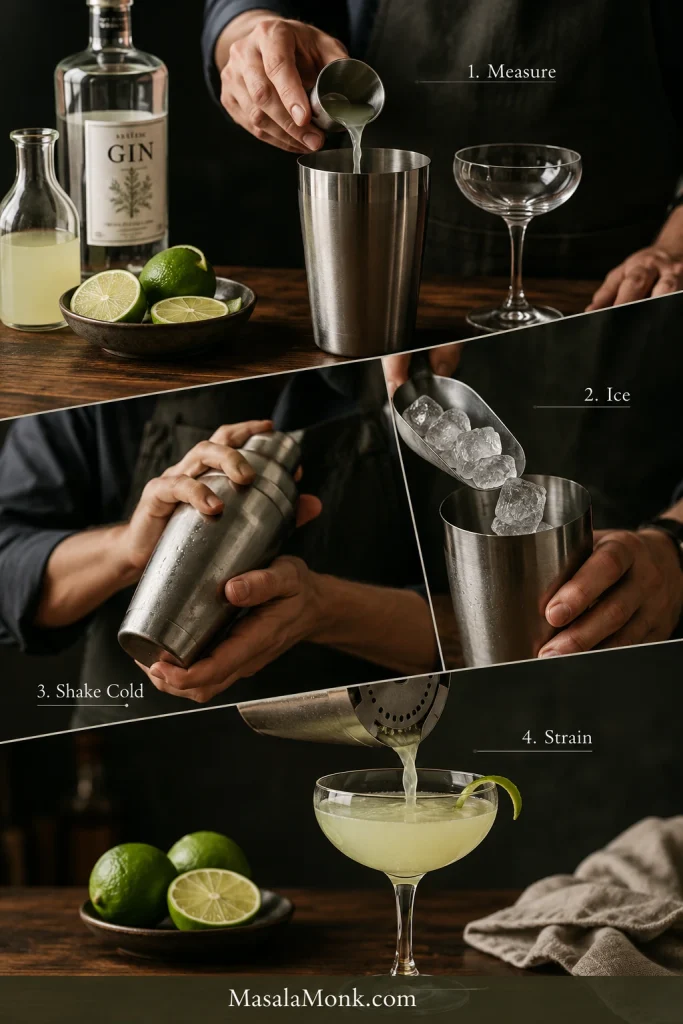
How to Make a Black Manhattan
Chill the Glass First
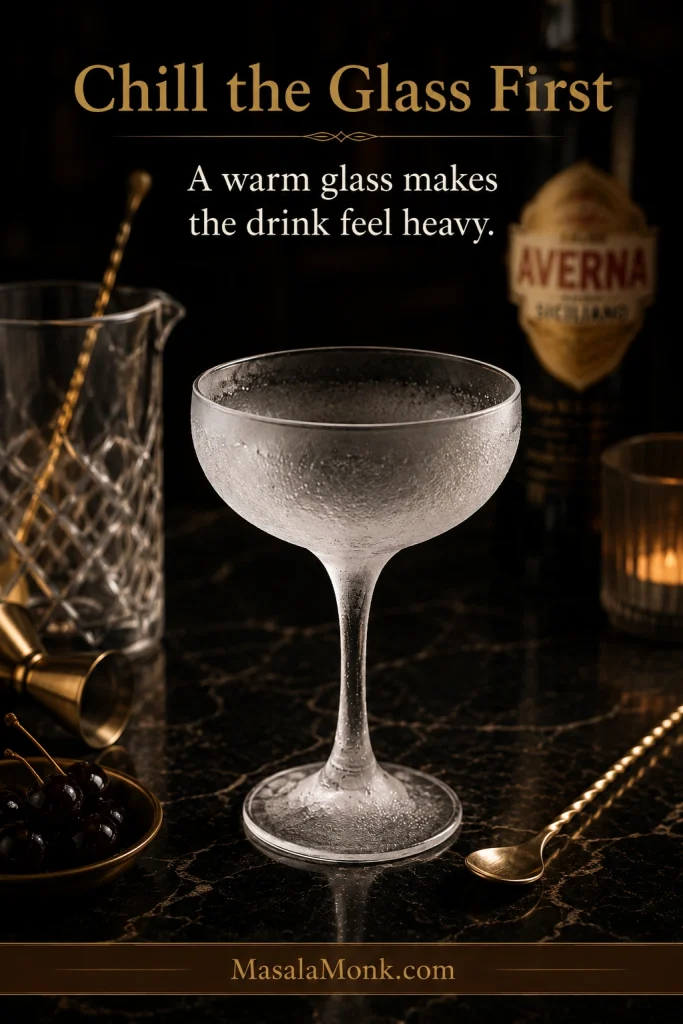
Start by chilling your glass. This is a small detail, but it makes a real difference because the cocktail is served up, without ice. A cold glass keeps the first sip crisp and stops the last sip from feeling warm or heavy.
Temperature cue: chill the glass before mixing because the finished cocktail is served up, without ice.
Measure, Ice, and Stir
Add the rye, Averna, Angostura bitters, and orange bitters to a mixing glass. Fill it with plenty of ice, then stir for 25–30 seconds, until the glass feels frosty and the sharp edge of the whiskey has softened. Stir smoothly, not violently. You are chilling and diluting the drink, not trying to beat it into submission.
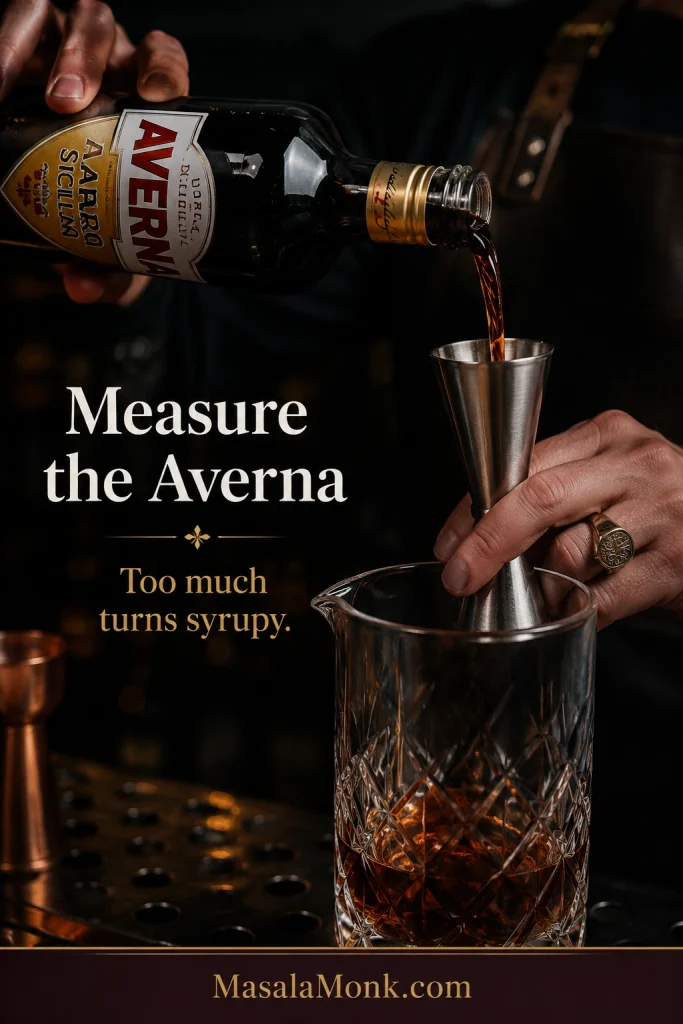
Amaro cue: measure Averna carefully because it controls the drink’s sweetness, weight, and herbal depth.
Do not shake a Black Manhattan. Shaking makes it cloudy and changes the texture. Stirring keeps it smooth, clear, and silky.
Technique cue: use plenty of ice and a calm stir to make the drink cold, diluted, clear, and silky.
Strain and Garnish
Once the drink is very cold, strain it into the chilled glass and garnish with a brandied cherry. Serve it right away.
Rye vs Bourbon: Which Works Better?
Whiskey cue: rye keeps the Black Manhattan dry and structured, while bourbon makes it softer and sweeter.
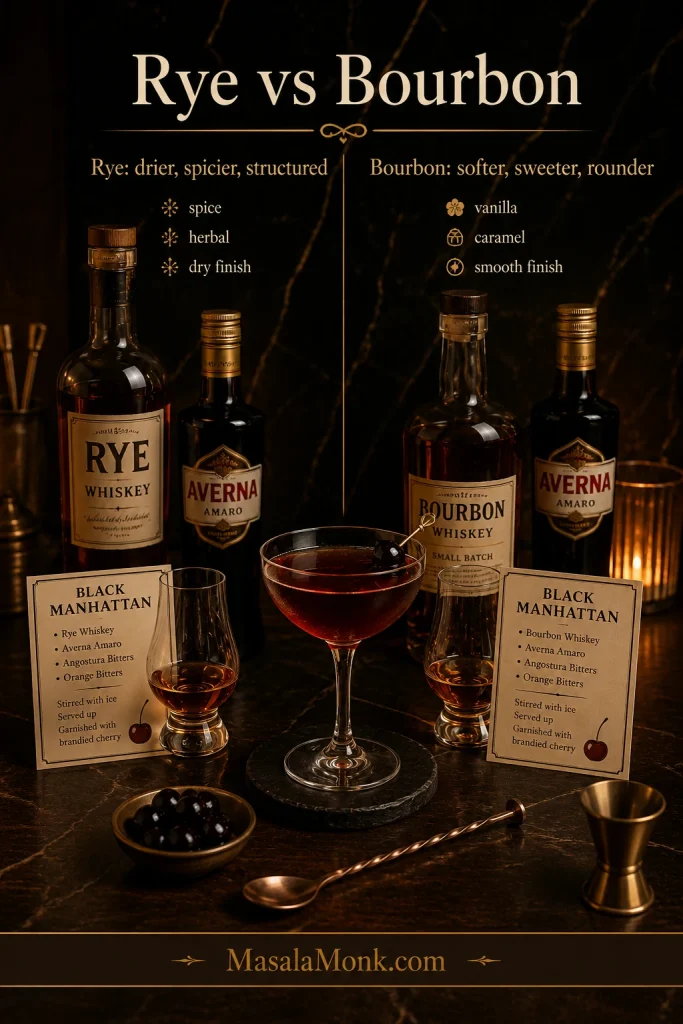
Rye is the best first choice for the traditional Black Manhattan. Bourbon works too, but it changes the mood of the drink. It makes the cocktail friendlier, while also making it easier to over-sweeten.
| Whiskey | Best For | Flavor |
|---|---|---|
| Rye whiskey | The traditional Black Manhattan | Drier, spicier, sharper, more structured |
| Bourbon | A softer variation | Sweeter, rounder, warmer, gentler |
A too-sweet drink usually needs rye, not more garnish. If the drink tastes too sharp or bitter, bourbon can soften the edges. When bourbon meets a sweeter amaro, an extra dash of Angostura or an orange twist helps keep the cocktail from feeling too round.
For the vermouth-based original, see the classic Manhattan cocktail recipe.
Best Amaro for a Black Manhattan
Amaro cue: once you know Averna, this guide helps you choose a sweeter, lighter, smokier, softer, or more bitter version.
How Each Amaro Changes the Drink
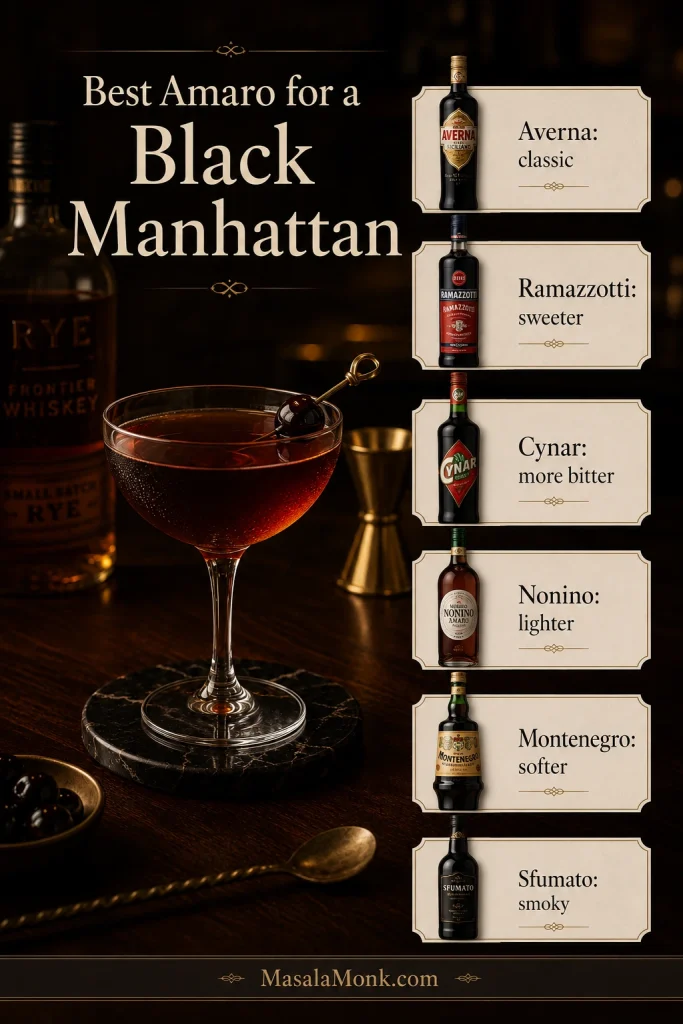
The whiskey gives the frame; the amaro paints the room. Averna keeps it familiar and balanced. Ramazzotti makes it rounder and sweeter. Cynar turns it earthier and more bitter. Nonino and Montenegro lighten the mood.
Averna is the classic choice for a reason. Other amari can make excellent whiskey-amaro Manhattans, but they may not taste as recognizably like a Black Manhattan at the same 2:1 ratio.
| Choice Type | Amaro | Best For | Watch Out For |
|---|---|---|---|
| Best first bottle | Averna | The classic shape: smooth, caramel-herbal, balanced | Reliable, but not the most bitter option |
| Sweeter | Ramazzotti | A rounder cocktail with orange-spice and cola-like notes | Can feel too sweet with bourbon |
| Rich and warm | Meletti | Burnt sugar, bitter citrus, spice, and vanilla-like warmth | Can move the drink toward dessert territory |
| Lighter | Nonino | A brighter, more elegant pour | Less dark and brooding than the Averna build |
| More bitter | Cynar | Earthy, bitter, more assertive variation | Can taste medicinal or vegetal to beginners |
| Soft beginner swap | Montenegro | Floral, gentle, approachable pour | May feel too light if you want a deeper profile |
| Smoky / adventurous | Sfumato | Rhubarb-like, smoky, unusual cocktail | Can dominate the whiskey if used without care |
How to Test Amaro Swaps
When Averna leaves the drink, keep everything else steady. Leave the whiskey and bitters alone, then swap only the amaro. Very bitter bottles may also need a tiny ratio adjustment, such as a little less amaro or an extra touch of orange bitters.
If you see bottles like Amaro Lucano, Ciociaro, Bigallet China-China, or Foro, treat them as experimental swaps rather than the first bottle to buy. Start with the classic amaro choice, then branch out once you know how the first version should taste.
If you want another whiskey cocktail with a bittersweet edge, a Boulevardier moves the idea toward Campari and sweet vermouth.
What Changes the Drink Most
Variation cue: change one ingredient at a time so you can tell what actually improved the cocktail.
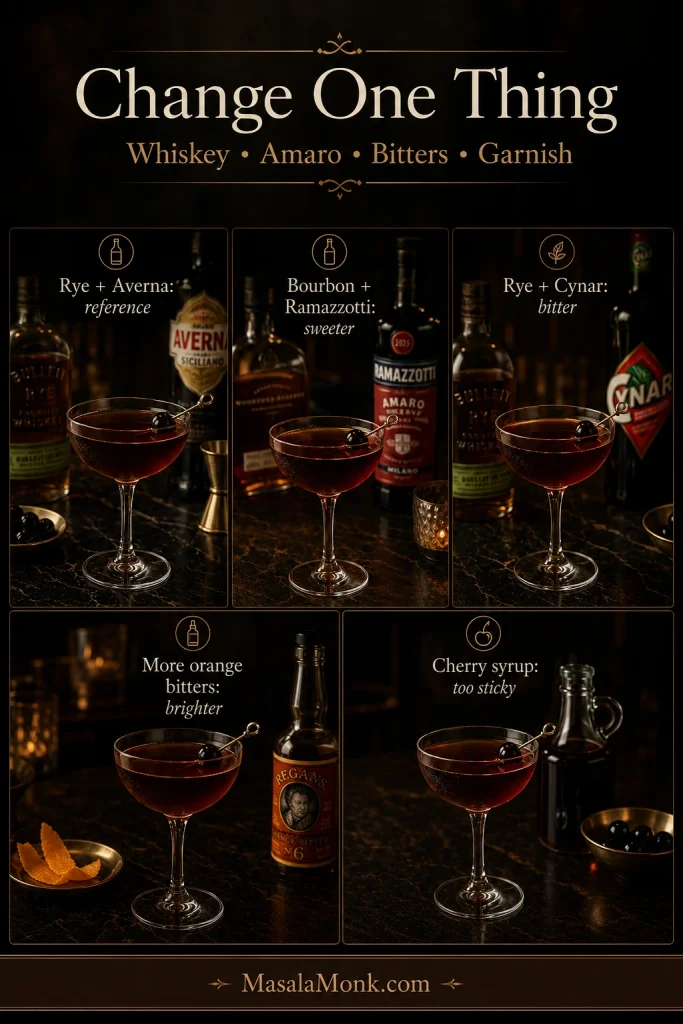
Use the reference version as your baseline. Then adjust one variable at a time so you can learn what your whiskey, amaro, and bitters are actually doing.
| Change | What Usually Happens |
|---|---|
| Rye + Averna + 1 dash each bitters | Cleanest reference version for learning the drink |
| Bourbon + Ramazzotti | Softer, sweeter, rounder |
| Rye + Cynar | More bitter, earthy, and intense |
| 2 dashes orange bitters | Better aroma if the drink feels flat |
| Cherry syrup added | Usually makes the drink too sticky |
Is a Dark Manhattan the Same as a Black Manhattan?
Most of the time, yes. If you heard someone say “dark Manhattan,” they were probably talking about a Black Manhattan-style cocktail: whiskey, dark amaro, bitters, and a cherry or orange garnish.
The cocktail is not actually black. It usually lands somewhere between deep amber, brown, and reddish-brown. The “black” or “dark” idea comes from the amaro replacing sweet vermouth and giving the drink a deeper, more herbal mood.
Some bars use “dark Manhattan” loosely for bourbon-and-amaro drinks or other darker Manhattan variations. If you want the recognizable rye-and-Averna build, start with rye whiskey, Averna, Angostura bitters, orange bitters, and a cherry.
Black Manhattan vs Classic Manhattan
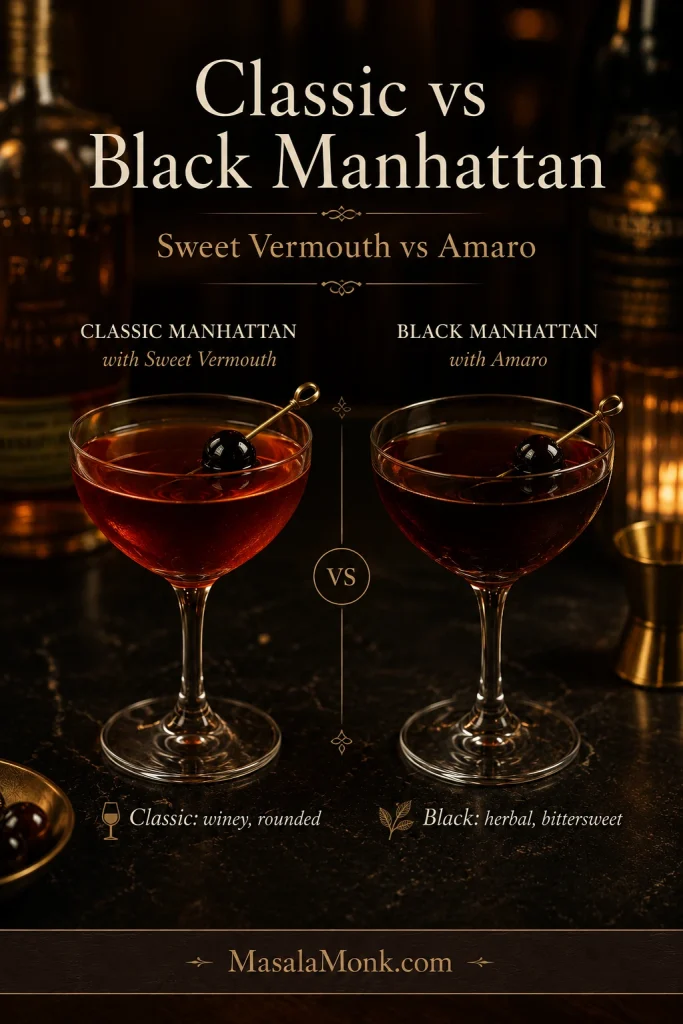
Comparison cue: the key difference is simple: sweet vermouth gives a classic Manhattan its winey roundness, while amaro makes the Black Manhattan deeper and bittersweet.
Sweet Vermouth vs Amaro
The Black Manhattan stays close to the classic Manhattan, but the flavor lands in a different place. Both drinks are stirred whiskey cocktails, and each one uses bitters. Usually, they are served up in a chilled glass. The big difference is what replaces the vermouth.
| Drink | What balances the whiskey | Flavor |
|---|---|---|
| Classic Manhattan | Sweet vermouth | Winey, smooth, lightly sweet, rounded |
| Black Manhattan | Averna or amaro | Deeper, herbal, bittersweet, richer |
If you like Manhattans but want something less vermouth-forward, this is a natural next drink. For another smooth member of the stirred-whiskey family, the Rob Roy brings Scotch into the picture.
If you want to understand the vermouth side of bitter cocktails more deeply, this guide to sweet vermouth is a useful companion.
A Quick Note on the Original
The Black Manhattan is generally credited to bartender Todd Smith in San Francisco in 2005 and is closely associated with Bourbon & Branch. Most modern home-bar versions now use rye, Averna, aromatic bitters, and orange bitters, though like many modern classics, the drink has been adapted by bars and home bartenders over time. For another look at the core modern formula, see Liquor.com’s Black Manhattan recipe.
How to Make a Better Black Manhattan
Use this as your final pre-pour checklist. Most Black Manhattan problems come from warmth, weak dilution, too much amaro, or a garnish that tries too hard.
- Chill the glass. A warm glass makes a spirit-forward drink feel heavy too quickly.
- Measure the ingredients. The 2:1 ratio matters. Too much amaro can make the cocktail syrupy or medicinal.
- Pack the mixing glass with ice. A full glass chills better than a glass with just a few cubes.
- Do not shake it. Stirring keeps the drink clear, smooth, and elegant.
- Begin with the reference version. Rye and Averna teach you what the drink should taste like before you start swapping bottles.
- Finish with a good cherry. A rich cocktail cherry works better than a bright, candy-like cherry.
Small fix that works often: If the drink tastes good but a little flat, add an orange twist or use 2 dashes of orange bitters next time. If it tastes too sweet, use rye instead of bourbon or choose a more bitter amaro.
Black Manhattan Variations
After the rye-and-Averna version makes sense, the variations become easier to control. Keep the main idea the same: whiskey, amaro, bitters, cold dilution, and a clean garnish.
Bourbon Black Manhattan
Swap in bourbon for a softer, sweeter drink. This variation is warmer and rounder, especially with Averna or Ramazzotti. Add an extra dash of Angostura if you want more structure.
Black Walnut Manhattan
Choose black walnut bitters in place of, or alongside, the orange bitters. For a deeper walnut version, replace a small part of the amaro with nocino. This becomes a nuttier variation rather than the classic Black Manhattan, but it can be excellent in colder weather.
Black Cherry Manhattan
Reach for a rich cocktail cherry and a very small amount of cherry liqueur if you want a cherry-forward pour. Keep it restrained. Too much cherry liqueur can make the drink taste sticky.
Smoked Orange Black Manhattan
Try smoked orange bitters or express an orange twist over the finished drink. This works especially well with rye and Averna because the citrus oil lifts the heavier amaro notes.
Black Manhattan on the Rocks
The traditional serve is up, without ice. If you prefer a slower-sipping version, strain the drink over one large cube in a rocks glass. It will soften as the ice melts.
If you are making more than one, you do not need to build every glass from scratch. This cocktail batches beautifully because there is no juice or fizz to fade.
Batch Black Manhattan for a Party
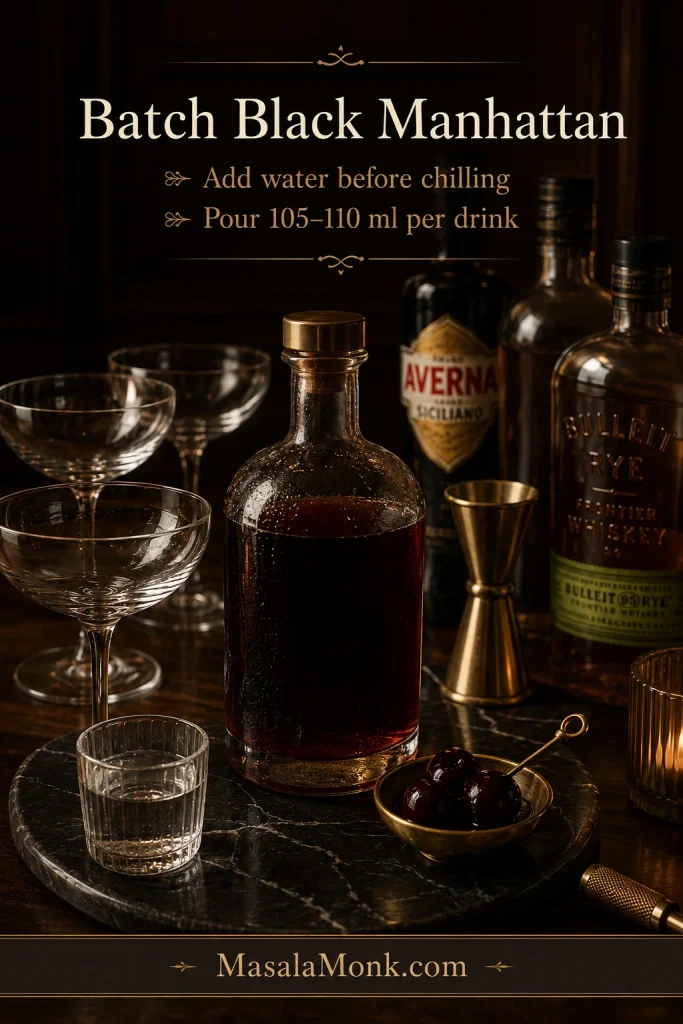
Batch cue: add water before chilling so each serving tastes like a stirred cocktail, not straight whiskey and amaro.
Why This Cocktail Batches Well
A Black Manhattan is a good cocktail to batch because it does not use citrus juice, soda, cream, egg, or fresh fruit. You can mix the whiskey, amaro, bitters, and water ahead of time, chill the batch, then pour and garnish when guests arrive.
A batched Black Manhattan should taste like a stirred cocktail, not a bottle of room-temperature whiskey with ideas. The water matters because stirring with ice normally adds dilution to a single drink. For a batched drink, adding water ahead of time keeps the cocktail balanced without needing to stir every serving.
Batch Dilution Chart
The table below uses about 20% water based on the undiluted cocktail volume, which gives the batch the dilution it would normally get from stirring with ice.
| Servings | Rye Whiskey | Averna | Angostura | Orange Bitters | Water |
|---|---|---|---|---|---|
| 4 | 8 oz / 240 ml | 4 oz / 120 ml | 4 dashes | 4 dashes | 2.4 oz / 70 ml |
| 8 | 16 oz / 475 ml | 8 oz / 240 ml | 8 dashes | 8 dashes | 4.8 oz / 140 ml |
| 12 | 24 oz / 710 ml | 12 oz / 355 ml | 12 dashes | 12 dashes | 7.2 oz / 215 ml |
How to Serve the Batch
Do not worry if the water is not perfect to the last milliliter. The goal is a cold, balanced batch, not laboratory precision.
- Combine the rye, Averna, bitters, and water in a clean bottle or pitcher.
- Cover and chill for at least 2 hours.
- Pour about 105–110 ml per drink into a chilled coupe or Nick & Nora glass.
- Garnish each serving with a brandied cherry.
Taste the chilled batch before guests arrive. If it feels hot, add a teaspoon or two of cold water per serving. When it feels thin, serve it colder rather than adding more ice.
Label the bottle if you are chilling it ahead, especially if guests may mistake it for straight whiskey or liqueur.
If you do not add water to the batch, stir each serving with ice before straining. Otherwise, the drink will taste too hot and too concentrated.
Troubleshooting: How to Fix a Black Manhattan
Fix cue: when the drink tastes too sweet, bitter, hot, or flat, correct one variable before changing the whole recipe.
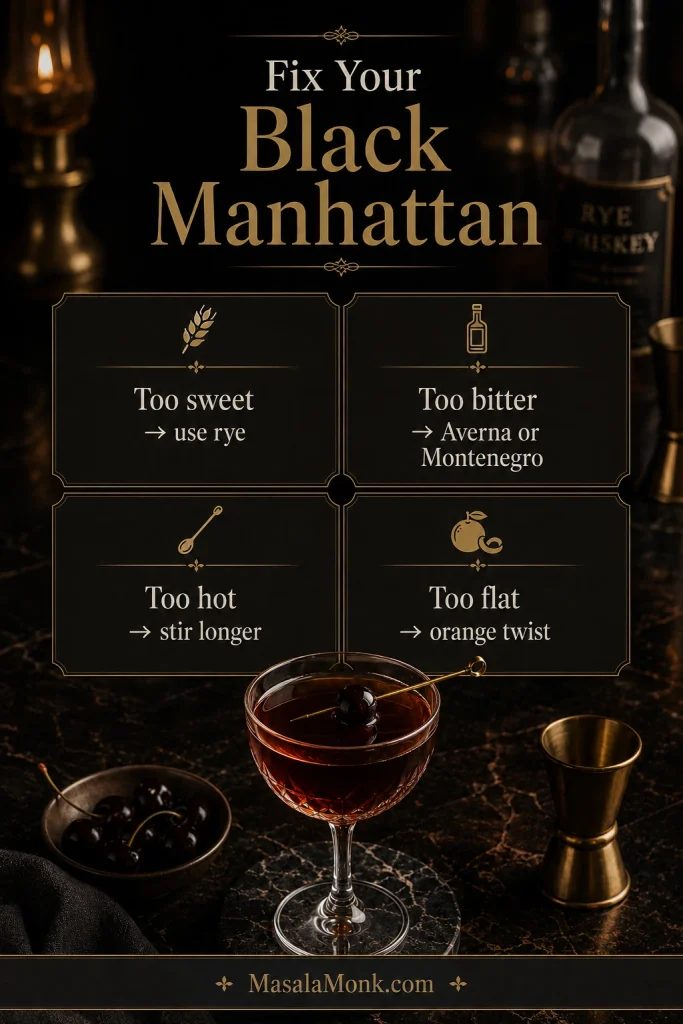
If your first Black Manhattan tastes a little off, do not blame the whole cocktail. Most bad Black Manhattans are not bad recipes. They are warm, under-diluted, over-sweetened, or built with bottles that do not quite fit together yet.
| Problem | How to Fix It |
|---|---|
| Overly bitter | Choose Averna, Montenegro, or bourbon. Avoid very bitter amari like Cynar until you know the drink. |
| Overly sweet | Reach for rye instead of bourbon, add an extra dash of Angostura, and avoid adding cherry syrup. |
| Boozy or hot | Stir longer with plenty of ice, or add a tiny splash of cold water before straining. |
| Thin or watery | Go with a richer amaro like Averna or Ramazzotti and avoid over-diluting. |
| Medicinal | Switch from aggressive bitter amari to Averna, Ramazzotti, or Montenegro. |
| Not cold enough | Chill the glass and stir for 25–30 seconds with plenty of ice. |
| Flat or dull | Add orange bitters, express an orange twist, or use a rye with more spice. |
Make-Ahead and Storage
A single Black Manhattan is best made fresh because the texture is nicest right after stirring. For parties, batching works very well.
- Single drink: Measure, stir with ice, strain, and serve right away.
- Party batch: Mix the whiskey, amaro, bitters, and water ahead of time, then chill.
- Do not garnish early: Add the cherry only when serving.
- Keep it cold: Store the batch in the refrigerator until ready to pour.
If your batch has already been diluted with water, pour it straight into chilled glasses. Otherwise, stir each serving with ice first.
What to Serve With a Black Manhattan
A Black Manhattan is rich and spirit-forward, so it works best with small, savory bites that can stand up to whiskey and amaro. Think salty, roasted, smoky, earthy, or gently sweet — not delicate snacks that disappear next to the drink.
Pairing cue: choose salty, savory, earthy snacks that can meet the whiskey and amaro instead of disappearing beside them.
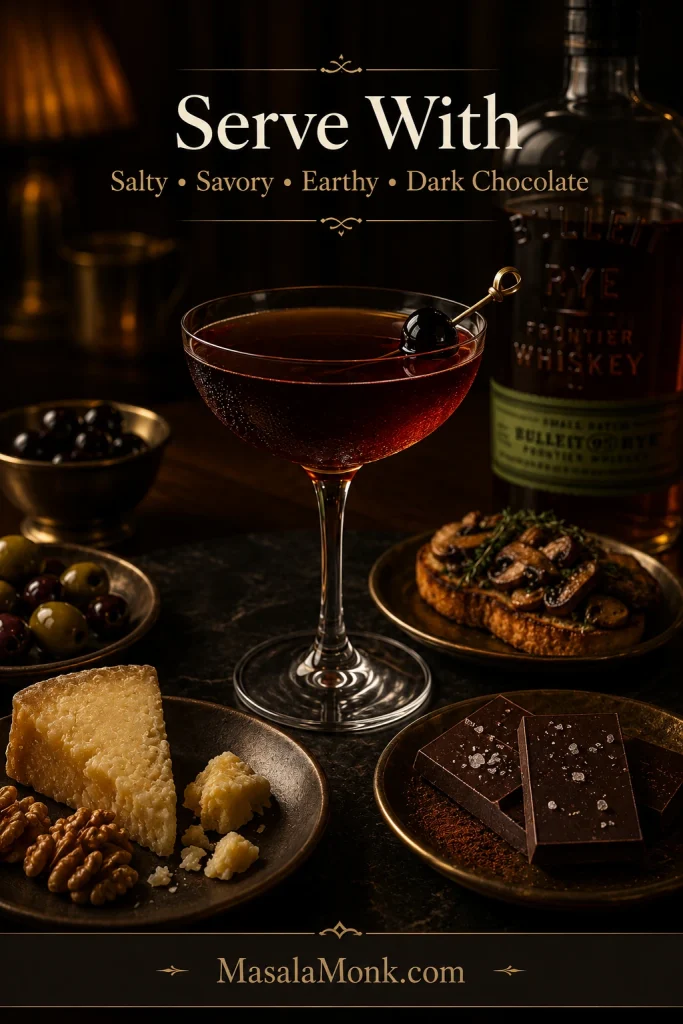
Best Small Bites to Pair With It
- Salty roasted nuts, especially almonds, pecans, or walnuts
- Aged cheddar, gouda, or parmesan for a sharp, savory bite
- Mushroom toast or roasted mushrooms for an earthy pairing
- Steak bites with pepper, butter, or a simple pan sauce
- Charcuterie-style snacks with cured meats, olives, and pickles
- Dark chocolate with sea salt if you want a small sweet finish
If you want an easy make-ahead snack board, a cream cheese ball with crackers fits the rich, savory mood of the drink. For something warm, creamy, salty, and shareable, a spinach dip also works well.
Keep the food simple. This is a slow-sipping cocktail, so the best pairings support it without stealing the room. The food should have enough salt or savoriness to meet the whiskey halfway.
FAQ
What is a Black Manhattan made of?
A Black Manhattan is made with rye whiskey, Averna or another amaro, Angostura bitters, orange bitters, ice, and a brandied cherry. The common ratio is 2 oz whiskey to 1 oz amaro.
Does a Black Manhattan have vermouth?
No. A Black Manhattan usually replaces sweet vermouth with Averna or another amaro. That swap is what gives the cocktail its deeper, more herbal, bittersweet flavor.
What is the Black Manhattan recipe in ml?
Use 60 ml rye whiskey, 30 ml Averna amaro, 1 dash Angostura bitters, and 1 dash orange bitters. Stir with ice for 25–30 seconds, then strain into a chilled coupe or Nick & Nora glass and garnish with a cherry.
Is a Black Manhattan the same as a dark Manhattan?
In most cases, yes. A dark Manhattan usually means a Black Manhattan-style drink made with whiskey and dark amaro instead of sweet vermouth. Some bars use the name differently, but the flavor idea is usually the same: deeper, richer, and more bittersweet than a classic Manhattan.
Do you need Averna for a Black Manhattan?
No, but Averna is the easiest bottle to trust. It gives the drink its classic smooth, bittersweet shape. Once you know that version, Ramazzotti, Cynar, Nonino, Montenegro, and other amari become easier to judge.
Can you make a Black Manhattan with bourbon?
Yes. Bourbon works well if you want a softer, sweeter drink. Rye is more traditional because it is drier and spicier, but bourbon can be very good with Averna or Ramazzotti.
What is the best amaro for a Black Manhattan?
Averna is the best place to start because it gives you the classic shape of the drink: smooth, bittersweet, herbal, and balanced. After that, try Ramazzotti for a sweeter drink, Cynar for a more bitter one, or Nonino for a lighter, more elegant variation.
Do you shake or stir a Black Manhattan?
Stir it. Because the drink is all spirits and liqueur, stirring keeps it clear, smooth, and properly chilled. Shaking makes it cloudy and changes the texture.
Can you batch Black Manhattans ahead of time?
Yes. Mix the whiskey, Averna, bitters, and water ahead of time, chill the batch, then pour about 105–110 ml per serving into chilled glasses and garnish each drink when serving.
Is a Black Manhattan stronger than a regular Manhattan?
Not necessarily. A Black Manhattan and a classic Manhattan are both small, spirit-forward whiskey cocktails. The Black Manhattan can feel heavier or more intense because amaro is darker and more herbal than sweet vermouth, but the exact strength depends on the whiskey proof and dilution.
Final Sip
A good Black Manhattan should feel composed: a cold glass, measured whiskey, dark amaro, clean bitters, and one rich cherry waiting at the end. Start with rye and Averna, stir it properly, and let the drink stay simple. Once that glass tastes balanced, you can start playing with bourbon, black walnut bitters, different amari, or a chilled batch for guests.
It is not a loud cocktail. That quiet balance is the point: the drink works because everything is in the right place.
Try the rye-and-Averna version first, then test one controlled swap: the whiskey, the amaro, or the bitters. If you test a different amaro, leave a comment with what you used and whether it made the drink sweeter, more bitter, lighter, or deeper.