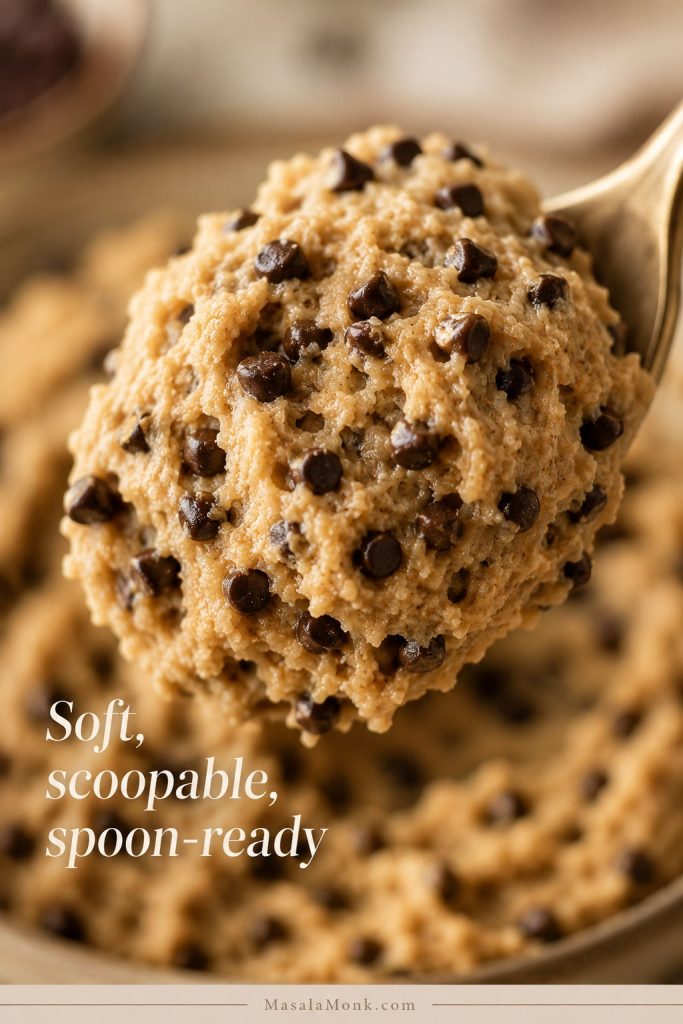
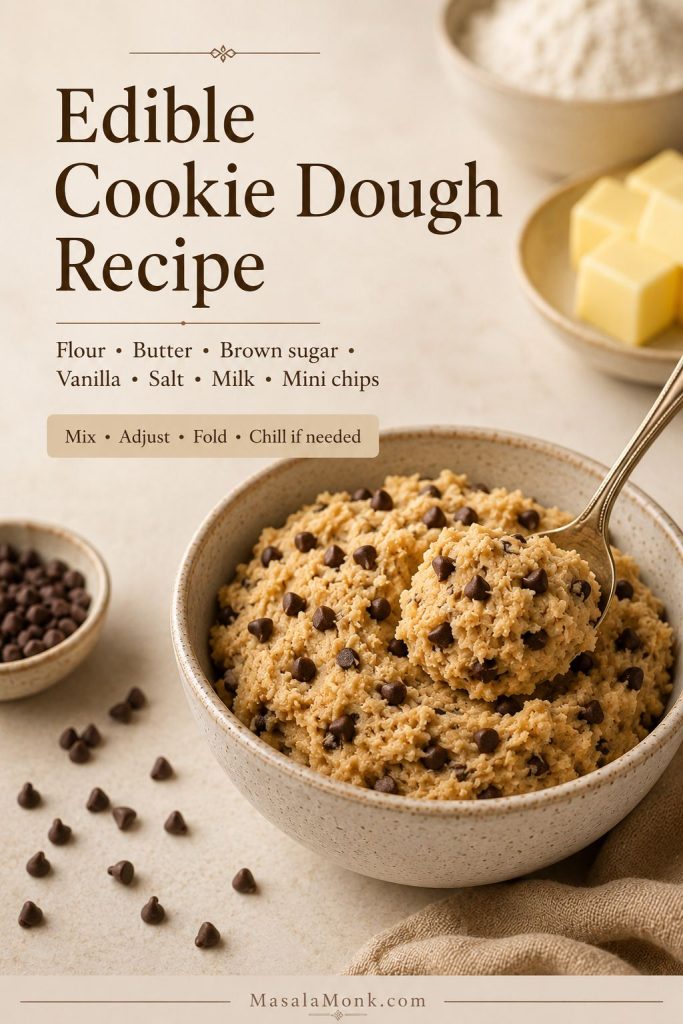
This edible cookie dough recipe is for the spoonful you wanted before the cookies ever reached the oven: soft brown-sugar dough, creamy butter, vanilla, a little salt, and tiny chocolate chips in every bite. It tastes like classic chocolate chip cookie dough, but it is made for eating straight from the bowl — no baking tray, no waiting, no pretending you only wanted “one taste.”
The important difference is safety. This version skips raw eggs and treats flour as something that needs attention, not an ingredient to casually stir in raw. For the most cautious batch, use commercially heat-treated flour labeled ready-to-eat; if you use a home flour-heating method, the notes below explain the limits clearly.
Before You Start: Texture and Safety
The good news is that edible cookie dough does not need to be complicated. Once you understand the flour piece, the rest is simple: cream butter and sugar, add vanilla and salt, mix in the flour, then adjust the texture until it tastes like the middle of a chocolate chip cookie.
Once the base is right, you can keep it classic with mini chocolate chips, make a single-serving bowl, turn it into sugar cookie dough, add peanut butter, roll it into bites, or chill little pieces for ice cream. Start with the chocolate chip version first; it teaches you what the texture should feel like.
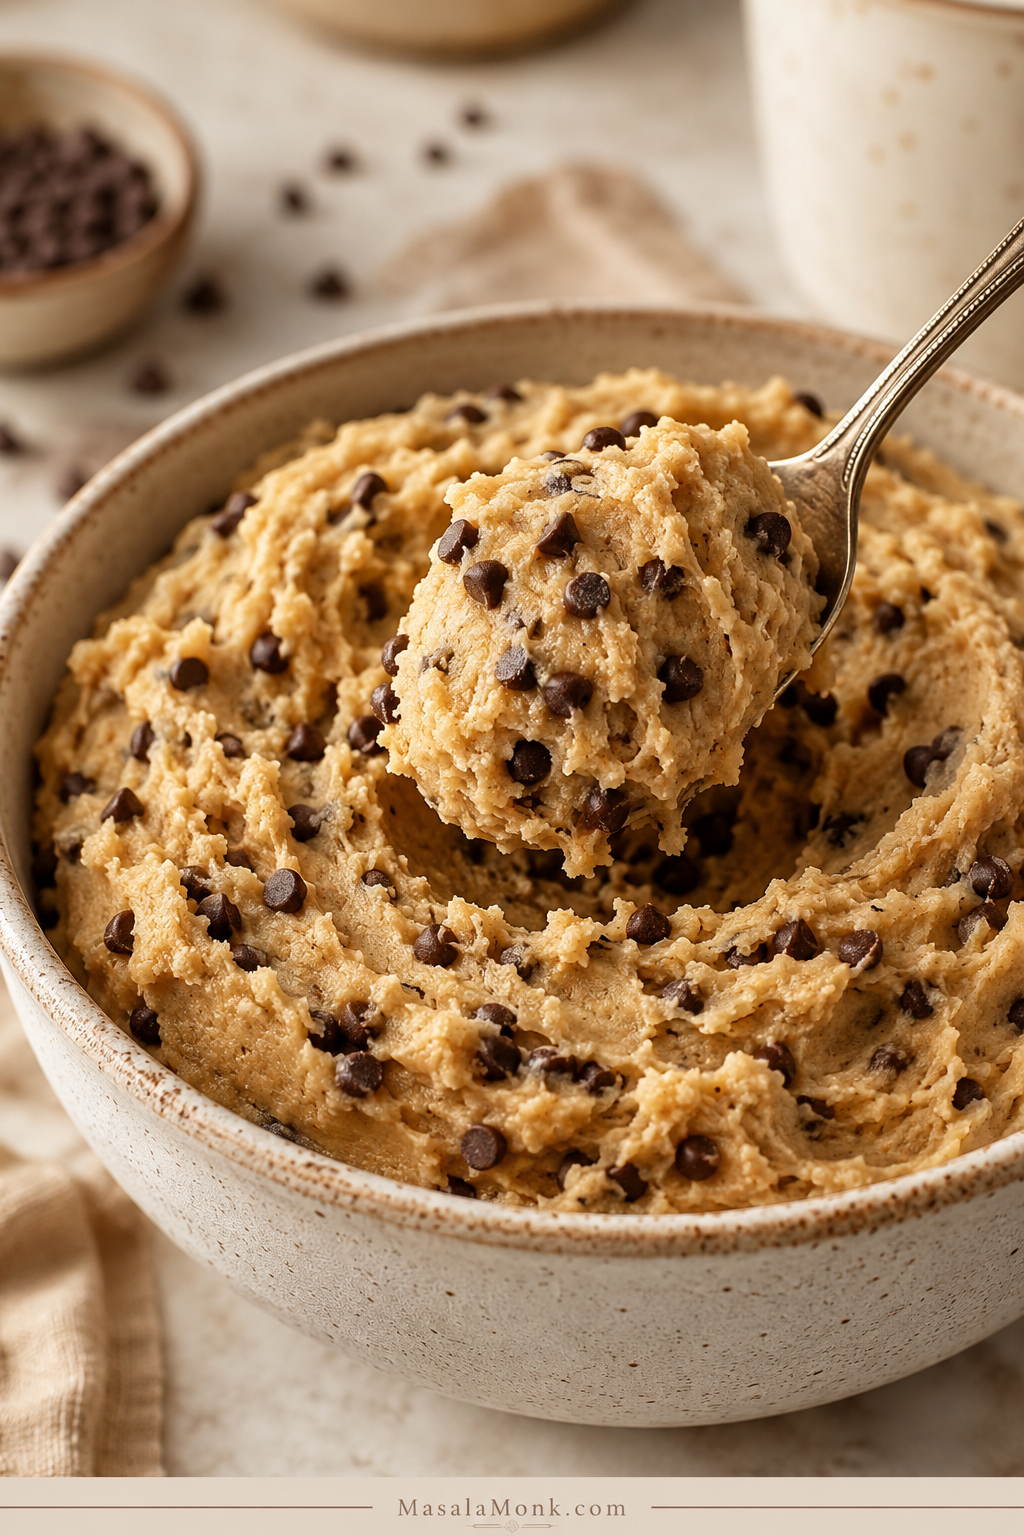
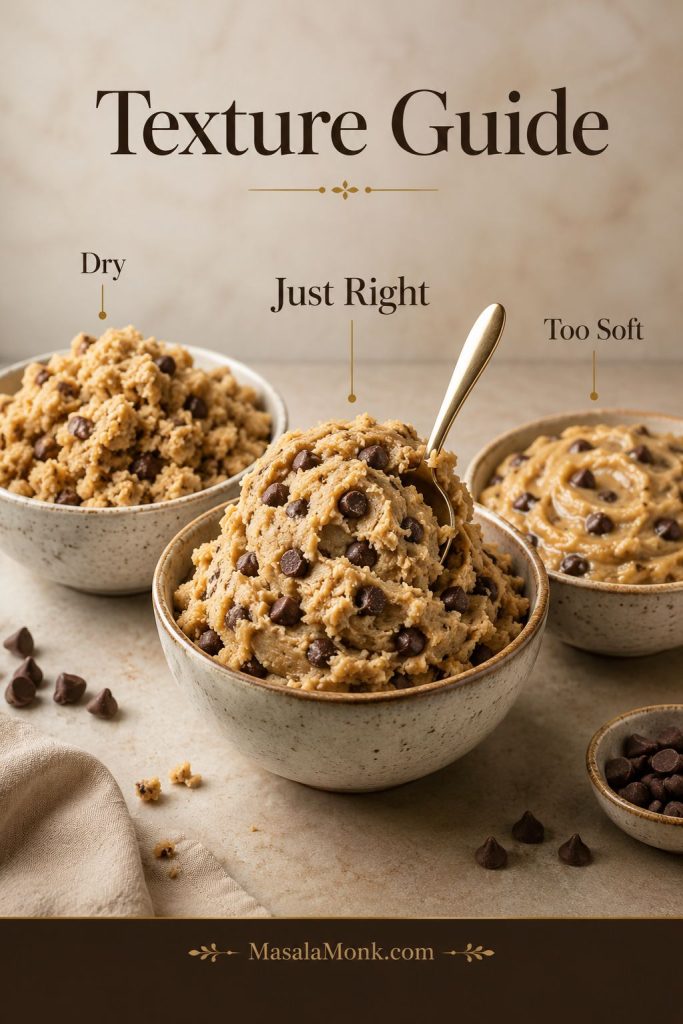
Before you start mixing, use the texture cue below as your visual target: the dough should look thick, creamy, and spoonable, not dry, runny, or frosting-soft.
If the craving is really for warm cookies from the oven, use a proper cookie recipe like MasalaMonk’s double chocolate chip cookies instead. This one is built for one job: cookie dough you can enjoy by the spoonful.
What You’ll Find in This Edible Cookie Dough Guide
Use the quick answer if you already know the basics, or go straight to the safety notes if you want to understand the flour and egg issue before mixing.
Make It Safely
Customize & Fix
Quick Answer: How to Make This Edible Cookie Dough Recipe
To make this edible cookie dough recipe, start with ready-to-eat flour or handle the flour using the safety notes below. Let the flour cool completely, then sift it so the dough does not taste lumpy or floury. Cream softened butter with brown sugar and a little granulated sugar, mix in vanilla and salt, add the flour, loosen the dough with milk or cream, and fold in mini chocolate chips.
The texture should be soft and scoopable, like the center of chocolate chip cookie dough before baking. It should not be runny, greasy, sandy, or crumbly. If it feels too thick, add milk one teaspoon at a time. If it feels too soft, chill it for 15 to 20 minutes before serving.
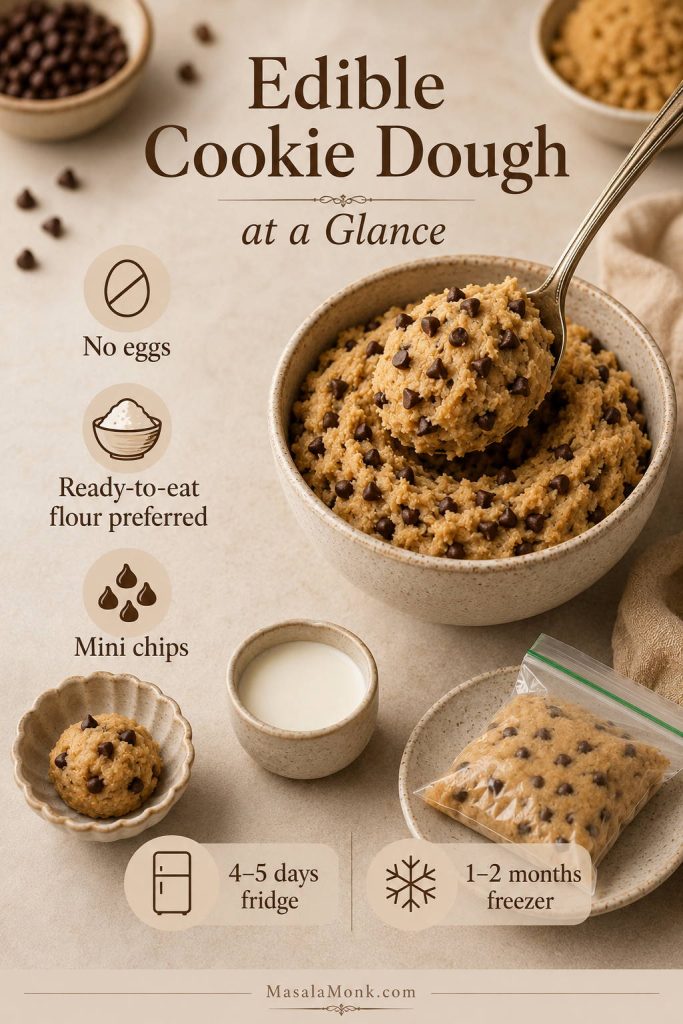
Edible Cookie Dough Recipe at a Glance
- Best flour option: commercially heat-treated flour labeled ready-to-eat
- Eggs: none
- Texture: creamy, spoonable, and thick enough to hold on a spoon
- Best chips: mini semisweet chocolate chips
- Chill time: optional, 10–20 minutes if the dough feels soft
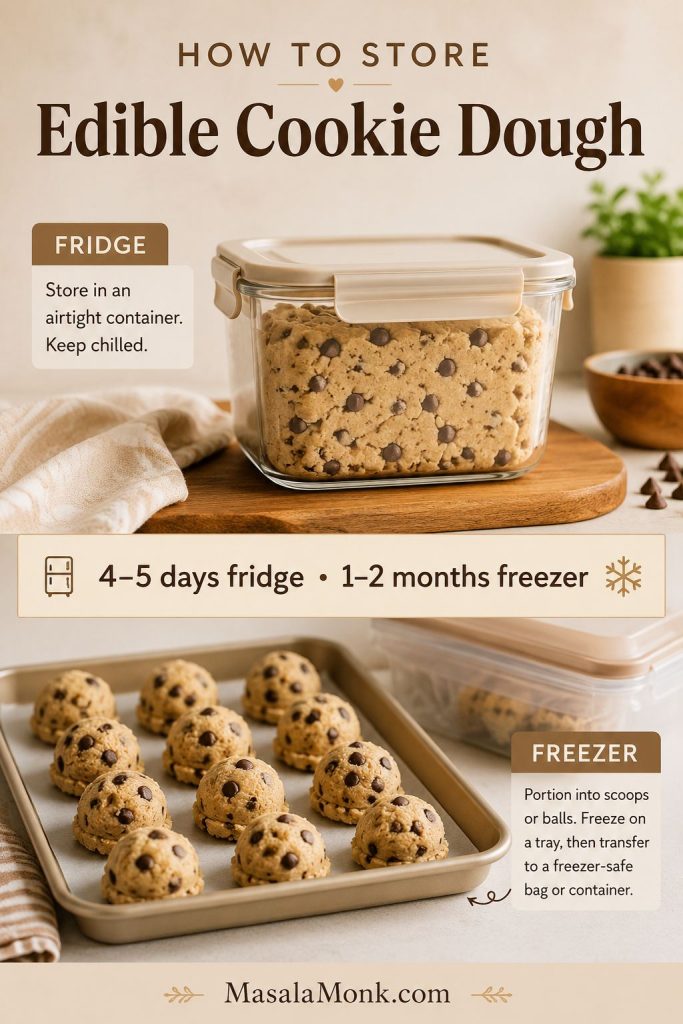
- Storage: 4–5 days refrigerated, 1–2 months frozen
Why This Edible Cookie Dough Works
A good edible cookie dough recipe should not taste like sweet flour paste. It should taste like the spoonful you wanted from a real chocolate chip cookie batch: buttery, brown-sugary, vanilla-scented, lightly salty, and soft enough to scoop.
- No eggs: the dough is made for eating, not baking, so eggs are left out completely.
- Better flour handling: ready-to-eat flour is the cleanest choice, and the home flour-heating note is explained honestly.
- Brown sugar leads: it gives the deeper chocolate chip cookie flavor that plain white sugar cannot.
- Softened butter, not melted: softened butter keeps the texture creamy instead of greasy or loose.
- Mini chips: smaller chips spread through the dough better, so every spoonful tastes balanced.
- Adjustable milk: flour behaves differently after heating, so milk is added slowly instead of dumped in all at once.
Is Edible Cookie Dough Safe to Eat?
The safety piece gets much less confusing once you remember one thing: regular cookie dough is meant to be baked, and this dough is not. A safer edible cookie dough recipe starts with no raw eggs and a better flour choice from the beginning.
According to the CDC, raw dough and batter should not be eaten because uncooked flour and raw eggs can contain germs that may cause food poisoning. Commercial edible dough products, the CDC notes, are made with heat-treated flour and pasteurized eggs or no eggs.
So, is this kind of dough safer than sneaking a spoonful from a regular cookie batch? Yes, when it is made without raw eggs and with ready-to-eat flour. The safest route is commercially heat-treated flour labeled ready-to-eat. Home flour-heating methods are common in recipes, but they are not the same as validated commercial heat-treatment.
Why This Recipe Has No Eggs
Eggs stay out because the bowl is not going into the oven. They help baked cookies with structure, richness, and spread, but raw or lightly cooked eggs can carry food-safety risks. Since this is a spoonable dessert, the simplest direction is to leave eggs out completely.
That also means the dough will not bake like regular cookie dough. It has no eggs for structure and no leavening for lift, so treat it as a no-bake dessert rather than a shortcut cookie recipe.
What to Know About Raw Flour
Flour is easy to overlook because it does not look like a risky ingredient. However, the FDA explains that most flour is a raw food and has not been treated to kill bacteria. Baking or cooking is what normally makes flour-containing doughs safe to eat.
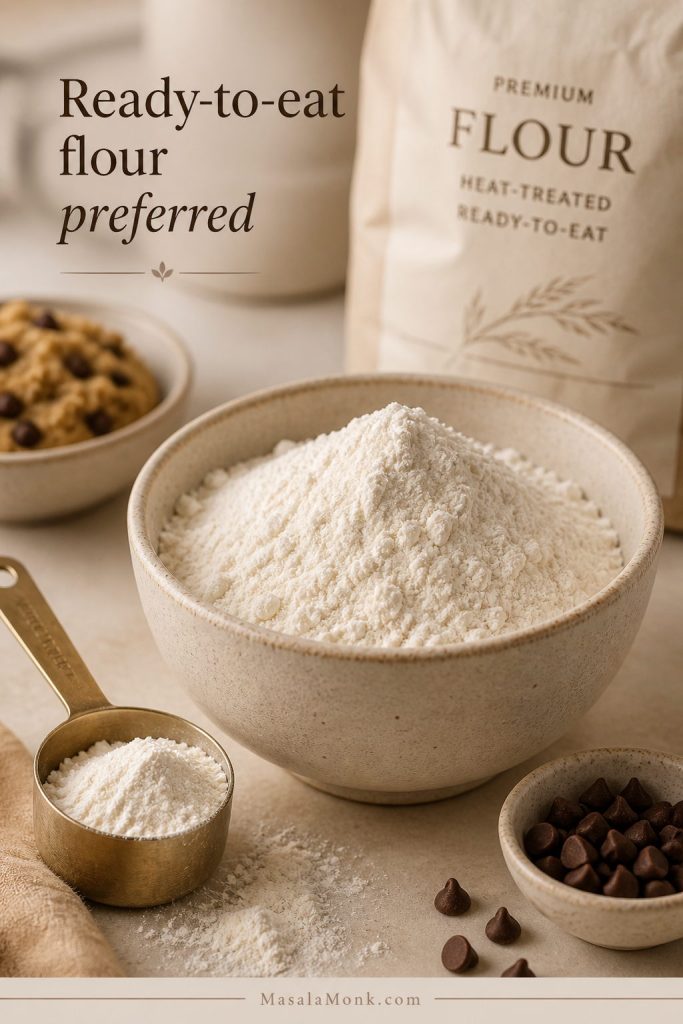
That is why the flour choice matters here. If you can get commercially heat-treated flour labeled ready-to-eat, use it. It gives you the cleanest safety story and keeps the method simple.
The Most Cautious Flour Option
For the most cautious batch, use flour labeled commercially heat-treated or ready-to-eat. SDSU Extension explains that commercial heat-treatment uses validated controls, while home flour heating is harder to control perfectly.
That does not mean homemade edible cookie dough is off the table; it just means the flour step deserves a little honesty. Ready-to-eat flour is the strongest option. If you choose to heat flour yourself, treat that step as risk reduction rather than the same thing as commercially processed flour.
About Heating Flour at Home
Many edible cookie dough recipes include a home flour-heating step, but this should be framed carefully. The most cautious choice is still commercially heat-treated flour labeled ready-to-eat. The FDA notes that home flour treatments may not reliably kill all bacteria or make raw flour safe to eat, so treat any home method as a recipe-blog risk-reduction step rather than a validated food-safety process.
For readers who still choose to follow a home flour-heating method, use an instant-read thermometer, spread the flour thinly, stir it during heating, check more than one spot, cool it completely, and sift before mixing.
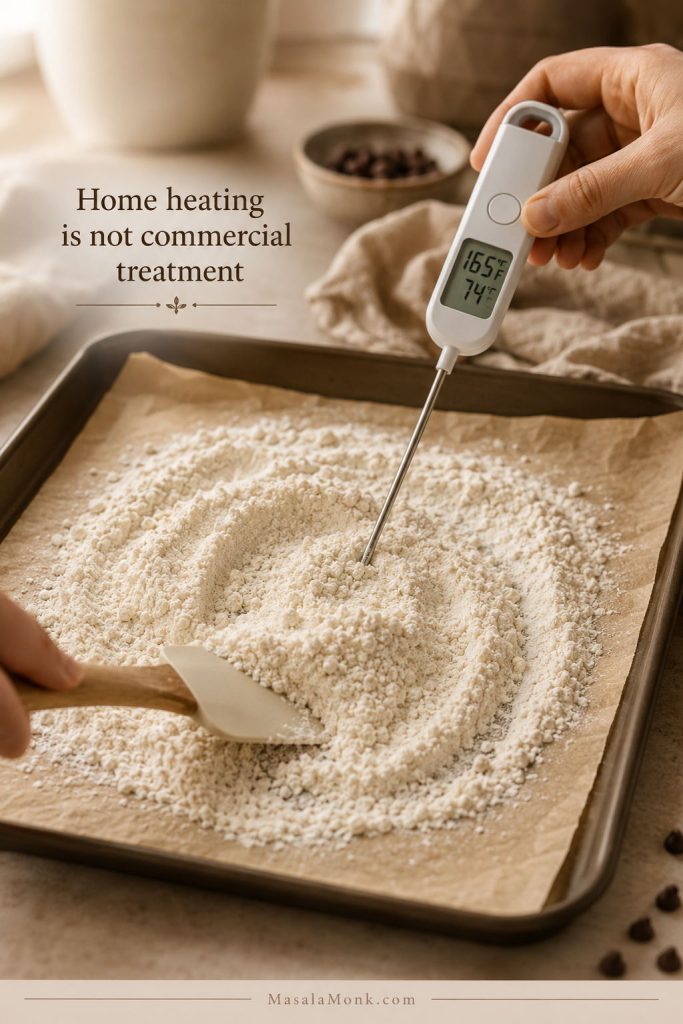
Oven Method Used by Many Recipe Blogs
Preheat the oven to 350°F / 175°C. Spread a little more flour than you need in a thin layer on a parchment-lined rimmed baking sheet. Bake for 7 to 10 minutes, stirring once or twice, until the flour reaches 165°F / 74°C when checked in multiple spots with an instant-read thermometer. Cool completely, sift, then measure or weigh the amount needed for the dough.
Microwave Method Used by Many Recipe Blogs
Place flour in a wide microwave-safe bowl. Microwave for 30 seconds, stir well, then continue in 15-second bursts, stirring and checking the temperature in more than one spot. Let it cool completely and sift before using.
Ingredients for Edible Cookie Dough
The ingredient list stays close to classic chocolate chip cookie dough, but each item has a job. Since the dough is not baked, little details matter more than usual: softened butter works better than melted butter, mini chips are easier to eat than large chips, and milk should be added slowly.
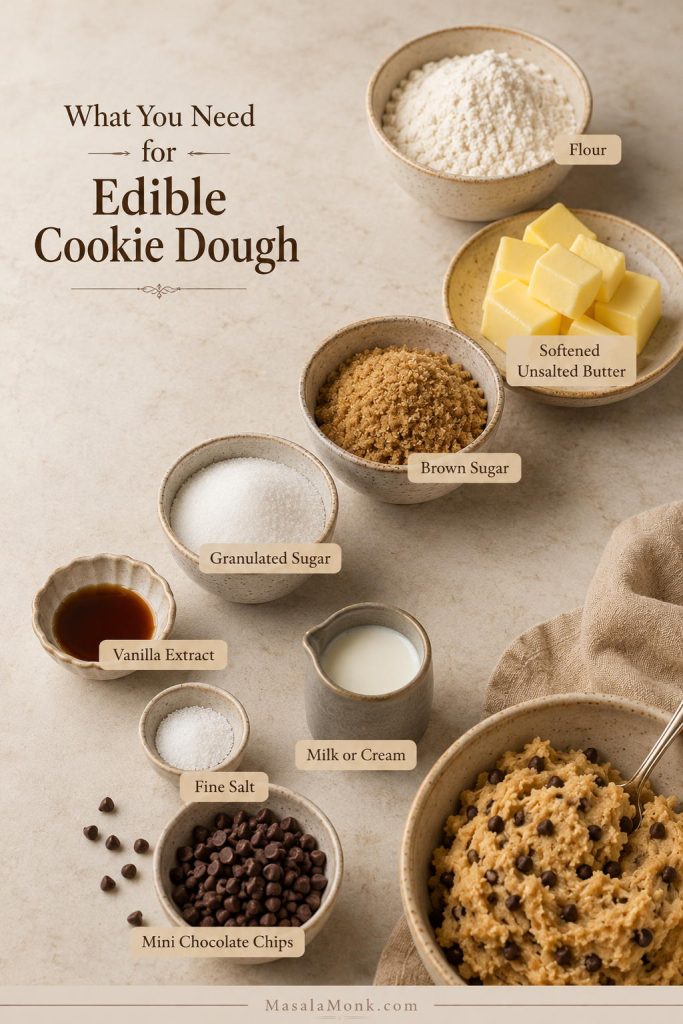
Ready-to-Eat or Properly Handled Flour
Flour gives the dough its familiar body. Use 1¼ cups / 150g commercially heat-treated all-purpose flour if you can find it. If you use a home flour-heating method, cool the flour completely, sift it, and then measure the final amount into the bowl.
Softened Butter
Use ½ cup / 113g / 4 oz unsalted butter, softened but not melted. Softened butter creams into the sugar and gives the dough a classic texture. Melted butter can make it greasy, loose, or frosting-like.
Brown Sugar and Granulated Sugar
Brown sugar gives the dough that deep chocolate chip cookie flavor. Granulated sugar adds familiar sweetness, but too much can make the texture gritty. This recipe uses mostly brown sugar with just a small amount of granulated sugar for balance.
Vanilla and Salt
Vanilla makes the dough taste like dessert instead of sweet butter and flour. Salt is just as important because it keeps the sweetness from feeling flat. Do not skip it, especially if you are using unsalted butter.
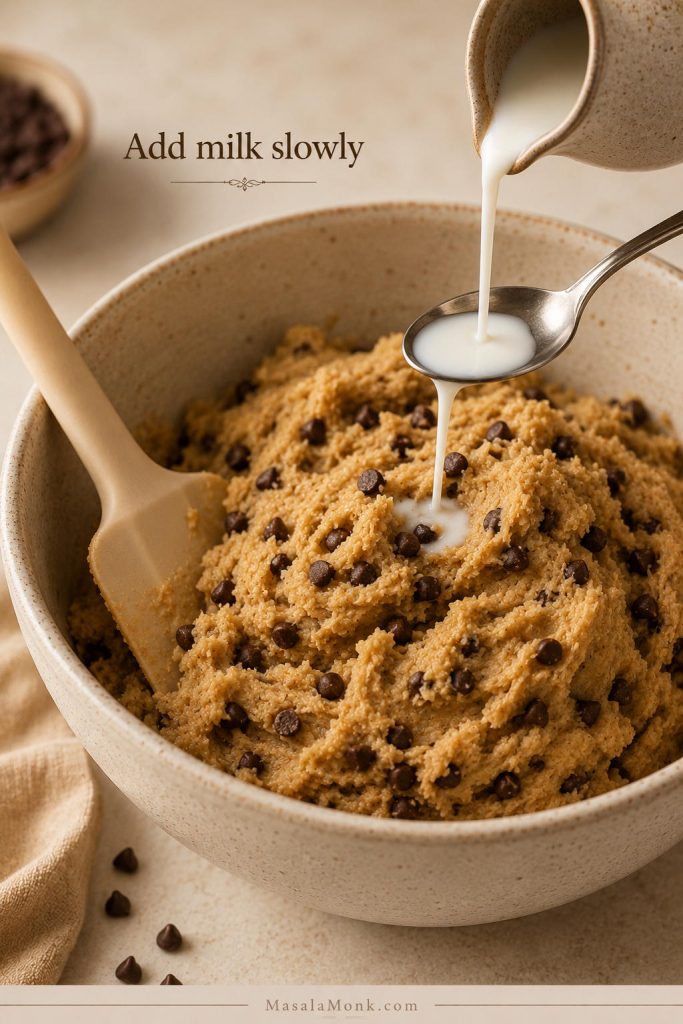
Milk or Cream
Milk or cream loosens the dough after the flour goes in. Start with 1 tablespoon and add more only if needed. Flour can absorb differently after heating, so the best amount is the one that gives you a scoopable texture.
Mini Chocolate Chips
Mini chocolate chips work better than large chips because this dough is eaten soft, not baked. They distribute evenly, so each spoonful has chocolate without turning the bowl into mostly hard chunks.
Optional Baking Soda for Flavor Only
A tiny pinch of baking soda can make the dough taste more like classic cookie dough, but it is optional. If you use it, add only ⅛ teaspoon. It is there for flavor, not because the dough should be baked.
Tools That Make the Texture Better
You can make this with a bowl and spatula, so do not let the tool list make the recipe feel fussy. A few extras simply make the result more reliable: an instant-read thermometer for the flour if you are using a home-heating method, a fine-mesh sieve for lumps, and a scale so the dough does not turn dry from too much flour.
- Rimmed baking sheet
- Parchment paper
- Instant-read thermometer
- Mixing bowl
- Electric hand mixer or stand mixer
- Rubber spatula
- Fine-mesh sieve
- Digital scale, strongly recommended
- Small cookie scoop, optional
- Airtight container for storage
A scale is especially useful because flour gets compacted easily. If you scoop too much into the bowl, the dough can turn dry, chalky, or too thick before you even start troubleshooting.
How to Make This Edible Cookie Dough Recipe
The method is easy, but the order makes a big difference. Handle the flour first, let it cool, then build the dough slowly. Warm flour and melted butter are two of the fastest ways to turn a good bowl of cookie dough into something greasy.
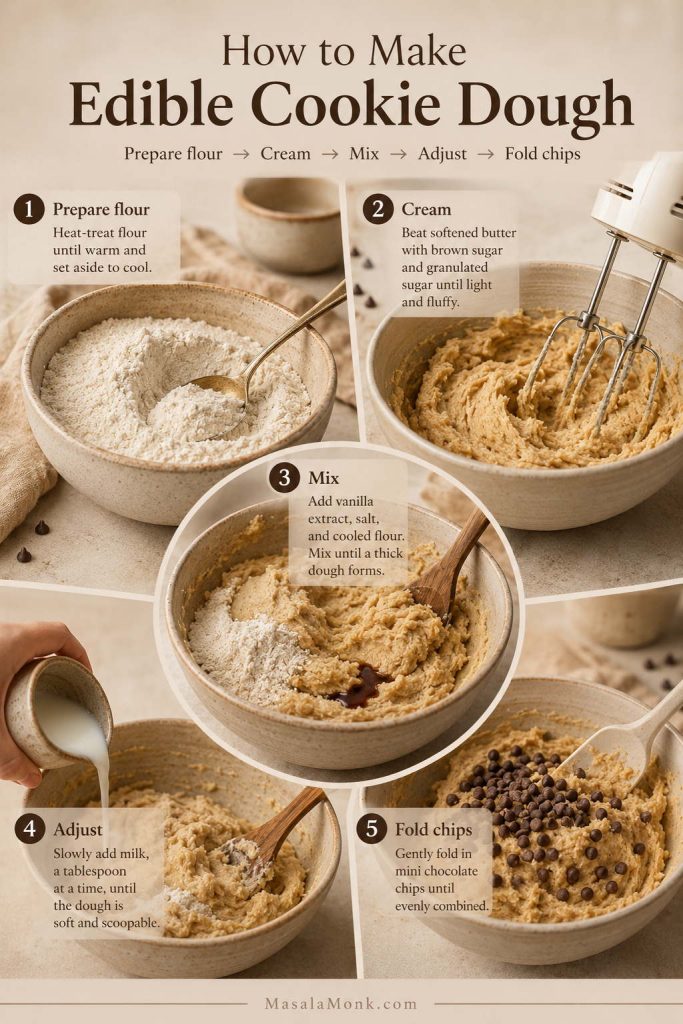
Step 1: Prepare the Flour
If you are using commercially heat-treated flour, measure or weigh it and move on. If you are using a home flour-heating method, follow the note above, cool the flour completely, and sift it before mixing. Do not add warm flour to the butter mixture.
Step 2: Cream the Butter and Sugars
Add softened butter, brown sugar, and granulated sugar to a bowl. Beat until the mixture looks creamy, lighter, and slightly fluffy. You should still see a thick butter-sugar mixture, not melted butter pooling around the edges. This step helps soften the sugar crystals and gives the dough a smoother bite.
Step 3: Add Vanilla, Salt, and Flour
Mix in the vanilla and salt, then add the cooled, sifted flour. Add the flour gradually if you are mixing by hand. At first, the mixture may look a little thick; that is normal.
Step 4: Adjust the Texture
Add milk or cream one teaspoon at a time. Stir, pause, and check the texture before adding more. The dough should hold its shape on a spoon but still press easily when you scoop it. Stop before it starts looking like frosting.
Step 5: Fold in Mini Chocolate Chips
Fold in the mini chocolate chips with a spatula. Taste and adjust with a tiny pinch of salt if it tastes too sweet, or a few extra drops of vanilla if it tastes flat.
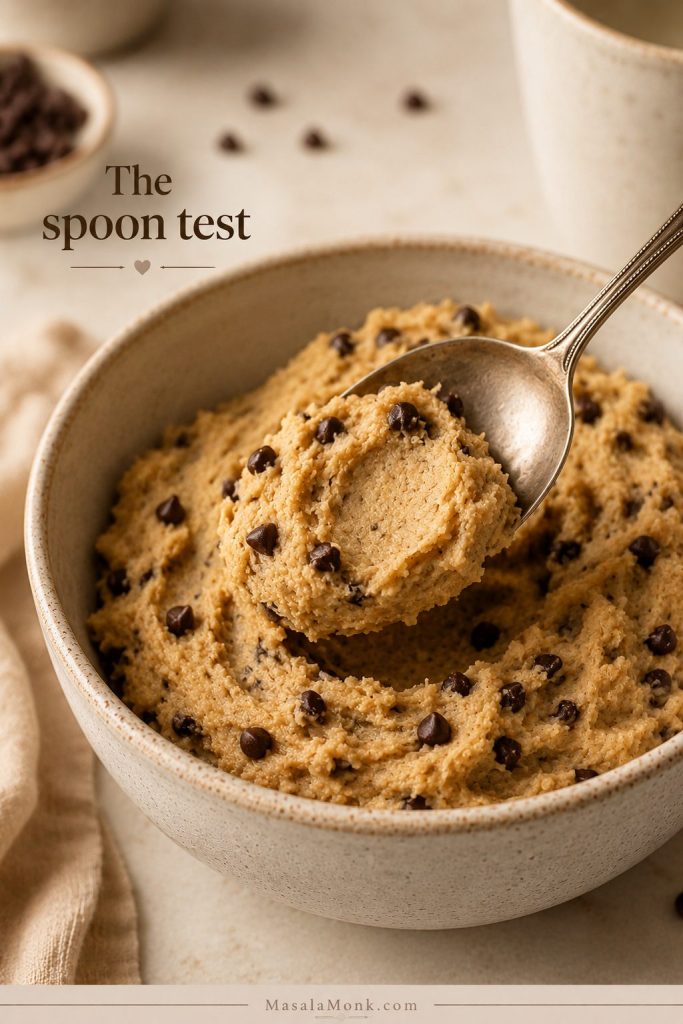
Spoon test: The dough should lift cleanly and still look creamy before you move to the recipe card.
Edible Cookie Dough Recipe Card
This edible cookie dough recipe is a classic chocolate chip version made without eggs and with a safer flour approach. It is designed for eating by the spoonful, rolling into bites, or folding into desserts.
Ingredients
- 1¼ cups / 150g commercially heat-treated all-purpose flour, preferred; or flour handled using the home-heating note above, cooled completely and sifted
- ½ cup / 113g / 4 oz unsalted butter, softened
- ½ cup / 100–110g packed light brown sugar
- 2 tablespoons / 25g granulated sugar
- 1½ teaspoons / 7ml vanilla extract
- ½ teaspoon fine salt, or to taste
- 1–2 tablespoons / 15–30ml milk or cream, added as needed
- ¾ cup / 120–130g mini semisweet chocolate chips
- Optional: ⅛ teaspoon baking soda, for classic cookie-dough flavor only
Method
- Prepare the flour. Use commercially heat-treated flour if available. If using a home flour-heating method, follow the safety note above, cool the flour completely, sift it, then measure 150g for the recipe.
- Cream the butter and sugars. In a mixing bowl, beat softened butter, brown sugar, and granulated sugar until creamy and slightly fluffy.
- Add flavor. Mix in vanilla, salt, and optional baking soda if using.
- Add flour. Add the cooled, sifted flour and mix until a thick dough forms.
- Adjust texture. Add milk or cream 1 teaspoon at a time until the dough is soft and scoopable.
- Add chocolate. Fold in mini chocolate chips. Let the dough rest for about 10 minutes before serving for the smoothest texture.
Notes
- This dough is for eating as edible cookie dough, not for baking into cookies.
- For the most cautious version, use commercially heat-treated flour labeled ready-to-eat.
- Home flour-heating methods are common in recipe blogs, but FDA guidance says home treatments may not reliably make raw flour safe to eat. Use commercially heat-treated ready-to-eat flour for the most cautious version.
- If you choose to heat flour at home, use an instant-read thermometer, stir well, check multiple spots, cool completely, and sift before mixing.
- If the dough is too dry, add milk 1 teaspoon at a time. If it is too sticky, chill it for 15–20 minutes.
- Store refrigerated in an airtight container for 4–5 days, or freeze portions for 1–2 months.
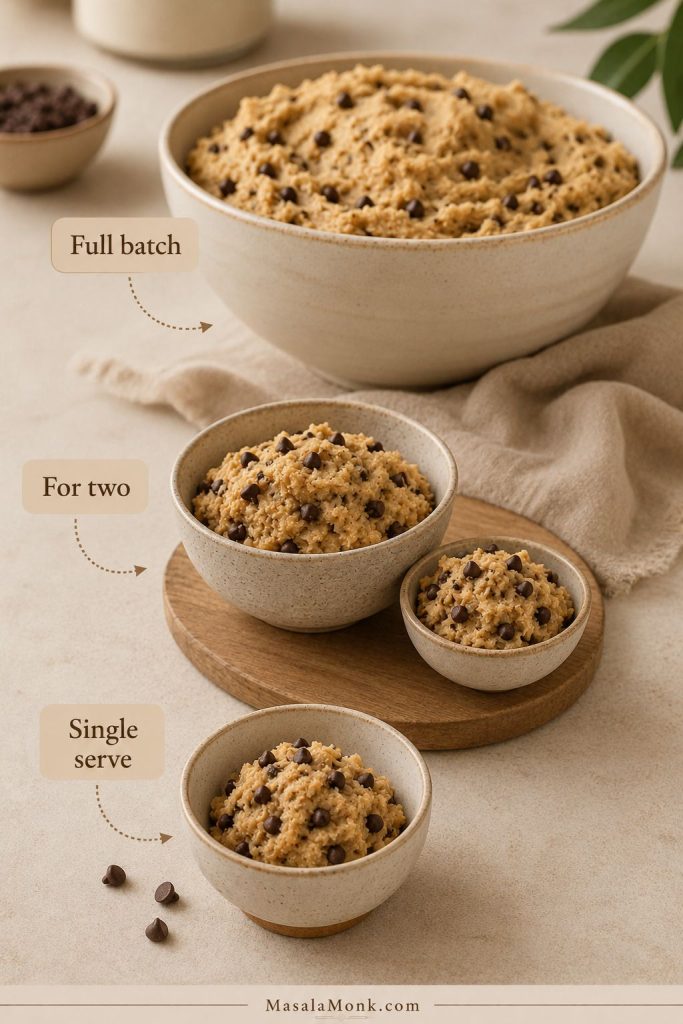
Which Batch Size Should You Make?
Choose the batch based on the kind of cookie dough moment you want. The single-serve version is best for one quick craving, the for-two version is perfect for a small dessert, and the full edible cookie dough recipe works better when you want cookie dough bites, ice cream mix-ins, dessert cups, or a make-ahead treat in the fridge.
| Make This | Best For | Texture Tip |
|---|---|---|
| Single serve | One craving, no leftovers | Add milk slowly because small bowls loosen fast. |
| For two | Movie night, date night, small dessert | Rest 10 minutes before eating for a smoother bite. |
| Full batch | Cookie dough bites, dessert cups, ice cream mix-ins | Chill before rolling or portioning. |
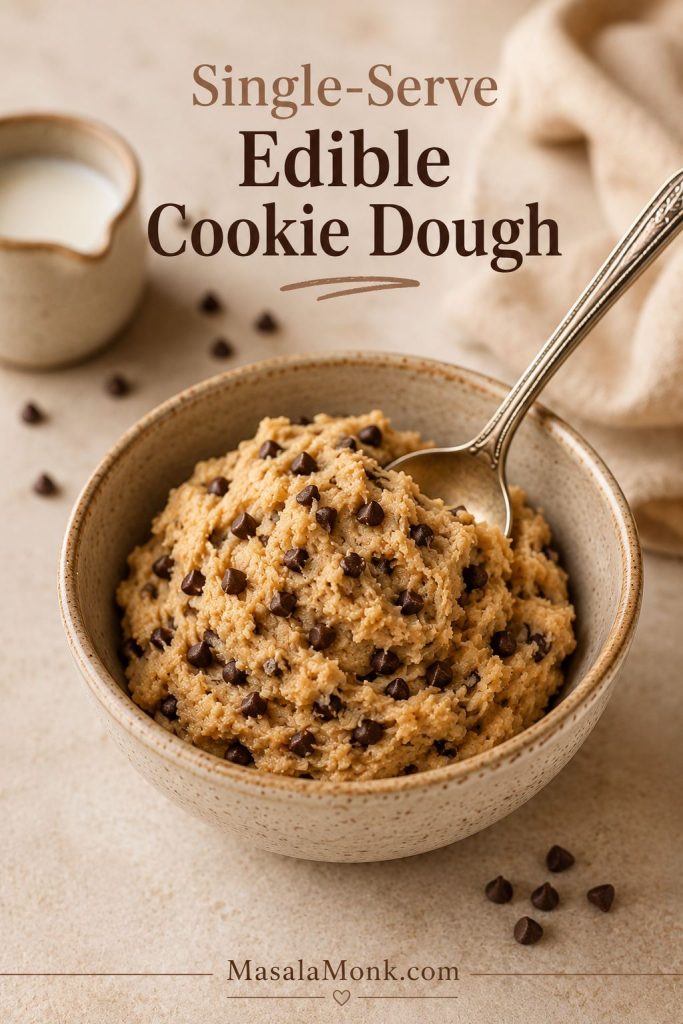
Single-Serve Edible Cookie Dough
The single-serve version is the bowl to make when you want cookie dough now and do not want leftovers calling your name from the fridge. Because the batch is small, measure the flour and milk carefully; a tiny extra splash can change the texture quickly.
Single-Serve Formula
- 6 tablespoons / 48g ready-to-eat flour, preferred; or flour handled using the safety note above
- 2 tablespoons / 28g / 1 oz softened butter
- 2 tablespoons / 25–28g light brown sugar
- 1 tablespoon / 12g granulated sugar
- ¼–½ teaspoon vanilla extract
- Small pinch of fine salt
- ½–1 tablespoon / 7–15ml milk or cream
- 2 tablespoons / 20–25g mini chocolate chips
Mix it the same way as the main batch: cream the softened butter and sugars, add vanilla and salt, stir in the flour, loosen with milk, and fold in the chips. If you want a firmer scoop, chill it for 10 minutes before eating.
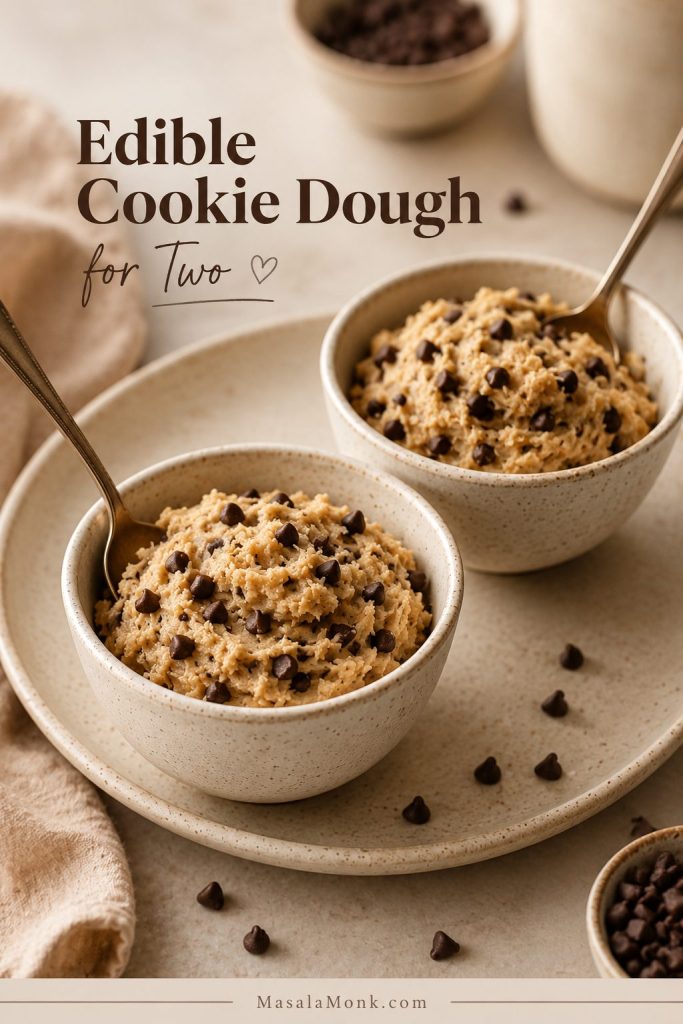
Edible Cookie Dough for Two
This small-batch version makes enough for two dessert portions without leaving a full container in the fridge. That size works especially well for a movie night, date night, or quick no-bake dessert when you want something sweet without baking a tray of cookies.
For-Two Formula
- ½ cup + 1 tablespoon / about 68g ready-to-eat flour, preferred; or flour handled using the safety note above
- 4 tablespoons / 56g / 2 oz softened butter
- ¼ cup / 50–55g light brown sugar
- 1½–2 tablespoons / 18–25g granulated sugar
- ½–1 teaspoon vanilla extract
- ⅛–¼ teaspoon fine salt
- 1–1½ tablespoons / 15–22ml milk or cream
- ¼ cup / 40–45g mini chocolate chips
Start with the lower amount of milk, then add more only if the mixture feels too thick. Small batches can go from crumbly to loose quickly, so adjust slowly and give the bowl a minute before adding another splash.
Edible Cookie Dough Variations
Once the base is right, the dough is easy to customize. Keep the same safety logic: no raw eggs, avoid regular raw flour, and adjust the texture slowly because different add-ins change how soft or thick the mixture feels.
Not sure where to start? Make the classic chocolate chip version first, then decide what you want more of next time: extra vanilla, more chocolate, a salty peanut butter edge, a firmer bite for rolling, or a lighter dairy-free version.
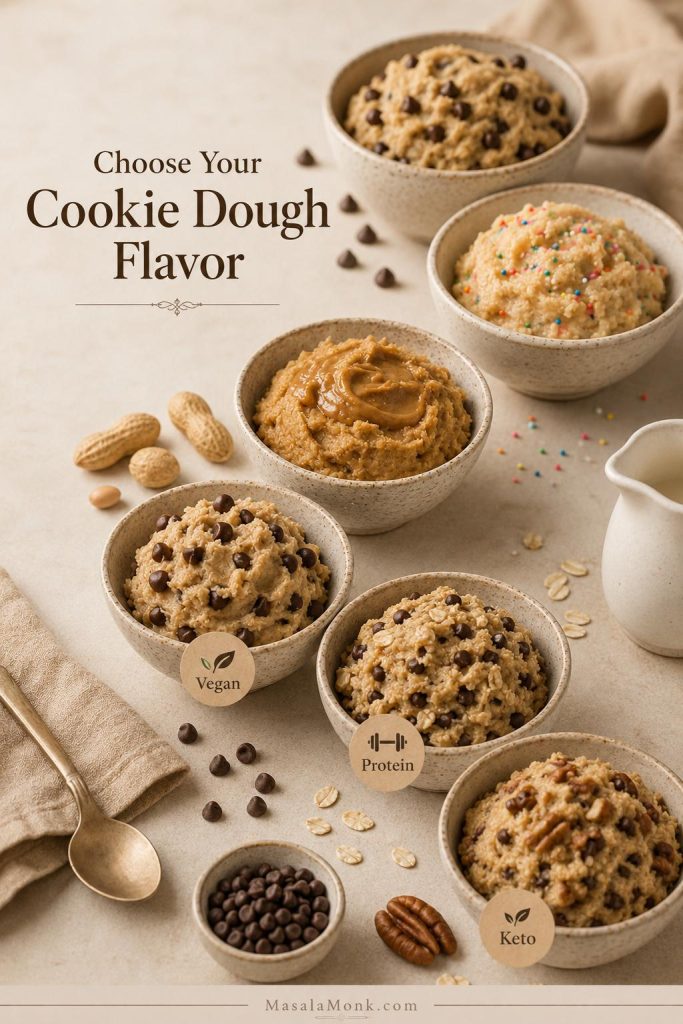
| If You Want… | Make This Variation | Small Adjustment |
|---|---|---|
| Classic chocolate chip flavor | Chocolate chip edible cookie dough | Use mostly brown sugar and mini chips. |
| A sweeter bakery-style bowl | Sugar cookie dough | Use more granulated sugar and add sprinkles at the end. |
| A richer, saltier bite | Peanut butter cookie dough | Add creamy peanut butter and reduce the milk slightly. |
| A firmer bite for rolling | Cookie dough bites | Chill before scooping or dipping. |
| A lighter dairy-free option | Vegan edible cookie dough | Use vegan butter, dairy-free milk, and dairy-free chips. |
Chocolate Chip Edible Cookie Dough
Start here if you want the classic chocolate chip version. Brown sugar, vanilla, salt, softened butter, and mini chocolate chips give you the familiar cookie dough flavor without needing to bake anything.
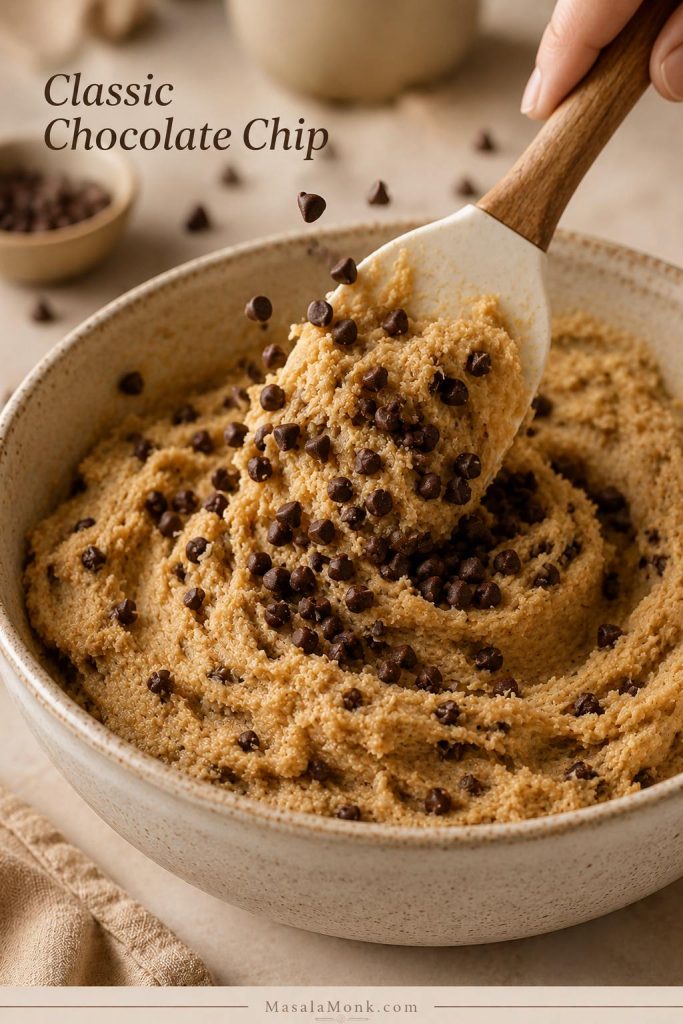
For deeper chocolate flavor, add 1 to 2 tablespoons of cocoa powder and a splash more milk. For a chunkier bowl, use a mix of mini chips and finely chopped chocolate.
Edible Sugar Cookie Dough
Choose this variation when you want the vanilla-sprinkle side of cookie dough instead of the brown-sugar chocolate chip side. It tastes lighter, sweeter, and more bakery-style.
Use more granulated sugar and less brown sugar. You can replace the brown sugar with granulated sugar for a cleaner vanilla flavor, then add a tiny splash of almond extract if you like bakery-style sugar cookies. Sprinkles, white chocolate chips, and a little extra vanilla work well here. Add sprinkles at the end so they do not bleed too much color into the dough.
Peanut Butter Edible Cookie Dough
This is the richer, saltier variation — the one that tastes like peanut butter cookie dough met chocolate chip cookie dough in the same bowl. Mix ¼ cup creamy peanut butter into the butter and sugar mixture, then reduce the milk slightly. Peanut butter adds richness and salt, so taste before adding extra salt.
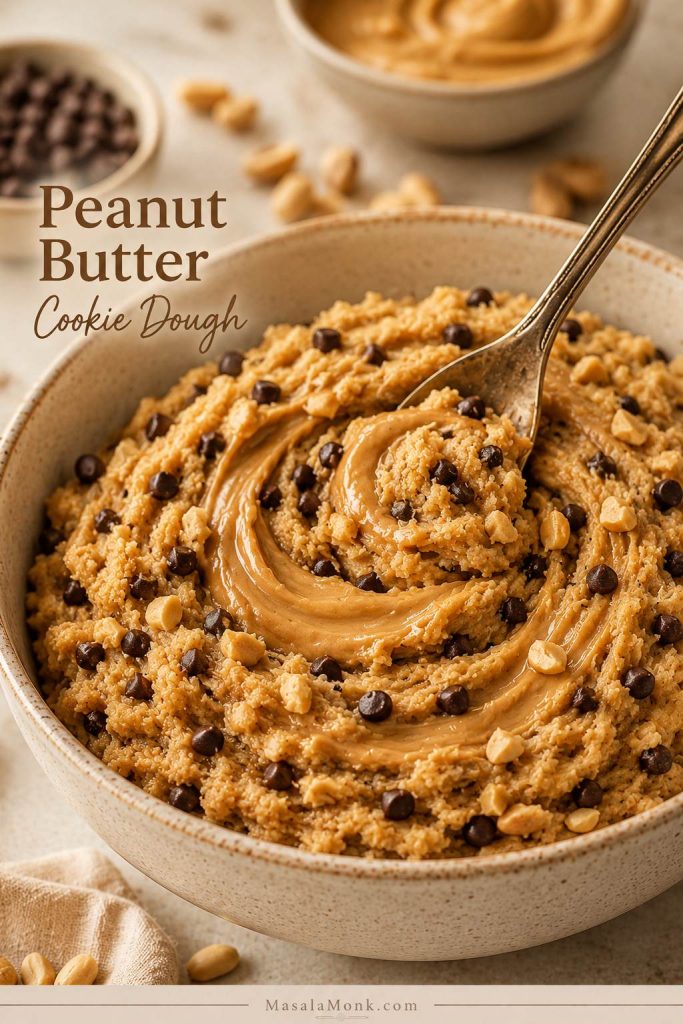
Mini chocolate chips are great here, but chopped roasted peanuts also work if you want crunch. For a baked version of this flavor, MasalaMonk’s peanut butter cookies are the better route.
Gluten-Free Edible Cookie Dough
For a gluten-free version, use a gluten-free flour blend you already like in no-bake or raw-style applications. Different blends behave differently when they are not baked, so texture matters more than usual here.
If the dough tastes gummy, try a gum-free gluten-free blend next time. If it tastes grainy, let it rest for 10 to 15 minutes before serving. Almond flour can also work, but it gives a softer, nuttier dough rather than a classic all-purpose-flour texture.
Vegan and Dairy-Free Edible Cookie Dough
To make the dough vegan or dairy-free, use vegan butter, dairy-free milk, and dairy-free chocolate chips. The same method works, but the mixture may soften faster depending on the vegan butter you use.
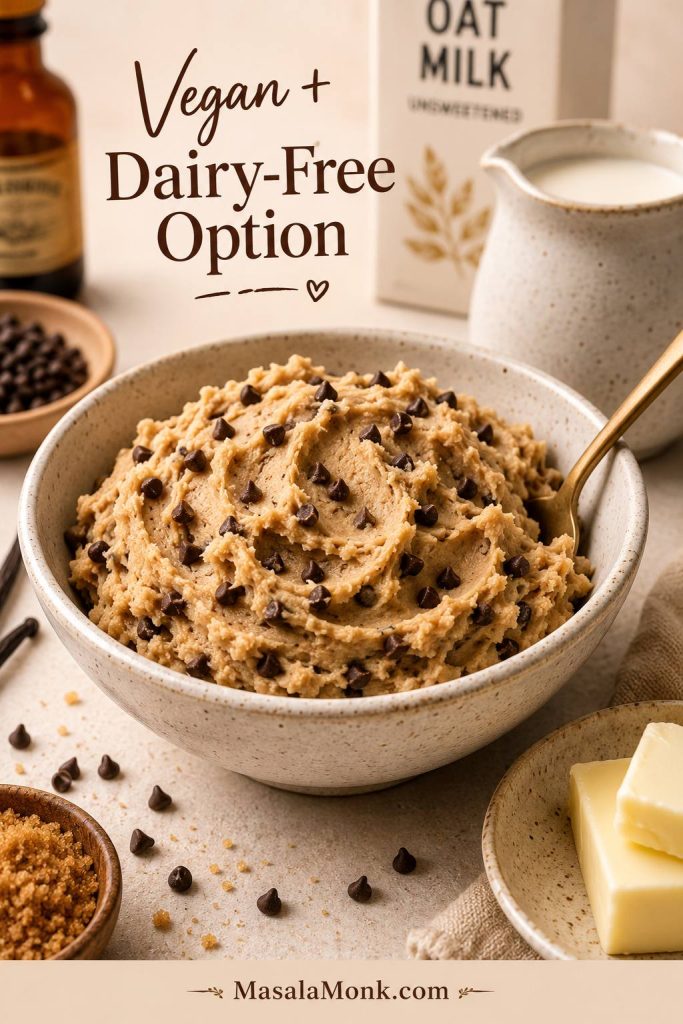
If you want a dairy-free frozen dessert to pair with cookie dough bites, MasalaMonk’s coconut ice cream is a natural next recipe.
Protein Edible Cookie Dough
The protein version goes in a different direction from the classic butter-and-brown-sugar dough, but it is useful when you want the cookie dough idea in a higher-protein snack. For a quick version, blend cottage cheese until completely smooth, then stir it with almond flour or oat flour, vanilla protein powder, a little maple syrup or sweetener, vanilla, salt, and mini chocolate chips.
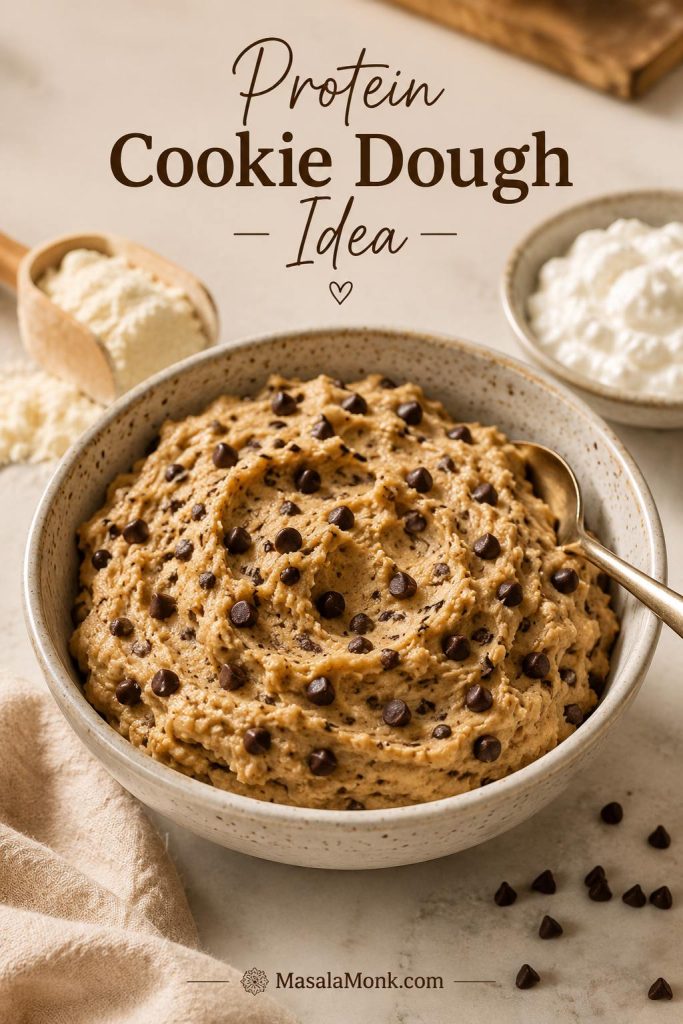
Chill it before eating so the texture firms up. If you like high-protein desserts, MasalaMonk’s protein ice cream goes deeper into protein powder, Greek yogurt, dairy-free, low-calorie, and sugar-free frozen dessert options.
Keto or Sugar-Free Edible Cookie Dough
Expect a nuttier, softer dough than the classic chocolate chip version. For a keto-style bowl, use almond flour instead of wheat flour, a low-carb sweetener instead of sugar, and sugar-free chocolate chips. Because almond flour has more fat and less starch than all-purpose flour, start with less added milk and adjust slowly.
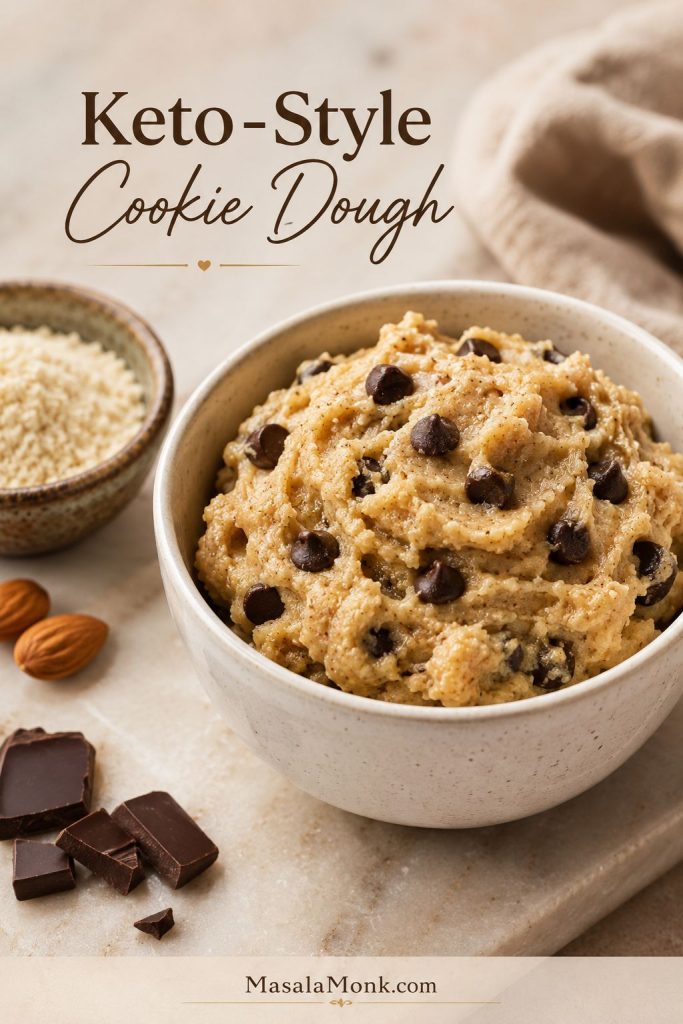
For another low-carb dessert direction, MasalaMonk’s keto hot chocolate is a good companion recipe.
How to Fix Edible Cookie Dough Texture
If your first spoonful is not perfect, do not panic. Edible cookie dough is one of the easiest desserts to adjust because nothing has been baked yet. Most texture problems come down to flour, butter temperature, or adding the milk too quickly.
The easiest way to fix the dough is to change only one thing at a time. Add milk slowly, chill before adding more flour, and taste again after a short rest.
| Problem | Likely Cause | Fix |
|---|---|---|
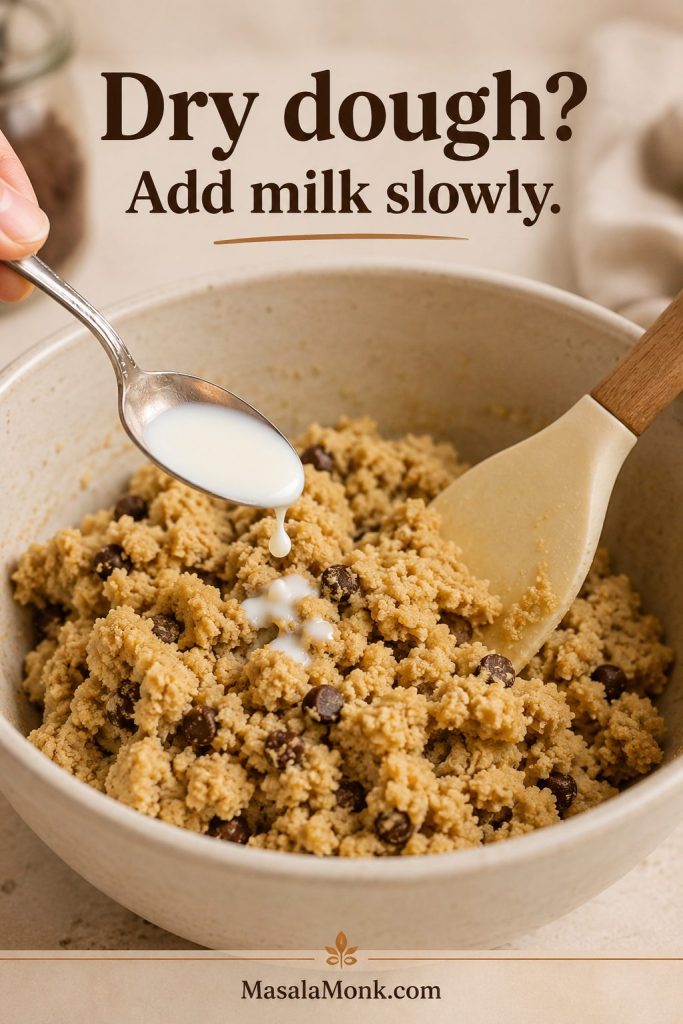
| Dry or crumbly texture | Too much flour, packed flour, or not enough milk | Add milk or cream 1 teaspoon at a time until scoopable. |
| Sticky dough | Butter too warm or too much milk | Chill 15–20 minutes, or add 1 tablespoon sifted flour. |
| Gritty bite | Sugar has not softened into the butter enough | Cream the butter and sugars longer, or let the dough rest 10 minutes. |
| Floury flavor | Flour was overmeasured or not sifted after heating | Use grams, sift after heating, and add a little vanilla or salt to balance. |
| Overly sweet dough | Too much sugar or too many chips | Add a pinch of salt and 1–2 tablespoons flour. |
| Greasy or soupy texture | Butter was melted instead of softened | Chill, then stir. Next time, use softened butter. |
| Very firm after chilling | Butter hardened in the fridge | Let the dough sit at room temperature for 10–15 minutes before serving. |
How to Fix Dry or Crumbly Dough
Start with a teaspoon of milk or cream, then stir before adding more. Small corrections work better here because dry dough can move from crumbly to loose surprisingly quickly.
How to Fix Sticky or Too-Soft Dough
Chill first so the butter firms up before you add more flour. After a short rest in the fridge, the same bowl often becomes scoopable without turning heavy or floury.

Can You Bake Edible Cookie Dough?
No, this edible cookie dough is made for spooning, scooping, and rolling into bites — not for baking. It has no eggs and no leavening, so it will not behave like regular cookie dough in the oven. Instead of turning into chewy cookies, it may spread, turn greasy, stay dense, or bake up flat.
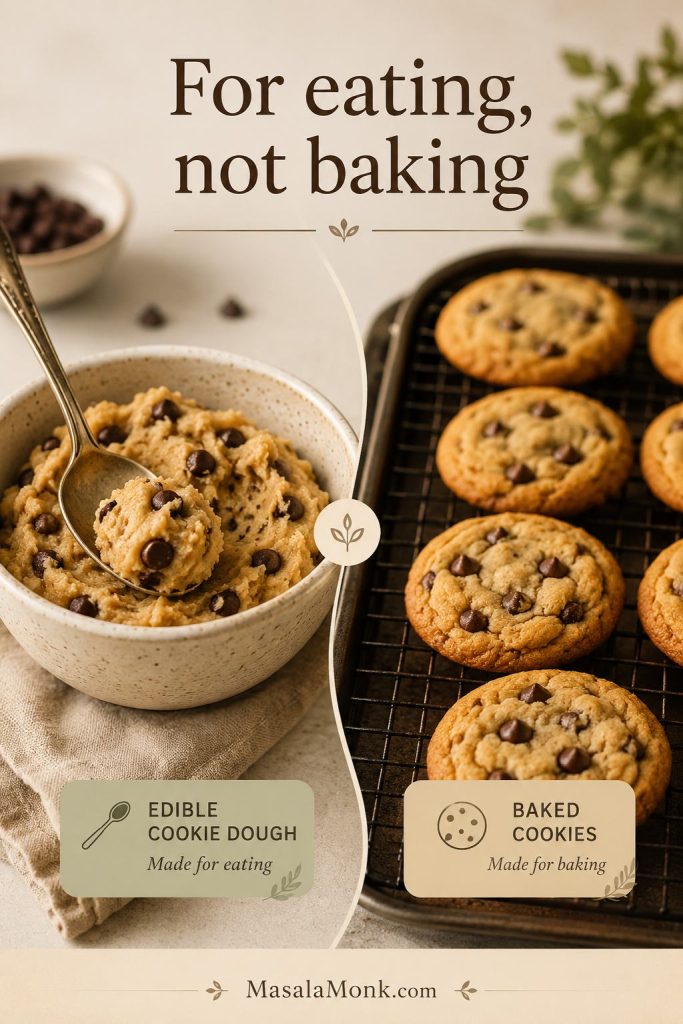
Think of this as a no-bake dessert, not a shortcut cookie dough. If the craving is really for warm cookies from the oven, use a recipe designed for baking, like MasalaMonk’s double chocolate chip cookies. If you want a roll-and-cut dough, MasalaMonk’s gingerbread cookies are a better example of dough built for shaping and baking.
Ways to Use Edible Cookie Dough
Eating it by the spoonful is the obvious answer, but this dough can do more. Because it is eggless and made with a safer flour approach, you can use it as a no-bake dessert component instead of treating it like leftover raw cookie dough.
Easy No-Bake Ways to Serve It
- Eat it by the spoonful after a 10-minute rest for smoother texture.
- Roll it into bites and chill until firm.
- Dip the bites in melted chocolate and finish with flaky salt.
- Fold chilled pieces into ice cream for homemade cookie dough ice cream.
- Blend a spoonful into a milkshake for cookie dough flavor.
- Use it as a brownie topping after brownies have cooled.
- Layer it into dessert cups with whipped cream, chocolate sauce, or berries.
- Press it into mini tart shells for a no-bake cookie dough dessert.

Cookie Dough Ice Cream and Mix-In Safety
Small chilled pieces are especially good folded into homemade ice cream. For a chocolate-chip frozen dessert direction, see MasalaMonk’s mint chocolate chip ice cream.
If you want another no-bake spoonable dessert, MasalaMonk’s avocado chocolate mousse gives you a chocolate-rich option with a completely different texture.
How to Store and Freeze Edible Cookie Dough
Because the dough contains butter and milk or cream, it should be stored cold. Do not leave it sitting out for long serving windows, especially in a warm kitchen.
- Refrigerator: Store in an airtight container for 4–5 days.
- Freezer: Freeze portioned balls or scoops for 1–2 months.
- To serve from the fridge: Let it sit at room temperature for 10 minutes so the butter softens slightly.
- To freeze neatly: Scoop into balls, freeze on a lined tray until firm, then transfer to a freezer-safe container.
If you are making cookie dough bites for a party, keep them chilled until close to serving time. For the best texture, portion them small enough that people can eat them in one or two bites.
Protein versions made with cottage cheese or yogurt should be treated as more perishable. Keep them refrigerated, use clean utensils, and aim to eat them within 2–3 days rather than keeping them as long as the classic butter-based version.
FAQs
Is this edible cookie dough recipe safe to eat?
Edible cookie dough is safest when it is made without raw eggs and with commercially heat-treated flour labeled ready-to-eat. Regular raw cookie dough is not meant to be eaten because it usually contains raw flour and raw eggs. Home flour-heating methods are common in recipes, but they are not the same as commercially validated heat treatment.
What is the safest flour for edible cookie dough?
The safest flour choice is commercially heat-treated flour labeled ready-to-eat. Regular all-purpose flour is raw and is normally made safe through baking or cooking, not by being stirred directly into a no-bake dessert.
Why does edible cookie dough need safer flour handling?
Most flour is raw and has not been treated to kill bacteria. Regular cookie dough becomes safer when baked, but edible cookie dough is not baked. That is why this recipe uses ready-to-eat flour guidance instead of asking you to stir plain raw flour into dessert.
How do I make edible cookie dough without eggs?
This recipe is eggless by design. Eggs are useful in baked cookies, but they are not needed here because the dough is made for spooning, not for going into the oven.
How does almond flour change the texture?
Almond flour makes a softer, nuttier dough and works best in keto, gluten-free, or vegan-style edible cookie dough. It will not taste exactly like classic chocolate chip cookie dough made with all-purpose flour, so start with less milk and adjust slowly.
How do I make this edible cookie dough recipe gluten-free?
Use a gluten-free flour blend you already like in no-bake applications, or use almond flour for a softer variation. If your gluten-free dough feels gummy, try a gum-free blend next time. If it feels grainy, let it rest for 10 to 15 minutes before eating.
How do I make a vegan version?
For a vegan version, use vegan butter, dairy-free milk, and dairy-free chocolate chips. The dough may soften more quickly depending on the vegan butter, so chill it if it feels too loose.
How do I make edible cookie dough for one?
For one serving, use 6 tablespoons / 48g ready-to-eat flour, preferred; or flour handled using the safety note above, plus 2 tablespoons softened butter, 2 tablespoons brown sugar, 1 tablespoon granulated sugar, vanilla, salt, ½ to 1 tablespoon milk, and 2 tablespoons mini chocolate chips. Mix, adjust the texture, and chill briefly if needed.
Why should this dough not be baked?
This dough is made for eating, not baking. It has no eggs and no leavening, so it can bake up flat, greasy, dense, or crumbly. Use a real cookie recipe if you want baked cookies.
How long does edible cookie dough last in the fridge?
Store edible cookie dough in an airtight container in the refrigerator for 4–5 days. Let it sit at room temperature for about 10 minutes before eating if it becomes too firm.
How should you freeze edible cookie dough?
Freezing works best when the dough is portioned first. Scoop it into small balls, freeze them on a lined tray until firm, then move them to a freezer-safe container. Use within 1–2 months for the best texture.
Once you have the base texture right, this edible cookie dough recipe becomes the kind of dessert you can make your own: extra vanilla, darker chocolate, sprinkles, peanut butter, or chilled bite-size scoops tucked into ice cream. Start with the classic chocolate chip version first, then let the next batch follow your craving.
Make a quick note of what you changed — more salt, less milk, extra chips, longer chill time. The best edible cookie dough is the one you can repeat exactly when the craving hits again.