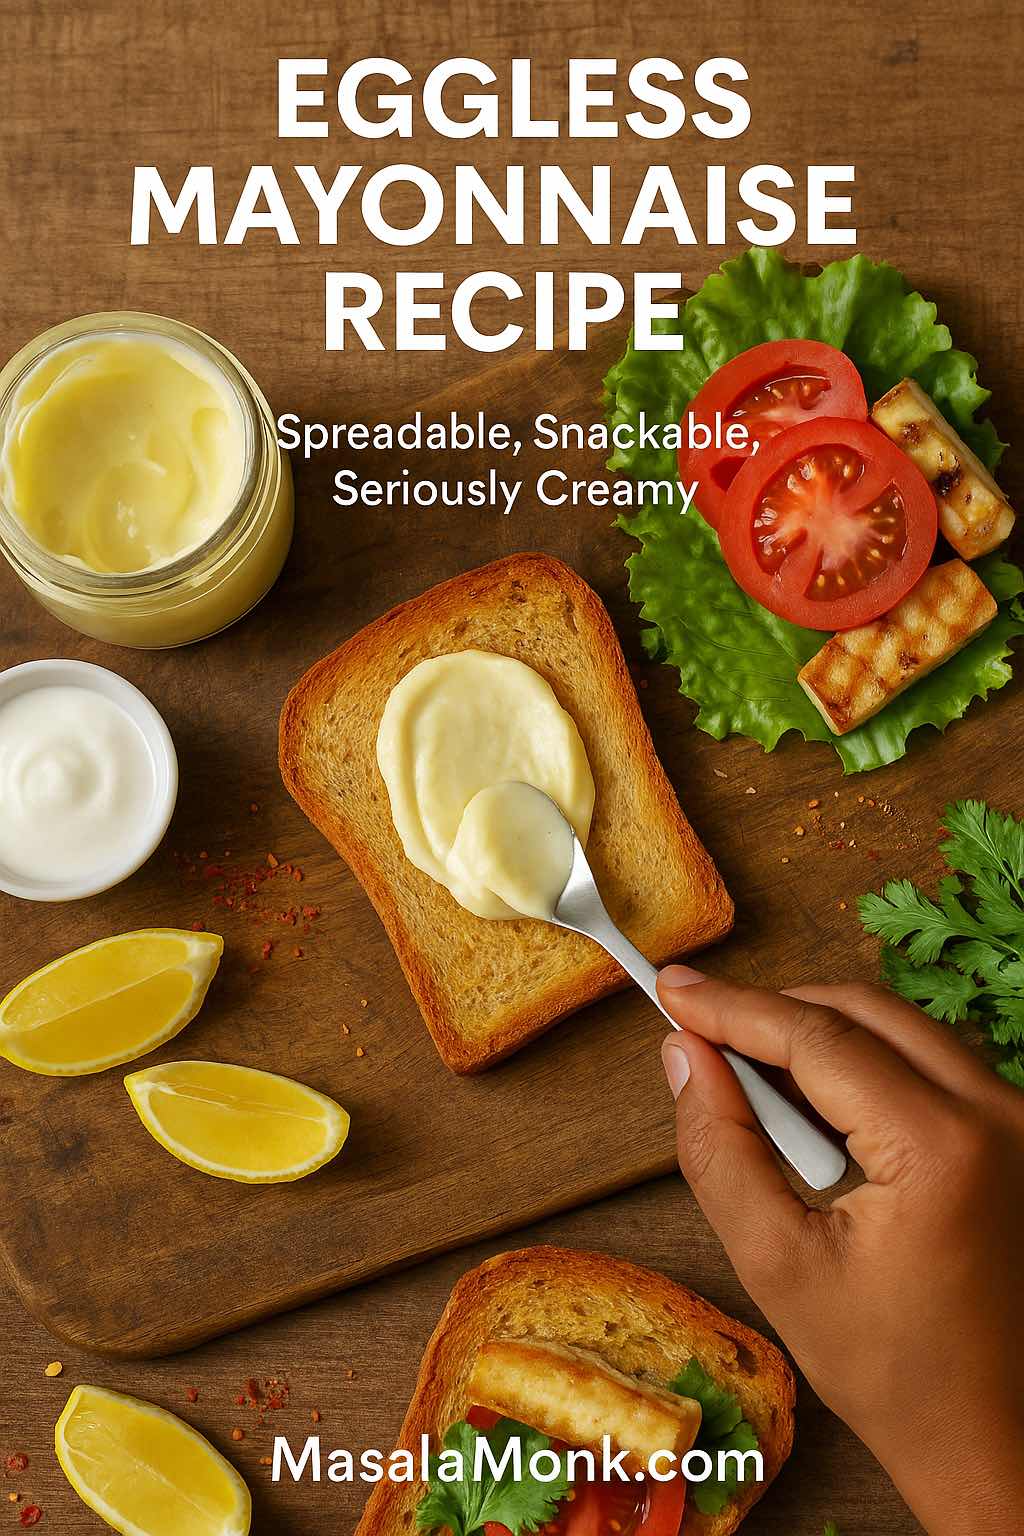
Mayonnaise doesn’t shout for attention the way chilli oil or hot sauce does. It waits quietly in the background, then suddenly you notice your favourite dishes are all leaning on it: that glossy potato salad, the creamy coleslaw, the egg mayo sandwich, the burger that just feels right, the sushi with a mysterious spicy drizzle. Once you understand how a simple mayo recipe works, you realise that jar in the fridge is just the most basic version of something you can customise in dozens of directions.
In this guide, we’ll start with a classic homemade mayonnaise recipe, then use one simple mayo recipe to build a whole family of sauces:
- Classic mayo
- Japanese mayo
- Eggless and “veg” mayo
- Vegan mayo made with aquafaba and other plant-based bases
- Spicy mayo in different flavours
- Garlic mayo and herb mayo
- Mayo–ketchup sauce (fry sauce / burger sauce)
We’ll also look at how to use these in real meals and link out to supporting recipes on MasalaMonk so this isn’t just theory – it’s a complete playbook you can actually cook from.
What Mayonnaise Actually Is
Before diving into any particular mayonnaise recipe, it helps to know what’s going on in the bowl.
Mayonnaise is an emulsion – specifically, an oil-in-water emulsion:
- The water phase is mostly egg plus something acidic like lemon juice or vinegar.
- The fat phase is oil.
- When you blend them with enough energy and the right emulsifiers (from egg yolk and mustard), you end up with millions of tiny oil droplets held in place inside the water phase instead of separating out.
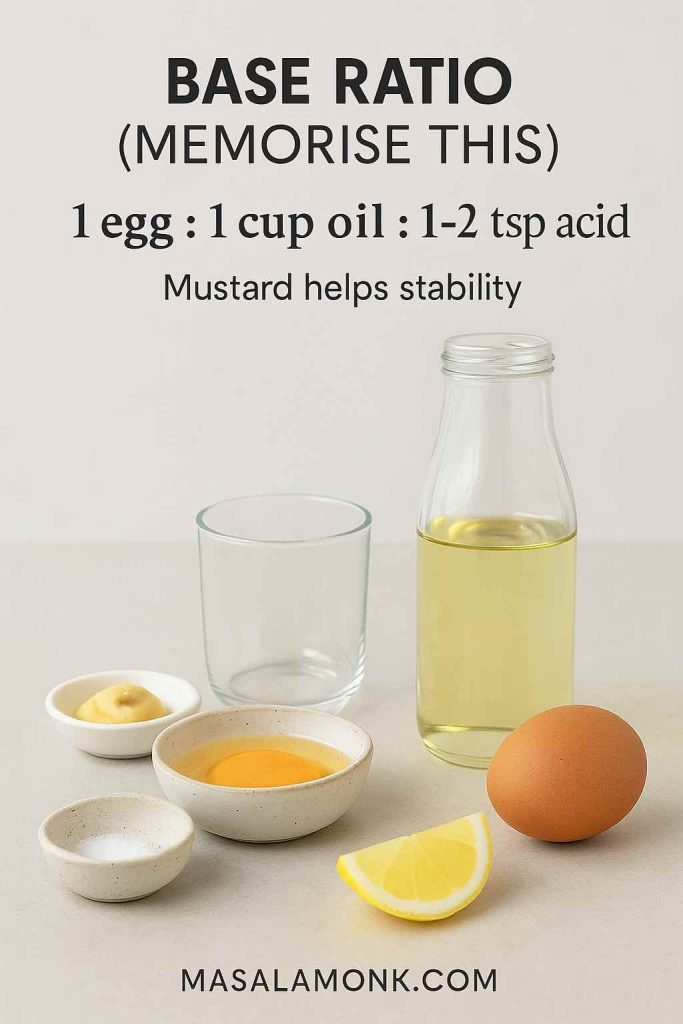
Egg yolk brings lecithin and proteins that surround each droplet and stop them clumping together. Mustard quietly helps too, adding its own emulsifiers and a bit of heat. Oil provides body and richness; the acid sharpens flavour and helps keep things stable.

When a batch “splits”, those droplets have clumped back into visible oil, and the watery part has leaked out. That usually happens if:
- Oil is added too quickly.
- The mixture is too cold or too hot.
- There isn’t enough yolk or mustard for the amount of oil.
- The emulsion is crushed with too much liquid at the wrong time.
Once you see mayonnaise as a balance between oil, water, and emulsifier, everything about it becomes easier: making it, tweaking it, and rescuing it.
Also Read: Double Chocolate Chip Cookies – Easy Recipe with 7 Variations
Is Homemade Mayonnaise Safe?
Because many mayo recipes use raw egg, the obvious question is: is homemade mayonnaise safe to eat?
Food safety agencies like the USDA are very clear that raw or undercooked eggs can carry Salmonella, particularly risky for pregnant people, young children, older adults, and anyone with a weakened immune system. Their Q&A on homemade mayonnaise safety and their broader guide on egg products and food safety both stress the same basics.
In practice, that means:
- Use fresh eggs from a trusted source.
- Keep eggs refrigerated and discard cracked or suspicious ones.
- Work with clean utensils and equipment.
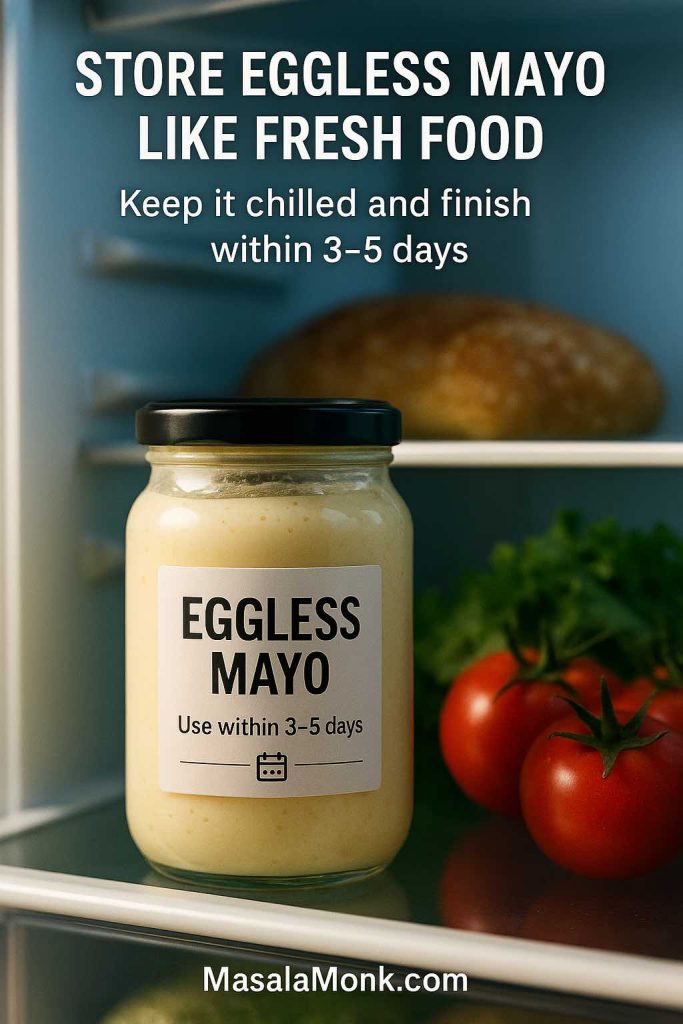
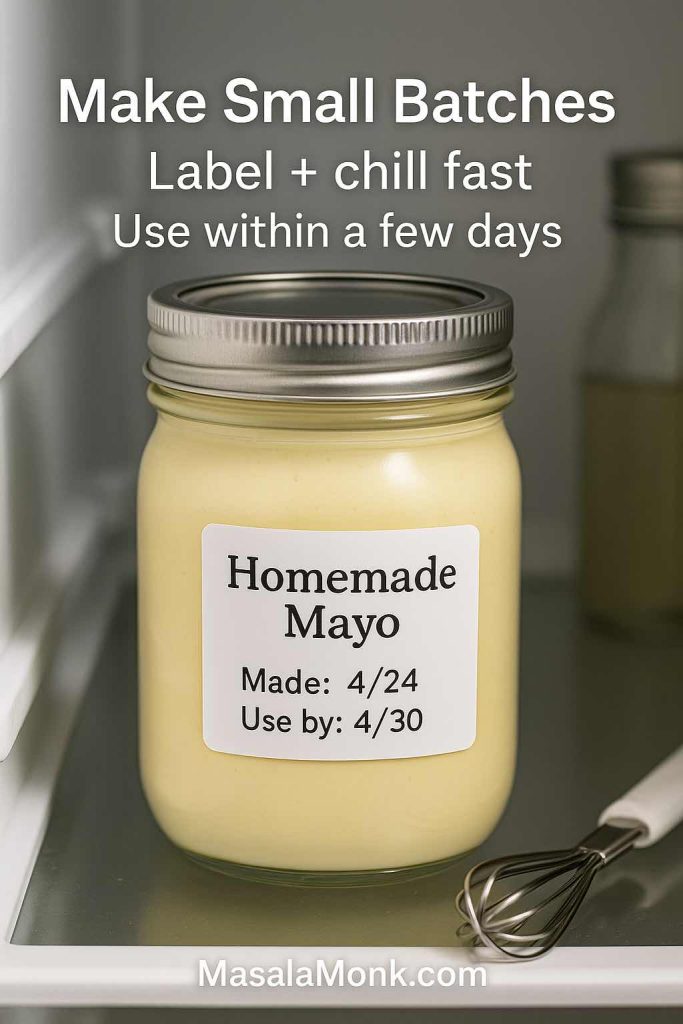
- Get homemade mayo into the fridge quickly and keep it cold.
- Make sensible batch sizes and use them within a few days.
- If it smells wrong or looks wrong, don’t argue with it – throw it out.
If you’d like extra reassurance, you can:
- Use pasteurised eggs or pasteurised liquid egg products.
- Choose an eggless mayonnaise recipe or a vegan mayo recipe that uses no egg at all.
We’ll cover both egg-based and egg-free approaches so you can decide what fits your home and your guests. We also have seperate guides – How to Make Eggless Mayo at Home (Egg Free Mayonnaise Recipe) – along with – Vegan Mayo Recipe Guide: 5 Plant-Based Mayonnaise – which you can refer to and save, if those are your dietary preferences of needs.
Classic Mayo Recipe (Homemade Mayonnaise Base)
Everything else in this guide grows from this one base. Once you’re comfortable making this classic mayo recipe, you can branch out into all the flavoured versions with tiny adjustments.
Ingredients for Classic Mayo Recipe
- 1 large egg, at room temperature
- 1 cup (240 ml) neutral oil (sunflower, canola, grapeseed, or light vegetable oil)
- 1–2 teaspoons fresh lemon juice or white wine vinegar
- ½ teaspoon Dijon or yellow mustard
- ¼ teaspoon fine salt, plus more to taste
- A pinch of sugar (optional, just to round the acidity)
You can make this by hand with a whisk, but an immersion blender makes it almost effortless.
Immersion Blender Mayo Recipe Method
Step 1 – Pour the egg, mustard, salt, and lemon juice or vinegar into a tall, narrow jar.
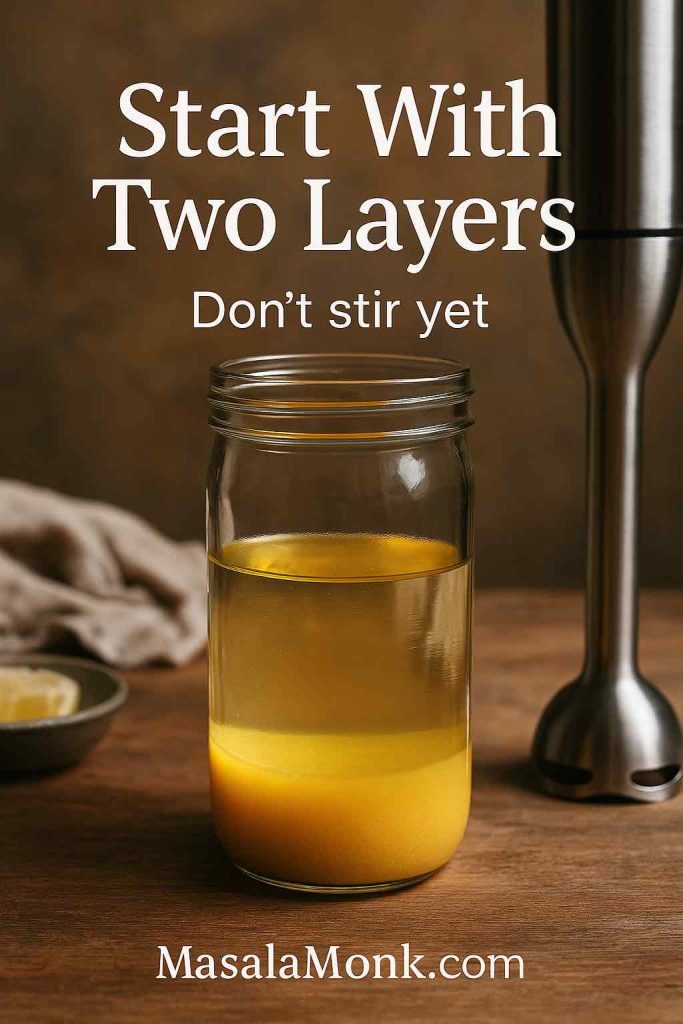
Step 2 – Add the oil on top in one steady pour. Don’t stir; let it sit in two distinct layers.
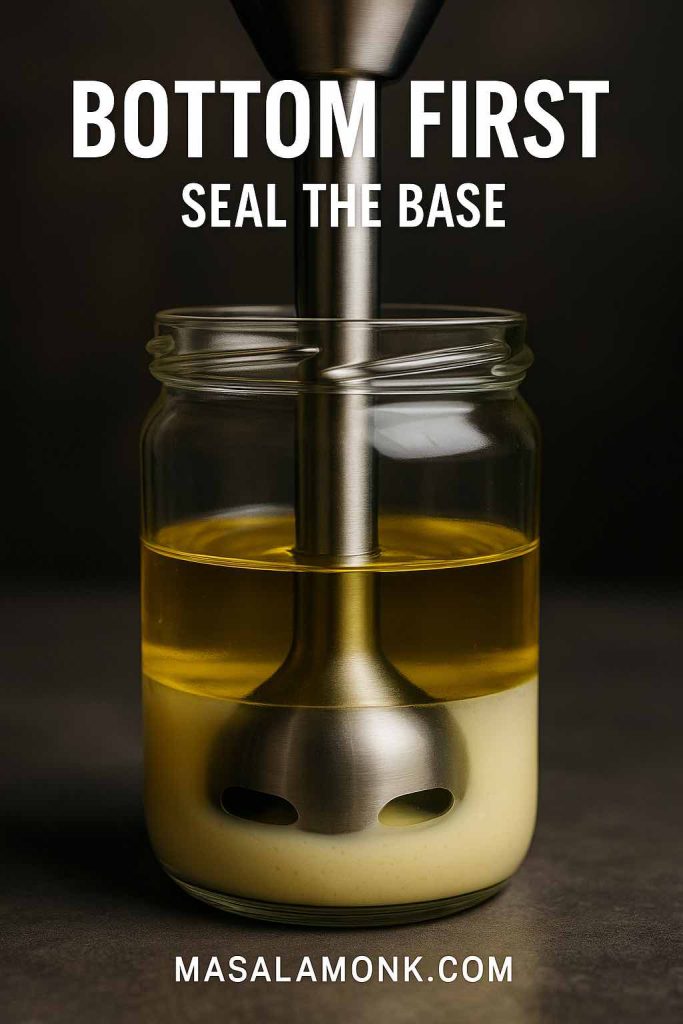
Step 3 – Place the blender head all the way at the bottom and switch it on.
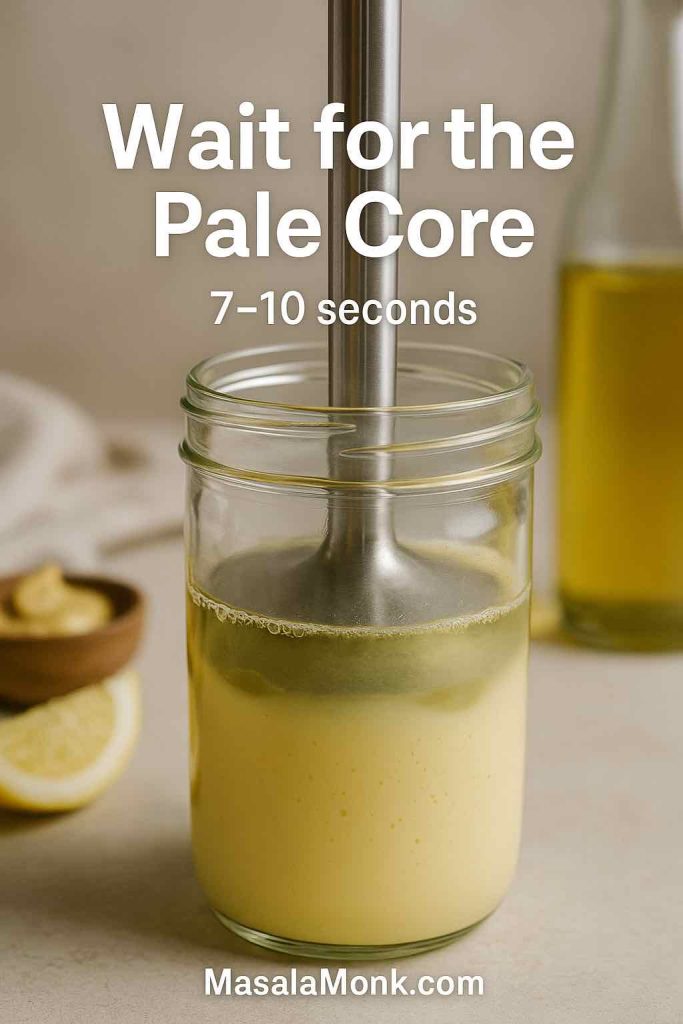
Step 4 – Hold it there, still, for 7–10 seconds. A thick, pale emulsion will start forming at the base.
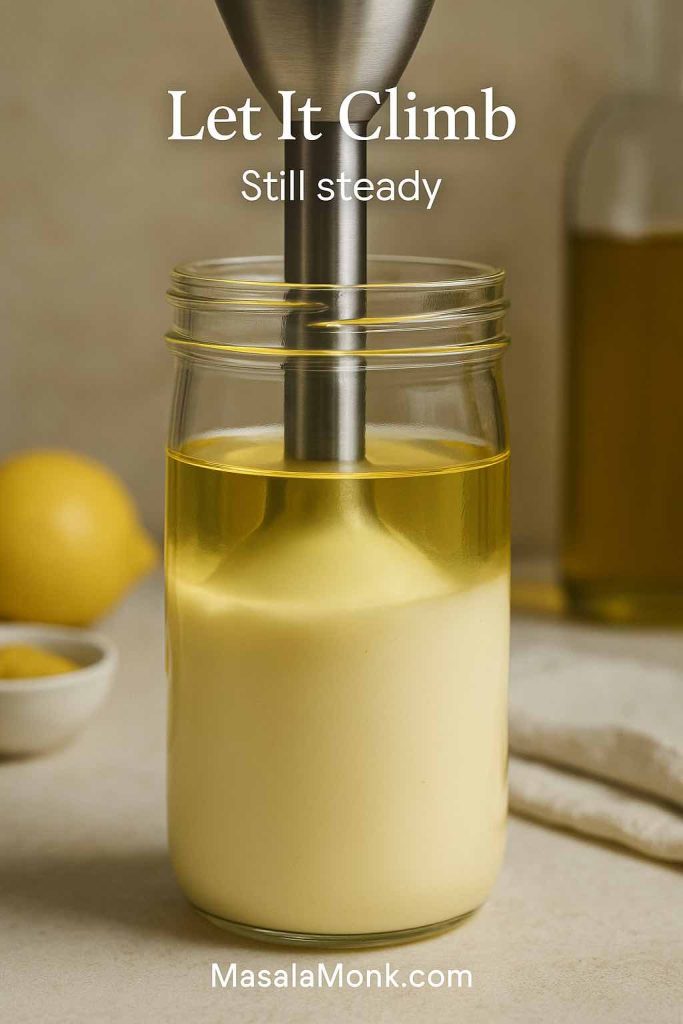
Step 5 – Once the bottom half looks creamy, slowly draw the blender up through the jar, tilting a little to pull more oil into the blades.
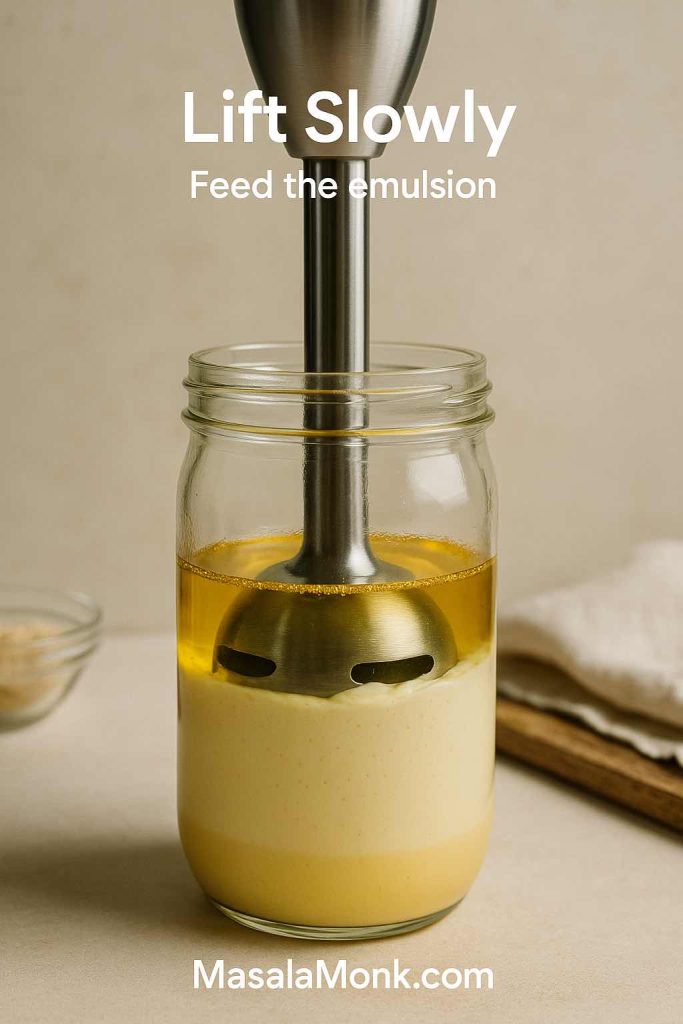
Step 6 – By the time you reach the top, you should have a thick, glossy mayonnaise.
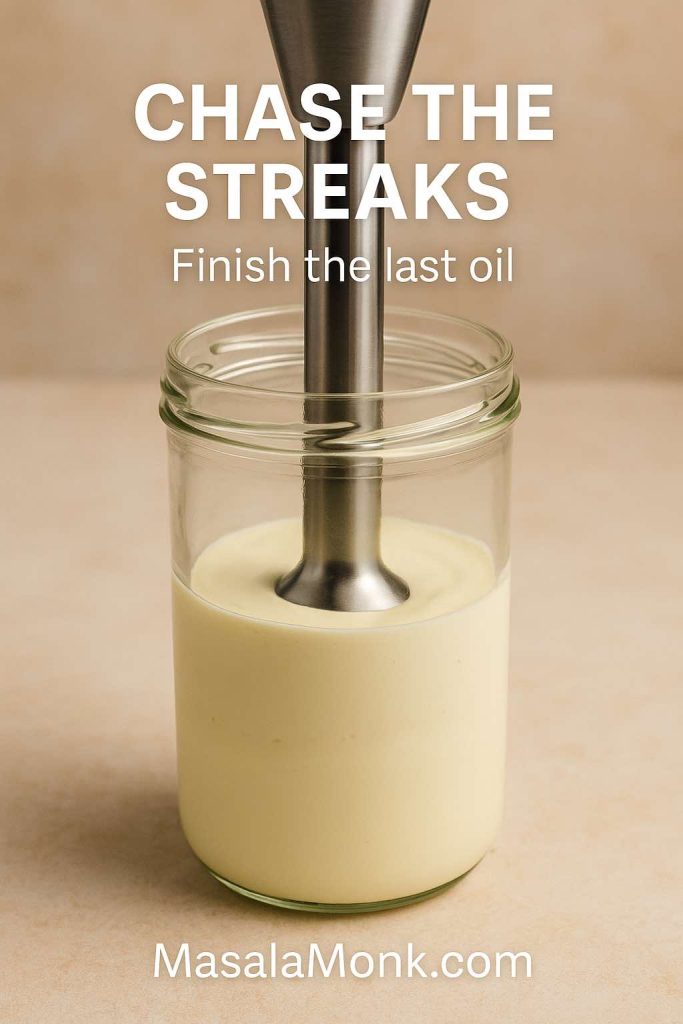
Step 7 – Taste and adjust with more salt or lemon juice if needed.
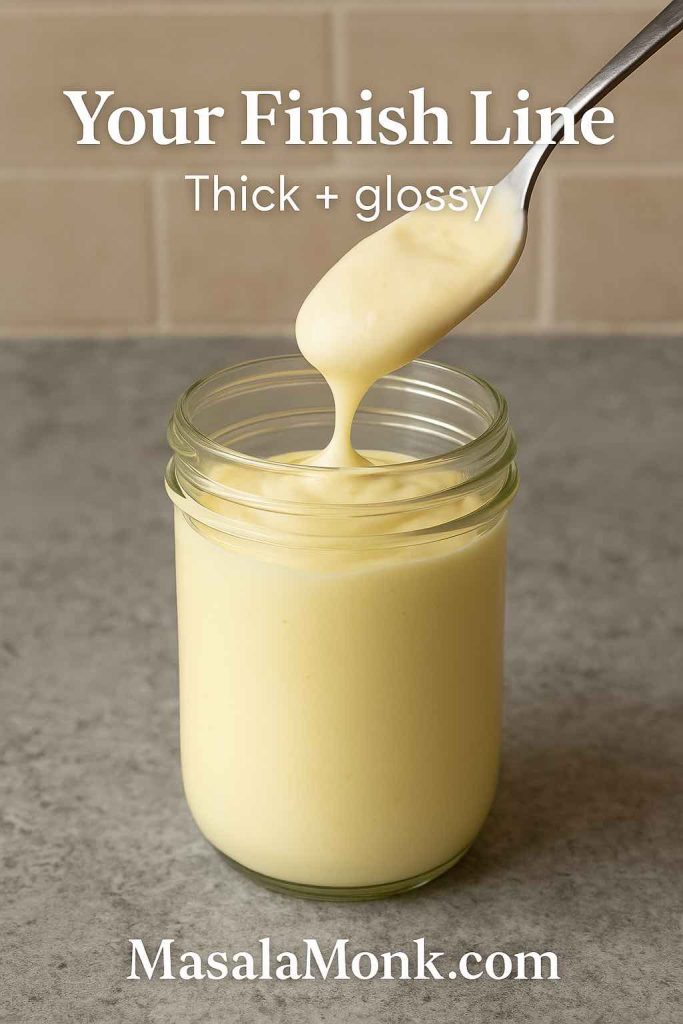
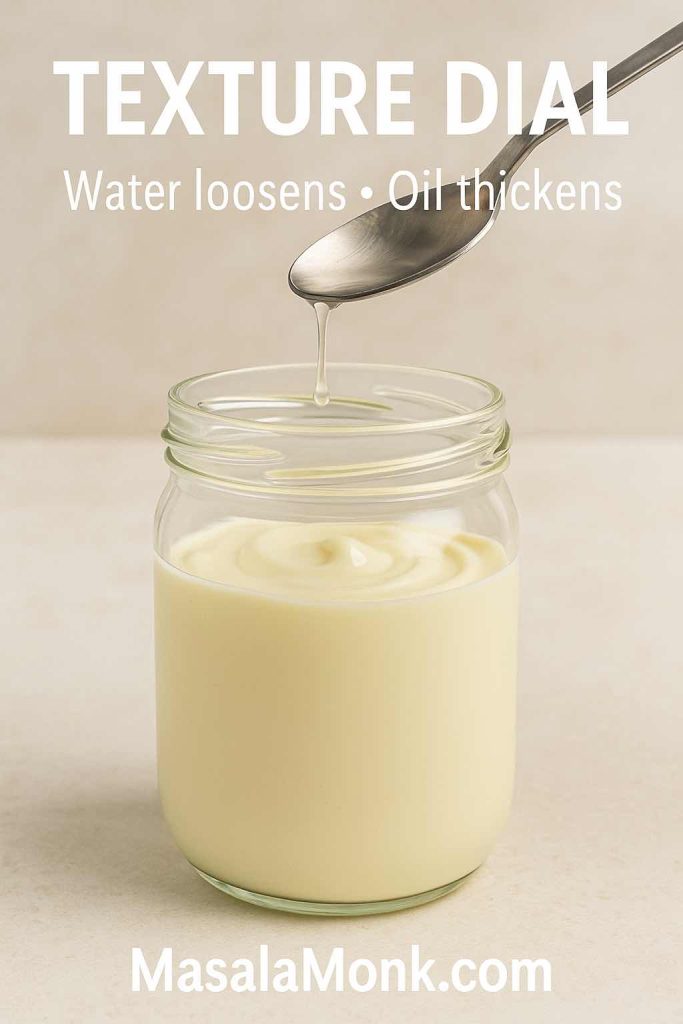
Step 8 – If the mayo feels too stiff, whisk in a teaspoon or two of water until the texture matches what you want.
Hand-Whisk Mayo Recipe Method
If you prefer whisking:
- In a medium bowl, whisk together the egg, mustard, salt, and acid until the mixture is completely smooth.
- Begin adding oil drop by drop while whisking continuously. This slow start is what builds the initial emulsion.
- Once it thickens and turns paler, switch to a thin, steady stream of oil, still whisking without stopping.
- Continue until you’ve used all the oil and the mayo stands in soft peaks.
- Taste and tweak the seasoning.
From here, you can spread this homemade mayonnaise on sandwiches, stir it into potato salad, or use it as the base for garlic mayo, spicy mayo, Japanese mayo, and more.
Also Read: Katsu Curry Rice (Japanese Recipe, with Chicken Cutlet)
Customising Your Mayonnaise or Mayo Recipe
Instead of treating this base as the final product, treat it as a starting point. With a few changes to the oil, the acid, and the seasoning, you can turn one mayo recipe into many.
Choosing the Oil in Mayo Recipe
Different oils shape the flavour:
- Neutral oils (sunflower, canola, grapeseed) keep the flavour clean and versatile.
- Light olive oil adds some fruitiness without excessive bitterness.
- Avocado oil gives a buttery, green note that works well in bowls and salads.
You can also blend oils: for example, half sunflower oil and half light olive oil makes a well-rounded base.
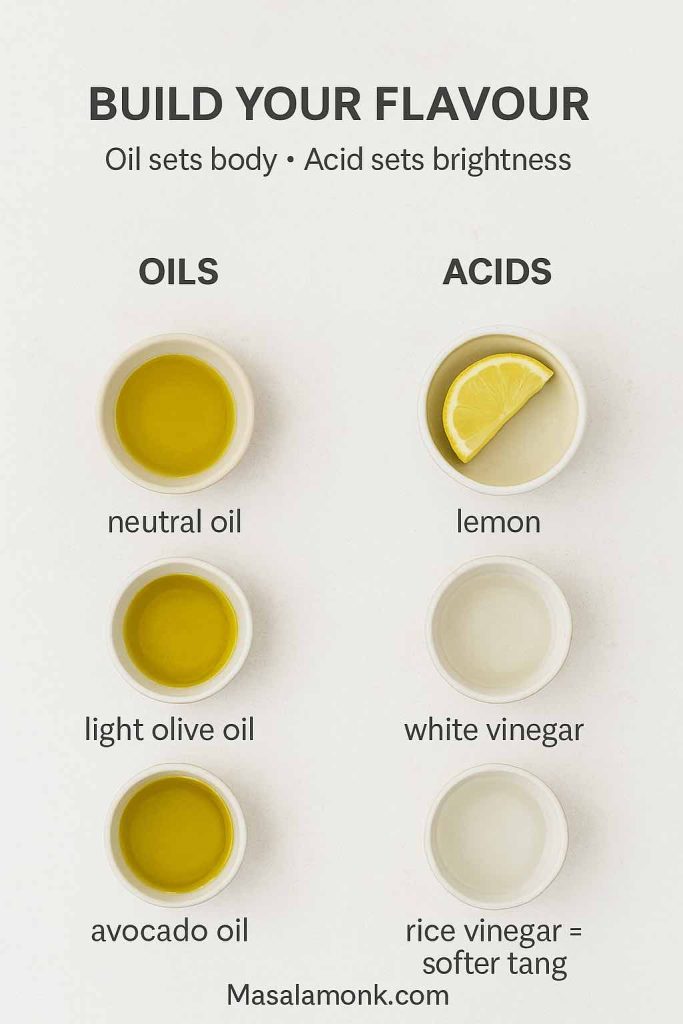
Choosing the Acid in Mayo Recipe
The acid doesn’t just brighten the taste; it affects the overall character:
- Lemon juice gives a fresh, citrusy tang.
- White wine vinegar is gentle and soft.
- Apple cider vinegar adds a faint apple note.
- Rice vinegar is slightly sweet and mild, perfect for a Japanese mayo recipe.
Combining acids gives you even more control. A tablespoon of lemon juice plus a teaspoon of rice vinegar, for instance, produces a balanced, rounded tang.
Adding Character: Salt, Sweetness, Heat and Umami
Once the base tastes good, you can layer on personality:
- A pinch of sugar or honey softens sharp acidity.
- A few drops of soy sauce, a spoonful of miso, or a touch of fish sauce give savoury depth.
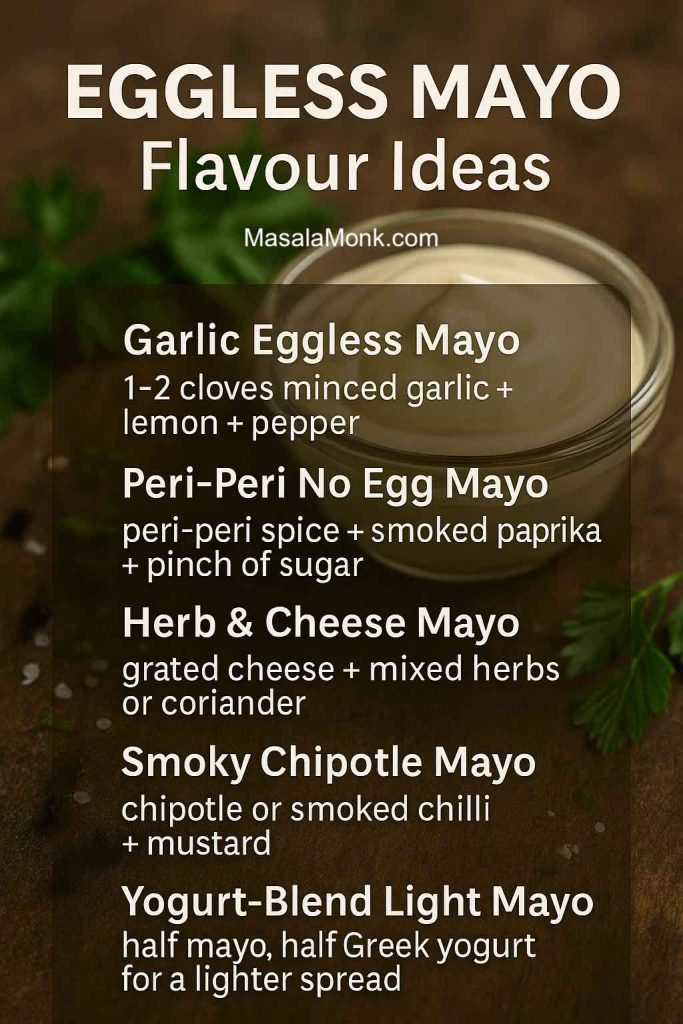
- Crushed garlic instantly steers you towards garlic mayo.
- Hot sauce, chilli paste, or a spoonful of chilli sauce from the pepper sauce recipe guide transforms it into a spicy mayo recipe.
When you think of mayo as a blank canvas, all these variations become tiny, deliberate tweaks instead of separate, complicated recipes.
Mayo Recipe Variations (Quick Mix-In Guide)
Use this cheat sheet with ½ cup mayo (classic, eggless or vegan). Stir, taste, and adjust salt/acidity.
- Sriracha mayo: 1–2 tbsp sriracha + ½ tsp rice vinegar
- Spicy mayo: 1–3 tsp hot sauce/chilli paste + ½ tsp lemon juice
- Chipotle mayo: 1 tbsp chipotle in adobo + 1 tsp lime juice
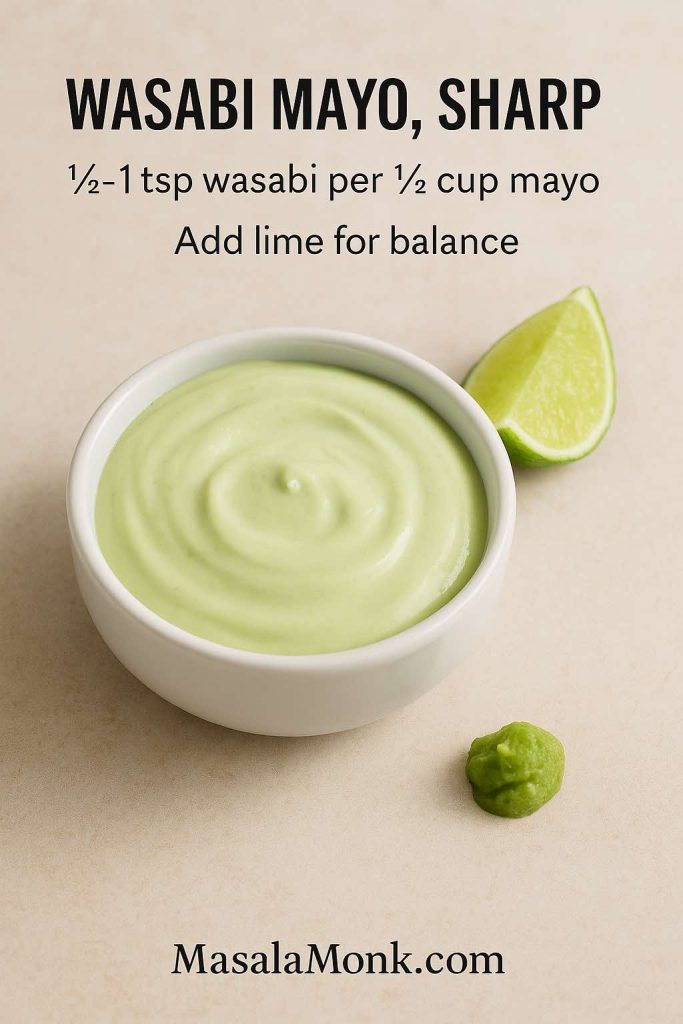
- Wasabi mayo: ½–1 tsp wasabi paste + ½ tsp lime juice
- Mayonnaise with garlic: 1 grated garlic clove + 1 tsp lemon juice
- Mayo and ketchup sauce: 3 tbsp ketchup + 1 tsp mustard
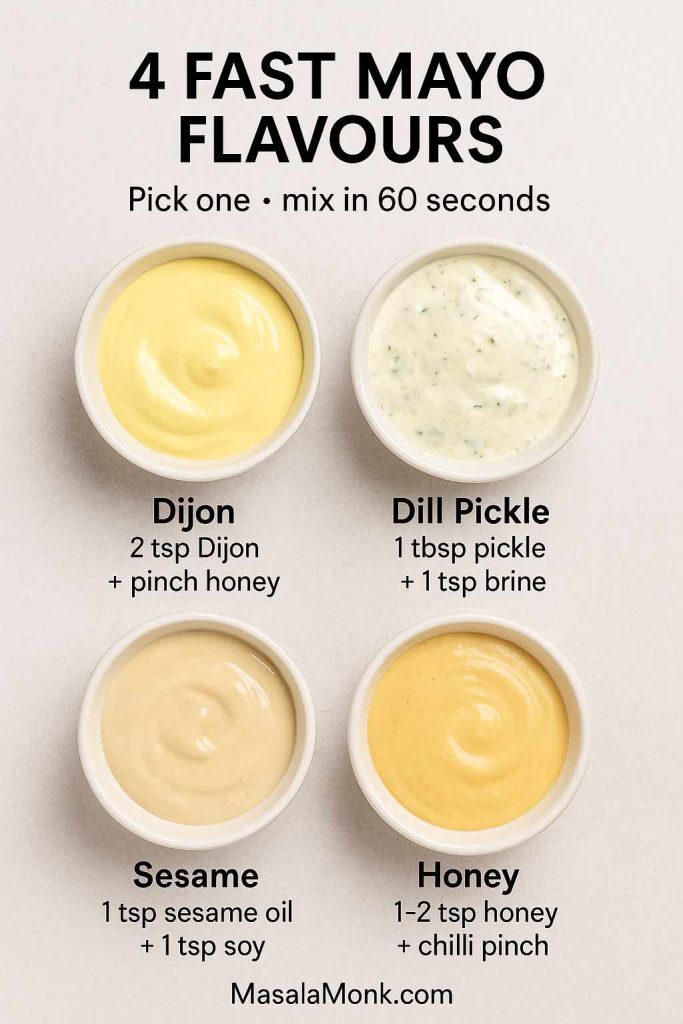
- Dijon mayonnaise: 2 tsp Dijon + ½ tsp honey
- Dill pickle mayo: 1–2 tbsp chopped pickles + 1 tsp pickle brine + black pepper
- Sesame mayo: 1 tsp toasted sesame oil + 1 tsp soy sauce + ½ tsp rice vinegar
- Honey mayo: 1–2 tsp honey + pinch of chilli flakes
Mayo Made With Avocado Oil
If you want a cleaner, buttery mayo, make mayo with avocado oil exactly like the classic recipe. Use 1 cup avocado oil instead of neutral oil.
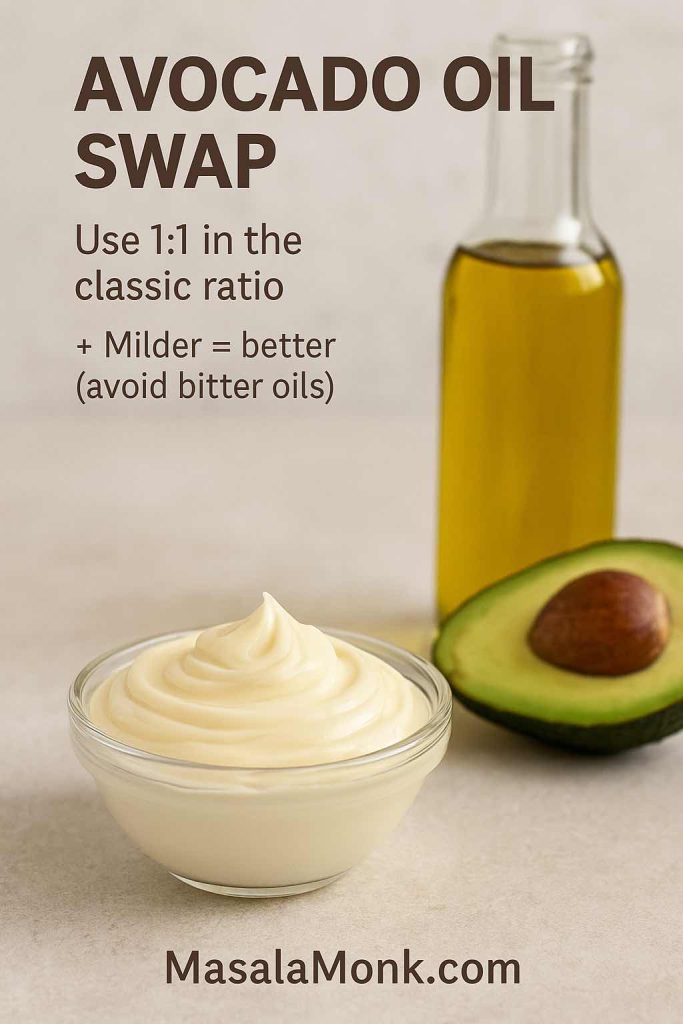
The method stays identical; the flavour turns slightly greener and richer, great in bowls and salads.
Also Read: Crispy Homemade French Fries From Fresh Potatoes (Recipe Plus Variations)
Japanese Mayo Recipe (Kewpie-Style)
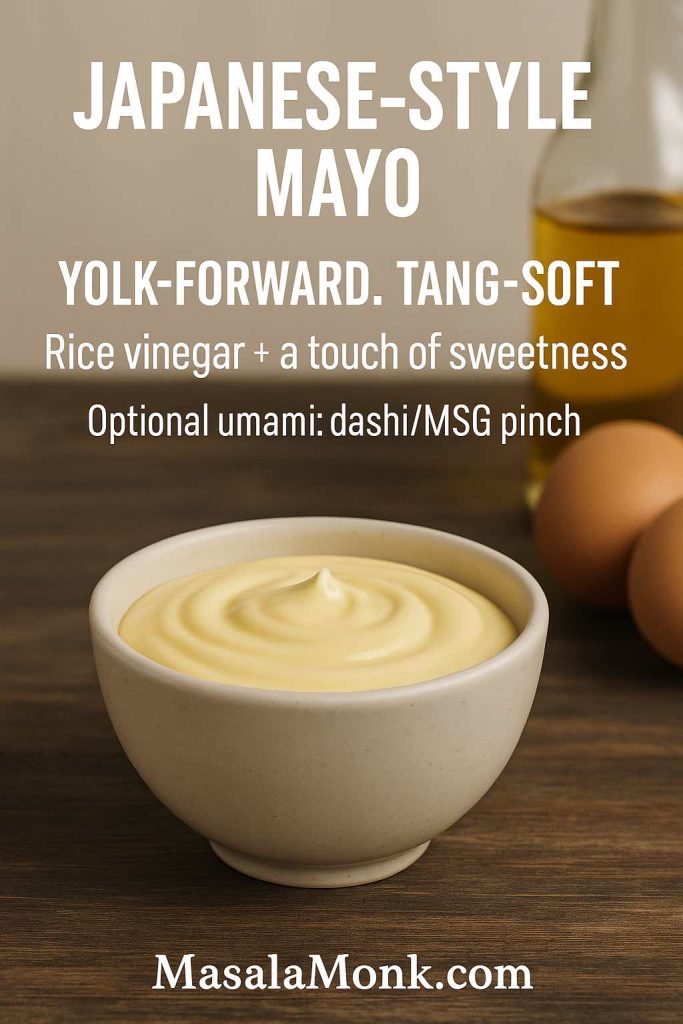
Japanese mayonnaise is richer and more savoury than standard Western mayo, with a slightly looser texture and a distinctive tang. Think about the creamy lines zig-zagged over okonomiyaki or drizzled on karaage – that’s the feeling you’re aiming for.
What Makes Japanese Mayo Different
Compared with the classic base you just made, Japanese mayonnaise:
- Uses egg yolks only instead of whole eggs.
- Relies on rice vinegar rather than stronger vinegars.
- Is lightly sweetened.
- Often includes a tiny amount of MSG or dashi for umami.
That combination gives it a custardy texture and savoury punch.
Homemade Japanese Mayonnaise Recipe
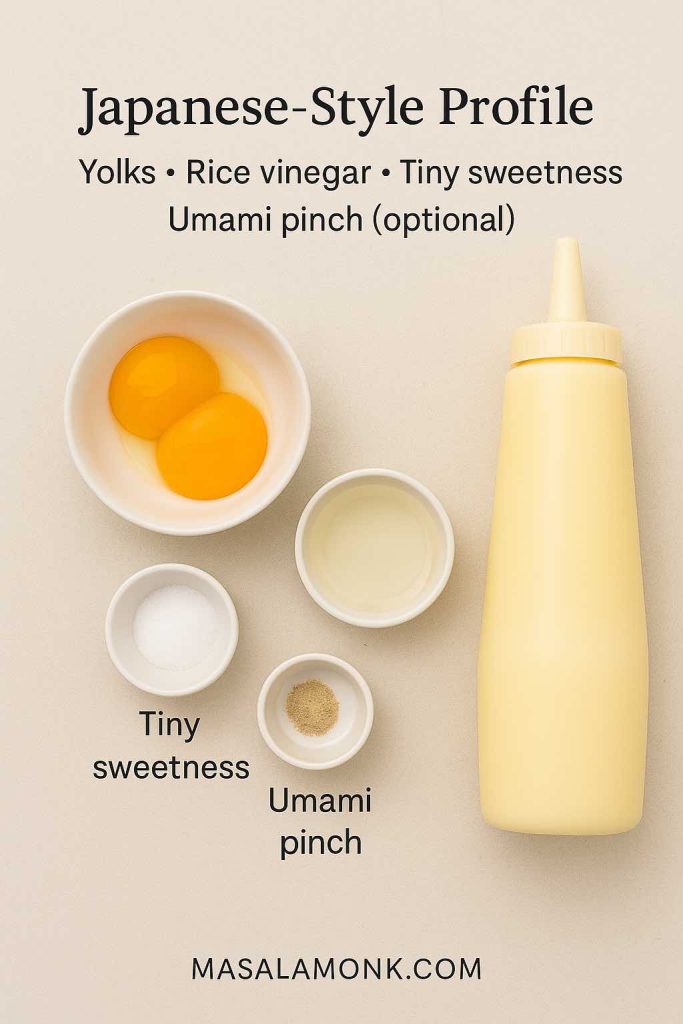
Ingredients
- 2 egg yolks, at room temperature
- 1 cup neutral oil
- 1½ tablespoons rice vinegar
- 1 teaspoon sugar
- ½ teaspoon salt
- Optional: a pinch of MSG or a sprinkle of dashi powder
Method
- Add yolks, rice vinegar, sugar, and salt to a tall jar.
- Pour in the oil on top.
- Blend from the bottom up with your immersion blender just as you did for classic mayo.
- Taste, then adjust with more rice vinegar for extra tang or a touch more sugar if you prefer a softer profile.
Use this Japanese mayo in all the usual ways: drizzle it over okonomiyaki, serve it with fried chicken, or smear it in sandwiches. It’s especially good with umami-focused fillings like the mushrooms and cheese in this mushroom cheese sandwich, where the richness of the yolk-based mayo and the savoury mushrooms amplify each other.
Also Read: How to Cook Perfect Rice Every Time (Recipe)
Eggless Mayo and Veg Mayo Variations
If you avoid eggs or just want an option you can serve to anyone without worrying about raw egg, eggless mayo and veg mayo are seriously useful.
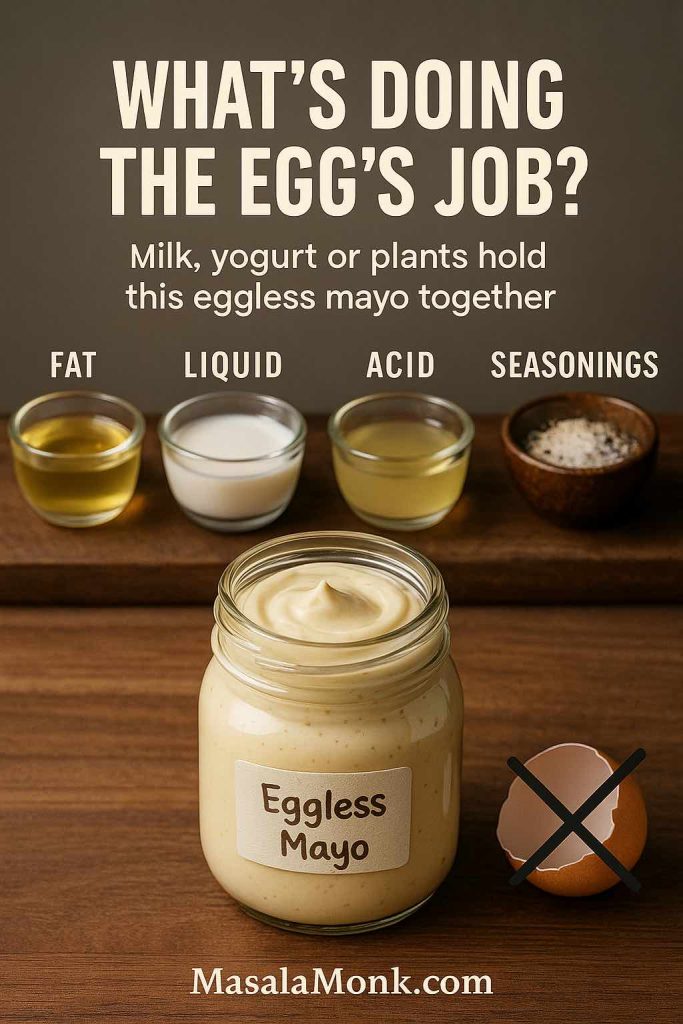
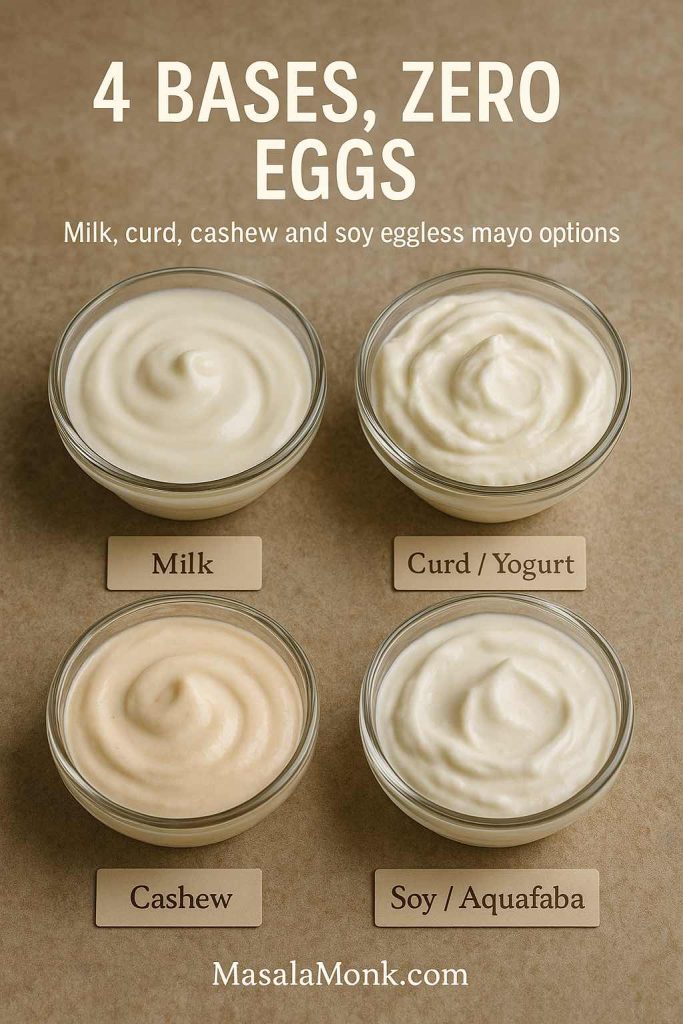
MasalaMonk has a detailed guide on eggless mayonnaise that walks through several bases, including milk, curd, cashews and aquafaba. The core idea doesn’t change: you still need a water phase, a fat phase, and an emulsifier. The difference is simply that the emulsifier isn’t egg.
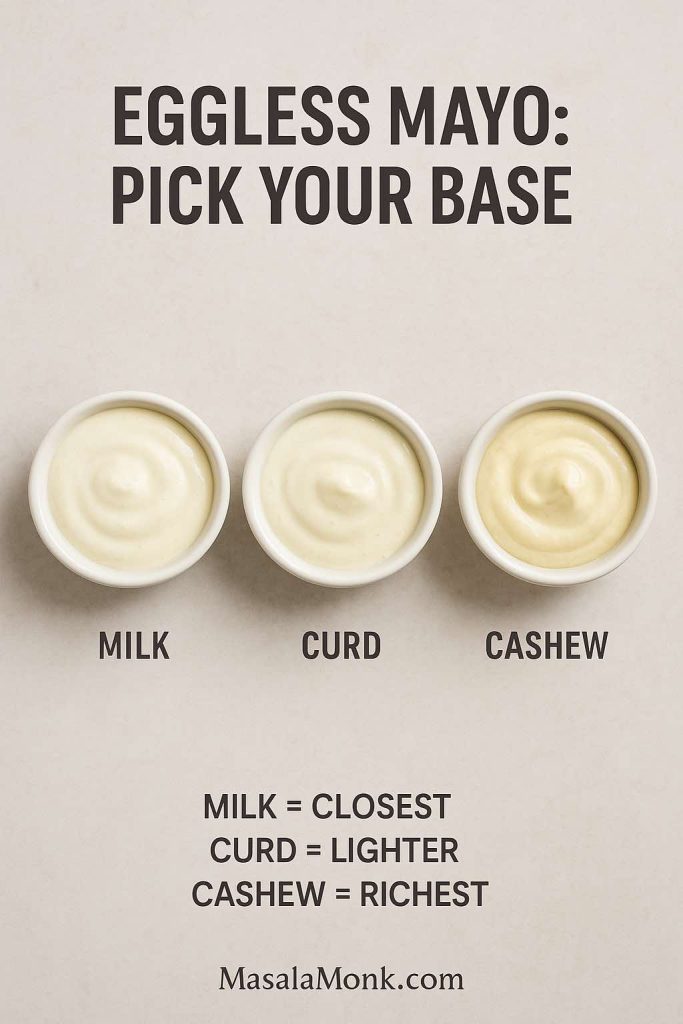
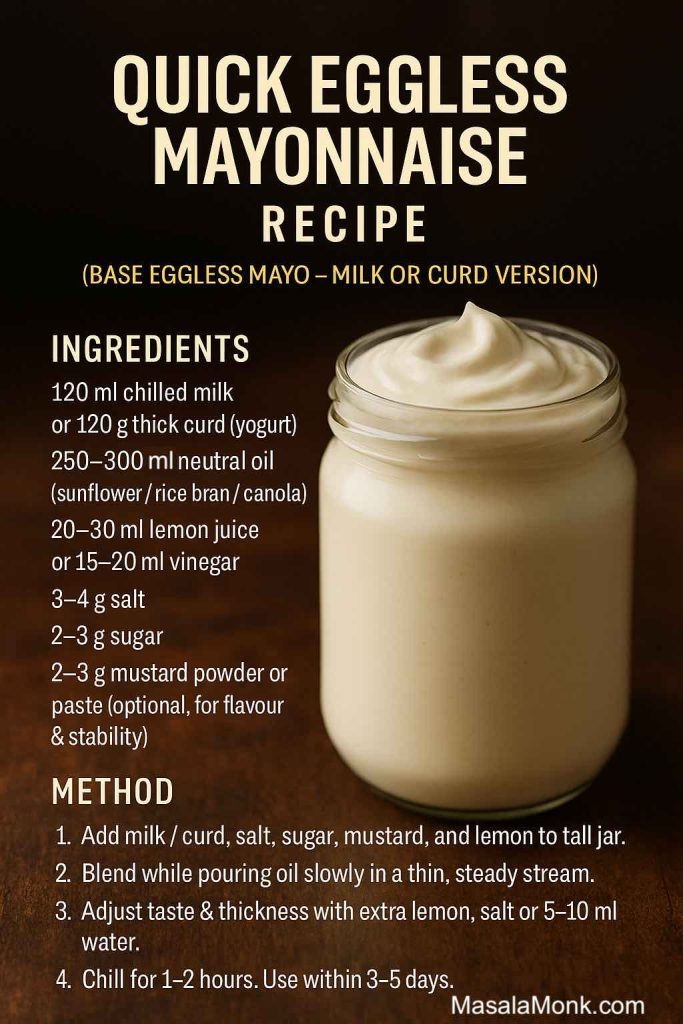
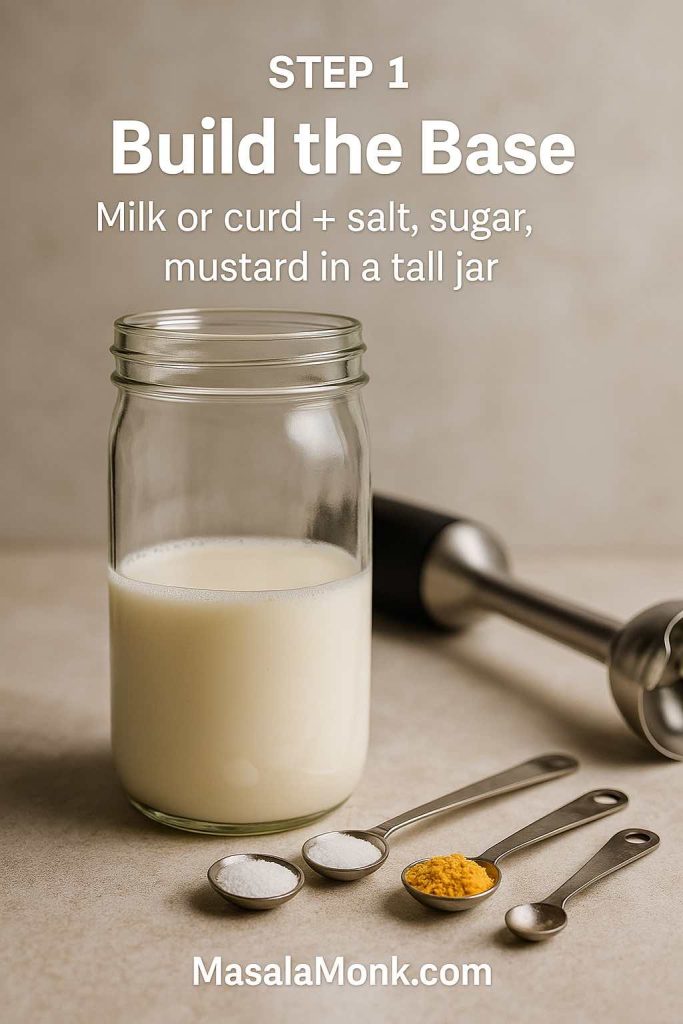
Milk-Based Eggless Mayonnaise
This version uses cold milk as the water phase.
A typical pattern:
- ½ cup cold milk
- 1 cup neutral oil
- 1–2 teaspoons vinegar or lemon juice
- ½ teaspoon mustard
- Salt and a pinch of sugar
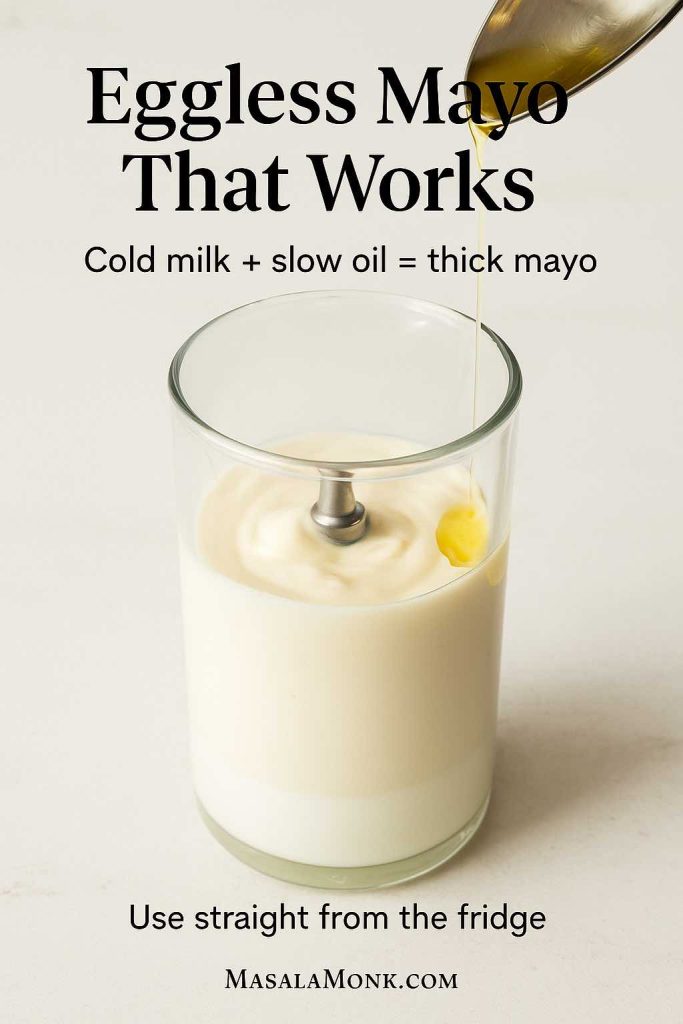
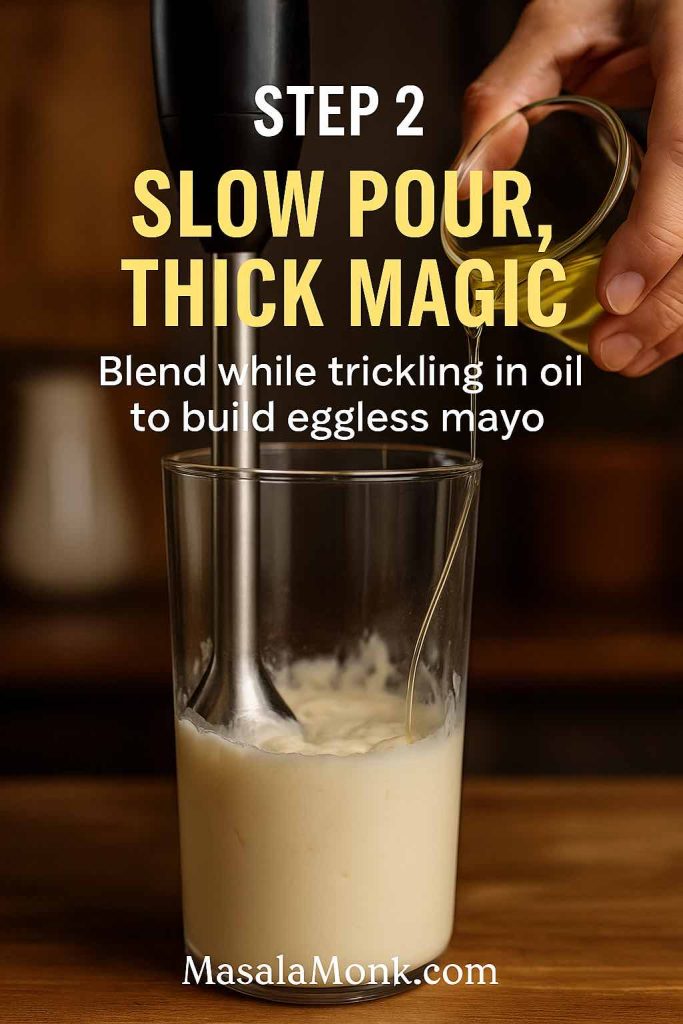
Blend the milk, mustard, salt and acid first, then drizzle in the oil while blending until it thickens. The proteins in the milk help bind the oil into a creamy veg mayo that feels surprisingly close to the original.
Curd- or Yogurt-Based Veg Mayo Recipe
Here, thick yogurt or hung curd does the heavy lifting.
A basic curd-based mayo might use:
- ½ cup thick curd (drained so it’s not watery)
- 2–4 tablespoons oil
- Lemon juice or vinegar
- Mustard, salt, pepper
- Optional garlic or herbs
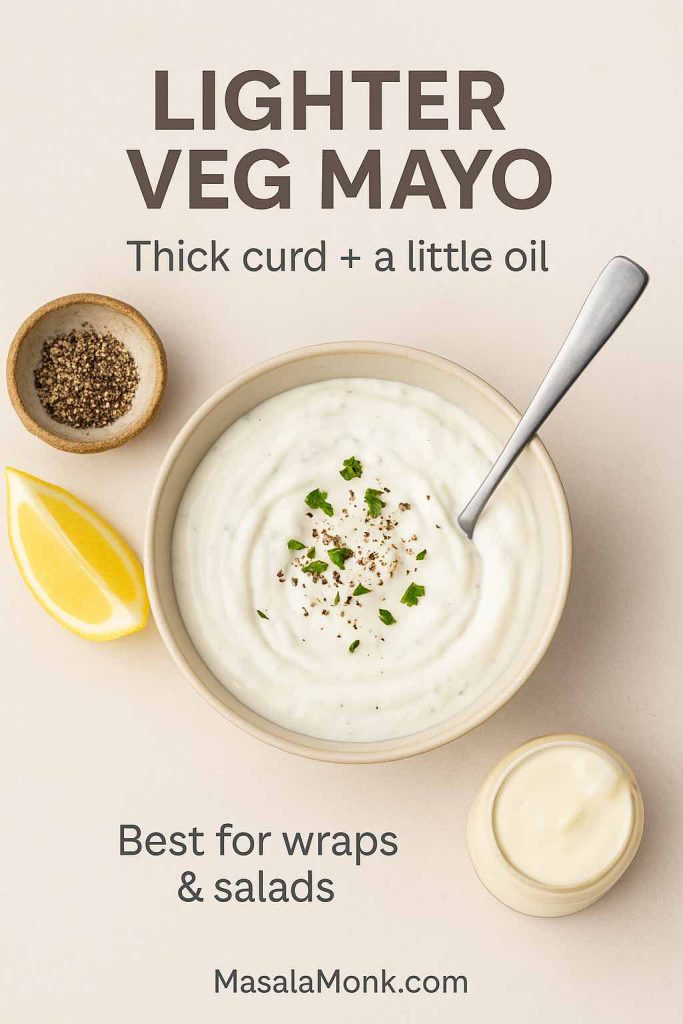
Because curd is already thick, it needs much less oil. This style tastes tangier and lighter, which makes it ideal for salads, wraps and sandwiches when you don’t want heavy richness.
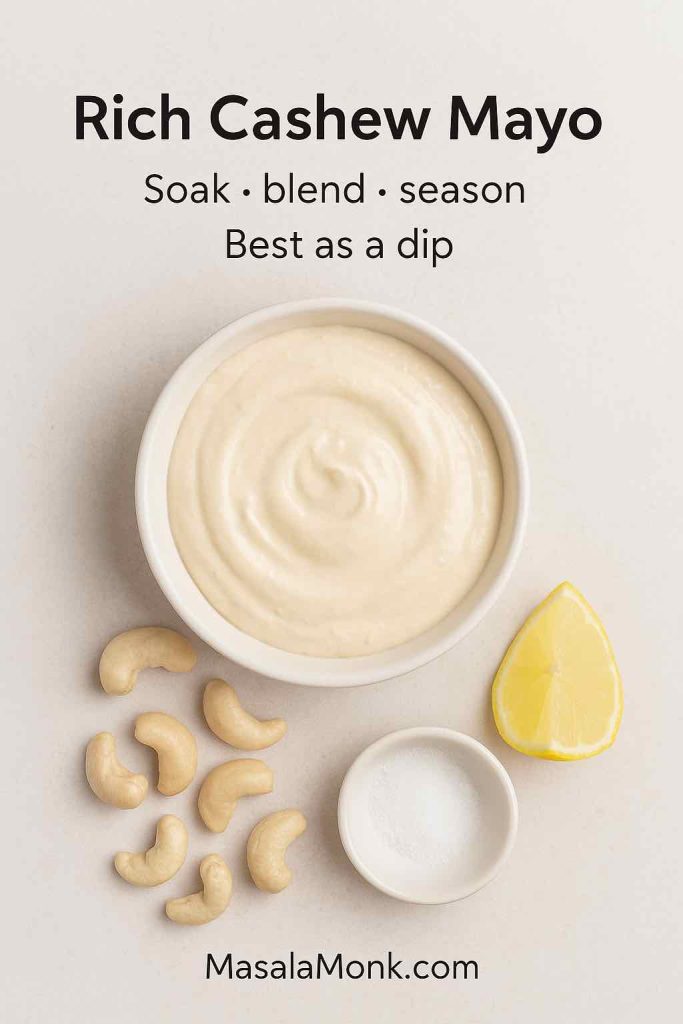
Cashew-Based Eggless Mayo Recipe
Soaked cashews can be blended with water, oil, acid, mustard and salt to make a rich, smooth veg mayo. It’s naturally slightly sweet and very creamy. Once you add garlic and herbs, you get a luxurious dip for grilled vegetables, chaats and snacks.
Those three styles – milk, curd and cashew – cover most situations where you want an eggless mayonnaise recipe that still feels indulgent. You can go deeper into the Cashew Based recipes in Vegan Mayo Recipe Guide: 5 Plant-Based Mayonnaise.
Also Read: How to Make Churros (Authentic + Easy Recipe)
Vegan Mayo Recipe (Plant-Based Mayonnaise)
A vegan mayo recipe goes a step further by skipping eggs and dairy altogether. Fortunately, plants have more than one way to pull this off.
MasalaMonk’s vegan mayo recipe collection explores five different bases: soy milk, almond milk, aquafaba, cashews and even tofu. All of them rely on the same idea: you still need water, fat and an emulsifier, just from plant sources now.
Recipe for Aquafaba Vegan Mayo
Aquafaba is the thick liquid from cooked or canned chickpeas. It happens to contain enough proteins and starches to whip and emulsify oil like a surprisingly good stand-in for egg white.
A basic aquafaba vegan mayo looks like this:
Ingredients
- 3 tablespoons aquafaba
- 1 cup neutral oil
- 1–2 teaspoons lemon juice or apple cider vinegar
- ½ teaspoon mustard
- ¼ teaspoon salt
- Optional: 1–2 cooked chickpeas blended in for a thicker body
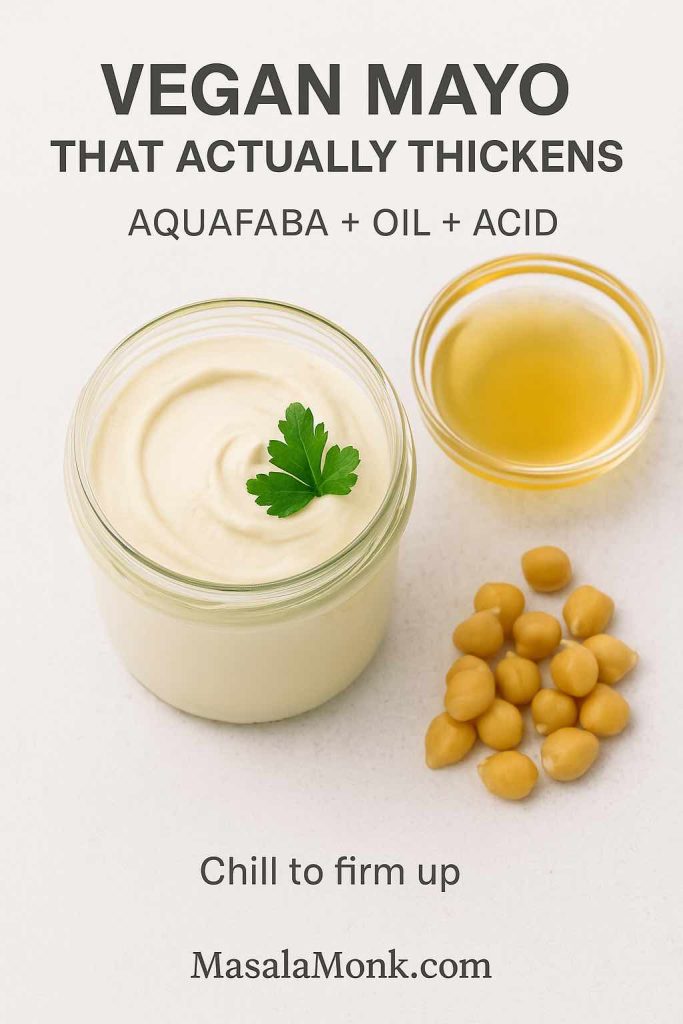
Method
- Combine aquafaba, mustard, salt and acid in a tall container.
- Pour the oil on top.
- Blend from the bottom up until the mixture thickens and turns creamy.
- Chill before using; it will firm up slightly as it cools.
This vegan mayo recipe works anywhere you’d use regular mayo: in potato salad, as a sandwich spread, in creamy coleslaw, or mixed into chickpeas and vegetables for a plant-based “tuna” salad.
For example, you can fold vegan mayo into lentils and chopped vegetables to mimic tuna salad, the way it’s done in this plant-based high protein lentil meal prep.
Cashew Cream Vegan Mayo Recipe
For a richer style:
- Soak ½ cup cashews until soft.
- Blend with ¼–⅓ cup water, 2–3 tablespoons oil, lemon juice, mustard and salt.
The result is a glossy cashew mayo that’s fantastic with roasted vegetables, sandwiches, grain bowls and wraps. It’s particularly good drizzled over something colourful and satisfying like the Thai-style vegan bowl with peanut butter dressing.
Also Read: How to Cook Bacon in the Oven (Crispy, No-Mess, Crowd-Ready Recipe)
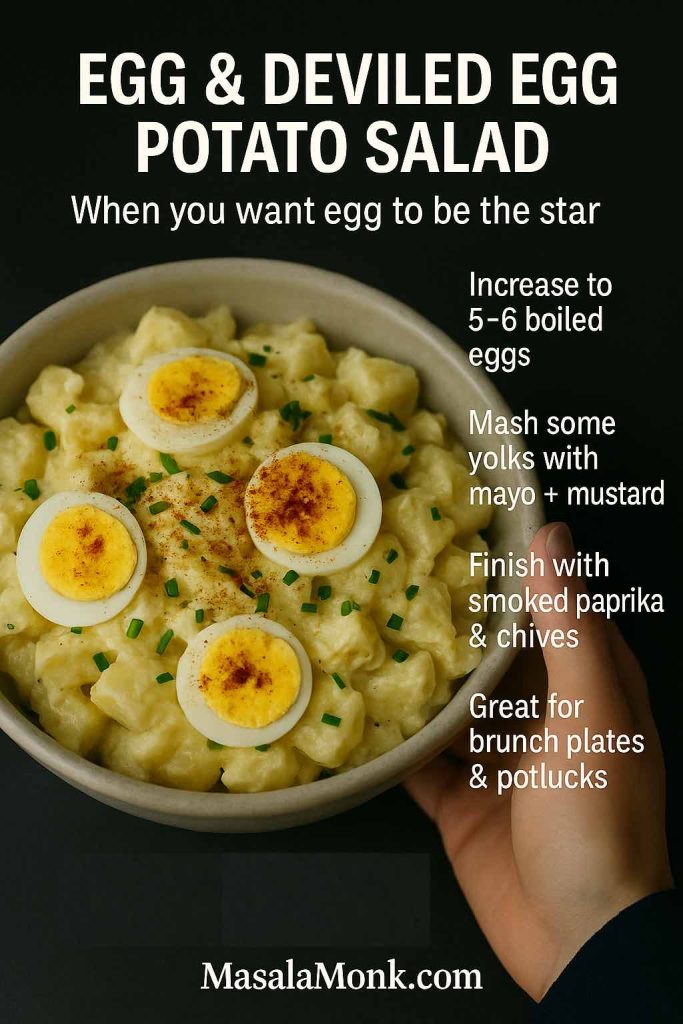
Egg Mayonnaise Sandwich Filling
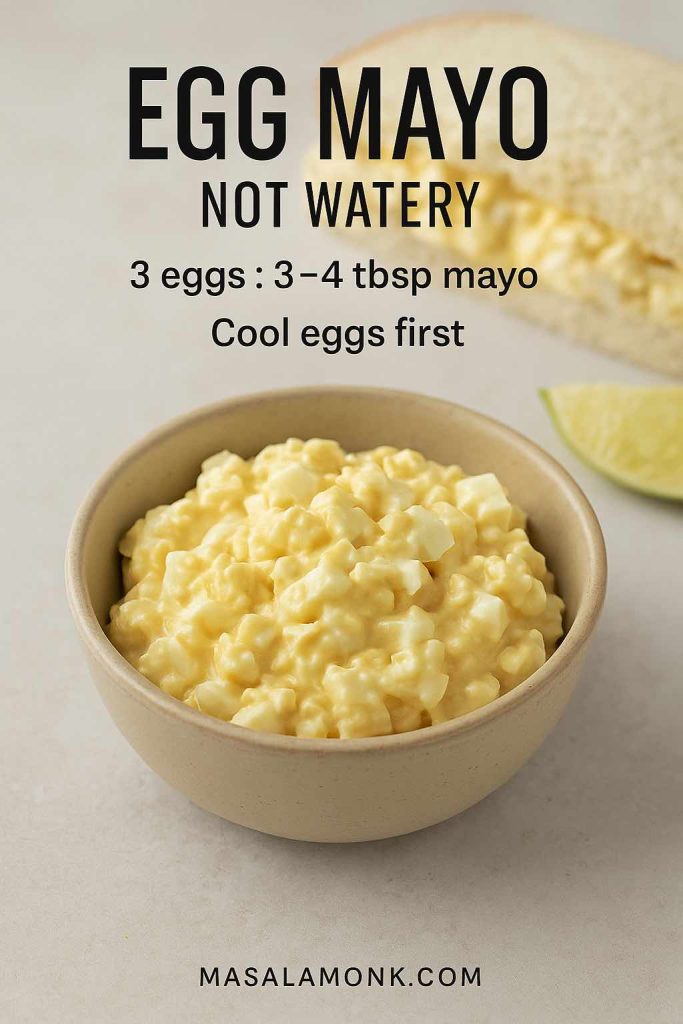
Sometimes, when people look for an egg mayonnaise recipe, what they really want is the filling for an egg mayo sandwich – chopped boiled eggs bound together with mayo and seasonings.
Here’s a straightforward version you can tweak endlessly:
Ingredients
- 3 hard-boiled eggs, peeled and cooled
- 3–4 tablespoons mayo (classic, eggless or vegan)
- 1 teaspoon mustard
- 1 tablespoon finely chopped onion or chives
- 1 tablespoon finely chopped celery, cucumber or bell pepper
- Salt and freshly ground black pepper to taste
- Optional: paprika, chilli flakes or herbs
Method to make Egg Mayo Sandwich Filling
- Chop or mash the eggs in a bowl.
- Stir in mayo, mustard and the chopped vegetables.
- Season with salt, pepper and spices.
- Adjust the mayo quantity until the mixture is creamy but still holds its shape.
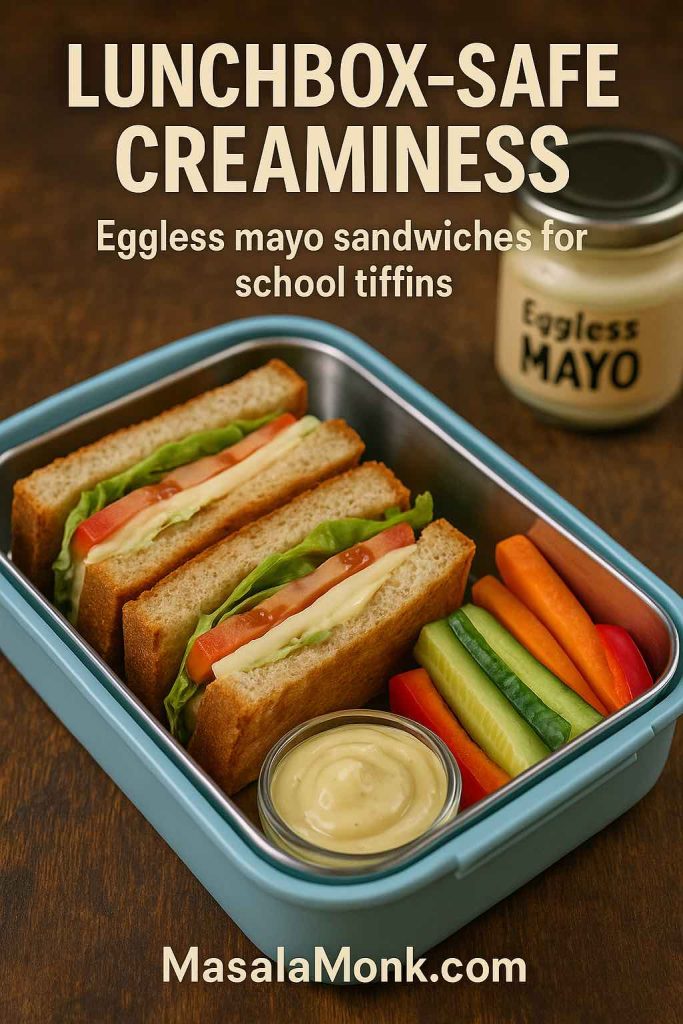
Pile this egg mayo onto soft white bread, whole-grain slices, brioche buns or inside pita. It keeps well as a filling for lunchboxes, and it sits nicely alongside plant-forward options like the hummus veggie sandwich or the hung curd spinach cheese sandwich.
Also Read: One-Pot Chicken Bacon Ranch Pasta (Easy & Creamy Recipe)
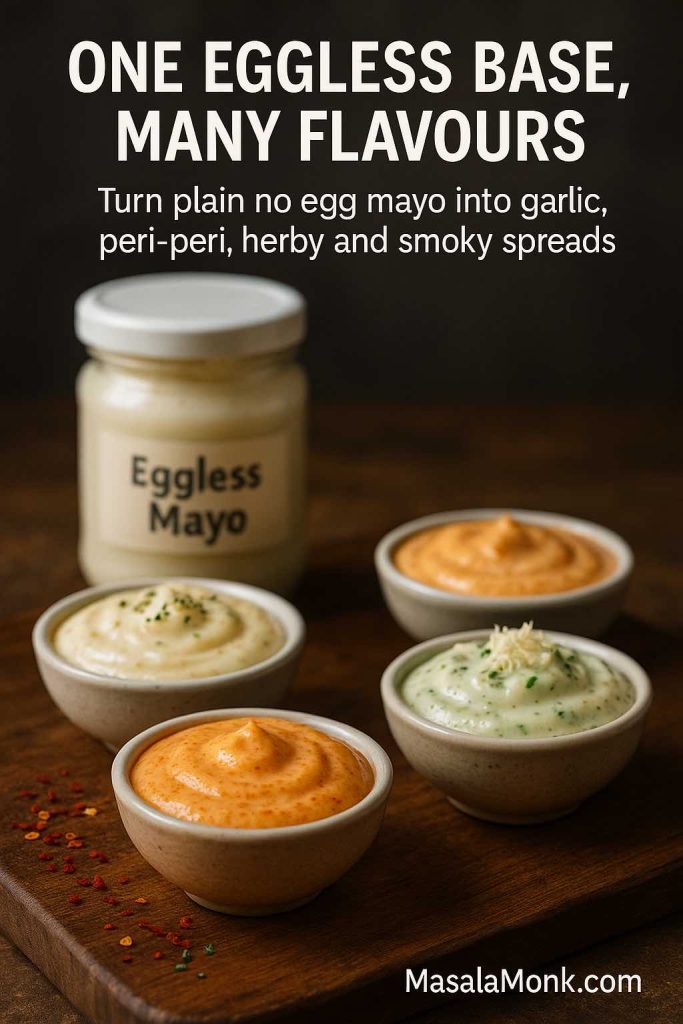
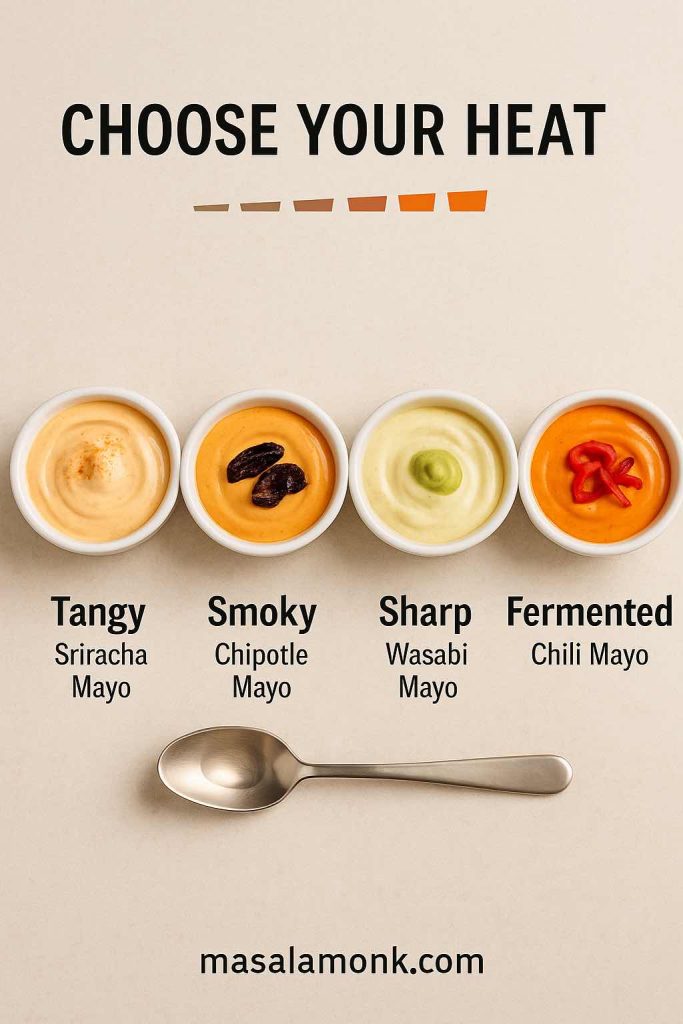
Spicy Mayo Ideas & Recipes
Once you have a jar of plain mayo – whether it’s classic, eggless or vegan – it takes almost no effort to turn it into spicy mayo. And because there are so many chilli sauces and pastes out there, you can build a whole collection of different spicy mayo recipes without ever getting bored.
Basic Spicy Mayo Formula & Recipe
Start with this, then improvise:
- ½ cup mayo
- 1–3 teaspoons hot sauce, chilli paste or finely chopped chilli
- ½ teaspoon lemon juice or rice vinegar
- A pinch of salt and/or sugar, depending on your sauce
Stir it all together. Taste. Adjust the heat, acidity and salt until it feels right.
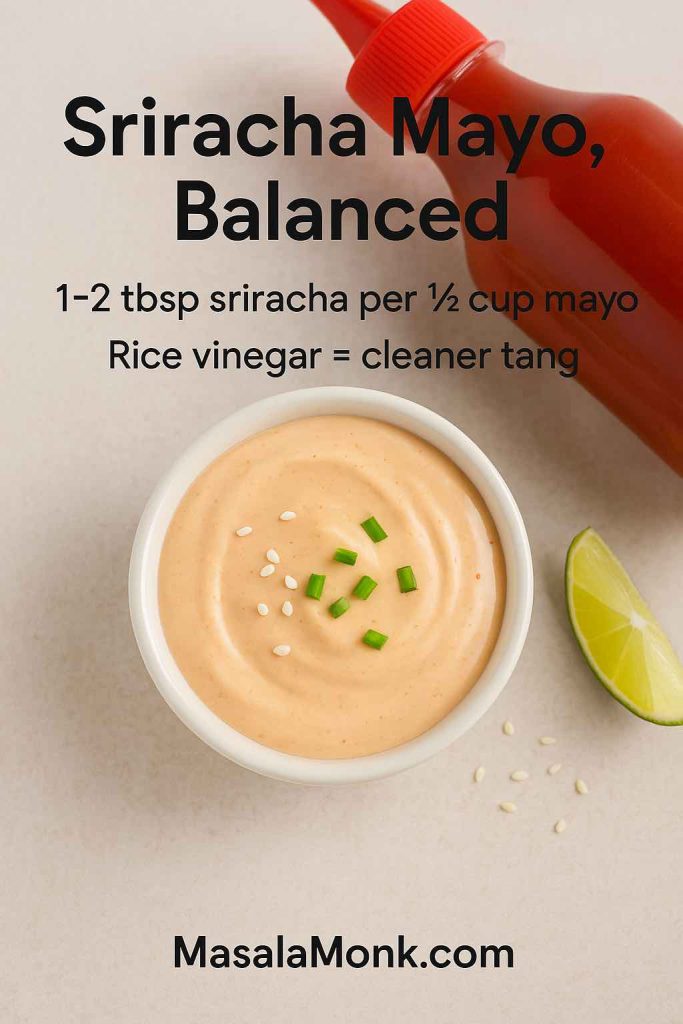
Sriracha Mayo Recipe (Sriracha Mayonnaise)
Use sriracha as your chilli element and rice vinegar as the acid. This version loves sushi rolls, poke bowls, fried tofu, tempura and loaded fries. It also works as a drizzle on top of crunchy, tangy salads like the vegan Som Tam raw papaya salad, where the creamy heat plays against the crisp vegetables.
Ingredients:
- ½ cup mayo
- 1–2 tbsp sriracha (start small)
- ½ tsp rice vinegar or lemon juice
- Pinch of salt (optional)
Method:
Stir until smooth. This is the classic ‘mayo sriracha’ combo people want when they ask for ‘sriracha and mayo’. Use it on sushi, fries, burgers, bowls, tempura.
Chipotle Mayo
Chipotle mayo is one of the best friends tacos ever had. Combine mayo with canned chipotle peppers in adobo sauce and lime juice. The smoke and tang make it perfect for grilled corn, quesadillas, burritos, burgers and roasted potatoes.
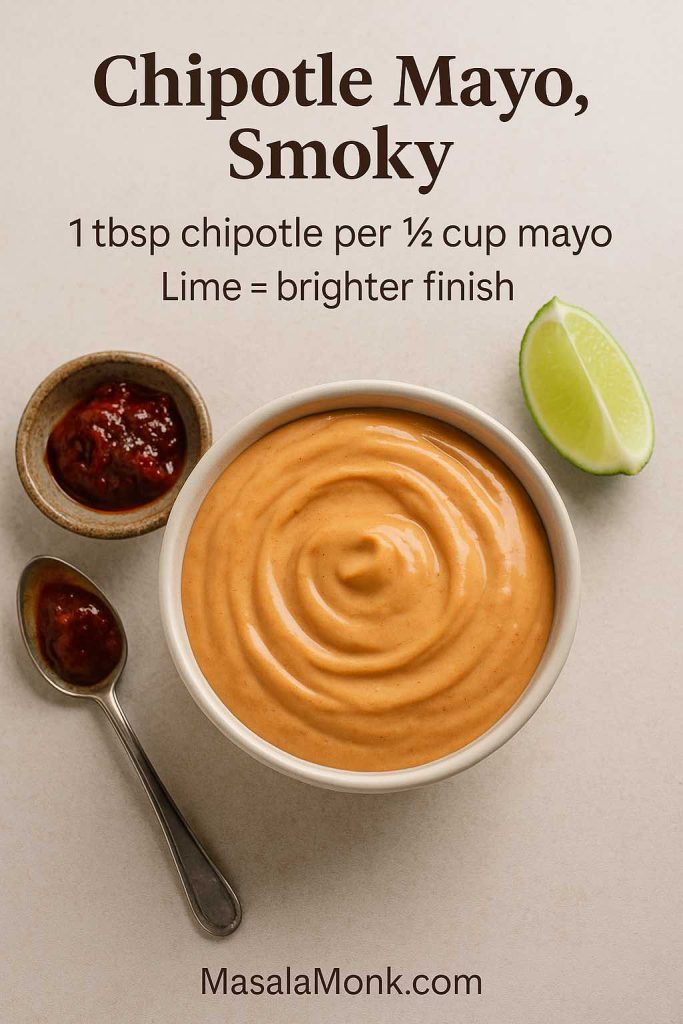
If you feel like taking chipotle and other chillies even further, the recipes in the pepper sauce collection give you a whole menu of chilli bases to stir into mayo: jalapeño, habanero, mixed pepper sauces and more.
Peri-Peri Mayo
Peri-peri sauce plus mayo gives you a bright, lemony, garlicky burn. It’s ideal as a dip for fries and potato wedges, but also brilliant smeared on grilled chicken, paneer, and vegetable skewers.
Gochujang and Wasabi Mayo Recipe
You can easily twist spicy mayo toward different cuisines:
- Gochujang mayo: mix gochujang with mayo and a little rice vinegar for Korean-inspired sandwiches and grain bowls.
- Wasabi mayo: stir wasabi paste into mayo with a squeeze of lime – this is unbeatable with sushi, tempura, or seared tuna.
Because these spicy mayo recipes usually ride alongside rich or fried foods, it’s worth pairing them with something sharp and refreshing to drink. For burger nights or snack spreads, drinks from the margarita mocktail guide, the keto mocktails lineup, or the coconut water cocktails and mocktails keep things lively instead of heavy.
Garlic Mayo and Herb Mayo Recipe
If chilli isn’t your first love, garlic and herbs are another classic way to move away from plain mayo.
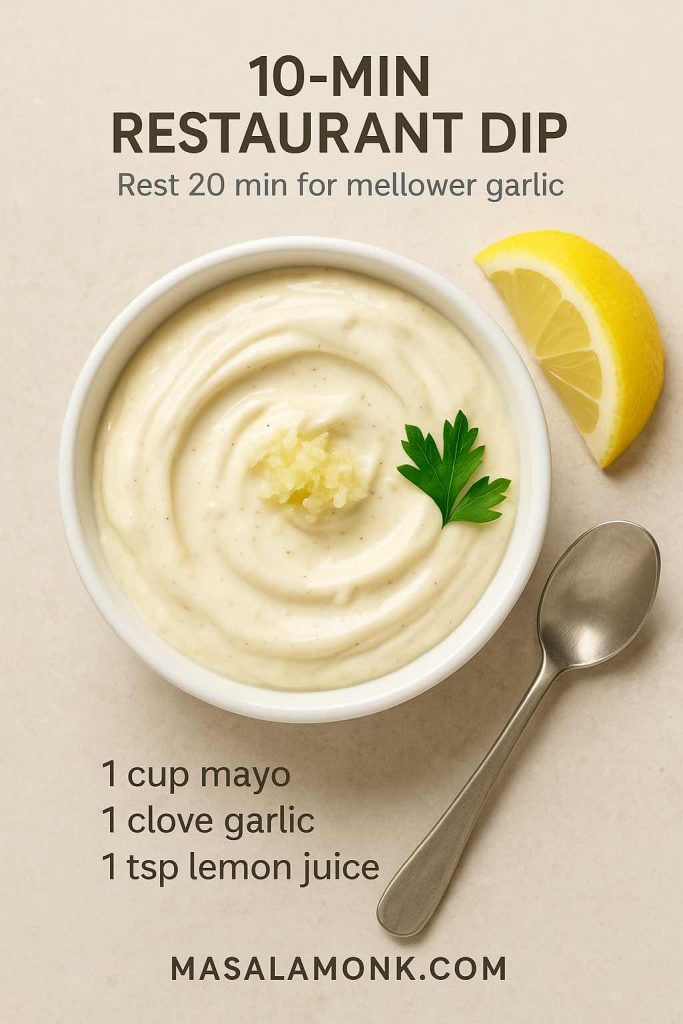
How to make Garlic Mayo (Cheat’s Aioli)
Think of this as the everyday version of aioli – less traditional, but very effective.
Ingredients
- ½ cup mayonnaise
- 1–2 cloves garlic, finely grated or crushed
- 1 teaspoon lemon juice
- Salt to taste
- Optional: a spoonful of olive oil for flavour
Stir everything together and let it rest in the fridge for 20–30 minutes so the garlic has time to mellow and spread through the sauce.
Serve garlic mayo with roasted potatoes, sweet potato wedges, grilled vegetables, kebabs, or as a burger spread. When you’d like a lighter cousin, swap to a yogurt-based dip like the cucumber-and-garlic sauces in the Greek tzatziki recipes.
How to make Herb Mayo
Herb mayo is the green, fragrant sibling of garlic mayo.
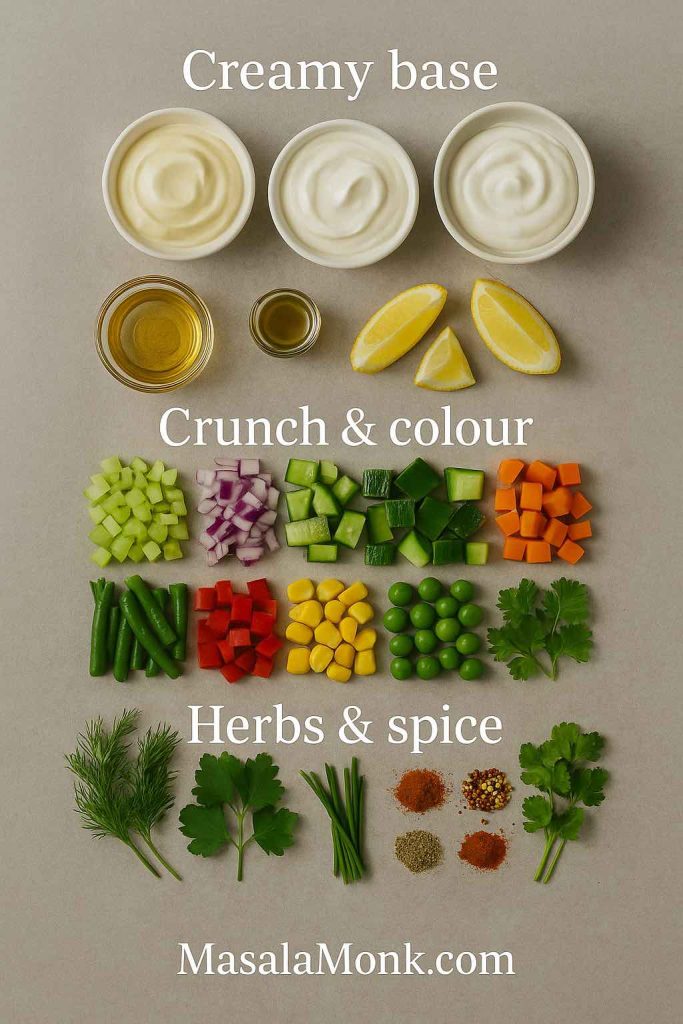
Some combinations to play with:
- Dill and chives with lemon for fish dishes and potato salad.
- Coriander, mint and green chilli for tikkas, kebabs and chaats.
- Basil and parsley for tomato-heavy sandwiches and roasted vegetables.
- Cilantro and lime with a pinch of cumin for Mexican-leaning bowls and tacos.
A basil-forward herb mayo works particularly well in sandwiches like the avocado, basil and grilled tomato sandwich, where it echoes the fresh herbs and adds creaminess.
Also Read: 10 Best Espresso Martini Recipe Variations (Bar-Tested)
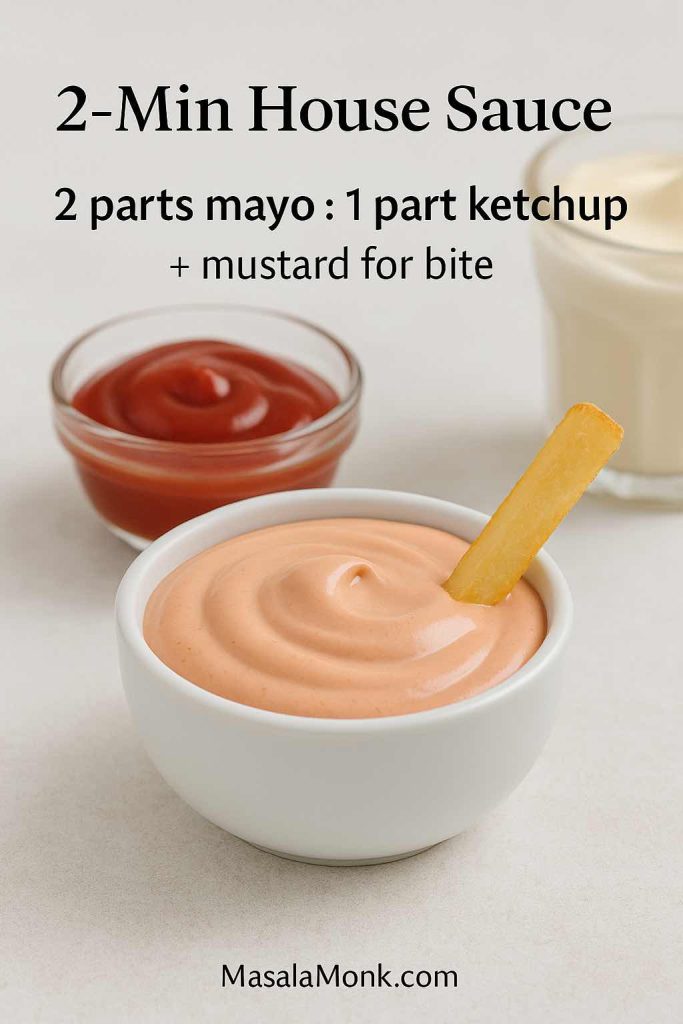
Mayo–Ketchup Sauce (Fry Sauce / Burger Sauce)
Take mayonnaise, add ketchup, and you have one of the fastest condiments on earth. In Utah and nearby regions, it’s called fry sauce. While in Argentina and Uruguay, a similar mixture goes by salsa golf. While in many burger shops, it appears as a “secret sauce” that’s secretly not that complicated.
Basic Mayo–Ketchup Sauce Recipe
Ingredients
- ½ cup mayo
- 3 tablespoons ketchup
- 1 teaspoon mustard
- Optional: a spoonful of relish or finely chopped pickles
- Optional: a dash of vinegar or pickle brine
- Optional: a pinch of smoked paprika or chilli
Mix until smooth and taste. Adjust the mayo–ketchup ratio to suit your mood. More mayo makes it richer and creamier; more ketchup makes it sweeter and more tomato-forward.
Use this sauce:
- As a dip for fries, wedges and tater tots
- Inside burgers and sliders as a “house sauce”
- As a quick dressing for shredded cabbage and carrot slaw
- With leftover vegetable fillings like the ones in the paneer sabji sandwich
If you feel like branching out from there, it’s only a short step to Thousand Island, Russian dressing and other mayo-plus-ketchup-plus-extras sauces that show up in salads and sandwiches.
Also Read: Easy Lemon Pepper Chicken Wings (Air Fryer, Oven & Fried Recipe)
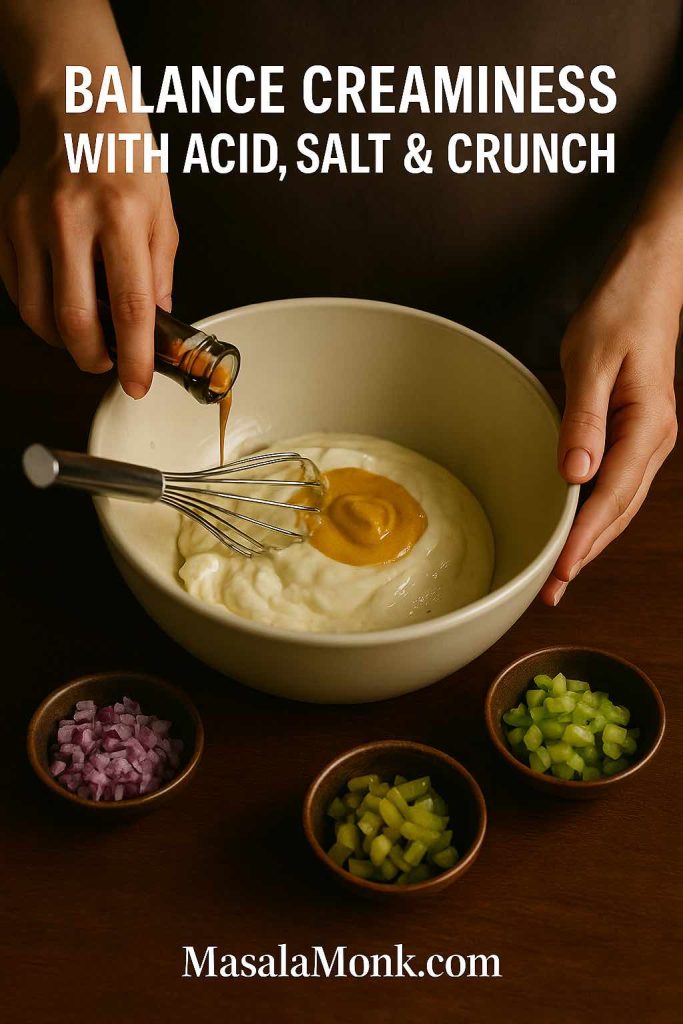
Mayo in Salads and Bowls
Because mayo is creamy, it makes salads feel like something you actually want to eat, rather than just ingredients you’re enduring. That doesn’t mean drowning everything in sauce; a few spoons often go further than you think.
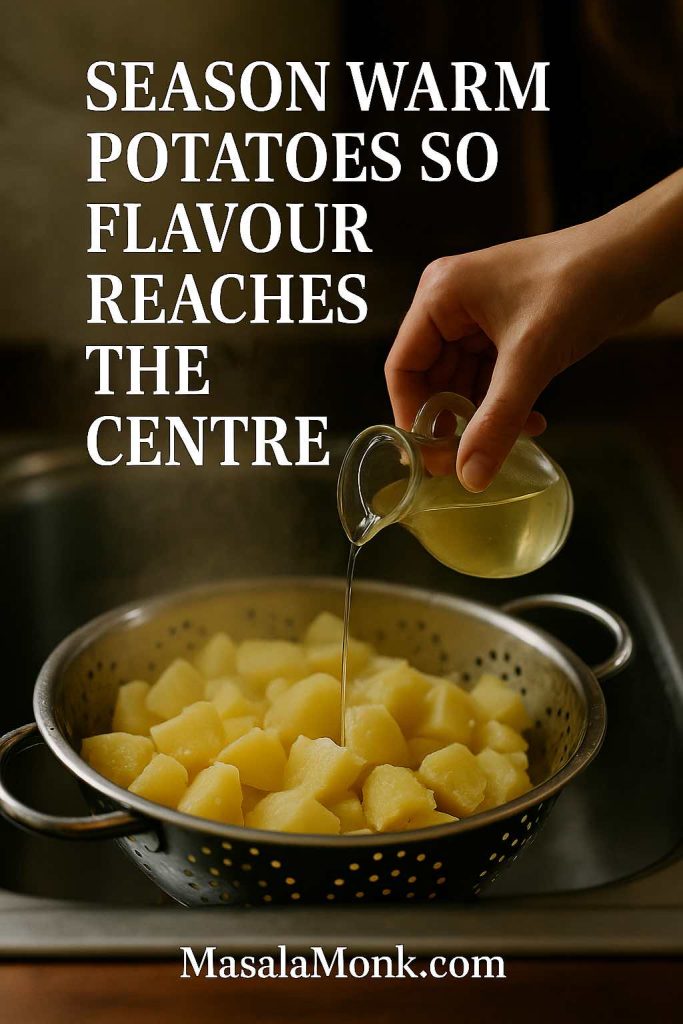
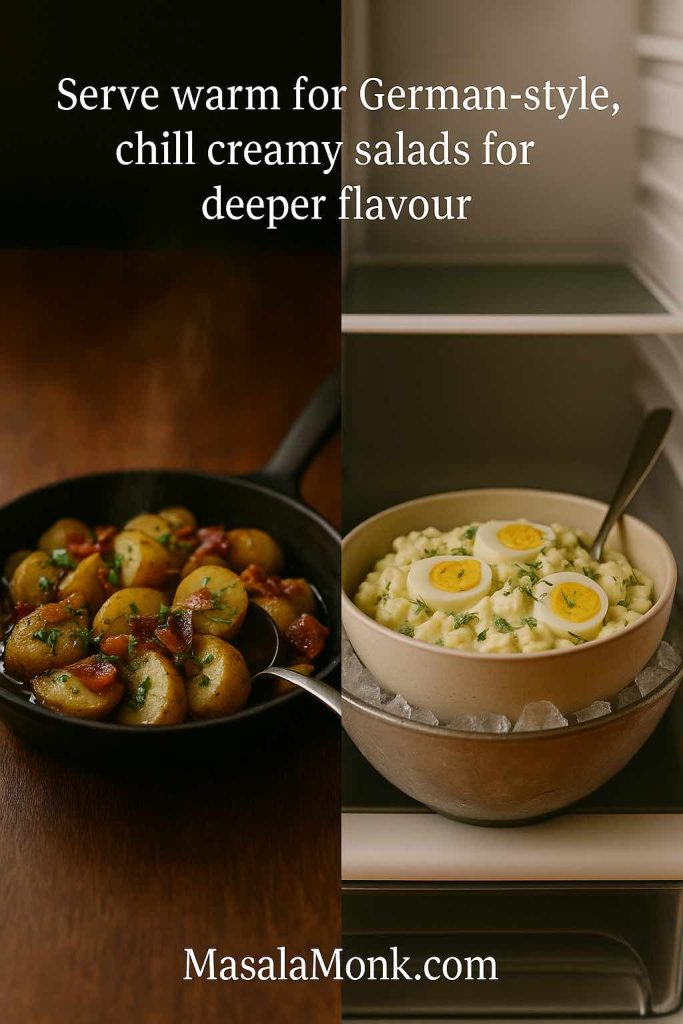
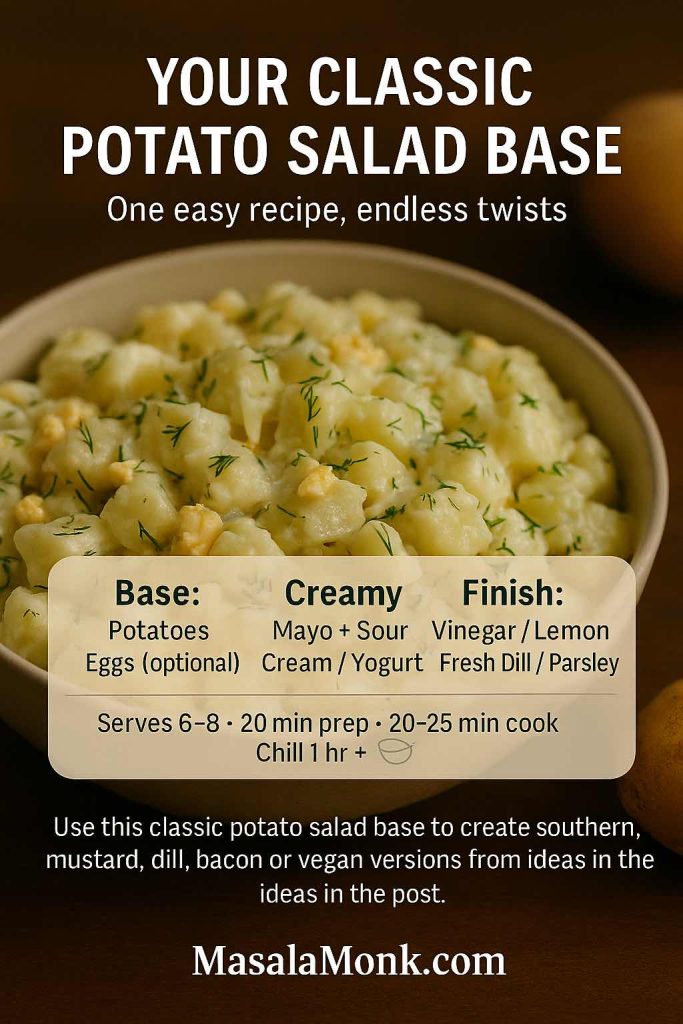
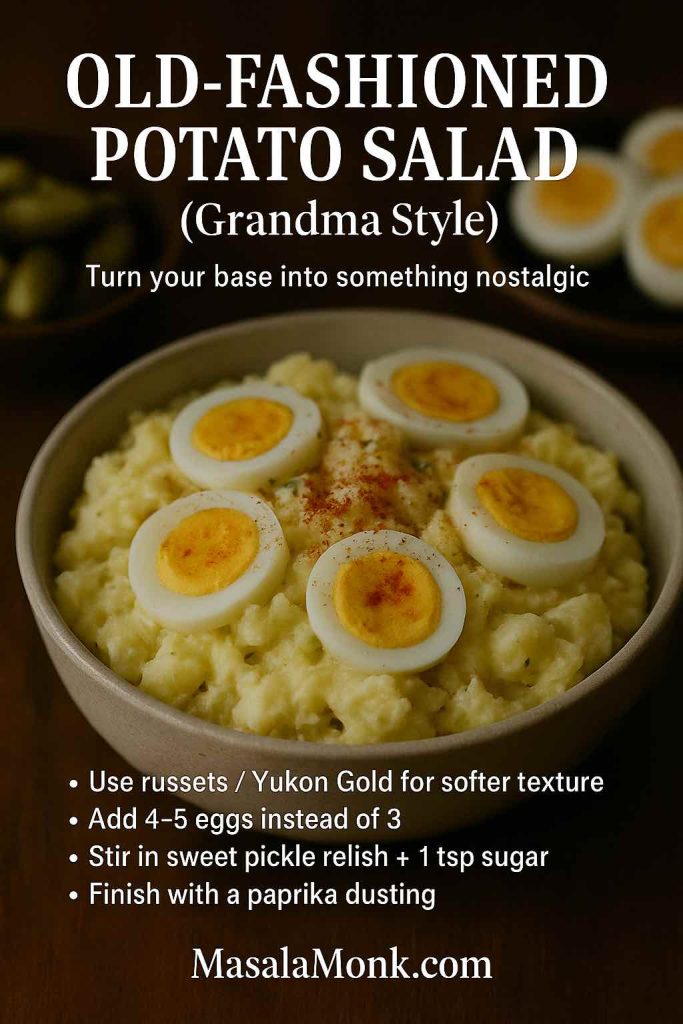
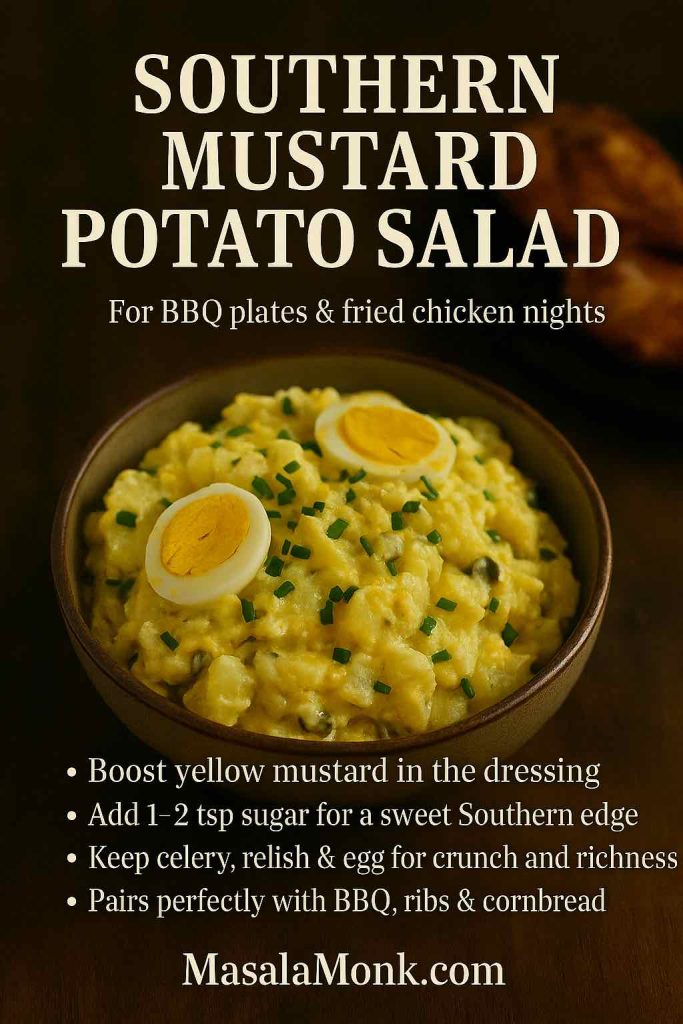
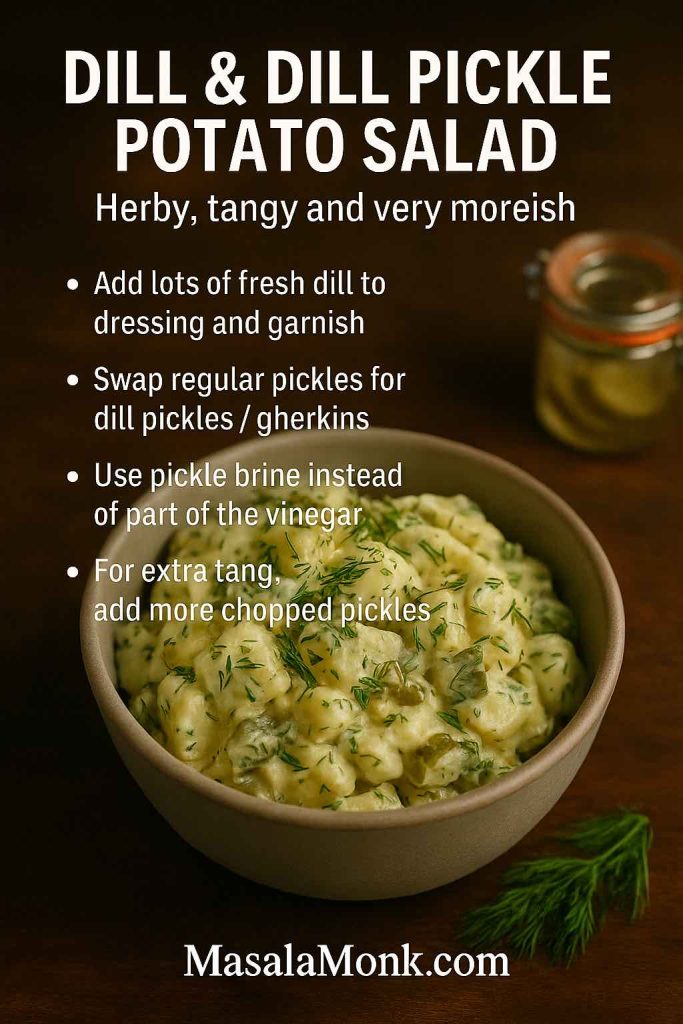
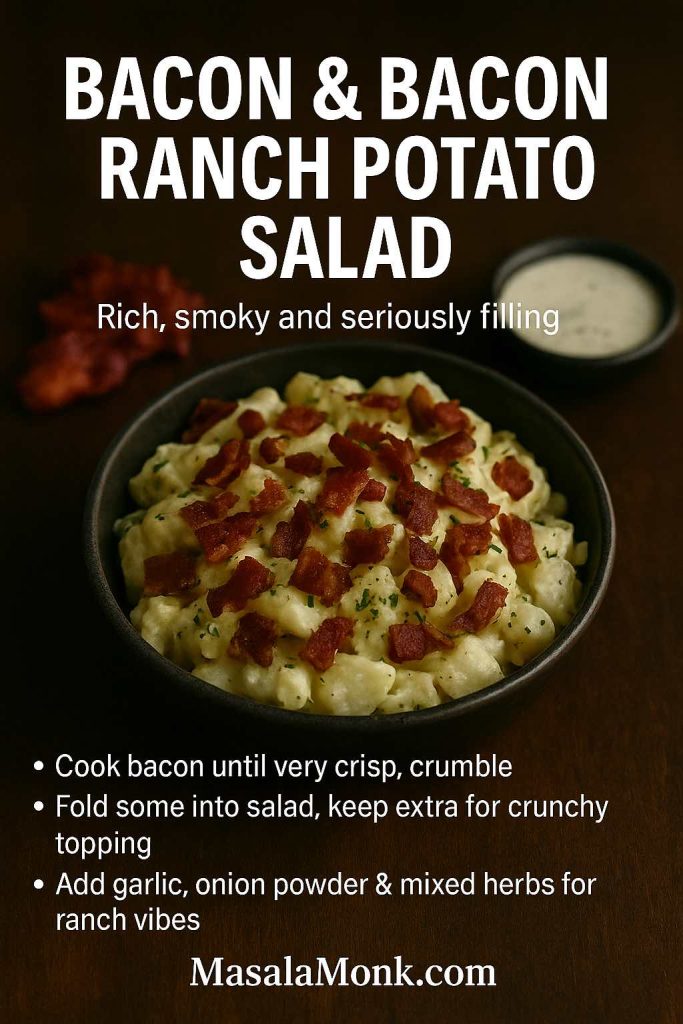
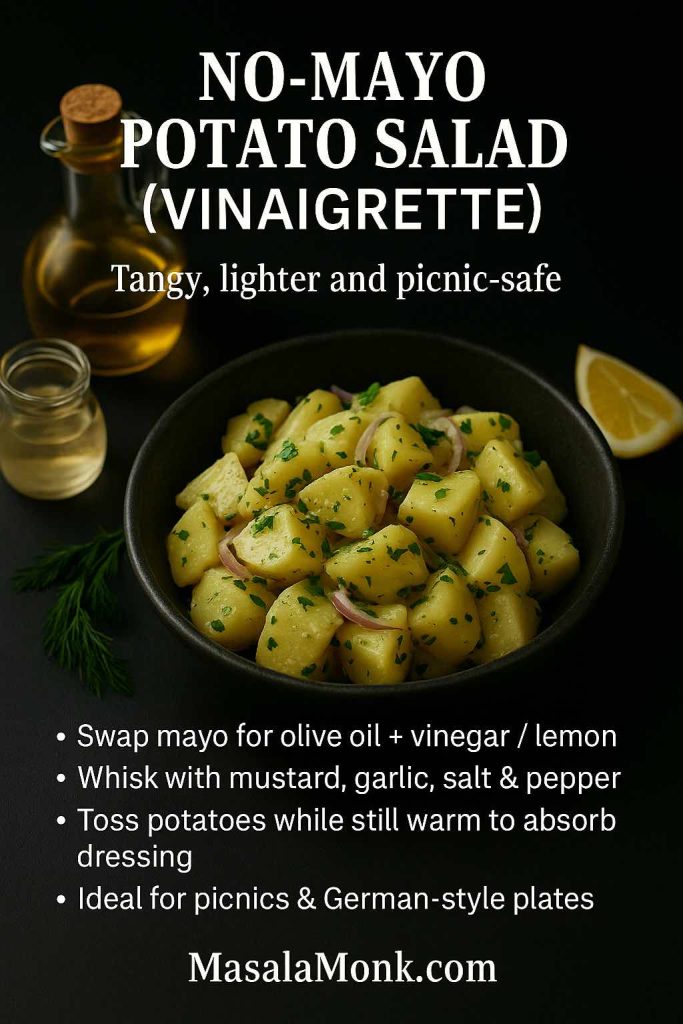
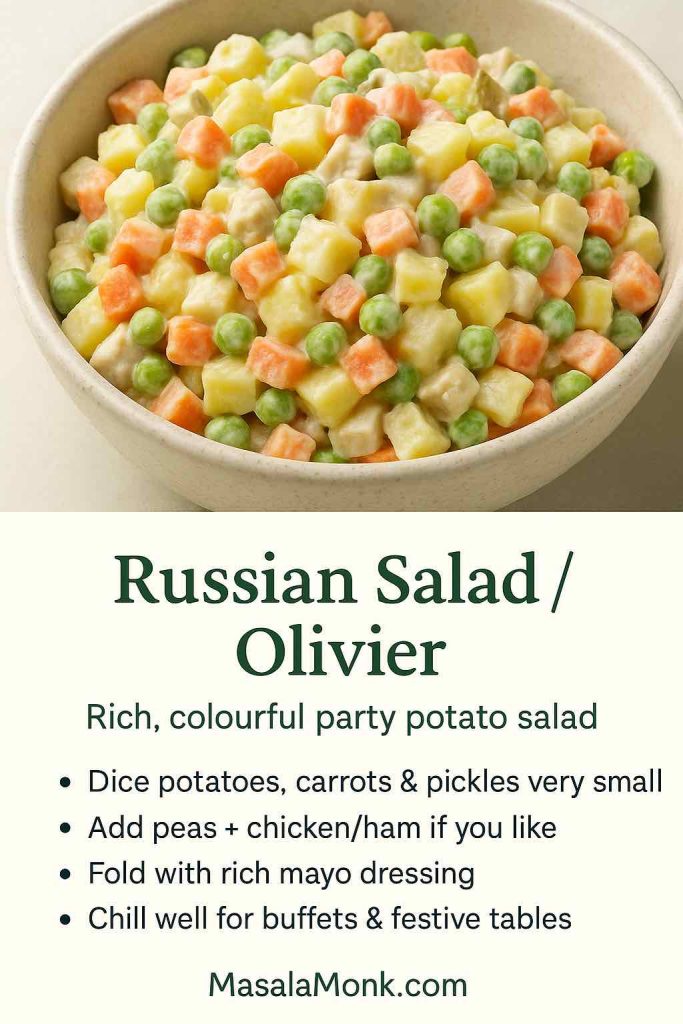
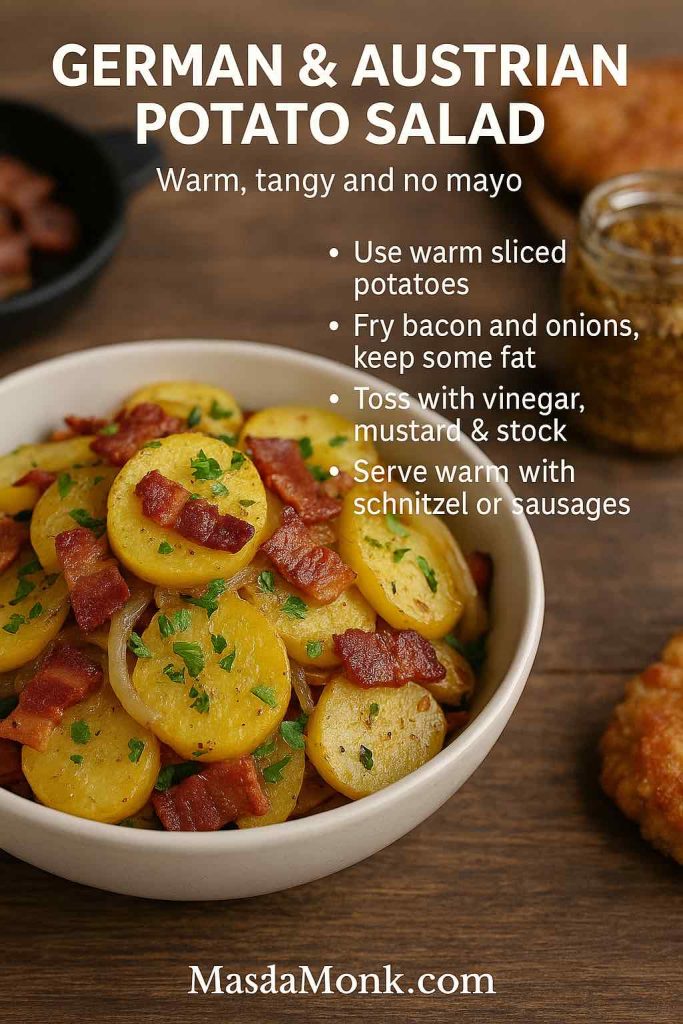
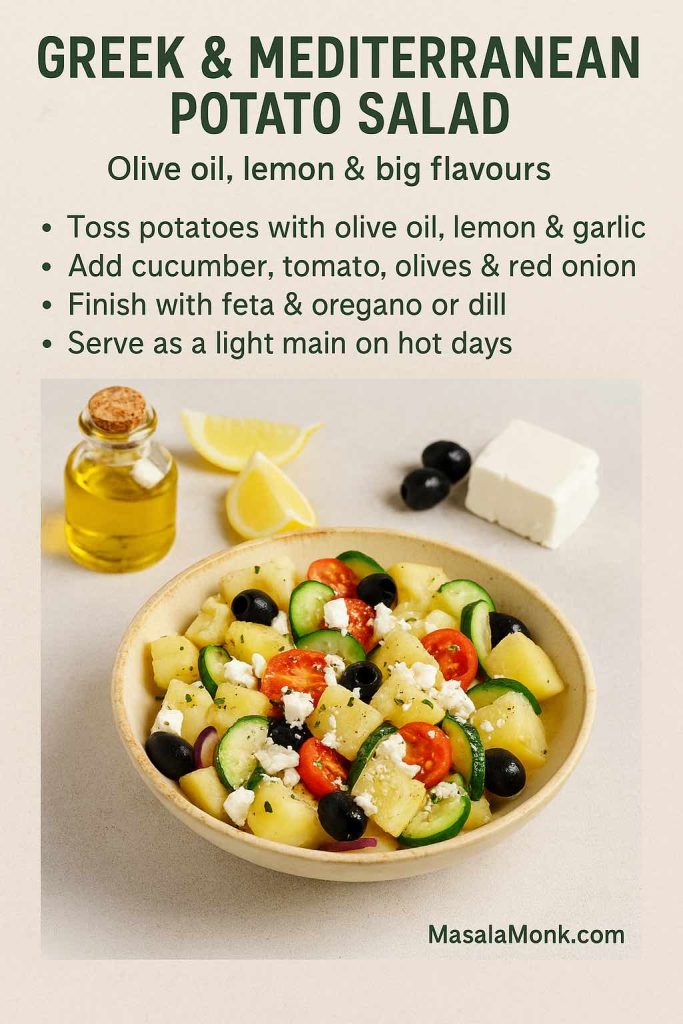
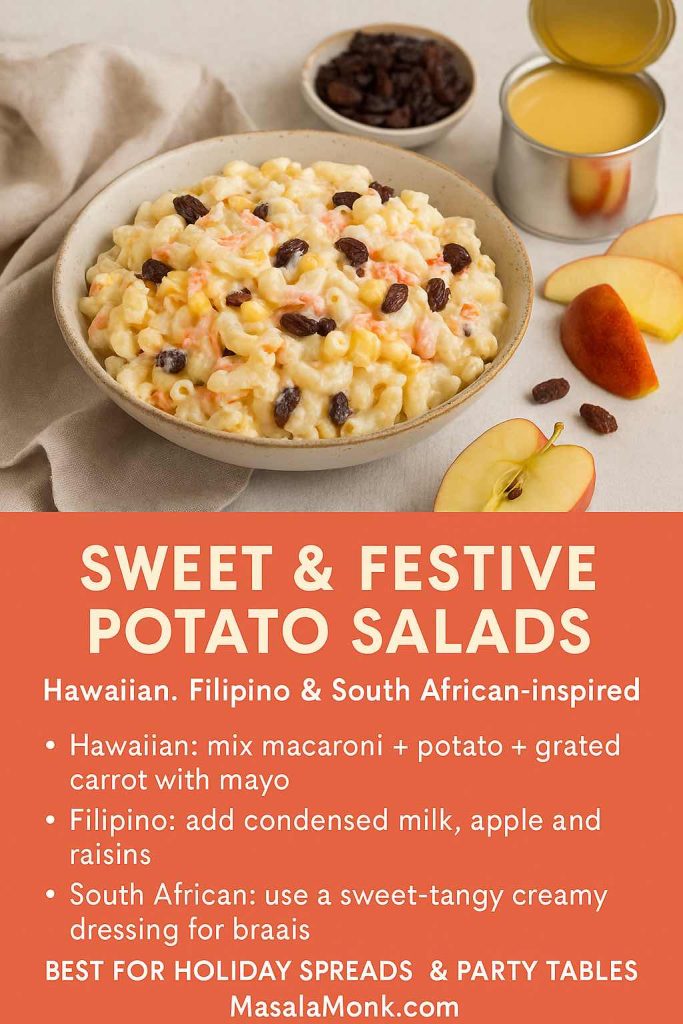
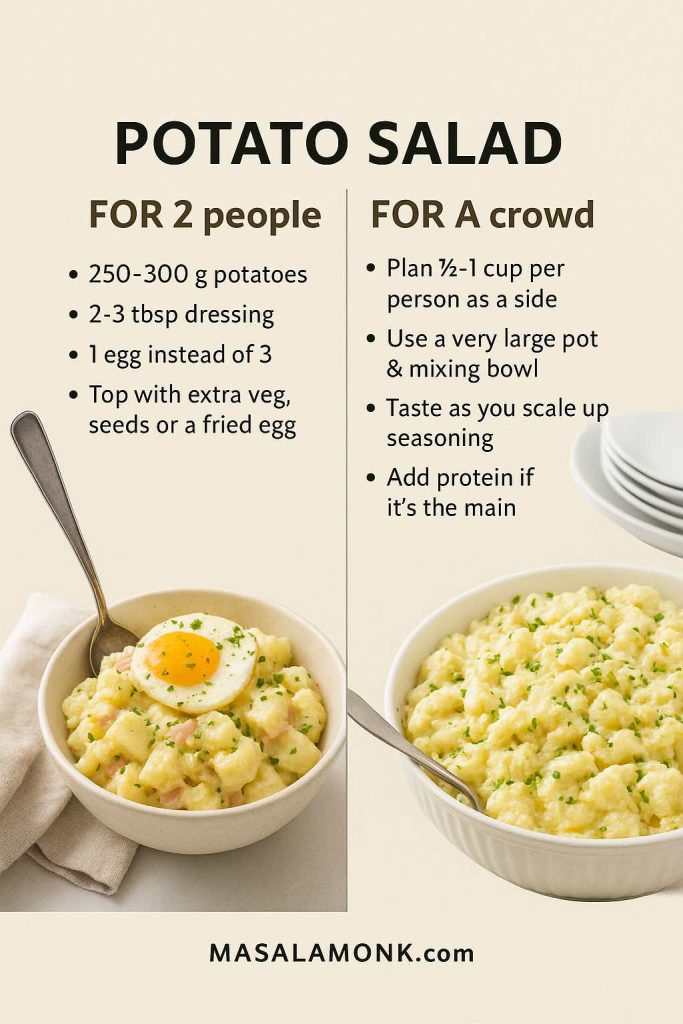
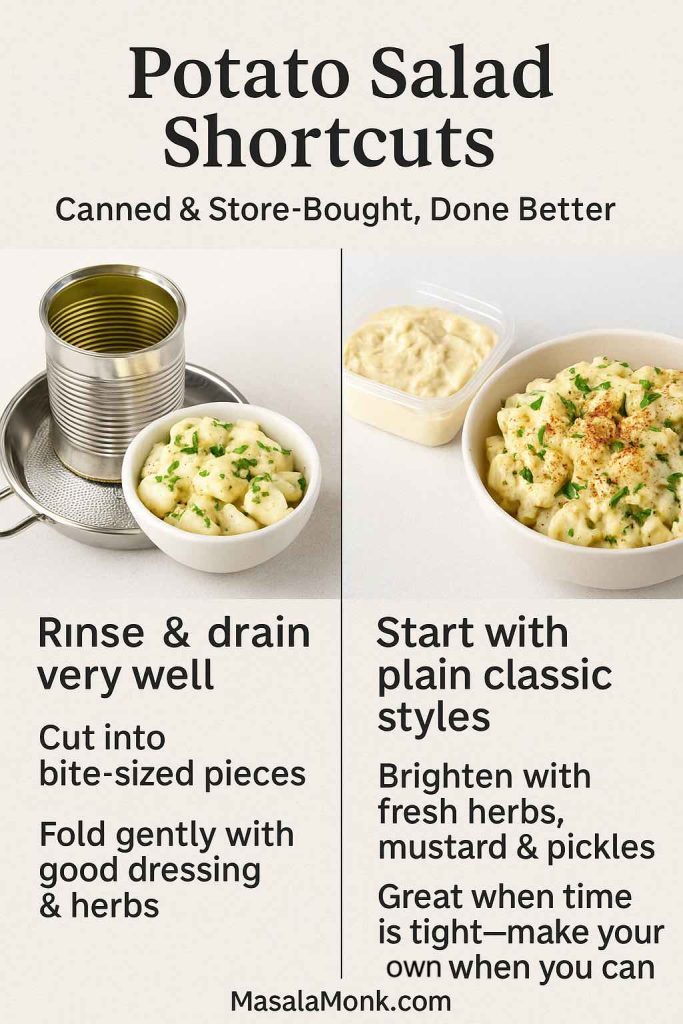
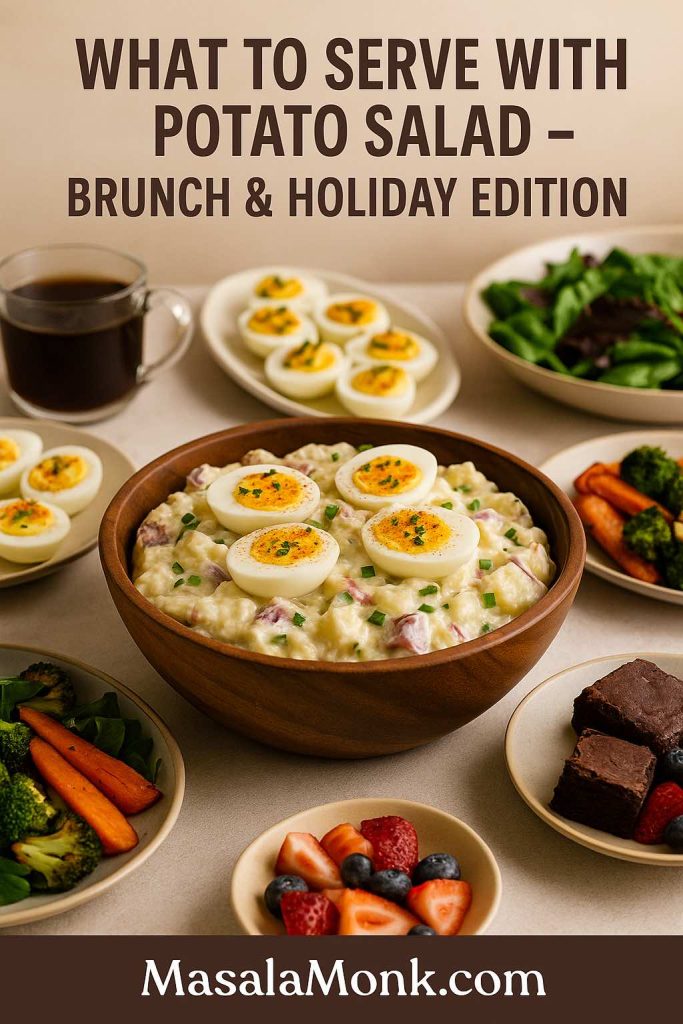
Potato Salad
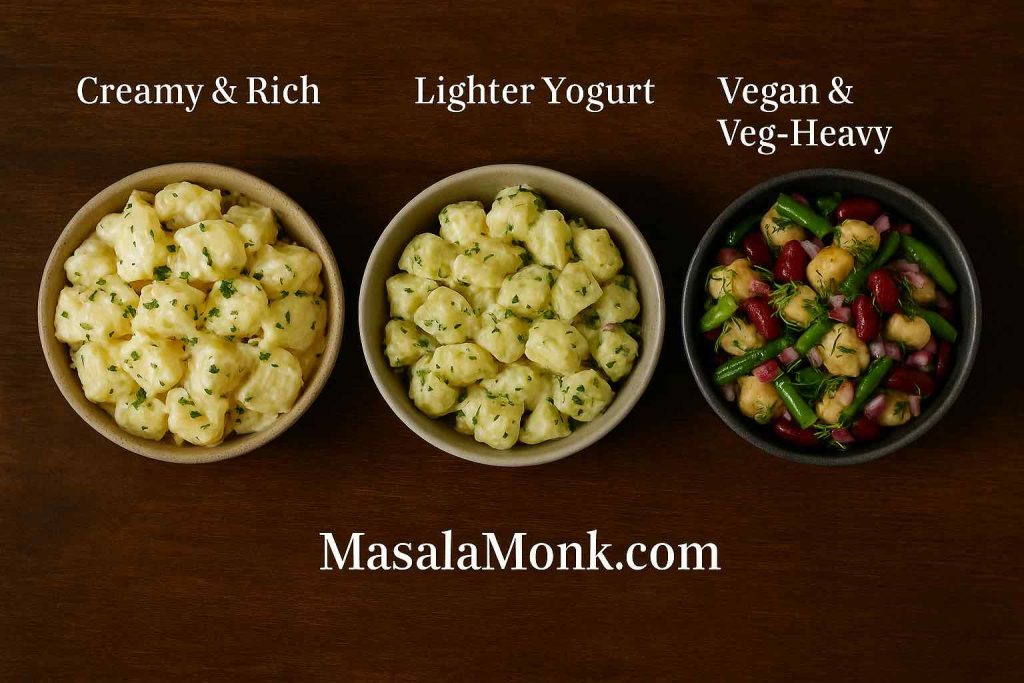
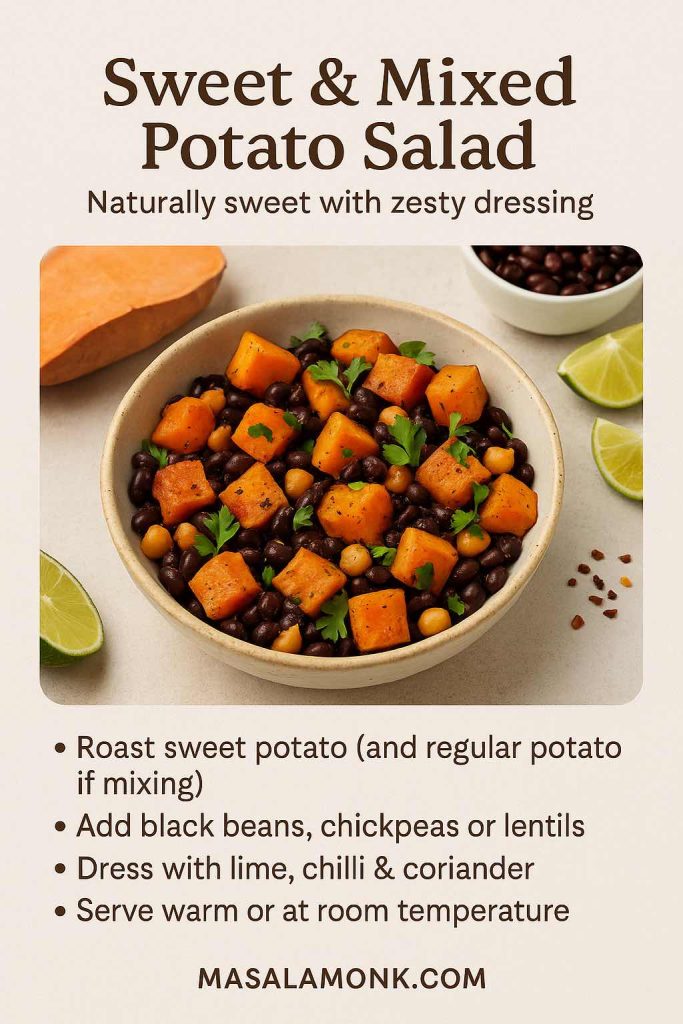
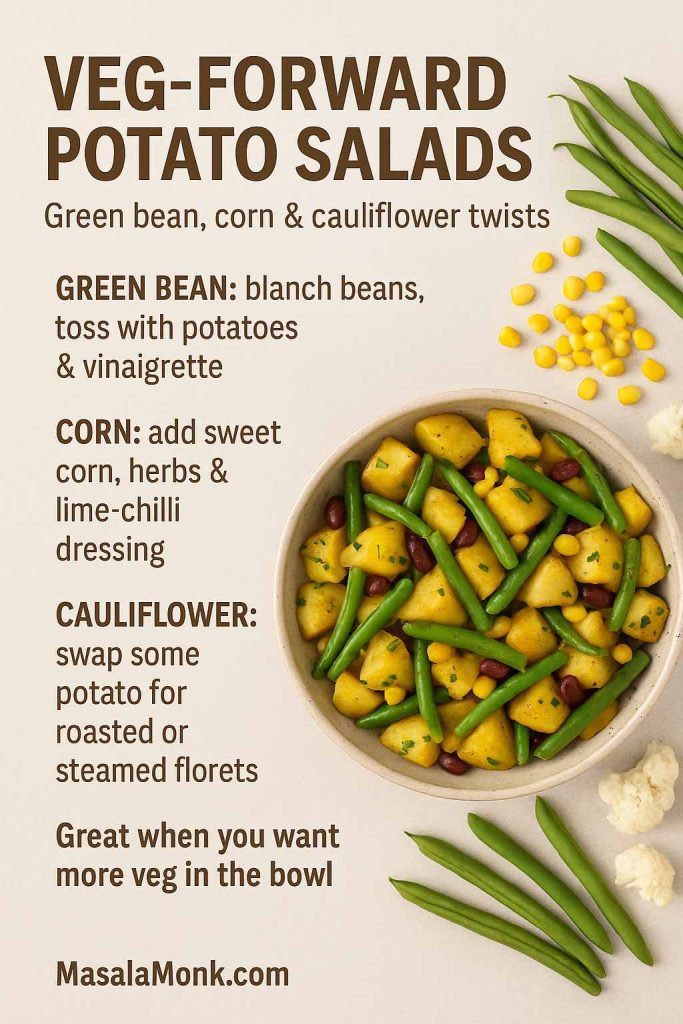
Potato salad is probably the most famous mayo-based salad of all. MasalaMonk’s potato salad recipes cover everything from traditional mayo-heavy versions to lighter, olive-oil-based and vegan takes.
You can:
- Use classic mayo plus mustard, dill and gherkins for a deli-style potato salad.
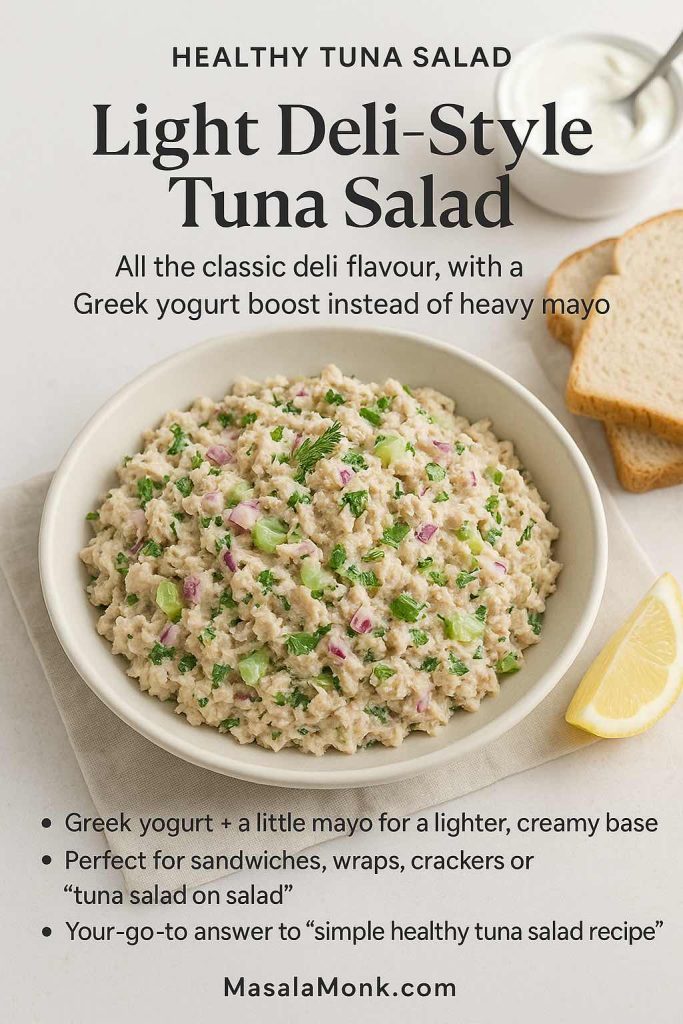
- Combine mayo and Greek yogurt for a lighter dressing.
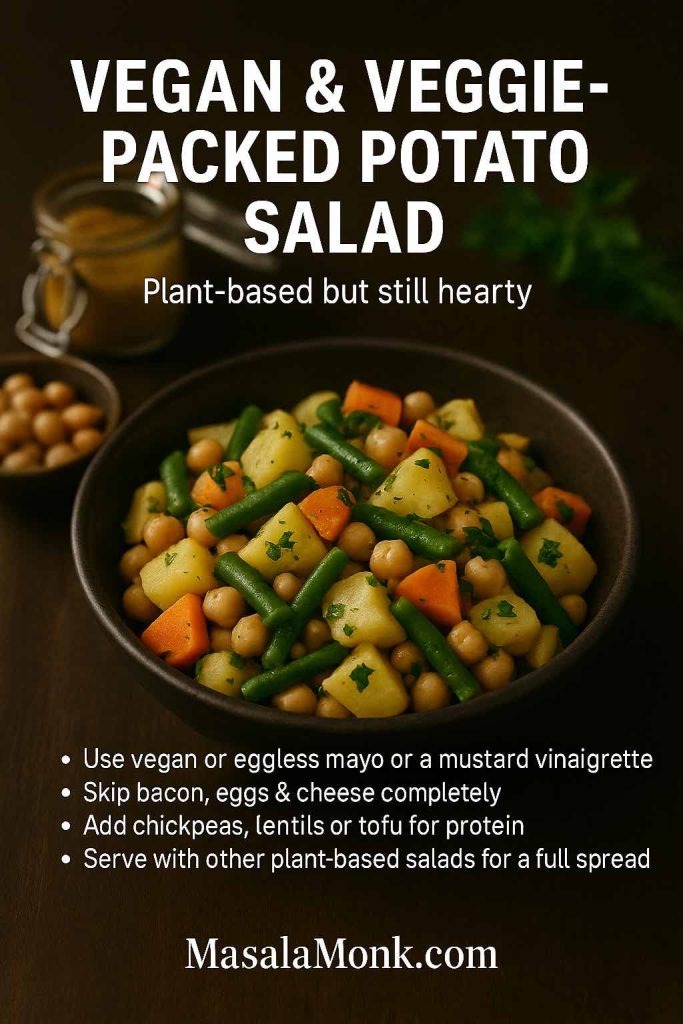
- Build a vegan potato salad with aquafaba mayo and beans for extra protein.
A similar approach works for pasta and grain salads: a small amount of mayo in the dressing adds body, while lemon juice and herbs keep the flavours bright.
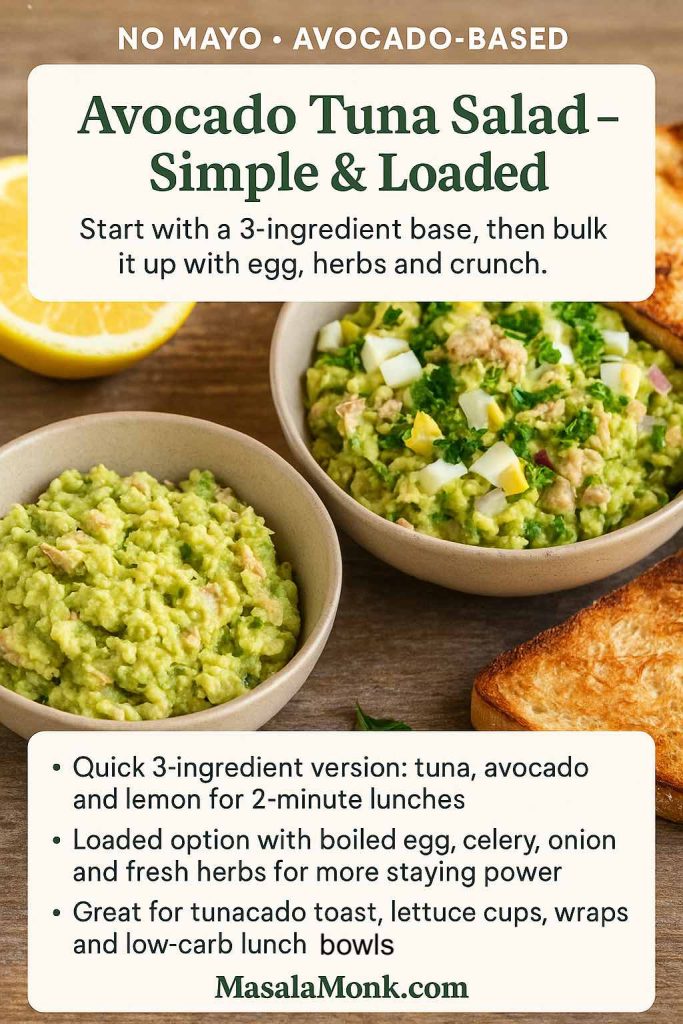
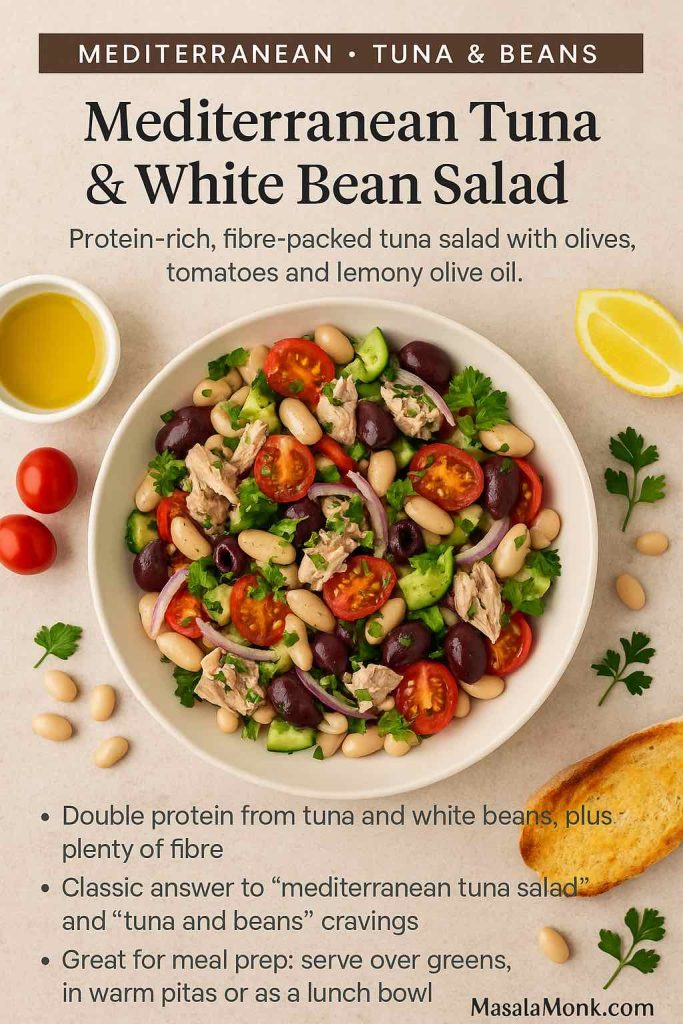
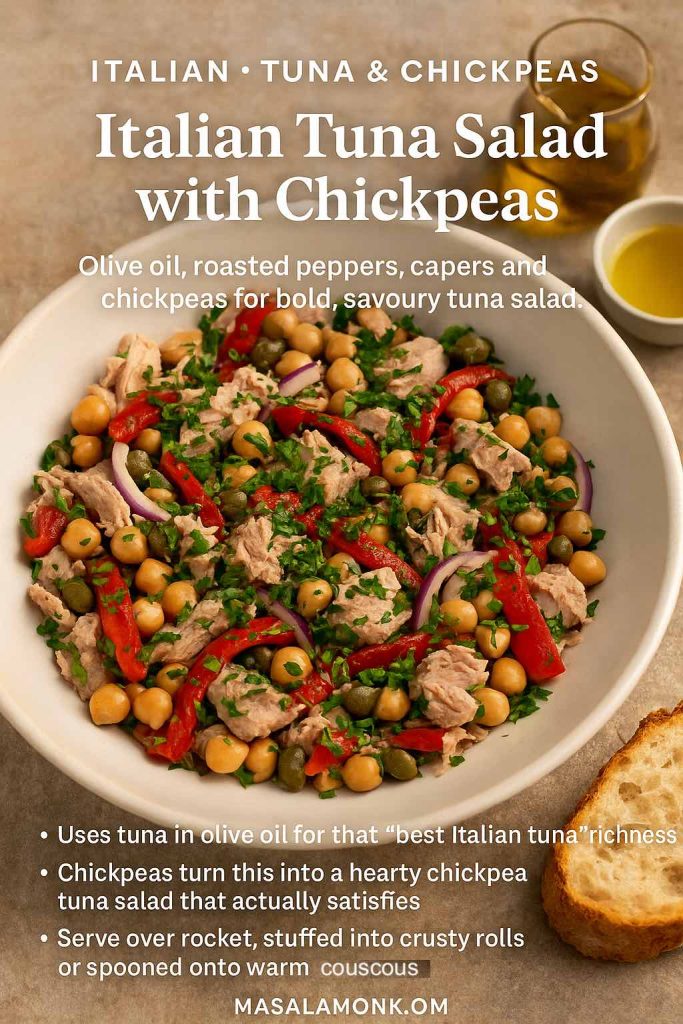
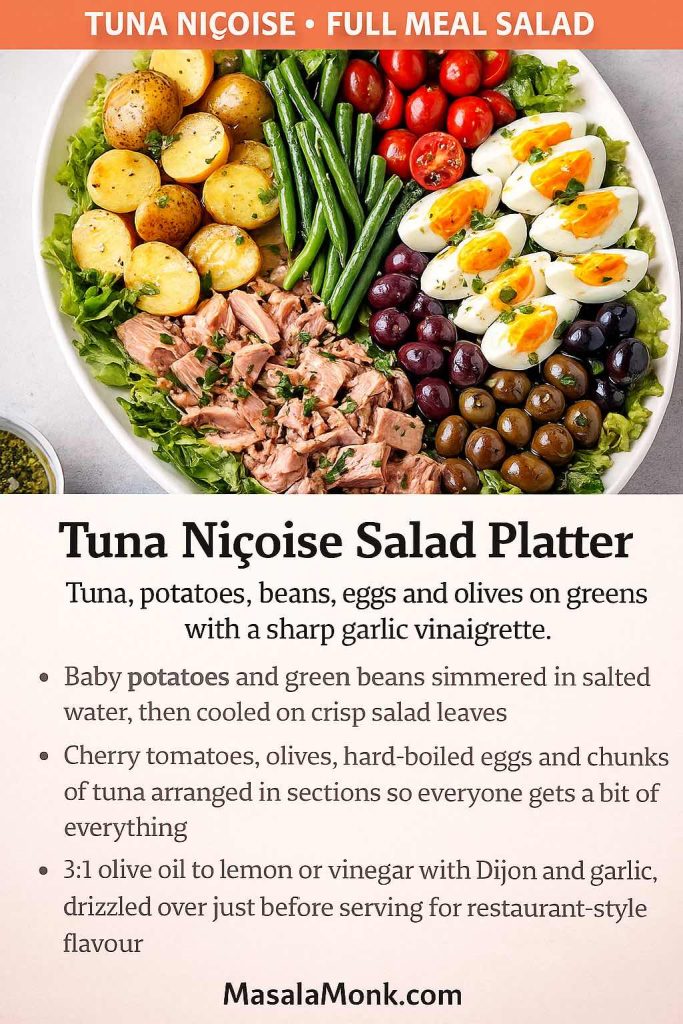
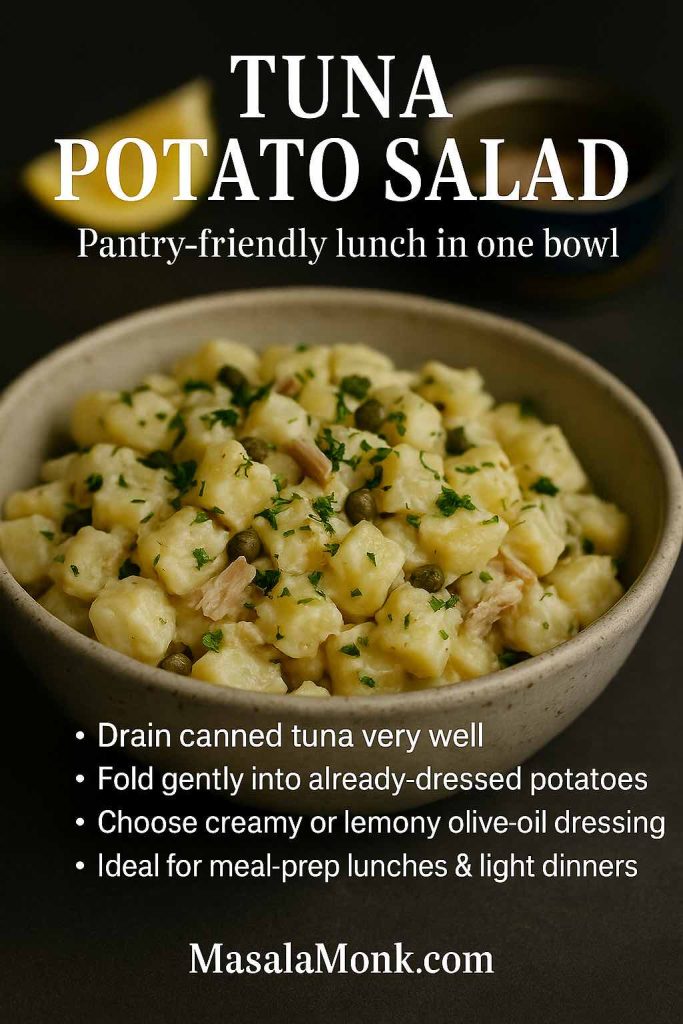
Tuna and Legume Salads
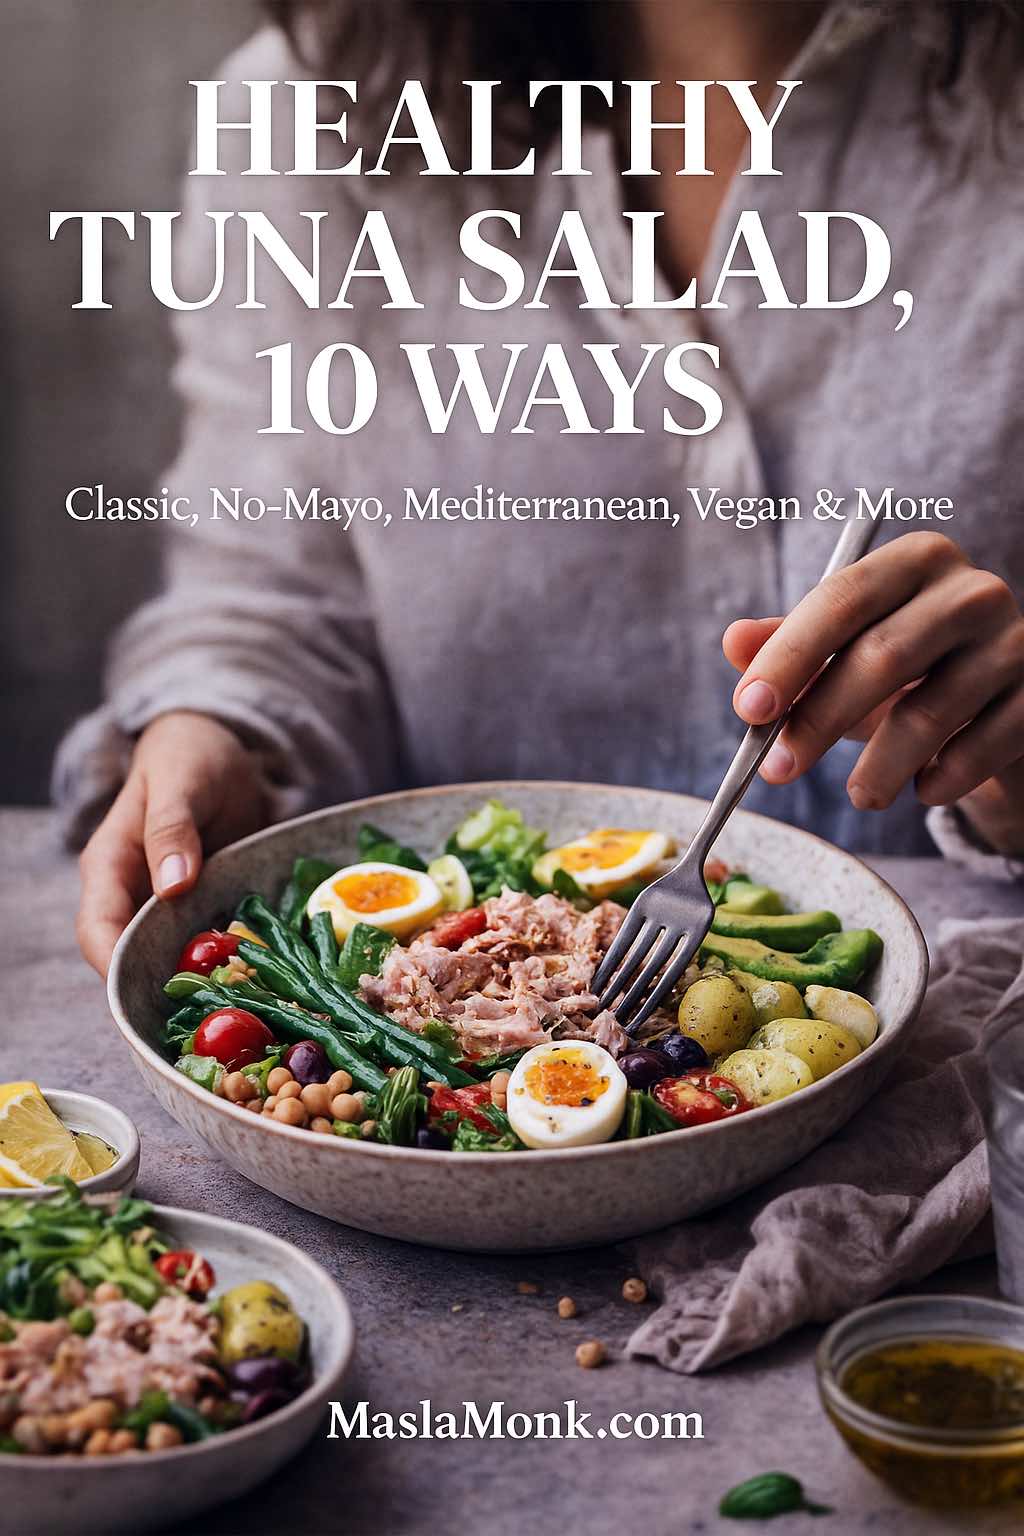
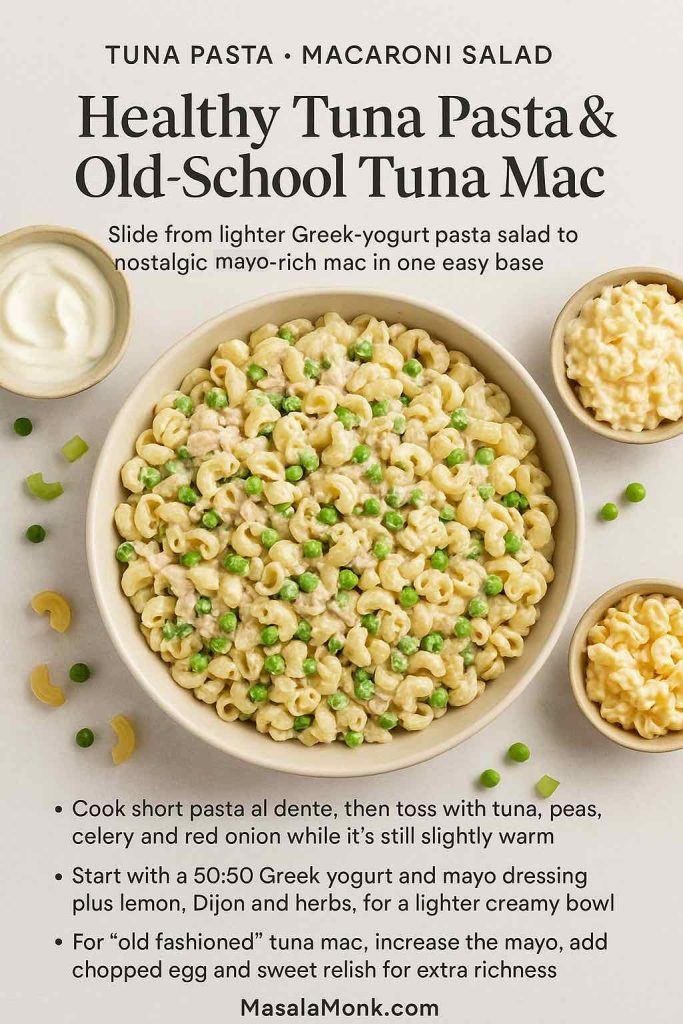
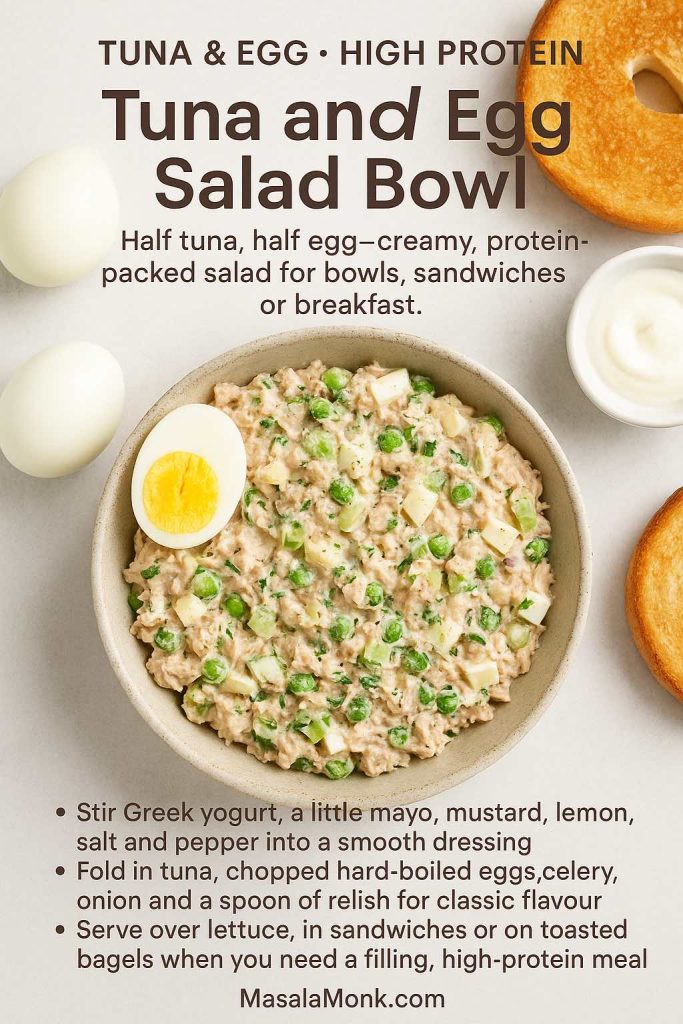
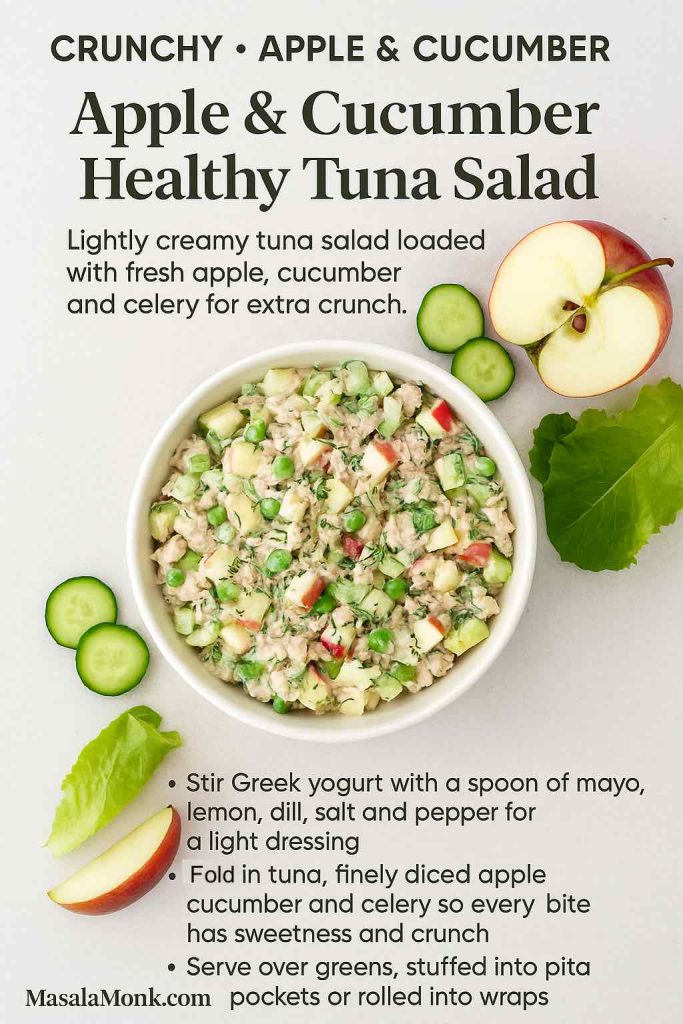
Tuna salad is essentially a way to stretch a can of tuna into a full meal, and mayo is what helps it hold together.
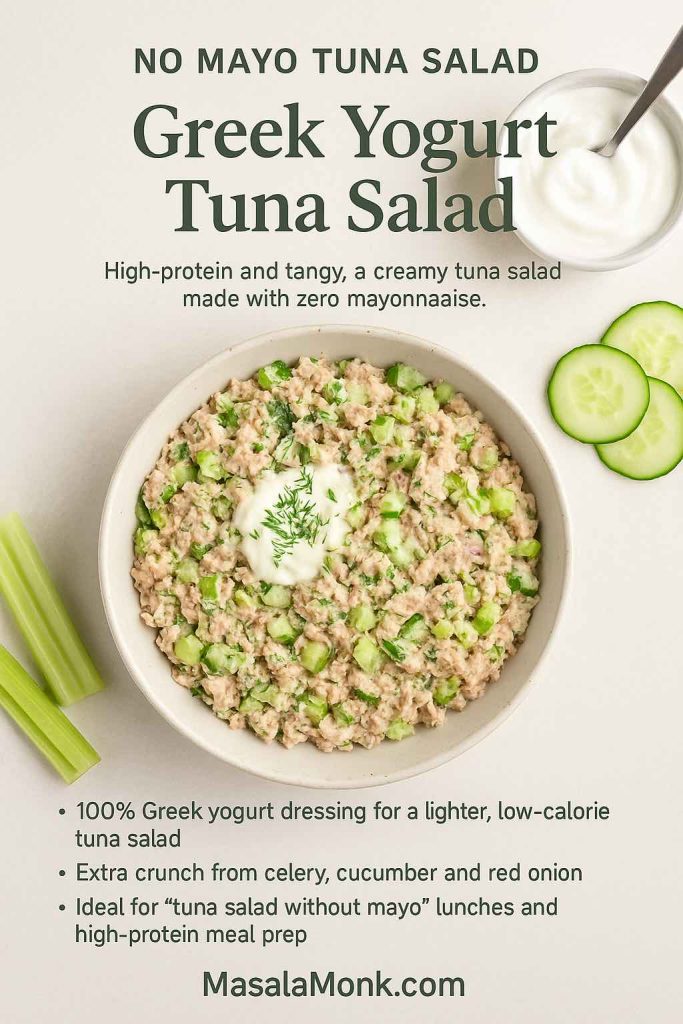
MasalaMonk’s healthy tuna salad guide shows how to balance mayo with yogurt, avocado, olive oil and crunchy vegetables so the salad feels nourishing rather than heavy.
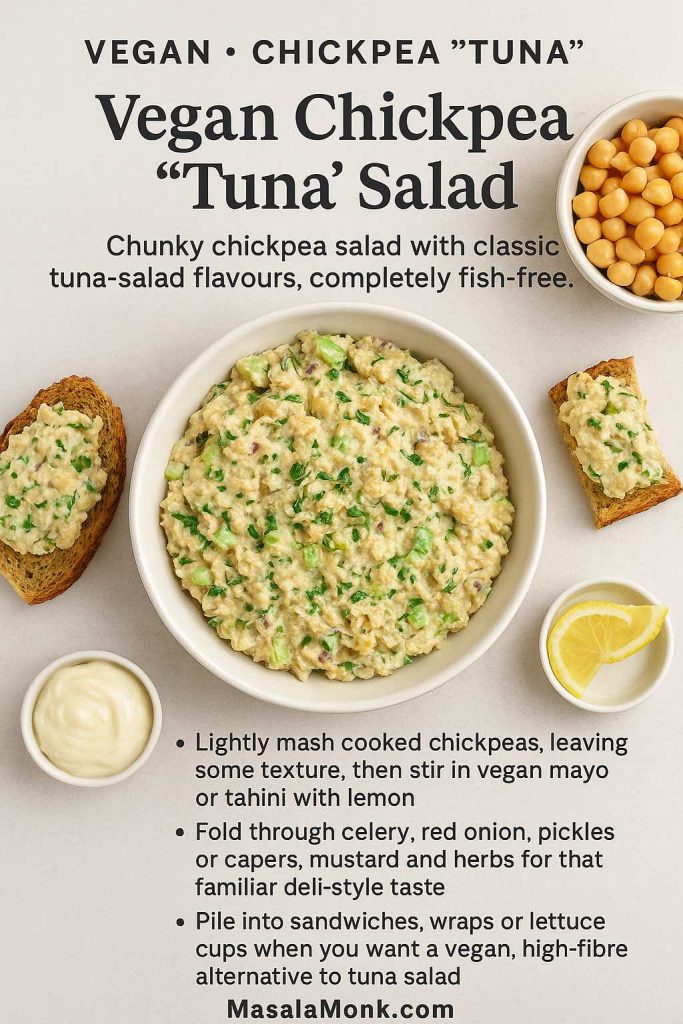
On the plant-based side, lentil and chickpea salads love a spoonful of vegan mayonnaise. Mix cooked lentils or chickpeas with chopped onion, celery, herbs, mustard, lemon juice and vegan mayo, and you get a high-protein spread that behaves a lot like tuna salad – perfect for sandwiches, wraps or lettuce cups – just like the ideas in that lentil meal prep guide.
Bowls
In bowls, mayo works best as a component, not the main event. You might:
- Add a small dollop of spicy mayo on top of a rice and veg bowl.
- Whisk mayo into a dressing for coleslaw that sits beside a grain bowl.
- Stir garlic mayo through roasted vegetables and chickpeas for a warm salad.
Bowls like the Thai-style vegan peanut butter bowl already include a creamy element, but there’s nothing stopping you adding a little vegan mayo on the side for extra richness if that’s what you’re craving.
Also Read: Cheesy Chicken Broccoli Rice – 4 Ways Recipe (One Pot, Casserole, Crockpot & Instant Pot)
Sandwiches and Wraps with Mayo
Inside a sandwich, mayo plays three roles at once:
- It adds flavour.
- It protects bread from watery fillings.
- It makes every bite feel soft and indulgent.
Spread a thin layer on both slices of bread and you immediately notice sandwiches taste more “finished”.
A few ways to plug your mayo recipes into sandwiches:
- Layer eggless mayo under the chutneys and veggies in an authentic grilled Bombay sandwich for a creamy base.
- Swap generic burger mayo for homemade garlic mayo or Japanese mayo in the mushroom cheese sandwich.
- Combine herb mayo and hummus with crunchy vegetables in the hummus veggie sandwich for an ultra-creamy, plant-based option.
If you’re thinking about nutrition as well as indulgence, the ideas in boosting your fibre intake with sandwiches show how to build gut-friendly sandwiches that lean on whole grains, legumes and vegetables, while using just enough mayo to keep everything moist and delicious.
Also Read: French 75 Cocktail Recipe: 7 Easy Variations
No-Cook Meals Featuring Mayo
On days when standing over a stove feels like punishment, mayo quietly steps in as a no-cook hero. You can build whole plates out of fresh, cold ingredients and a jar of something creamy.
MasalaMonk’s no-cook recipes for hot summer days include wraps, salads, chaas and other ideas that sit perfectly alongside mayo-based dips and dressings.
Think:
- Wraps with veg mayo, grated vegetables, cucumber, lettuce and leftover grilled paneer or tofu.
- Chickpea salads bound with vegan mayo, lemon juice and herbs.
- Vegetable sticks with three different mayo dips: garlic, spicy and herby.
Serve those with a jug of something ice-cold – maybe a sparkling drink from the apple juice mocktail recipes or one of the tangy apple cider vinegar mocktails – and you have dinner without turning on the gas.
Drinks That Pair Well with Mayo-Rich Dishes
Because mayo-based dishes are rich and fatty, the right drink can make or break the experience. You want something that refreshes and cuts through, not something that weighs the meal down further.
A few pairings that work especially well:
- Hydrating and light: With snacks and dips, an icy glass from the natural homemade electrolyte drink recipes or the DIY electrolyte drink guide keeps saltiness and heat from feeling like too much.
- Brunch-style: For egg mayo sandwiches, potato salad and other brunch dishes, tomato- and lemon-based drinks in the Bloody Mary recipe collection offer exactly the kind of bright acidity that plays well with mayo.
- Kid-friendly: Lunchboxes with veg mayo sandwiches or rolls sit nicely next to the energy-boosting drink for kids with no sugar, which leans on dates and nuts instead of syrups.
- Evening treats: When fries, sliders, mayo–ketchup sauce and spicy mayo are on the table, drinks from the margarita mocktail guide, the keto mocktails list, or the coconut water cocktails and mocktails keep everything feeling lively and balanced.
The richer the food, the brighter and more refreshing the glass should be – that’s the only rule that really matters.
Also Read: Peanut Butter Cookies (Classic Recipe & 3 Variations)
Troubleshooting Homemade Mayonnaise Recipe
Even with good technique, mayonnaise sometimes goes rogue. Instead of binning it straight away, it’s worth knowing how to fix the most common issues.
Mayo Too Thick
If your mayo has turned into something closer to putty:
- Whisk in a teaspoon of water at a time until it loosens to your preferred consistency.
- For dressing, add more acid plus water until it’s pourable.
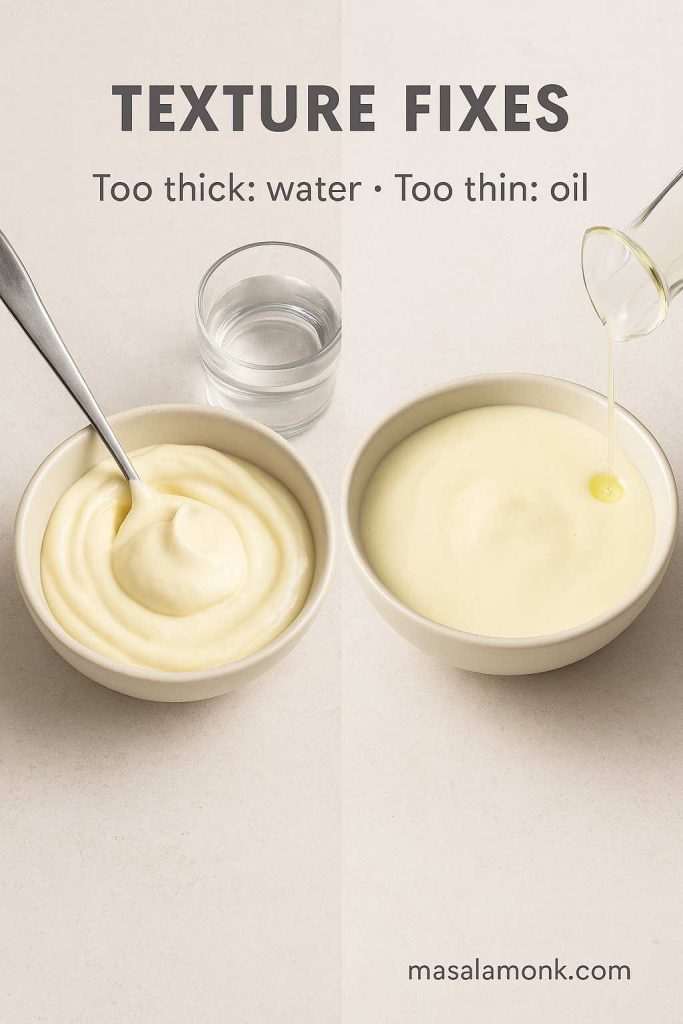
Mayo Too Thin
Runny mayo usually means not enough oil or too much acid/water.
You can:
- Slowly whisk in more oil, giving the emulsion a chance to thicken.
- Chill it; some batches firm up once cold.
- Repurpose very thin mayo as a salad dressing instead of fighting it.
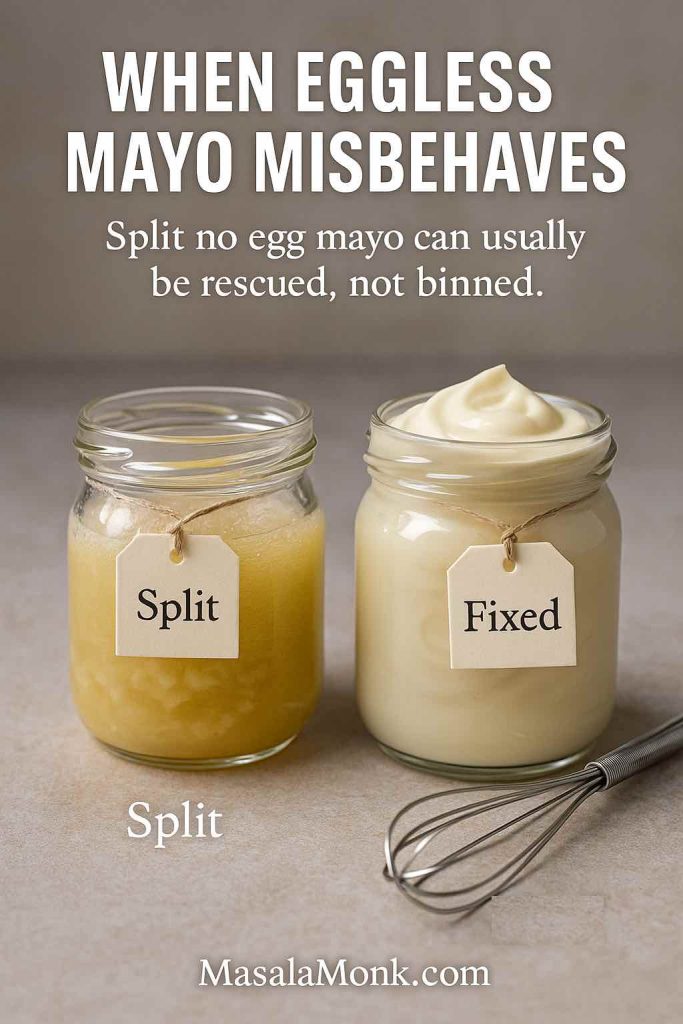
Mayo Split or Curdled
A broken mayo looks grainy and oily, with liquid weeping out. It feels like a disaster, but it’s usually fixable.
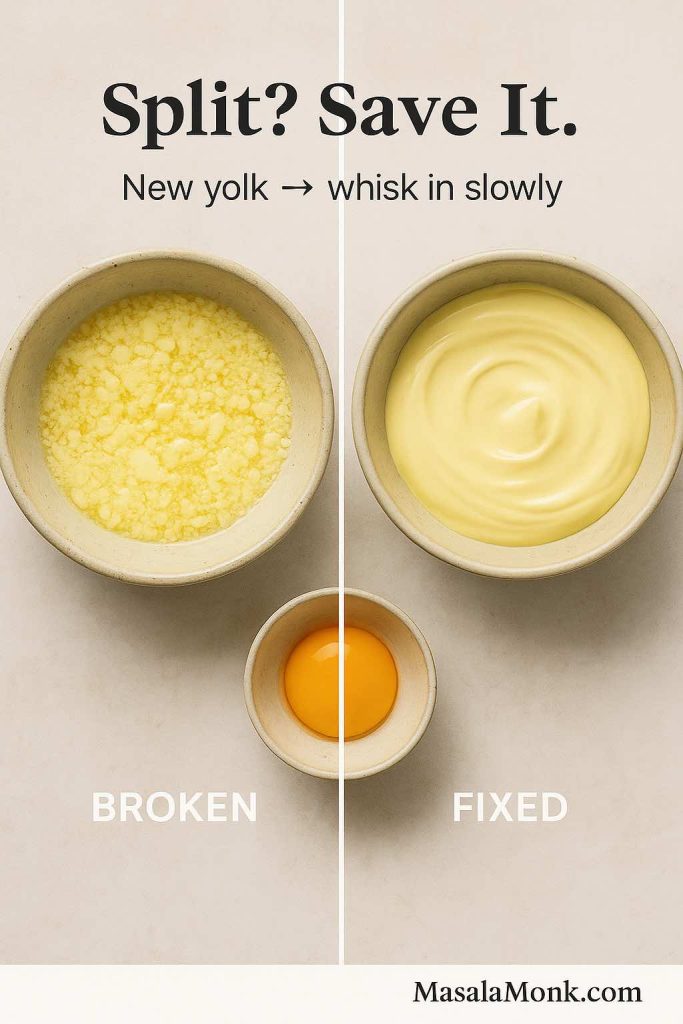
To rescue it:
- Put one fresh egg yolk (or a tablespoon of aquafaba) in a clean bowl.
- Very slowly whisk in the broken mayo, a teaspoon at a time, treating it like the “oil” in a new batch.
- Once things turn smooth and creamy again, you can add the rest of the broken mixture in a slightly faster stream.
To avoid splitting next time, keep your ingredients at similar temperatures, go slowly when building the emulsion at the start, and add extra liquid only once the base is robust.
Also Read: Easy and Healthy Oat Cookies- No Sugar | No Butter | No Refined Flour
Final Thoughts: One Mayo Recipe, Many Directions
When you look back over everything, it all starts with one simple mayo recipe: egg, oil, acid and salt transformed into a creamy emulsion.
From there, you’ve seen how to turn that foundation into:
- Classic homemade mayonnaise for everyday use
- Japanese mayo with extra yolks and rice vinegar
- Eggless mayonnaise using milk, curd or cashews
- Full vegan mayo with aquafaba or plant milks
- Spicy mayo in multiple personalities – sriracha, chipotle, peri-peri, gochujang, wasabi
- Garlic mayo and herb mayo that taste like restaurant sauces
- Mayo–ketchup sauce for fries, burgers and snack platters
And you’ve explored where those sauces go:
- Into potato salads, tuna salads and bean salads, guided by potato salad recipes and healthy tuna salad variations.
- Onto sandwiches and toasties, from Bombay toasties and mushroom cheese melts to hummus veggie sandwiches and the high-fibre builds in the sandwich fibre guide.
- Through no-cook summer plates from the no-cook recipes collection where mayo-based dips and dressings quietly hold everything together.
Once you understand that mayonnaise is just a technique for persuading oil and water to work together, it stops being a mystery and starts being a playground. From there, every new variation – whether it’s a Japanese mayo recipe, a vegan mayo recipe, a veg mayo, a garlic mayo or a spicy mayo – is just another small twist on a skill you already own.
FAQs about Homemade Mayonnaise or Mayo Recipe
1. What is the simplest mayo recipe for beginners?
A very basic mayo recipe uses just egg, oil, lemon juice or vinegar, salt, and a little mustard. You blend or whisk one egg with mustard, salt, and acid, then slowly emulsify in about a cup of neutral oil until it turns thick and creamy. Once that works for you consistently, you can start adjusting the seasoning and texture to match your taste.
2. How is a mayonnaise recipe different from a regular sauce?
Unlike most sauces that are just mixed or reduced, a mayonnaise recipe creates an emulsion: tiny droplets of oil trapped inside a water phase made from egg and acid. Because of that structure, it becomes thick, glossy, and spreadable without needing flour, starch, or cooking.
3. Which oil is best for homemade mayonnaise?
For most people, a neutral oil like sunflower, canola, or grapeseed gives the most versatile homemade mayonnaise. These oils stay in the background so the flavour of lemon, vinegar, garlic, or herbs can shine. If you enjoy more personality, you can blend in some light olive oil or avocado oil, but it’s better to avoid using only very strong extra-virgin olive oil, as it often turns the mayo bitter.
4. Why does my mayo recipe sometimes split or go runny?
Usually, a broken mayo recipe comes from adding the oil too fast, working with ingredients that are too cold, or not having enough egg yolk or mustard for the amount of oil. Once the emulsion fails, the mixture looks oily and grainy instead of smooth. Fortunately, you can rescue it by starting a fresh yolk in a clean bowl and slowly whisking the broken mixture into it like new “oil.”
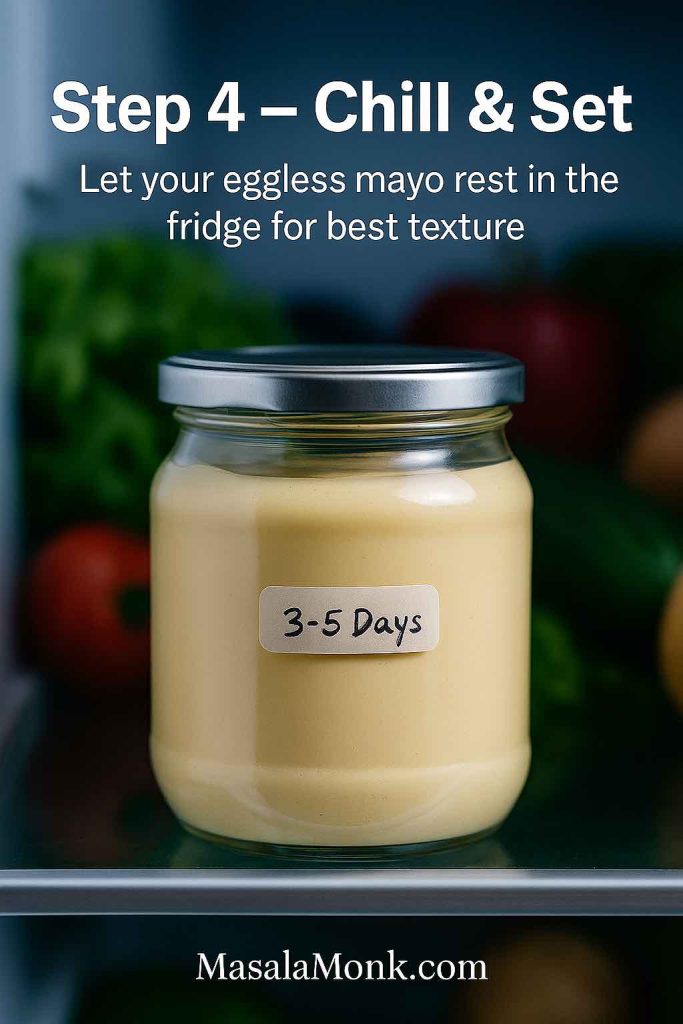
5. How long does homemade mayonnaise last in the fridge?
Typically, homemade mayonnaise lasts about three to five days in a well-sealed container in the coldest part of your fridge. Because it often uses raw egg, it’s safer to make small batches and finish them quickly. If the colour, smell, or texture changes in a strange way, it’s better to discard it and make a fresh mayo recipe rather than risk food poisoning.
6. Is mayonnaise healthy or unhealthy?
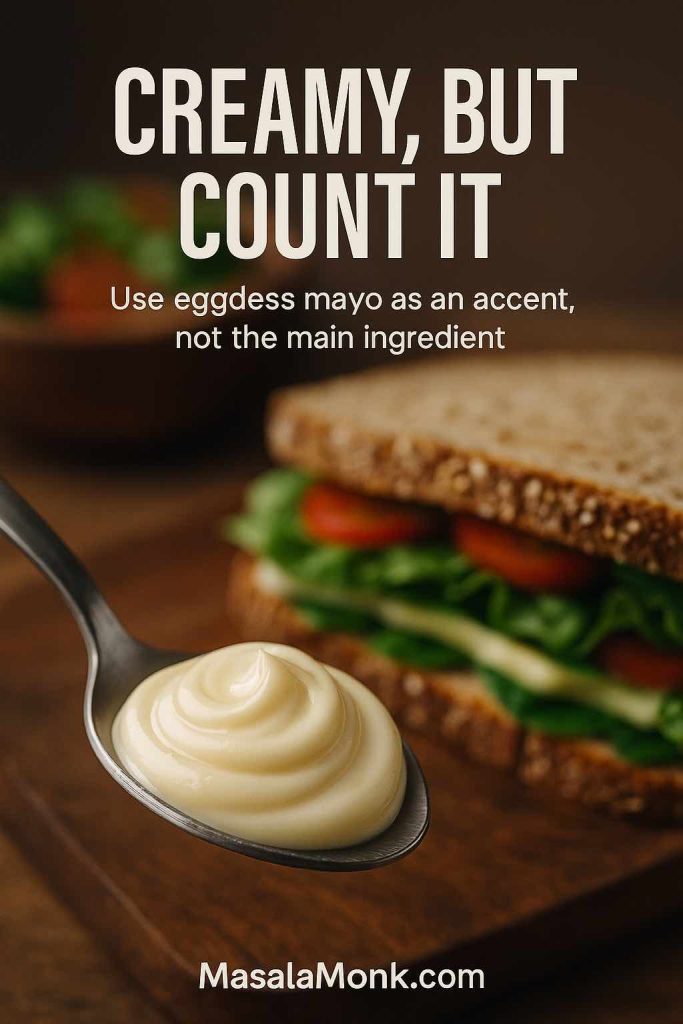
Mayonnaise is high in fat and calories, so it’s energy-dense. That said, it can still fit into a balanced diet if you treat it as a flavour booster instead of the main ingredient. When you choose oils rich in unsaturated fats, like sunflower or avocado, and use your mayo recipe sparingly in salads and sandwiches, it becomes more of a useful accent than a nutritional problem.
7. Can I make a mayo recipe without egg?
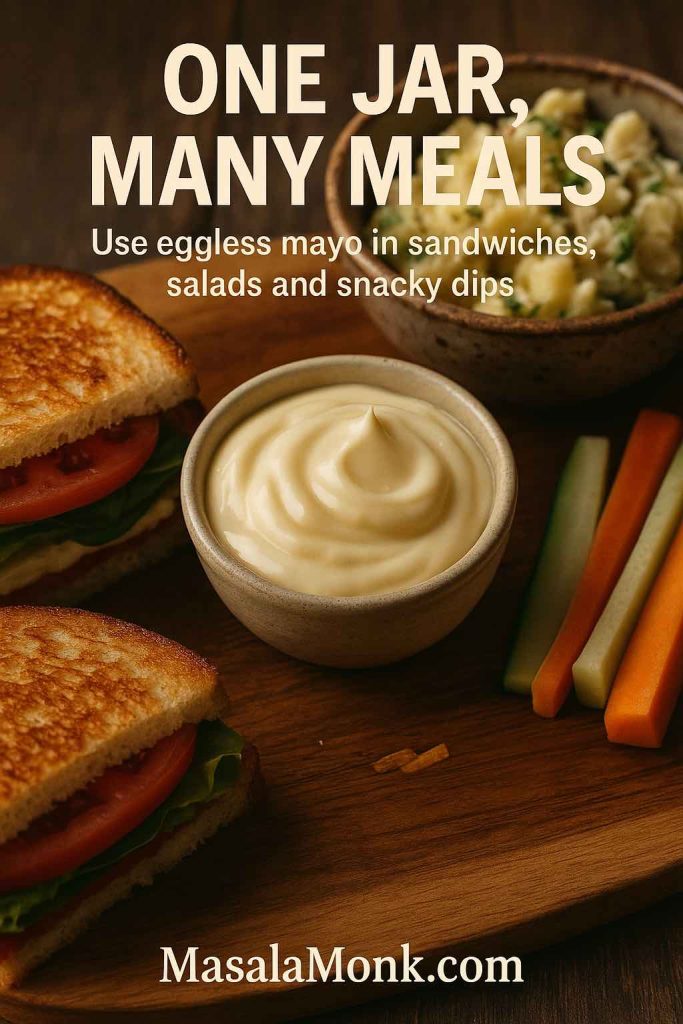
Yes, you can absolutely make a mayo recipe without egg. Eggless mayonnaise recipes often use milk, curd, cashews, or aquafaba (chickpea liquid) as the water phase and emulsifier. Once you blend those with oil, acid, and seasoning, you still get a thick, creamy veg mayo that behaves much like the traditional version.
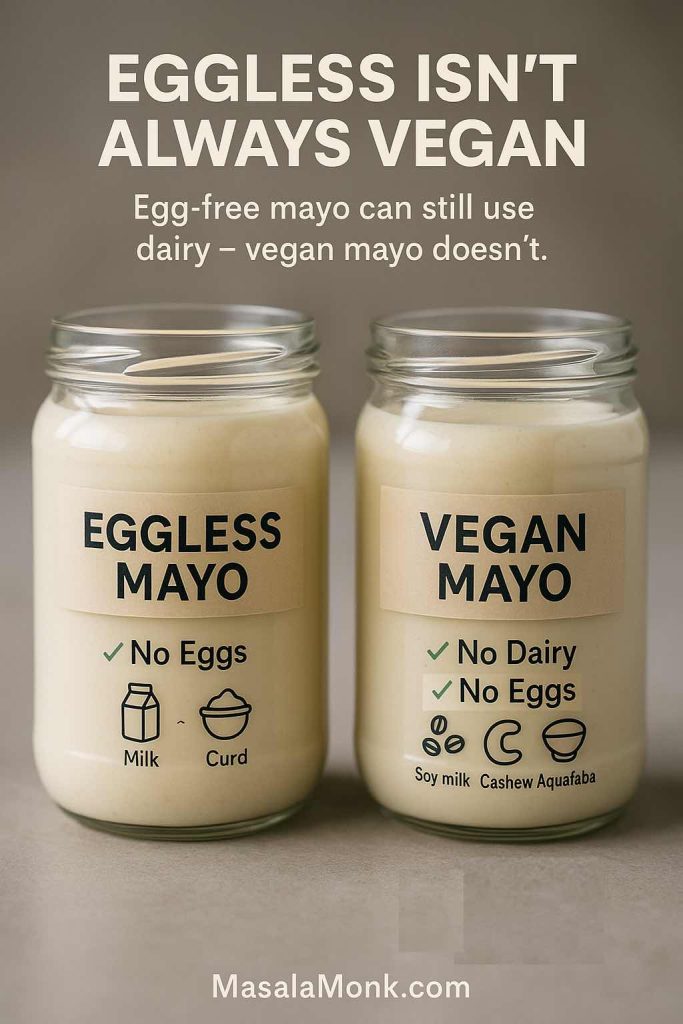
8. What’s the difference between eggless mayonnaise and vegan mayo?
Eggless mayonnaise simply avoids eggs; it may still use milk, cream, or yogurt. Vegan mayo, on the other hand, is completely plant-based, so it contains no egg and no dairy at all. Because of that, a vegan mayo recipe usually relies on soy milk, aquafaba, cashews, or other plant milks to create the emulsion.
9. How do I make a vegan mayo recipe with aquafaba?
To make an aquafaba vegan mayo recipe, you start with a few tablespoons of chickpea cooking liquid in a tall jar. Then you add mustard, salt, and an acidic ingredient like lemon juice, before gradually emulsifying in a cup of neutral oil with a blender. In the end, you get a glossy, egg-free mayonnaise that works beautifully in sandwiches, salads, and bowls.
10. What makes Japanese mayo recipe versions taste different?
Japanese mayo recipes usually rely on egg yolks only, rice vinegar instead of harsh vinegars, a pinch of sugar, and sometimes a bit of MSG or dashi. Consequently, the result is richer, silkier, slightly sweeter, and more umami-packed than standard mayonnaise. That’s why it tastes so good on okonomiyaki, fried chicken, or sushi rolls.
11. Can I turn classic mayonnaise into Japanese-style mayo?
Yes, you can move your classic mayonnaise recipe in a Japanese direction by tweaking a few details. You can add extra yolk for richness, swap part of the usual acid for rice vinegar, stir in a tiny pinch of sugar, and optionally add a bit of MSG. With those changes, the flavour profile shifts noticeably closer to a Japanese mayo recipe without needing a complete overhaul.
12. How can I make a spicy mayo recipe for sushi or fries?
To create a spicy mayo recipe, you simply stir chilli into your base. Often, cooks mix mayonnaise with sriracha, gochujang, chipotle in adobo, peri-peri sauce, or finely minced fresh chillies. Then, a dash of lemon or rice vinegar brightens everything. Once you find the level of heat you like, you can spoon it over sushi, poke bowls, burgers, wraps, or loaded fries.
13. What is garlic mayo, and how is it different from aioli?
Garlic mayo is exactly what it sounds like: mayonnaise combined with fresh or roasted garlic, plus a little extra lemon juice or salt. Traditional aioli, by contrast, is made by emulsifying only garlic and olive oil with salt, often without egg. In everyday kitchens, though, people often use a garlic mayo recipe as a quick, reliable substitute for aioli because it delivers a similar flavour with much less effort.
14. Can I make a lighter or low-fat mayonnaise recipe?
You can make a lighter mayonnaise by replacing part of the oil with Greek yogurt, hung curd, or even silken tofu. Naturally, the texture and taste become tangier and less rich, but they remain creamy enough to coat salads or fill sandwiches. Another approach is to use a thinner dressing that blends a little mayo with plenty of lemon juice, vinegar, and water instead of trying to mimic full-fat mayo exactly.
15. Is mayonnaise gluten-free?
Most classic mayonnaise recipes are naturally gluten-free because they use egg, oil, acid, salt, and mustard. Even so, it’s wise to double-check labels on store-bought jars and to be careful with flavoured versions, because some brands add ingredients like malt vinegar, stabilisers, or flavourings that may contain gluten.
16. Does mayonnaise need to be refrigerated all the time?
Homemade mayo, and any mayonnaise recipe made from scratch, should always be kept in the fridge once it’s made, especially if it includes raw egg. While some commercial jars are shelf-stable until opened, even those belong in the refrigerator after you break the seal. Leaving mayo out too long at room temperature raises the risk of bacterial growth and food poisoning.
17. Can I freeze mayonnaise or a mayo-based sauce?
Freezing mayonnaise is usually not a good idea. The emulsion tends to break when it thaws, leaving you with a watery, grainy mess. Instead, it’s better to prepare small batches of homemade mayonnaise recipe as you need them and finish them within a few days, rather than trying to store a huge portion in the freezer.
18. What is mayo ketchup sauce or “fry sauce”?
Mayo ketchup sauce, often called fry sauce or burger sauce, is simply a mixture of mayonnaise and ketchup, sometimes with mustard, relish, vinegar, or spices added. This combination creates a creamy, tangy, slightly sweet dip that pairs beautifully with fries, wedges, burgers, hot dogs, and even simple veggie sticks. Because it’s so easy, many people treat it as their first “extra” mayo recipe beyond the basic.
19. How do I make a simple mayo and ketchup dip at home?
For a quick mayo and ketchup dip, you can start with about two parts mayonnaise to one part ketchup, then taste and adjust. If you like it sharper, stir in a touch of mustard or vinegar. When you prefer something more complex, mix in chopped pickles, onions, smoked paprika, or a little hot sauce. In only a minute, you’ve got a custom fry sauce made from your usual mayonnaise recipe.
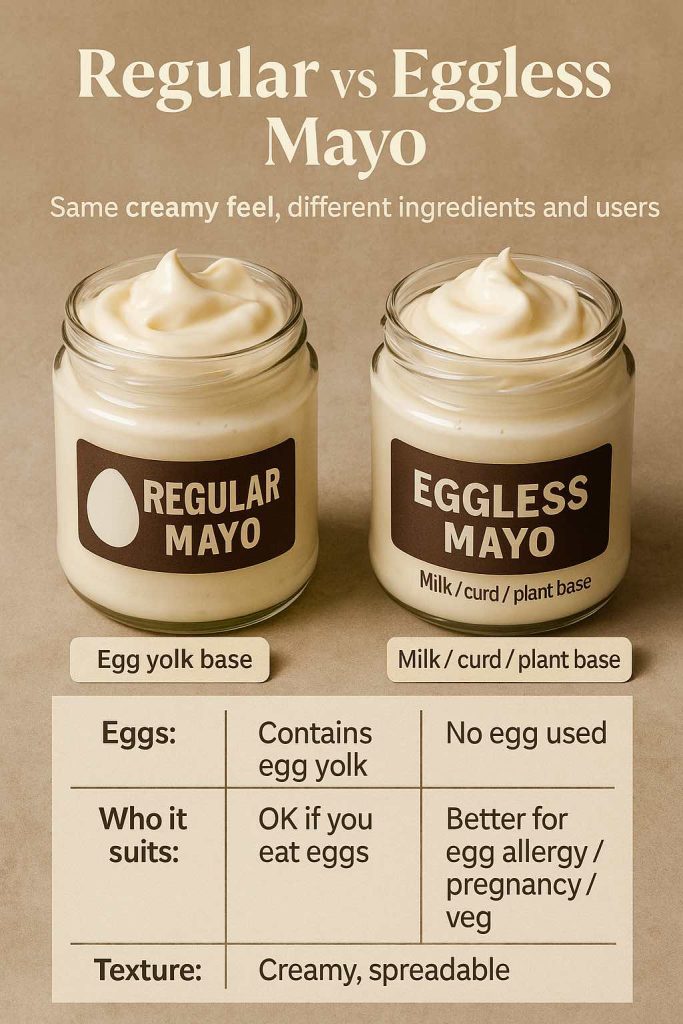
20. What’s the difference between an egg mayonnaise recipe and plain mayo?
In everyday language, “egg mayonnaise recipe” often refers to a sandwich filling made from chopped boiled eggs mixed with mayonnaise, not the sauce itself. Regular mayo is the creamy emulsion of raw egg, oil, and acid; egg mayo uses that sauce to bind cooked eggs with seasonings like mustard, onion, herbs, and pepper into a spreadable mixture that goes inside bread, rolls, or wraps.
21. Can I use olive oil for a mayonez recipe?
You can use olive oil, but it’s best to choose a mild one or blend it with a neutral oil. Strong extra-virgin olive oil can make a mayonez recipe taste bitter and overly intense. Consequently, many people use half neutral oil and half light olive oil. That way, you still get some character from the olive oil without overwhelming the mayo.
22. Why does my homemade mayonnaise taste bitter?
A bitter mayonnaise recipe often comes from using an aggressive extra-virgin olive oil or over-processing the oil at high speed until it oxidises. To avoid that, you can pick a gentler oil, limit blending time, or blend only part of the oil and whisk the rest in by hand. If a batch already tastes bitter, balancing it with lemon juice and a pinch of sugar helps a little, but sometimes starting again is easier.
23. How can I make my mayonnaise thicker?
If your mayo feels too thin, you can gradually whisk in more oil, which may sound backwards but actually thickens the emulsion. Additionally, you can begin with an extra yolk at the start of your mayonnaise recipe to provide more emulsifiers. Sometimes chilling the mayo in the fridge helps firm it slightly, especially in vegan mayo recipes that use aquafaba or cashew cream.
24. How do I fix a mayo recipe that is too thick and stiff?
When a mayonnaise recipe comes out closer to putty than sauce, you can loosen it very gently with water, lemon juice, or vinegar. Add liquid just a teaspoon at a time while whisking, until it reaches a soft, spoonable consistency. From there, you can taste again and tweak the seasoning so it still matches the dish you’re serving it with.
25. Is a mayo recipe suitable for keto or low-carb diets?
Most traditional mayo recipes are naturally low in carbohydrates because they’re mainly made of fat and a small amount of egg and acid. Therefore, they usually fit well into keto or low-carb approaches, as long as you don’t use mayonnaise together with sugary sauces or carb-heavy sides. For people watching carbs closely, it’s still worth checking that any added mustard, ketchup, or flavourings aren’t loaded with hidden sugars.
26. Can I use homemade mayonnaise in hot dishes?
You can add mayonnaise to warm dishes, but it doesn’t love high, direct heat. If you boil or fry it, the emulsion may split and the sauce can look oily. Instead, it’s better to stir mayo into foods after they come off the heat, or use it under a breadcrumb topping for gentle baking. For example, you might mix a mayo recipe with cheese and herbs to top chicken, then bake until just browned.
27. What is veg mayo, and how is it used in Indian-style recipes?
Veg mayo usually means a mayo recipe without eggs, designed for vegetarian kitchens. Often, it includes milk or curd, plus oil and flavourings. It’s widely used in Indian-style sandwiches, tikkas, rolls, chaats, and fusion snacks. Because it’s mild and creamy, veg mayo blends easily with coriander chutney, green chillies, onions, and masala spices without fighting them.
28. How can I flavour a basic mayonnaise recipe for different cuisines?
Once you have a simple mayonnaise recipe, you can steer it toward many cuisines just by changing the flavourings. For a Mediterranean feel, you might use garlic, lemon, and herbs like oregano or basil. For a Japanese note, you could add rice vinegar, a pinch of sugar, and a little soy. To give it a Mexican twist, you may mix in lime, cumin, coriander, and chipotle. With each variation, the structure stays the same while the personality shifts.
29. What’s the best way to use leftover mayonnaise in meals?
Leftover mayonnaise turns into dressings, dips, and spreads very easily. You can thin it with lemon juice for a quick salad dressing, stir it into chopped herbs for a last-minute dip, or blend it with ketchup for a fast mayo ketchup sauce. Beyond that, you might fold it into egg salads, tuna salads, or roasted vegetable bowls to make them more satisfying without much extra work.
30. How do I choose between classic, eggless, and vegan mayo for a recipe?
The choice depends on who you’re serving, how you feel about raw egg, and what you want the final dish to be. Classic homemade mayonnaise gives the richest flavour and texture. Eggless mayonnaise recipes suit vegetarian households that still use dairy. Vegan mayo recipes are ideal when you need something fully plant-based or want to avoid eggs completely. Once you know how each type behaves, you can swap them into sandwiches, salads, dips, or burger sauces with confidence.