Posted on Leave a comment

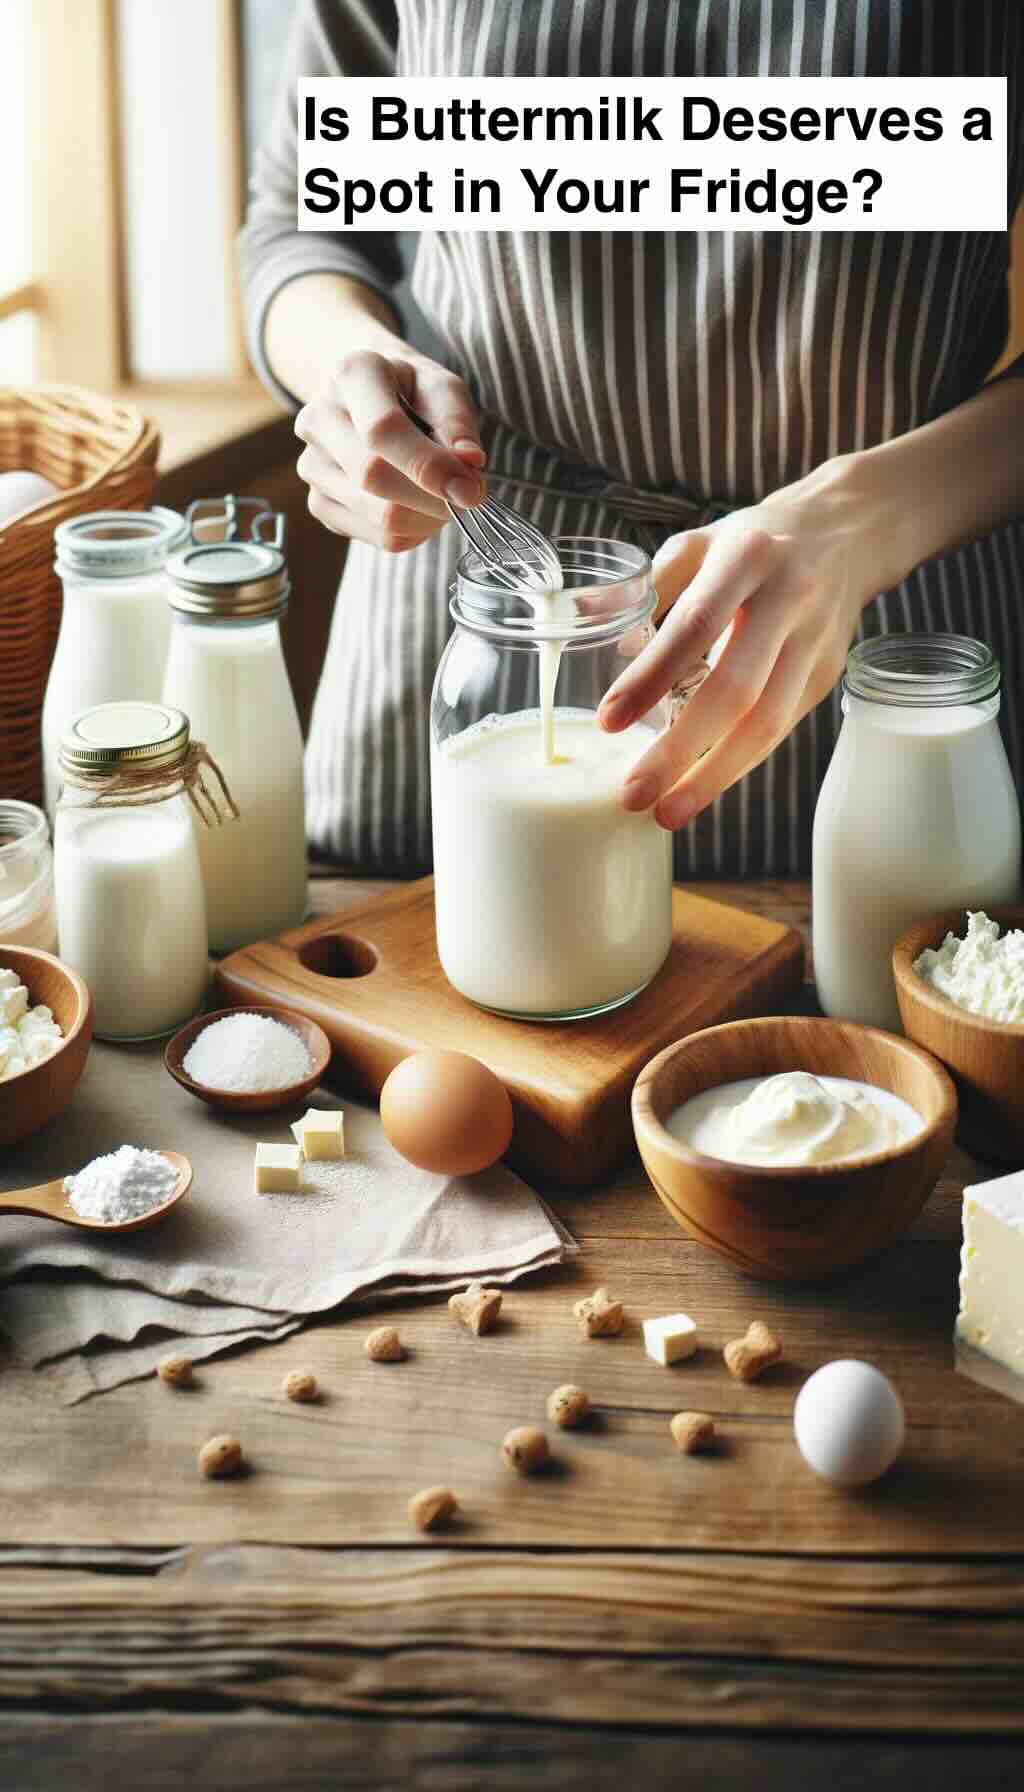
Why Buttermilk Deserves a Spot in Your Fridge Are You Using It Right?

In a culinary world brimming with superfoods and diet trends, buttermilk stands out as a humble yet fascinating ingredient. Once a simple byproduct of butter-making, buttermilk has transcended its origins to become a staple in kitchens and cultures worldwide. Its journey from an accidental discovery to a cherished component of countless recipes is a testament to its versatility, nutritional benefits, and unique flavor. Let’s dive into the tangy depths of buttermilk, exploring its science, health benefits, and culinary prowess.

The Science of Sour Unpacking Buttermilk’s Creation

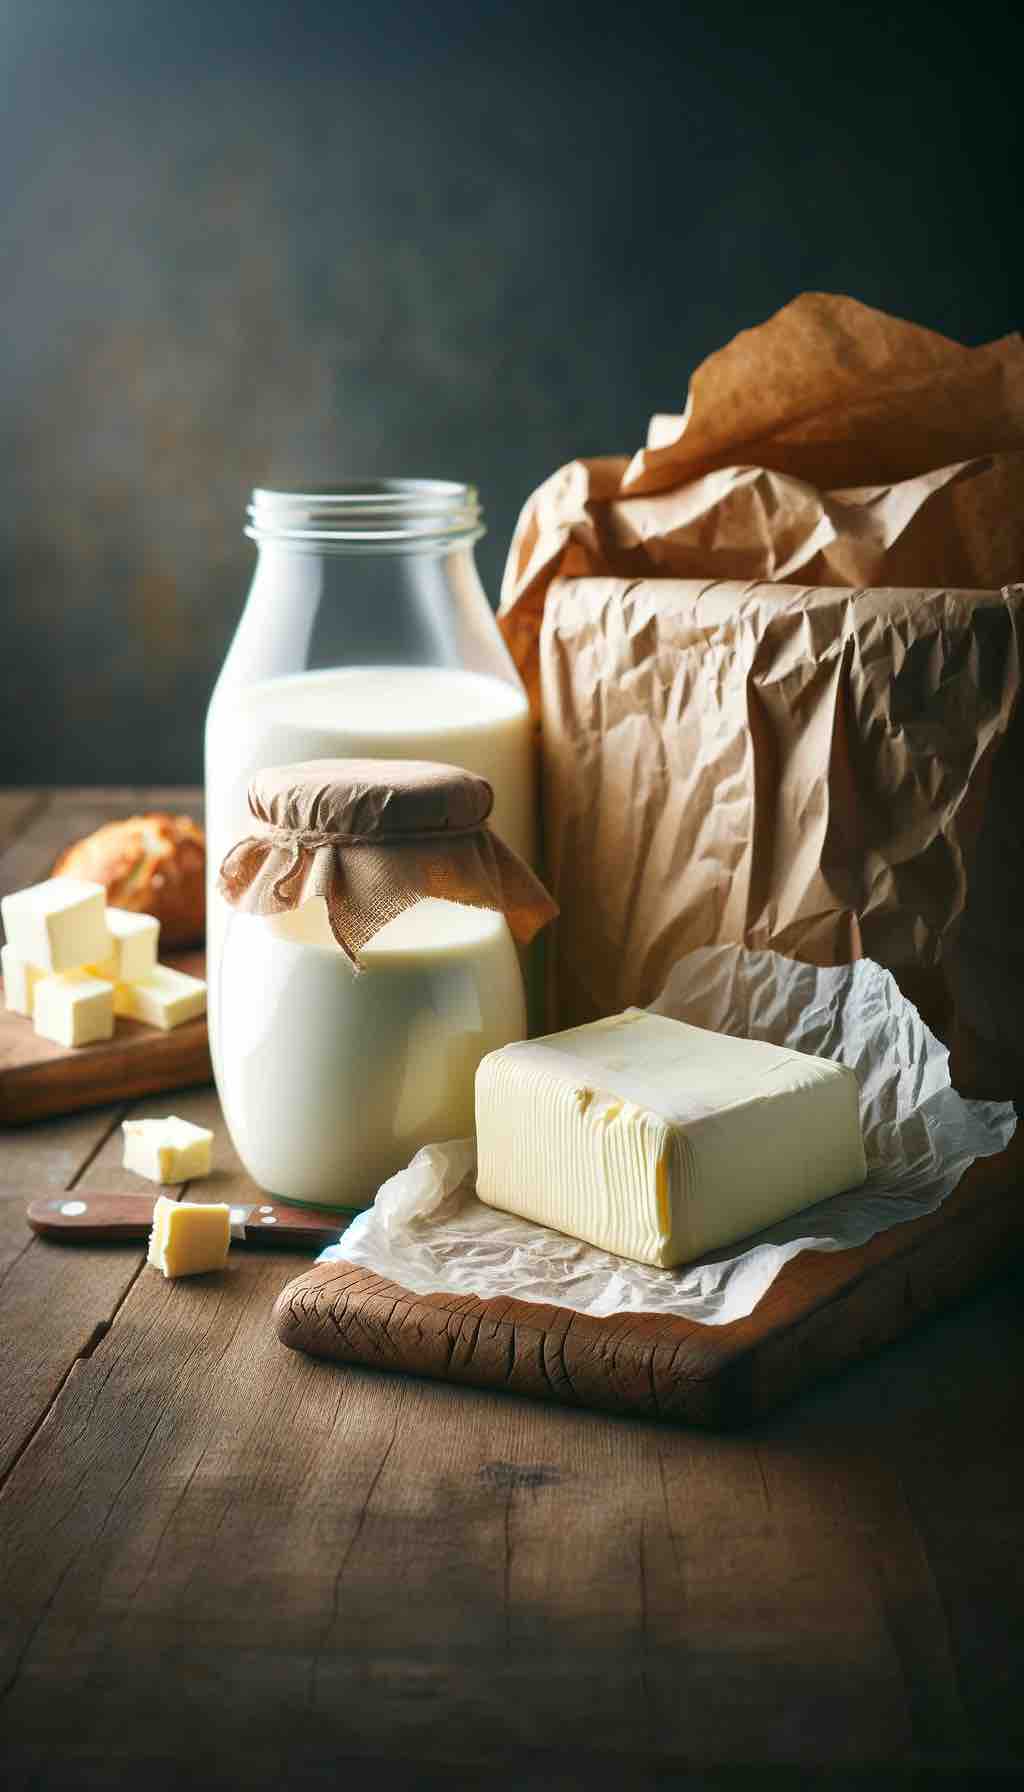
Buttermilk’s story begins in the pastoral landscapes of dairy farming, where the churning of cream yields butter and a leftover liquid—traditionally called buttermilk. However, the buttermilk we find on supermarket shelves today is often a cultured product, created by adding lactic acid bacteria to milk. This fermentation process thickens the milk, imbuing it with a tangy flavor and a creamy texture that enhances everything from baked goods to marinades.

Nutritional Nectar or Just Another Beverage?

Buttermilk’s reputation as a healthful ingredient is well-earned. Packed with calcium, vitamin B12, riboflavin, and phosphorus, it’s a nutritional powerhouse that supports bone health, energy production, and cellular function. Moreover, the probiotics introduced during the fermentation process contribute to a healthy gut microbiome, aiding digestion and potentially boosting immunity.

However, not all buttermilk is created equal. While traditional and cultured buttermilk boast health benefits, some commercial versions may contain additives or excess sodium. Savvy consumers should read labels carefully, opting for products with minimal ingredients to reap the full health rewards.

Culinary Chameleon: Buttermilk in the Kitchen

Buttermilk’s culinary applications are as diverse as they are delicious. Its acidic nature tenderizes proteins in marinades, adding moisture without the fat. In baking, buttermilk interacts with baking soda to produce carbon dioxide, lending a light, airy texture to pancakes, biscuits, and cakes. Its tangy flavor also makes it an excellent base for dressings, dips, and cool beverages, offering a refreshing twist on traditional recipes.

DIY Dairy: The Joy of Homemade Buttermilk

For the adventurous and health-conscious, making buttermilk at home is a simple and rewarding endeavor. By fermenting milk with a bit of existing cultured buttermilk, one can create a fresh supply of this tangy treasure. This not only ensures a product free from unwanted additives but also connects us to the traditional practices of our culinary ancestors.

Buttermilk’s Place at the Table: A Modern Renaissance

As we navigate a world where processed foods are omnipresent, buttermilk offers a return to simplicity and wholesomeness. Its resurgence in popularity reflects a broader trend towards fermented foods and their associated health benefits. Whether used in a rustic loaf of bread, a batch of tender fried chicken, or a cooling lassi, buttermilk enriches our meals with its depth of flavor and nutritional profile.

In Conclusion: The Resurgence of a Dairy Darling

Buttermilk’s journey from a humble byproduct to a celebrated kitchen staple is a story of rediscovery and appreciation. As we learn more about its health benefits, culinary versatility, and cultural significance, buttermilk stands poised to reclaim its rightful place in the pantheon of beloved dairy products. So, the next time you reach for that carton of buttermilk, know that you’re not just adding an ingredient to your recipe; you’re embracing a piece of culinary heritage, nourishing your body, and delighting your palate.

10 FAQs for “Why Buttermilk Deserves a Spot in Your Fridge Are You Using It Right?”

What exactly is buttermilk?

Buttermilk is a fermented dairy product, traditionally the liquid leftover after churning butter. Today, it’s commonly made by adding cultures to milk, creating a tangy, thick liquid.

Can buttermilk benefit my health?

Yes, buttermilk is rich in calcium, protein, vitamins, and probiotics, making it beneficial for bone health, digestion, and more.

Is buttermilk high in fat?

Traditional buttermilk from churning is low in fat. Cultured buttermilk based on low-fat or skim milk also contains minimal fat.

How can I use buttermilk in cooking?

Buttermilk is versatile in the kitchen, perfect for tenderizing meats, adding moisture to baked goods, and creating creamy dressings and sauces.

Can I make buttermilk at home?

Absolutely! Add a tablespoon of vinegar or lemon juice to a cup of milk and let it sit for about 10 minutes, or culture milk with a buttermilk starter.

Does buttermilk need to be refrigerated?

Yes, store buttermilk in the refrigerator to maintain its freshness and prevent spoilage.

How long does buttermilk last?

When stored properly in the fridge, buttermilk can last up to two weeks. Always check the expiration date and look for signs of spoilage.

Can I freeze buttermilk?

Yes, buttermilk can be frozen, though it may separate when thawed. It’s best used in cooked dishes if frozen and thawed.

Is buttermilk suitable for lactose intolerant individuals?

Buttermilk contains lactose, though the fermentation process can reduce its levels. Lactose-intolerant individuals should proceed with caution or seek lactose-free options.

Can I substitute buttermilk in recipes?

Yes, for 1 cup of buttermilk, you can use 1 cup of milk mixed with 1 tablespoon of vinegar or lemon juice, or use yogurt or sour cream thinned with water.

Blog Tags

buttermilk, cooking tips, health benefits, dairy alternatives, fermentation, homemade recipes, baking secrets, probiotics, kitchen hacks, culinary versatility

Posted on Leave a comment

Homemade Butter in Less Than 10 Minutes

In an era where store-bought convenience often overshadows the art of homemade culinary creations, Chef Jean-Pierre brings back the charm of crafting your own kitchen staples from scratch. His video, “Make Butter in 10 Minutes or Less!”, is not just a cooking lesson; it’s an invitation to rediscover the simple pleasures of making homemade butter. This guide will walk you through the process, as detailed by Chef Jean-Pierre, turning a carton of heavy whipping cream into a batch of fresh, creamy butter.

Why Make Butter at Home?

Homemade butter has a charm that store-bought versions cannot replicate. It’s fresher, offers room for customization, and gives a sense of accomplishment. Plus, as Chef Jean-Pierre puts it, once you’ve tasted homemade butter, you might never want to go back to the commercial kind.

What You’ll Need

The beauty of this recipe lies in its simplicity:

  • Ingredients: All you need is heavy whipping cream. Chef Jean-Pierre recommends using cream with a fat content of at least 36%, but higher fat contents like 40% or 42% yield even better results.
  • Equipment: A stand mixer or food processor will do the trick. Ensure your tools and the cream are cold to facilitate the separation process.

The Process

Step 1: Preparing the Cream

Pour your cold heavy whipping cream into the cold bowl of your stand mixer or food processor. The cold temperature is crucial as it helps in the fat congealing process, making it easier for butter to form.

Step 2: Whipping the Cream

Start whipping the cream on a medium speed. You’re looking for the cream to go through several stages: liquid, whipped cream, and then over-whipped cream where it starts separating into butter and buttermilk.

  • Whipped Cream Stage: If you were making whipped cream, you would stop here. But since we’re on a quest for butter, we press on.
  • Over-Whipped Stage: The cream will start to look grainy and yellowish. This is when you need to pay close attention, as the butter is beginning to form.

Step 3: Separation

Continue whipping until you see the butter solidify and separate from the buttermilk. It will clump together, leaving a liquid (buttermilk) behind. This usually happens around the 5-6 minute mark.

Step 4: Rinsing the Butter

Once separated, transfer the butter to a bowl of cold water. Rinse the butter by kneading it gently to wash away any remaining buttermilk. This step is vital to increase the butter’s shelf life and prevent it from going rancid.

Customization and Storage

Flavoring Your Butter

At this point, you can flavor your butter with salt or other seasonings of your choice. Chef Jean-Pierre hints at the possibility of creating compound butters with herbs, spices, or even edible flowers for a gourmet touch.

Storing Your Butter

  • Short-Term Storage: Keep it in a container in the refrigerator if you plan to use it soon.
  • Long-Term Storage: Wrap the butter in parchment paper and freeze it. According to Chef Jean-Pierre, butter can be frozen for a very long time without losing its quality or flavor.

Final Thoughts

Chef Jean-Pierre’s method of making butter is a testament to the joy of cooking from scratch. It’s a simple process that yields delicious results and perhaps, more importantly, connects us to the very essence of food preparation. This homemade butter recipe is not just about the end product but about the journey—turning a basic ingredient into something extraordinary with just a bit of patience and a mixer.

By following these steps, you’re not just making butter; you’re embracing a piece of culinary tradition that has been passed down through generations. So, next time you find yourself reaching for that store-bought stick of butter, remember Chef Jean-Pierre’s words and consider making your own. It’s a small step that could transform your cooking and your appreciation for one of the kitchen’s most fundamental ingredients.

FAQs for Homemade Butter in Less Than 10 Minutes

  1. What type of cream should I use to make butter?
    • Use heavy whipping cream with at least 36% fat content. Higher fat percentages, such as 40% or 42%, yield richer butter.
  2. Can I make butter without a stand mixer or food processor?
    • Yes, you can use a hand mixer, though it might take a bit longer. Traditionally, butter was made by churning cream by hand, so this method also works if you’re up for the effort.
  3. How long does it take to turn cream into butter?
    • The process typically takes about 5 to 10 minutes, depending on the speed of your mixer and the fat content of the cream.
  4. How can I tell when the butter is ready?
    • You’ll know the butter is ready when it solidifies and separates from the buttermilk, turning into clumps surrounded by liquid.
  5. What should I do with the leftover buttermilk?
    • Buttermilk can be used in baking recipes, dressings, or mashed potatoes. It’s a versatile ingredient, so don’t throw it away!
  6. Can I make flavored butter using this method?
    • Absolutely! You can add salt, herbs, spices, or any flavorings you like to the butter after rinsing it.
  7. How should I store homemade butter?
    • Homemade butter can be stored in the refrigerator for immediate use or wrapped in parchment paper and frozen for long-term storage.
  8. How long does homemade butter last?
    • When stored properly in the refrigerator, homemade butter can last for about a month. If frozen, it can last for several months.
  9. Why do I need to rinse the butter after it’s made?
    • Rinsing the butter removes any remaining buttermilk, which helps to prolong its shelf life and prevent it from going rancid.
  10. Can I use low-fat or light cream to make butter?
    • No, low-fat or light creams do not have enough fat content to turn into butter. You need heavy whipping cream for this process.

Blog Tags for the Post

homemade butter, DIY kitchen staples, heavy whipping cream, culinary techniques, butter making, fresh butter recipe, kitchen hacks, food processor, stand mixer, flavored butter

Posted on Leave a comment

Larger Fridge – Are you not eating fresh enough?

In a world where bigger often means better, we sometimes forget to ask: does this apply to our refrigerators? With large fridges becoming a staple in many households, it’s time to delve deeper into what this means for our eating habits, particularly our consumption of fresh foods.

The Size and Freshness Dilemma

A large fridge seems like the ultimate solution for storing more fresh produce. But does it really translate to eating fresher and healthier? Let’s unwrap this.

1. The Psychology of Space: A spacious fridge might encourage bulk buying, leading to an ‘out of sight, out of mind’ scenario. That bunch of kale pushed to the back can easily be forgotten, only to be discovered when it’s past its prime.

2. The Freshness Illusion: Just because it’s in the fridge doesn’t mean it’s fresh. The journey of produce from farm to fridge often takes longer than we realize. By the time those greens reach your crisper drawer, they might have already lost some nutritional value.

Optimizing Large Fridge Use for Freshness

1. Strategic Shopping: Buying in bulk isn’t a bad idea, but it needs to be strategic. Prioritize produce with a longer shelf life for bulk buys. Leafy greens might not be the best candidate for this, but apples, carrots, and beets are.

2. Batch Cooking and Freezing: Use your large fridge’s freezer effectively. Cook in large batches and freeze portions. This not only saves time but also ensures you have a stock of home-cooked meals, reducing reliance on less fresh, processed foods.

3. Regular Inventory Checks: Keep tabs on what’s in your fridge. A weekly inventory can help you use up produce that’s on the brink of going bad, ensuring you eat as fresh as possible.

Fresh vs. Frozen: A Nutritional Perspective

1. The Frozen Advantage: Contrary to popular belief, frozen produce can be just as nutritious as fresh. Vegetables and fruits are often frozen immediately after harvest, preserving their nutrients.

2. Diversify Your Diet: Incorporate both fresh and frozen produce into your diet. While fresh produce offers certain enzymes and textures, frozen goods can add convenience and variety.

Tackling the Freshness Myth

1. The Nutrient Loss Reality: Understand that some nutrient loss is inevitable, whether produce is stored in a fridge or on a countertop. The key is to consume a diverse range of fruits and vegetables to balance out any potential nutrient deficits.

2. Embracing Imperfection: Not every fruit or vegetable in your fridge needs to look Instagram-worthy. Embrace the imperfect ones – they often taste just as good and are equally nutritious.

Your Fridge, Your Rules

1. Organizing for Success: Create zones in your fridge for different types of produce and label them. This not only helps in keeping track but also ensures better airflow and temperature control.

2. Understanding Produce Needs: Some fruits emit gases that can cause other produce to spoil faster. Store such fruits separately. Similarly, understand which vegetables thrive in humidity and which don’t.

Final Thoughts: The Fresh Approach

Owning a large fridge offers the potential for maintaining a diverse and nutritious diet, but it also requires mindfulness. It’s about balancing the convenience of bulk shopping with the necessity of consuming fresh and nutritious foods. Understanding the nuances of storing different types of produce, regularly rotating your stock, and incorporating both fresh and frozen foods into your diet can help maximize the benefits of your spacious fridge.

So, next time you open your fridge, think of it as a treasure chest of nutrients and flavors, waiting to be explored and enjoyed in the freshest form possible. Remember, the size of your fridge isn’t the deciding factor in how fresh your food is – it’s all about how you use it. 🌿🍓🍋🥕🍲🧊🌟

10 FAQs for Optimizing Large Fridge Use

1. How do I prevent food waste with a large fridge?

  • Regularly check and rotate items. Use older items first and plan meals around what needs to be consumed soon.

2. What’s the best way to organize a large fridge?

  • Create specific zones (e.g., dairy, produce, leftovers) and use clear containers for visibility. This keeps things accessible and orderly.

3. How can I ensure I’m eating fresh enough with a large fridge?

  • Buy a mix of fresh and longer-lasting produce, and incorporate frozen fruits and vegetables for variety and convenience.

4. Is it better to buy fresh or frozen produce?

  • Both have their benefits. Fresh produce is great when in season, while frozen is picked at peak ripeness and is often just as nutritious.

5. What temperature should I keep my fridge at?

  • Keep your refrigerator below 40°F to slow bacterial growth and keep food fresh.

6. Can storing certain foods together cause spoilage?

  • Yes, some fruits emit ethylene gas that can accelerate ripening in other produce. Store these separately.

7. How often should I clean my fridge?

  • A thorough cleaning every month is ideal to maintain hygiene and check for expired items.

8. What’s the best way to store leafy greens?

  • Keep them in airtight containers with paper towels to absorb excess moisture.

9. How do I manage bulk purchases with a large fridge?

  • Freeze what you won’t use immediately, and be mindful of perishable items’ shelf life.

10. How can I make my large fridge more energy-efficient?

  • Avoid overpacking, maintain a steady temperature, and ensure the door seals are tight.

Blog Tags for the Post

fridge organization, food freshness, healthy eating, kitchen hacks, large appliances, food storage, nutrition tips, zero waste cooking, fresh produce, meal planning

Posted on Leave a comment

The Ultimate Guide to Buying, Storing, and Organizing Spices

dried herbs and spices on black surface

Hello, culinary enthusiasts! 🙌 Today, we’re embarking on a flavorful journey into the world of spices. Spices are the heart and soul of our dishes, providing depth, complexity, and a world of flavors to our meals. But how do we buy, store, and organize them effectively? We’ve found an incredible guide by Ethan Chlebowski on his YouTube channel, which has garnered over 1.2 million views! We highly recommend checking it out for a comprehensive visual guide. 🎥

Ethan is a home cooking nerd who loves to find better ways to cook and share them with all of us. His channel is a treasure trove of cooking tips, tricks, and recipes that are sure to inspire you in the kitchen.🌶️🍃

1. Understanding Spices 🌿

Spices are plant materials used primarily as flavorings in relatively small amounts. Each spice has an aroma compound that gives it its characteristic flavor. For example, the compound that makes fresh ground pepper smell and taste like fresh ground pepper is different from the aroma compounds that make oregano smell and taste like oregano.

2. Ground vs Whole Spices 🌰

Whole spices will keep well for a year or more, while pre-ground spices will start to degrade in flavor after just three to six months. The fine particles of ground spices have a large surface area and lose their aroma molecules to the air much more rapidly. So, if you want to keep your spices fresh for longer, it’s best to buy them whole and grind them as needed.

3. Storing Spices 🏺

The most optimum storage for maintaining flavor life would be an opaque glass container stored in the freezer. However, for convenience, Ethan stores his spices in clear bottles in a drawer to the left of his stove. This way, he can quickly grab his spices whether he’s prepping food or cooking at the stove.

4. Buying Spices 💰

The question of what spices you should buy is completely personal. Ethan suggests starting with the basics like coarse kosher salt and black peppercorns. His top five used spices include cumin seeds, chili powder, turmeric, smoked paprika, and oregano. With just these five spices, you can make all sorts of dishes from Mexican cuisine, Indian cuisine, Italian, Mediterranean, and more.

5. Saving Money on Spices 💸

Spices can quickly get expensive, especially if you’re picking up those 1-ounce glass bottles at the grocery store. Ethan suggests finding a store that sells spices in bulk so you can buy exactly how much you want and don’t have to pay for the packaging. Another great and cheaper option is to find an international grocery store near you. They’ll typically have a large selection of spices in bags and containers that are much cheaper than your typical big box grocery store.

We hope you found these tips helpful and that they inspire you to explore new ways to use, store, and organize your spices. If you have any other spice tips or tricks, we’d love to hear them. Join our vibrant community on Facebook and share your insights. We’re always looking for new ways to make the most of our kitchen tools. 🎉

Happy cooking, everyone! 🍽️

Posted on Leave a comment

Master Your KitchenAid Mixer: 5 Essential Tips and Tricks

yellow kitchenaid stand mixer

Hello, culinary enthusiasts! 🙌 Today, we’re diving deep into the world of KitchenAid mixers, a versatile kitchen gadget that has become a staple in homes around the world. Known for its power, precision, and stylish design, the KitchenAid mixer is not just a tool—it’s a culinary partner that helps you create delicious meals and treats with ease.🍴🎉

Our guide for today comes from Stephanie, the creative mind behind the YouTube channel Martinmade. Stephanie and her husband James have a passion for DIY, cooking, and sharing their knowledge with others. Their video “5 Tips and Tricks For Your KitchenAid” has garnered over 310,000 views, making it a favorite among KitchenAid users. We highly recommend checking it out for a comprehensive visual guide. 🎥

1. Cord Management 🧹

The first hurdle you might encounter with your KitchenAid mixer is the pesky cord. But don’t worry, Stephanie has a neat trick! Use a command strip attached directly to the mixer itself. This way, the cord moves along with the mixer, making it much more convenient and less of a nuisance. It’s a small change, but it makes a world of difference! 🌟

2. Beater Storage 🗄️

The KitchenAid mixer comes with three beaters, each with its own purpose. Stephanie suggests hanging them on command hooks attached to the inside of a cabinet door. This keeps them easily accessible and neatly out of the way. No more rummaging through drawers to find the right beater! 🙌

3. Homemade Butter 🧈

Your KitchenAid mixer can turn you into an artisan butter maker! Just add whipping cream and a pinch of salt to the mixer, then let it do its magic. Blend until it starts splashing buttermilk, then drain it off. Blend a bit more, drain again, and voila! You have homemade butter. It’s a fun and satisfying process, and the result is absolutely delicious! 🍞

4. Effortless Meat Shredding 🍗

Your KitchenAid mixer can also be your secret weapon when it comes to shredding meat, such as chicken or turkey. Simply switch out the beater to the metal one, add your cooked meat, and shred away! It’s fast, efficient, and saves you from the tedious task of hand shredding. 🌮

5. Cheese Shredding Made Easy 🧀

Last but not least, your KitchenAid mixer can be a lifesaver when it comes to shredding cheese. If you often buy large blocks of cheese, consider getting a shredder attachment for your mixer. It’s a game-changer that saves you from the time-consuming task of hand shredding. Plus, who doesn’t love freshly shredded cheese? 🍕

We hope you found these tips helpful and that they inspire you to explore new ways to use your KitchenAid mixer. If you have any other KitchenAid tips or tricks, we’d love to hear them. Join our vibrant community on Facebook and share your insights. We’re always looking for new ways to make the most of our kitchen tools. 🎉

Happy cooking, everyone! 🍽️