In an era where store-bought convenience often overshadows the art of homemade culinary creations, Chef Jean-Pierre brings back the charm of crafting your own kitchen staples from scratch. His video, “Make Butter in 10 Minutes or Less!”, is not just a cooking lesson; it’s an invitation to rediscover the simple pleasures of making homemade butter. This guide will walk you through the process, as detailed by Chef Jean-Pierre, turning a carton of heavy whipping cream into a batch of fresh, creamy butter.
Why Make Butter at Home?
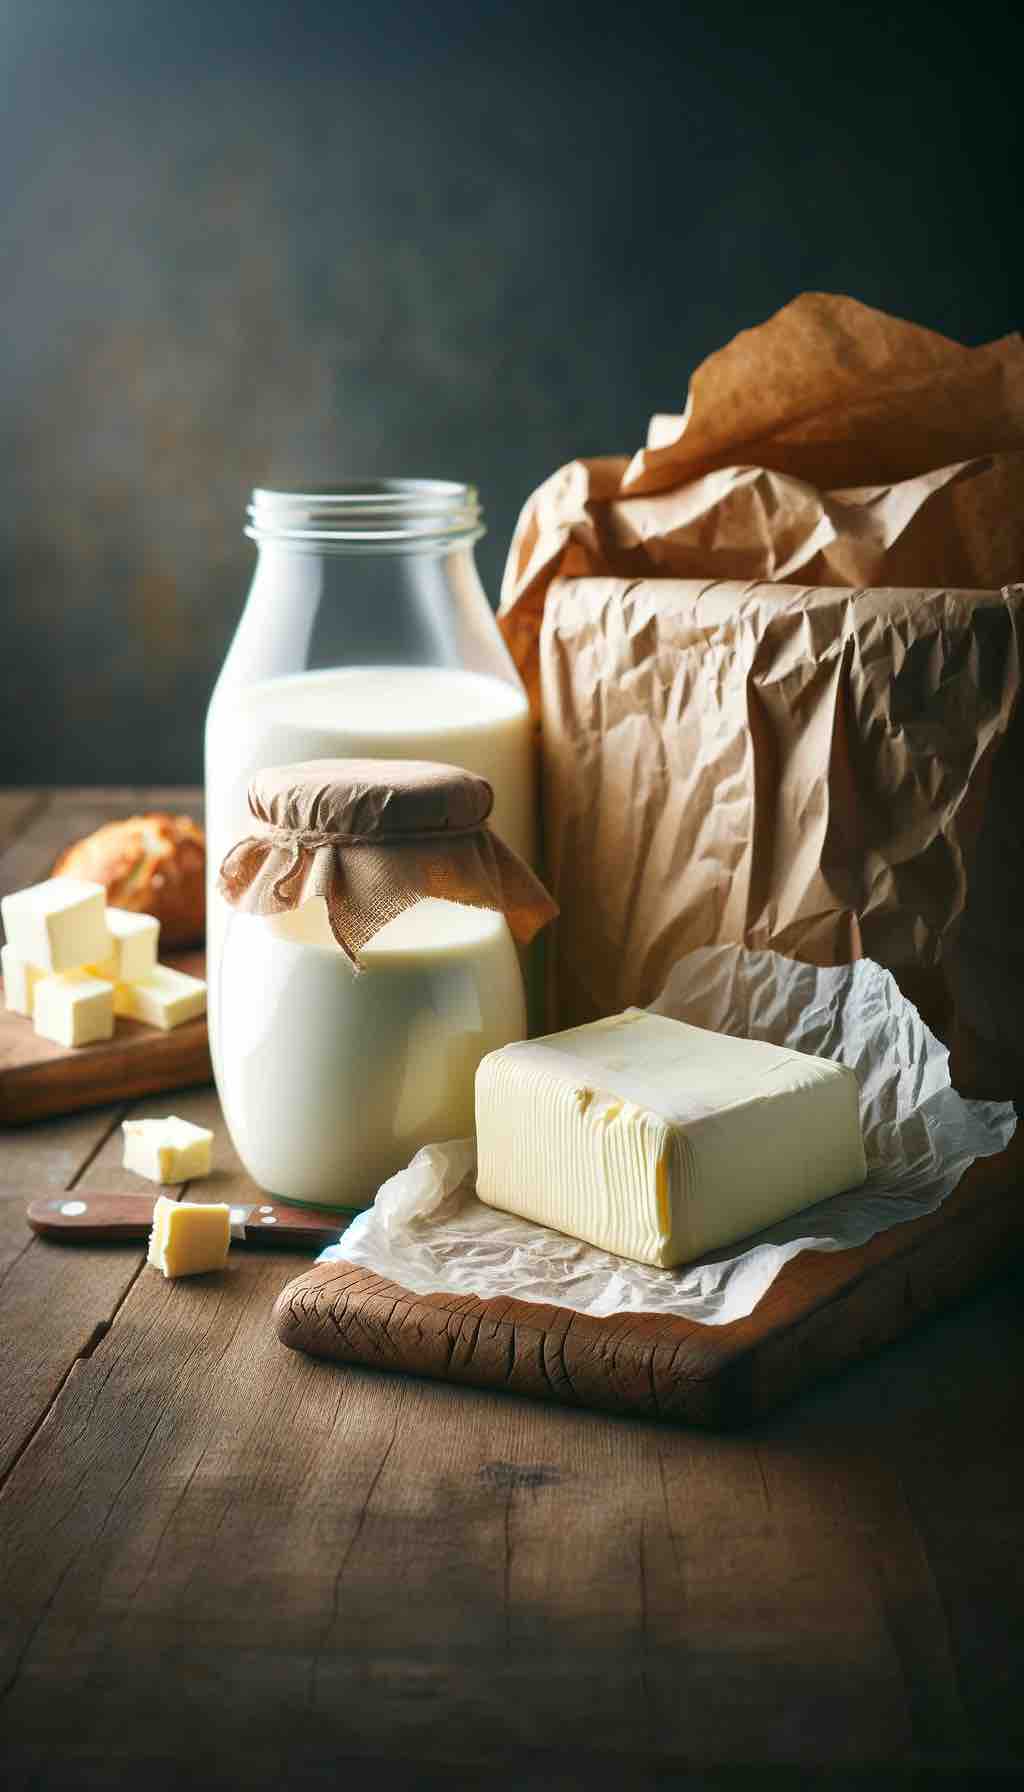
Homemade butter has a charm that store-bought versions cannot replicate. It’s fresher, offers room for customization, and gives a sense of accomplishment. Plus, as Chef Jean-Pierre puts it, once you’ve tasted homemade butter, you might never want to go back to the commercial kind.
What You’ll Need
The beauty of this recipe lies in its simplicity:
- Ingredients: All you need is heavy whipping cream. Chef Jean-Pierre recommends using cream with a fat content of at least 36%, but higher fat contents like 40% or 42% yield even better results.
- Equipment: A stand mixer or food processor will do the trick. Ensure your tools and the cream are cold to facilitate the separation process.
The Process
Step 1: Preparing the Cream
Pour your cold heavy whipping cream into the cold bowl of your stand mixer or food processor. The cold temperature is crucial as it helps in the fat congealing process, making it easier for butter to form.
Step 2: Whipping the Cream
Start whipping the cream on a medium speed. You’re looking for the cream to go through several stages: liquid, whipped cream, and then over-whipped cream where it starts separating into butter and buttermilk.
- Whipped Cream Stage: If you were making whipped cream, you would stop here. But since we’re on a quest for butter, we press on.
- Over-Whipped Stage: The cream will start to look grainy and yellowish. This is when you need to pay close attention, as the butter is beginning to form.
Step 3: Separation
Continue whipping until you see the butter solidify and separate from the buttermilk. It will clump together, leaving a liquid (buttermilk) behind. This usually happens around the 5-6 minute mark.
Step 4: Rinsing the Butter
Once separated, transfer the butter to a bowl of cold water. Rinse the butter by kneading it gently to wash away any remaining buttermilk. This step is vital to increase the butter’s shelf life and prevent it from going rancid.
Customization and Storage
Flavoring Your Butter
At this point, you can flavor your butter with salt or other seasonings of your choice. Chef Jean-Pierre hints at the possibility of creating compound butters with herbs, spices, or even edible flowers for a gourmet touch.
Storing Your Butter
- Short-Term Storage: Keep it in a container in the refrigerator if you plan to use it soon.
- Long-Term Storage: Wrap the butter in parchment paper and freeze it. According to Chef Jean-Pierre, butter can be frozen for a very long time without losing its quality or flavor.
Final Thoughts
Chef Jean-Pierre’s method of making butter is a testament to the joy of cooking from scratch. It’s a simple process that yields delicious results and perhaps, more importantly, connects us to the very essence of food preparation. This homemade butter recipe is not just about the end product but about the journey—turning a basic ingredient into something extraordinary with just a bit of patience and a mixer.
By following these steps, you’re not just making butter; you’re embracing a piece of culinary tradition that has been passed down through generations. So, next time you find yourself reaching for that store-bought stick of butter, remember Chef Jean-Pierre’s words and consider making your own. It’s a small step that could transform your cooking and your appreciation for one of the kitchen’s most fundamental ingredients.
FAQs for Homemade Butter in Less Than 10 Minutes
- What type of cream should I use to make butter?
- Use heavy whipping cream with at least 36% fat content. Higher fat percentages, such as 40% or 42%, yield richer butter.
- Can I make butter without a stand mixer or food processor?
- Yes, you can use a hand mixer, though it might take a bit longer. Traditionally, butter was made by churning cream by hand, so this method also works if you’re up for the effort.
- How long does it take to turn cream into butter?
- The process typically takes about 5 to 10 minutes, depending on the speed of your mixer and the fat content of the cream.
- How can I tell when the butter is ready?
- You’ll know the butter is ready when it solidifies and separates from the buttermilk, turning into clumps surrounded by liquid.
- What should I do with the leftover buttermilk?
- Buttermilk can be used in baking recipes, dressings, or mashed potatoes. It’s a versatile ingredient, so don’t throw it away!
- Can I make flavored butter using this method?
- Absolutely! You can add salt, herbs, spices, or any flavorings you like to the butter after rinsing it.
- How should I store homemade butter?
- Homemade butter can be stored in the refrigerator for immediate use or wrapped in parchment paper and frozen for long-term storage.
- How long does homemade butter last?
- When stored properly in the refrigerator, homemade butter can last for about a month. If frozen, it can last for several months.
- Why do I need to rinse the butter after it’s made?
- Rinsing the butter removes any remaining buttermilk, which helps to prolong its shelf life and prevent it from going rancid.
- Can I use low-fat or light cream to make butter?
- No, low-fat or light creams do not have enough fat content to turn into butter. You need heavy whipping cream for this process.
Blog Tags for the Post
homemade butter, DIY kitchen staples, heavy whipping cream, culinary techniques, butter making, fresh butter recipe, kitchen hacks, food processor, stand mixer, flavored butter


