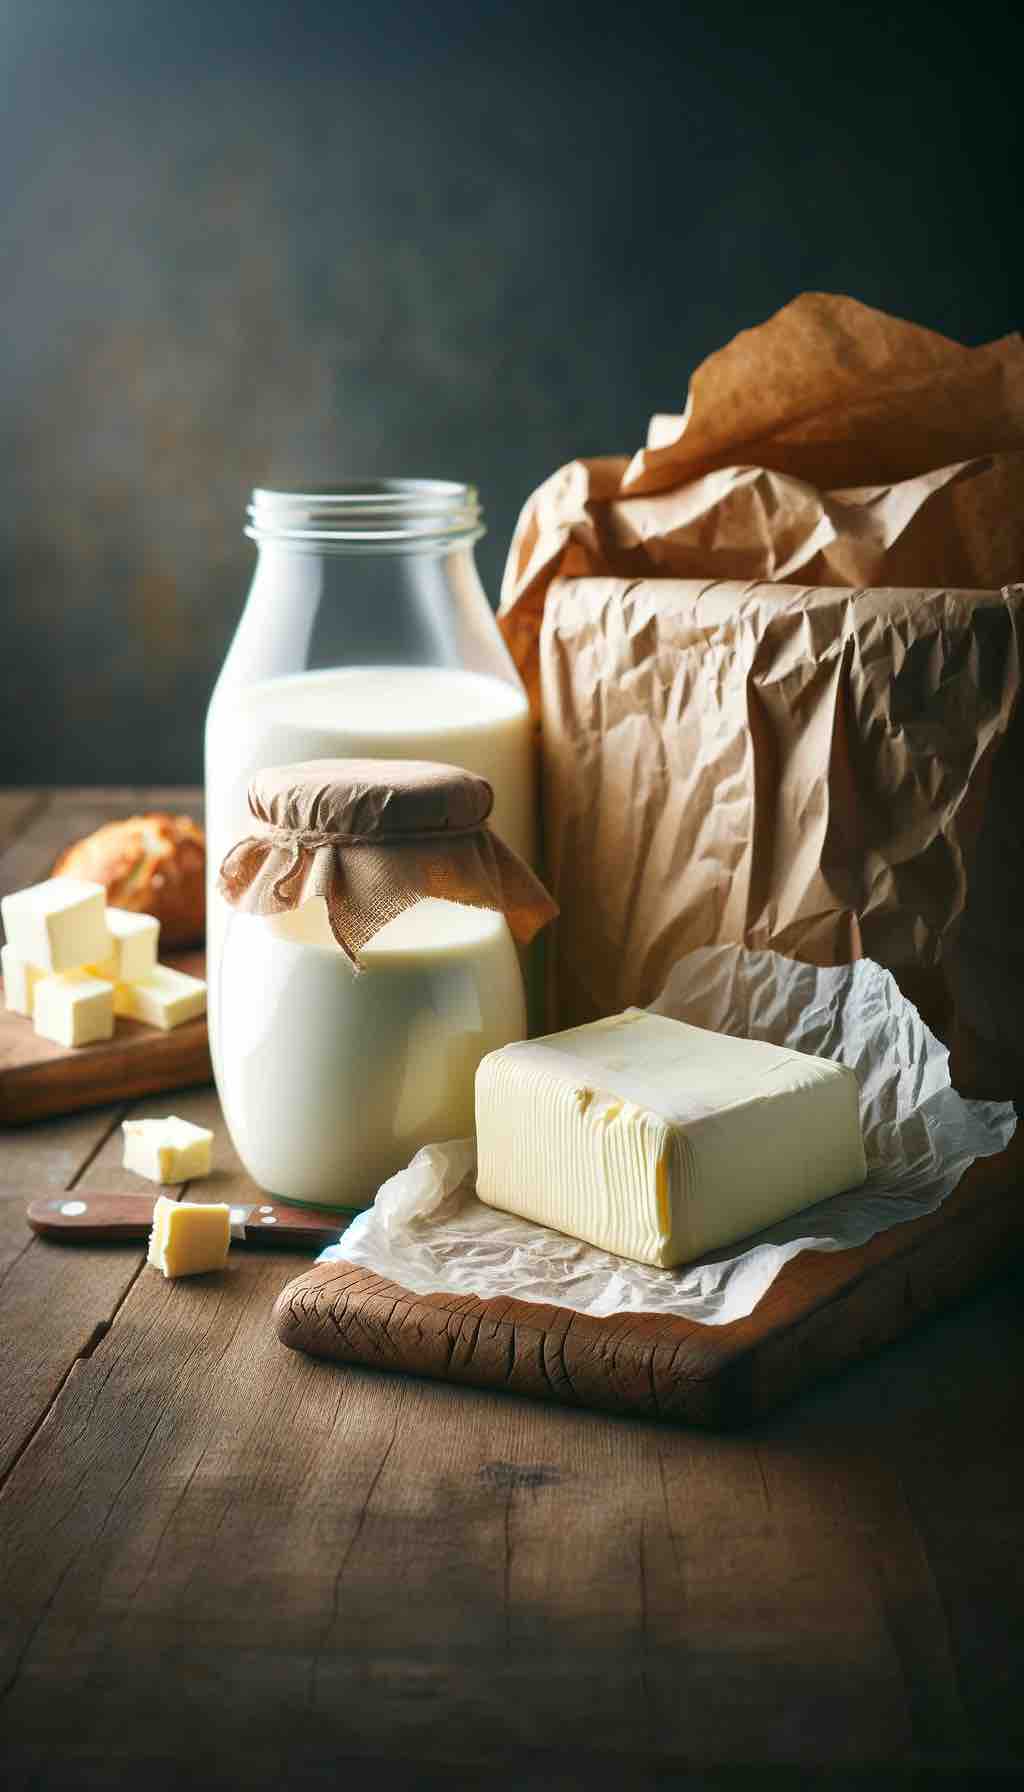
We all know what butter is. It is a dairy product that is made from the fat and protein components of churned cream. In this world of modern dietary greed that teaches deprivation is the way to health and beauty, butter is the most feared food- often frowned upon. Butter remains amongst the most misunderstood food.
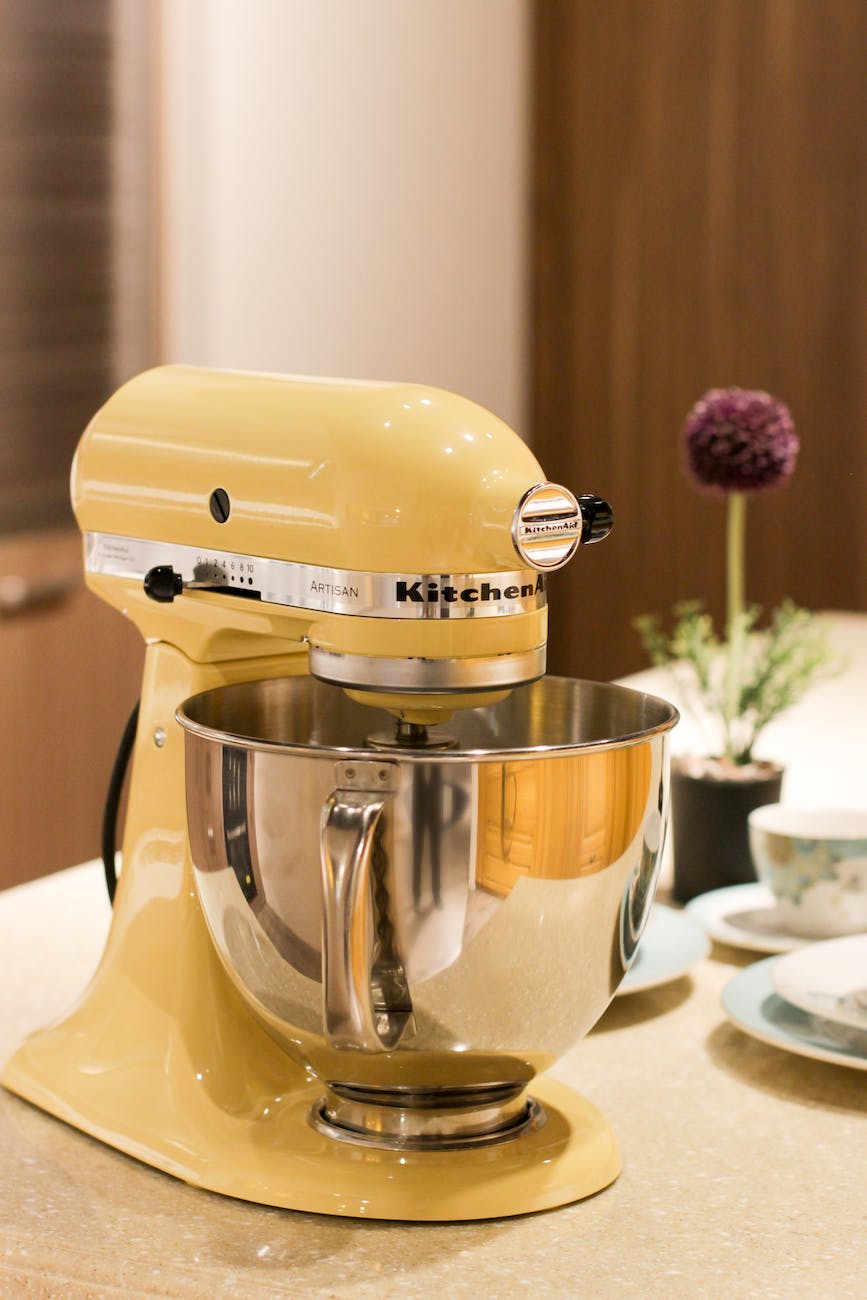
Butter is called Makkhan in Hindi, that has always been a quintessential part of the Indian culinary culture. As a Punjabi household, our childhood had been surrounded by makkhan (white butter) and ghee, whether on paranthas, rotis or in vegetables. We always had homemade butter in the fridge. It was prepared in a ‘matki’ or a large vessel/ pot in the olden days. The cream was collected over a few days and transferred to a matki specially meant for this purpose. It was then churned with a ‘madhani’ following a long process that consumed a lot of muscle power. But nowadays, matki is replaced by a regular kitchen bowl and madhani is replaced by a food processor or a hand blender or an electric beater. Although the process remains the same, much energy and time is saved using modern equipment. The end product collected after the churning is called white butter.
In Hindu tradition, white butter or makkhan is offered to Lord Krishna during Janmashtami. As a food for gods, I wonder how such ancient wisdom and food traditions are lost in this new fast pace world where everyone is chasing newly found super-foods and conveniently forgetting their roots- the very foundation of our health.
According to celebrity nutritionist Rujuta Diwekar, “The churning of butter itself makes the makkhan special in terms of molecular gastronomy, not just in terms of its unique, ‘melt in an instant’ texture, but it also nutritionally equips it with many special properties.For starters, it retains the potency of the fat-soluble vitamins A, D, K and E, therefore making it a powerful anti-oxidant. Then there is the Wulzen factor, a hormone-like substance only found in freshly churned butter that has the capacity to prevent joint stiffness and ensures that your bones store more calcium.”
Difference between White Butter and Yellow Butter
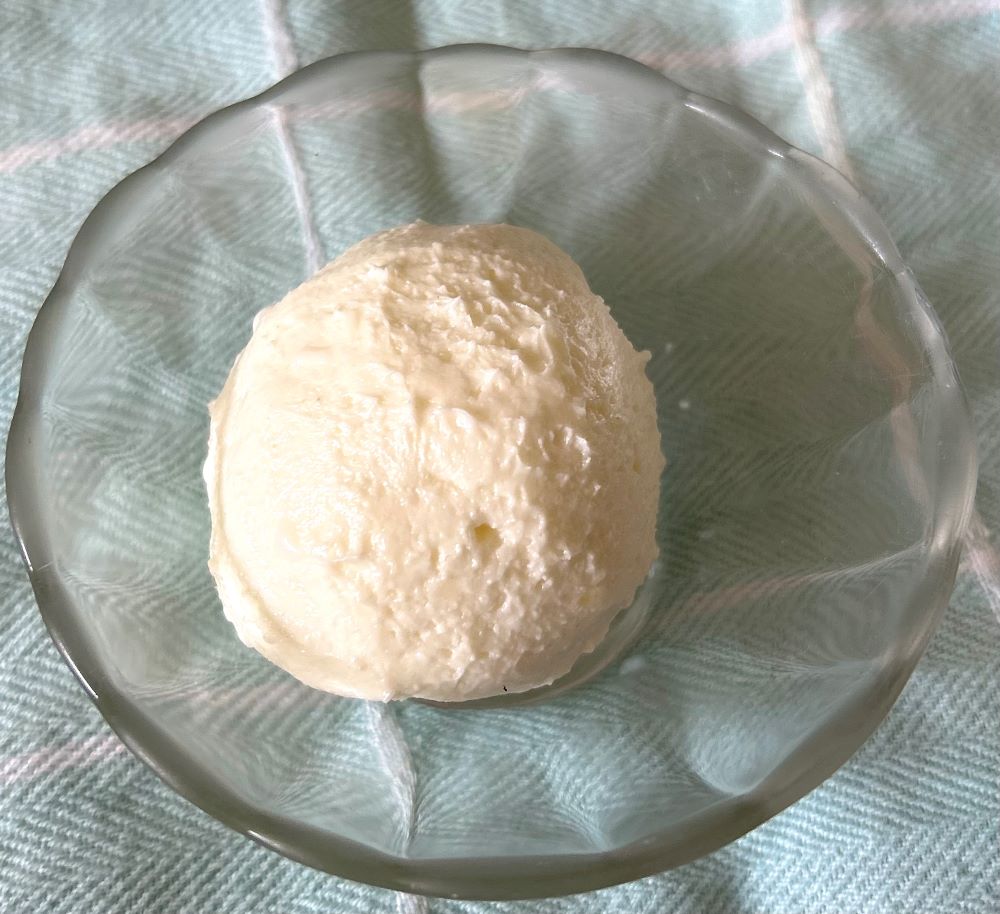
White butter is one of the original forms of butter, which was made in almost every Indian household earlier while yellow butter is commercially produced in a factory. White butter typically contains fewer milk solids which makes it a healthier option for individuals who have lactose intolerance or sensitivity. As white butter contains less lactose, it is may be easier to digest.
- Yellow Butter is processed and contains high amounts of saturated and trans-fat which makes it high in calories as well. White Butter, also known as Makkhan, is a natural, un-processed version of butter and contains healthy fats. Thanks to the presence of lecithin in white butter which aids in dismantling unhealthy fats and kick-starts a more agile metabolism.
- The molecular makeup of white butter allows it to effectively assimilate fats. This property extends a soothing touch to joints, offering respite to individuals grappling with joint discomfort. It’s a natural elixir for bolstering joint health and mobility.
- White butter houses arachidonic acid, a fatty acid pivotal in brain development. In addition, it also contains omega 3 and omega 6. It is exceptionally good for children as it supports their overall brain growth.
- Want that glowing skin? Include Makkhan in your diet. It is an amazing source of Vitamin E, that safeguards skin health, potentially leading to a reduction in skin-related issues.
- Yellow butter is yellow because of the high fat content, and it’s processed, therefore it’s heavy in calories. Salt and preservatives are added to make it last longer and have a prolonged shelf life. Yellow butter also contains colouring agents.
How to make White Butter at home?
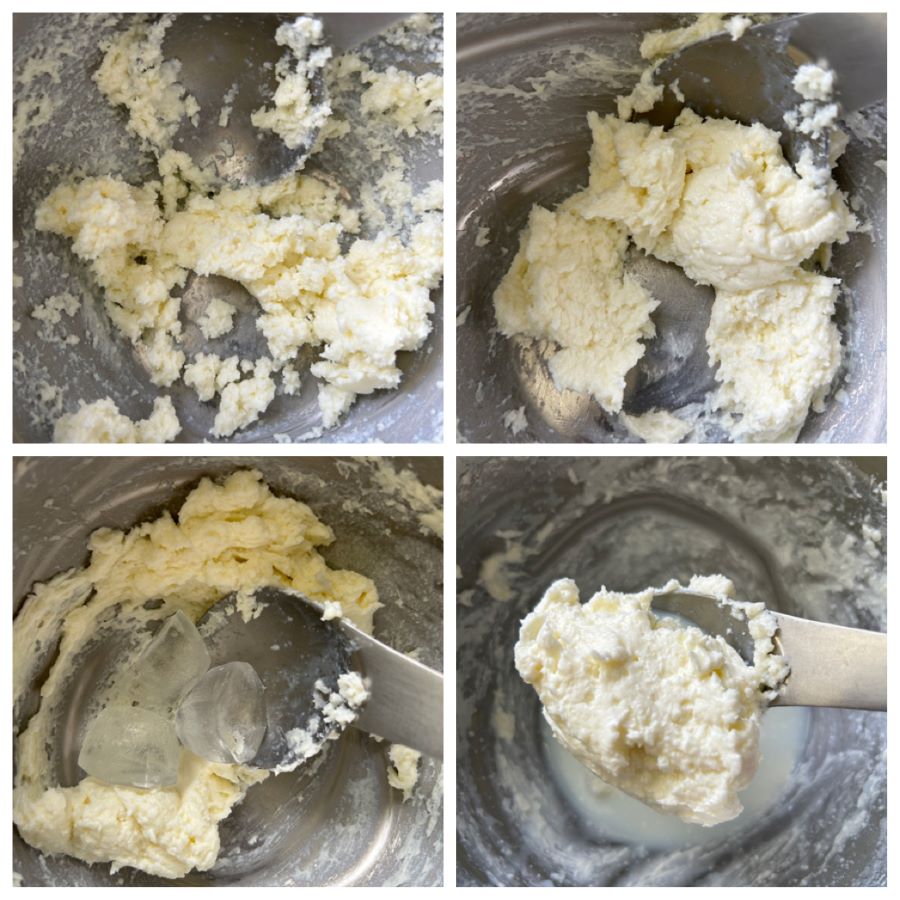
- Take some of top creamy layer of milk or malai in a bowl.
- Churn it with a whisker or sturdy spoon for a minute or two.
- Now add ice cubes and a little bit of cold water and churn again till butter has separated from water and comes together.
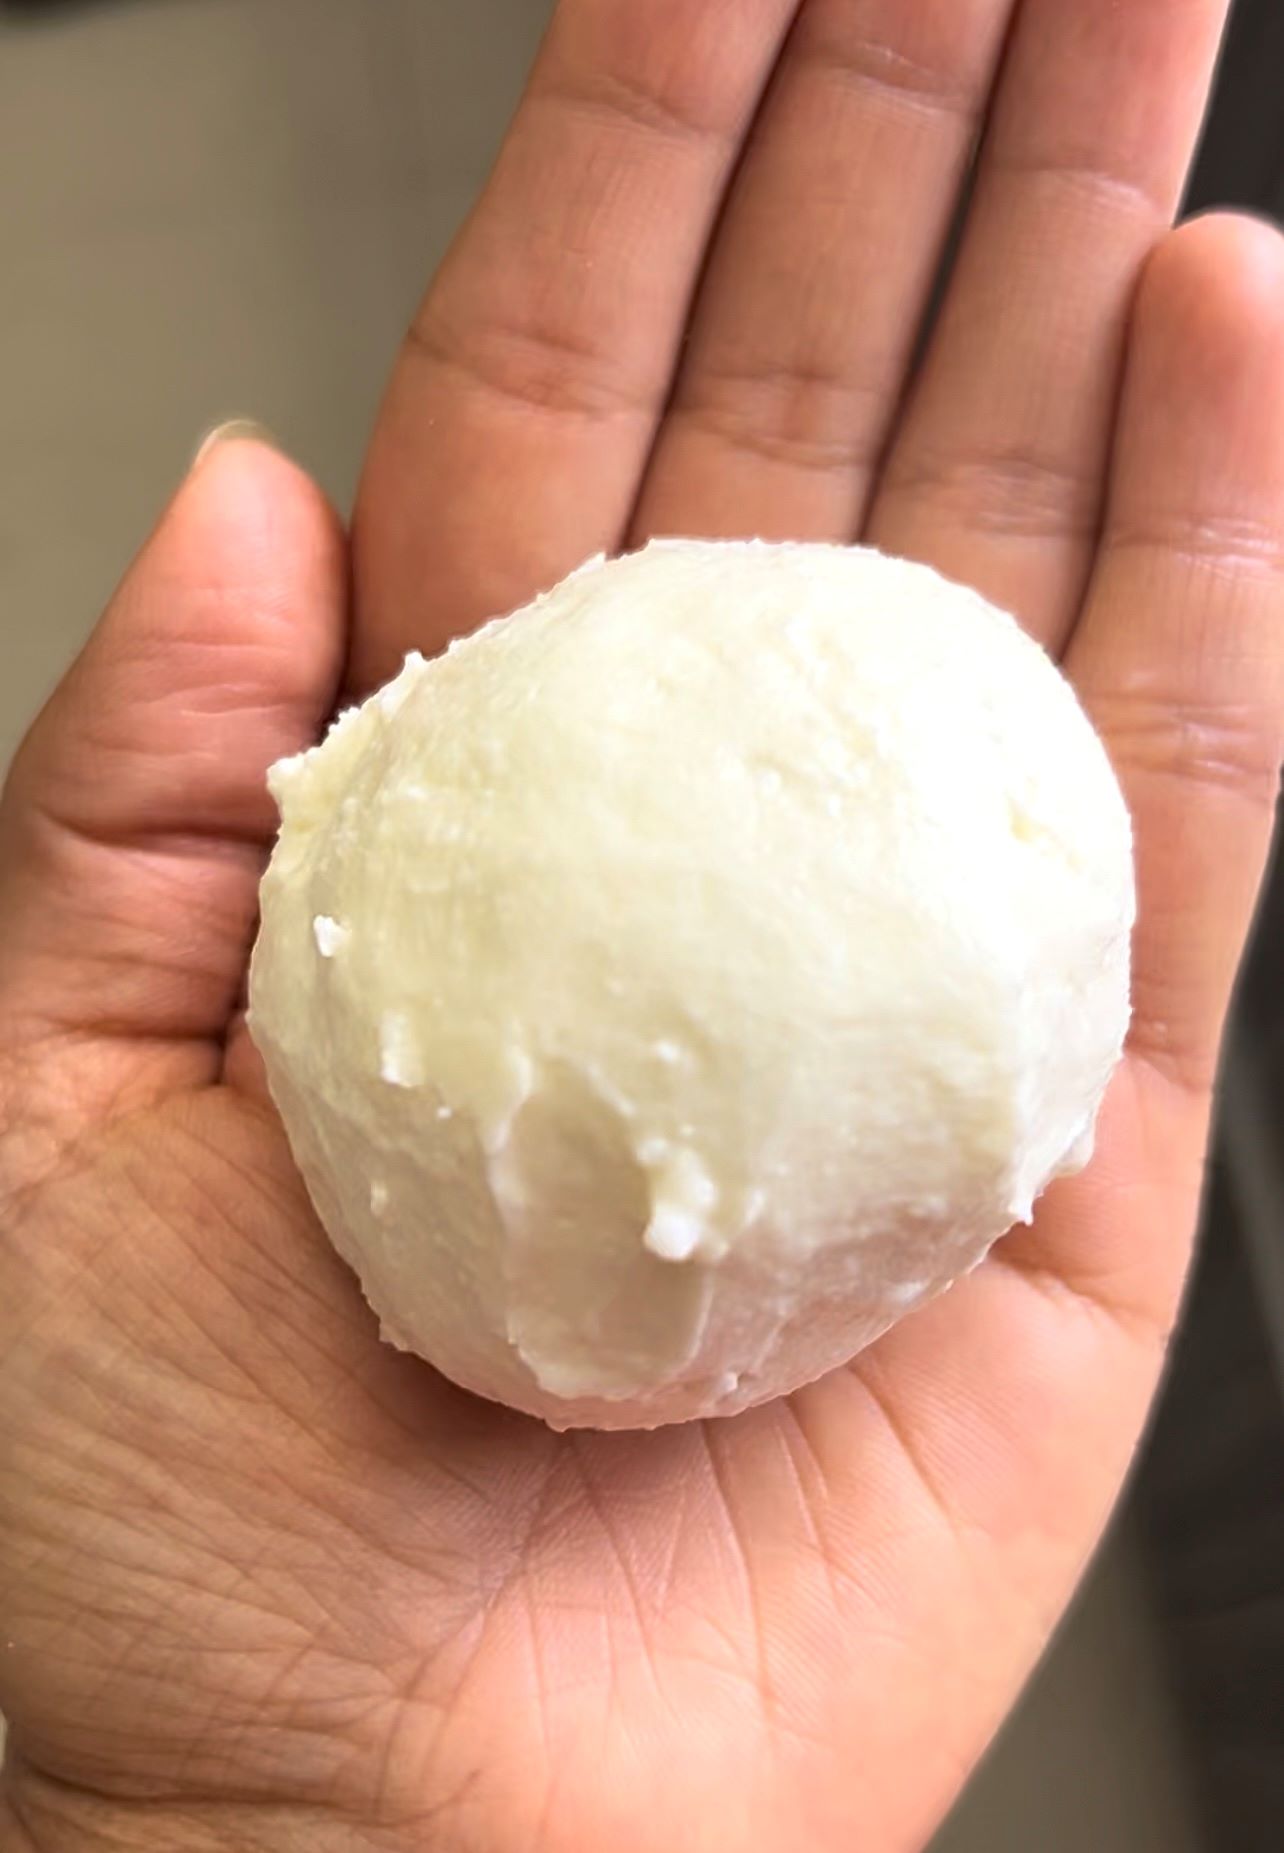
- Separate the butter from the liquid. Gently squeeze the makkhan between your hands.
- Rinse butter with fresh water to get rid of any milk residue.
- Let the butter set in refrigerator for 10-15 minutes and it is ready to be used.
Notes:
- I normally make small quantity of butter so I prefer manual churning. However, if you plan to make a big batch you can totally use food processor or an electric beater. Just add some cold water to the blender and blend it on pulse mode.
- It is important to wash away all the milk remains from the butter. If a substantial amount of buttermilk remains, it will sour within a week, otherwise homemade butter can keep for upto 2 weeks in the fridge.
- You can also make Cultured Probiotic Butter at home which has added benefits of probiotics and is much easier to digest. You can check out the full procedure here- Ayurvedic Cultured Ghee.
Takeway
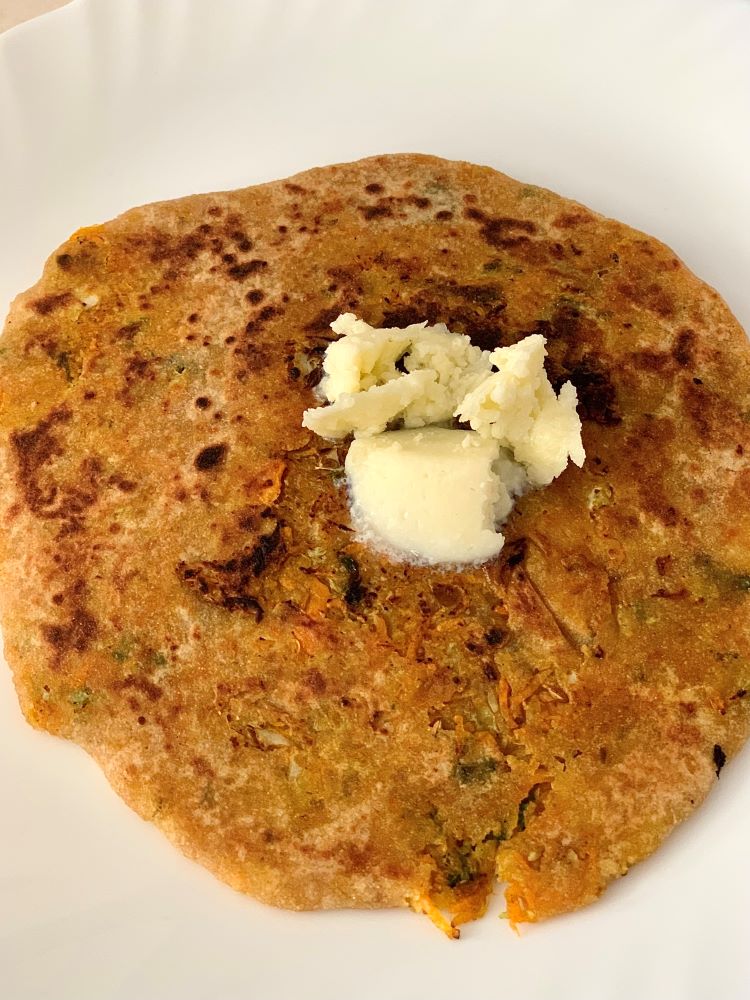
In a nutshell, white butter is way better than yellow commercial butter. Is it worth the effort? Absolutely Yeah!! I always feed my child white butter and he barely eats yellow butter. It’s just so easy to whip in small batches. Literally takes you 5 minutes. Although, always remember to have it in moderation. Too much of everything is bad. Any excess of oil or fats will lead to heart or cholesterol problems. And never be scared or feel guilty about food. Do not indulge in fearful eating. Enjoy your luscious aloo ka paratha with a dollop of freshly made white butter, but moderately. Eat smart and exercise and aim at a healthy lifestyle.