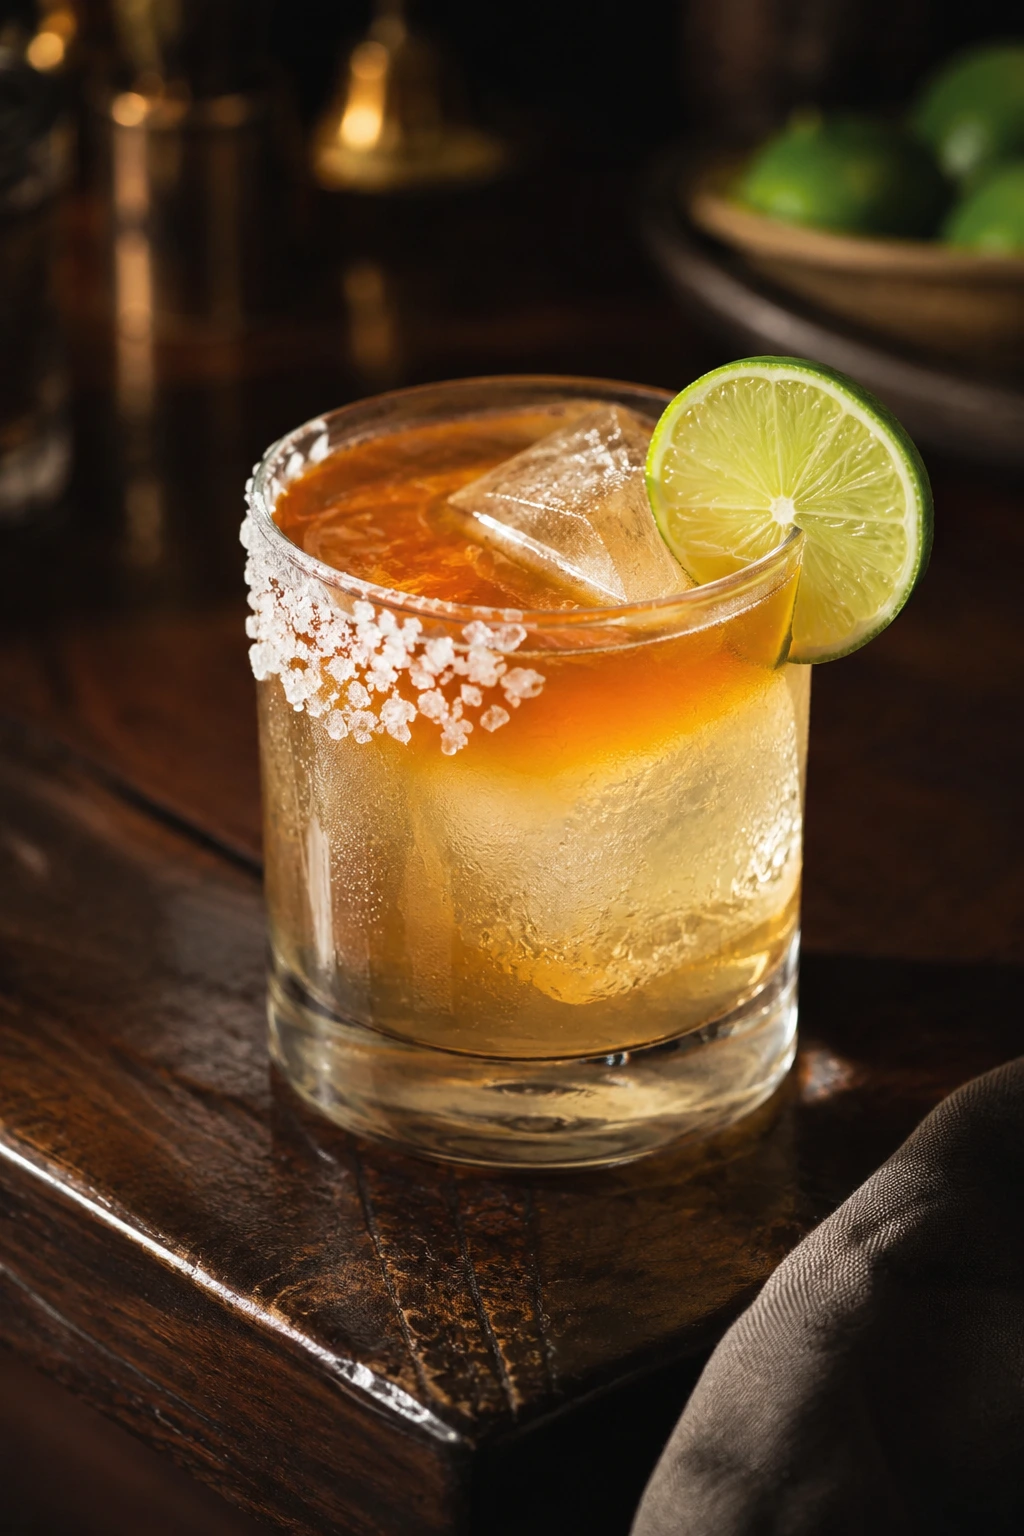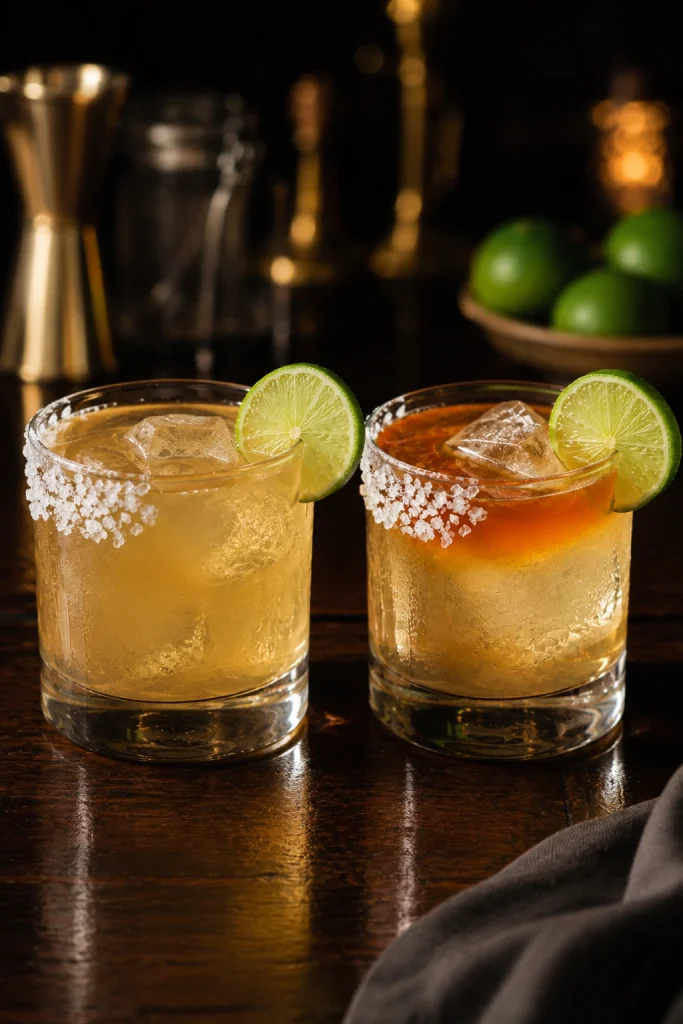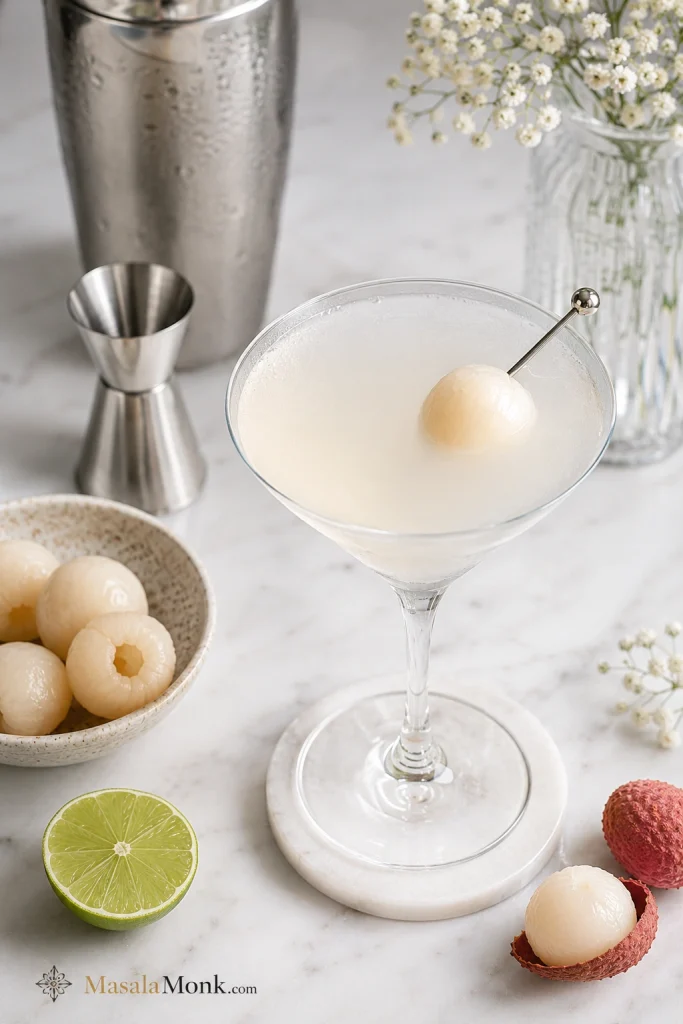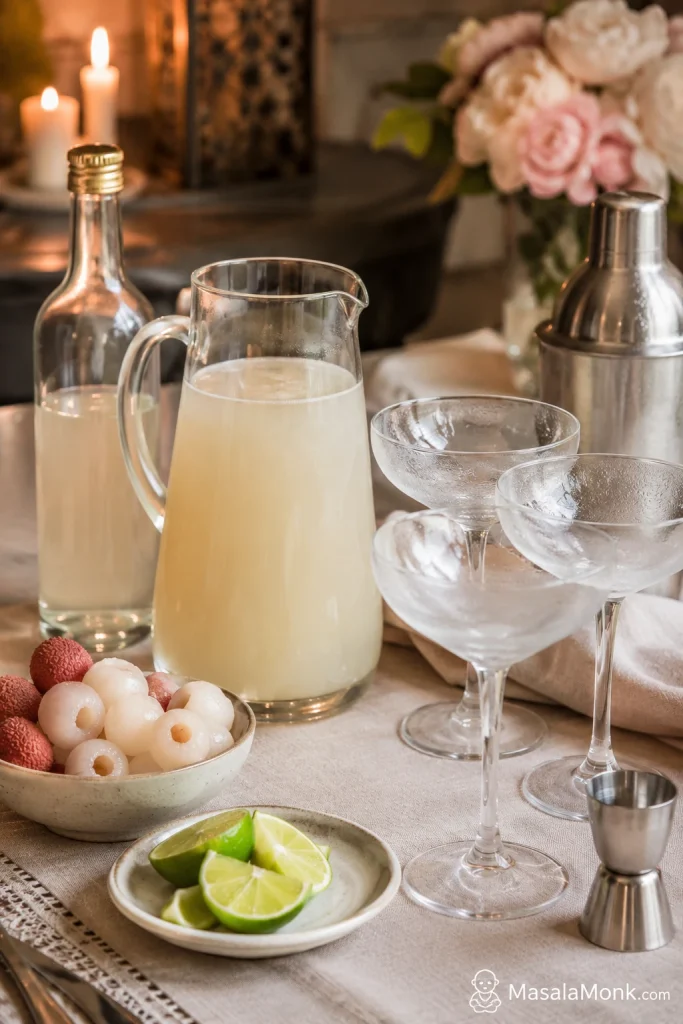
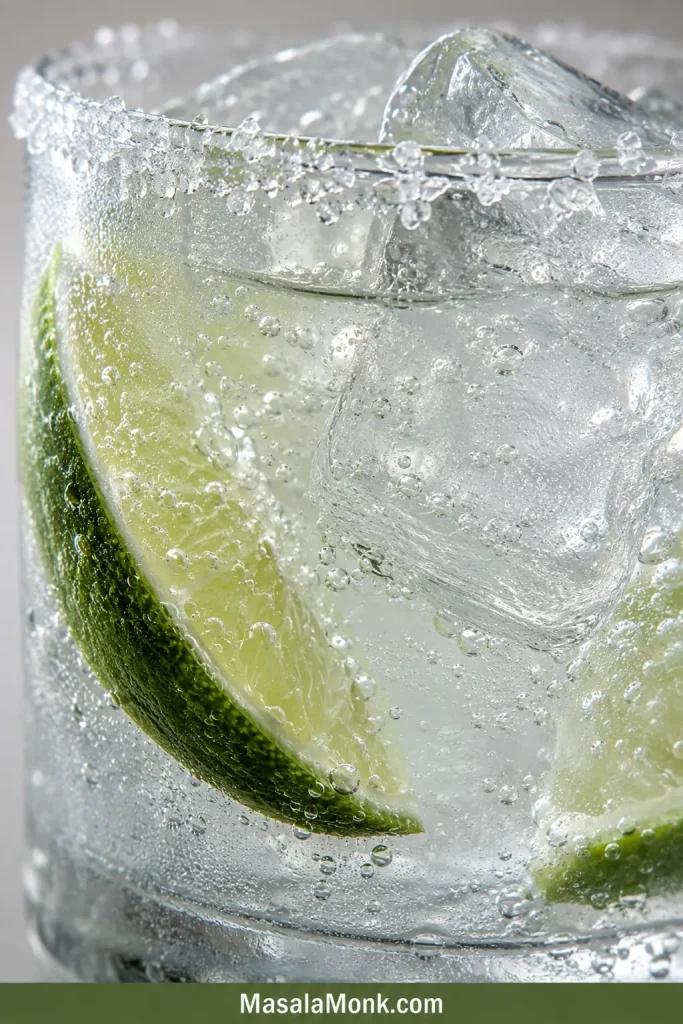
Ranch Water is what you make when you want tequila, lime, chilled fizz, and nothing heavy getting in the way. It is bright, mineral, refreshing, and built right in the glass with blanco tequila, fresh lime juice, and Topo Chico or sparkling mineral water.
The best version tastes clean before it tastes strong. Fresh lime should wake it up, the tequila should stay smooth, and the bubbles should make the whole drink feel sharp and cold instead of sweet or syrupy.
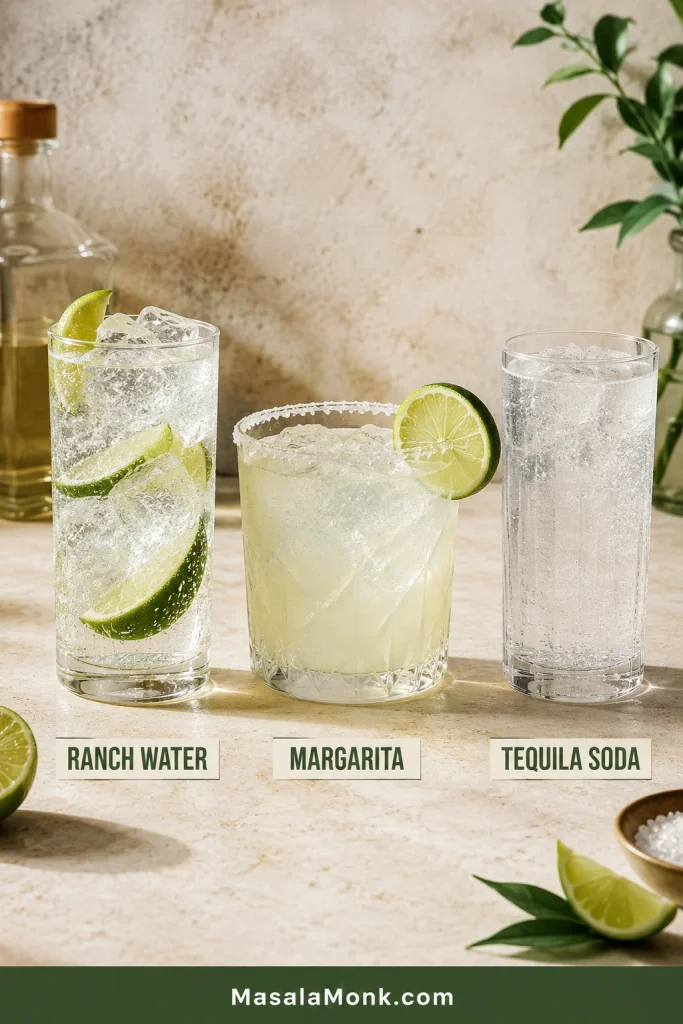
It is the drink for the moment when a margarita feels too sweet, a tequila soda feels too plain, and you want something cold enough to make every sip feel fresh again.
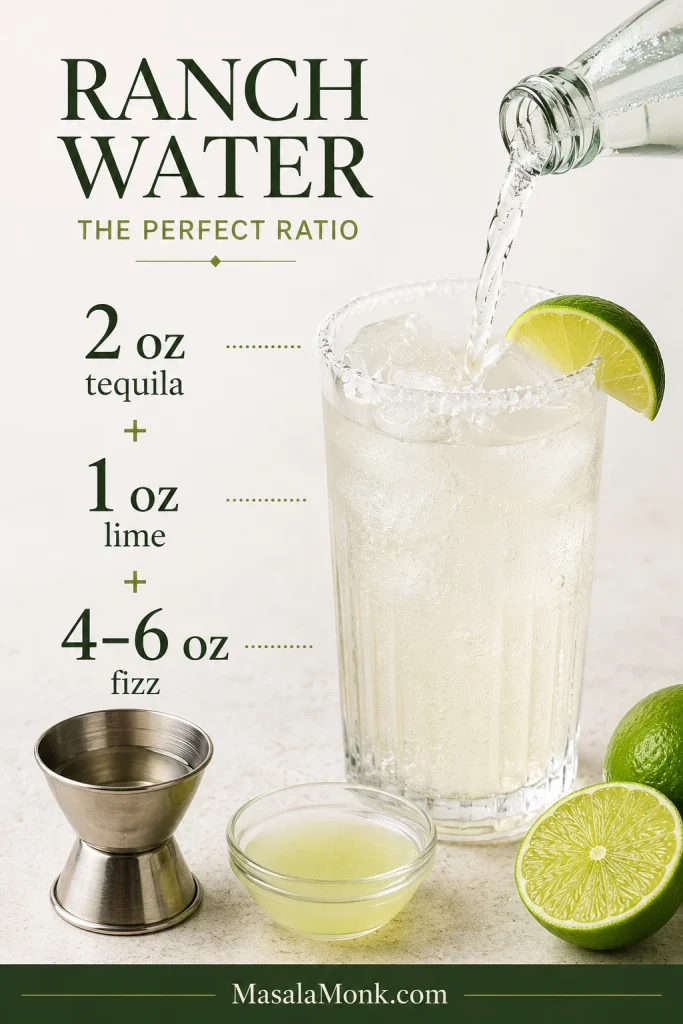
This Ranch Water recipe starts with the most useful ratio: 2 oz tequila, 1 oz fresh lime juice, and 4–6 oz chilled Topo Chico. From there, you can make it lighter, stronger, spicy, Tajín-rimmed, grapefruit-bright, vodka-based, Cointreau-touched, frozen, or pitcher-friendly without losing the simple point of the drink.
For adults of legal drinking age. Please drink responsibly.
Quick Answer: Best Ranch Water Ratio
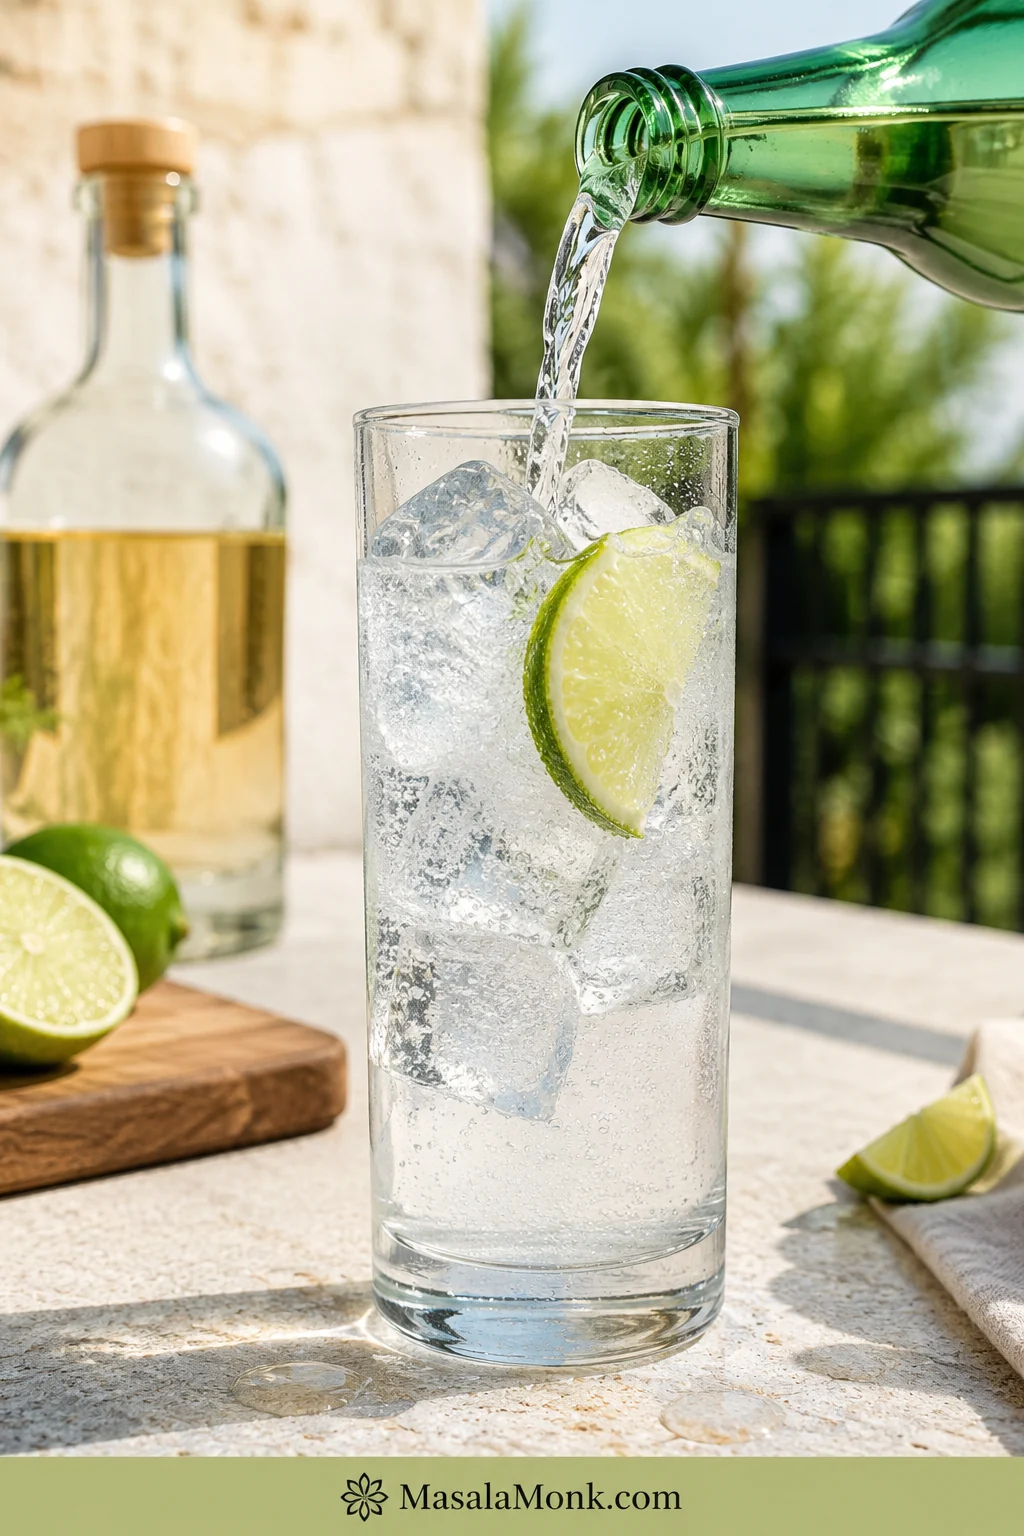
For one balanced Ranch Water, use 2 oz / 60 ml blanco tequila, 1 oz / 30 ml fresh lime juice, and 4–6 oz / 120–180 ml chilled Topo Chico or sparkling mineral water. Fill the glass with ice, add tequila and lime, stir briefly, top with chilled bubbles, stir once gently, and serve right away.
Topo Chico is the traditional choice, but any cold, strongly carbonated, unsweetened sparkling water can work. The fizz belongs at the finish; that is what keeps the drink lively.
Make This Ranch Water Tonight
- Start here: 2 oz tequila, 1 oz lime juice, and 4–6 oz cold Topo Chico.
- Fill the glass with ice: Ranch Water should be cold from the first sip.
- Top at the end: add the bubbles last and stir once.
- No Topo Chico? use sparkling mineral water, club soda, or plain seltzer.
- Serving tacos? add a Tajín rim or a few jalapeño slices.
- Making it for friends? batch tequila and lime, then let everyone top their own glass.
Ranch Water Recipe
A bright tequila, lime, and Topo Chico cocktail built over ice in the glass. This balanced version is crisp, bubbly, and easy to adjust lighter or stronger.
| Prep Time | 3 minutes |
| Cook Time | 0 minutes |
| Total Time | 3 minutes |
| Servings | 1 cocktail |
| Method | Built in glass |
| Glass | Highball, Collins, rocks glass, or tumbler |
| Equipment | Jigger, citrus juicer, bar spoon or stirrer |
Ingredients
| Ingredient | Amount |
|---|---|
| Blanco tequila | 2 oz / 60 ml |
| Fresh lime juice | 1 oz / 30 ml |
| Chilled Topo Chico or sparkling mineral water | 4–6 oz / 120–180 ml |
| Ice | Enough to fill the glass |
| Lime wedge or wheel | For garnish |
| Fine salt or Tajín | Optional, for the rim |
Instructions
- Fill a highball, Collins, rocks glass, or tumbler with ice.
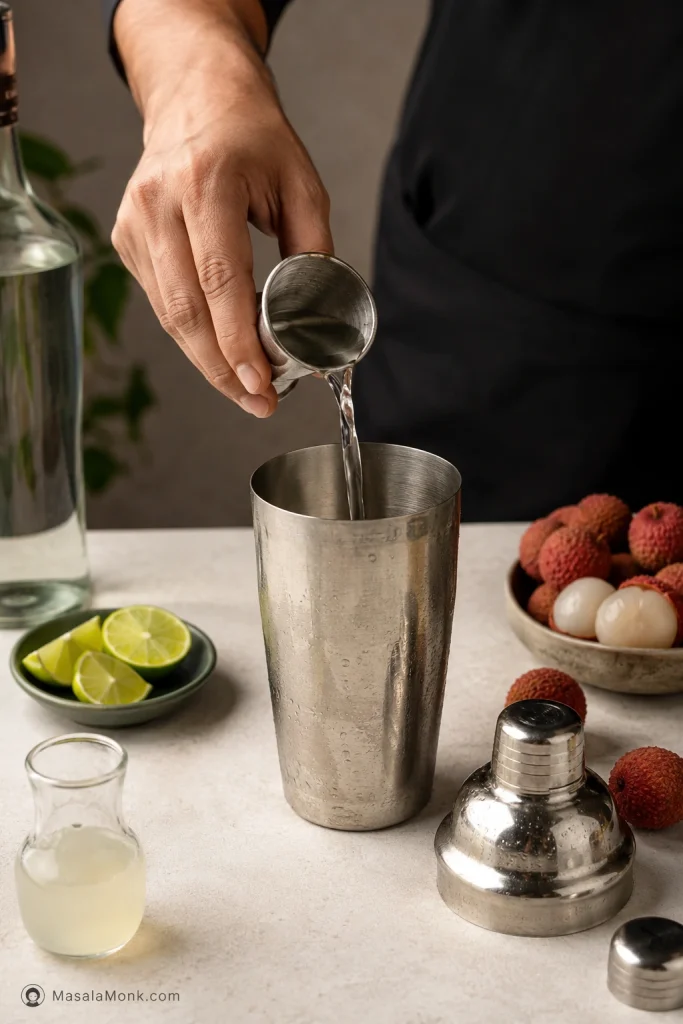
- Add the blanco tequila and fresh lime juice.
- Stir briefly to chill the tequila and lime.
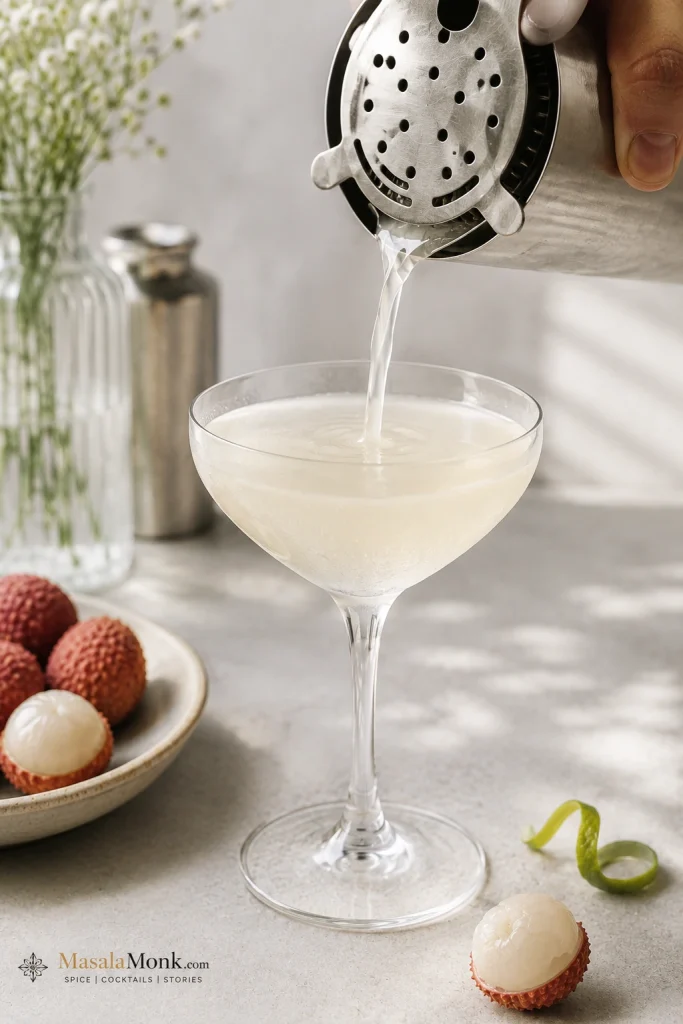
- Top with chilled Topo Chico or sparkling mineral water.
- Stir once gently, garnish with lime, and serve immediately.
Recipe note: Remember the glass ratio: 2:1:4–6 — 2 oz tequila, 1 oz lime, and 4–6 oz chilled fizz.
Drink strength note: This recipe uses 2 oz tequila, which is a full cocktail pour. For something lighter, use the 1.5 oz patio version in the ratio table below. The NIAAA has a helpful guide to what counts as a standard drink. Read the standard drink guide.
Table of Contents
Before You Mix
Ranch Water goes wrong in simple ways: warm glass, dull lime, flat bubbles, too little ice, or too much stirring. Fix those and the drink almost takes care of itself.
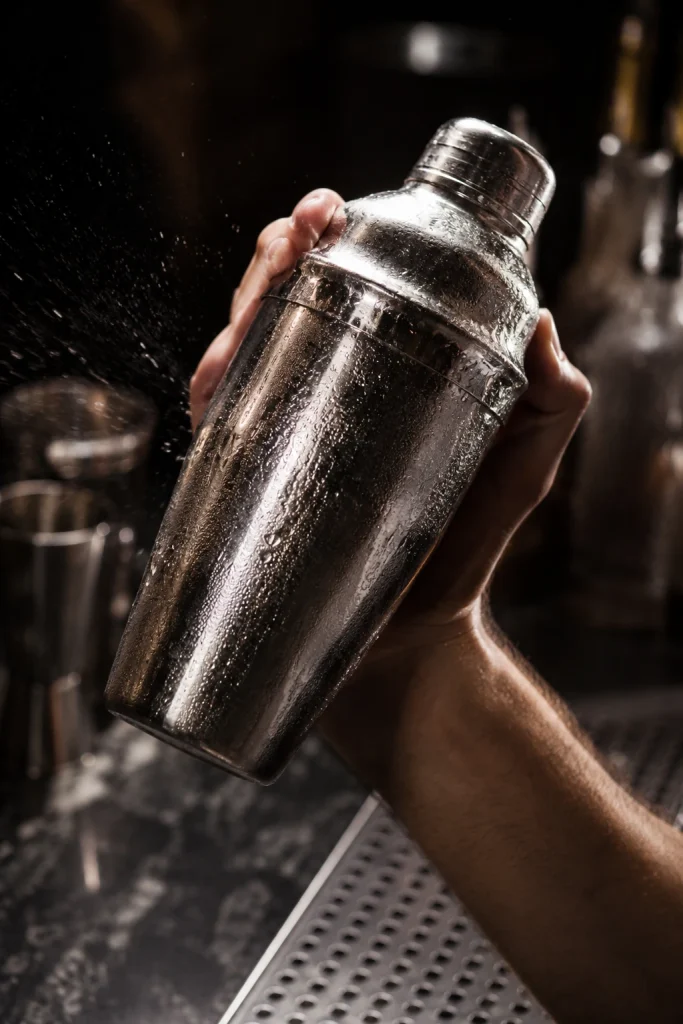
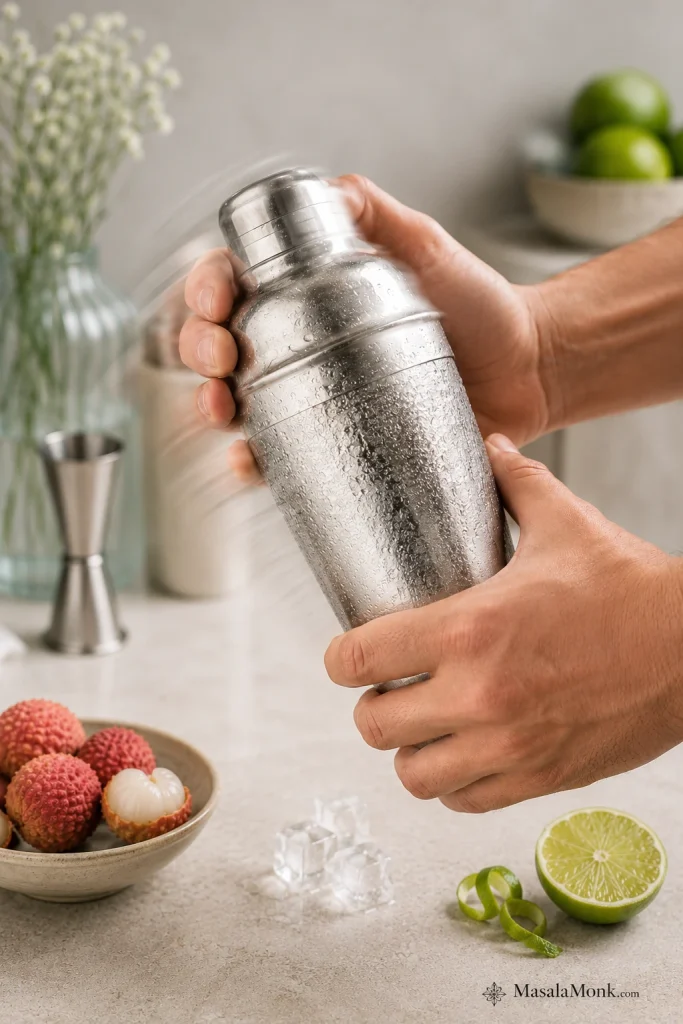
- Skip the shaker: build it directly in the glass.
- Measuring without a jigger? 2 oz is 4 tablespoons, 1 oz is 2 tablespoons, and 4–6 oz is ½–¾ cup.
- Use fresh lime when possible: bottled lime works in a pinch, but fresh lime is what makes the drink snap.
- Any sturdy glass works: use a rocks glass, tumbler, or highball glass that can hold ice and fizz.
- Serving later? mix tequila and lime ahead, but add the bubbles only when serving.
This is the kind of drink that works when the chips are salty, the limes are already cut, and nobody wants to shake cocktails all night.
What Should Ranch Water Taste Like?
Ranch Water should taste dry, cold, lime-forward, and lightly mineral. It should not taste sweet like a margarita, flat like watered-down tequila, or harsh like straight tequila with soda.
When the balance is right, the first sip is bright from lime, clean from tequila, and lifted by the fizz. The drink should feel light, but not empty.
If your glass tastes like plain tequila soda, it needs more fresh lime. A dull glass usually means the sparkling water was not cold or fizzy enough. Harshness means the tequila is doing too much work.
Jump to taste fixes · Check the ratio
Ranch Water at a Glance
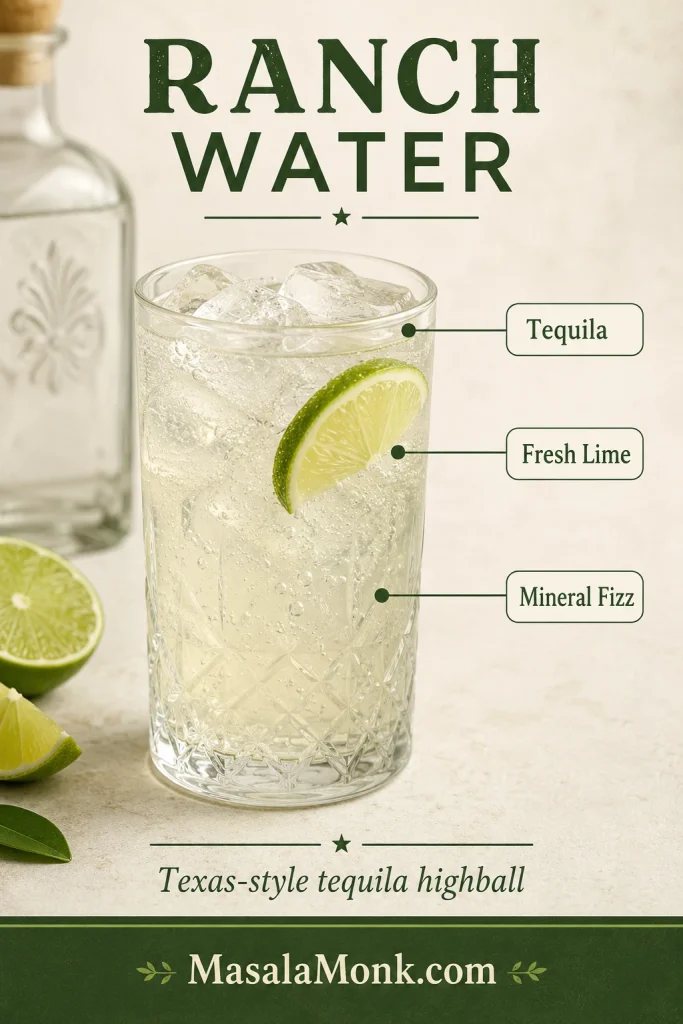
- Drink type: Texas-style tequila highball.
- Main flavor: clean tequila, fresh lime, and chilled mineral fizz.
- Sweetness: not sweet in the traditional version.
- Traditional sparkling water: Topo Chico.
- Tequila to choose: blanco or silver tequila.
- Glass to use: highball, Collins, rocks glass, or tumbler.
- Serve it: immediately, over plenty of ice.
What Is Ranch Water?
Ranch Water is a simple tequila cocktail made with fresh lime juice, sparkling mineral water, and ice. Topo Chico is the most famous choice, but the drink is really about clean tequila, bright lime, and bubbles with real bite.
The drink is strongly associated with Texas, especially West Texas and Austin bar culture. Like many simple regional drinks, its exact origin is debated, but its Texas identity is not: West Texas claims the spirit of the drink, while Ranch 616 in Austin helped make the named cocktail famous.
Some bar-style versions include orange liqueur, Tajín, jalapeño, fruit, or a bigger pour. The simplest version is still tequila, lime, Topo Chico, and ice.
And no, despite the name, it has nothing to do with ranch dressing.
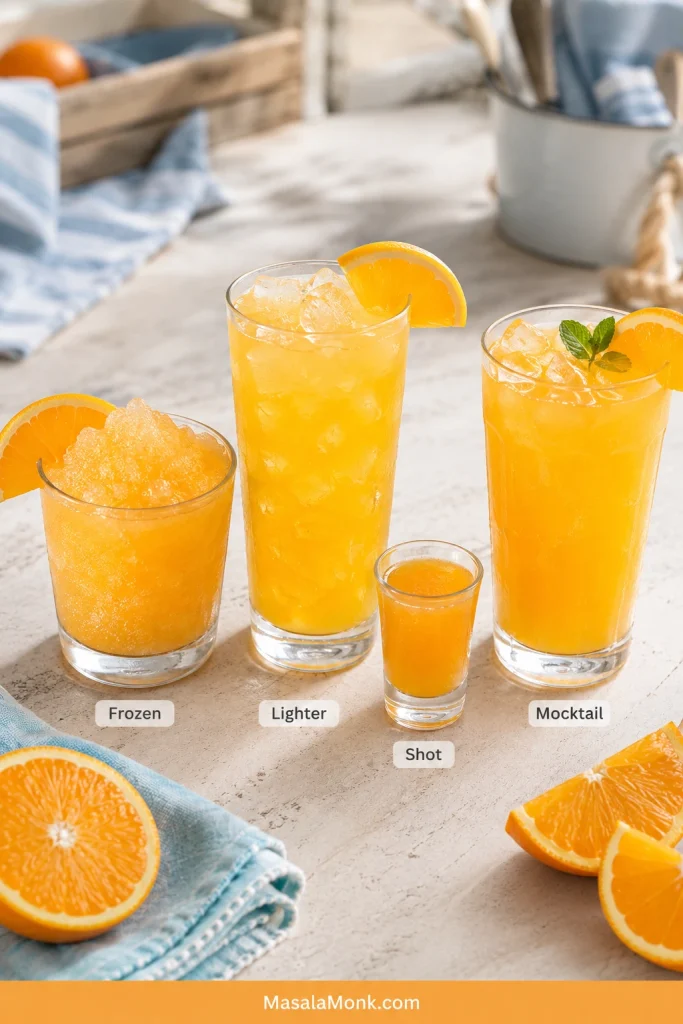
Choose Your Ranch Water Version
Start with the balanced glass once. Then decide whether you are a light patio person, a stronger Texas-style person, or a Tajín-and-jalapeño person.
| If You Want | Make This Version | What to Change |
|---|---|---|
| The clean original-style drink | Simple Ranch Water | Tequila, lime, Topo Chico, ice |
| A lighter patio drink | Light Ranch Water | Use 1.5 oz tequila and more sparkling water |
| A stronger Texas-style drink | Strong Ranch Water | Use 3 oz tequila and 1.5 oz lime |
| Heat | Spicy Ranch Water | Add jalapeño and optional Tajín |
| A chile-lime rim | Tajín Ranch Water | Rim the glass before adding ice |
| No tequila flavor | Vodka Ranch Water | Swap tequila for vodka |
| A margarita-style edge | Cointreau Ranch Water | Add a small splash of Cointreau |
| Fruit brightness | Grapefruit or Pineapple Ranch Water | Add 1 oz fruit juice or flavored sparkling water |
| Serving several people | Pitcher Ranch Water | Batch tequila and lime only; add bubbles per glass |
See exact ratios · Go to variations · Make a pitcher
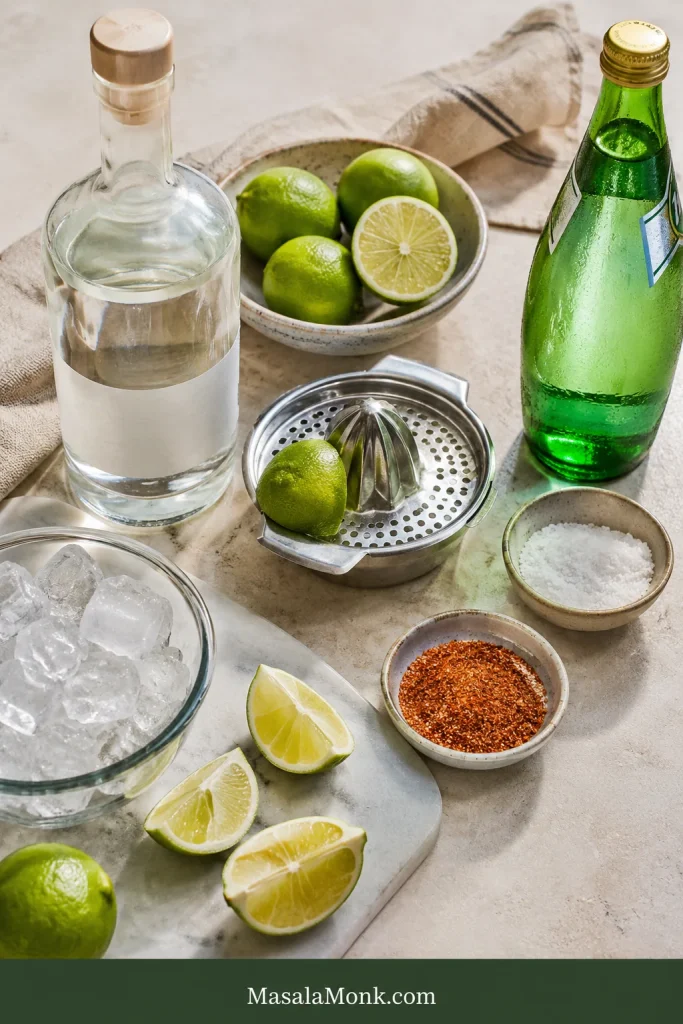
Ranch Water Ingredients
The whole drink is tequila, lime, mineral fizz, and ice — which is why each ingredient has to pull its weight.
Blanco Tequila
Also called silver tequila, blanco keeps the standard version clean and bright. Reposado works if you like a rounder flavor, and mezcal can replace part of the tequila for a smoky variation.
Choose a tequila you would enjoy in a simple tequila soda. Ranch Water has no syrup or juice blend to hide a rough bottle.
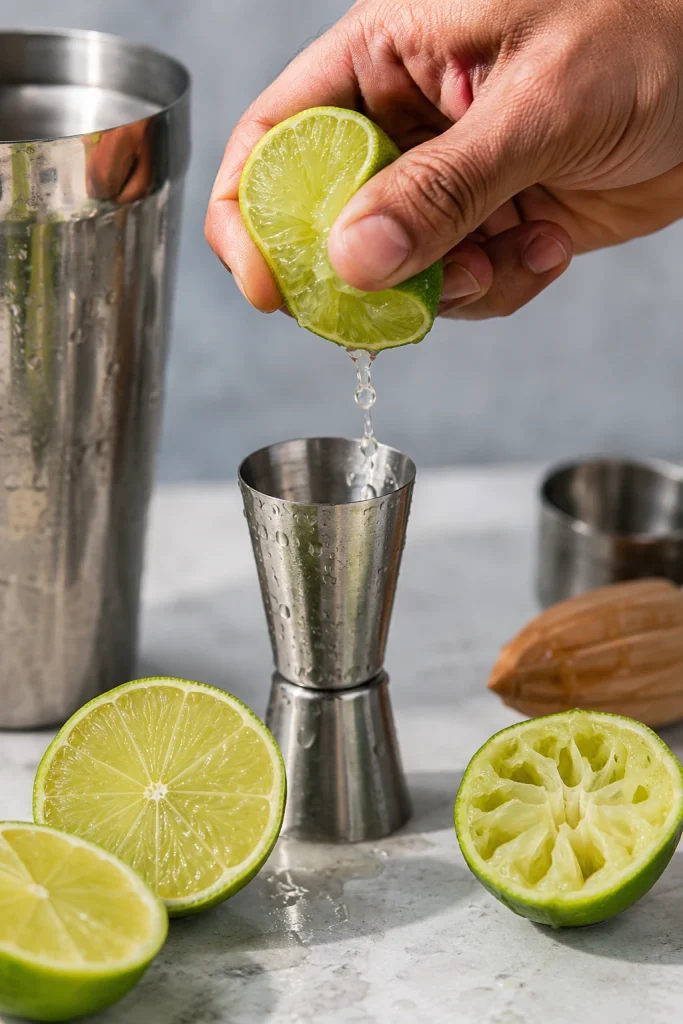
Fresh Lime Juice
This is the sharp, refreshing edge that makes Ranch Water taste awake rather than thin. Bottled lime works in a pinch, but in a drink this bare, dull lime has nowhere to hide.
For one balanced drink, use about 1 oz / 30 ml fresh lime juice, usually close to the juice from one medium lime.
Topo Chico or Sparkling Mineral Water
What Topo Chico brings is bite: strong bubbles, a mineral edge, and enough lift to keep tequila and lime from tasting thin. No Topo Chico? Choose the coldest, strongest, least sweet sparkling water you have.
When choosing a substitute, prioritize strong carbonation over brand name. A very cold glass-bottle mineral water usually feels closer than a lightly fizzy seltzer.
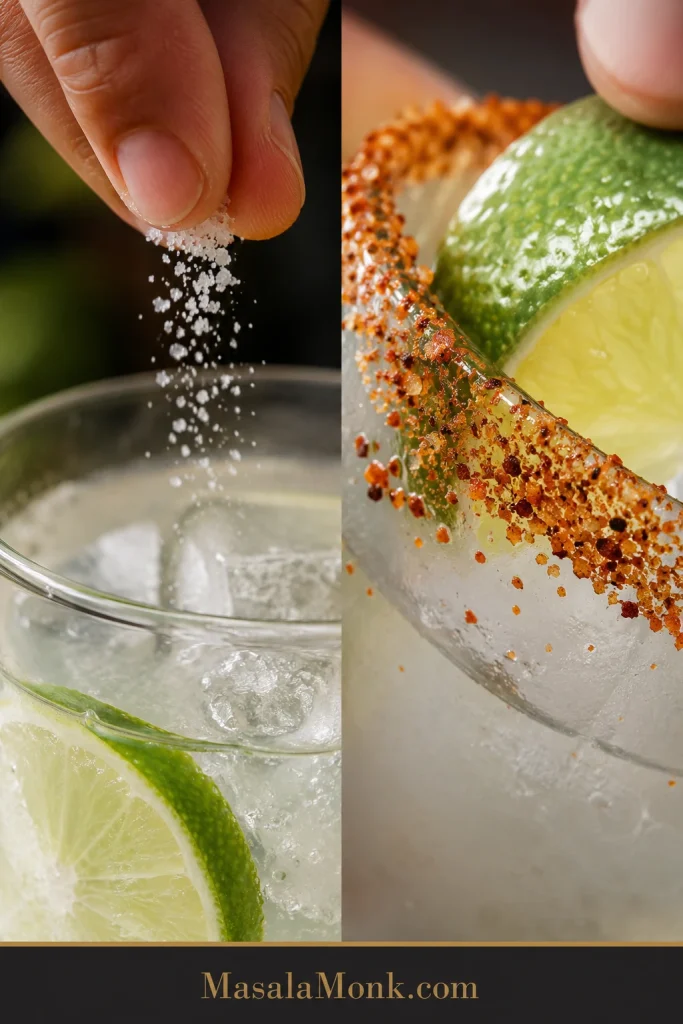
Ice, Salt, and Tajín
Use plenty of ice. A warm glass, warm sparkling water, or too little ice can make the drink taste flat and watery. For the simplest version, a plain lime wedge is enough, but fine salt or Tajín works well on the rim.
Optional flavor booster: add a tiny pinch of fine salt to the tequila and lime before topping. It should not make the drink salty; it should make the lime and tequila taste brighter.
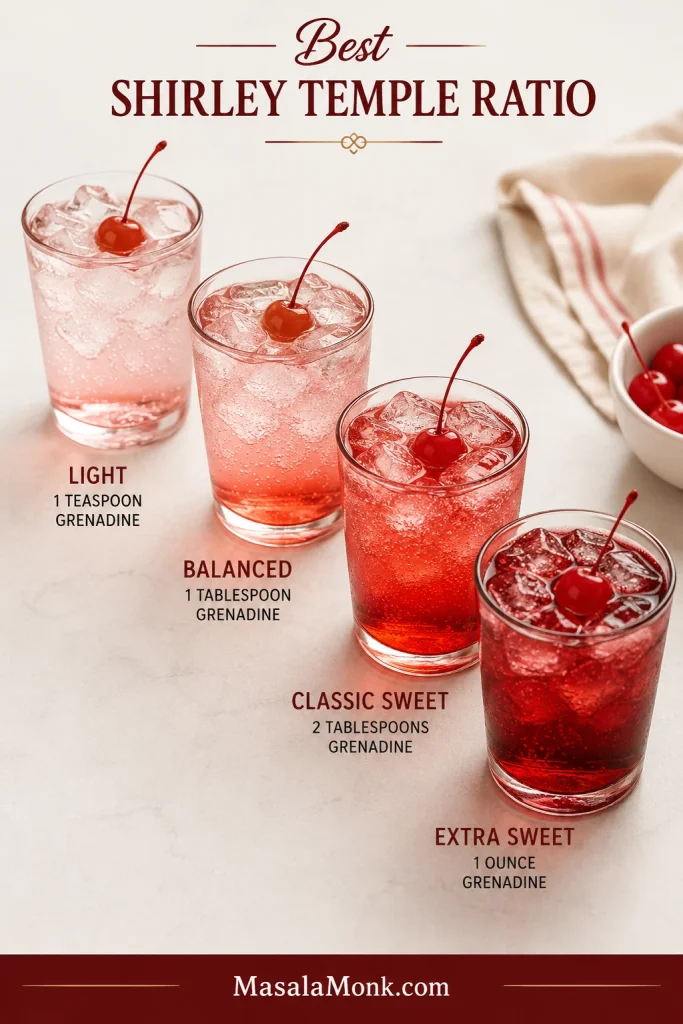
Best Ranch Water Ratio
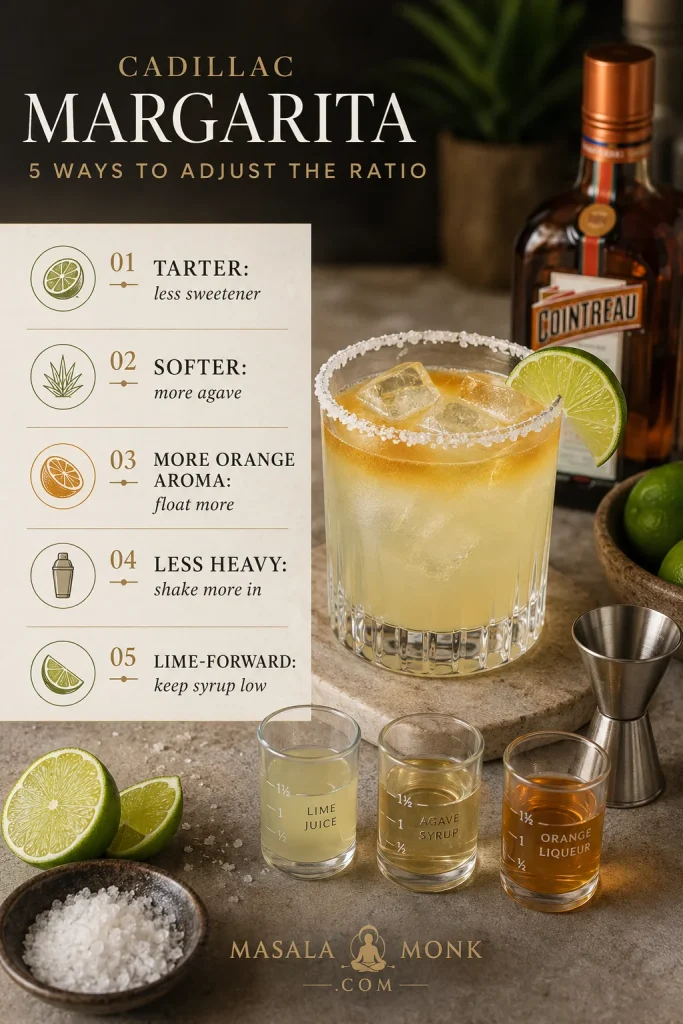
The best starting point is 2 oz tequila, 1 oz lime juice, and 4–6 oz Topo Chico. Many recipes run lighter with 1.5 oz tequila and less lime, while stronger Texas-style versions often use 3 oz tequila and 1.5 oz lime. That range is why a ratio table helps.
Try the balanced version first, then adjust only one thing at a time. More lime makes it sharper, more bubbles make it lighter, and more tequila gives it a stronger cocktail feel.

| Version | Tequila | Lime Juice | Topo Chico / Sparkling Water | Best For |
|---|---|---|---|---|
| Light patio version | 1.5 oz / 45 ml | 0.5–0.75 oz / 15–22 ml | 5–6 oz / 150–180 ml | Long, easy sipping |
| Balanced version | 2 oz / 60 ml | 1 oz / 30 ml | 4–6 oz / 120–180 ml | Best first glass |
| Strong Texas-style | 3 oz / 90 ml | 1.5 oz / 45 ml | 4–6 oz / 120–180 ml | Stronger cocktail feel |
| Less tart | 2 oz / 60 ml | 0.5 oz / 15 ml | 5–6 oz / 150–180 ml | People who dislike sharp lime |
Once you find your version, keep that ratio; Ranch Water gets easier every time you make it.
Too sour? Use less lime or more fizz. Too watery? Use more lime, colder Topo Chico, and enough ice. Too strong? Move to the light patio ratio.
Back to recipe card · Fix the taste · Scale for a pitcher
Do You Need Topo Chico for Ranch Water?
No, you do not need Topo Chico to make Ranch Water, but it is the traditional choice. Its sharp bubbles and mineral snap give the drink its familiar Texas-style feel.
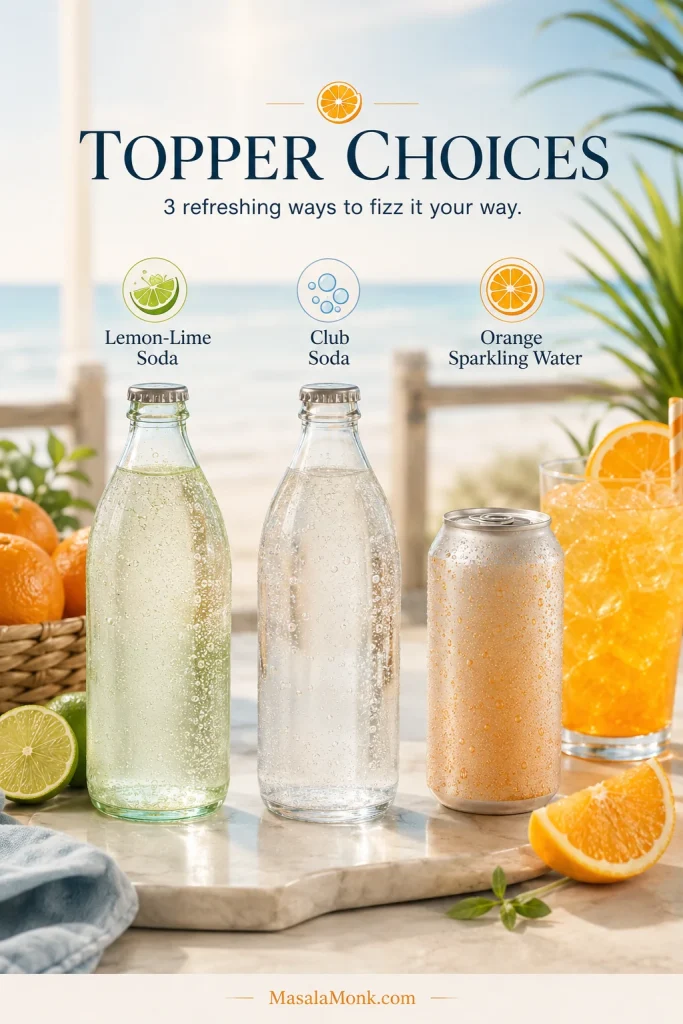
If you do not have it, use a cold, strongly carbonated, unsweetened sparkling water. The closer it is to crisp mineral fizz, the better the drink will taste.
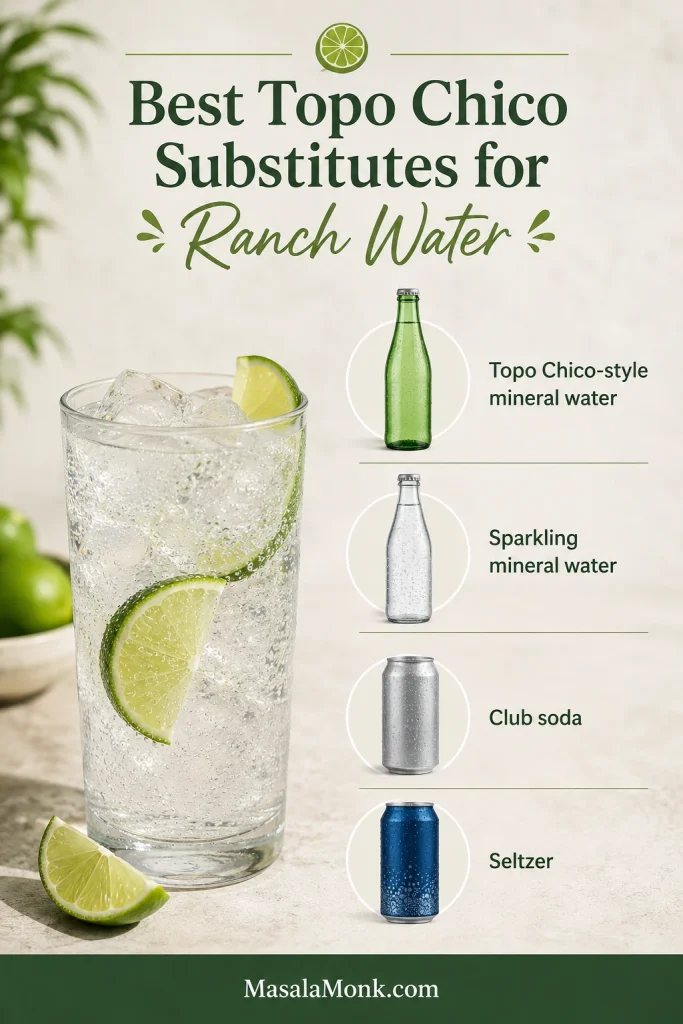
| Substitute | Verdict | What to Expect |
|---|---|---|
| Topo Chico | Best traditional choice | Sharp bubbles, mineral finish |
| Sparkling mineral water | Very good | Closest general substitute |
| Club soda | Good | Clean and easy, less mineral flavor |
| Seltzer | Works | Lighter body and softer flavor |
| Flavored sparkling water | Works for variations | Good for grapefruit, lime, tangerine, or pineapple-style versions |
| Tonic water | Not ideal | Adds sweetness and bitterness, so it no longer tastes like a dry Ranch Water |
Ranch Water with Club Soda or Seltzer
Yes, club soda works in Ranch Water. It gives clean, firm bubbles, though it tastes less mineral than Topo Chico. Plain seltzer makes a lighter, softer drink.
Use the same ratio: 2 oz tequila, 1 oz lime juice, and 4–6 oz club soda or seltzer. Keep it cold and unsweetened for the cleanest flavor.
The same “soda last” rule matters in a classic mojito too: citrus and base go in first, cold bubbles go in at the end.
Best Tequila for Ranch Water
Blanco tequila is the cleanest choice for Ranch Water because it stays bright with lime. Since there is no sweet mixer, the bottle does not have to be expensive, but it should be smooth enough to enjoy with soda and citrus.
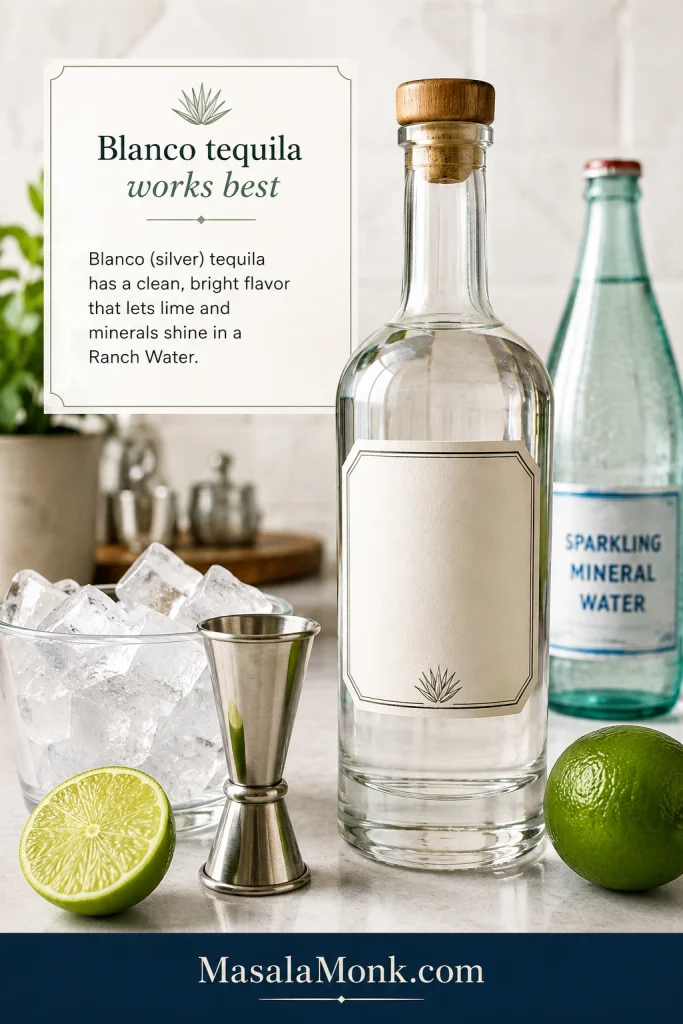
- Silver or blanco tequila: best for the cleanest version.
- 100% agave tequila: smart here because the drink has no sweet mixer to smooth rough edges.
- Reposado tequila: warmer and rounder, but less crisp.
- Mezcal: good for a smoky variation, especially if you replace only part of the tequila.
- Flavored tequila: not needed and can make the drink taste artificial.
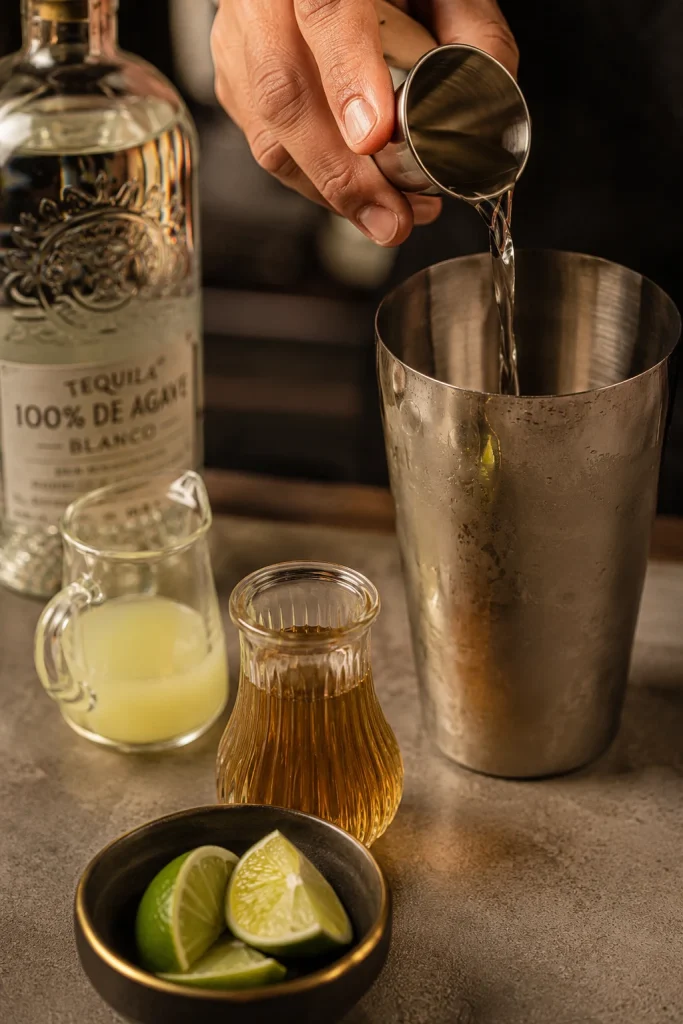
How to Make Ranch Water
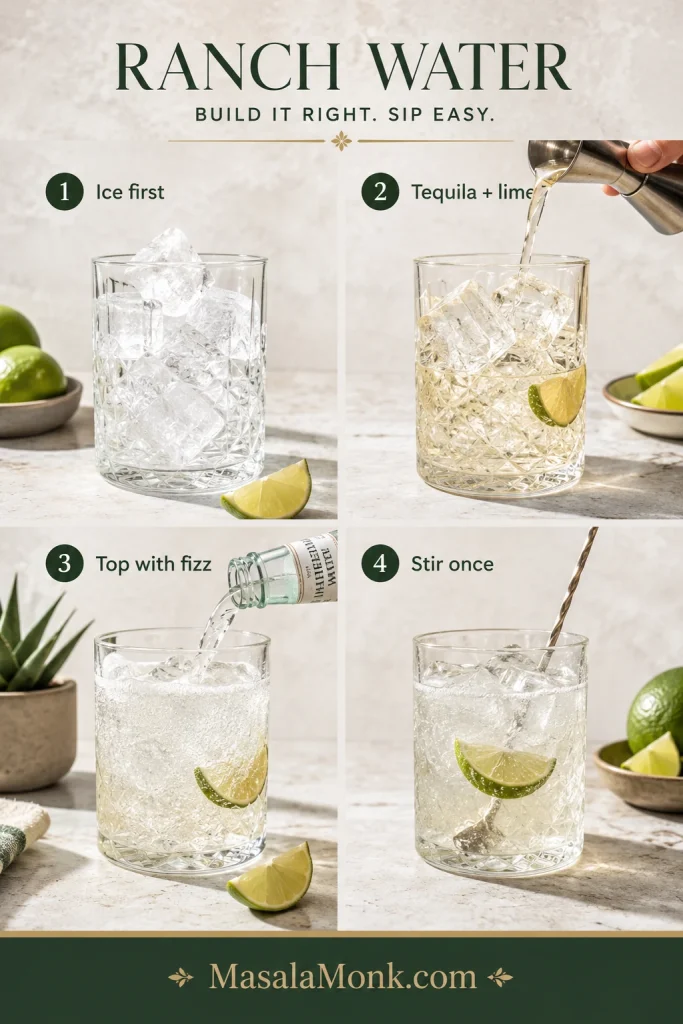
The recipe card gives the exact steps, but the technique is simple: ice first, tequila and lime next, bubbles at the finish.
- Pack the glass with ice so the drink chills immediately.
- Add tequila and lime and stir just enough to chill the base.
- Top with cold sparkling water and stir once gently.
- Serve right away while the drink still has life.
If the first glass tastes like plain tequila soda with lime, it needs either brighter lime, colder bubbles, or a slightly stronger ratio.
Why This Recipe Works
The balance works because lime gives the drink shape, while the fizz keeps it cold, long, and refreshing. Tequila still comes through, but the drink stays dry, bright, and easy.
- Fresh lime keeps it from tasting thin.
- Cold carbonation keeps it lively.
- Building in the glass avoids extra dilution and lost fizz.
Classic Ranch Water vs Bar-Style Ranch Water
One reason Ranch Water can feel confusing is that different bars make it differently. The simplest version is very lean, while bar-style versions may add orange liqueur, agave, Tajín, jalapeño, fruit, or a stronger tequila pour.
Think of the simple version as the dry, clean highball. The bar-style version brings a little theater: chile-lime rim, jalapeño, orange liqueur, fruit, or a heavier pour.
| Version | What It Usually Means | Best For |
|---|---|---|
| Simple Ranch Water | Blanco tequila, fresh lime, Topo Chico, ice | Clean, dry, not sweet |
| Light Ranch Water | Less tequila, more sparkling water | Long, easy sipping |
| Strong Texas-style Ranch Water | More tequila and more lime | A stronger cocktail feel |
| Bar-style Ranch Water | May add Tajín, jalapeño, Cointreau, agave, or fruit | More flavor and garnish |
| Margarita-adjacent Ranch Water | Adds Cointreau or orange liqueur | A rounder, slightly sweeter drink |
Keep the original-style idea simple. For a restaurant-style glass, add a Tajín rim, jalapeño, or a small splash of Cointreau.
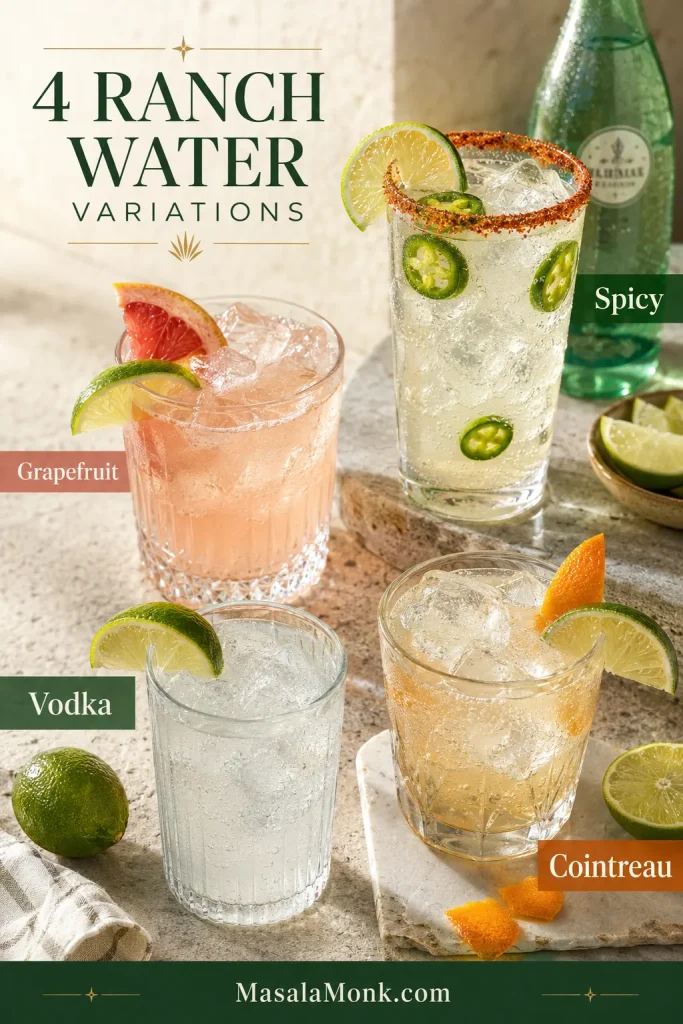
Ranch Water Variations
Once the basic glass tastes right, Ranch Water becomes easy to play with. For taco night, use the Tajín rim. On a hot afternoon, use the lighter patio ratio. When you want a stronger first round, use the balanced version and keep the Topo Chico very cold.
Use the table for the quick version, then read the notes below for the variations that need a little more care.
| Variation | How to Make It |
|---|---|
| Spicy Ranch Water | Add 1–3 thin jalapeño slices, or muddle 1 slice gently with the lime |
| Tajín Ranch Water | Rim the glass with lime and Tajín before building the drink |
| Vodka Ranch Water | Replace tequila with 2 oz / 60 ml vodka; not traditional, but popular |
| Cointreau Ranch Water | Add 0.25–0.5 oz / 7–15 ml Cointreau for a rounder, margarita-like version |
| Grapefruit Ranch Water | Add 1 oz / 30 ml grapefruit juice or use grapefruit sparkling water |
| Pineapple Ranch Water | Add 1 oz / 30 ml pineapple juice and optional Tajín |
| Mezcal Ranch Water | Replace 0.5–1 oz of the tequila with mezcal |
| Frozen Ranch Water | Blend tequila, lime, and ice, then stir in sparkling water after blending |
| Pitcher Ranch Water | Mix tequila and lime ahead; add sparkling water to each glass |
Go to spicy version · Tajín rim · Grapefruit version · Pitcher version
Spicy Ranch Water
For mild heat, add one thin jalapeño slice to the glass. To build more heat, use two or three slices, or muddle one slice gently with the lime before adding ice and tequila.
| Heat Level | Jalapeño Amount | Method |
|---|---|---|
| Mild | 1 thin slice | Add to the glass, do not muddle |
| Medium | 2 thin slices | Add to the glass and stir gently |
| Hot | 3 thin slices | Add to the glass or muddle 1 slice |
| Very hot | 1 muddled slice with seeds | Use carefully; heat builds as it sits |
Do not crush the jalapeño too aggressively unless you want the drink very hot. If it becomes too spicy, add more sparkling water and a little extra lime.
For a deeper jalapeño-and-Tajín breakdown, use the spicy margarita guide next; it goes further into mild, medium, hot, and restaurant-style heat.
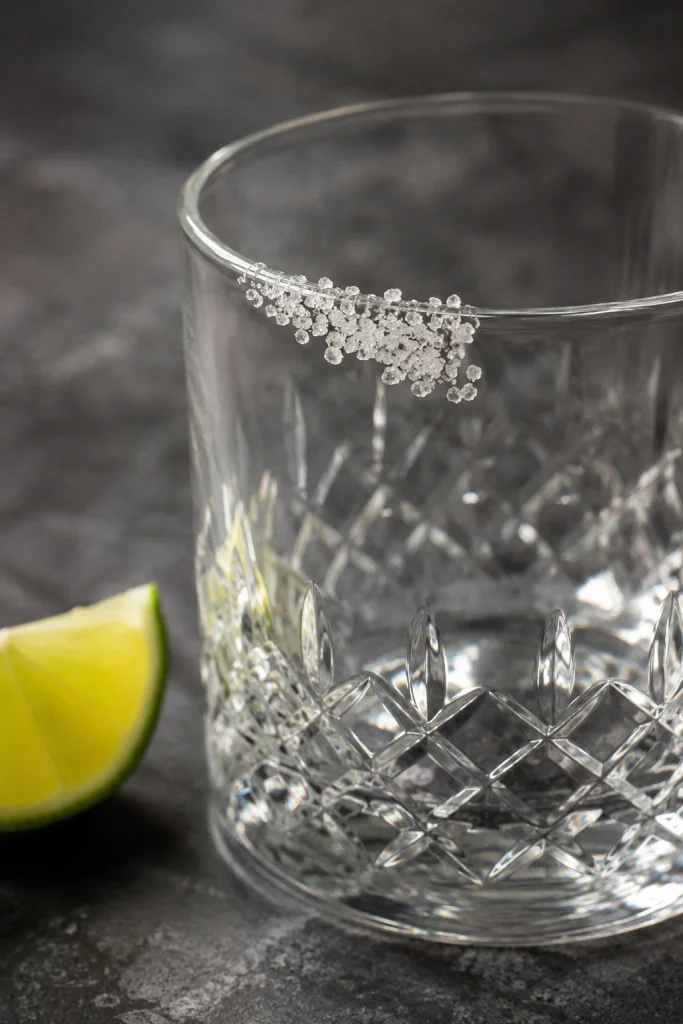
Ranch Water with Tajín
Rub a lime wedge around the rim, dip the glass into Tajín or chile-lime salt, then fill with ice and build the drink. Tajín works especially well with spicy, grapefruit, and pineapple Ranch Water.
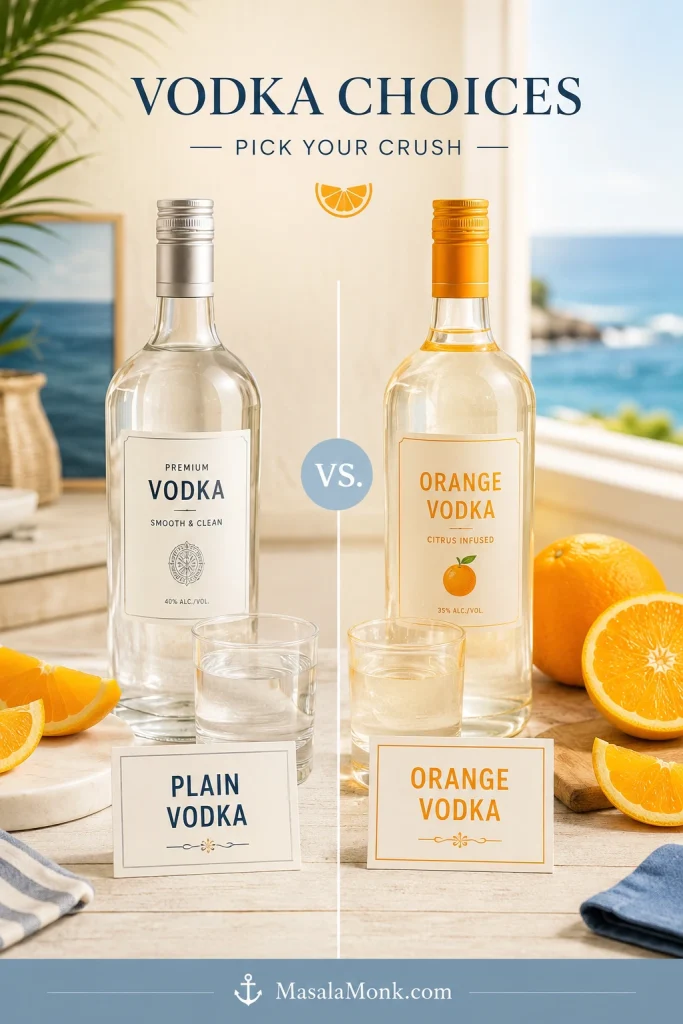
Ranch Water with Vodka
Although the standard drink uses tequila, vodka works if you want the same bright lime-and-bubbles style without tequila flavor. Use 2 oz / 60 ml vodka, 0.5–1 oz / 15–30 ml fresh lime juice, and 4–6 oz / 120–180 ml Topo Chico.
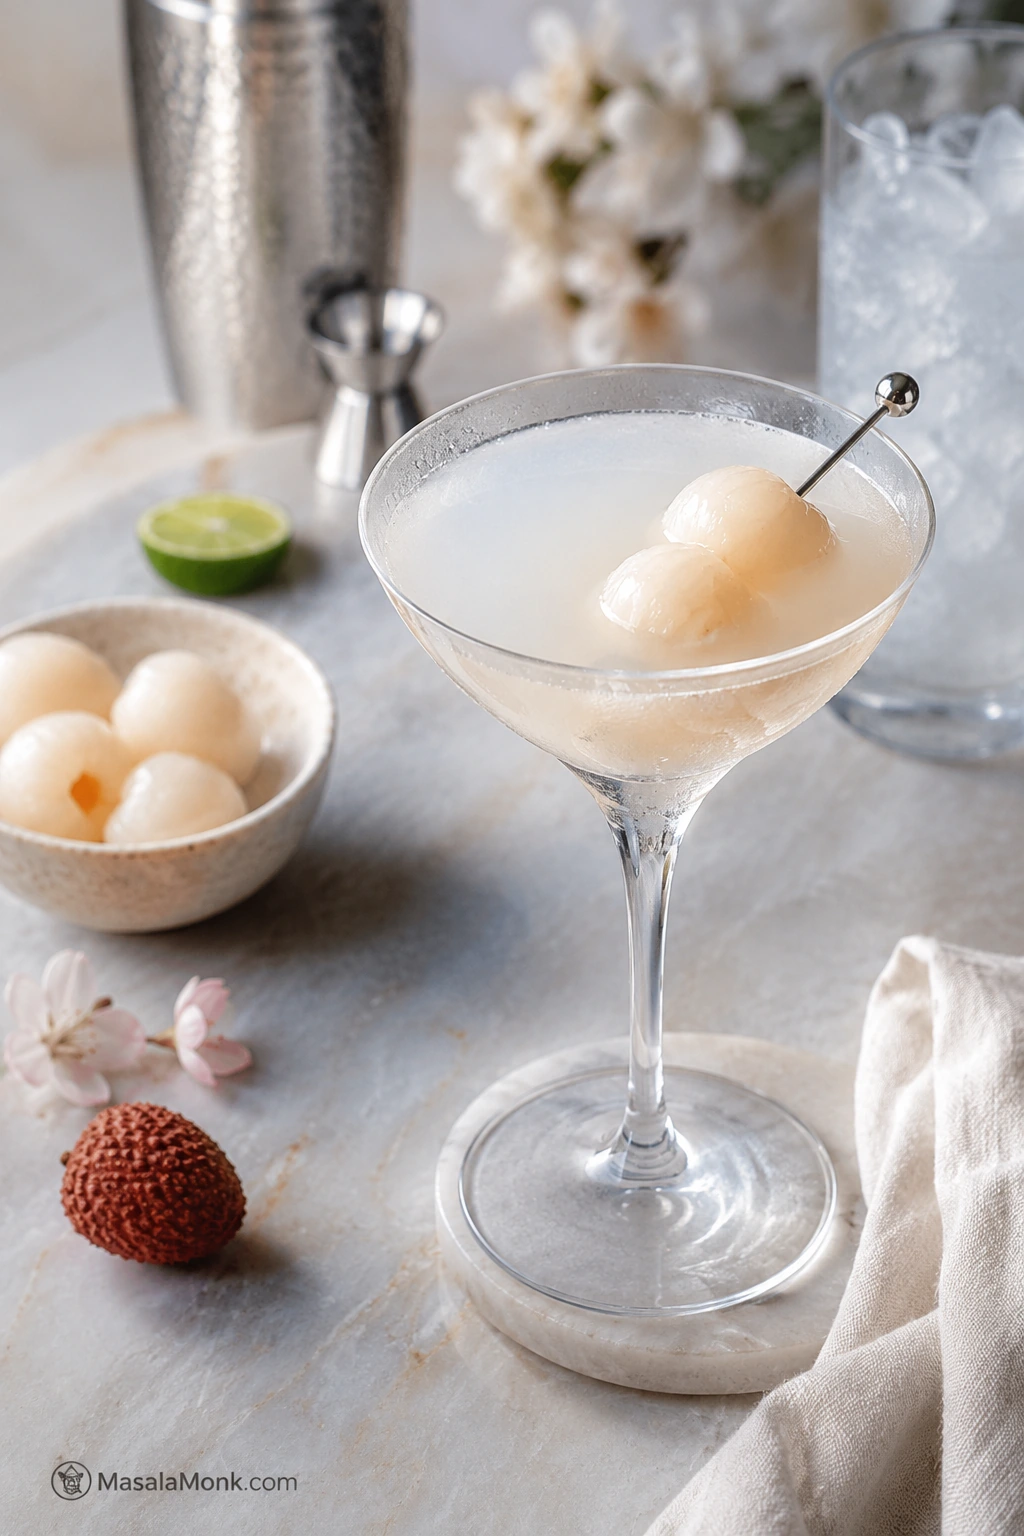
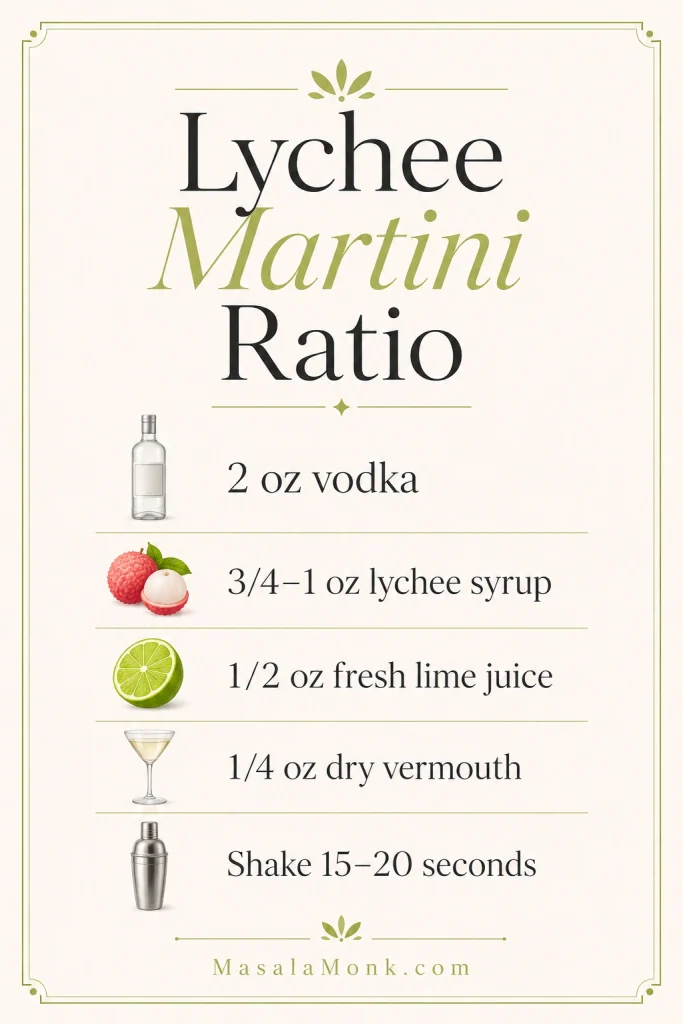
For another cold vodka-and-citrus drink, try the Lemon Drop Martini; it is sharper, sweeter, and more cocktail-bar style than vodka Ranch Water.
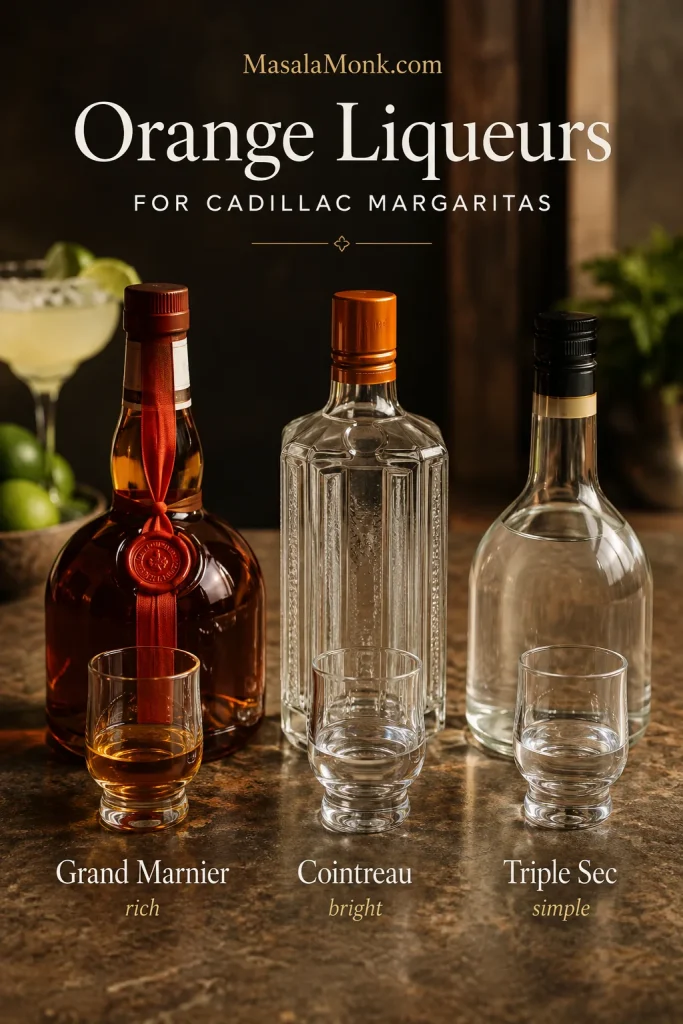
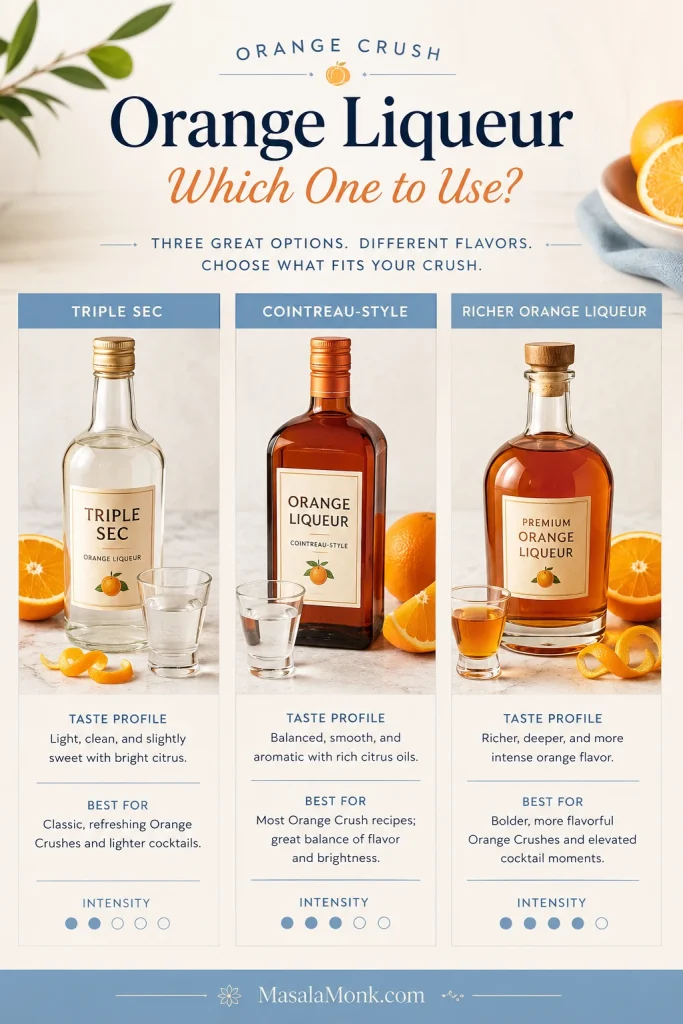
Ranch Water with Cointreau
Cointreau is not required for a dry Ranch Water. Add 0.25–0.5 oz / 7–15 ml only when you want the drink rounder, slightly sweeter, and more margarita-like.
Grapefruit or Flavored Ranch Water
Flavored versions work best when you keep the tequila-lime base and add a small amount of fruit flavor. Add 1 oz / 30 ml fruit juice or use flavored sparkling water.
- Grapefruit Ranch Water: grapefruit juice or grapefruit sparkling water.
- Pineapple Ranch Water: pineapple juice and a Tajín rim.
- Watermelon Ranch Water: fresh watermelon juice and extra lime.
- Cucumber Mint Ranch Water: cucumber slices and fresh mint.
- Tangerine or lime Ranch Water: flavored sparkling water instead of plain.
If grapefruit is the flavor you want most, make the Paloma recipe next; it is another tequila-lime drink, but grapefruit takes the lead.
For a fuller fruit-forward tequila drink, the mango margarita is a better direction than loading Ranch Water with too much juice.
Frozen Ranch Water
Blend tequila, lime juice, and ice until slushy, then stir in a small splash of sparkling water at the end. Do not blend a lot of carbonated water; it will lose fizz and can foam up.
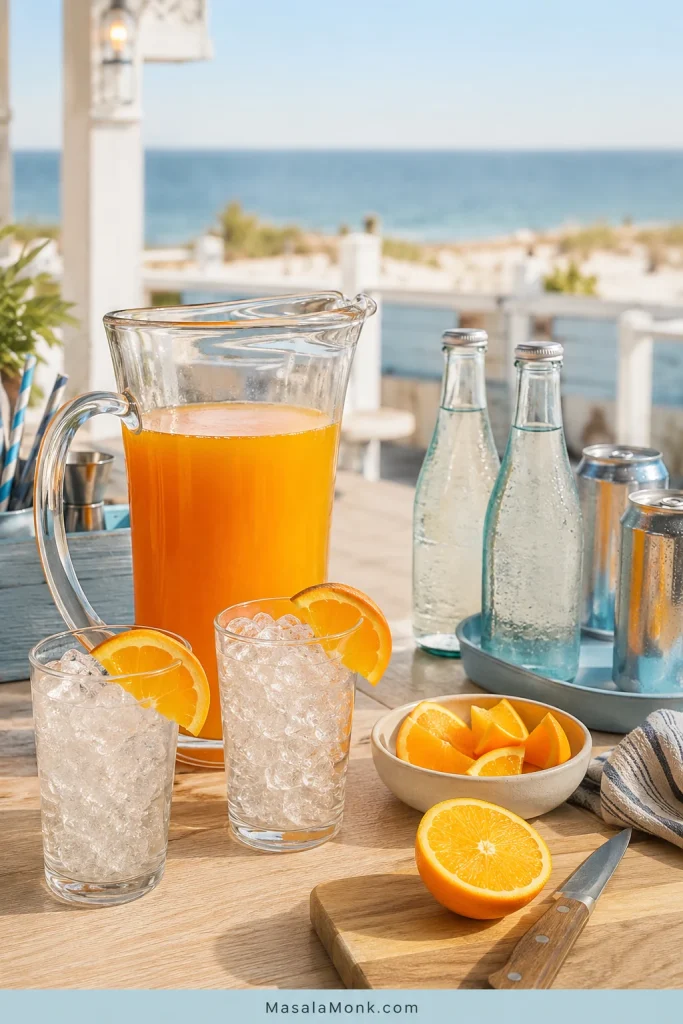
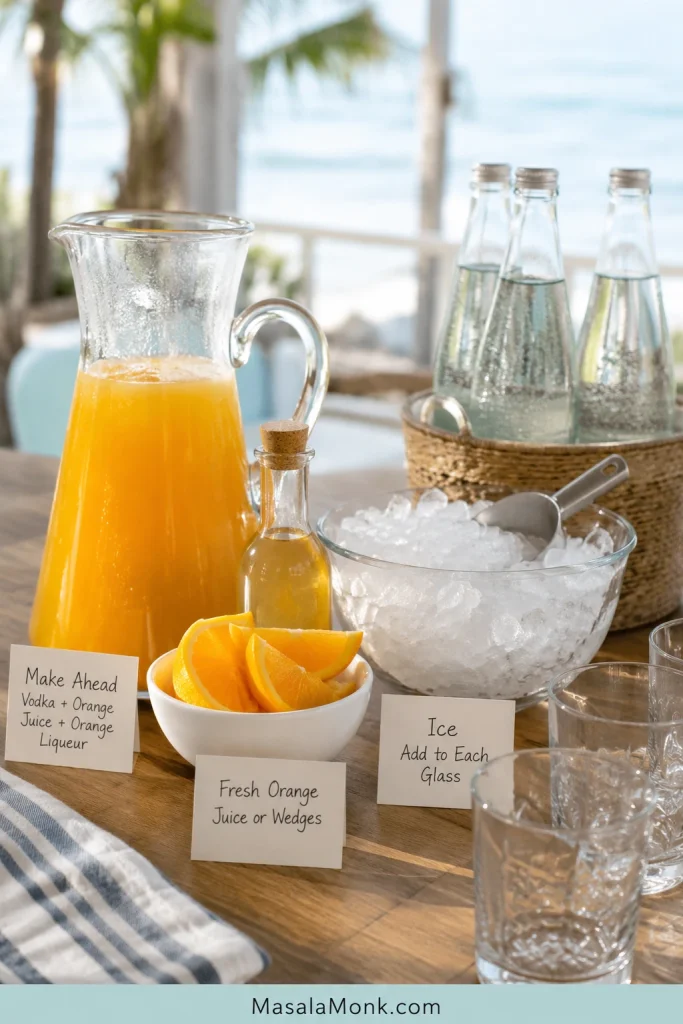
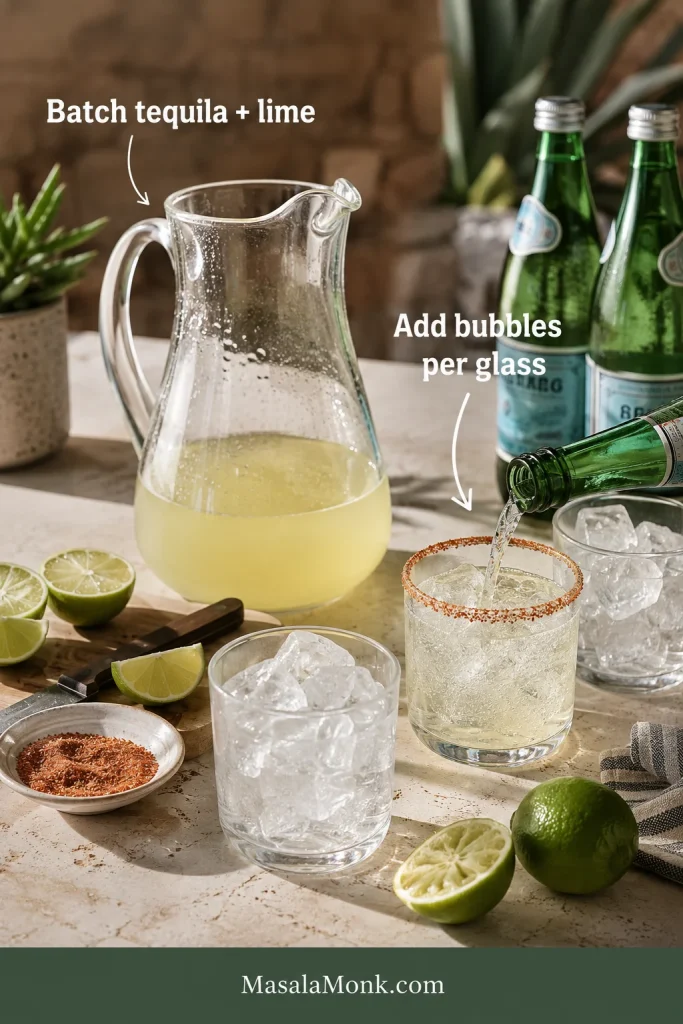
Pitcher Ranch Water
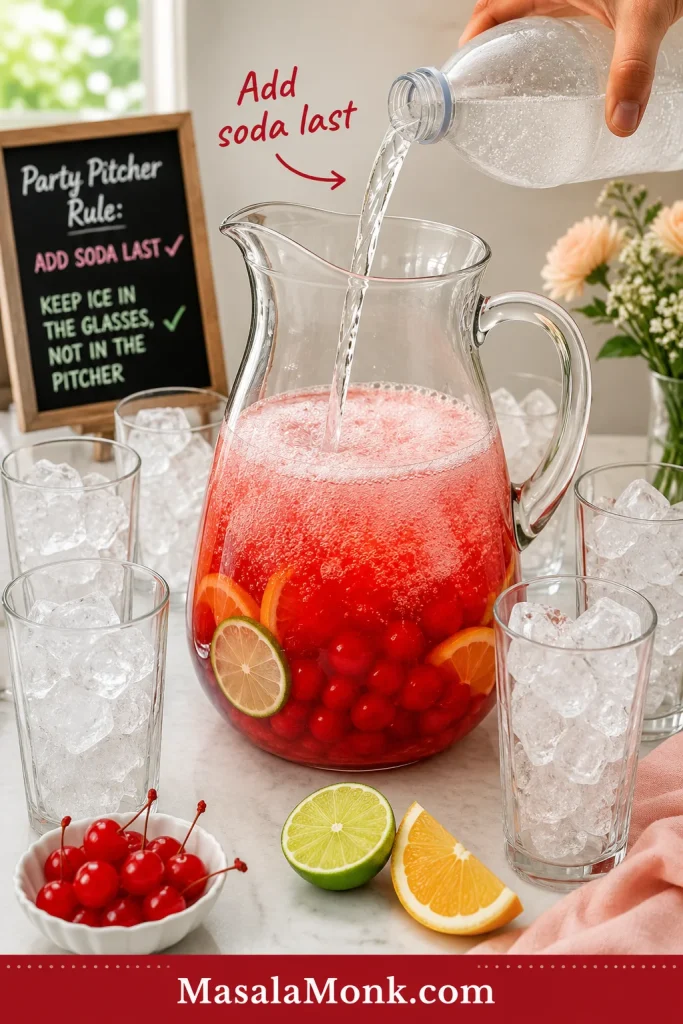
It scales easily, but the bubbles do not belong in the pitcher. Mix the tequila and lime ahead, chill that base, then top each glass with cold Topo Chico right before serving.
Pitcher Ranch Water for 8 Drinks
| Ingredient | Amount |
|---|---|
| Blanco tequila | 16 oz / 480 ml / 2 cups |
| Fresh lime juice | 8 oz / 240 ml / 1 cup |
| Chilled Topo Chico or sparkling mineral water | 32–48 oz / 950–1,400 ml, added per glass |
| Ice | As needed |
| Lime wedges | 8 |
- Stir the tequila and lime juice together in a pitcher.
- Cover and refrigerate until cold.
- Fill glasses with ice.
- Pour about 3 oz / 90 ml of the tequila-lime base into each glass.
- Top each glass with 4–6 oz / 120–180 ml chilled Topo Chico.
- Garnish with lime and serve immediately.
Pitcher rule: batch the tequila and lime, not the bubbles. The bubbles belong in the glass, or they will be gone before the drink gets to the first sip.
Back to single drink recipe · Make-ahead notes · Fix a flat pitcher
Can You Make Ranch Water Ahead?
You can mix tequila and lime juice a few hours ahead and keep it chilled. Add ice and sparkling water only when serving. A fully mixed Ranch Water will go flat in the fridge.
Topo Chico Bottle Method
For an outdoor-style Ranch Water, sip or pour a little sparkling water out of a cold Topo Chico bottle, then add tequila and lime. Swirl gently and pour over ice.
Do not shake a carbonated bottle. Use a small funnel if the bottle mouth is narrow, and pour slowly. The goal is a quick Ranch Water, not a foamy bottle.
Is Canned Ranch Water the Same?
Not always. Homemade Ranch Water is tequila, fresh lime juice, and sparkling mineral water. Canned versions vary: some are made with tequila or tequila-based spirits, while others are hard-seltzer-style drinks inspired by Ranch Water.
That is why the label matters if you expect the taste of fresh tequila, lime, and mineral fizz. If canned drinks brought you here, MasalaMonk’s guide to what hard seltzer is and what alcohol goes into it can help explain the difference.
Cans are convenient, but homemade lets you control the lime, bubbles, strength, and spice.
Ranch Water vs Margarita vs Tequila Soda
These three tequila drinks overlap, but they do not drink the same way.
| Drink | Main Difference |
|---|---|
| Ranch Water | Tequila, fresh lime juice, and sparkling mineral water, usually Topo Chico |
| Tequila soda | Tequila and soda water, usually less lime-forward |
| Margarita | Tequila, lime, orange liqueur or sweetener; usually not fizzy |
| Skinny margarita | Closer to Ranch Water, but usually still more margarita-like and less bubbly |
Classic Ranch Water has no orange liqueur, syrup, or added sugar, which is why it drinks drier and lighter than a margarita. It is less sweet than a margarita but more flavorful than a plain tequila soda.
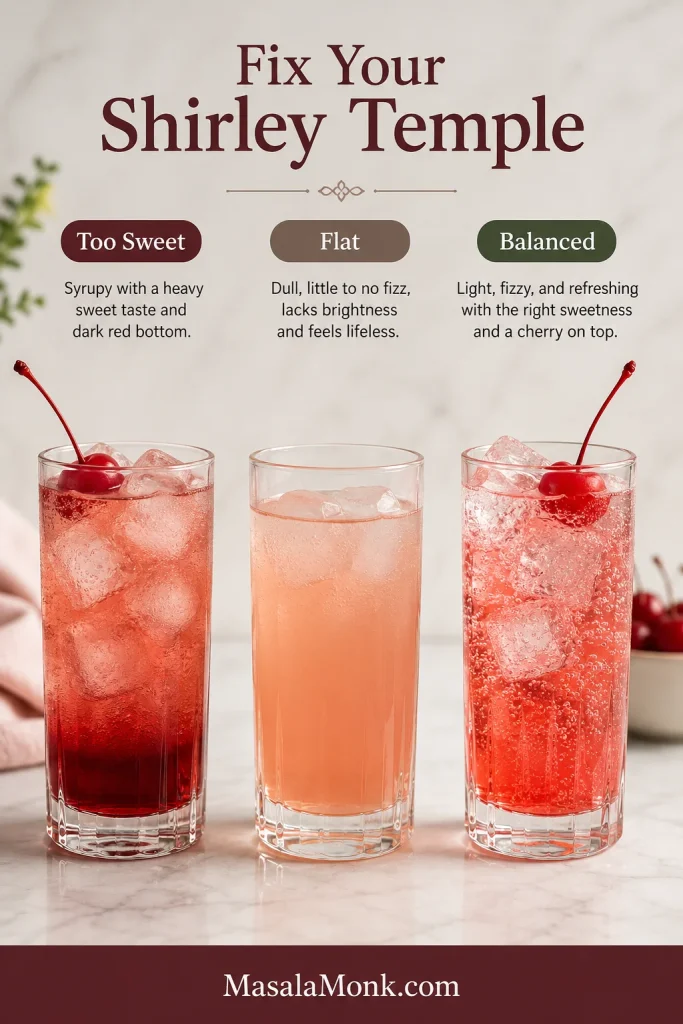
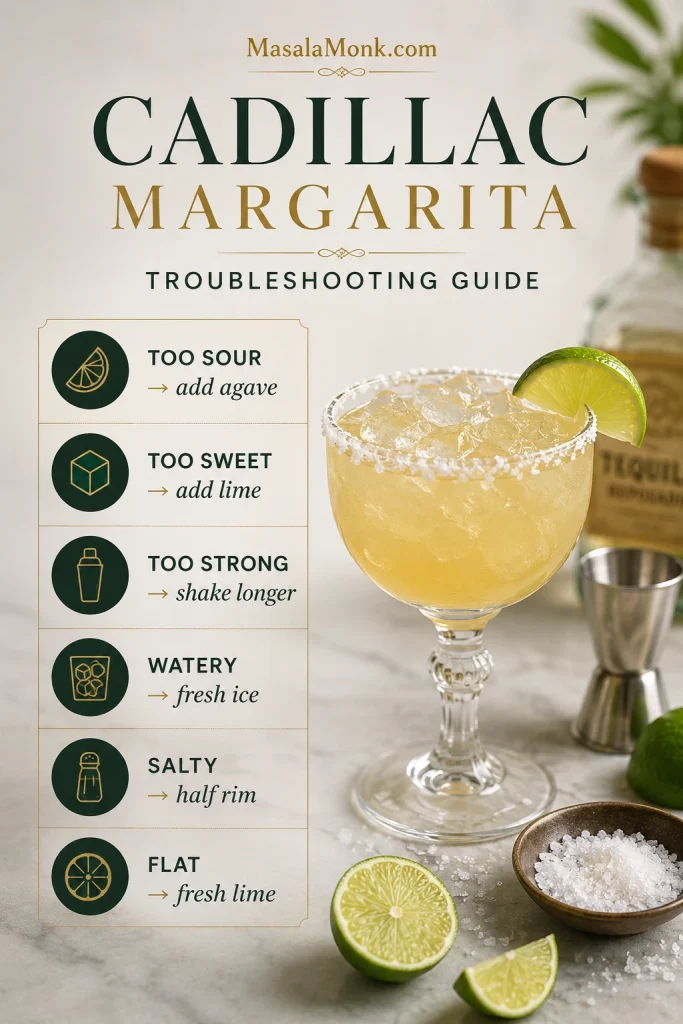
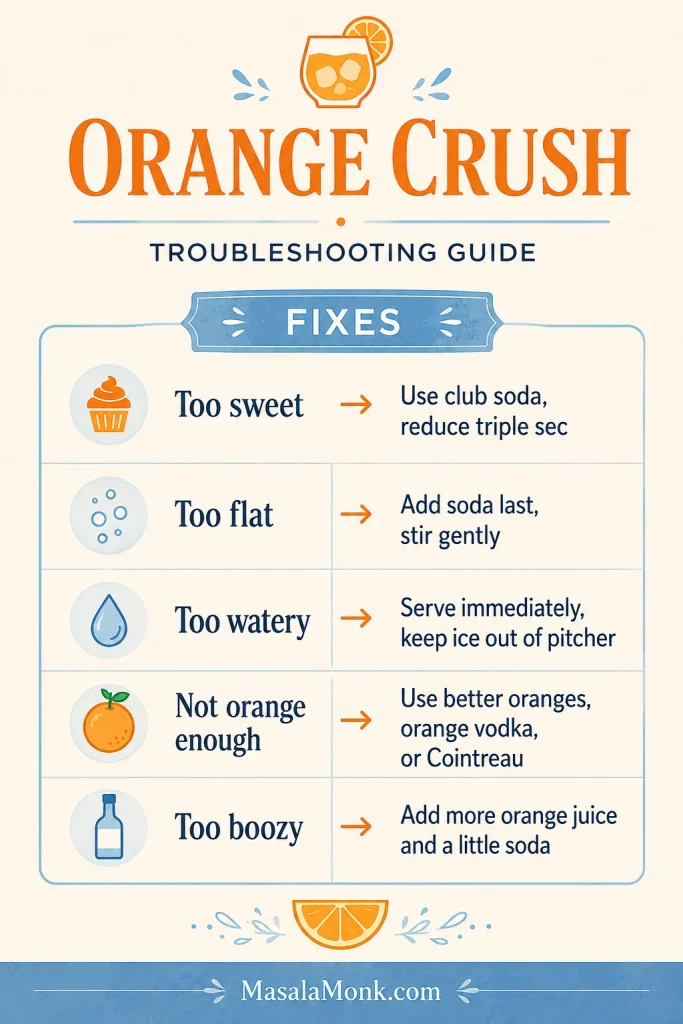
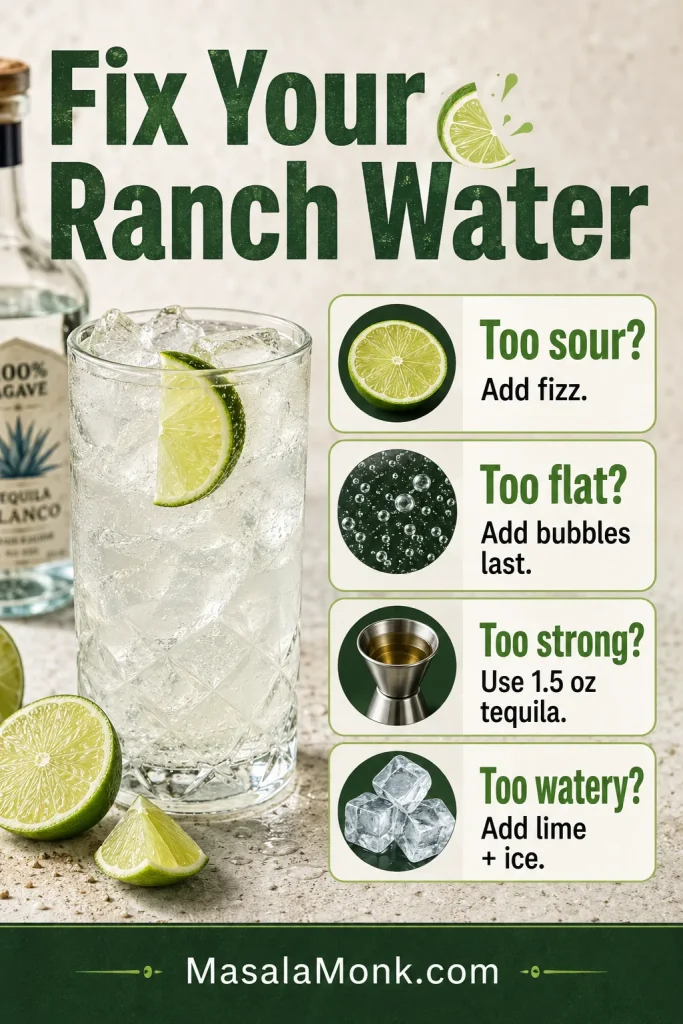
How to Fix the Taste
Because Ranch Water is so simple, small fixes work quickly. Taste before you finish the glass and adjust with lime, bubbles, ice, or a different ratio next time.
| Problem | Fix |
|---|---|
| Too sour | Add more sparkling water, or use less lime next time |
| Too watery | Use more lime, colder Topo Chico, and plenty of ice |
| Too flat | Add bubbles last and stir only once |
| Too strong | Use the light patio ratio with 1.5 oz tequila |
| Too weak | Use the balanced or strong Texas-style ratio |
| Tastes harsh | Use fresh lime and a cleaner blanco tequila |
| Too bitter | Avoid tonic water for the dry version |
| Not cold enough | Chill the glass, tequila, and Topo Chico before building the drink |
| Too spicy | Add more sparkling water and lime, and use fewer jalapeño slices next time |
| Too sweet | Skip Cointreau, agave, sweetened sparkling water, or fruit juice in the simple version |
Return to ratios · Check sparkling water swaps · Back to recipe card
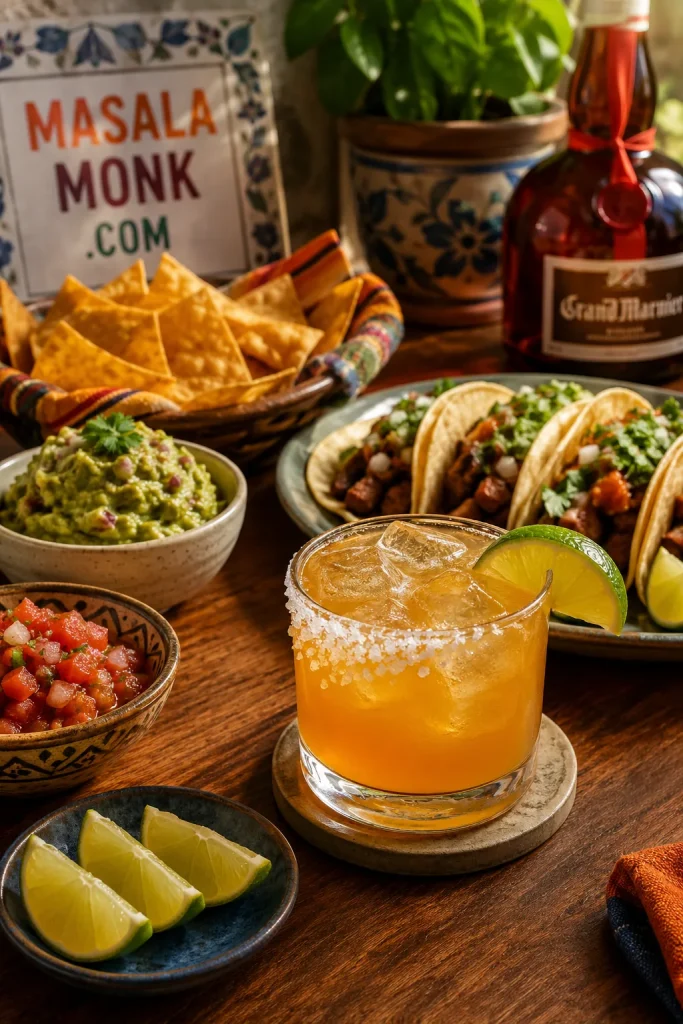
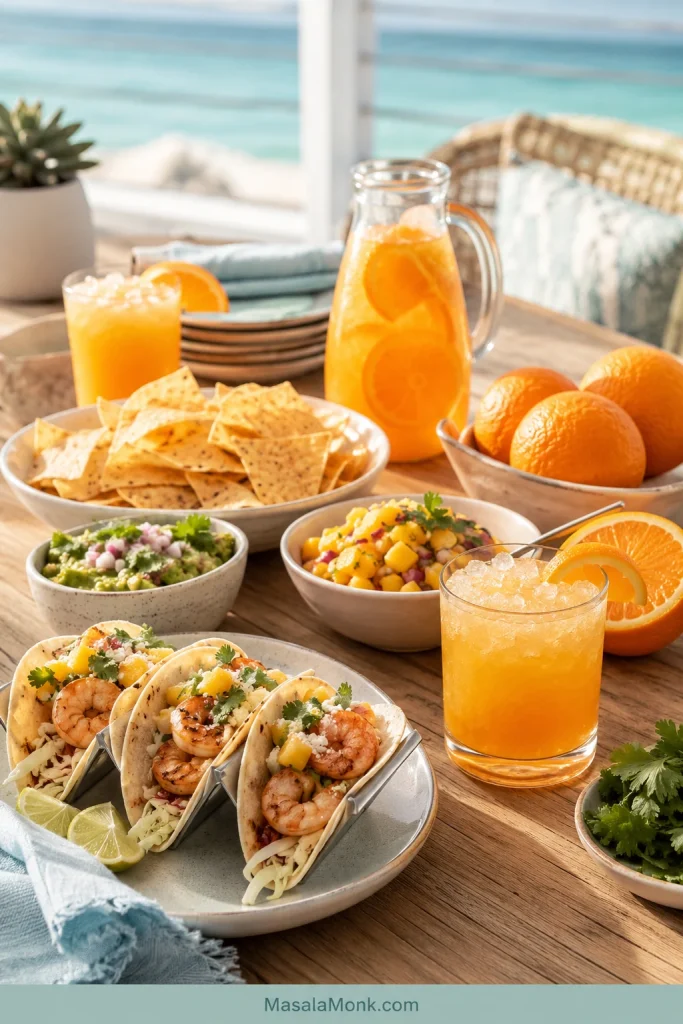
What to Serve with Ranch Water
Ranch Water works best with salty, spicy, citrusy, and grilled food. Think lime, salt, chile, char, and creamy dips. It is especially good with Tex-Mex and summer dishes because the lime and fizz cut through richness.
For snacks, start with fresh guacamole or salsa verde. They give you the salty, creamy, tangy contrast that makes a cold tequila-lime drink taste brighter.
At dinner, Ranch Water is especially good with shrimp tacos or sheet pan chicken fajitas. If you want extra heat for tacos, wings, or grilled chicken, add a spoon of mango habanero sauce.
Ranch Water FAQs
Still choosing your version? These quick answers cover the most common Ranch Water questions.
What is Ranch Water made of?
Tequila, fresh lime juice, sparkling mineral water, and ice. Topo Chico is traditional, but club soda or seltzer can work.
Why is it called Ranch Water?
The name is tied to Texas ranch and West Texas drinking culture. Despite the joke everyone makes, the drink itself is tequila, lime, and mineral water — not ranch dressing.
Does Ranch Water contain alcohol?
Yes. The standard version contains tequila.
Is Ranch Water the same as tequila soda?
Not exactly. Tequila soda is usually less lime-forward; Ranch Water traditionally uses fresh lime and sparkling mineral water.
How is Ranch Water different from a margarita?
A margarita usually includes orange liqueur or sweetener and is usually not fizzy. Ranch Water is lighter, drier, bubblier, and built with tequila, fresh lime, and sparkling mineral water.
Do you need Topo Chico for Ranch Water?
Topo Chico is traditional, not mandatory. Any cold, strongly carbonated, unsweetened sparkling water can make a good Ranch Water.
Does club soda work in Ranch Water?
Club soda works. It gives clean bubbles, though the drink will taste less mineral than it does with Topo Chico.
Can you use seltzer for Ranch Water?
Yes. Plain seltzer makes a lighter, softer Ranch Water; flavored seltzer is useful for grapefruit, lime, or tangerine versions.
What tequila is best for Ranch Water?
Blanco or silver tequila is best for the cleanest version. Reposado is warmer, and mezcal works for a smoky variation.
What is the best Ranch Water ratio?
A balanced glass uses 2 oz tequila, 1 oz lime juice, and 4–6 oz Topo Chico or sparkling mineral water.
Can you make Ranch Water with vodka?
Yes, but it becomes a vodka variation rather than the standard tequila drink.
Should Ranch Water have Cointreau?
Not for the dry version. Use a small splash only if you want a sweeter, more margarita-like drink.
How do you make spicy Ranch Water?
Start with 1–3 thin jalapeño slices, or muddle one slice gently with the lime. A Tajín rim works well too.
Can you make Ranch Water in a pitcher?
Yes. Batch tequila and lime, chill it, then add sparkling water to each glass right before serving.
How far ahead can you make Ranch Water?
Mix tequila and lime a few hours ahead. Add ice and bubbles only when serving.
Can you make Ranch Water without fresh lime?
Yes, but fresh lime tastes best. Bottled lime works in a pinch, but it will taste less bright.
What is the difference between classic and bar-style Ranch Water?
The simple version is tequila, fresh lime, Topo Chico, and ice. Bar-style versions may add Tajín, jalapeño, Cointreau, agave, fruit, or a stronger pour.
What does Dirty Ranch Water mean?
The term is not standardized. Some bars use the name loosely for riffs with beer, Tajín, brine, bourbon, or other additions.
Is canned Ranch Water the same as homemade?
It depends on the can. Some versions use tequila or tequila-based spirits; others are hard-seltzer-style drinks inspired by Ranch Water.
Back to top · Jump to recipe card · Fix the taste
Final Tips
The best Ranch Water is cold, fizzy, and balanced. Start with blanco tequila, fresh lime juice, plenty of ice, and chilled Topo Chico or sparkling mineral water. Add the bubbles last, stir gently, and taste before adjusting.
Once the first glass tastes right, the variations are easy. Add jalapeño for heat, Tajín for a salty chile-lime rim, grapefruit for brightness, Cointreau for a margarita-style twist, or mix tequila and lime ahead for a pitcher. Keep the bubbles fresh, keep the lime bright, and Ranch Water does what it is supposed to do: make tequila feel clean, cold, and easy to drink.