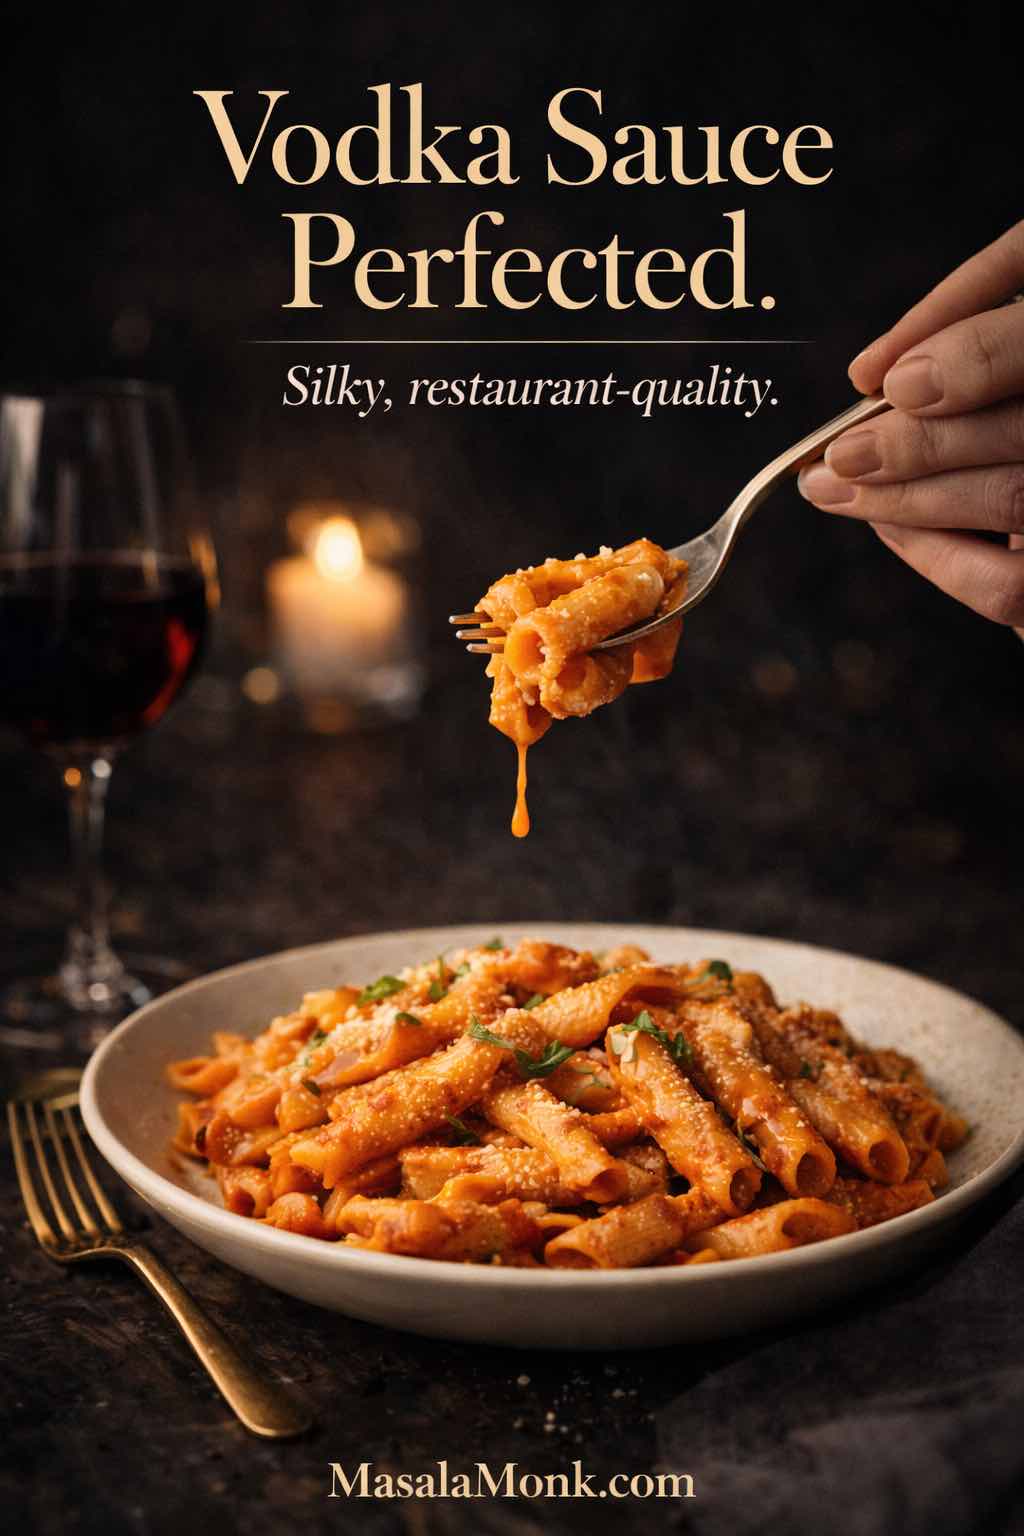
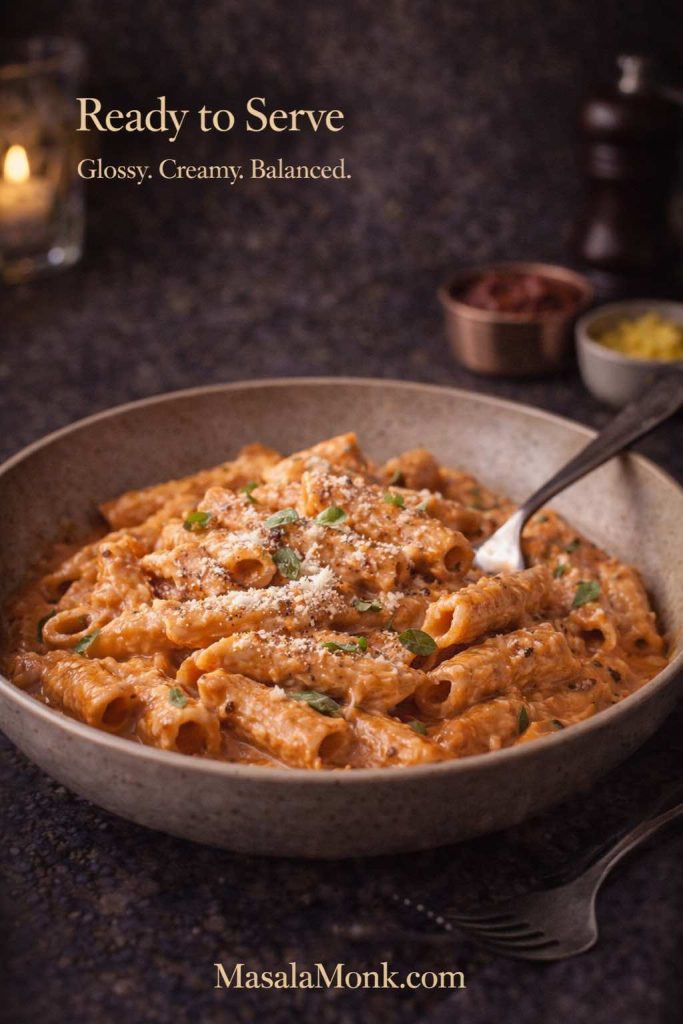
Vodka pasta is the kind of dinner that looks and tastes like you planned ahead—even when you absolutely didn’t. A good vodka pasta sauce is silky and tomato-forward, softened by cream, and finished in a way that makes it cling to the pasta instead of sliding off. Make it once and you’ll understand why penne alla vodka became a modern classic, why spicy rigatoni vodka is so hard to stop eating, and why chicken vodka pasta feels like a complete meal without extra fuss.
Vodka isn’t there to make anything taste boozy. Used correctly, it subtly lifts aroma and rounds the sauce into something that feels brighter and more “restaurant.” If you like reading the why behind the method, Serious Eats explains what vodka contributes (and what happens when you skip it). Does vodka sauce really need vodka?
Now let’s cook a vodka sauce pasta that tastes like the one you crave, then turn it into the versions people actually make at home: rigatoni alla vodka, spaghetti vodka, linguine alla vodka, spicy vodka rigatoni, gigi pasta style, and chicken and vodka pasta.
Also Read: Authentic Louisiana Red Beans and Rice Recipe (Best Ever)
Vodka Pasta Sauce: The Flavor You’re Aiming For
A proper vodka pasta sauce has a very particular balance:
- Tomatoes taste deep, not raw because tomato paste is cooked until it smells rich and slightly sweet.
- Cream softens edges so the sauce feels luxurious without turning heavy.
- Vodka adds a subtle lift—not a vodka flavor, but a brighter finish and aroma.
- Pasta water ties everything together so the sauce coats the noodles in a glossy layer.
When it’s right, vodka sauce and pasta tastes cohesive—like every component was meant to be together. When it’s “almost right,” the sauce usually falls into one of these traps: the tomato paste wasn’t cooked enough, the cream was added over too-high heat, the sauce wasn’t seasoned in stages, or the pasta wasn’t finished in the pan with pasta water.
You don’t need fancy ingredients to fix any of that. You just need a steady method.
Also Read: Vodka with Lemon: Easy Cocktails, Martini Twist & DIY Infusion
Penne alla Vodka Ingredients for Classic Vodka Pasta
This is written as penne alla vodka because it’s the classic, but the sauce is equally good for pasta penne alla vodka variations, penne and vodka nights, and even spaghetti and vodka sauce.
Pasta
- 350–400 g penne (or see the pasta-shape section for rigatoni/spaghetti/linguine swaps)
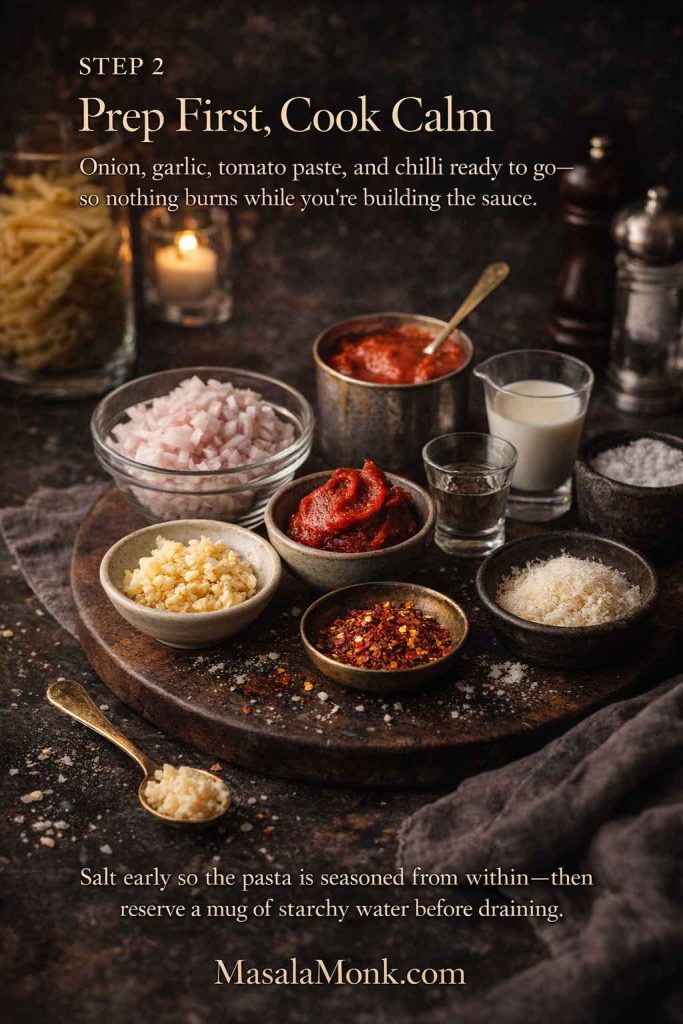
Vodka pasta sauce
- 2–3 tbsp olive oil (or 1 tbsp olive oil + 1 tbsp butter)
- 1 small onion, finely chopped (or 2 shallots)
- 4–6 garlic cloves, minced
- 2–3 tbsp tomato paste
- ½ to 1 tsp chilli flakes (optional; you’ll adjust later for spicy vodka pasta)
- ½ cup (120 ml) vodka
- 1 can (400 g) crushed tomatoes or passata
- ½ cup (120 ml) cream (heavy cream or cooking cream)
- ½ cup grated Parmesan (plus extra to serve)
- Salt and plenty of black pepper
To finish
- 1–2 cups reserved pasta water (hot)
If you like the idea of building your tomato foundation from scratch, a smooth homemade base makes the final sauce feel especially clean: Tomato sauce from fresh tomatoes
And if you want a simple tomato sauce reference that’s useful across many dinners—not just vodka pasta—this is a strong baseline: Marinara sauce recipe
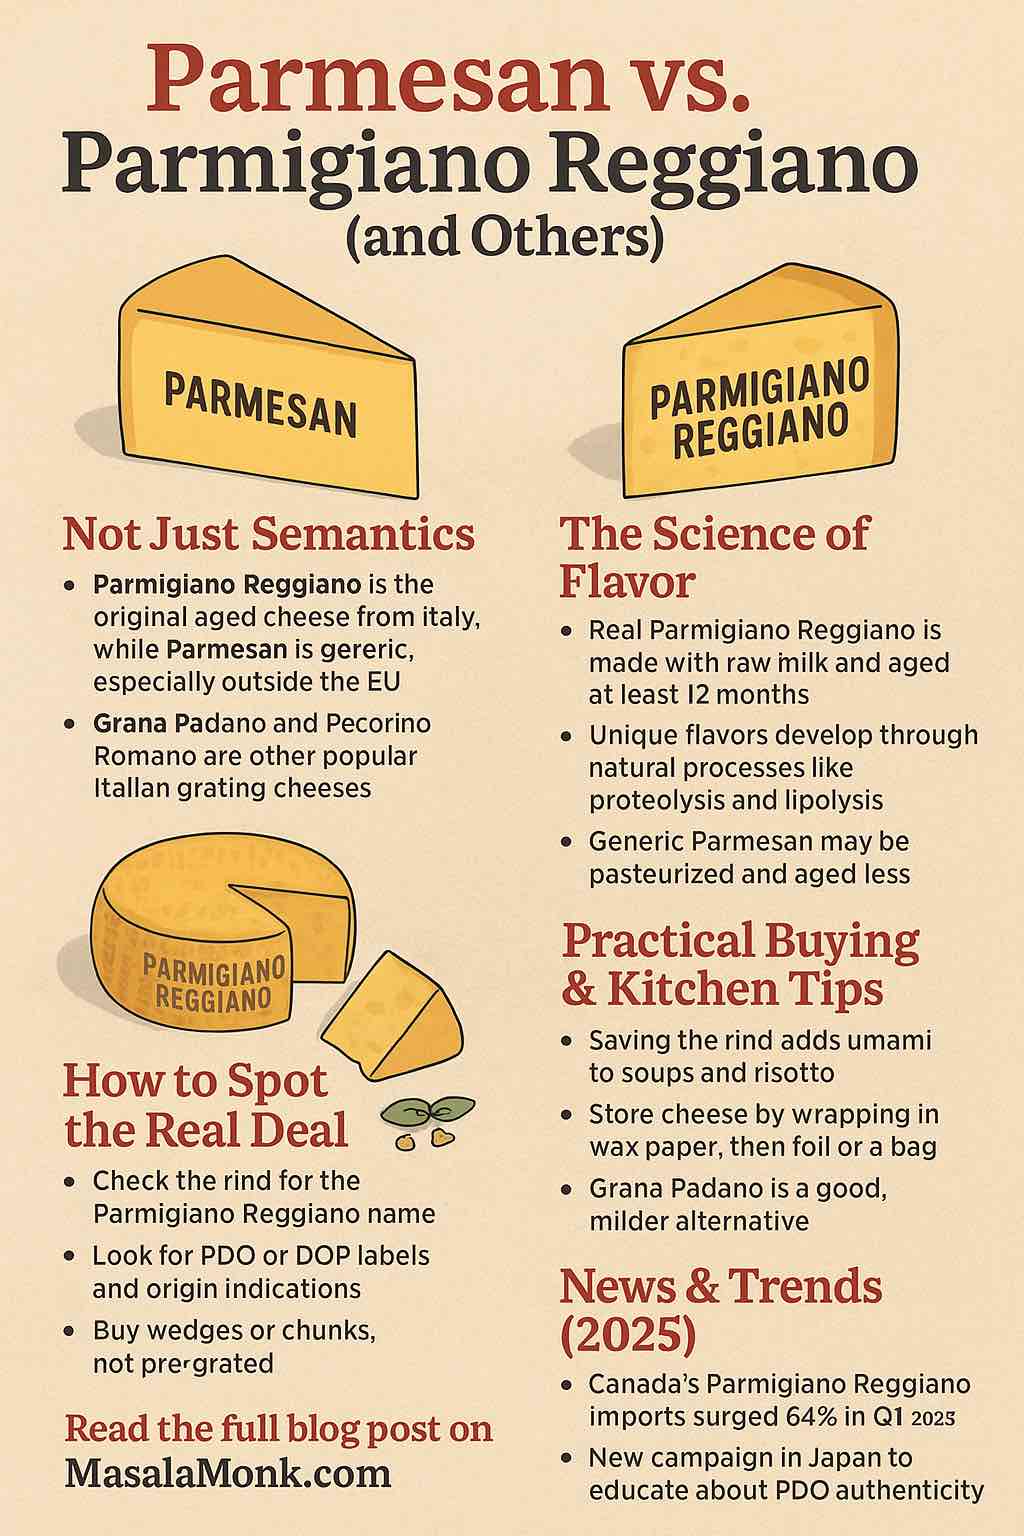
For cheese, a proper grating-style Parmesan melts smoothly and adds the savory depth vodka and cream sauces need. If you’ve ever wondered why some “Parmesan” behaves differently (melting well vs turning grainy), this internal guide is genuinely helpful: Parmesan cheese and its varieties
How to Make Vodka Pasta Step by Step
Start the pasta water for vodka sauce pasta
Bring a large pot of water to a boil. Once boiling, salt it well. Drop in the pasta and cook it until it’s just shy of al dente—because it’s going to finish in the sauce.
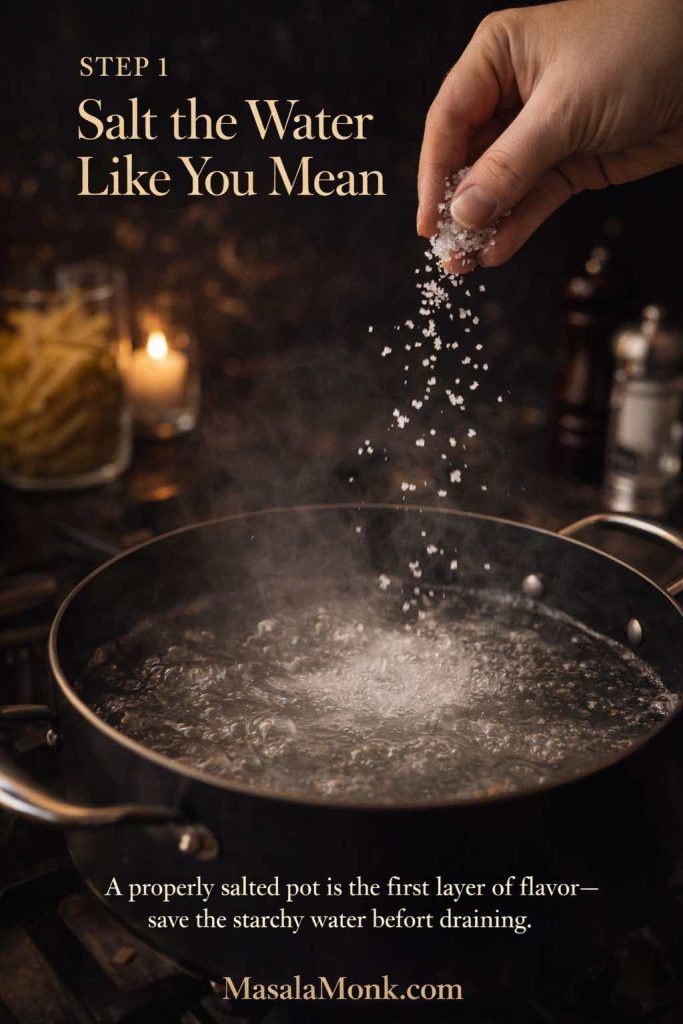
Before draining, reserve at least 1 cup of pasta water (2 cups is even better). This isn’t optional; it’s how vodka pasta becomes glossy and cohesive. Barilla’s explanation of why pasta water matters is one of the clearest practical references out there: How to use pasta water
Drain the pasta, but don’t rinse it. That surface starch helps the sauce cling.
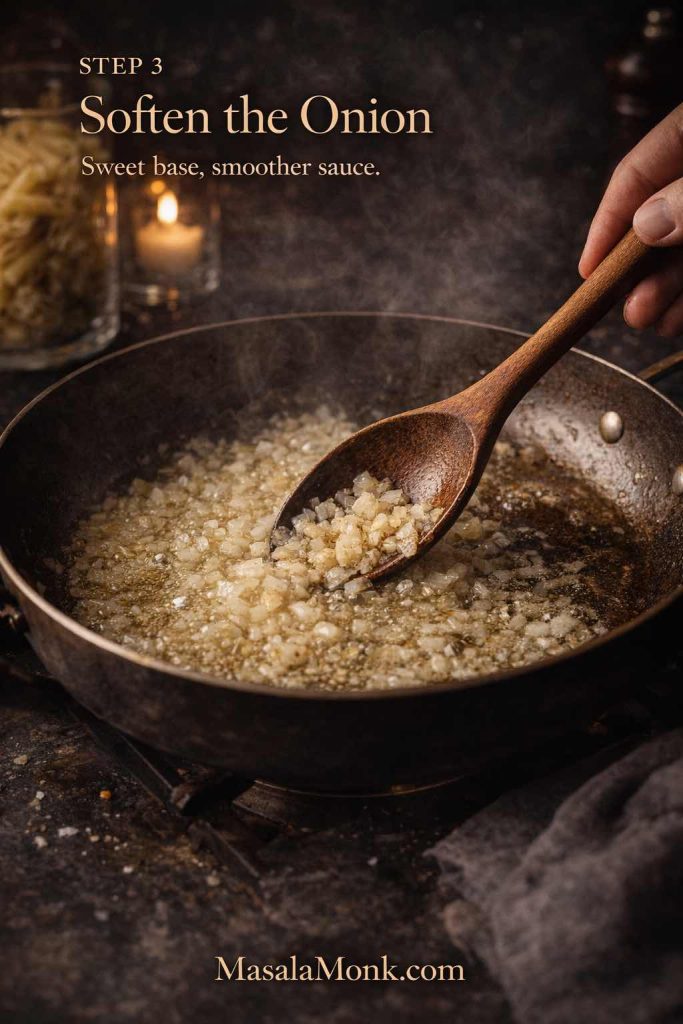
Build the base: onion, garlic, chilli
While the pasta cooks, warm olive oil (and butter if using) in a wide pan over medium heat.
Add onion with a pinch of salt. Let it soften slowly until translucent and lightly golden. This step quietly shapes the entire sauce—rush it and the sauce can taste sharp; do it properly and the sauce tastes rounded.
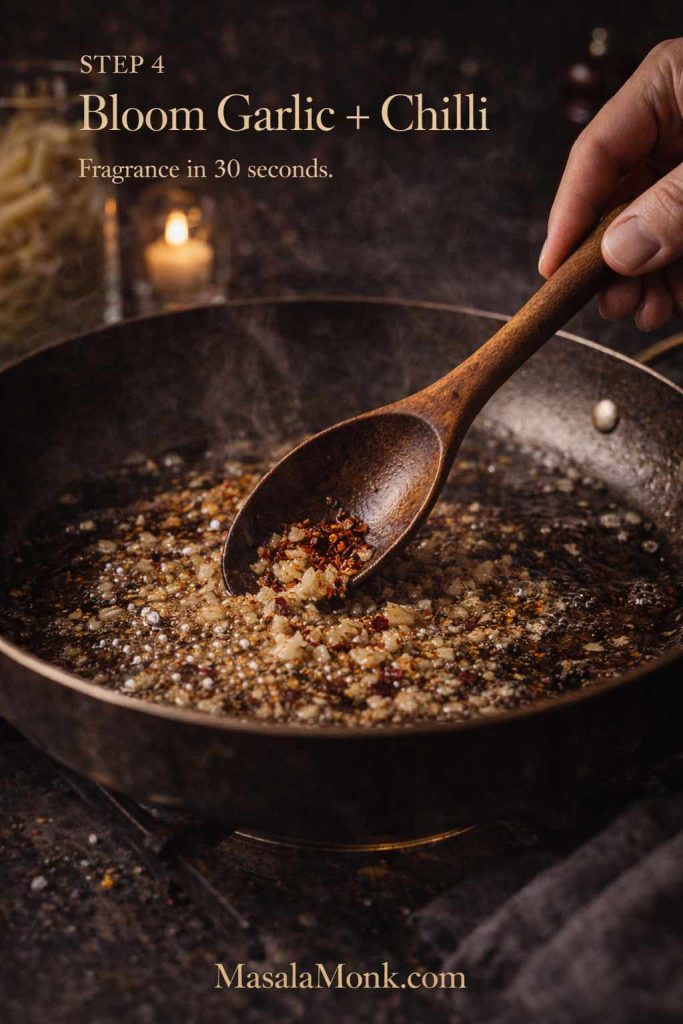
Stir in the garlic and cook until fragrant. Keep it moving and keep the heat moderate. Garlic should smell sweet and warm, not toasted.
If you want a gentle baseline heat, add chilli flakes now. If you’re aiming for a crowd-pleasing pot and a separate spicy rigatoni vodka variation, hold most of the heat until later.
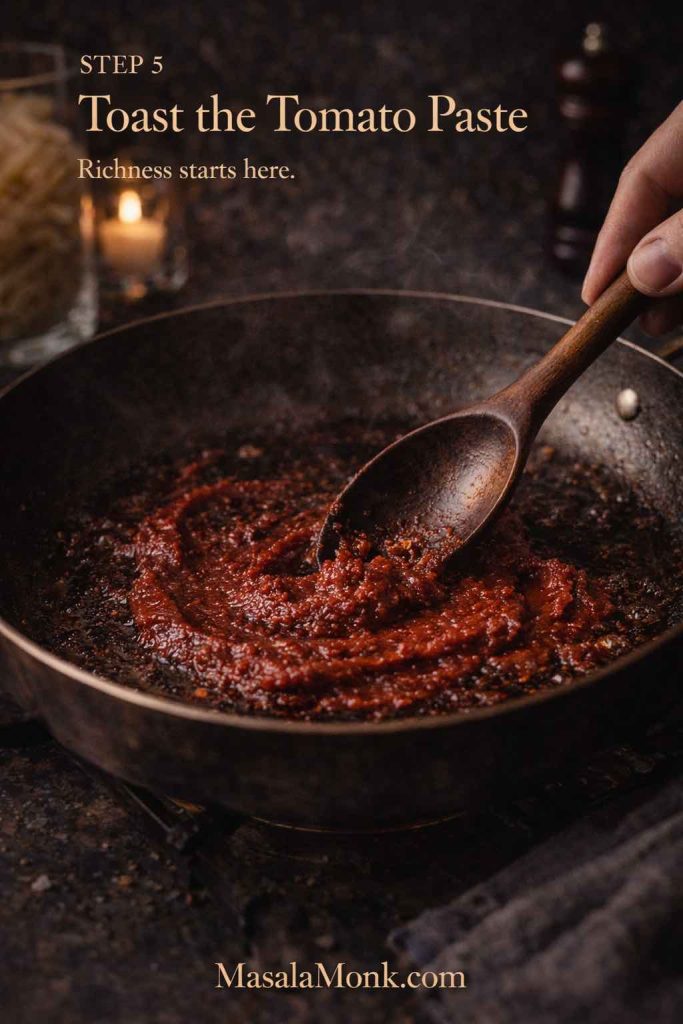
Toast the tomato paste for depth
Add tomato paste and cook it for 2–3 minutes, stirring frequently. This is where penne alla vodka gets its backbone. Tomato paste transforms as it cooks: the raw tang fades, the flavor deepens, and the aroma turns rich.
This “tomato paste first” approach is also common in well-tested vodka sauce methods, because it builds depth before the tomatoes and cream arrive.
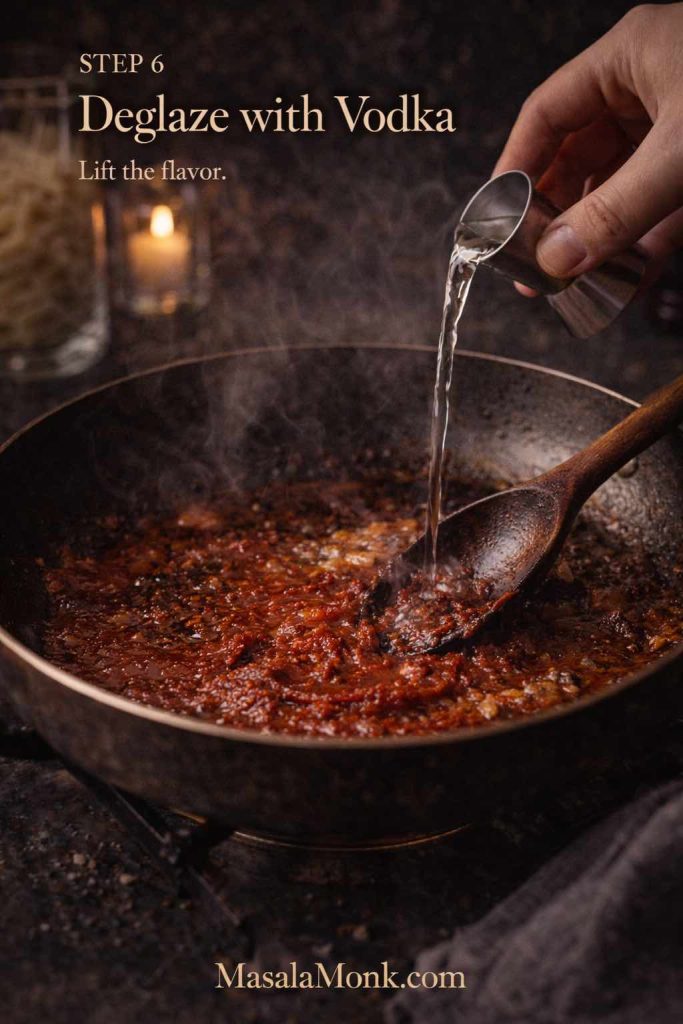
Add vodka, simmer briefly, and let it mellow
Pour in the vodka and stir immediately, scraping up any browned bits stuck to the bottom of the pan. Let it simmer for a couple of minutes so the initial sharpness softens.
If you want a well-tested reference for the classic order of operations—paste, vodka, tomatoes, cream—Serious Eats lays it out clearly: Pasta with vodka sauce
A quick real-world note: alcohol doesn’t always “cook off completely,” and retention varies by cooking method and time. If that’s important to you, these explain the nuance plainly.
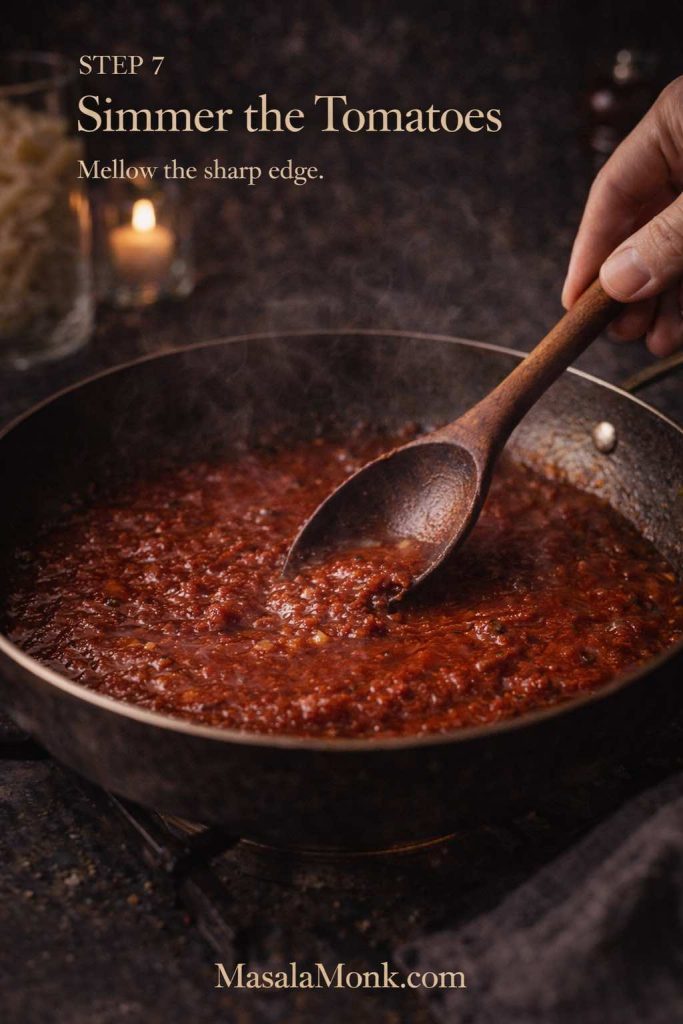
Add tomatoes and simmer until balanced
Stir in crushed tomatoes or passata. Bring the sauce to a gentle simmer and cook about 8–12 minutes.
During this simmer, taste and season. Tomatoes often taste flat until they’re salted properly. Add salt in small pinches, stir, and taste again. If the sauce still feels sharp, give it a few more minutes rather than trying to “fix” it with extra cream too soon.
If you’re using a homemade tomato base, the sauce can feel especially smooth and clean; this is a good internal reference for that foundation: Tomato sauce from fresh tomatoes
Add cream gently for vodka and cream sauce
Lower the heat before adding cream. Pour it in slowly while stirring. The sauce turns blush-pink and suddenly smells like vodka pasta.
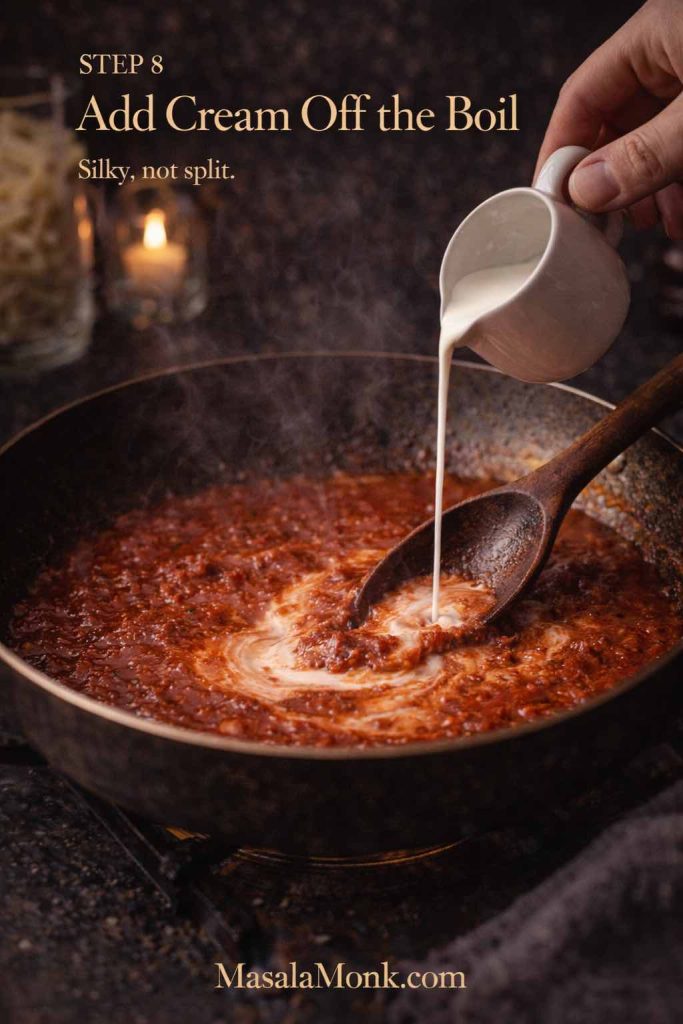
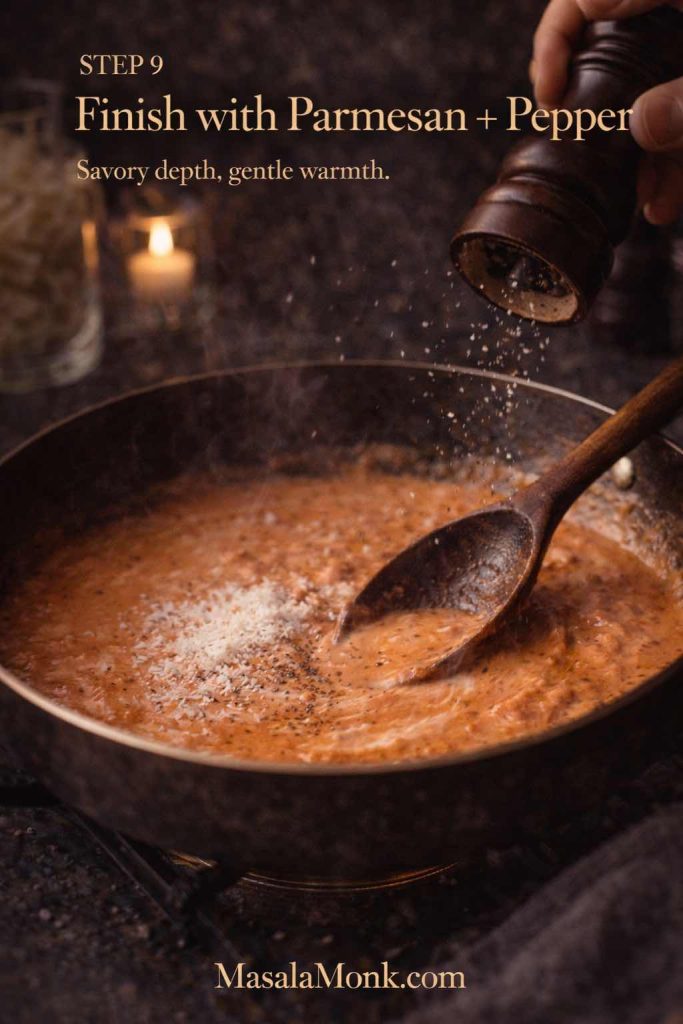
Now add black pepper generously—pepper matters here. It adds warmth that lifts the sauce differently than chilli heat.
Then stir in Parmesan a handful at a time until smooth. If you’ve ever had a creamy sauce turn grainy, it’s often heat plus cheese choice. This internal guide helps you understand your options: Parmesan cheese and its varieties
Finish the pasta in the pan for glossy vodka sauce and pasta
Add the drained pasta directly into the sauce. Toss well.
Now add reserved pasta water a splash at a time while tossing, until the sauce coats the pasta in a glossy layer. The sauce should look slightly loose in the pan and then tighten as it clings to the noodles.
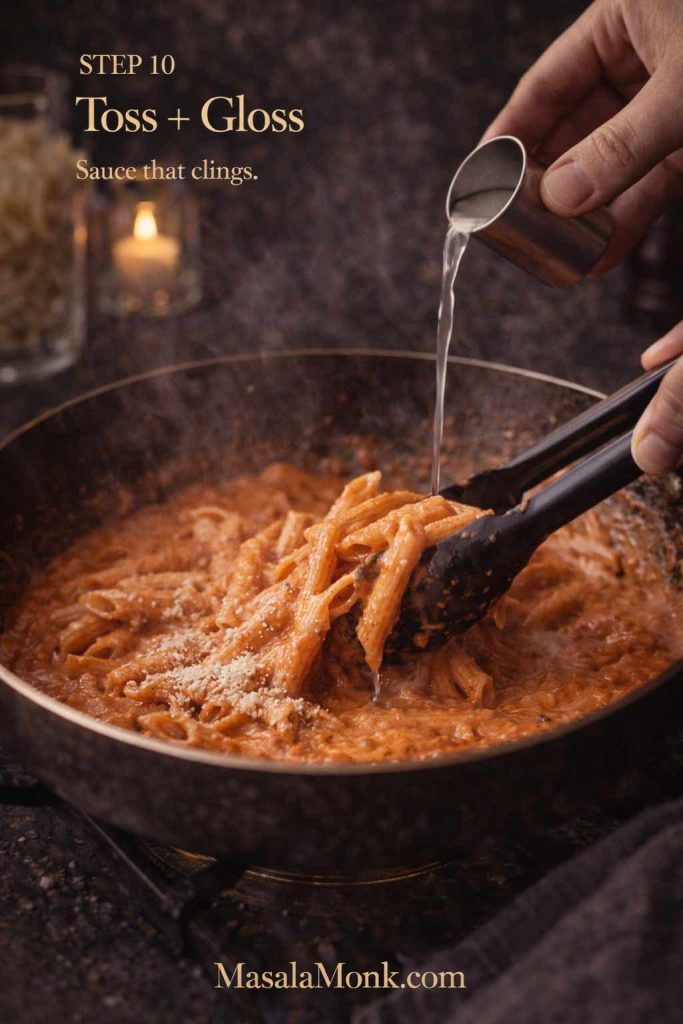
This is the difference between “vodka sauce poured over pasta” and vodka sauce pasta that tastes integrated.
Barilla’s pasta water guide is worth revisiting here because it explains what you’re doing in plain kitchen logic: How to use pasta water
Serve immediately with extra Parmesan and black pepper.
Vodka Pasta Finish: Why Pasta Water Makes It Restaurant-Glossy
If you’ve ever wondered why your home sauces sometimes feel separate—fat floating, liquid pooling, cheese clumping—the answer is often emulsification. Pasta water helps because it carries starch, salt, and heat. That starch encourages the sauce to bind into a cohesive coating rather than splitting into components.
This is especially important for vodka pasta because the sauce includes fat (oil, dairy, cheese) and liquid (tomatoes, vodka). Pasta water is the bridge that brings it together.
A reliable pattern helps:
- Toss pasta with sauce first.
- Add pasta water in small splashes.
- Toss again and again until the sauce coats.
When it works, the sauce looks like it has been “whipped” into the pasta. When it doesn’t, it tends to sit heavy at the bottom. The fix, most of the time, is simply more tossing and a little more pasta water.
Also Read: Waffle Recipe Without Milk: Fluffy, Golden, and Crisp
Pasta Shapes for Vodka Pasta Sauce: Penne, Rigatoni, Spaghetti, Linguine
The same vodka pasta sauce feels different on different pasta shapes. That’s not marketing—it’s texture.
Penne alla vodka
Penne is classic for a reason: the sauce fills the tubes and clings to the outside, so each bite feels saucy. If you’re making pasta penne alla vodka for the first time, penne is the most forgiving starting point.
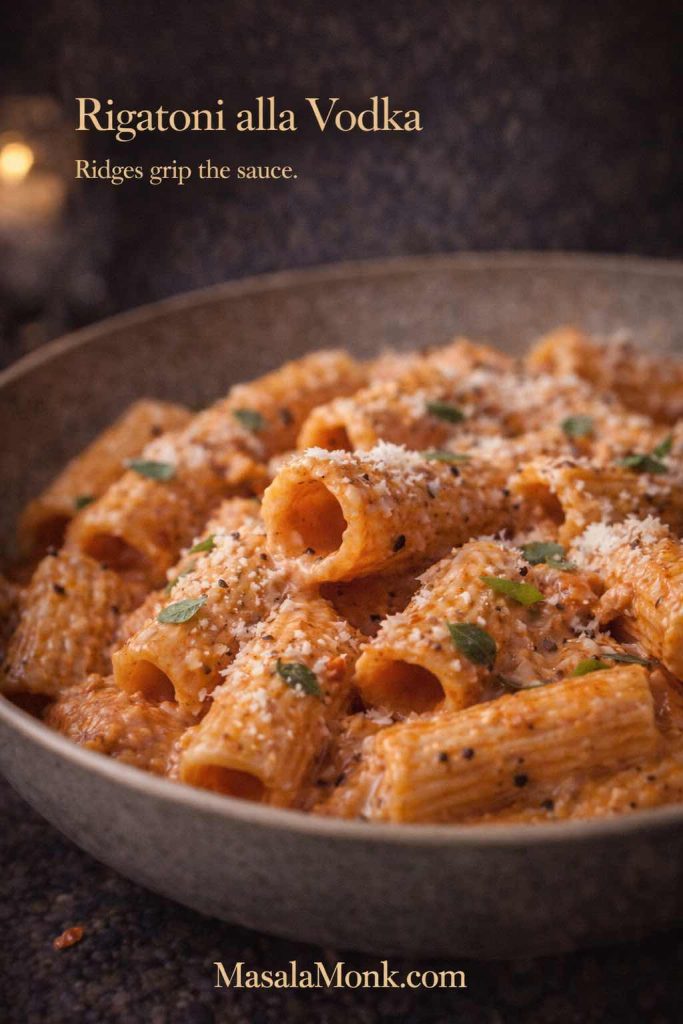
Rigatoni alla vodka
Rigatoni alla vodka is bolder. The ridges grip sauce and the hollow center becomes a reservoir. If you want the full comfort-food effect, rigatoni is hard to beat.
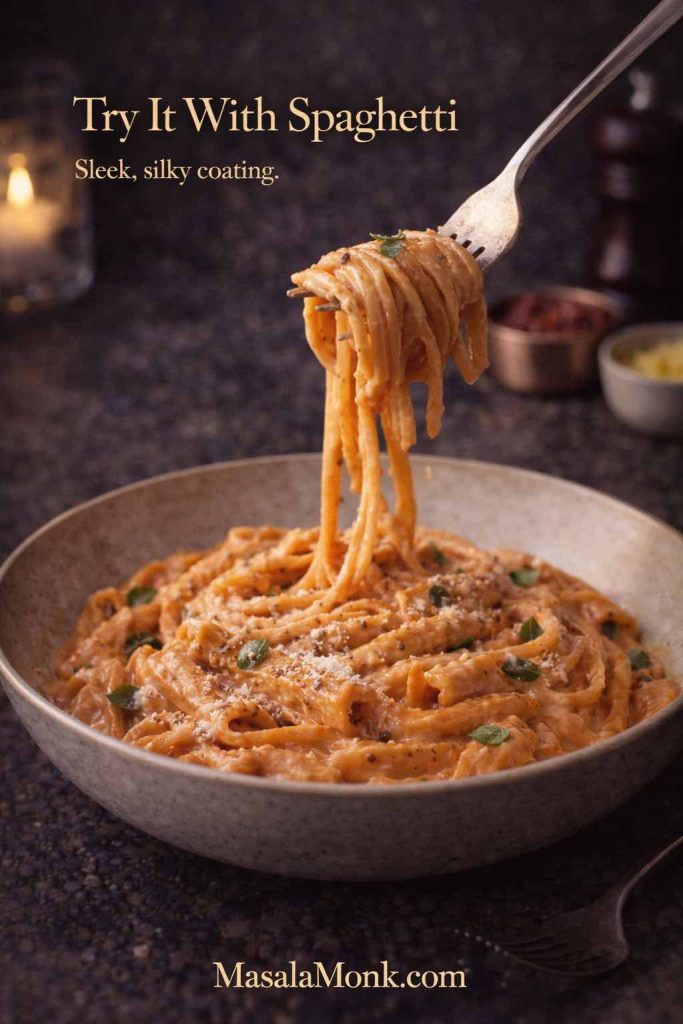
Spaghetti vodka
Spaghetti vodka feels sleeker and a little lighter. Because the sauce coats strands instead of pooling in tubes, the sauce should be slightly looser—so you’ll usually use an extra splash of pasta water during the toss.
Linguine alla vodka
Linguine alla vodka is a beautiful middle ground. The strands have enough width to carry a creamy sauce well, yet it still feels elegant.
If you’re feeding people with different preferences, you can keep the sauce constant and vary the pasta shape. The method stays the same, and the final vibe changes.
Also Read: What to Mix with Jim Beam: Best Mixers & Easy Cocktails
Spicy Rigatoni Vodka: Heat That Feels Rounded, Not Harsh
Spicy rigatoni vodka is popular because it hits comfort and heat at the same time. Done well, it tastes warm and addictive, not aggressively spicy or sharp.
How to make spicy vodka rigatoni taste balanced
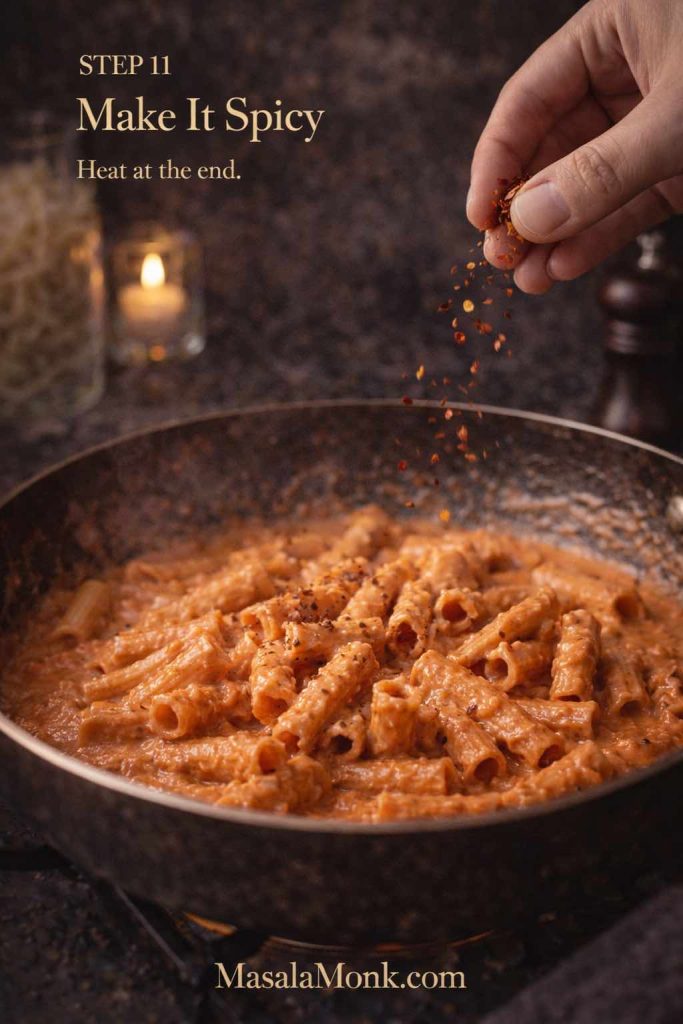
The key is when you add extra heat.
Start the base with a modest amount of chilli flakes, then taste again after the cream is added and the sauce has simmered. Add more chilli gradually near the end. That timing matters because the cream mellows spice, and the tomato base becomes more rounded after simmering.
Black pepper also matters more than you’d expect here. It brings a different kind of warmth that lifts the sauce rather than just increasing burn.
Adding deeper “pepper heat” without ruining the sauce
If you like experimenting with heat profiles—bright, smoky, vinegary, peppery—this internal guide is a good place to explore: Pepper sauce recipe
Instead of dumping extra heat into the whole pot, a pepper sauce at the table lets people customize their bowl. That’s especially helpful if you’re cooking for mixed spice tolerance.
Spicy vodka pasta with a cleaner finish
A small handful of extra Parmesan and a splash of pasta water during the final toss can make spicy vodka pasta feel smoother and more cohesive. When spice climbs, sauce can feel thicker and “stuck.” Pasta water fixes that by restoring glide.
Also Read: Healthy Tuna Salad – 10 Easy Recipes (Avocado, Mediterranean, No Mayo & More)
Chicken Vodka Pasta: The Creamy Protein Version That Still Feels Light
Chicken vodka pasta is what you make when you want vodka pasta comfort plus a full-meal feel. The goal is tender chicken that tastes integrated into the sauce—not dry chunks dropped on top.

Chicken vodka pasta method that keeps chicken juicy
- Slice chicken breast thin (or use boneless thighs for a more forgiving texture).
- Season with salt and pepper.
- Sear in oil over medium-high heat until cooked through.
- Remove chicken to a plate.
- Build the vodka pasta sauce in the same pan.
- Add chicken back near the end, then toss pasta with sauce and pasta water.
This creates chicken and vodka pasta where everything tastes unified. It also works beautifully for chicken penne vodka pasta because penne holds sauce and chicken in the same bite.
If you want to compare another tested approach, Serious Eats has a dedicated recipe for chicken and penne in vodka cream sauce.
Chicken vodka pasta with penne vs rigatoni vs spaghetti
- Chicken penne vodka pasta: classic, balanced, very satisfying.
- Chicken rigatoni alla vodka: bolder, heartier, especially good if you’re going spicy.
- Chicken spaghetti vodka: lighter, but easier to make messy—slice chicken smaller if you go this route.
If you love creamy chicken pasta nights in general, these internal posts fit naturally into your rotation:
Gigi Pasta Style: A Close Cousin of Vodka Pasta Sauce
Gigi pasta sits extremely close to vodka pasta in technique and comfort level. It’s still a tomato-cream sauce with spice and gloss; the difference is that many gigi pasta versions skip vodka, leaning more into a spicy tomato cream finish.
The method is familiar once you’ve mastered pasta alla vodka:
- soften onion
- warm garlic
- toast tomato paste
- simmer tomatoes
- add cream gently
- toss pasta with pasta water until glossy
Gigi pasta style with vodka
If you include vodka, you’re basically steering it toward vodka pasta sauce with a little extra heat. Keep the base spicy and finish with plenty of pepper and Parmesan.
Gigi pasta style without vodka
If you skip vodka, cook the tomato paste a touch longer and simmer the tomatoes a bit more before cream. That extra time gives you depth and mellowness. A tiny squeeze of lemon at the end can bring lift if you want a brighter finish.
If you’re curious what vodka specifically changes in the aroma and overall taste, Serious Eats’ explanation is still one of the clearest.
Also Read: Love Mangoes? Try These 5 Delicious Mango Dessert Recipes
Vodka and Cream: Getting the Texture Right Every Time
Vodka and cream can sound heavy, yet the best vodka pasta doesn’t eat like a brick of richness. The sauce stays light enough to keep you reaching for another bite because pasta water and technique do the work that people often try to force with extra cream.
If vodka pasta sauce feels too thick
Add pasta water while tossing. Keep going until the sauce clings without feeling stodgy. A sauce that looks slightly loose in the pan often coats perfectly on the plate.
If the vodka sauce pasta feels too thin
Next time, simmer the tomato-vodka base a bit longer before adding cream. For the current pot, toss longer and add a touch more Parmesan; the starch plus cheese often builds body quickly.
If the sauce looks like it might split
Lower the heat immediately and stir gently. Add pasta water gradually. Often, it comes back together once the temperature drops and the emulsion stabilizes.
If you want deeper instincts for creamy sauce behavior, these internal guides help build confidence around heat control and smooth texture:
Vodka Pasta Without Vodka: A Delicious Tomato-Cream Alternative
Sometimes you want the penne alla vodka vibe but prefer not to cook with alcohol. You can still make a creamy tomato pasta that scratches the same itch.
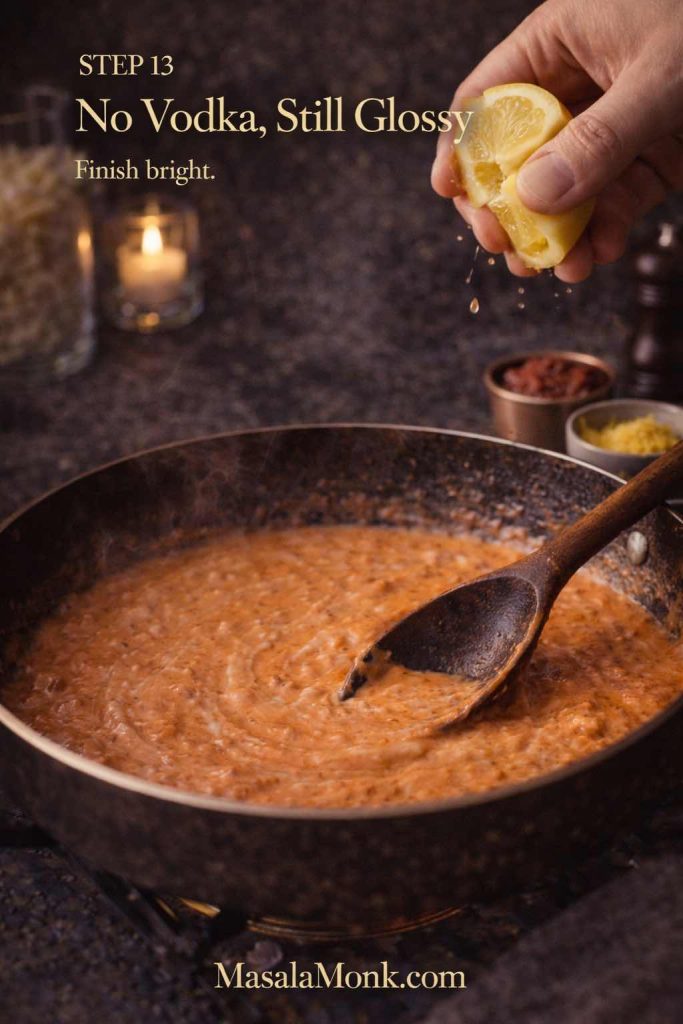
The “bright finish” approach
Skip vodka. Build the sauce with onion, garlic, tomato paste, and tomatoes. Simmer until mellow, add cream gently, then toss with pasta water until glossy. Finish with a small squeeze of lemon to lift the sauce.
The “extra depth” approach
Skip vodka again, but cook the tomato paste slightly longer and simmer the tomato base a few extra minutes before adding cream. That extra time adds the depth people often associate with vodka pasta.
If alcohol content matters for your household, it’s worth knowing that cooking doesn’t always reduce alcohol to zero, and retention varies widely depending on method and time.
Also Read: High-Protein Pasta Dishes: 10 Plant-Based Meal Prep Ideas
More Vodka Pasta Versions That Still Taste Like Vodka Pasta
Once you understand the base, vodka pasta becomes a flexible weeknight template rather than a one-off recipe.
Mushroom vodka pasta
Sauté mushrooms until browned before you start the onion. Then proceed with the vodka pasta sauce as written. The sauce becomes deeper and more savory without adding meat.
Shrimp vodka pasta
Cook shrimp separately and fold it in near the end so it stays tender. This version is especially good with linguine alla vodka because the strands carry a slightly looser sauce beautifully.
Spicy vodka pasta with greens
Add spinach or baby kale at the end of tossing. It wilts instantly and makes the dish feel fresher against the creaminess.
Baked vodka pasta
Toss cooked pasta with sauce, add mozzarella, and bake until bubbly. Keep the sauce slightly looser before baking so it doesn’t dry out.
If baked creamy pasta is your comfort lane, the internal sauce structure guides above (béchamel and mac & cheese) are genuinely useful for building intuition about how dairy behaves under heat.
Also Read: Cheesy Chicken Broccoli Rice – 4 Ways Recipe (One Pot, Casserole, Crockpot & Instant Pot)
What to Serve with Vodka Pasta
Vodka pasta is rich enough that sides should either cut through the sauce or echo it simply.
Garlic bread with vodka sauce pasta
Garlic bread is the classic partner because it lets you scoop up extra sauce and makes the meal feel complete. If you want a homemade version, this internal recipe is a strong one: Homemade garlic bread loaf
A cool side for spicy rigatoni vodka
If you’re going spicy, a cool tangy side can be a lifesaver at the table. A cucumber-yogurt sauce works as a palate reset between bites: Greek tzatziki sauce recipes
A simple salad that keeps the meal feeling light
Even a basic salad with lemon and olive oil is enough to keep creamy vodka pasta from feeling heavy halfway through.
Storing and Reheating Vodka Pasta
Vodka pasta reheats well if you treat it gently. Cream sauces tighten in the fridge, so you’ll usually need a splash of water or milk to loosen the texture again.
How long leftovers keep
USDA FSIS guidance for leftovers is a practical baseline: Leftovers and food safety
Reheating vodka sauce pasta without breaking it
Reheat over low heat on the stovetop with a splash of water or milk, stirring frequently. Finish with black pepper and a little Parmesan again. The sauce often tastes surprisingly close to the original once it’s loosened and re-seasoned.
Also Read: 10 Best Espresso Martini Recipe Variations (Bar-Tested)
More Pasta Night Comfort After Vodka Pasta
If vodka pasta is your comfort zone, these internal posts fit naturally into the same rotation:
- When you want glossy richness without cream: Carbonara recipes
- When you want deep, slow comfort: Bolognese sauce recipe
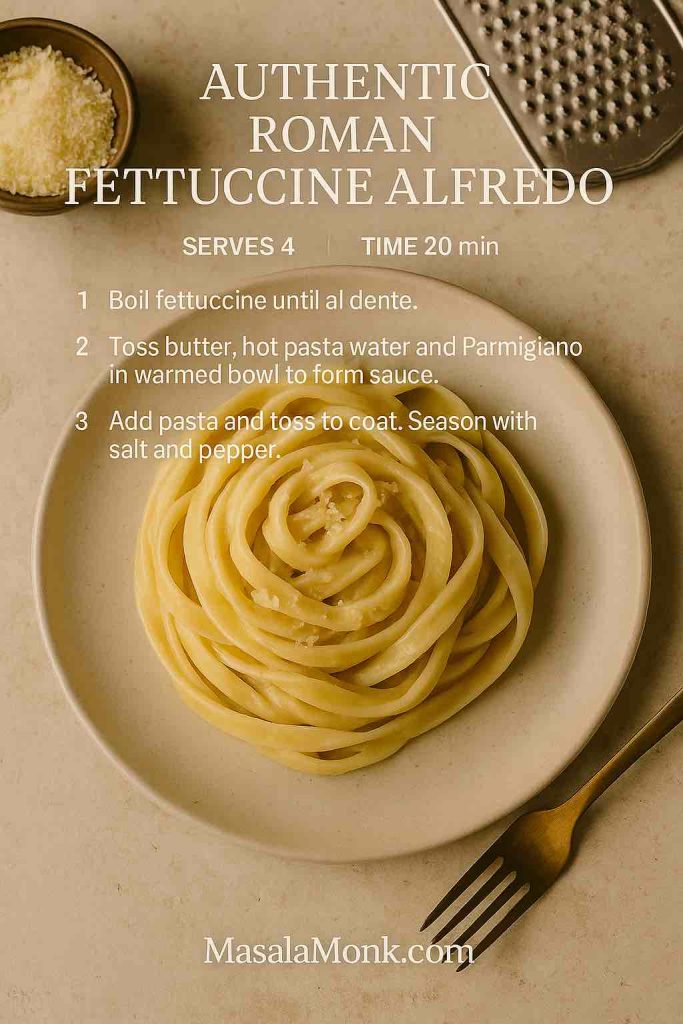
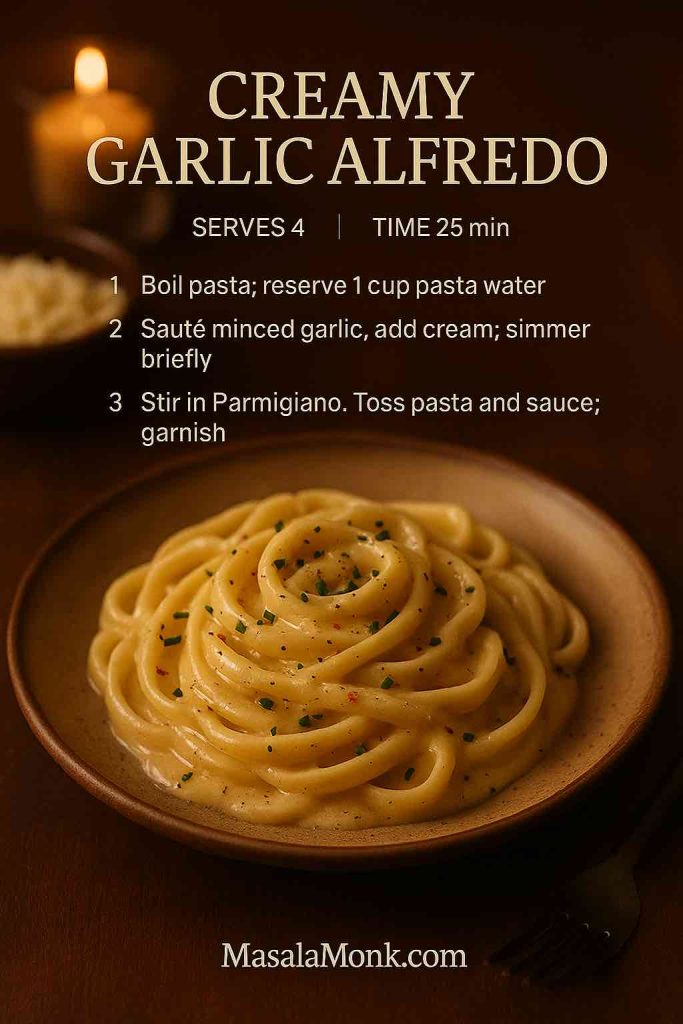
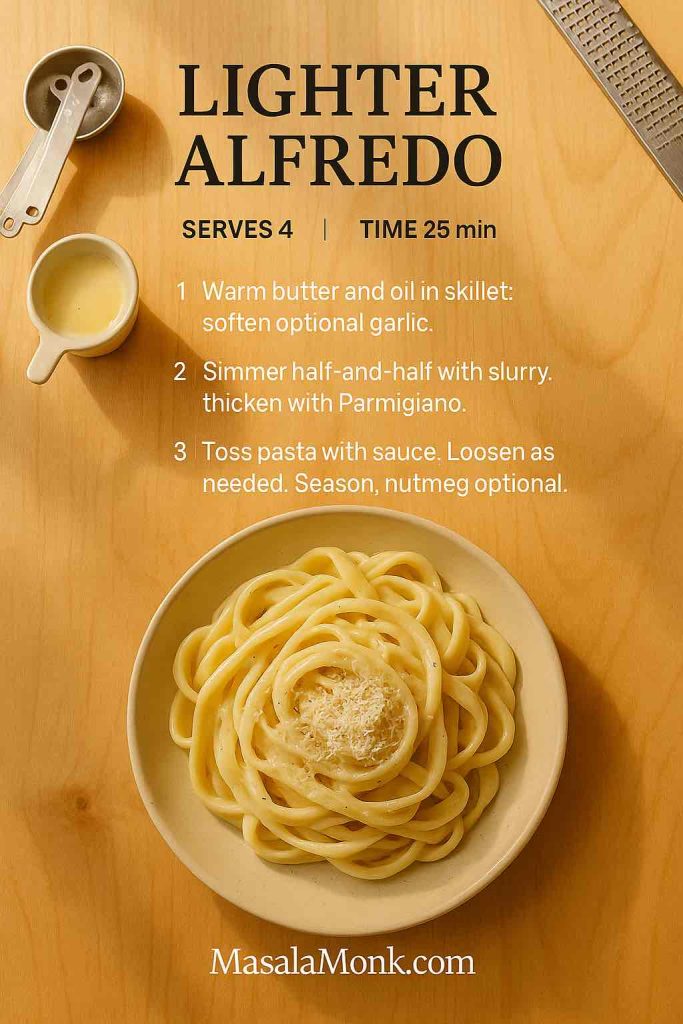
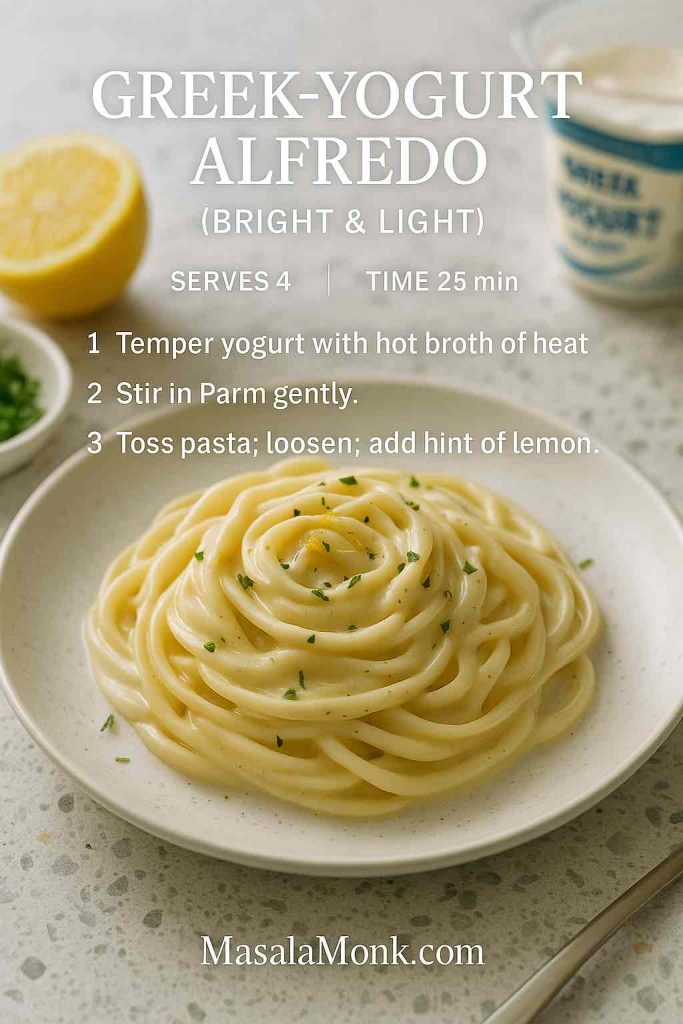
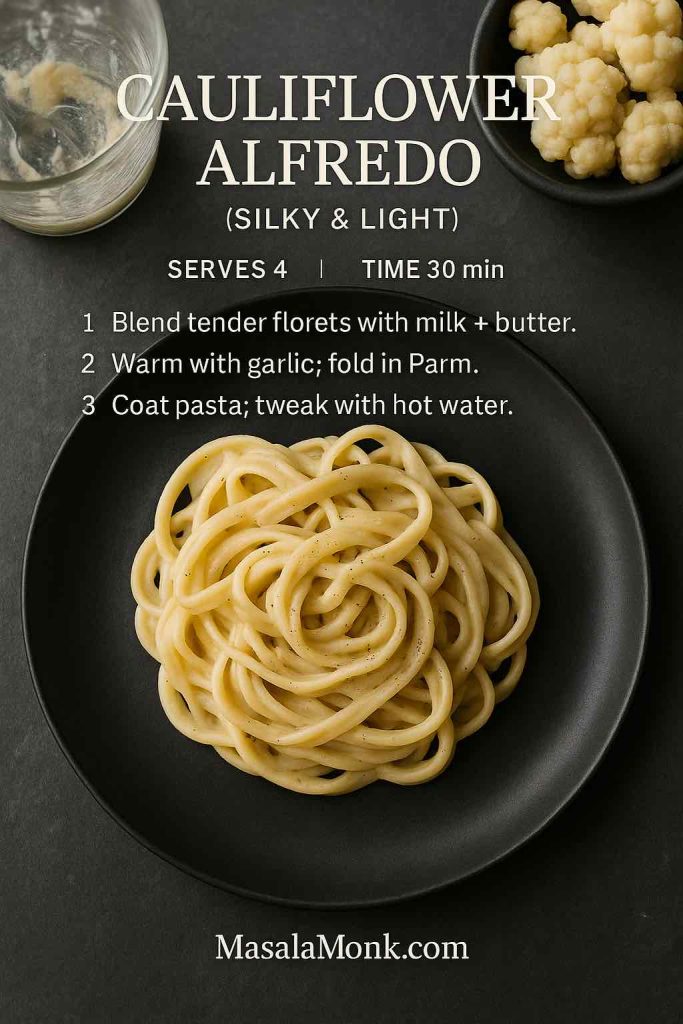
- When you want to understand creamy sauce technique more deeply: Classic vs. authentic Alfredo
- When you want creamy chicken pasta ideas beyond chicken vodka pasta: Chicken Alfredo pasta, 5 ways
A Final Bowl: Why Vodka Pasta Becomes a Habit
Vodka pasta becomes a repeat dinner because it’s dependable and adaptable. Once you’ve cooked tomato paste until it turns rich, simmered tomatoes until they mellow, added cream gently, and finished everything with pasta water until glossy, you’ve learned the entire trick. From there, you can make penne alla vodka for classic comfort, swap to rigatoni alla vodka for a bigger bite, choose spaghetti vodka or linguine alla vodka for a sleeker feel, turn it into spicy rigatoni vodka when you want heat, fold in chicken for chicken vodka pasta, or pivot into a gigi pasta style sauce when you want the same tomato-cream comfort tuned differently.
Also Read: Blueberry Pancakes (6 Recipes) + Homemade Pancake Mix
FAQs
1) What is vodka pasta?
It’s pasta tossed in a creamy tomato-vodka sauce made with tomato paste, tomatoes, vodka, and cream. The finished dish is meant to taste rich and balanced—never “boozy.”
2) Does penne alla vodka taste like vodka?
No. When the sauce is simmered and balanced with tomatoes and cream, the vodka doesn’t taste like a shot; instead, it adds a subtle lift to aroma and finish.
3) Can I make this without vodka?
Yes. Skip the spirit and build flavor by cooking the tomato paste until deeper in color, simmering the tomatoes until mellow, then finishing with cream and starchy pasta water for a smooth coating.
4) What can I substitute for vodka in pasta alla vodka?
For a similar brightness, use a small splash of pasta water earlier to loosen the tomato paste, then add a tiny squeeze of lemon at the end. As another option, a teaspoon of mild vinegar can add lift—use a light hand so it doesn’t turn tangy.
5) Does alcohol cook off completely in the sauce?
Not always. Alcohol retention depends on time and method. If you need to avoid alcohol entirely, choose the no-vodka approach rather than relying on simmering.
6) Which pasta shape is best for vodka sauce?
Penne is classic because the tubes catch sauce. Rigatoni feels heartier and holds more sauce per bite, while spaghetti and linguine give a sleeker, silkier coating.
7) Is rigatoni alla vodka different from penne alla vodka?
The sauce style is the same, but the texture changes. Rigatoni is larger with ridges, so it grabs more sauce and often tastes more “substantial” in each mouthful.
8) How do I make spicy rigatoni vodka without it tasting harsh?
Add extra chilli gradually after the cream goes in. That way, the heat feels rounded rather than sharp. Also, extra black pepper and Parmesan help keep the sauce balanced as spice increases.
9) What’s the difference between spicy vodka rigatoni and spicy vodka pasta?
Spicy vodka rigatoni refers to using rigatoni specifically. Spicy vodka pasta is broader and can include penne, rigatoni, spaghetti, or other shapes—so the sauce may be similar, but the eating experience changes.
10) How do I keep chicken tender in chicken vodka pasta?
Sear the chicken first, remove it, make the sauce in the same pan, then add the chicken back near the end. That sequence keeps it juicy and prevents overcooking.
11) Can I use rotisserie chicken for this?
Definitely. Shred it and stir it into the sauce during the final simmer, just long enough to warm through.
12) Why is my sauce too thick?
It can thicken from too much reduction, too much cheese added quickly, or cooling in the pan. To fix it, loosen with reserved pasta water a splash at a time until it turns glossy again.
13) Why is my sauce watery?
Usually the tomato base didn’t simmer long enough, or the pasta wasn’t finished in the sauce. Simmer until the tomatoes taste mellow, then toss pasta in the pan and use pasta water to help the sauce cling.
14) Why did my sauce split after adding cream?
Most often the heat was too high. Lower the heat right away, stir gently, and add a little pasta water to help it come back together.
15) How do I make a smoother vodka and cream sauce?
Add cream over low heat and stir in cheese gradually. Then finish the pasta in the sauce with pasta water so everything emulsifies into a silky coating.
16) Can I make it without cream?
Yes. You can use a plant-based cream alternative, or rely on pasta water plus grated cheese for body. Even so, it will taste less “lush” than the classic version.
17) Can I make a vegan version?
Yes—use a thick dairy-free cream (like cashew or oat-based) and a vegan Parmesan-style topping. Additionally, pasta water becomes even more important for texture.
18) Is gigi pasta the same as this?
They’re closely related. Gigi-style pasta is typically a spicy tomato cream pasta that may skip vodka, while the classic version uses vodka as part of the sauce method.
19) Can I make the sauce ahead of time?
Yes. Make it, cool it, refrigerate, then reheat gently and loosen with a splash of water or pasta water before tossing with freshly cooked pasta.
20) How long will leftovers keep?
Stored properly in the fridge, it’s best within 3–4 days for flavor and texture.
21) Can I freeze the sauce?
You can, though creamy sauces sometimes change texture after thawing. If you plan to freeze, freezing the sauce (without pasta) tends to work better.
22) What should I serve with penne alla vodka?
Garlic bread and a simple salad are classic. Alternatively, if you made it spicy, a cool side can be a refreshing contrast.
23) Why isn’t my sauce turning pink?
Either the sauce needs more cream, or the tomato base is too light. Let the tomatoes simmer briefly before adding cream, and the color usually turns that signature blush tone.
24) How do I make it taste more like a restaurant version?
Cook the tomato paste until rich, season in layers, keep heat gentle after adding cream, and finish the pasta in the sauce with pasta water until glossy and clingy.