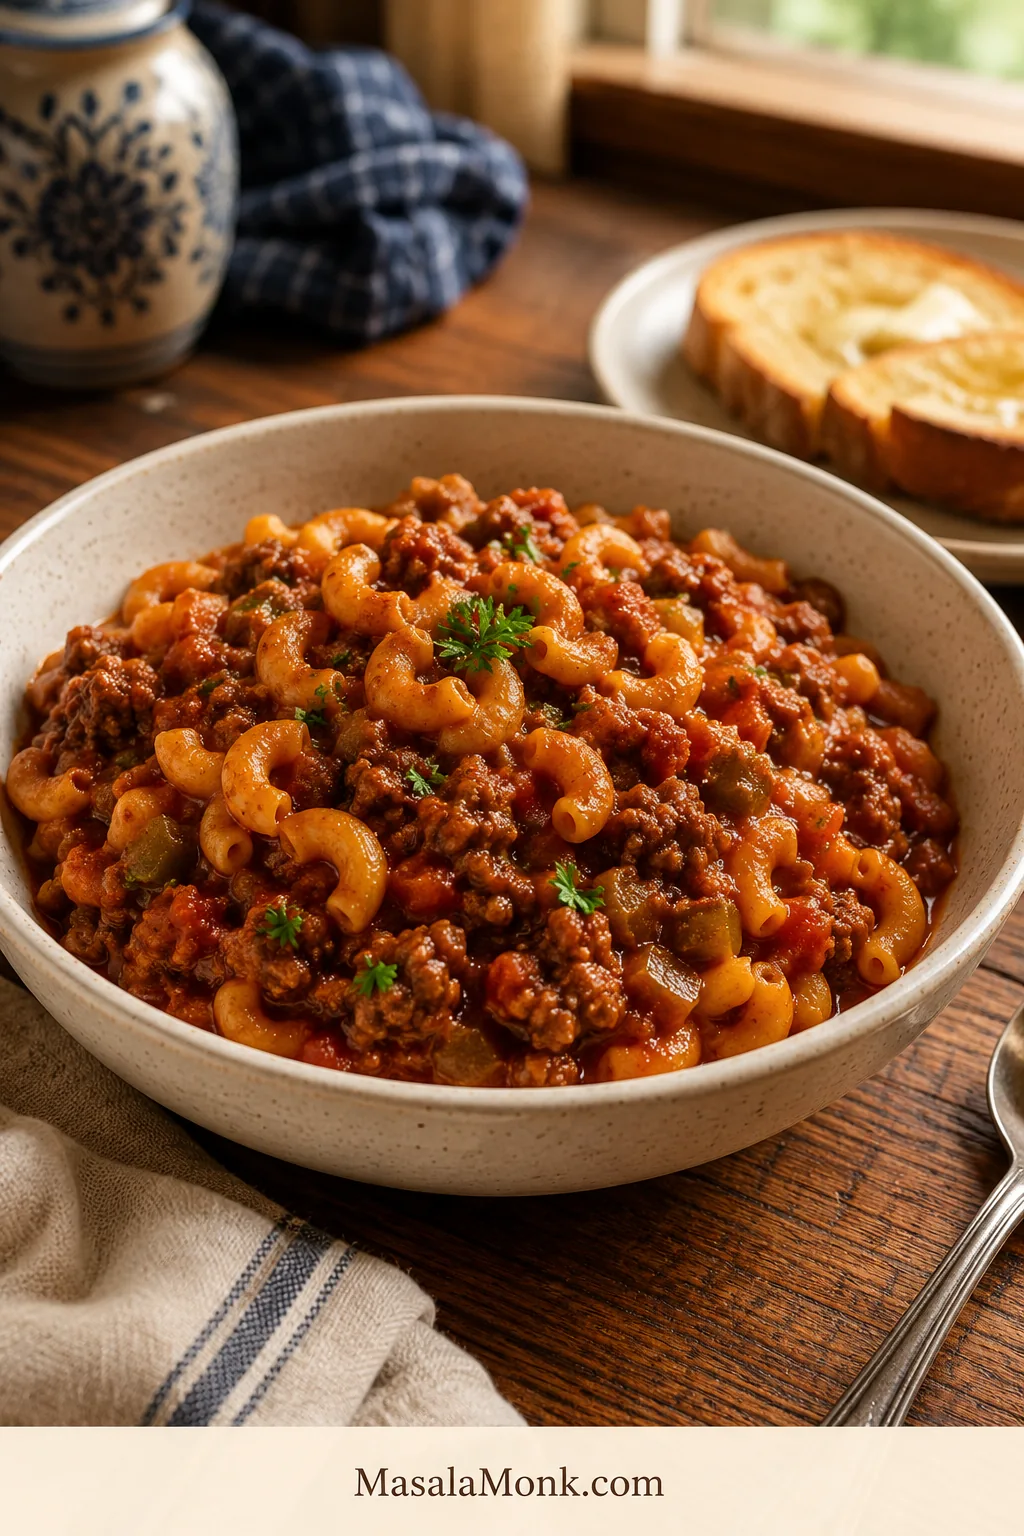
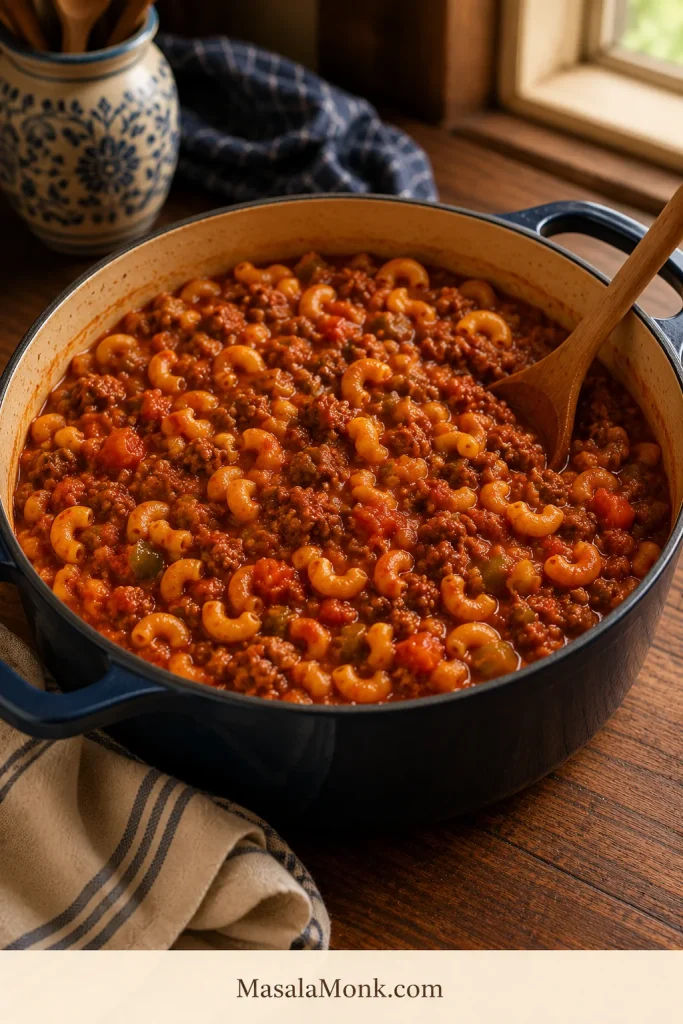
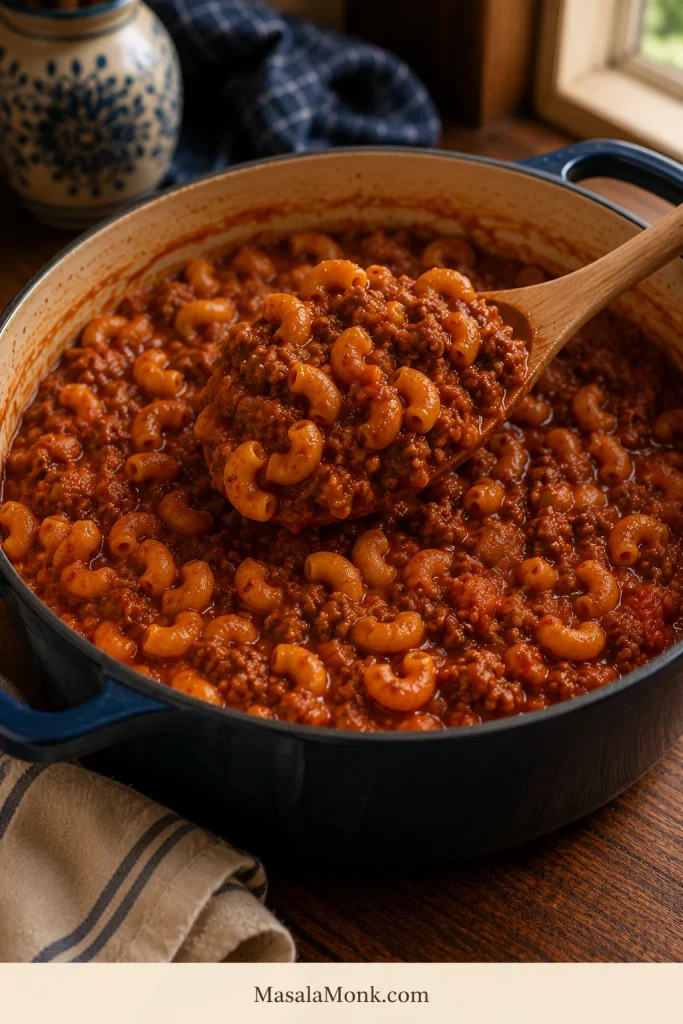
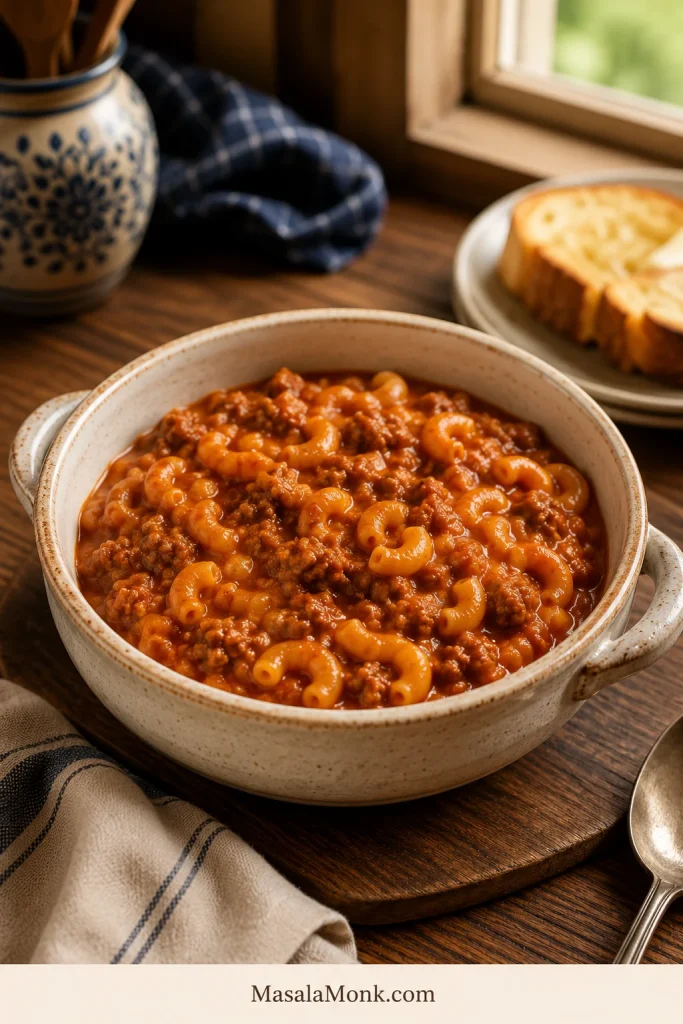
This American goulash recipe is the kind of one-pot dinner you make when there is ground beef in the fridge, elbow macaroni in the pantry, and everyone needs something warm, saucy and familiar. It is the cozy tomato-beef macaroni version many people in the United States mean when they say goulash, and it stretches one pound of ground beef into a full pot of dinner.
The sauce is rich but simple, the macaroni cooks right in the pot, and a short rest at the end helps everything settle into that thick, spoonable texture. It tastes old-fashioned in the best way, but the method is controlled so the pasta does not turn mushy and the sauce does not end up watery.
If the version you remember used tomato soup, tomato juice, green bell pepper, cheddar, or no tomato chunks at all, there is room for that version here too. Start with the main stovetop recipe, then use the notes to make it more like grandma’s goulash, American Chop Suey, cheesy goulash, Crockpot goulash, Instant Pot goulash, or a soupier bowl.
It is also the kind of pot that can sit for five minutes while everyone finds plates, forks and hot sauce, which is exactly the kind of flexibility a weeknight dinner needs.
Quick Answer: What Is American Goulash?
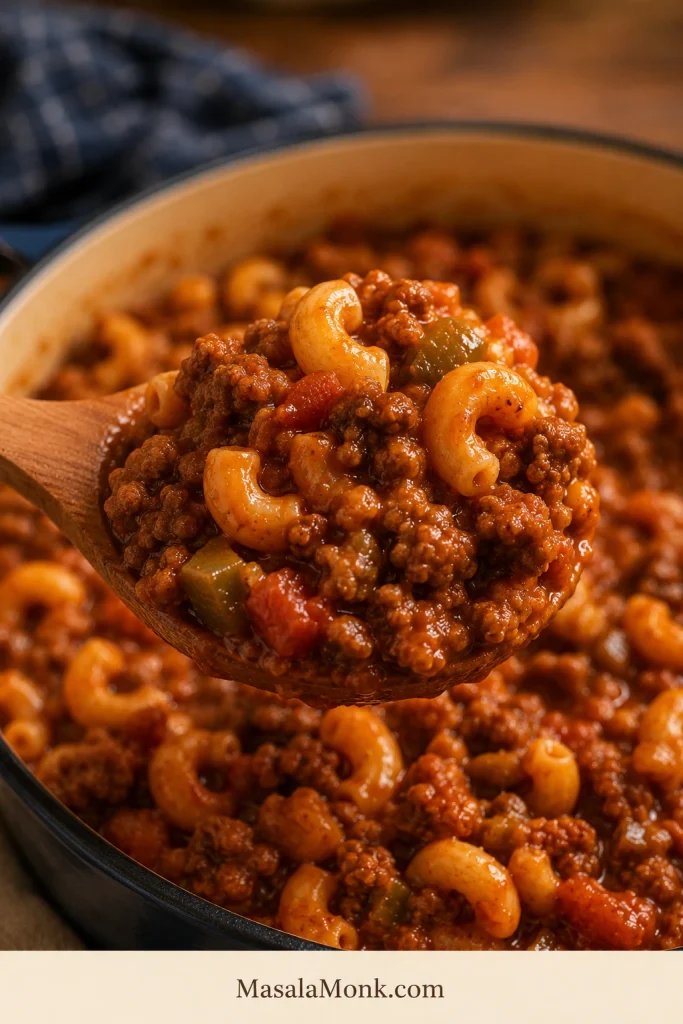
American goulash is a one-pot pasta dinner made with ground beef, elbow macaroni, tomatoes, onion, garlic, and a savory tomato-based sauce. The dry macaroni usually cooks directly in the sauce, so it absorbs flavor instead of tasting like plain pasta stirred in at the end.
It is not the same as Hungarian goulash. Hungarian goulash leans on paprika, beef chunks and broth; this American version leans on ground beef, tomato sauce and macaroni. Both can be comforting, but they are very different dinners.
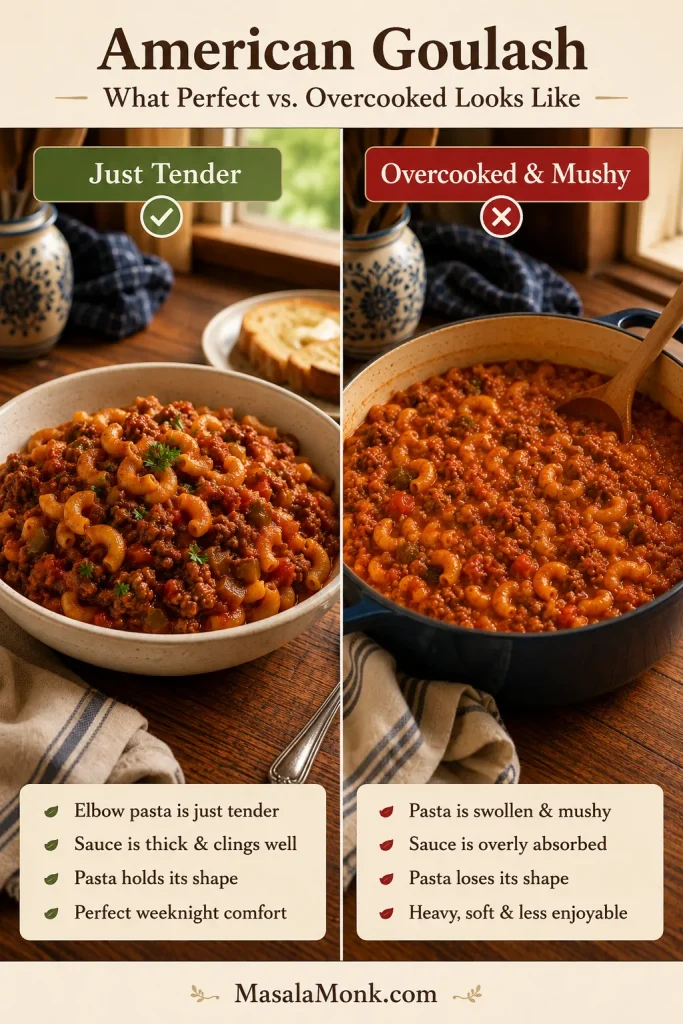
This recipe is built as a flexible base, not one rigid family version. Keep it thick and tomato-saucy, make it sweeter with tomato soup, loosen it with tomato juice, smooth it with crushed tomatoes, or finish it with cheddar while keeping the macaroni tender instead of swollen and mushy.
This version gives you old-fashioned tomato-beef macaroni flavor, but with enough liquid control to make it your family’s style instead of a watery or mushy pot.
One-Pot American Goulash With Tender Macaroni and Thick Tomato Sauce
This recipe gives you saucy goulash with tender elbow macaroni, browned ground beef, mellow onion and garlic, and a tomato base that clings to the pasta after a 5-minute rest.
Starting with less liquid gives you better control. Elbow macaroni varies by brand, pot width and simmer strength, so this recipe begins with 1 1/2 cups broth and holds back the final 1/2 cup until the pasta actually needs it.
The extra few minutes are doing real work here: the sauce gets a short simmer before the macaroni goes in, and the finished pot rests so it thickens without overcooking the pasta.
| Recipe | American Goulash Recipe |
| Servings | 6 generous servings |
| Prep time | 10 minutes |
| Cook time | 30 minutes |
| Rest time | 5 minutes |
| Total time | 45 minutes |
| Method | Stovetop, one pot |
| Equipment | 5 to 6 quart Dutch oven or heavy-bottomed pot with lid |
| Course | Dinner, Main Course |
| Cuisine | American |
Ingredients
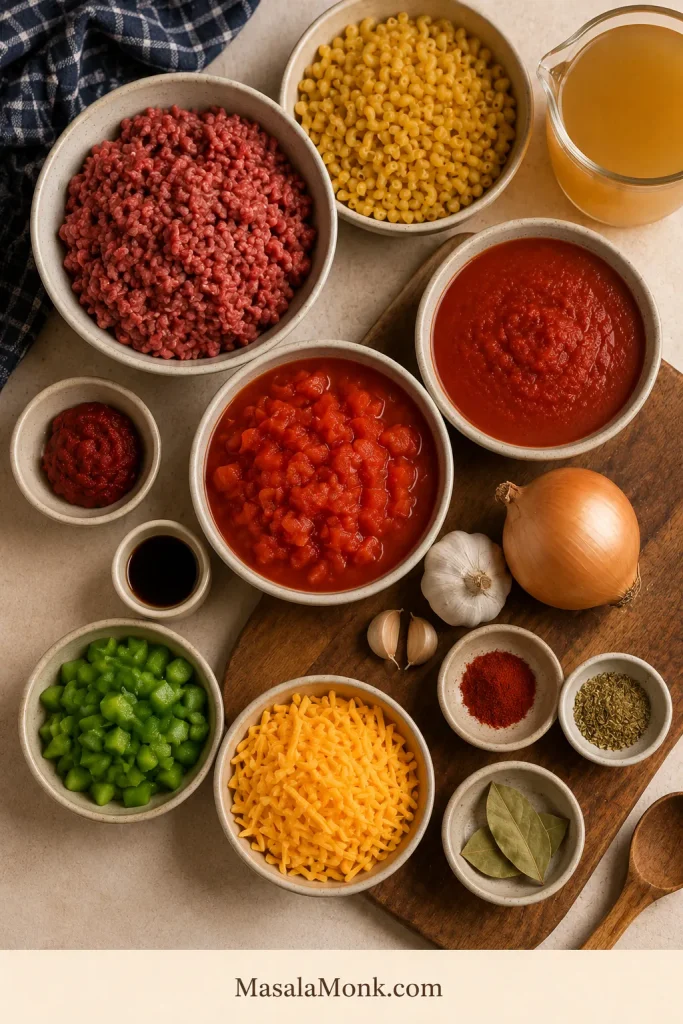
- 1 tablespoon olive oil, 15 ml
- 1 lb ground beef, 450 g
- 1 medium yellow onion, chopped, about 150 g
- 1 green bell pepper, chopped, optional, about 120 to 150 g
- 3 garlic cloves, minced, about 10 to 15 g
- 2 tablespoons tomato paste, 30 g
- 2 cups tomato sauce, passata or simple marinara, 480 ml
- 1 can diced tomatoes with juices, 14 to 15 oz, 400 to 425 g
- 1 1/2 to 2 cups beef broth or water, 360 to 480 ml
- 1 tablespoon Worcestershire sauce, 15 ml
- 1 1/2 teaspoons Italian seasoning
- 1 teaspoon sweet paprika
- 1 bay leaf
- 1/2 to 1 teaspoon salt, then adjust to taste
- 1/2 teaspoon black pepper
- 8 oz uncooked elbow macaroni, about 2 cups or 225 g
- 1 cup shredded cheddar cheese, optional, 100 to 115 g
- Chopped parsley, optional, for serving
Instructions
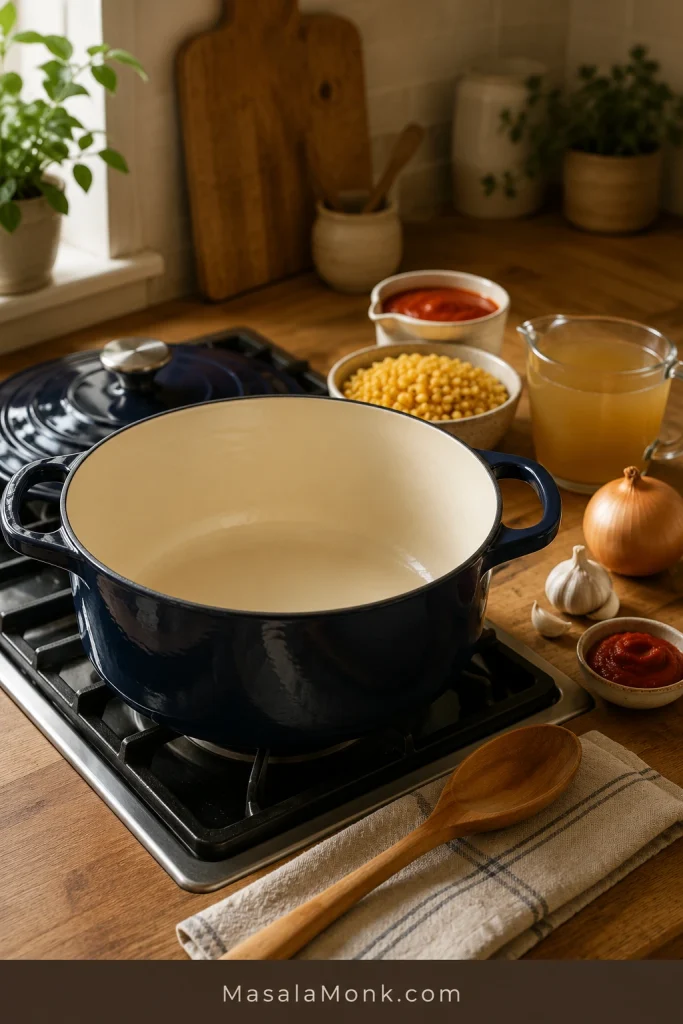
- Heat the olive oil in a 5 to 6 quart Dutch oven or heavy-bottomed pot over medium-high heat.
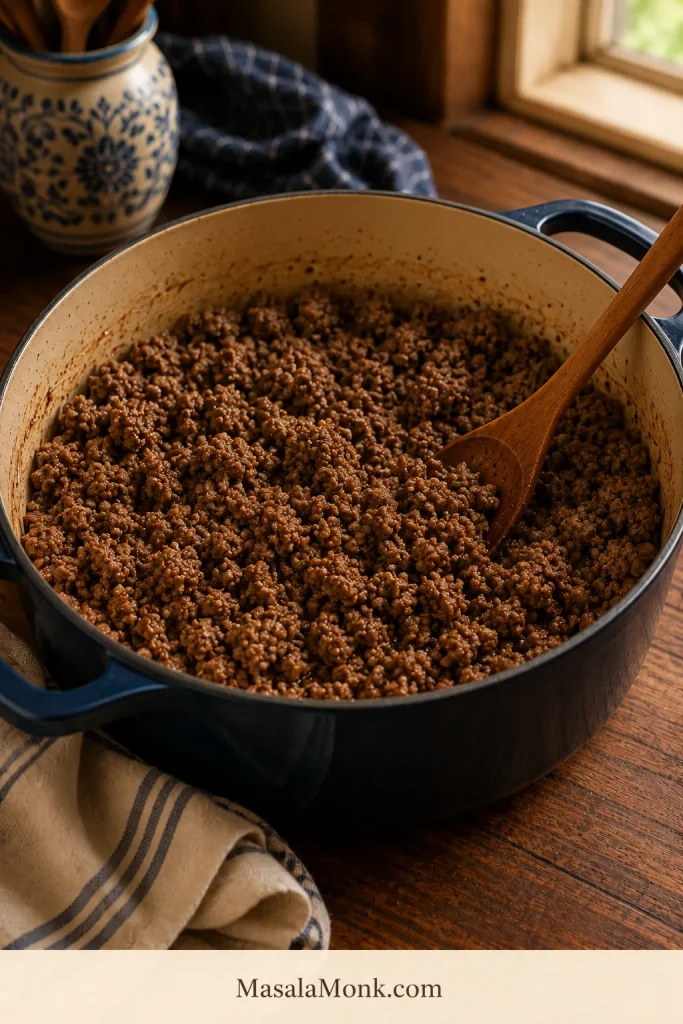
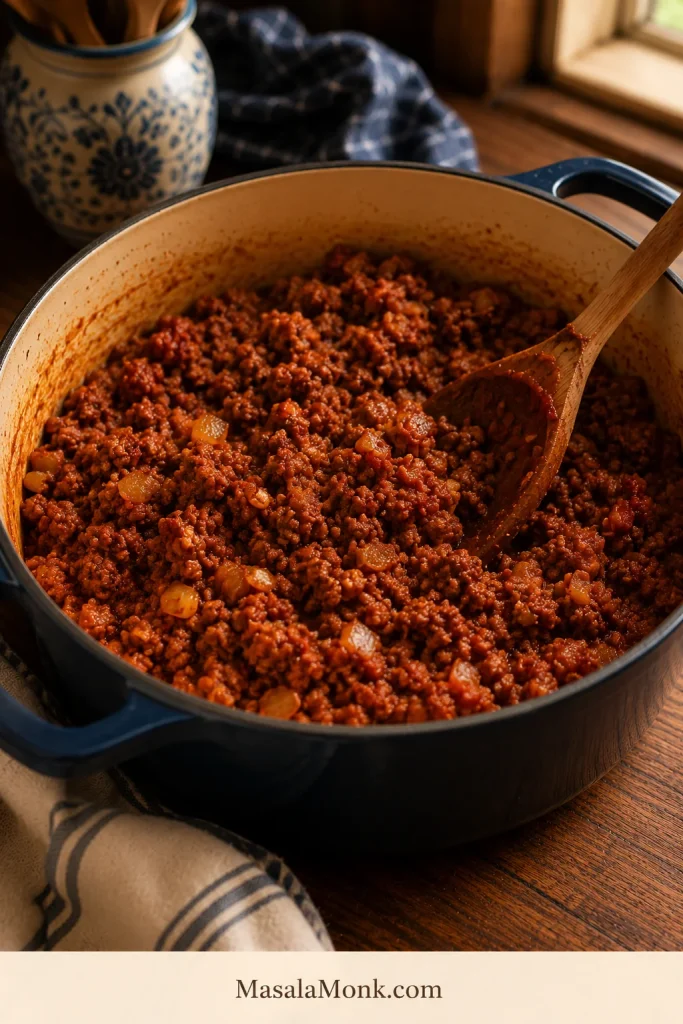
- Add the ground beef and cook for 5 to 7 minutes, breaking it up with a spoon, until browned. Drain excess grease if needed.
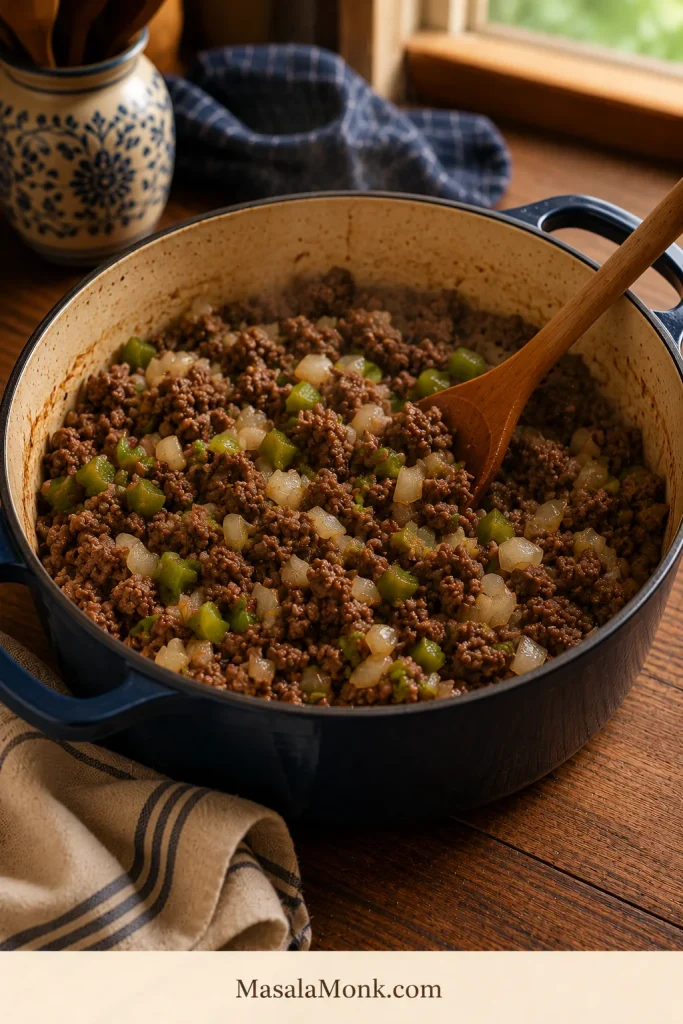
- Stir in the onion and optional green bell pepper. Cook for 3 to 4 minutes, until the onion begins to soften and the pepper loses its raw bite.
- Add the garlic and tomato paste. Cook for 1 minute, stirring often, until the tomato paste darkens slightly and stains the beef a deeper red.
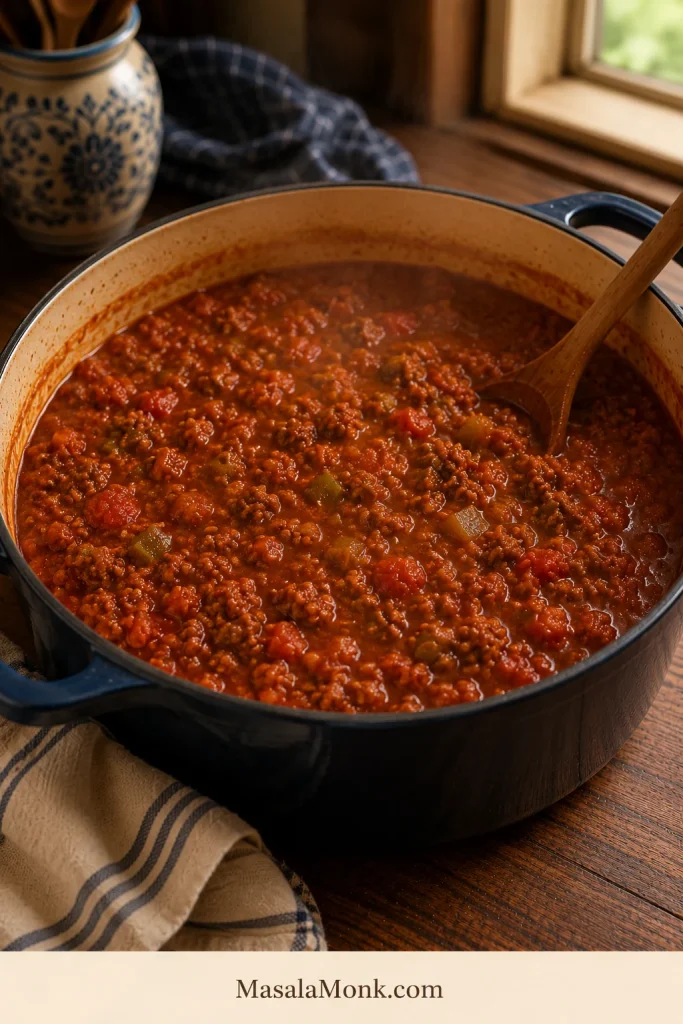
- Pour in the tomato sauce, diced tomatoes with juices, 1 1/2 cups broth, Worcestershire sauce, Italian seasoning, paprika, bay leaf, 1/2 to 3/4 teaspoon salt and black pepper. Stir well and bring to a simmer.
- Simmer the sauce for 5 to 10 minutes before adding the pasta. It should smell savory and tomato-rich before the macaroni goes in. Taste it here; it should be lightly salty because the pasta will absorb some seasoning as it cooks.
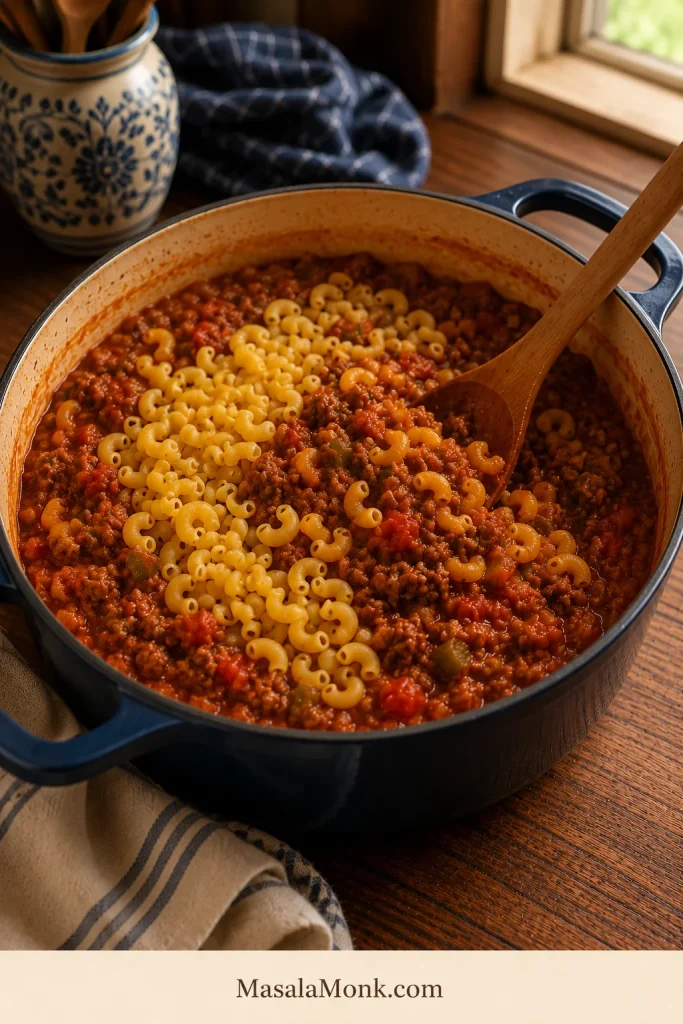
- Stir in the dry elbow macaroni. Keep the pot at a gentle simmer, not an angry boil.
- Cover and cook for 8 minutes, stirring every 2 to 3 minutes so the macaroni does not stick to the bottom.
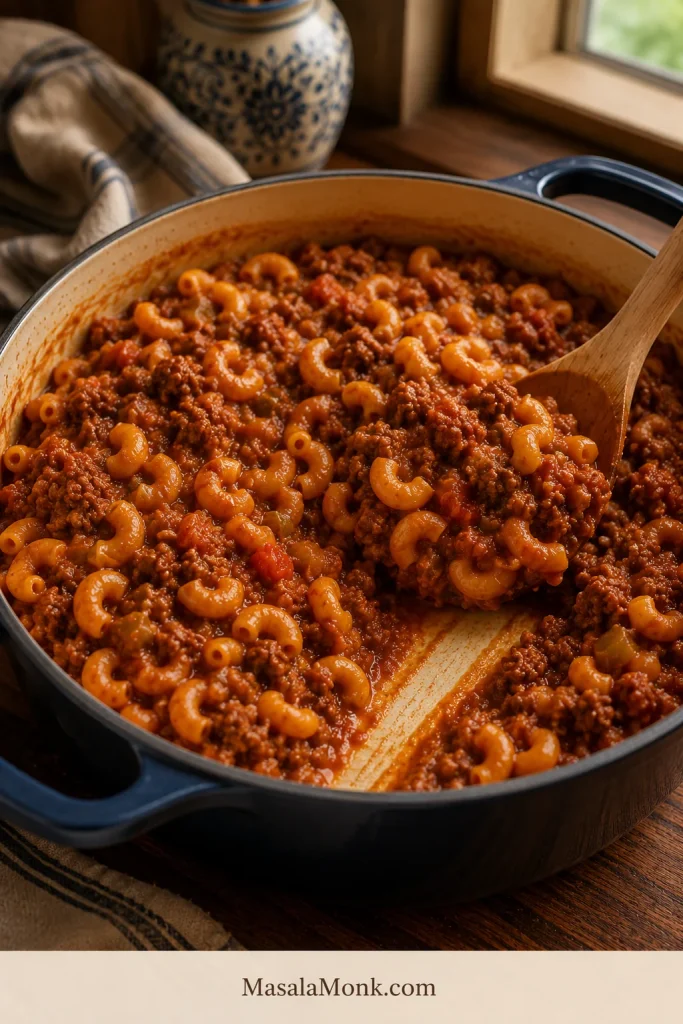
- Uncover and cook for another 3 to 6 minutes, until the macaroni is just tender. Add the remaining 1/2 cup broth only if the pot looks dry before the pasta is done.
- Turn off the heat. Remove the bay leaf. Taste and adjust salt. If using cheese, stir in the cheddar until melted.
- Let the goulash rest for 5 minutes before serving. The sauce will thicken and cling better to the macaroni.
Recipe Notes
- Hold back the final 1/2 cup broth until the macaroni needs it, especially if using a narrow pot or a pasta brand that softens quickly.
- If using jarred marinara, salted broth, condensed tomato soup or cheddar, start with 1/2 to 3/4 teaspoon salt. Add more only after the pasta cooks.
- Choose a simple marinara if using jarred sauce. Sweet or strongly herbed marinara will make the goulash taste less old-fashioned.
- To make it thicker, simmer uncovered for a few minutes and let it rest before serving.
- A looser or soupier bowl needs extra broth, tomato sauce or tomato juice.
- The best make-ahead texture comes from cooking the beef tomato sauce ahead and adding macaroni when reheating.
- If you plan to freeze the full dish, slightly undercook the macaroni or freeze the sauce separately and add fresh pasta later.
Trying to Match the Goulash You Grew Up With?
- Keep the macaroni from getting mushy
- Compare tomato sauce, tomato soup, tomato juice or no chunks
- Find your family version
- Try it old-fashioned, cheesy or soupier
- Use Crockpot or Instant Pot notes
- Fix watery, mushy, flat or dry goulash
Why This Recipe Works
This is not about making goulash fancy. The goal is to make it taste familiar while keeping the macaroni tender, the sauce rich, and the pot easy to adjust.
- Start the sauce before the pasta. A short simmer gives the tomato paste, garlic, beef and seasonings time to taste like one sauce instead of separate canned ingredients.
- Cook the macaroni right in the pot. The pasta absorbs beefy tomato flavor as it softens, which makes the dish taste more complete.
- Hold back some liquid. The extra splash of broth is there only if the macaroni needs help finishing.
- Keep the simmer gentle. A hard boil can make the macaroni rough, swollen and uneven before the sauce has settled.
- Let it rest. A few quiet minutes off heat help the sauce cling to the macaroni instead of sliding to the bottom of the bowl.
Ingredients and Why They Matter
This recipe is simple, so each ingredient has a clear job. You do not need anything fancy, but the balance of beef, tomato, pasta and liquid matters.
Ground Beef
Ground beef is what makes this taste like the version many people grew up with: hearty, simple and easy to stretch into a full pot of dinner. If your beef releases a lot of fat, drain some of it before adding the tomato paste and liquids.
Elbow Macaroni
Elbow macaroni is the classic pasta shape here. It cooks quickly, holds sauce well, and gives the dish that old-fashioned macaroni-and-beef texture. Other short pasta shapes can work, but the cooking time and liquid absorption may change.
If you like a creamier cheese-first version of elbow pasta instead, this macaroni and cheese recipe is the better direction.
Tomato Sauce and Diced Tomatoes
Tomato sauce gives the pot a smooth base, while diced tomatoes add texture and a more homemade feel. For a no-chunk version, use crushed tomatoes or extra sauce instead.
When making the tomato base from scratch another day, this tomato sauce from fresh tomatoes is useful for understanding how tomatoes thicken, sweeten and turn into a smoother sauce.
Tomato Paste
Tomato paste is the little shortcut that keeps the sauce from tasting thin or freshly opened from a can. Cook it with the beef, onion and garlic before adding the liquids so it has time to deepen.
Beef Broth or Water
The broth gives the macaroni enough room to soften right in the tomato-beef sauce instead of tasting like plain pasta added at the end. For a deeper savory flavor, use beef broth; water works if that is what you have.
Worcestershire Sauce
Worcestershire sauce adds a little savory depth, the kind that makes a quick tomato sauce taste like it has been cooking longer than it has.
Paprika and Italian Seasoning
Sweet paprika gives a gentle nod to the goulash family, while Italian seasoning keeps the flavor familiar for American-style tomato pasta. Use a light hand with paprika here unless you intentionally want the dish to lean closer to a Hungarian-inspired flavor.
Cheddar Cheese
Cheese is optional, and it is one of the big family debates. Some old-fashioned versions do not use it at all, while many modern versions finish with cheddar. Stir it in after turning off the heat so it melts smoothly without making the pot greasy.
Easy Swaps
Use lean ground beef or ground turkey if you want a lighter pot. Skip the cheddar for a dairy-free version. Use gluten-free elbows if needed, but check them early because they can soften faster. For more salt control, choose low-sodium broth and unsalted tomato sauce.
Best Pot for This Recipe
A 5 to 6 quart Dutch oven or heavy-bottomed pot gives this saucy one-pot pasta enough room for the macaroni to move and enough weight to keep the tomato sauce from scorching.
With a narrow pot, the macaroni can stack too deeply and cook less evenly. In a very wide skillet, the sauce may reduce faster than expected. A wide, deep pot with a lid gives you the best control.
How to Make American Goulash in One Pot
The recipe card gives you the exact steps. This walkthrough is here for the cues: what the beef should look like, how the sauce should smell, when the macaroni is ready, and when to stop before the pot goes too far.
Step 1: Brown the Beef
Cook the beef until it is browned and broken into small crumbles. You want little browned bits and no pink patches, because those browned pieces carry flavor through the whole pot.
Step 2: Soften the Onion and Pepper
The onion should look glossy and softened before you move on. If using green bell pepper, it should lose its sharp raw smell but still give the pot that old-fashioned flavor.
Step 3: Add Garlic and Tomato Paste
The tomato paste should darken slightly and coat the beef in a brick-red layer. Do not let it burn on the bottom; one minute is usually enough to take away the raw canned taste.
Step 4: Build the Tomato Sauce
Once the tomato sauce, diced tomatoes, broth and seasonings go in, let the pot simmer before adding macaroni. The sauce should smell savory and tomato-rich, not like plain canned tomatoes.
Step 5: Add Dry Macaroni
Stir the dry macaroni into the simmering sauce and keep the heat gentle. The elbows should be surrounded by sauce, but the pot should not be boiling so hard that it spits and sticks.
Step 6: Simmer Until Just Tender
Start checking near the end of the cook time. The macaroni should be tender with no chalky center, but it should not look swollen. If the spoon drags through a dry pot before the pasta is done, add a small splash of broth.
Step 7: Rest Before Serving
Turn off the heat before the pot looks perfect. During the 5-minute rest, the sauce tightens, the pasta settles, and the goulash becomes easier to scoop without drying out.
If you like this direct-in-the-sauce pasta method, this one-pot chicken bacon ranch pasta uses the same basic idea in a creamier chicken dinner.
How to Know It Is Done
A good bowl should look glossy and spoonable, with sauce clinging to the elbows instead of sitting underneath them. Turn off the heat when the macaroni is just tender and the pot still looks slightly looser than the final bowl you want.
After resting, it should be thick enough to scoop with a spoon, but not dry like a casserole. If it tightens too much, stir in a splash of broth, tomato sauce or tomato juice before serving.
How to Keep the Macaroni from Getting Mushy
The only real trick with one-pot goulash is knowing when to add the macaroni and when to stop cooking it. Once those two moments are right, the rest is easy.
- Add the pasta after the sauce is simmering. Do not add macaroni before the liquid is hot.
- Use a gentle simmer. A hard boil can break down the pasta and make the sauce reduce too fast.
- Stir often. Every 2 to 3 minutes, stir so the macaroni cooks evenly and does not stick.
- Stop at just tender. The pasta keeps softening after the heat is turned off.
- Be careful with leftovers. Macaroni absorbs sauce in the fridge, so reheated goulash will be softer than freshly cooked goulash.
The best make-ahead texture comes from cooking the beef tomato sauce ahead and adding macaroni when reheating. If you cook the full one-pot version ahead, the pasta will keep absorbing sauce as it sits.
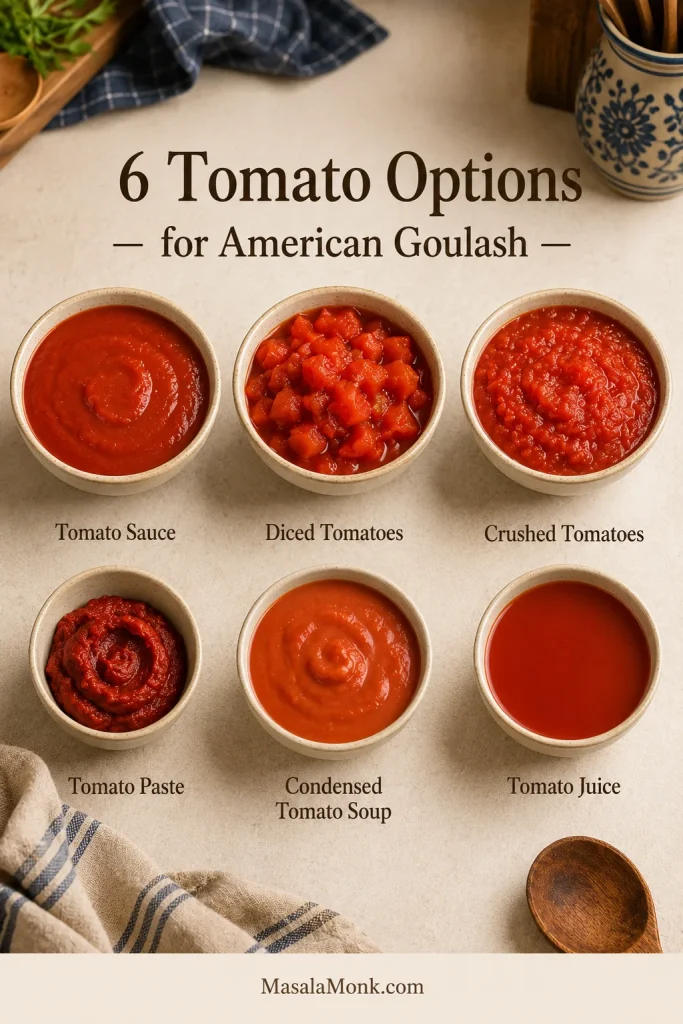
Tomato Sauce, Diced Tomatoes, Tomato Soup or Tomato Juice?
Ask five families about American goulash and you may hear five different tomato opinions. One family’s goulash is smooth and saucy, another’s is chunky with diced tomatoes, and another’s tastes sweeter because it started with condensed tomato soup.
| Tomato option | Best use | Adjustment |
|---|---|---|
| Tomato sauce | Classic smooth base | Use as the main base |
| Diced tomatoes | Chunkier old-fashioned texture | Use with the juices |
| Crushed tomatoes | Smoother but still thick | Use instead of diced tomatoes |
| Tomato paste | Deeper tomato flavor | Cook briefly before adding liquids |
| Condensed tomato soup | Sweeter old-school version | Thin with broth; already sweet |
| Tomato juice | Looser grandma-style bowl | Use in place of some broth |
| No diced tomatoes | Smooth, no chunks | Use crushed tomatoes or sauce |
Can You Make Goulash with Tomato Soup?
Yes. Tomato soup gives American goulash a sweeter, old-school flavor. It can taste more like cafeteria goulash or the version many people remember from childhood. Because condensed tomato soup is thicker and sweeter than tomato sauce, thin it with broth or water and taste before adding anything sweet.
To use condensed tomato soup in the main recipe, replace 1 cup of the tomato sauce with one 10.5 oz / about 300 g can condensed tomato soup. Start with 1 cup broth or water instead of 1 1/2 cups, then add more only if the macaroni needs it.
Can You Make Goulash with Tomato Juice?
Yes. Tomato juice makes the pot looser and more old-fashioned. Use it in place of part of the broth if you like a saucier finish. It is especially useful when reheating leftovers because the macaroni absorbs sauce as it sits.
For a grandma-style tomato juice version, replace 1/2 to 1 cup of the broth with tomato juice. The finished goulash will be softer, looser and more spoonable than a thick modern tomato-sauce version.
How to Make American Goulash with No Tomato Chunks
To make a smoother pot, replace diced tomatoes with tomato sauce, crushed tomatoes, passata or condensed tomato soup. This keeps the same beefy tomato flavor without the tomato chunks.
If replacing one 14 to 15 oz can of diced tomatoes, use about 1 3/4 cups crushed tomatoes or tomato sauce instead. When the sauce becomes too thick, loosen it with a splash of broth or tomato juice while the macaroni cooks.
Still deciding? Use the family version guide to make it thicker, sweeter, smoother, cheesier, or soupier.
Choose Your Family Version
This is one of those recipes where the “right” version usually means the one you grew up with. The base method keeps the pot from going watery or mushy; the small changes below help it taste more like the version you remember.
For some people, the remembered version came with buttered bread on the side. Other families remember it sweeter from tomato soup, looser from tomato juice, or orange-edged from cheddar stirred in at the end.
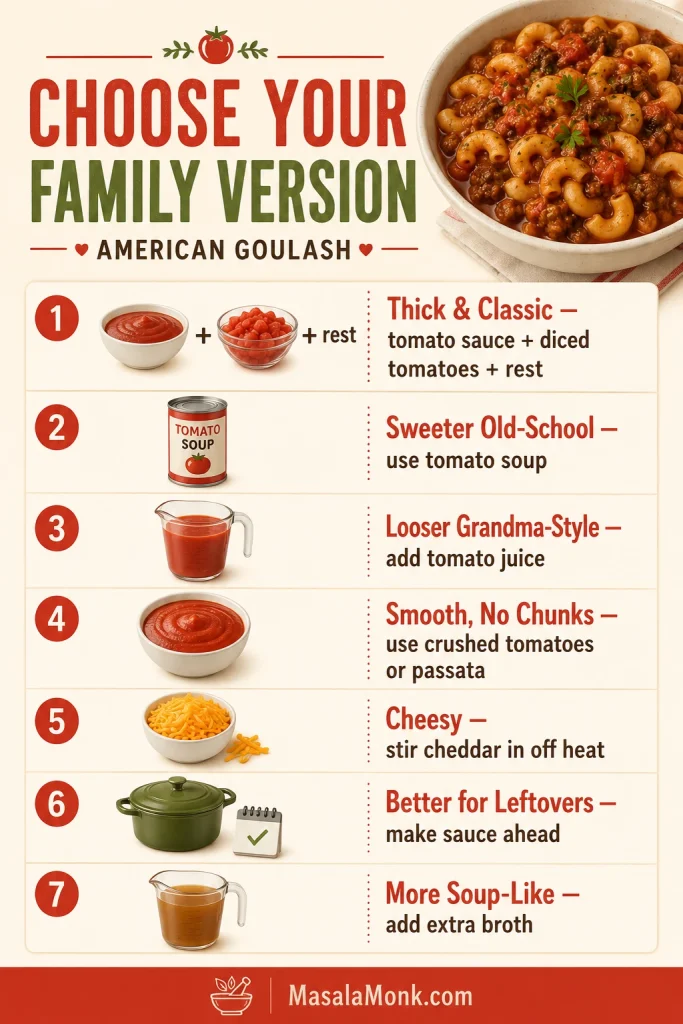
| If you want it… | Do this |
|---|---|
| Thick and classic | Use tomato sauce, diced tomatoes, 1 1/2 cups broth, and rest before serving |
| Sweeter and old-school | Replace 1 cup tomato sauce with condensed tomato soup |
| Looser grandma-style | Replace 1/2 to 1 cup broth with tomato juice |
| Smooth with no chunks | Use crushed tomatoes, passata or extra tomato sauce |
| Cheesy | Stir cheddar in off heat after the macaroni is tender |
| Better for leftovers | Make the sauce ahead and add macaroni when reheating |
| More soup-like | Add 1 to 2 cups extra broth and serve soon |
What did your family use — tomato soup, tomato juice, cheddar, green pepper, celery, no chunks? Tell us your version in the comments, because those little details are what make American goulash personal.
Old-Fashioned, Cheesy and Soupier Variations
Once the basic method is clear, this dish is easy to adjust. Keep the beef, macaroni and tomato base, then change the final texture or flavor depending on the version you grew up with.
Old-Fashioned Grandma-Style Goulash
To make it more old-fashioned, keep the ingredients simple and familiar: elbow macaroni, ground beef, onion, garlic, tomato sauce, diced tomatoes and mild seasoning. Green bell pepper is classic but optional, and cheese can be skipped if the version you remember was more tomato-forward than cheesy.
If the goulash you grew up with was sweeter, softer and a little more cafeteria-style, use condensed tomato soup. A looser, saucier version can use tomato juice in place of some broth. These small changes are often what make the recipe taste like someone’s family version.
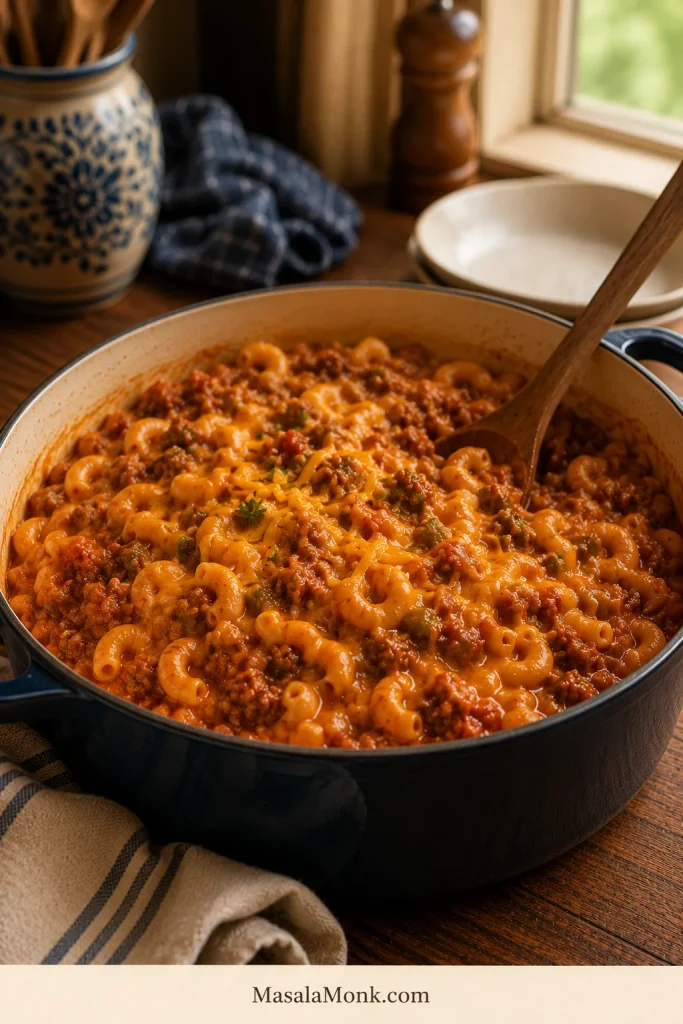
Cheesy American Goulash
To make it cheesy, turn off the heat once the macaroni is tender, then stir in 1 cup shredded cheddar. Cover the pot for 2 to 3 minutes so the cheese melts into the sauce.
Do not boil the goulash after adding cheese. High heat can make the cheese separate and turn oily. Sprinkle more cheddar on top just before serving if you like it extra cheesy.
For the creamier skillet-dinner cousin, this homemade Hamburger Helper keeps the same ground beef and pasta comfort, but turns it into a cheesy sauce instead of a tomato-forward goulash.
How to Make It Thicker
If your goulash is too loose, simmer it uncovered for 2 to 4 minutes and then let it rest for 5 minutes. The macaroni will continue to absorb some sauce as it sits.
A spoonful of tomato paste can also help deepen and thicken the sauce, but add it earlier in the cooking process if possible so it has time to cook into the beef and tomatoes.
How to Make It Looser or Soupier
This recipe is written as thick American goulash, not soup. A soupier bowl needs extra broth, tomato sauce or tomato juice. For American goulash soup, add 1 to 2 extra cups of broth and use slightly less macaroni so the pasta does not absorb all the liquid.
Serve soupier goulash soon after cooking. The macaroni will keep drinking up the broth as it sits, especially in the fridge.
For a true tomato-broth pasta soup rather than a thick goulash, this minestrone soup recipe is built as a soup from the start, with beans, vegetables, small pasta and a tomato broth.
Can You Make American Goulash in the Crockpot or Instant Pot?
Yes, but the stovetop is still the best method for the main recipe because you can watch the pasta and sauce closely. Both Crockpot and Instant Pot versions can work, but pasta timing matters even more.

Crockpot American Goulash
The Crockpot is best for the sauce, not for all-day pasta. Brown the beef, onion and garlic first, then add the beef mixture and sauce ingredients to the slow cooker. Cook on low for 4 to 6 hours or high for 2 to 3 hours.
Do not add macaroni at the beginning of a long slow-cooker cook. It can become swollen and mushy. Add dry macaroni during the last 30 to 45 minutes, or stir in cooked macaroni during the last 10 to 15 minutes. Finish with cheese at the end.
If pasta texture matters most to you, cook the sauce in the Crockpot and boil the macaroni separately just before serving.
That same late-pasta rule matters in slow-cooker pasta soups too; this crock pot lasagna soup uses the same idea of adding noodles near the end so they stay tender instead of swollen.
Instant Pot American Goulash
In the Instant Pot, sauté the beef, onion and garlic first. Deglaze the pot very well with broth or water so no browned bits are stuck to the bottom.
After deglazing, add broth and macaroni first, then spoon the tomato sauce and diced tomatoes over the top without stirring them deeply into the bottom. That layering helps reduce burn-warning risk. Pressure cook for 4 to 5 minutes, quick release, stir, and rest for 3 to 5 minutes before adding cheese.
Smaller macaroni, or a firmer texture, usually does better with the shorter cook time.
American Goulash vs Hungarian Goulash
The two dishes share a name, but they are built very differently. This recipe is the American macaroni version, not the paprika-heavy Hungarian stew or soup.
- American goulash is usually made with ground beef, elbow macaroni and a tomato-based sauce.
- Hungarian goulash is usually a paprika-rich beef soup or stew made with beef chunks, onions, broth and sometimes potatoes or vegetables.
- The American version is one-pot comfort food; the Hungarian version is a separate traditional dish with a different flavor base.
If you are here for the macaroni, ground beef and tomato sauce version, this is the right recipe. The paprika-heavy beef soup or stew should be treated as a different dish, not a variation of this one.
Is American Goulash the Same as American Chop Suey?
Mostly, yes. In New England, a similar dish made with ground beef, elbow macaroni and tomato sauce is often called American Chop Suey. Across the Midwest and many other places, the same general comfort-food idea is called American goulash.
The details change from kitchen to kitchen. Some versions use green bell pepper or celery, some use stewed tomatoes, and some finish with cheddar.
Depending on where you grew up, similar beef-and-macaroni dinners may also connect to names like Slumgullion, Johnny Marzetti, beefaroni or homemade Hamburger Helper. The same comfort-food idea stays at the center: ground beef, macaroni and a tomato-based sauce cooked into a simple, filling dinner.
What to Serve with American Goulash
This goulash is already a full meal, so sides can stay simple. Something crisp, green or buttery is usually enough to balance the rich tomato-beef pasta.
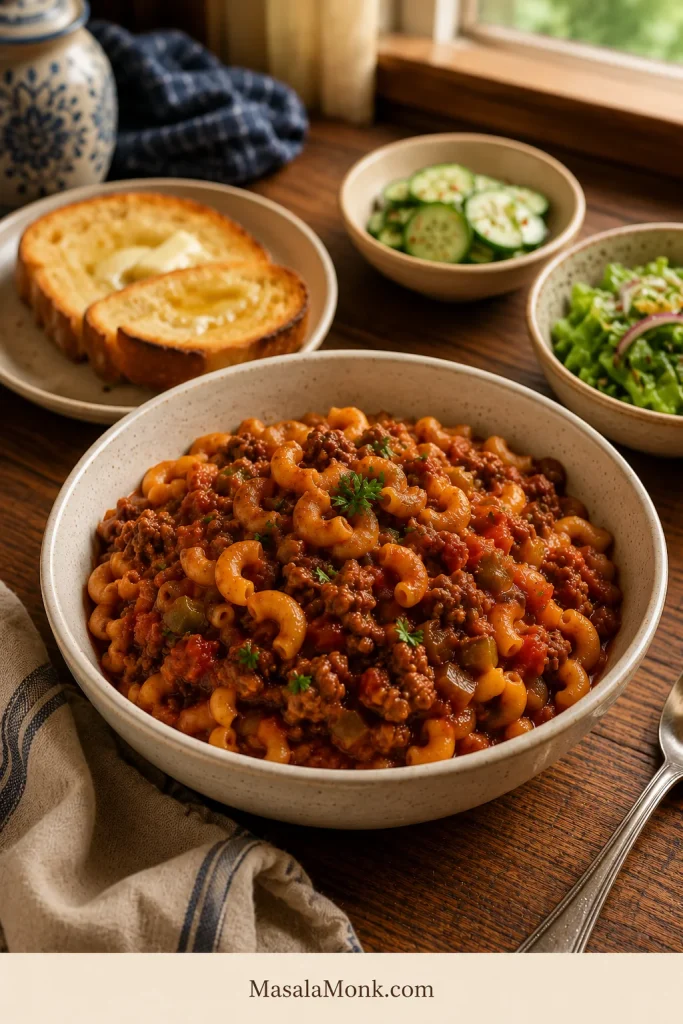
- Fresh sides: green salad, cucumber salad, coleslaw or pickles. A cucumber salad keeps the plate especially fresh.
- Cozy sides: garlic bread, buttered toast, dinner rolls or ranch roasted potatoes.
- Vegetable sides: roasted broccoli, green beans or peas.
- Sharp extras: hot sauce, black pepper or pickles if the bowl tastes very tomato-heavy or cheesy.
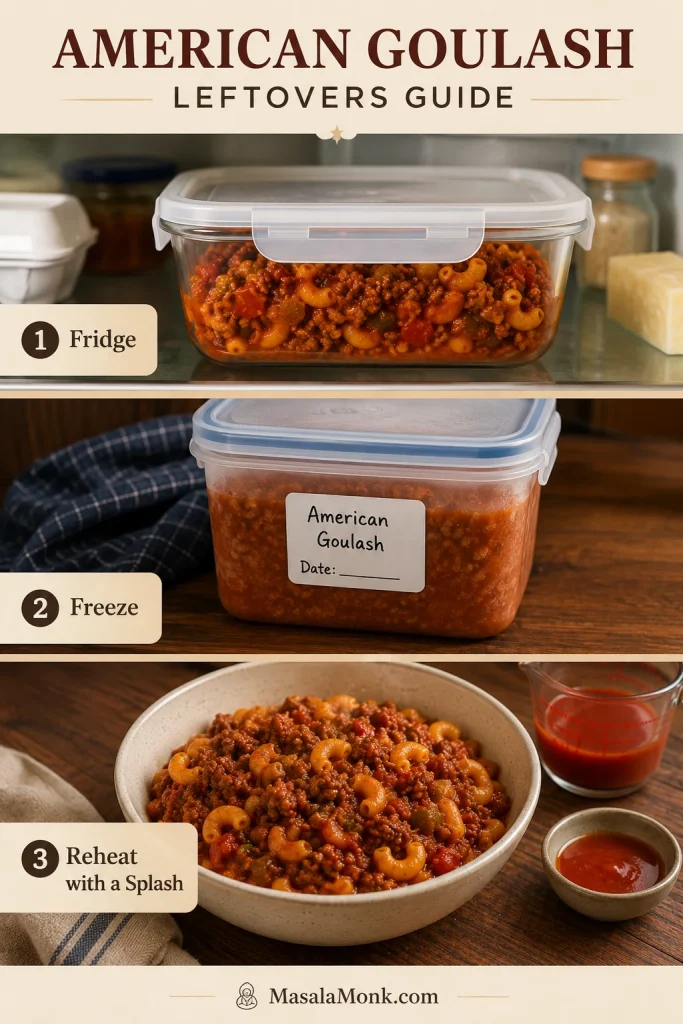
Storage, Freezing and Reheating
This goulash stores well, but the macaroni changes texture as it sits. It keeps absorbing sauce in the fridge, so leftovers will usually be thicker and softer than the freshly cooked pot.
Best Make-Ahead Method
For the best texture, make the beef tomato sauce ahead and keep the macaroni out until serving day. Reheat the sauce, add the dry macaroni with enough broth to cook it, and simmer until just tender.
Refrigerating
Store leftover goulash in an airtight container in the refrigerator for 3 to 4 days. The USDA FSIS leftovers guidance gives the same 3 to 4 day refrigerator window and recommends freezing leftovers for longer storage.
Freezing
You can freeze American goulash, but the pasta will be softer after thawing. For best texture, freeze the beef tomato sauce without the macaroni and cook fresh pasta when you reheat it. If freezing the full dish, slightly undercook the macaroni and use within about 3 months for best quality.
Reheating
Reheat gently on the stovetop or in the microwave. Add a splash of broth, water, tomato sauce or tomato juice to loosen the sauce. Stir halfway through reheating so the pasta warms evenly.
Leftovers can also become a second meal. Spoon them into a small baking dish, loosen with a little sauce or broth, top with cheddar, and bake until hot for a casserole-style dinner.
Back to recipe card · Back to quick answer
Fixes for Watery, Mushy or Dry Goulash
| Problem | Likely cause | Fix |
|---|---|---|
| Goulash is watery | Too much broth or not enough resting time | Simmer uncovered for a few minutes, then rest 5 minutes |
| Macaroni is mushy | Pasta cooked too long or sat too long in sauce | Stop cooking when just tender and serve sooner |
| Pot looks dry before pasta is done | Pasta absorbed liquid faster than expected | Add 1/4 to 1/2 cup broth or water |
| Sauce tastes flat | Tomato base did not cook long enough or needs salt | Cook tomato paste briefly, add Worcestershire and adjust salt |
| Goulash is too sweet | Tomato soup or sweet marinara was used | Add more broth, a little tomato paste, black pepper or extra Worcestershire |
| Leftovers are too thick | Macaroni absorbed sauce in the fridge | Reheat with broth, water, tomato sauce or tomato juice |
Review mushy pasta tips · Review tomato options · Back to recipe card
American Goulash FAQ
What is American goulash made of?
It is usually made with ground beef, elbow macaroni, tomatoes, onion, garlic and a tomato-based sauce. Bell pepper, Worcestershire sauce, paprika and cheddar show up in many family versions.
What is the difference between American goulash and Hungarian goulash?
The American version is tomato-beef macaroni. Hungarian goulash is usually a paprika-rich beef soup or stew made with beef chunks, onions, broth and sometimes potatoes or vegetables.
Is American goulash the same as American Chop Suey?
Mostly, yes. In New England, this style of ground beef, macaroni and tomato-sauce dinner is often called American Chop Suey. Across many other places, it is called American goulash.
Is American goulash the same as chili mac?
Not exactly. American goulash is usually tomato-beef macaroni, while chili mac leans more heavily on chili seasoning, beans or a chili-style base.
Do you cook macaroni before adding it to goulash?
For this stovetop version, no. The macaroni goes in dry and cooks directly in the sauce so it absorbs the beefy tomato flavor.
How do you keep macaroni from getting mushy in goulash?
Add the macaroni only after the sauce is simmering, keep the heat gentle, stir often, and stop when the pasta is just tender. It will keep softening as it rests.
Why is my American goulash watery?
Watery goulash usually has too much liquid, has not simmered uncovered long enough, or has not rested after cooking. Simmer uncovered briefly, then rest before serving.
Is tomato soup good in goulash?
Yes. Tomato soup works well if you like a sweeter, old-fashioned or cafeteria-style version. Replace part of the tomato sauce with it, then thin with broth or water as needed.
What can I use instead of diced tomatoes?
Choose crushed tomatoes, tomato sauce, passata or condensed tomato soup if you do not want diced tomatoes. Crushed tomatoes are the best choice for a smoother sauce that still tastes rich.
Can I make American goulash without bell pepper?
Yes. Bell pepper gives a more old-fashioned flavor, but the recipe works without it. Skip it for a smoother, milder pot, or replace it with a little celery if that is closer to the version you remember.
Should American goulash have cheese?
Cheese is optional, and it is one of the big family debates. Older versions are often more tomato-forward, while many modern versions stir in cheddar at the end. Add cheese off heat so it melts smoothly.
Can I double this American goulash recipe?
Yes, but use a larger heavy pot and stir more often once the macaroni goes in. A crowded pot can cook unevenly, so add liquid gradually instead of all at once.
Does American goulash freeze well?
It freezes, but the macaroni softens after thawing. For best texture, freeze the beef tomato sauce without pasta, then add freshly cooked macaroni when reheating.
What goes well with American goulash?
Garlic bread, buttered toast, green salad, roasted vegetables, green beans, peas, coleslaw, dinner rolls, pickles and cucumber salad all work well. Fresh or crisp sides balance the rich tomato-beef pasta best.
Final Tips for the Best American Goulash
- Use a heavy pot so the tomato sauce and macaroni do not stick or scorch.
- Cook the tomato paste briefly before adding liquids for deeper flavor.
- Taste the sauce before adding macaroni; it should be savory enough to season the pasta as it cooks.
- Start with less broth and add more only if needed.
- Keep the macaroni at a gentle simmer, not a hard boil.
- Turn off the heat before the pot looks perfect because the rest finishes the texture.
- Use tomato soup for a sweeter old-school version, tomato juice for a looser version, and add cheese off heat if you want it cheesy.
The best American goulash is not the fanciest one. It is the one that lands in the bowl tasting familiar, feeds everyone from one pot, and still gives you tender macaroni instead of tomato-beef mush.