Posted on Leave a comment

How to Make Pineapple Chia Pudding: A Refreshing Low-Carb Breakfast Option

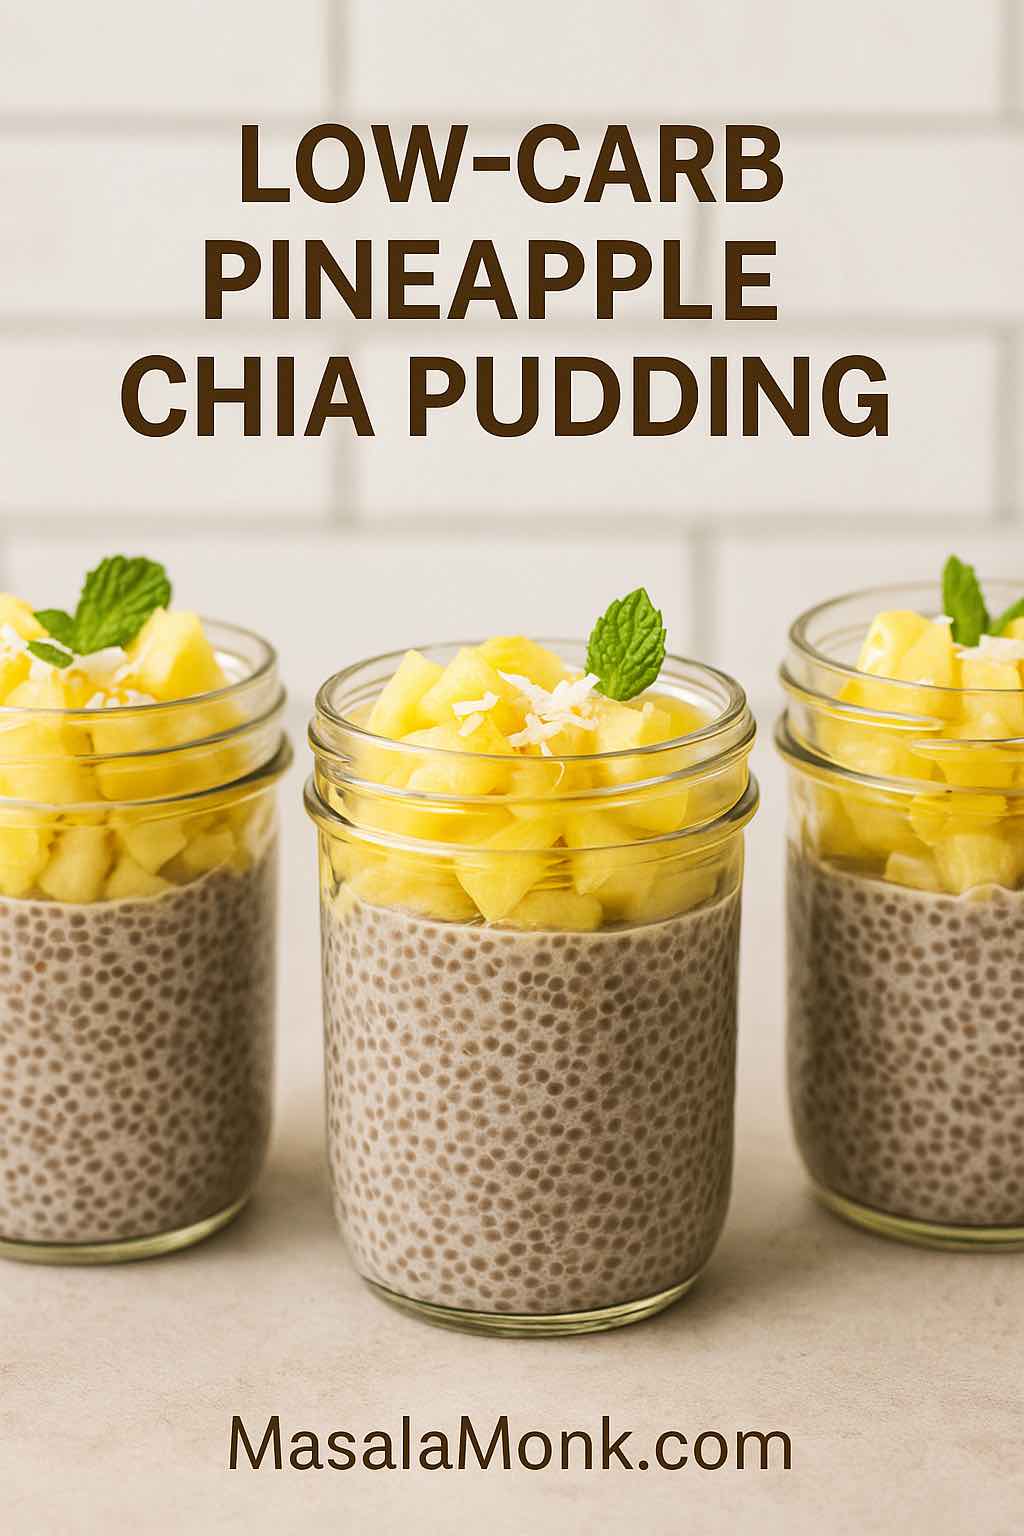
LOW-CARB PINEAPPLE CHIA PUDDING

Are you tired of the same old eggs or overnight oats for breakfast? Do you crave something light, refreshing, and tropical, but still want to keep your carbs in check? Look no further—pineapple chia pudding is about to become your new favorite!


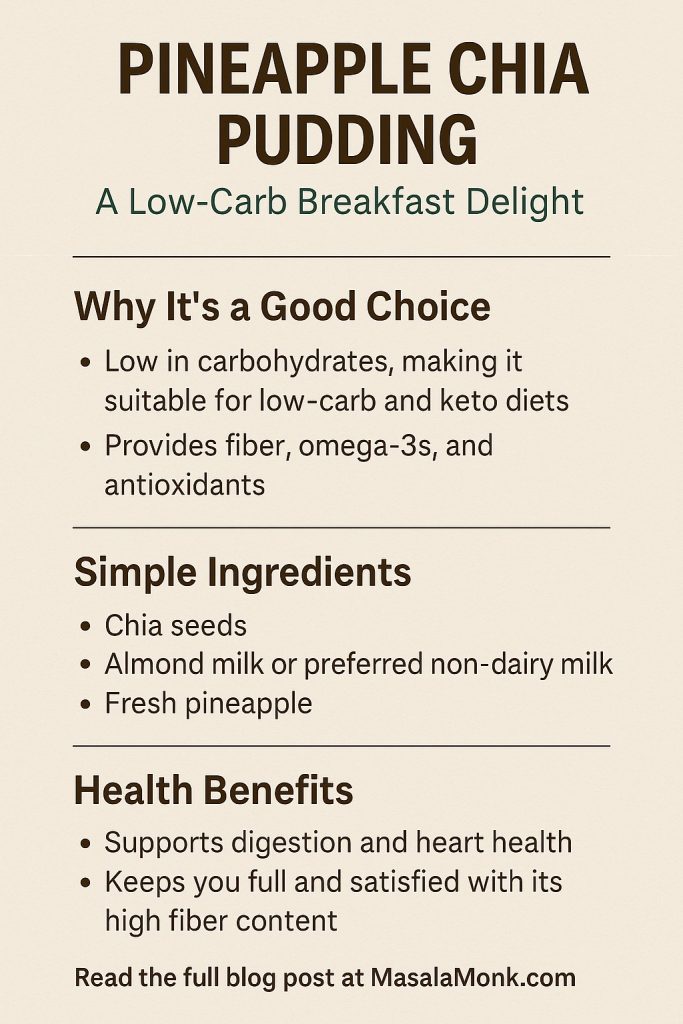
Why Pineapple Chia Pudding?

Chia pudding is a superstar in the world of healthy breakfasts. With just a handful of ingredients, you get a creamy, satisfying dish that’s loaded with fiber, healthy fats, and protein. When you add pineapple into the mix, you get a burst of sunshine in every bite—tart, sweet, and absolutely invigorating.

But here’s the kicker: most tropical puddings are loaded with sugar or carb-heavy ingredients. This version keeps carbs to a minimum while maximizing flavor, texture, and satiety.


What Makes This Breakfast Low-Carb and Healthy?

  • Chia Seeds: Nearly all carbs in chia seeds are fiber, which doesn’t spike blood sugar and helps you stay full longer. Chia is also a source of omega-3 fats and plant-based protein.
  • Pineapple: Used sparingly for flavor and nutrition—just enough for a sweet, tangy pop without going overboard on sugar.
  • Unsweetened Non-Dairy Milk: Almond or coconut milk keeps things creamy and super low in carbs compared to dairy milk or fruit juice.
  • Natural Sweeteners: Swap out honey or maple syrup for monk fruit, erythritol, or stevia for a guilt-free treat.

Ingredients: What You’ll Need

Let’s break down everything you’ll need to whip up a perfect low-carb pineapple chia pudding:

IngredientWhy Use It?Carb Impact
Chia seeds (3 tbsp)Thickens, fiber, protein, omega-3s~2-3g net per serving
Unsweetened almond/coconut milk (3/4 cup)Creamy, low-cal, low-carb~1g net per serving
Fresh/frozen pineapple (2-3 tbsp)Tangy, tropical flavor~3-4g net per serving
Monk fruit/stevia/erythritolAdds sweetness, no sugar0g
Lime juice (optional)Brightness, balances flavorsNegligible
Vanilla extract (optional)Depth, classic pudding flavorNegligible
Unsweetened coconut flakes (optional)Texture, more tropical vibesMinimal
Greek yogurt (optional, topping)Creaminess, protein boostCheck label for carbs

PINEAPPLE CHIA
PUDDING
PINEAPPLE CHIA PUDDING

Step-by-Step Guide: From Ingredients to Bowl

1. Prep the Pineapple

  • Use fresh or frozen pineapple, but keep the serving to about 2–3 tablespoons per portion. Dice it small, or better yet, blend it with a little of your chosen milk for a smooth “pineapple milk.” This gives every bite a burst of flavor without overloading on carbs.

2. Mix the Chia Pudding

  • In a jar or bowl, add:
    • 3 tablespoons chia seeds
    • 3/4 cup unsweetened almond or coconut milk
    • 1/2 teaspoon vanilla extract
    • 1–2 teaspoons low-carb sweetener (to taste)
    • Optional: juice from half a lime for zing
  • Stir vigorously. Wait 5 minutes, stir again to break up clumps.

3. Let It Set

  • Cover the container and refrigerate for at least 2 hours (overnight is best). Chia seeds absorb the liquid and become thick, creating a pudding texture.
  • Pro Tip: For an ultra-smooth, quick version, blend everything (including chia) before chilling. This gives a silky “Dole Whip” vibe, as seen in new 2025 recipe trends.

4. Assemble and Top

  • Before serving, give your pudding a stir.
  • Top with your diced/blended pineapple and sprinkle with unsweetened coconut flakes. A dollop of Greek yogurt makes it extra creamy and satisfying.
  • Want to get fancy? Garnish with a mint leaf or a wedge of lime!

How to Keep It Low-Carb (And Delicious!)

  • Watch your pineapple portion. Pineapple is higher in sugar than berries, so moderation is key.
  • Always use unsweetened milks and yogurts. Sweetened versions can double or triple your carb count.
  • Sweeten smartly. A few drops of monk fruit or stevia goes a long way!
  • Protein boost: Add a scoop of your favorite low-carb protein powder, or swirl in Greek yogurt for extra staying power.
  • Make it your own: Add a hint of cinnamon, lime zest, or even a few toasted pumpkin seeds for crunch.

Meal Prep & Storage Tips

  • Batch-friendly: Make a few jars at once; pudding keeps in the fridge for up to 4 days.
  • Travel-ready: Perfect for grab-and-go breakfasts or snacks.
  • Add fruit just before eating to keep it fresh and vibrant.
  • Texture: If pudding is too thick after chilling, just stir in a splash more milk.

Nutrition Facts (Approximate per serving)

  • Calories: 120–160
  • Net carbs: 6–8g (with 3 Tbsp pineapple and low-carb sweetener)
  • Protein: 3–5g
  • Fiber: 5–7g
  • Fat: 5–7g

(Exact numbers will depend on your ingredients and serving sizes—always check labels if you’re carb counting strictly.)


Why Pineapple Chia Pudding Works—And Why You’ll Love It

  • Hydrating and filling: Chia seeds soak up liquid, so you get a sense of fullness that lasts.
  • Gut-friendly: The fiber helps keep your digestion on track.
  • Vegan, dairy-free, and gluten-free: Works for most diets!
  • Versatile: Easily swap in strawberries, mango, or kiwi for variety—or try a coconut‑lime version for a twist.

Common Questions & Troubleshooting

Q: My pudding isn’t thick! What happened?
A: You may need to add a bit more chia, or let it chill longer. Sometimes different brands of chia absorb liquid differently.

Q: Can I use canned pineapple?
A: Fresh or frozen is best—canned often has added sugar. If using canned, look for “in juice, not syrup” and rinse well.

Q: Is this really filling?
A: Yes! The combination of fiber, fat, and a little protein will keep you satisfied for hours.


Variations to Try

  1. Piña Colada Chia Pudding: Use coconut milk, pineapple, and a drop of coconut extract.
  2. Green Power: Add a handful of baby spinach to the blender for a boost (you won’t taste it!).
  3. Berry-Pineapple Swirl: Mix in a tablespoon of chopped strawberries or raspberries.
  4. Spicy Tropic: Add a pinch of cayenne for a fun kick!

Final Thoughts: Your Low-Carb Breakfast Upgrade

With just a few minutes of prep and a handful of pantry staples, you can wake up to a breakfast that’s bright, satisfying, and actually good for you. Pineapple chia pudding is endlessly adaptable—try it for a week, and you’ll never get bored.

Ready to try it? Let me know your favorite twists—or if you need help adapting this for keto, vegan, or nut-free diets! And don’t forget to tag your pudding pics #TropicalChia on Instagram so we can cheer you on.


Printable Recipe Card

Pineapple Chia Pudding (Low-Carb)

  • 3 tbsp chia seeds
  • 3/4 cup unsweetened almond or coconut milk
  • 2–3 tbsp diced pineapple
  • Sweetener (monk fruit/stevia), to taste
  • 1/2 tsp vanilla extract (optional)
  • 1 tsp lime juice (optional)

Directions:

  1. Blend or stir all ingredients except chia, then mix in chia seeds.
  2. Stir well, chill 2+ hours or overnight.
  3. Top with pineapple & coconut before serving. Enjoy!

Try this once, and you’ll see why pineapple chia pudding is the low-carb breakfast that delivers on taste, nutrition, and pure tropical joy—all in one bowl!

10 FAQs for Pineapple Chia Pudding (Low-Carb)

1. Can I use canned pineapple instead of fresh or frozen?
Yes, but choose pineapple canned in its own juice (not syrup) and drain/rinse well. Be aware canned pineapple is often slightly higher in sugar than fresh or frozen.


2. How can I make my chia pudding creamier?
Use full-fat coconut milk or a spoonful of Greek yogurt. Blending the pudding before chilling also results in a smoother, silkier texture.


3. Is this recipe suitable for keto diets?
With careful portioning (1-2 tablespoons pineapple) and zero-carb sweetener, you can keep net carbs low enough for most keto plans. Substitute even lower-carb berries if stricter keto compliance is needed.


4. How long does chia pudding keep in the fridge?
It keeps well for up to 4 days. Store in an airtight container and add fresh toppings just before serving for the best texture and flavor.


5. Why isn’t my chia pudding thickening properly?
Either not enough chia seeds were used, the milk ratio was off, or the pudding needs more time. Stir well after the first 10 minutes, and if it’s still runny after several hours, add an extra teaspoon of chia and let it sit longer.


6. Can I meal-prep pineapple chia pudding for the week?
Yes! Portion individual servings into jars for grab-and-go breakfasts. Add pineapple and toppings the day you plan to eat them for maximum freshness.


7. Are there nut-free options for the milk?
Absolutely. Use unsweetened coconut milk (carton or canned) or oat milk (if carbs are not a concern). Hemp milk is also a low-carb, nut-free alternative.


8. Is pineapple chia pudding suitable for kids?
Yes! It’s a fun, nutritious, and naturally sweet breakfast or snack for children. Consider using less sweetener if your child already enjoys fruit as-is.


9. Can I freeze chia pudding?
You can, but the texture may change upon thawing (it can get a bit watery). Freezing in popsicle molds is a great summer treat option!


10. How do I add more protein to this recipe?
Stir in a scoop of protein powder, use Greek yogurt, or add a layer of cottage cheese. You can also top with chopped nuts or seeds for a protein boost.

Posted on 6 Comments

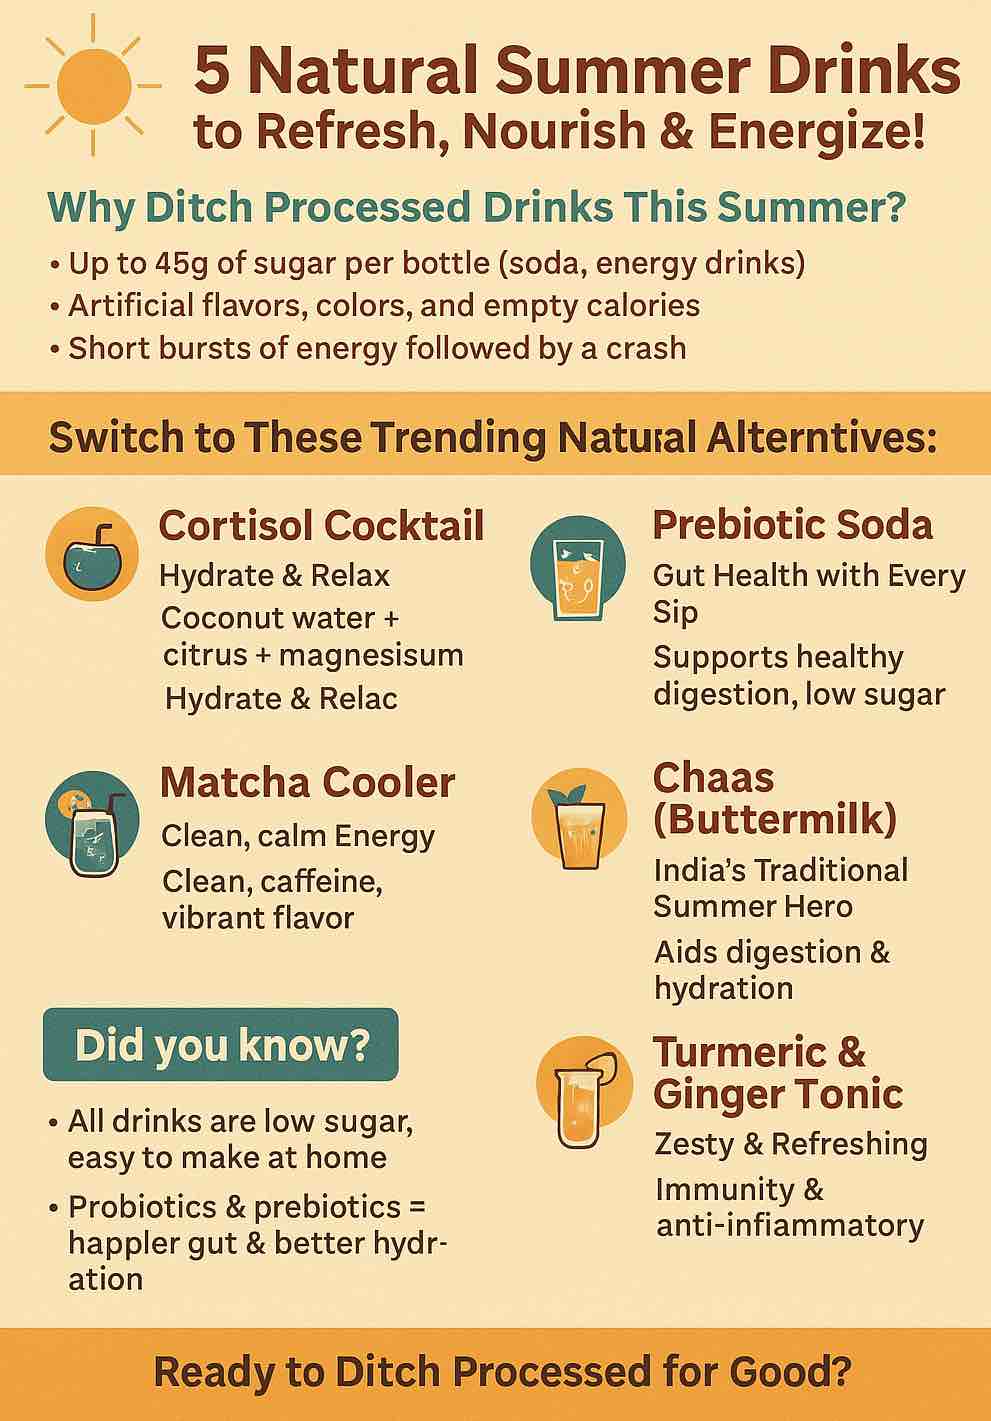
5 Natural Alternatives for Commercial Processed Drinks this Summer

Natural Summer Drinks

Summer in India (and much of the world) means intense heat, rising humidity, and a constant search for something cool, satisfying, and hydrating. Yet most commercial processed drinks—think sodas, bottled iced teas, energy drinks, and “fruit” beverages—are loaded with refined sugar, artificial flavors, and preservatives that often leave you feeling sluggish, not refreshed.

This year, we challenge you to #ReimagineRefreshment. Skip the processed, and turn to natural, wholesome, and on-trend alternatives—each carefully chosen for taste, nutrition, and practicality in your everyday routine. Let’s discover the top 5, why they work, how you can make them at home, and how each fits with a modern wellness lifestyle.


1. Cortisol Cocktail: Social Media’s Favorite Stress‑Busting Summer Sipper

What is it?
A “cortisol cocktail” is a hydrating, mineral-rich, non-alcoholic drink trending everywhere from TikTok to wellness podcasts. Despite the name, it contains no hormones—just a combination of natural ingredients that support hydration, electrolytes, and calm.

Key Ingredients:

  • Coconut water (natural electrolytes & potassium)
  • Citrus juice (vitamin C boost)
  • Magnesium powder (supports calm, sleep, and nerve function)
  • Sea salt (mineral replenishment)
  • Sparkling water (just for fizz!)

How to Make It (1 glass):

  1. Pour 200ml coconut water into a tall glass.
  2. Squeeze in the juice of half an orange or lime.
  3. Stir in 1/4 tsp magnesium powder (or as per supplement label).
  4. Add a small pinch of sea salt.
  5. Top with sparkling water and a few ice cubes. Garnish with mint or orange wedge.

Why you’ll love it:
It’s lightly sweet, super hydrating, has no added sugar, and the minerals help with both energy and relaxation—a perfect afternoon pick-me-up or post-workout cooler.

Pro Tip: If you take medication or have kidney issues, check with your doctor before using magnesium supplements.


2. Prebiotic Soda: Gut-Friendly, Fizzy, and Fun

What’s new in 2025?
Big beverage brands and indie startups are rolling out “prebiotic sodas”—fiber-infused, naturally sweetened fizzy drinks made for gut health and a lighter summer vibe.

What makes it different?

  • Contains plant-based prebiotic fiber (like inulin) for digestion.
  • Lower in sugar than regular sodas.
  • Naturally flavored with real fruit.
  • Some use stevia or monk fruit for sweetness.

How to Make Your Own:

  1. Add a few fresh orange and strawberry slices to a glass.
  2. Pour chilled sparkling water over.
  3. Stir in 1 tsp inulin powder (available online/health stores).
  4. Add a tiny pinch of sea salt and a dash of stevia or honey if desired.

Why it’s great:
You get the satisfaction of bubbles without the sugar crash. Prebiotics feed the good bacteria in your gut, supporting overall digestion and wellness.

Pro Tip: Start with a small amount of inulin to let your system adjust.


3. Matcha Cooler: Energize with Antioxidants

Why matcha?
Matcha is a finely ground green tea powder rich in antioxidants, L-theanine (for calm focus), and a mild caffeine lift—ideal for summer afternoons or a healthy “mocktail hour.”

Trendy variations:

  • Classic Iced Matcha: Whisk 1 tsp matcha powder with a splash of cold water until frothy. Pour over ice, top with more cold water, and add honey or maple syrup if needed.
  • Pineapple Matcha Fizz: Whisk matcha, add pineapple juice, sparkling water, and ice for a tropical green twist.
  • Matcha Lemonade: Mix matcha with lemon juice, a touch of agave, and plenty of ice.

Why you’ll love it:
Matcha is naturally energizing but gentle on the system—no jitters. It looks beautiful in the glass and tastes bright and grassy.

Pro Tip: Use ceremonial-grade matcha for best color and flavor.


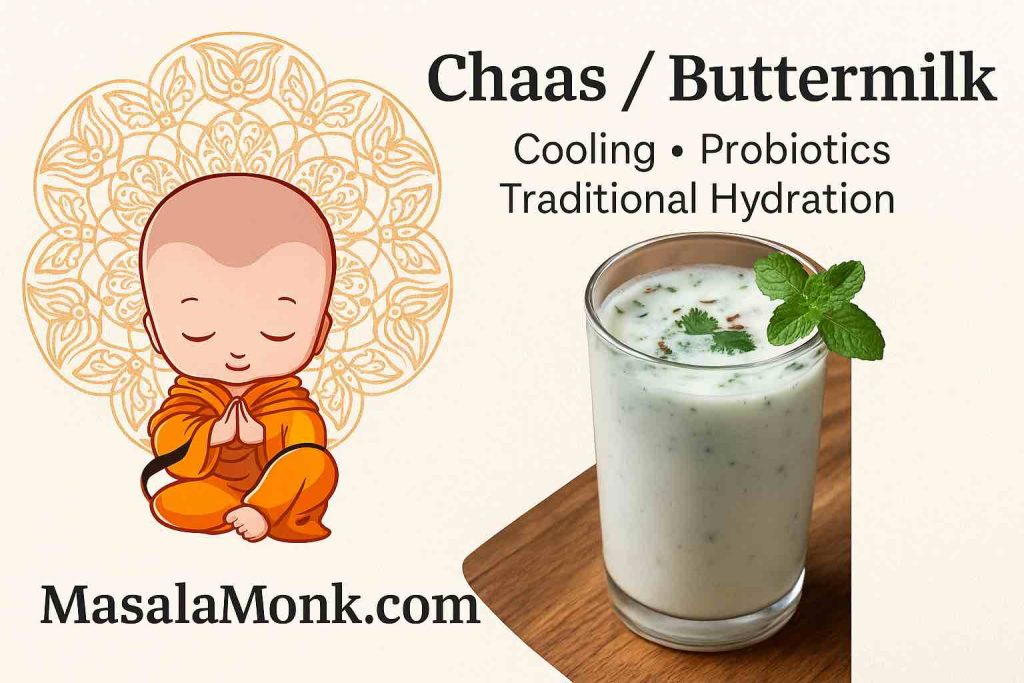
4. Chaas / Buttermilk: India’s Traditional Summer Hero

Why is chaas a classic?
This yogurt-based drink, known as chaas, is the ultimate Indian cooler—full of probiotics, protein, minerals, and natural cooling properties. It’s the perfect digestif after a heavy meal or a sweltering day.

Simple recipe:

  1. Blend 1 cup plain dahi (curd/yogurt) with 1.5 cups cold water.
  2. Add 1/2 tsp roasted cumin powder, a pinch of black salt, and a handful of fresh mint or coriander.
  3. Pour over ice and serve immediately.

Why you’ll love it:
Chaas hydrates, replenishes lost electrolytes, and is ultra-satisfying after spicy food or long hours outside.

Pro Tip:
Add grated ginger, chopped cucumber, or even a dash of chaat masala for variety.


5. Turmeric & Ginger Tonic: Anti-Inflammatory and Zesty

Why this tonic?
Both turmeric and ginger are scientifically proven to fight inflammation, boost immunity, and aid digestion—plus, they make a beautifully golden, Instagram-ready drink.

How to Make:

  1. Boil a 2-inch piece of ginger in 2 cups water for 5 minutes.
  2. Stir in 1 tsp turmeric powder, juice of half a lemon, and 1 tbsp honey or jaggery.
  3. Add a pinch of black pepper (boosts turmeric’s benefits), strain, and chill.
  4. Serve over ice with lemon slices.

Why you’ll love it:
This drink delivers a vibrant flavor punch, supports your health, and looks gorgeous. Perfect as a midday refreshment or post-dinner “digestive.”

Pro Tip:
Make a batch ahead and store in the fridge—it’s even better cold!


Conclusion: Hydrate Smarter, Live Better

This summer, skip the commercial drinks aisle and embrace these natural, practical, and deeply satisfying alternatives. Whether you’re after hydration, gut health, energy, tradition, or an immune boost, there’s a perfect glass waiting for you.

Try them at home, share with family and friends, and tag your creations with #MasalaMonkDrinks for a chance to get featured!


Share Your Favorite

Which drink will you try first? Have your own healthy summer sipper?
Drop your recipes, questions, and reviews in the comments below.


Stay cool, stay hydrated, and enjoy every sip—naturally.
MasalaMonk.com

10 FAQs for Natural Summer Drinks

1. Are these drinks suitable for kids and seniors?
Yes, all drinks can be enjoyed by kids and seniors, but adjust the amount of added salt, spices, or supplements (like magnesium) for age and dietary needs. Always consult a doctor for any chronic health issues.

2. Can I prepare these drinks ahead of time?
Absolutely! Drinks like chaas, turmeric & ginger tonic, and infused prebiotic soda can be refrigerated for up to 24–48 hours. Just stir before serving and add fresh herbs/ice at the end.

3. Are these drinks vegan?
Most are vegan by default. For chaas, use plant-based yogurt. For sweeteners, replace honey with agave or maple syrup.

4. Do I need special equipment to make these drinks?
No special equipment needed! A blender or whisk is helpful for chaas and matcha, but all drinks can be made with basic kitchen tools like a pitcher, knife, and glass.

5. Where can I find inulin powder or magnesium powder?
These are available at health food stores, large supermarkets, or online. Choose a reputable brand and start with small quantities.

6. Can I use bottled coconut water or does it have to be fresh?
Bottled coconut water is fine—just choose unsweetened and no-added-flavor versions for the healthiest option.

7. How much sugar do these drinks contain?
Most drinks are naturally low in sugar. You control sweetness—add fruits, stevia, or minimal natural sweeteners if desired.

8. Are these drinks safe for people with diabetes?
Most are safe in moderation, but always check with your doctor. Use unsweetened versions and low-GI sweeteners if needed.

9. Can I make a big batch for a party or picnic?
Definitely! All recipes can be multiplied, made in pitchers, and served chilled. Add ice and herbs just before serving for freshness.

10. How do I store leftovers?
Store in a covered container or bottle in the fridge for 24–48 hours. Shake or stir well before pouring.

Posted on Leave a comment

5 Irresistible Keto Strawberry Low-Carb Desserts Ideas

KETO STRAWBERRY LOW-CARB DESSERTS

Strawberries on keto? Absolutely! While many people believe fruit is off-limits on a ketogenic diet, strawberries—in moderation—fit right into a low-carb lifestyle. Sweet, juicy, and bursting with flavor, strawberries can elevate your dessert game without tanking your carb count. In this blog post, I’m sharing five irresistible keto strawberry desserts that are practical for real life: they’re easy, delicious, and will satisfy your sweet tooth, all while keeping your macros on track.

Let’s dive into these guilt-free pleasures!


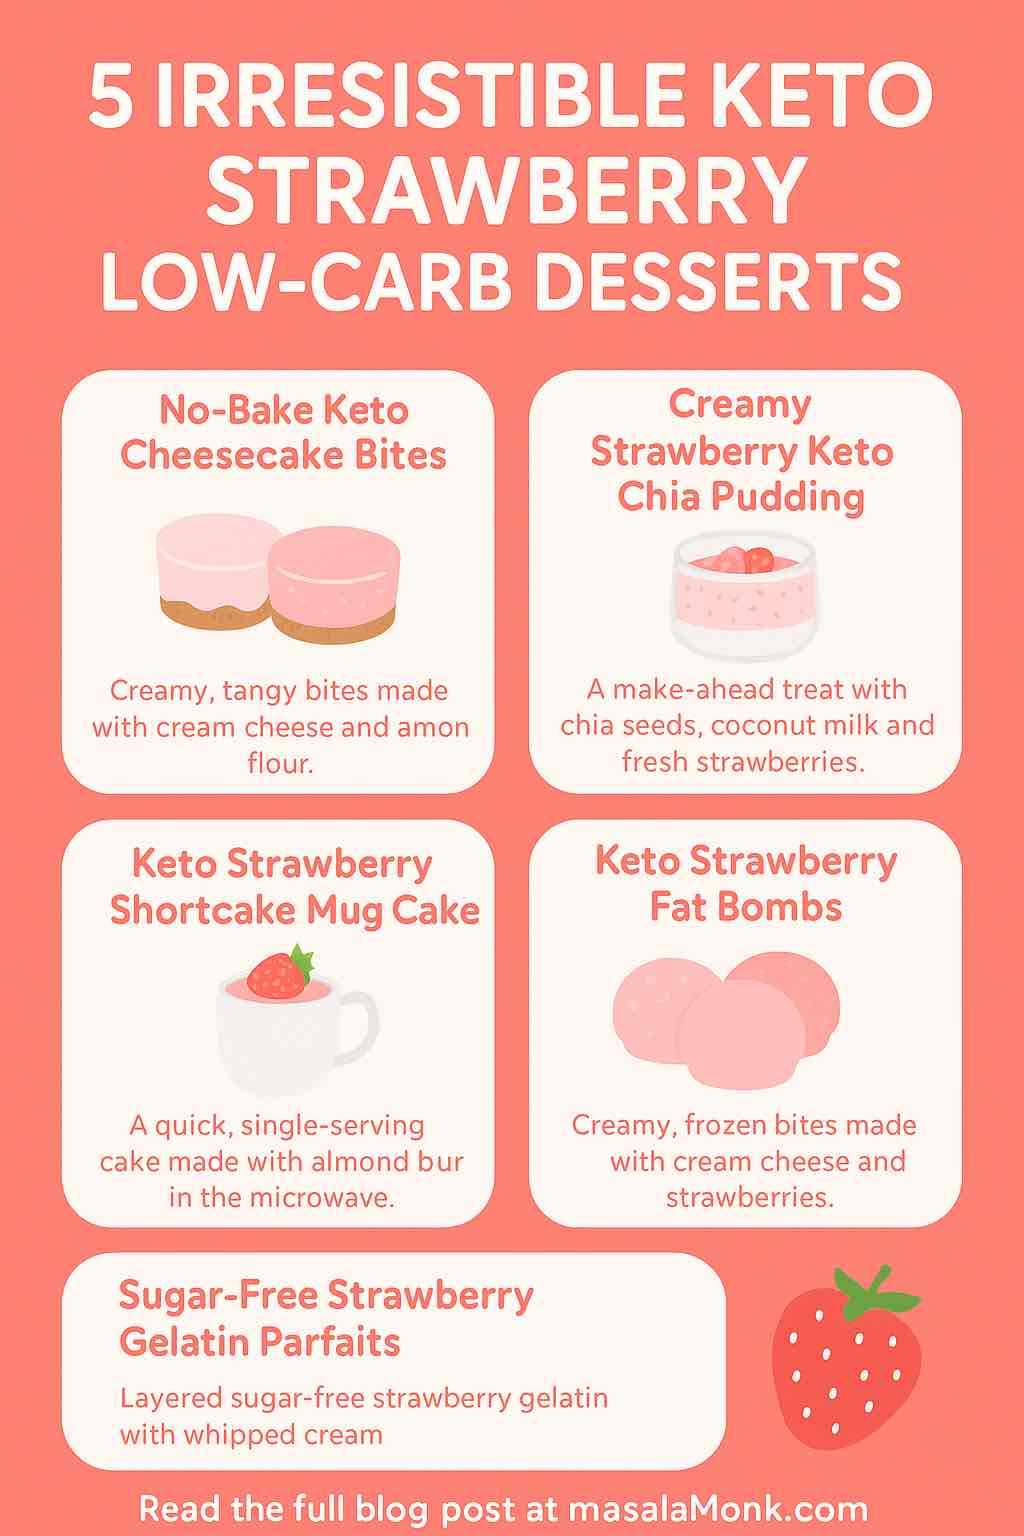
1. No-Bake Keto Strawberry Cheesecake Bites

Who doesn’t love a good cheesecake? Now, imagine all that creamy, tangy goodness transformed into adorable, bite-sized snacks that require no oven time. These cheesecake bites come together in minutes and are perfect for meal prep, after-dinner treats, or mid-day cravings.

Ingredients:

  • 8 oz cream cheese, softened
  • 1/3 cup powdered erythritol or monk fruit sweetener
  • 1/2 tsp vanilla extract
  • 1/2 cup diced strawberries or 1/4 cup freeze-dried strawberries (crushed)
  • 1/2 cup almond flour
  • Optional: unsweetened coconut flakes or sugar-free chocolate chips for rolling/dipping

Directions:

  1. Beat the softened cream cheese, sweetener, and vanilla until smooth.
  2. Fold in strawberries and almond flour until you have a thick, scoopable dough.
  3. Scoop out small portions and roll into balls.
  4. Chill on a parchment-lined tray for 20 minutes. If desired, roll in coconut or dip in melted sugar-free chocolate.

Practical Tips:

  • Use freeze-dried strawberries for a stronger flavor and firmer texture.
  • Store in an airtight container in the fridge for up to 5 days, or freeze for a cool summer snack.

2. Creamy Strawberry Keto Chia Pudding

Busy mornings? Need an easy make-ahead breakfast or dessert? Keto chia pudding is your friend! Chia seeds soak up the liquid and thicken overnight, while strawberries lend a pop of sweetness and color.

Ingredients:

  • 1 cup unsweetened almond or coconut milk
  • 1/4 cup chia seeds
  • 1/4 cup strawberries (fresh or frozen)
  • 2-3 tbsp erythritol or monk fruit sweetener
  • 1/2 tsp vanilla extract

Directions:

  1. In a blender, puree strawberries with milk, sweetener, and vanilla.
  2. Stir in chia seeds and pour into a mason jar or bowl.
  3. Refrigerate for at least 4 hours, ideally overnight.
  4. Stir before serving. Top with sliced strawberries, keto granola, or a dollop of whipped cream.

Practical Tips:

  • Double or triple the recipe for meal prep!
  • Layer with Greek yogurt or nut butter for a parfait-style treat.

3. Keto Strawberry Shortcake Mug Cake

Short on time but craving something special? This mug cake is a game-changer: you get all the nostalgia of strawberry shortcake, but it’s ready in under 5 minutes. Plus, it’s perfect for portion control.

Ingredients:

  • 1 egg
  • 3 tbsp almond flour
  • 1 tbsp coconut flour
  • 1 tbsp melted butter or coconut oil
  • 1 tbsp erythritol or monk fruit sweetener
  • 1/4 tsp baking powder
  • 1/2 tsp vanilla extract
  • 2-3 strawberries, diced

Directions:

  1. In a large mug, whisk together the egg, sweetener, and melted butter.
  2. Stir in almond flour, coconut flour, baking powder, and vanilla.
  3. Gently fold in the strawberries.
  4. Microwave for 90 seconds to 2 minutes, until set.
  5. Let cool briefly, then top with keto whipped cream or a few more fresh berries.

Practical Tips:

  • Every microwave is different, so start with 90 seconds and add more time as needed.
  • For extra decadence, add a square of sugar-free white chocolate in the center before microwaving.

4. Keto Strawberry Fat Bombs

Fat bombs are a keto staple—and for good reason. They’re convenient, customizable, and crush sugar cravings. Add strawberries and you get a naturally sweet, refreshing twist perfect for summer!

Ingredients:

  • 4 oz cream cheese, softened
  • 4 oz unsalted butter or coconut oil, softened
  • 1/4 cup strawberries, pureed or finely chopped
  • 2-3 tbsp powdered sweetener
  • 1/2 tsp vanilla or lemon zest (optional)

Directions:

  1. Beat cream cheese, butter/coconut oil, sweetener, and vanilla until fluffy.
  2. Fold in the strawberry puree.
  3. Scoop into silicone molds or mini muffin liners.
  4. Freeze for 1-2 hours, then pop out and store in a freezer bag or container.

Practical Tips:

  • For firmer fat bombs, use freeze-dried strawberries instead of fresh.
  • Experiment with flavor by adding a dash of lemon zest or swapping vanilla for almond extract.

5. Sugar-Free Strawberry Gelatin Parfaits

Craving a classic jello cup—but keto? These gelatin parfaits layer homemade sugar-free strawberry gelatin with whipped cream or mascarpone. They’re fun to eat, visually beautiful, and perfect for parties!

Ingredients:

  • 1 cup fresh strawberries, pureed
  • 1 cup water
  • 1-2 tbsp powdered erythritol or monk fruit sweetener
  • 1 tbsp grass-fed gelatin
  • 1 cup heavy cream or mascarpone, whipped with sweetener

Directions:

  1. Heat water and sweetener in a saucepan until steaming. Whisk in gelatin until dissolved.
  2. Remove from heat and blend with strawberry puree.
  3. Pour into small jars or cups and chill for 2-3 hours, until set.
  4. Top with a swirl of whipped cream or mascarpone, and garnish with a sliced strawberry.

Practical Tips:

  • Use silicone molds for fun shapes, or layer in wine glasses for an elegant presentation.
  • Add a splash of lemon juice to enhance the strawberry flavor.

Final Thoughts

Keto desserts don’t have to be complicated—or boring. With a handful of fresh strawberries, the right keto-friendly ingredients, and a bit of creativity, you can enjoy indulgent sweets without the guilt. Whether you crave creamy cheesecake, fluffy cake, or refreshing gelatin, there’s a keto strawberry dessert here for every craving and every cook.

Ready to get started?
Pick a recipe, share your creations with #KetoStrawberryDessert, and let me know your favorite in the comments. If you want even more keto dessert inspiration (or need help troubleshooting a recipe), just ask!


Pin this post for your next dessert craving, and happy low-carb baking! 🍓✨

10 Keto Strawberry Dessert FAQs

1. Can I use frozen strawberries in these recipes?
Yes, frozen strawberries work well for all these recipes. Thaw them first and drain excess liquid for best texture, especially in no-bake and fat bomb recipes.


2. What are the best sweeteners for keto desserts?
Erythritol, monk fruit, allulose, and stevia blends are excellent options. Powdered sweeteners dissolve more smoothly in no-bake recipes and fillings.


3. How do I calculate net carbs in these desserts?
Net carbs are calculated by subtracting fiber and sugar alcohols (from keto sweeteners) from total carbohydrates. Always check labels, especially for almond flour and sweeteners.


4. How long can I store these desserts?
Most no-bake and cheesecake-based desserts last 4–5 days refrigerated in airtight containers. Fat bombs and gelatin cups can be frozen for up to 1 month.


5. Can I make these recipes dairy-free?
Absolutely! Substitute coconut cream for heavy cream and vegan cream cheese for dairy cream cheese. Use coconut oil or vegan butter in place of regular butter.


6. What can I use instead of almond flour for nut allergies?
Sunflower seed flour or coconut flour can often be substituted. If using coconut flour, use only 1/3 the amount and add extra egg or liquid.


7. How do I keep my cheesecake bites from being too soft?
Chill them well before serving. Using freeze-dried strawberries instead of fresh prevents excess moisture. You can also add a little more almond flour.


8. Can I make these desserts ahead for a party?
Yes! All of these recipes can be prepared a day or two in advance. For best presentation, add whipped cream or garnishes just before serving.


9. Will these desserts raise my blood sugar?
When made with approved keto sweeteners and portioned correctly, these desserts have minimal impact on blood sugar for most people. Monitor your own response if you’re sensitive.


10. Can I double or triple the recipes for meal prep or gatherings?
Definitely. Most recipes scale easily. When increasing batch size, mix thoroughly for even distribution of ingredients, and adjust chill/bake times as needed.