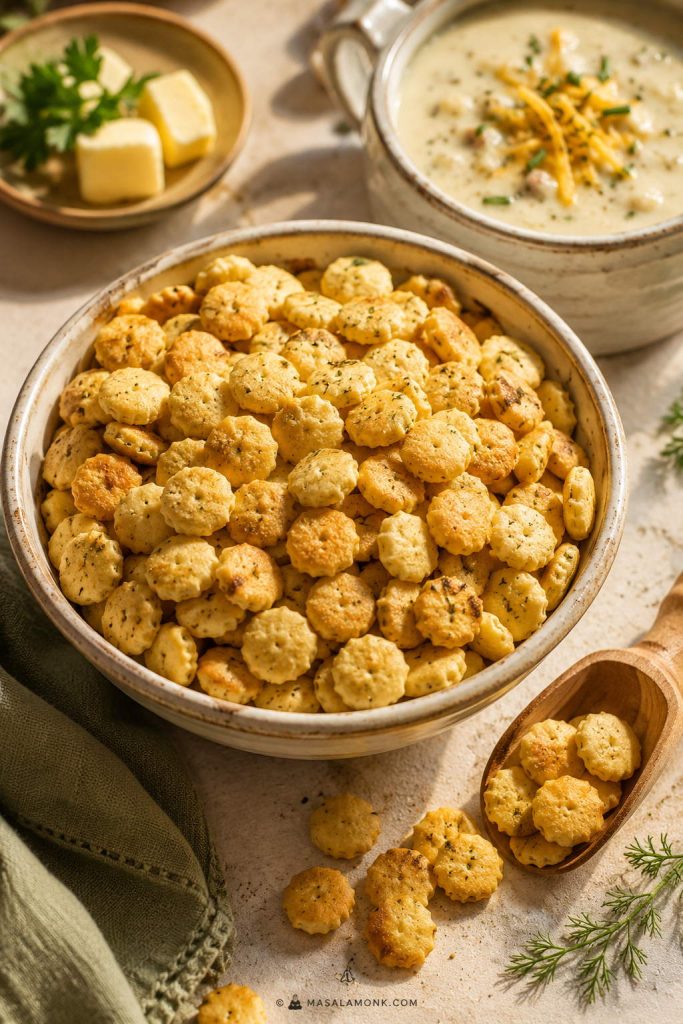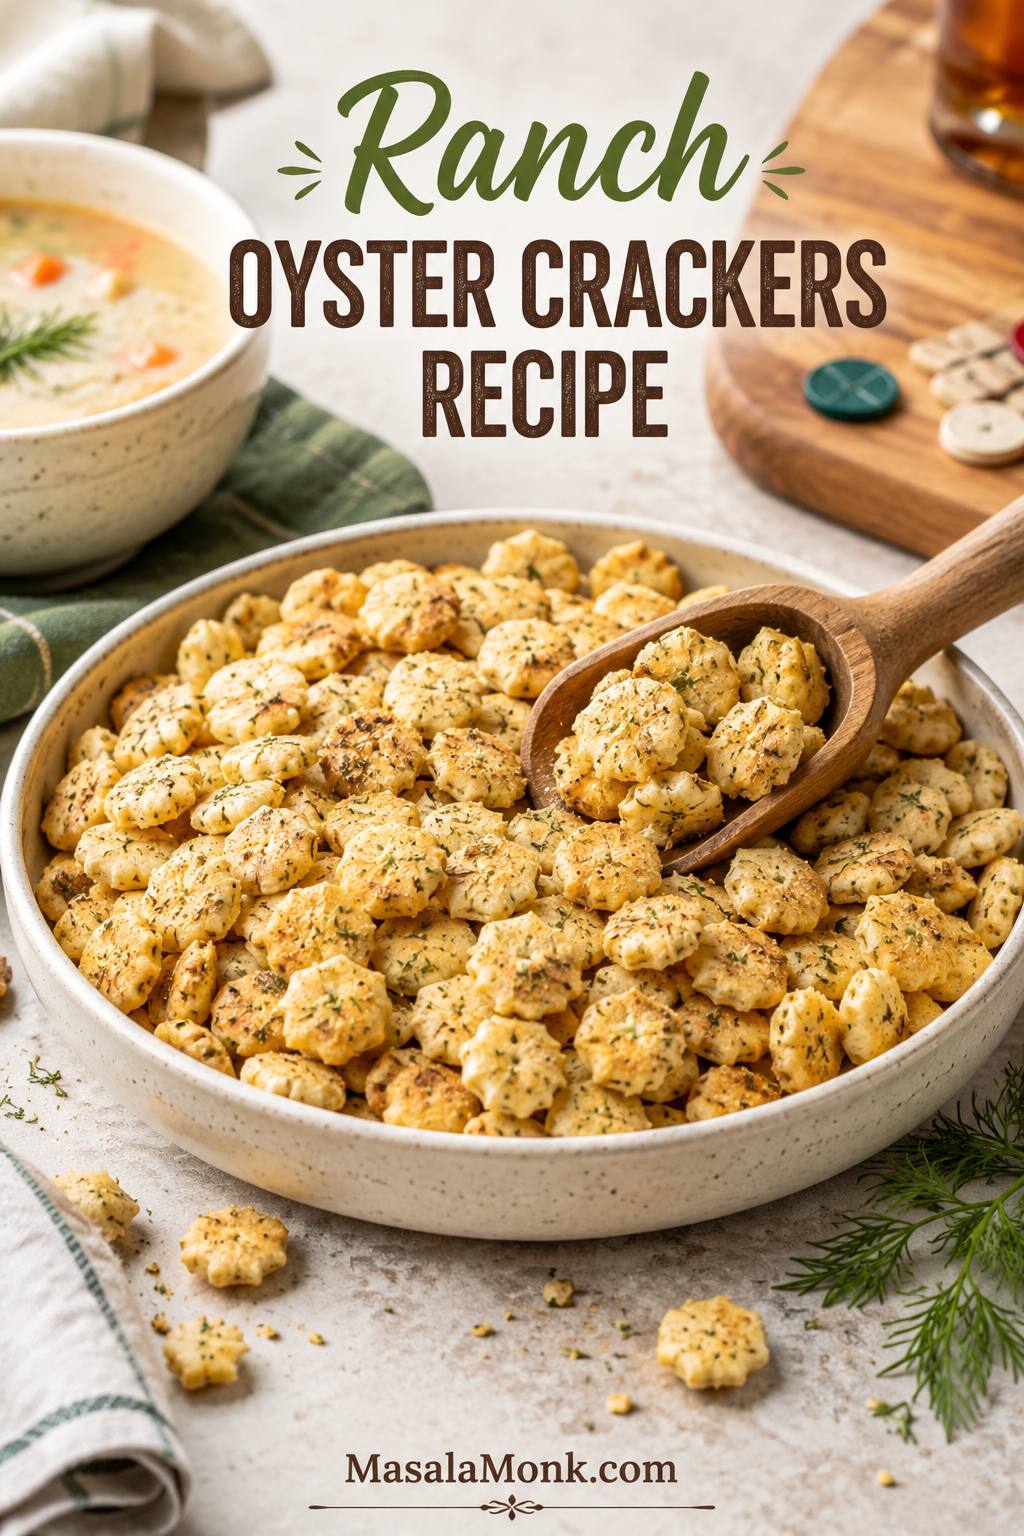
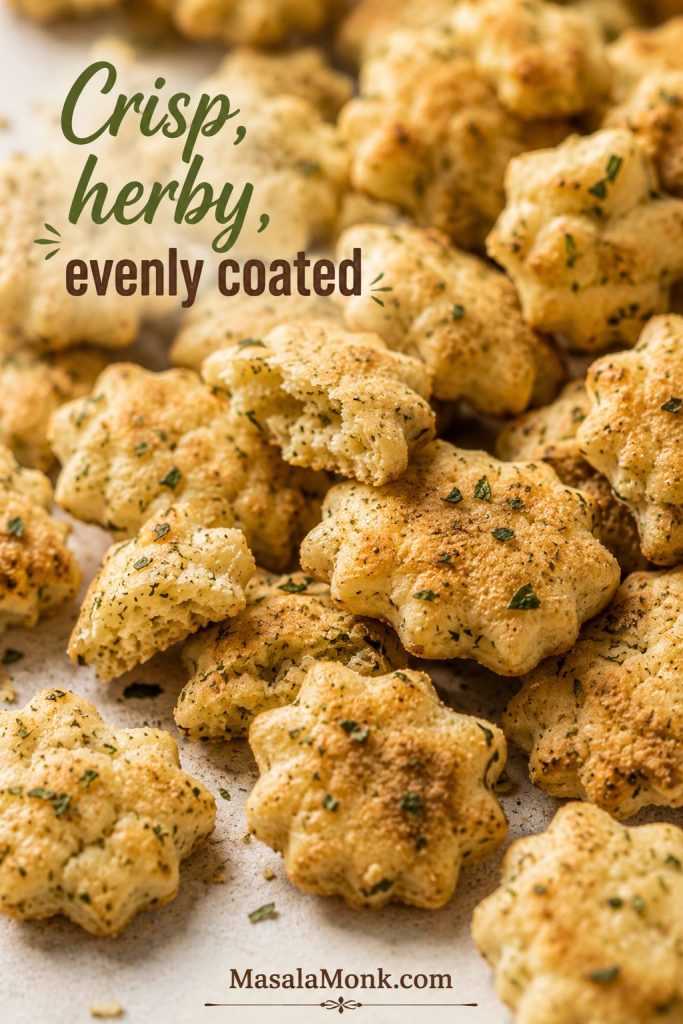
Ranch oyster crackers are the kind of snack that disappears quietly. You set out a bowl before the game starts, beside a pot of soup, or on a holiday snack table, and somehow everyone keeps drifting back for another salty, herby handful. They are crisp, tiny, ranch-seasoned, and just rich enough to feel like a treat without asking much from you.
The recipe itself is easy. The confusing part is everything around it: whether “ranch dressing” means bottled dressing or the dry ranch packet, how much seasoning to use for a 9 oz, 12 oz, or 16 oz bag, whether oil or butter gives a better crunch, whether the crackers really need to be baked, and what to do if they turn out greasy, salty, or soft.
Once those little decisions are clear, the batch is easy to get right. The baked method gives the snappiest result, and the ratio table helps you adjust for whatever bag you have. From there, choose oil or butter, dill or no dill, a gentle ranch coating or a bolder party-snack bowl. The result should be bold but not harsh, coated but not oily, and crunchy enough that people keep reaching back into the bowl.
In This Ranch Oyster Crackers Guide
Quick Answer: The Best Ranch Oyster Crackers Formula
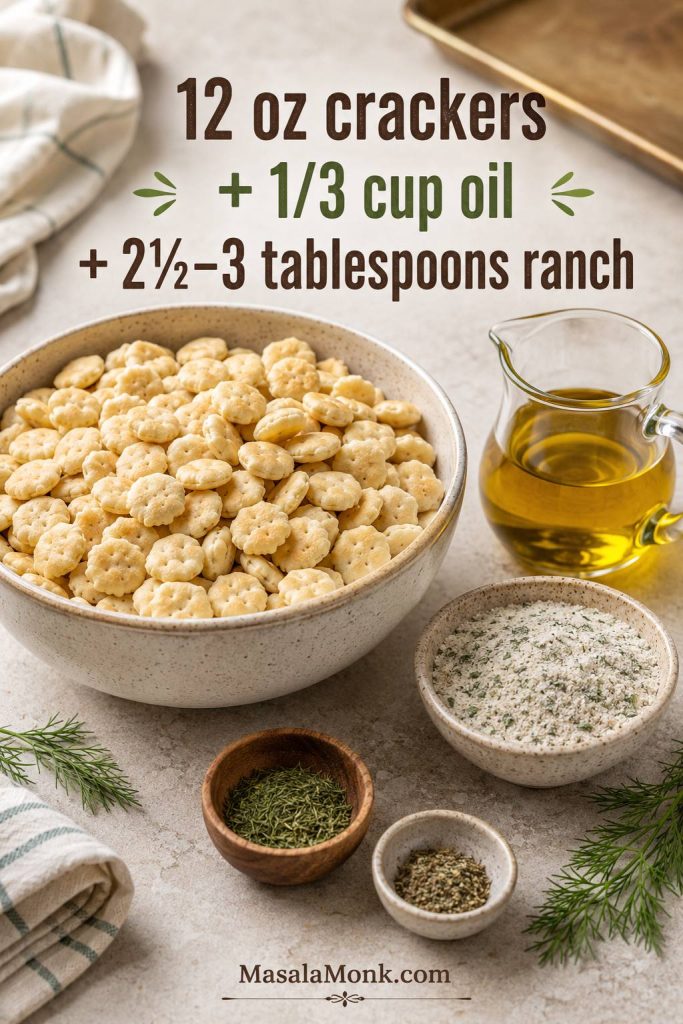
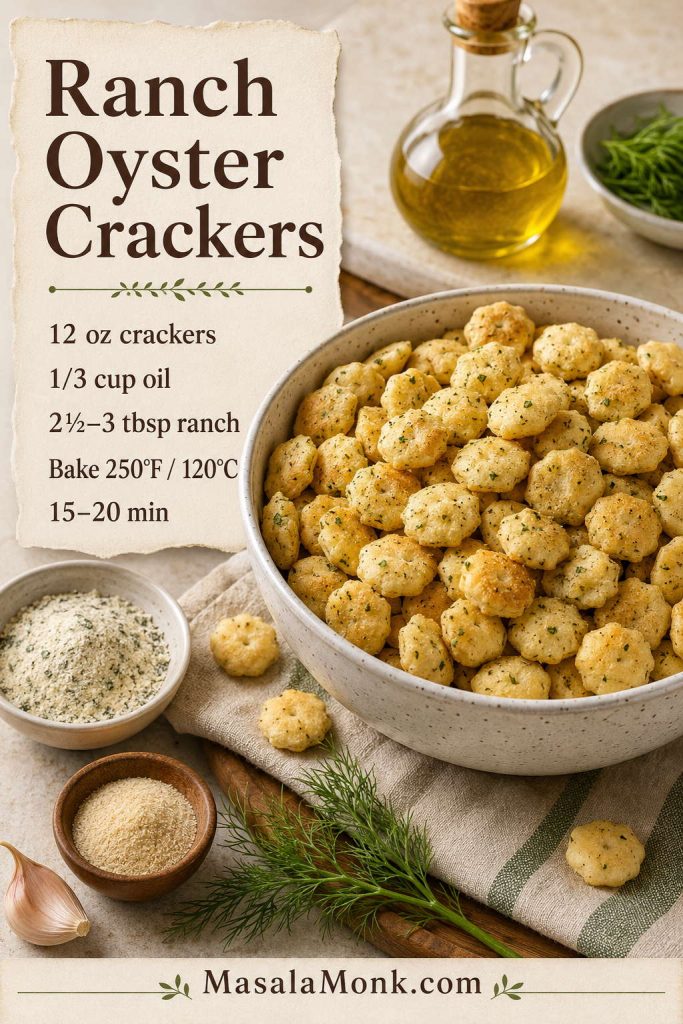
For 12 oz / 340 g oyster crackers, use ⅓ cup / 80 ml neutral oil, 2½ tablespoons dry ranch seasoning for a balanced batch or up to 3 tablespoons for a bolder batch, 1 teaspoon dried dill, ½ teaspoon garlic powder, and ½ to 1 teaspoon lemon pepper.
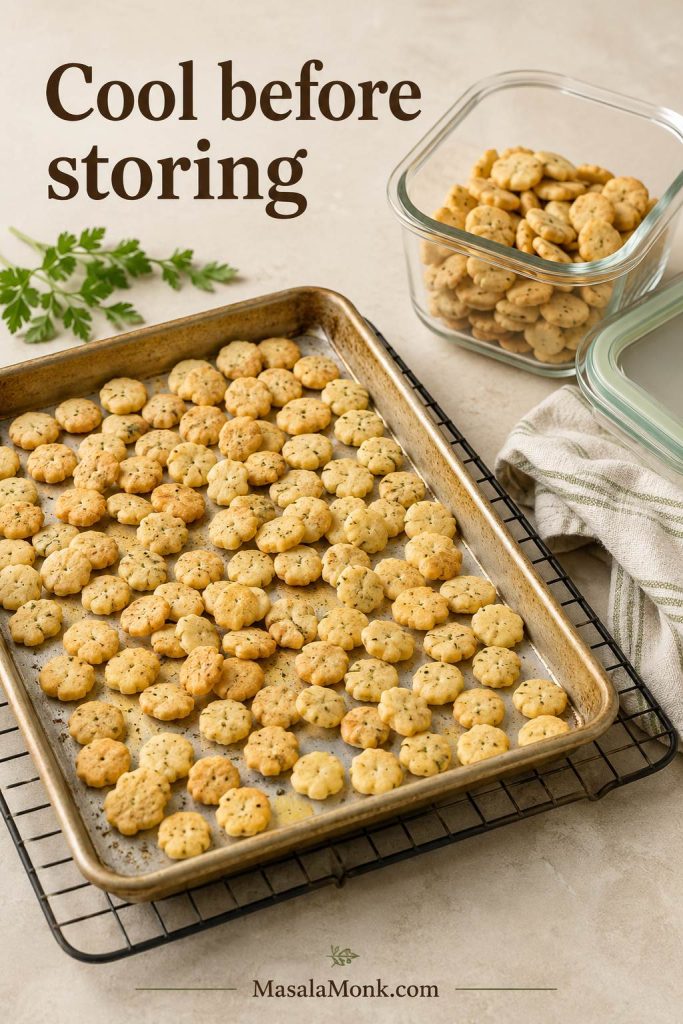
Toss well, spread on a rimmed baking sheet, bake at 250°F / 120°C for 18–22 minutes, stir once halfway, and cool fully before storing. The first handful should taste salty, herby, crisp, and evenly coated — never dusty in one bite and oily in the next.
Quick pick: Use neutral oil for the best crunch, melted butter for the richest flavor, the air fryer for the fastest small batch, the no-bake method when you want to skip the oven, and a 16 oz batch for parties, gifting, game day, or bigger soup nights.
If you are using a full 1 oz / 28 g ranch packet with a 12 oz bag, expect a bold, salty party-snack flavor. For a safer first batch, start with 2½ tablespoons, bake, taste, and dust the crackers with a little more seasoning while they are still warm on the tray.
Using a 9 oz or 16 oz bag? Check the ranch seasoning ratios before mixing the coating.
Why This Recipe Works
The best batches come out lightly toasted, evenly seasoned, and crisp after cooling. That does not happen by dumping ranch powder over crackers; it comes from the order, the ratio, and a little low-heat baking time.
- Dry ranch seasoning keeps the crackers crisp. Bottled dressing adds moisture, while dry mix gives flavor without making the crackers soggy.
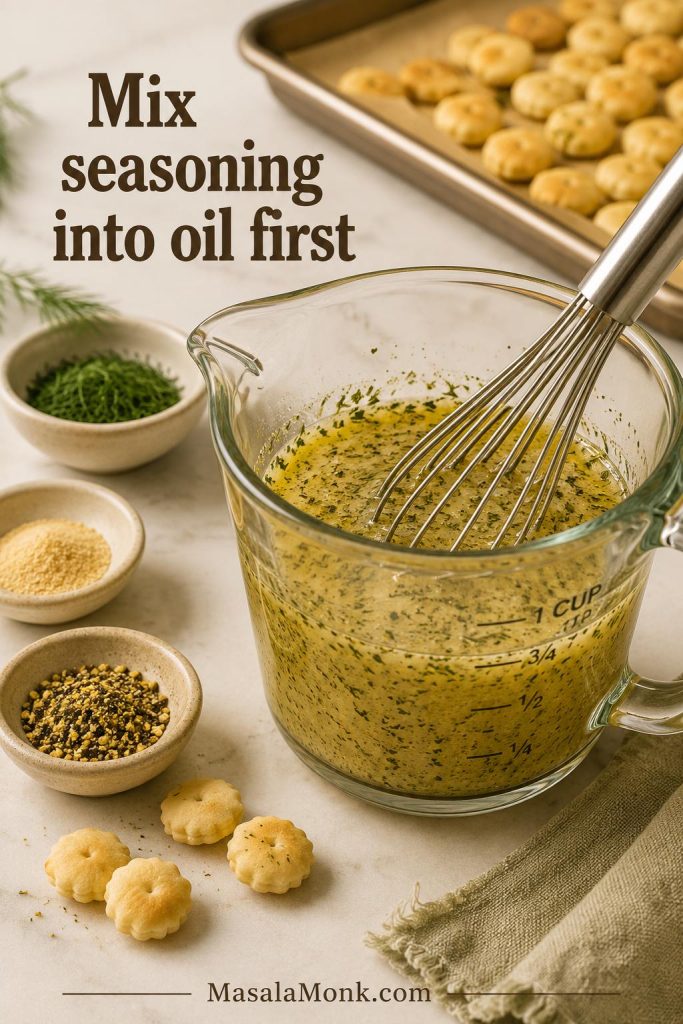
- Whisking the seasoning into the oil first prevents clumps. The ranch powder, dill, garlic, and lemon pepper spread more evenly when they are suspended in oil before they touch the crackers.
- A low oven sets the coating instead of scorching it. At 250°F / 120°C, the crackers have time to toast gently while the oil or butter settles into a clean, savory finish.
- The ratio table protects the batch. Oyster cracker bags vary, and using the same seasoning amount for every bag can make one batch bland and another too salty.
- Cooling on the tray finishes the texture. The crackers firm up as the seasoning settles into the surface.
The goal is simple: every handful should taste seasoned, not dusty in some bites and oily in others. Mix the coating first, bake low, and let the crackers cool on the pan, and the bowl lands crisp, salty, herby, and clean.
What Are Ranch Oyster Crackers?
Ranch oyster crackers are small oyster crackers tossed with dry ranch seasoning, oil or melted butter, and simple seasonings like dill, garlic powder, lemon pepper, and onion powder. They are usually baked at a low temperature until the seasoning clings and the crackers become crunchy again.
They are one of the most common versions of seasoned oyster crackers: the ranch packet gives the base flavor, while dill, garlic, lemon pepper, Parmesan, or heat can push the batch in different directions.
Despite the name, oyster crackers usually do not contain oysters. They are small soup crackers traditionally served with oyster stew, chowder, chili, and other soups. That soup-and-stew background is also why they make so much sense with creamy bowls and chili today. For a little more history, this history of oyster crackers explains where the name comes from.
Think of them as a snack mix shortcut. They are easier than Chex mix, less fussy than homemade crackers, and more interesting than plain soup crackers. Once baked and cooled on the pan, they are sturdy enough for snacking but still small enough to scatter over tomato soup, chili, chowder, salad, or a dip board.
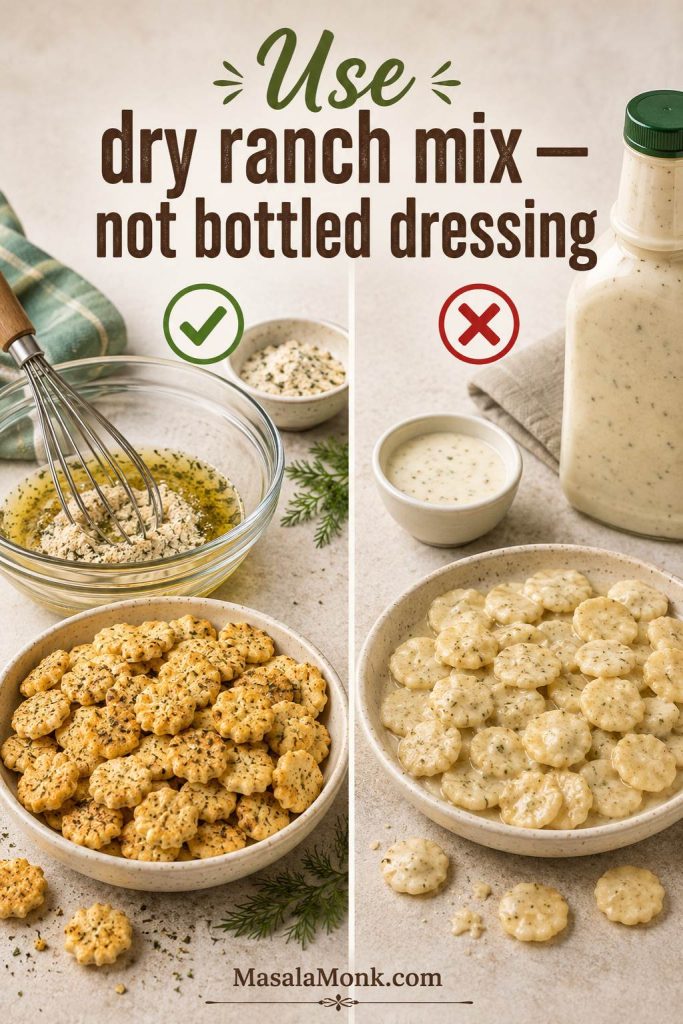
Dry Ranch Seasoning vs Bottled Ranch Dressing
Use dry ranch seasoning here. It gives concentrated ranch flavor without the moisture that comes from bottled dressing. Creamy ranch dressing may sound tempting, but it can turn the crackers soft instead of snappy.
| Ranch product | Can you use it? | What to know |
|---|---|---|
| Dry ranch seasoning packet | Yes, best choice | Classic, easy, and bold. Use the packet weight and taste for saltiness. |
| Ranch seasoning shaker | Yes | Measure by tablespoons. Start with less if the blend is salty. |
| Dry ranch dip mix | Usually yes | Can be saltier or stronger than dressing mix. Start with a little less. |
| Bottled ranch dressing | Not recommended | Adds moisture and can make the crackers soft. |
| Homemade ranch-style dry mix | Yes | Good if you want more control over salt, dill, garlic, onion, and herbs. |
Helpful rule: When people say “ranch dressing crackers,” they often mean crackers made with dry ranch dressing mix, not creamy dressing from a bottle.
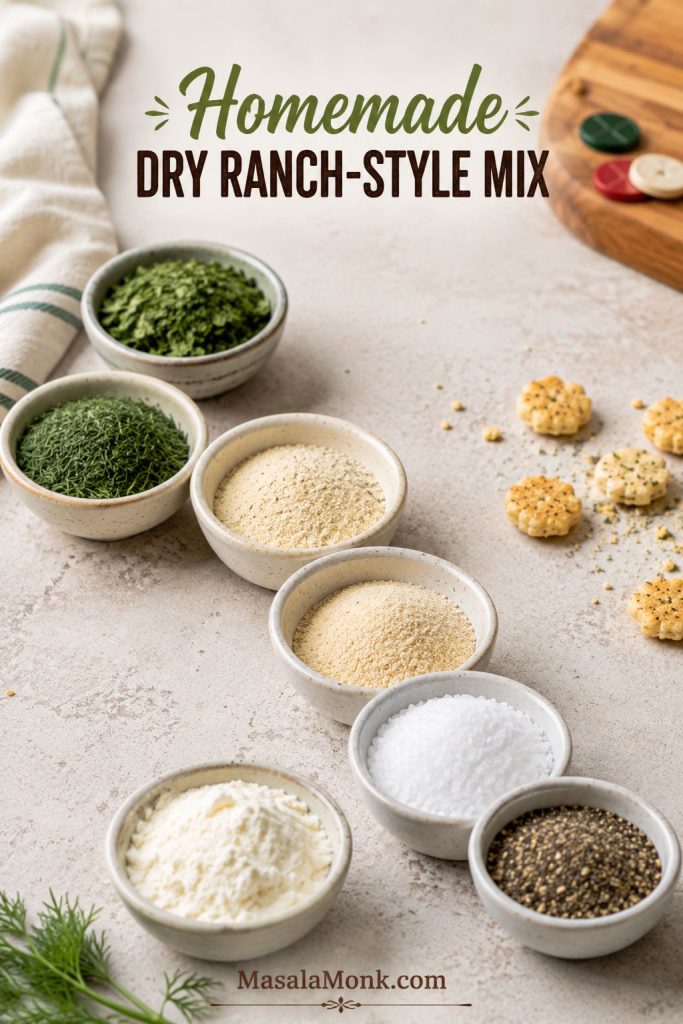
Homemade Dry Ranch-Style Mix
A homemade ranch-style dry mix can work too, especially if it includes parsley, dill, garlic powder, onion powder, salt, pepper, and optional buttermilk powder. Without buttermilk powder, the flavor will be more herby-garlicky than creamy-ranch, but it can still make a good seasoned cracker batch.
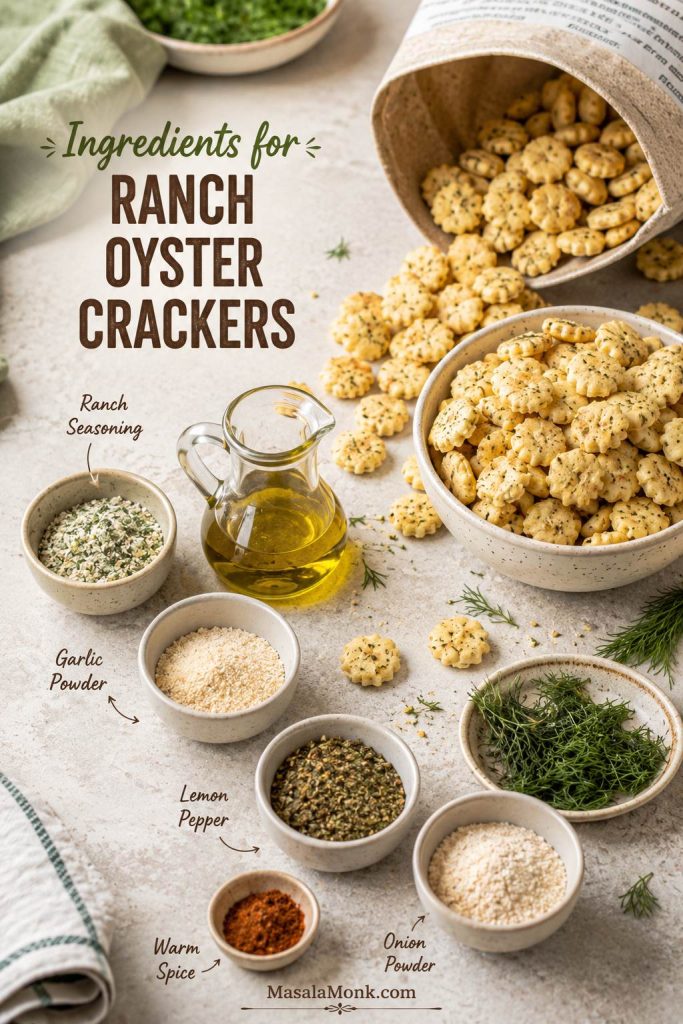
Ingredients and What Each One Does
If you have oyster crackers, dry ranch mix, and a neutral oil, you are most of the way there. The crackers bring the crunch, the ranch mix brings the salty-herby flavor, and the oil or butter decides how light or rich the final batch feels.
Oyster crackers
Use plain oyster crackers. Common bags are 9 oz / 255 g, 12 oz / 340 g, and 16 oz / 454 g. Cup counts vary by brand, but 9 oz is usually about 4–5 cups, 12 oz about 5½–6 cups, and 16 oz about 7–8 cups. Weight is more reliable than cups, so use the ratio table if your bag size is different.
Dry ranch seasoning
A standard dry ranch packet gives the classic flavor most people expect: tangy, salty, herby, garlicky, and slightly creamy-tasting even though there is no bottled dressing in the recipe. Store-brand ranch seasoning also works. The familiar green-label style packets are common, but the brand matters less than the salt level and packet size.
Dry ranch mix is useful beyond snack crackers too; it brings the same shortcut flavor to easy dinners like one-pot chicken bacon ranch pasta. Here, though, the seasoning needs to stay dry enough to cling to crackers instead of turning into a sauce.
Unsure how much of the packet to use? Jump to the ranch packet adjustment notes before you season the crackers.
Neutral oil or melted butter
Neutral oil gives the lightest, snappiest batch. Canola, vegetable, avocado, or another mild oil works well. Melted butter gives richer flavor and makes the kitchen smell more like party mix. Use unsalted butter if your ranch mix is already salty; if you only have salted butter, start with less seasoning.
Dried dill and other seasonings
Dill gives the crackers that old-school ranch snack-mix flavor. Garlic powder deepens the ranch flavor, lemon pepper adds lift, and onion powder rounds everything out. Cayenne, red pepper flakes, smoked paprika, Parmesan, parsley, taco seasoning, or Italian seasoning can all work too; add salty extras carefully because ranch packets already bring plenty of salt.
How Much Ranch Seasoning to Use for Oyster Crackers
The seasoning gets easier once you match it to the bag size. Some recipes use cups, some use ounces, some say one packet, and ranch packet sizes are not always identical. Use this table as the practical guide.
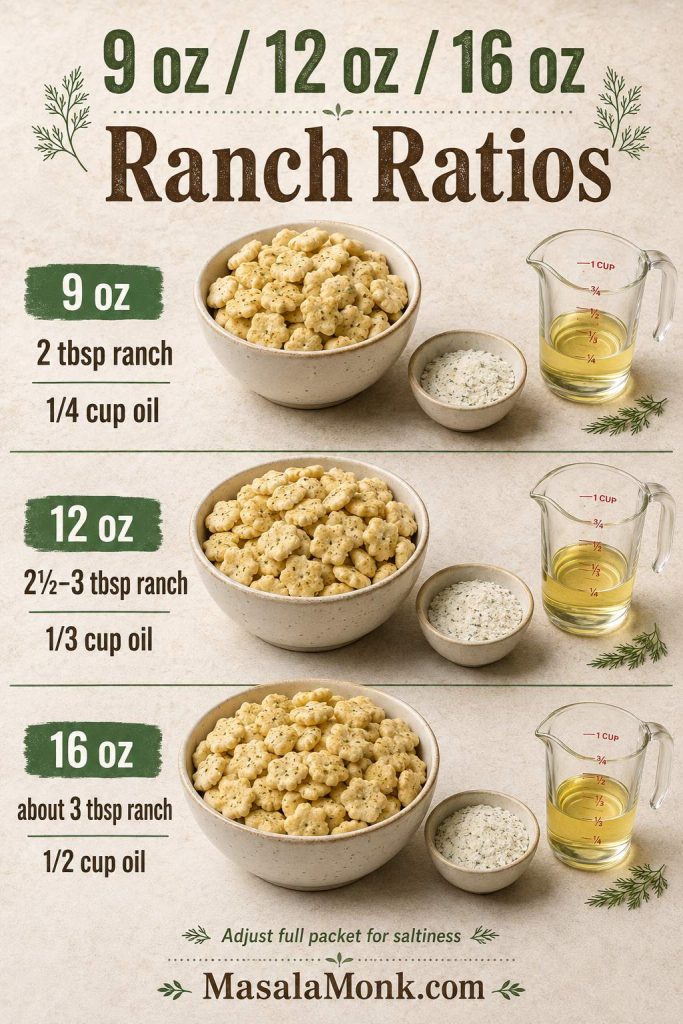
Ranch Ratios by Bag Size
| Oyster crackers | Metric | Ranch seasoning | Oil or butter | Bake time at 250°F / 120°C |
|---|---|---|---|---|
| 9 oz | 255 g | 2 tbsp mild 2½–3 tbsp bold | ¼ cup oil for lighter coating ⅓ cup oil or 5 tbsp butter for richer coating | 15–20 min |
| 12 oz | 340 g | 2½ tbsp balanced 3 tbsp bold | ⅓ cup oil up to ½ cup butter for richer coating | 18–22 min |
| 16 oz | 454 g | About 3 tbsp or most/all of a standard 1 oz / 28 g packet, adjusted for saltiness | ½ cup oil or ½ cup melted butter | 20–25 min |
| 2 × 16 oz | 908 g | About 6 tbsp or 2 standard 1 oz / 28 g packets, adjusted for saltiness | 1 cup oil | Use 2 sheet pans |
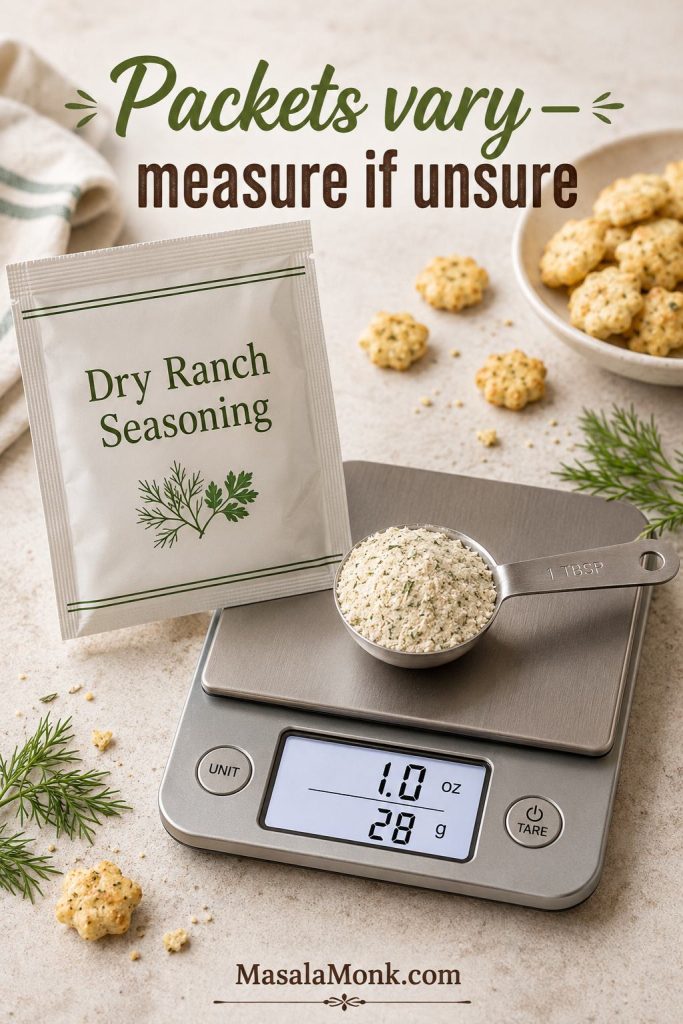
How to Adjust the Ranch Packet
A ranch packet is sold by weight, not by tablespoons, and brands vary. The same 1 oz / 28 g packet can make a bold 12 oz batch or a more moderate 16 oz batch; it depends on how salty and intense you want the bowl.
Balanced for Soup, Bold for Parties
Making these for soup? Stay closer to the balanced ranch amount so the crackers add crunch without taking over the bowl. Making them for a party snack? Go bolder, especially if the crackers will sit beside dips, wings, cheese, or other strong flavors.
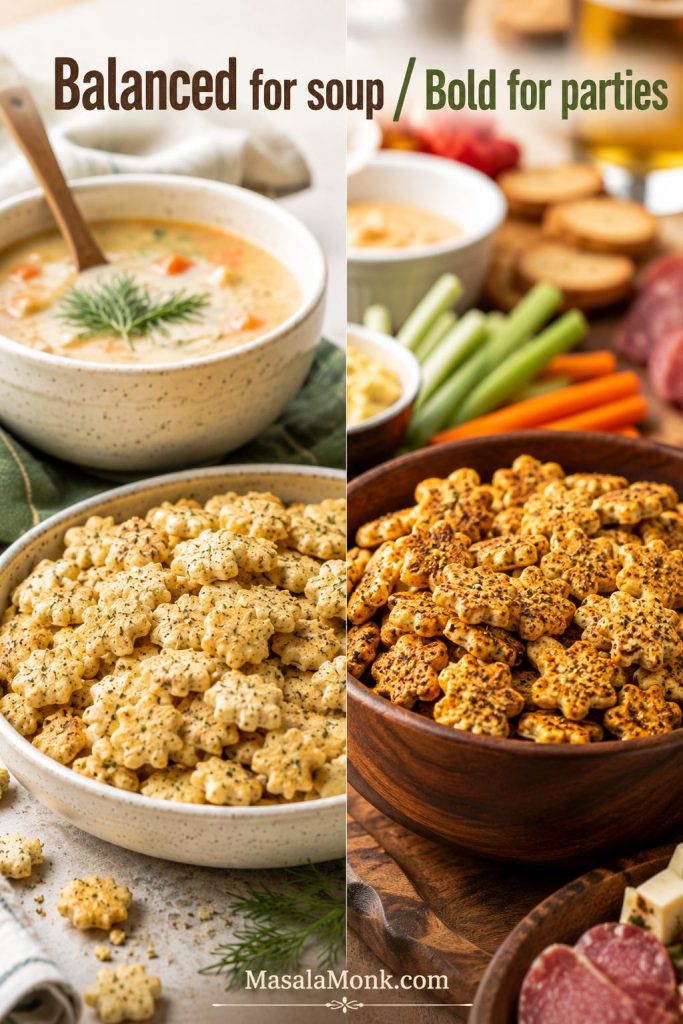
Best starting point: For a 12 oz / 340 g bag, use ⅓ cup oil and 2½ tablespoons ranch seasoning. After that, adjust toward extra dill, more butter, or a bolder packet-style coating depending on how your house likes them.
For batch size, think of 9 oz as a small test batch, 12 oz as the one-pan standard, and 16 oz as the party or gifting size. If you double a 16 oz batch, use two sheet pans so the crackers have room to toast evenly.
Once the bag size and seasoning amount are clear, move to the baked method and mix the coating.
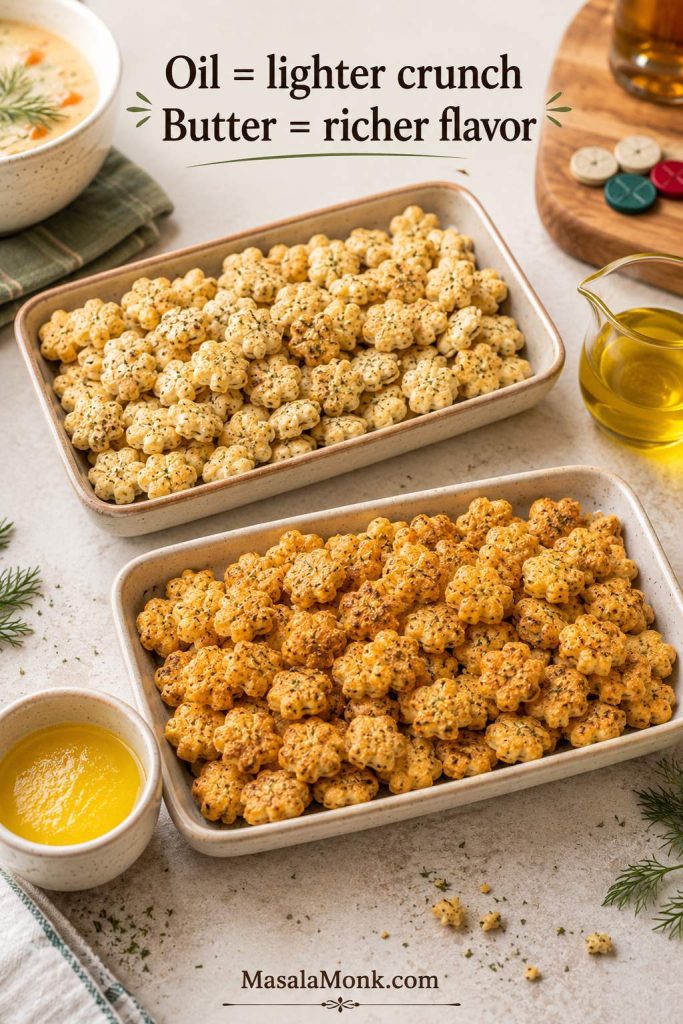
Oil vs Butter for Ranch Oyster Crackers
Neither oil nor butter is wrong; they just make different snack bowls. Oil gives you the light, crunchy version people keep grabbing from between sips of soup. Butter gives you the richer bowl that smells like party mix coming out of the oven.
| Choice | Result | Best for | Watch out for |
|---|---|---|---|
| Neutral oil | Snappy, light, evenly coated | Main recipe, make-ahead snacks, soup topping | Use a measured amount so the crackers do not feel greasy |
| Melted butter | Richer, more savory, slightly heavier | Party bowls, warm snacking, buttery flavor | Use unsalted if your ranch mix is salty |
| Half oil, half butter | Balanced flavor and crunch | Best compromise | Give it enough baking time for the coating to settle |
| Olive oil | More noticeable flavor | Small batches or herby versions | Use a mild one so it does not fight the ranch flavor |
| Popcorn oil | Old-school snack flavor | Heavier party mix | Taste first because some brands are extra salty |
For the main recipe, use oil if you want the cleanest crunch. Use melted butter for a richer snack, then give the crackers enough space and baking time so the coating settles instead of feeling heavy.
How to Make Ranch Oyster Crackers
Once you choose the fat, the method is simple: whisk the seasoning into the oil or butter first, toss the crackers gently, spread them in one layer, bake low, stir once, and let them sit on the tray. This is snack food, not pastry; the goal is seasoned, easy, and good by the handful.
If the coating looks a little uneven or the first batch tastes slightly light, you can usually fix it with a few more minutes in the oven or a small dusting of seasoning while the crackers are warm.
Step 1: Heat the oven
Heat the oven to 250°F / 120°C. This low temperature gives the seasoning time to settle onto the crackers without burning the ranch powder, dill, garlic, or lemon pepper.
Step 2: Mix the seasoning oil
In a small bowl or measuring cup, whisk together the oil, dry ranch seasoning, dried dill, garlic powder, lemon pepper, and any optional onion powder, smoked paprika, or cayenne. Mixing the seasonings into the oil first helps prevent salty clumps and bare patches.
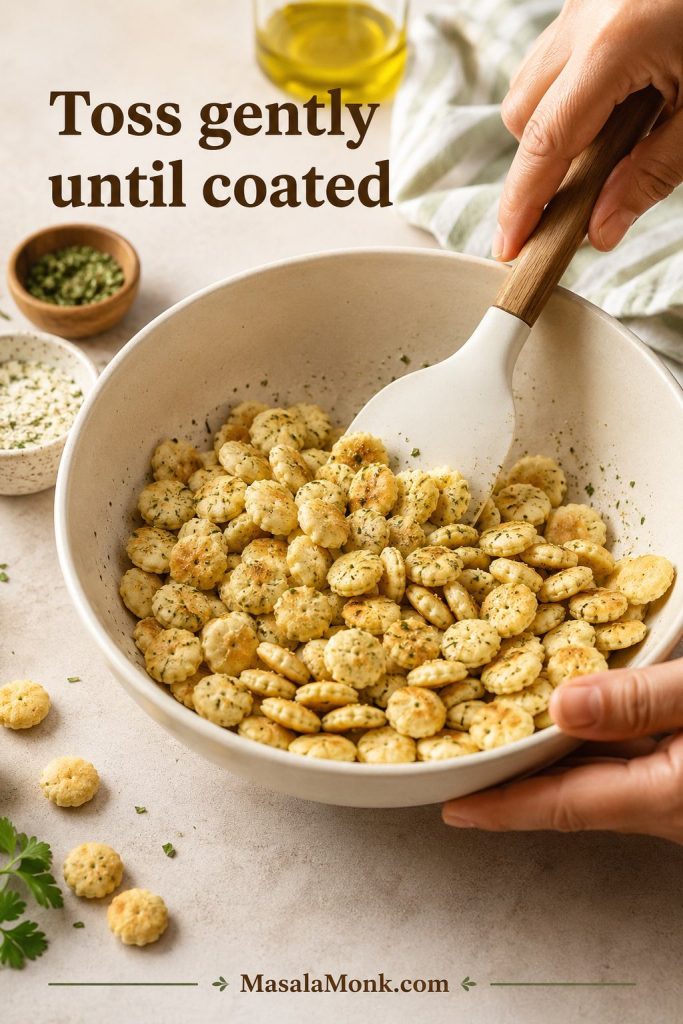
Step 3: Coat the crackers gently
Add the oyster crackers to a large mixing bowl or a gallon zip-top bag. Pour the seasoning oil over them and toss gently until the crackers look evenly coated. A bowl is gentler and reduces breakage. A zip-top bag is faster and less messy, but shake softly rather than crushing the crackers.
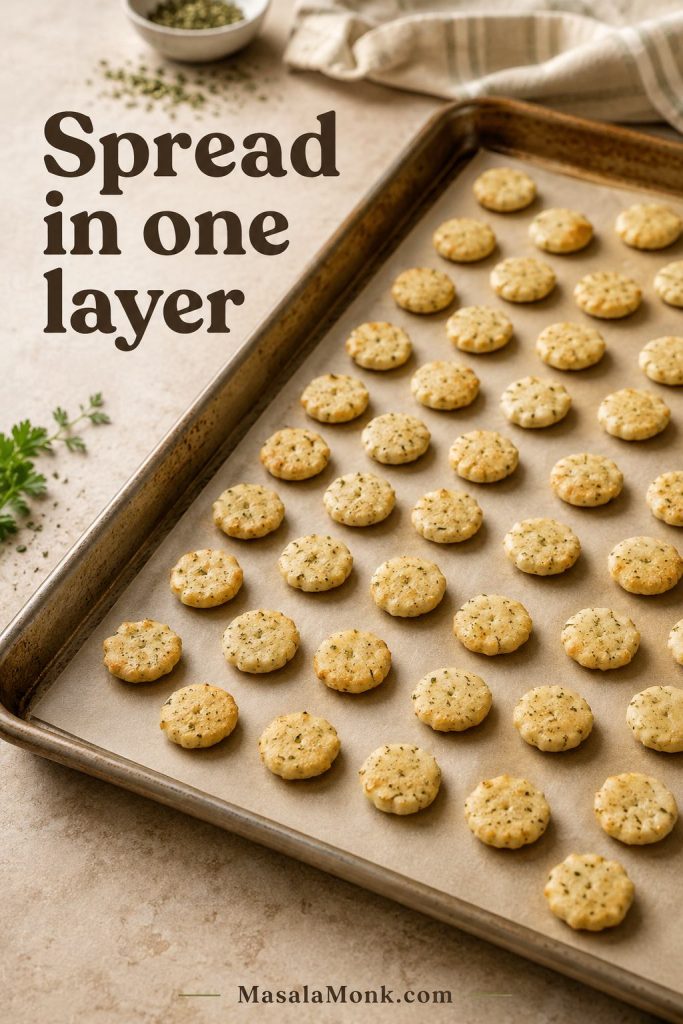
Step 4: Spread on a rimmed baking sheet
Spread the crackers on a rimmed baking sheet in as even a layer as possible. Parchment makes cleanup easier, and space on the pan helps the coating set evenly.
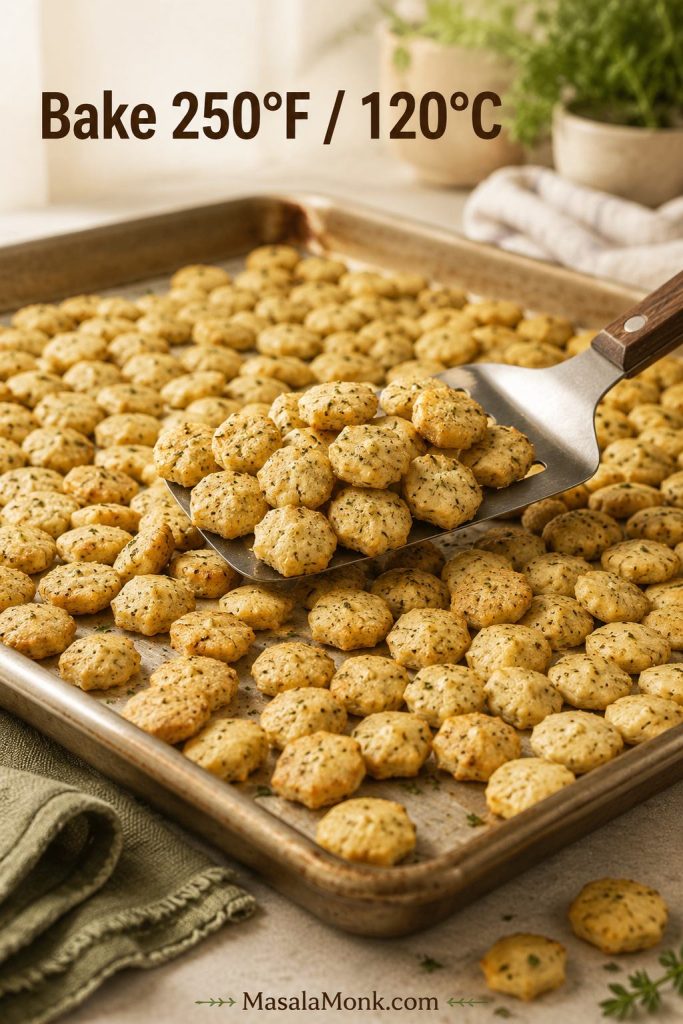
Step 5: Bake low and stir once
Bake for 18–22 minutes, stirring after about 10 minutes. A smaller or lightly coated batch may be ready closer to 15–18 minutes. A butter-heavy or 16 oz batch may need 20–25 minutes. The crackers should smell toasted and look set rather than wet or shiny.
Step 6: Let the crackers cool on the pan
Leave the crackers on the pan until they are no longer warm. Once cooled, they should be evenly seasoned and ready to store.
Texture cue: If the crackers still look glossy after baking, give them another 3–5 minutes at the same low temperature. They should look coated, not shiny with oil.
Equipment note: A large bowl is gentler, a zip-top bag coats faster, a rimmed baking sheet keeps the crackers contained, parchment helps cleanup, and a thin spatula makes stirring easier.
Want to skip the oven or use the air fryer instead? Compare the baked, no-bake, and air fryer methods before choosing.
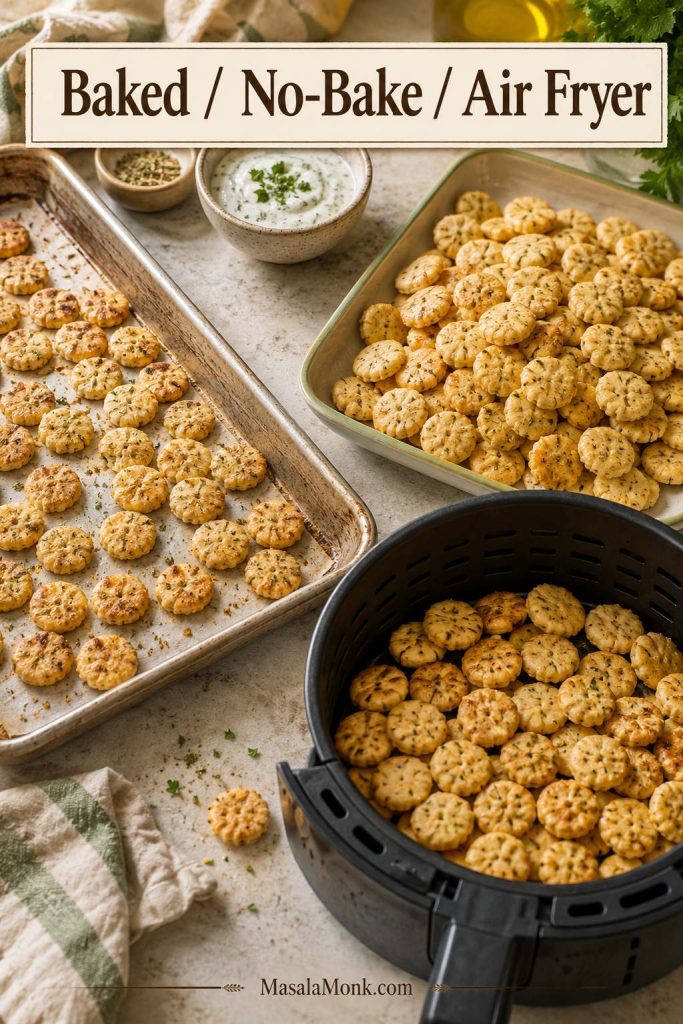
Baked, No-Bake, and Air Fryer Methods
If you want the most reliable crunch, use the oven. No-bake and air-fryer versions are useful when you are short on time, avoiding the oven, or making a small batch. The microwave is included only as a backup.
| Method | Time | Texture | Best for |
|---|---|---|---|
| Baked | 18–22 min | Most even and snappy | Most reliable crunch |
| No-bake | 2–4 hours sitting time | Good, but slightly softer | No oven, prep-ahead snack |
| Air fryer | 7–10 min | Very crisp, small batches | Quick small batch |
| Microwave backup | 2–3 min | Fast but less even | Only when speed matters most |
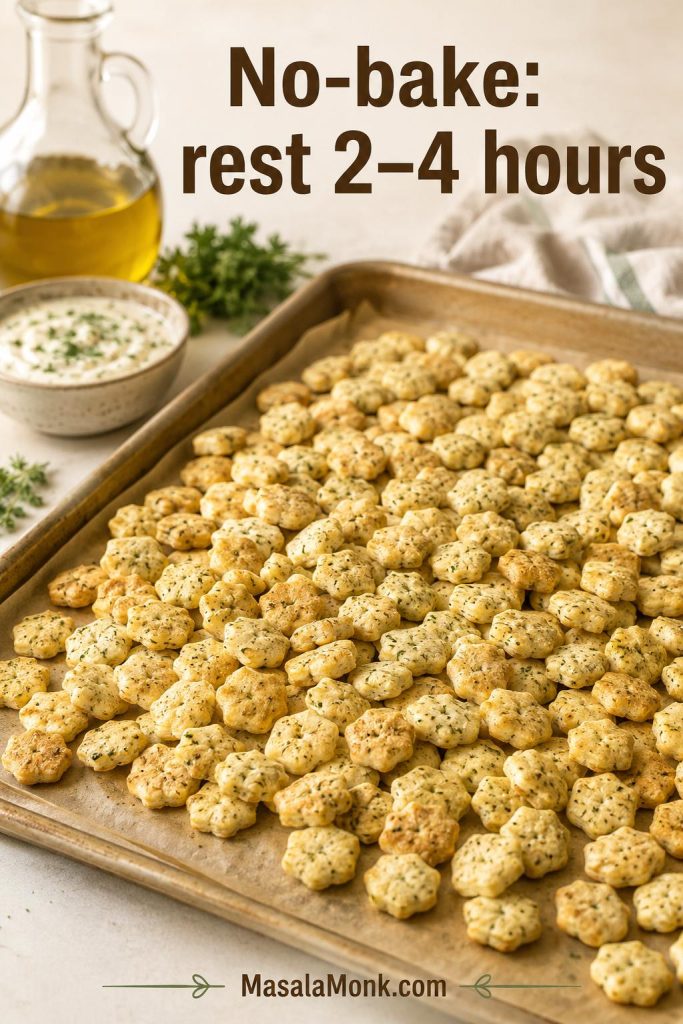
No-bake version
Choose this when you need the snack made ahead and do not mind a slightly softer crunch. Toss the oyster crackers with the seasoned oil, spread them on a sheet pan, and let them sit for 2–4 hours, stirring occasionally. They are ready when the surface no longer feels slick. Oil works better than butter here because it coats without setting up heavy as it cools.
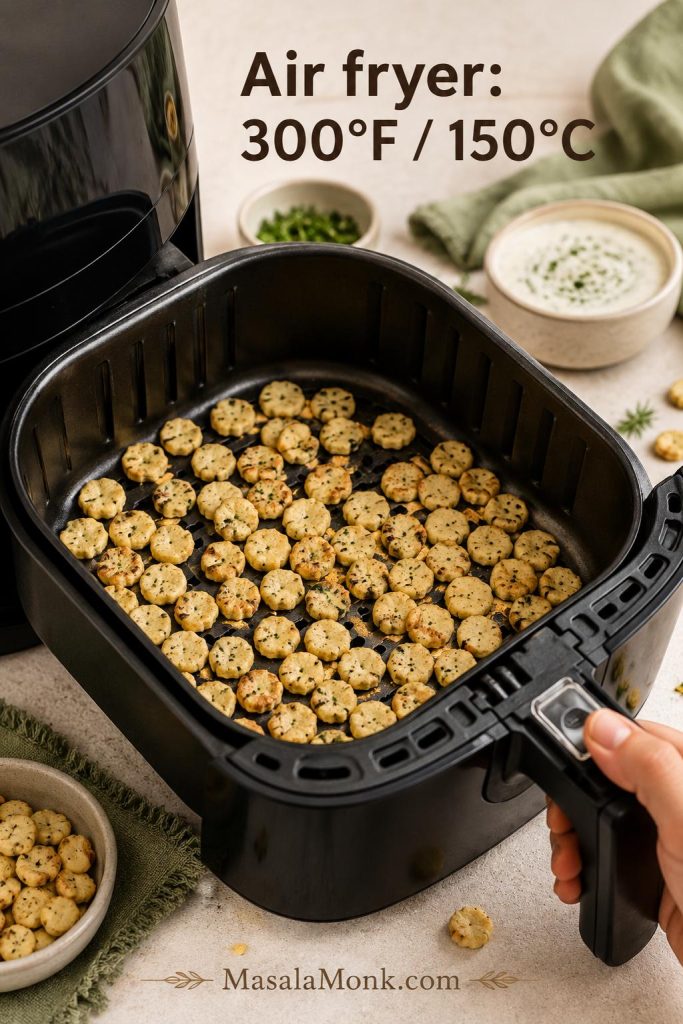
Air fryer version
For the air fryer, cook small batches at 300°F / 150°C for 5 minutes, shake the basket, then cook another 2–5 minutes until set and lightly toasted. Air fry only 3–4 cups at a time unless you have a large basket. A little less oil usually works better in smaller baskets.
If the air fryer is already out, you can keep the same snack-table rhythm going with air fryer chicken wings while the crackers cool.
Microwave backup
The microwave is the fastest backup, not the best texture method. Work in short bursts, then spread the crackers out afterward so steam does not soften them.
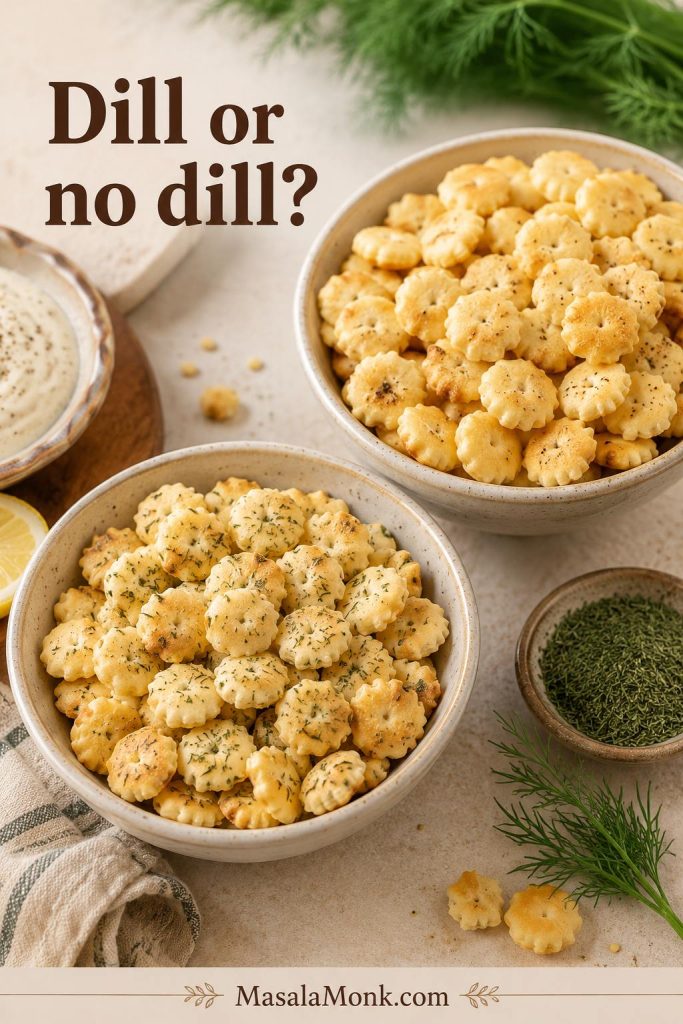
Dill or No Dill?
Dill is the old-school choice here. It gives these crackers their classic ranch snack-mix flavor, although the batch still works without it. For 9 oz / 255 g, use about ¾–1 teaspoon; for 12 oz / 340 g, use 1 teaspoon; for 16 oz / 454 g, use 1½–2 teaspoons. If you skip dill, replace it with dried parsley, chives, extra onion powder, or a little more lemon pepper.
Flavor Variations
Treat the base recipe like a blank snack mix. Keep the crackers, fat, and low oven steady; change the personality with the seasonings. This is where the batch starts to feel like yours.
Need the base formula first? Jump to the ranch oyster crackers recipe card, then come back and choose a variation.
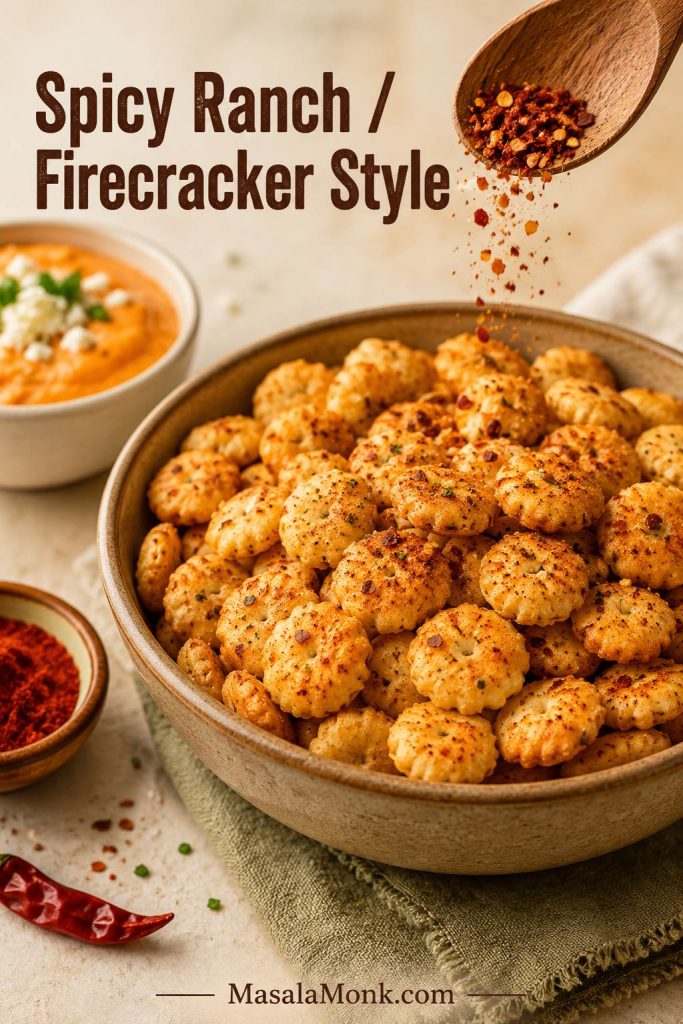
Spicy Ranch Oyster Crackers, or Firecracker Style
Add ¼ teaspoon cayenne for mild heat, ½ teaspoon cayenne for a stronger kick, or 1 tablespoon red pepper flakes for a more obvious spicy snack. Classic firecracker oyster crackers are usually hotter, red-pepper-forward, and more heavily seasoned than regular ranch crackers, so keep them milder here unless you know your crowd wants heat.
For a hotter game-day table, pair the spicy crackers with a scoopable dish like buffalo chicken dip. The crackers are better for topping and nibbling, while sturdier chips or bread can handle the heaviest scoops.
Dry heat is easier than wet hot sauce. Cayenne, smoked paprika, chili powder, and red pepper flakes keep the batch punchy without adding extra moisture.
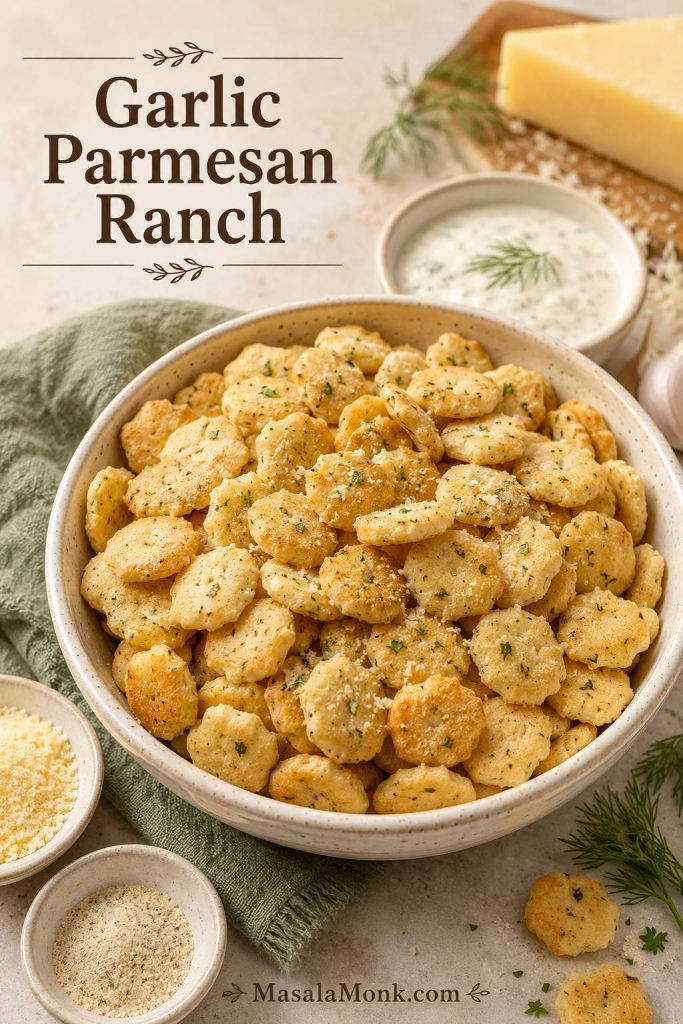
Garlic Parmesan ranch oyster crackers
Add a little extra garlic powder to the seasoning oil. After baking, while the crackers are still warm, toss with finely grated Parmesan and dried parsley. Adding Parmesan after baking keeps the cheese from scorching and gives the crackers a salty, savory finish.
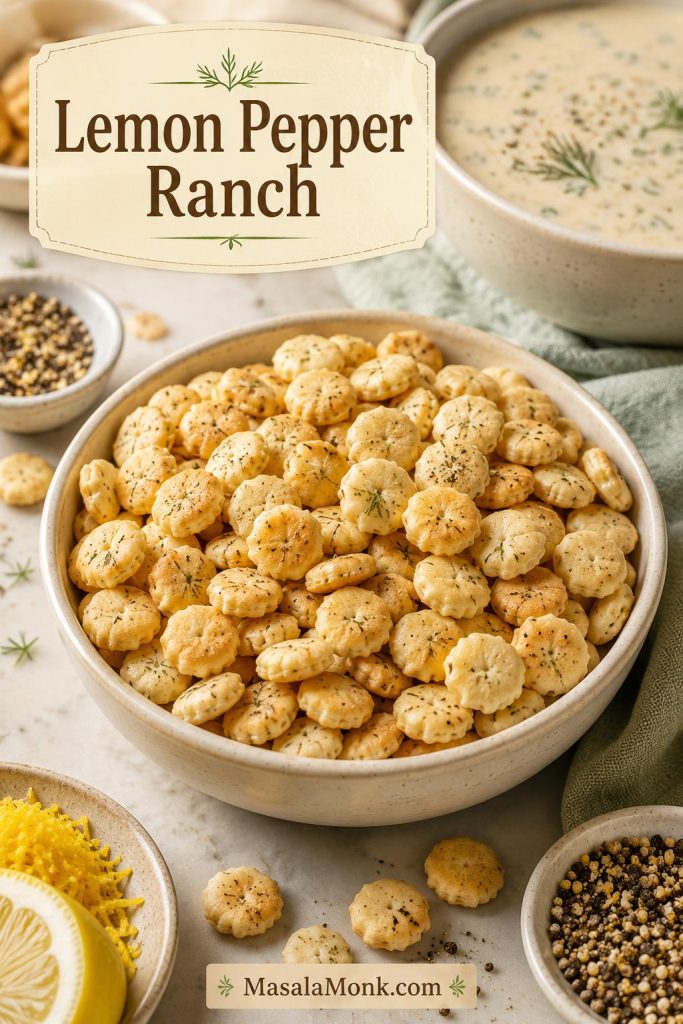
Lemon pepper ranch oyster crackers
Increase the lemon pepper to 1½ teaspoons for a 12 oz batch. This version is especially good as a soup topping because the citrusy pepper flavor cuts through creamy soups, chowder, and chili. If you like that bright, peppery flavor, it also makes a natural game-day pairing with lemon pepper chicken wings.
Taco ranch oyster crackers
Use ranch seasoning plus a small amount of taco seasoning, smoked paprika, and cayenne. Start lightly because taco seasoning can be salty. This version works well for movie-night bowls, game-day spreads, pretzels, corn chips, and roasted nuts.
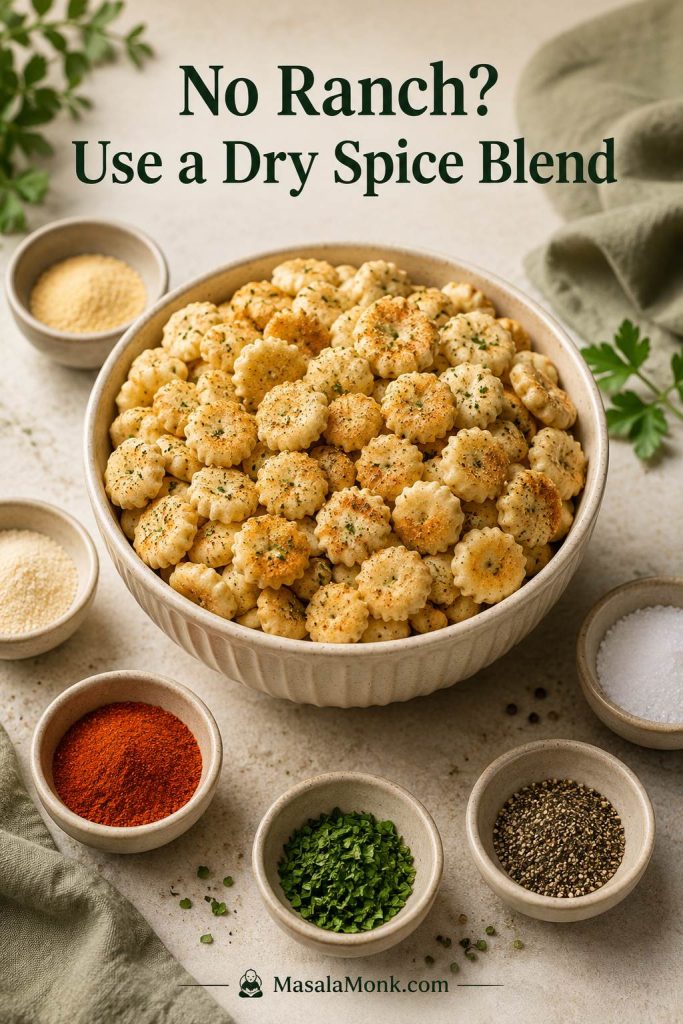
No-ranch seasoned oyster crackers
If you want a ranch-free seasoned oyster cracker batch, keep the same method and use a dry homemade seasoning blend. For 12 oz / 340 g oyster crackers, whisk together:
- ⅓ cup / 80 ml neutral oil or melted butter
- 1 teaspoon garlic powder
- 1 teaspoon onion powder
- 1 teaspoon dried parsley or Italian seasoning
- ½ teaspoon dried dill, optional
- ½ teaspoon smoked paprika or sweet paprika
- ¼–½ teaspoon fine salt, depending on how salty your crackers are
- ¼ teaspoon black pepper
Toss with the crackers and bake the same way. If you want a Parmesan version, add finely grated Parmesan after baking while the crackers are still warm.
Cinnamon sugar oyster crackers are a separate sweet snack direction. They usually use butter, sugar, cinnamon, and a slightly different baking rhythm, so treat that as its own snack bowl rather than folding it into this ranch version.
How to Serve Ranch Oyster Crackers
Ranch oyster crackers are easy to snack on straight from a bowl, but they are more useful than that. They can act like tiny croutons, party mix, soup crackers, or the salty crunch on a larger appetizer table.
Making them ahead for a party or snack table? Read the storage tips before you seal the batch.
Best Ways to Serve Them
| Use | How to serve them |
|---|---|
| Soup topping | Scatter over tomato soup, chowder, potato soup, chicken soup, or a cozy bowl like crock pot lasagna soup. Add them right before eating so the first spoonful is still crunchy. |
| Chili crunch | Use instead of plain crackers for a salty ranch finish. |
| Party bowl | Serve in a big bowl with a small scoop or spoon so people can grab handfuls easily. |
| Snack mix | Combine with pretzels, Chex, Goldfish-style crackers, roasted nuts, or mini saltines. |
| Dip board | Use as one crunchy element beside chips, vegetables, and bread pieces. |
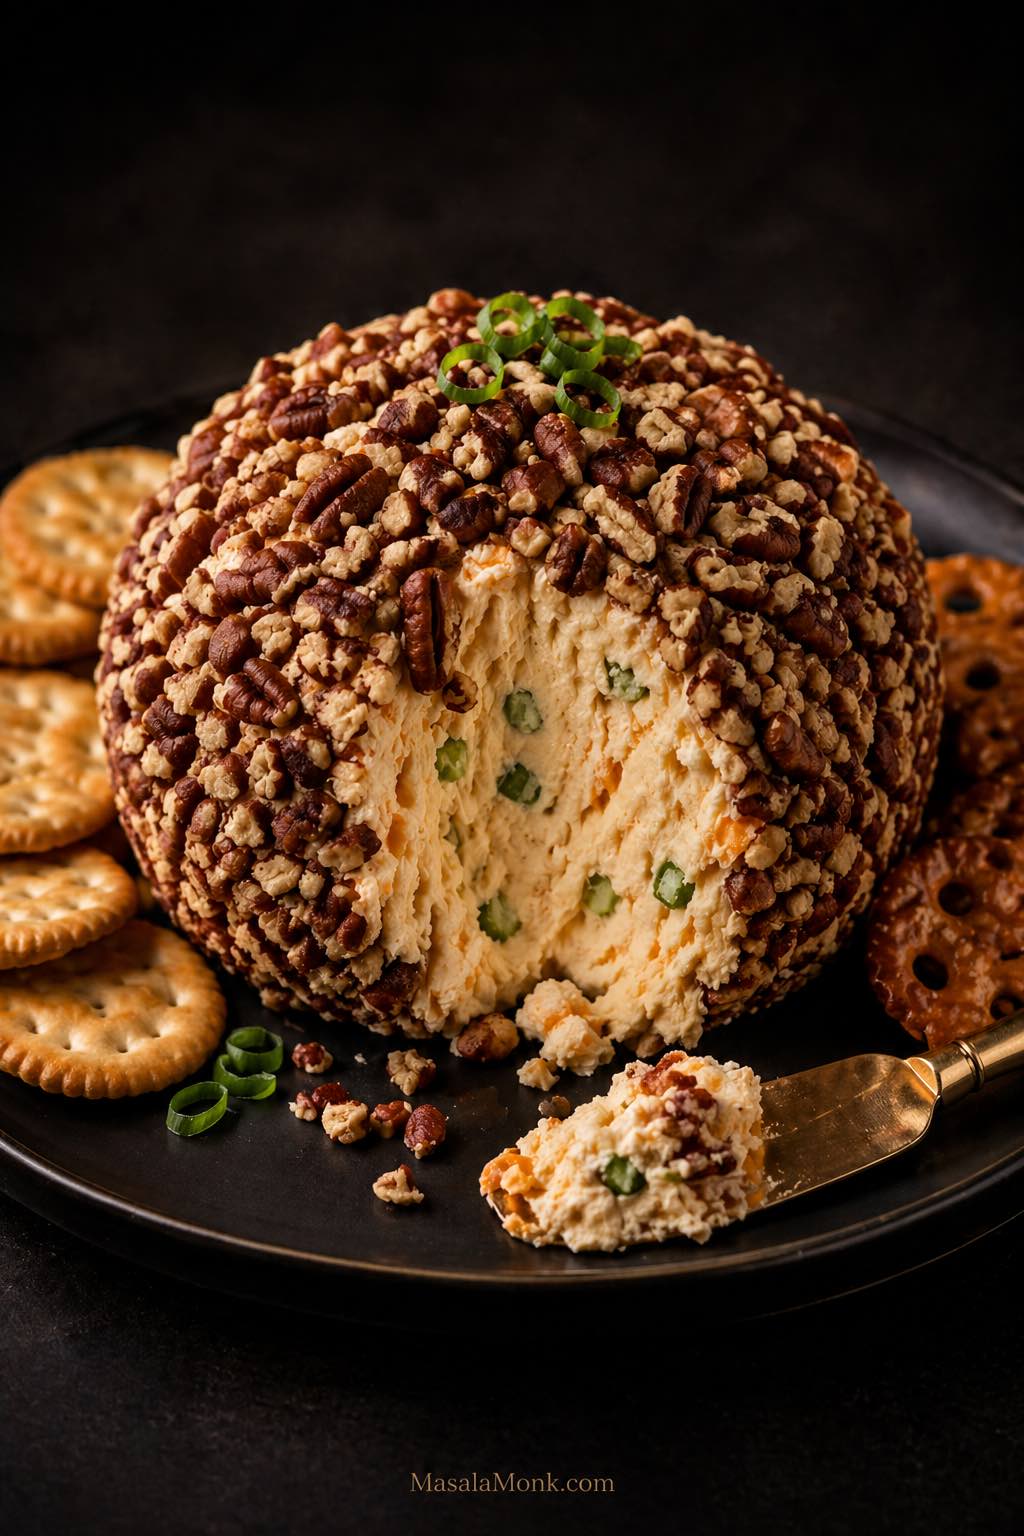
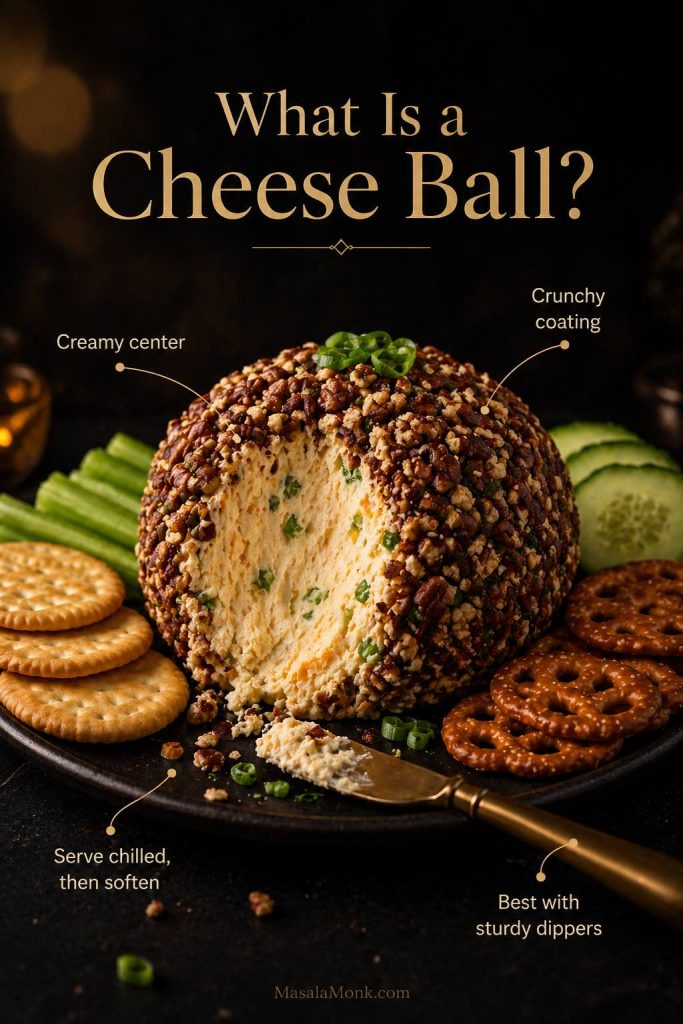
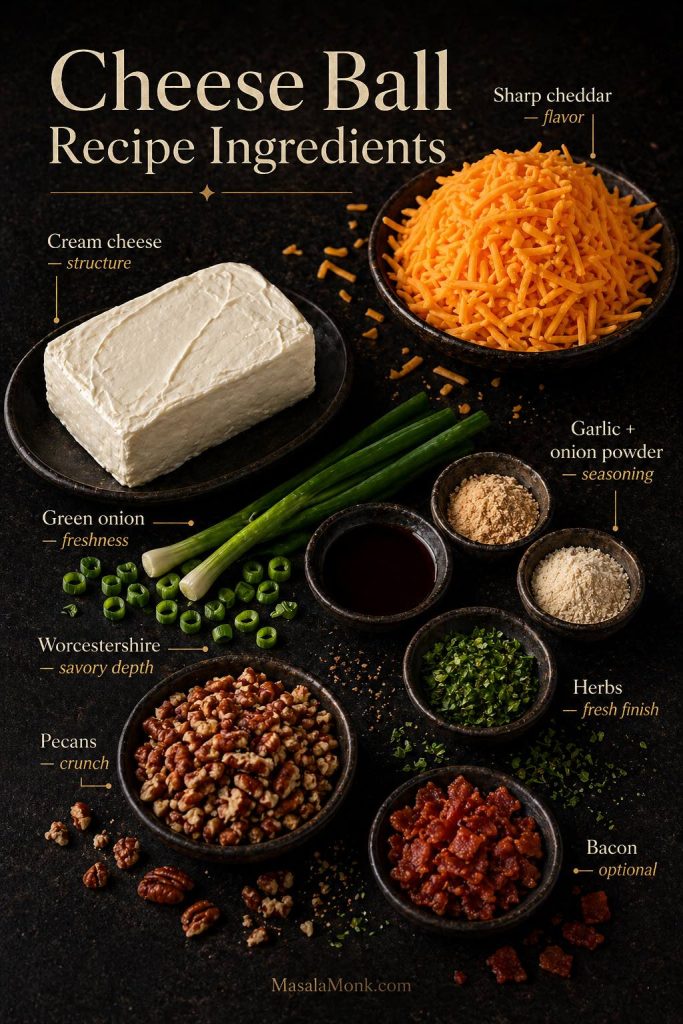
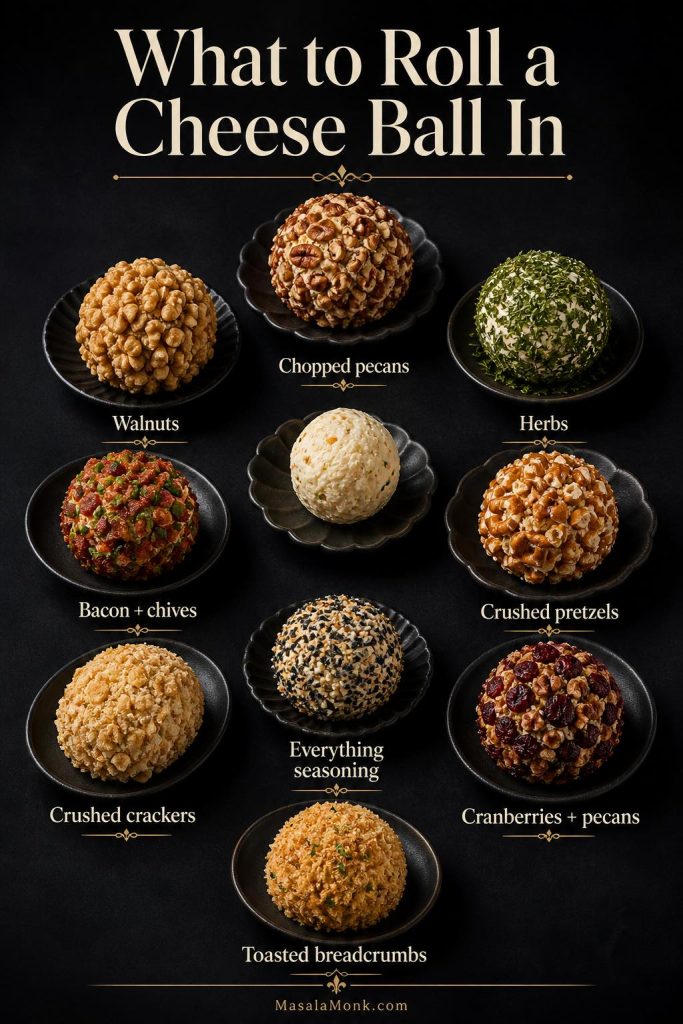
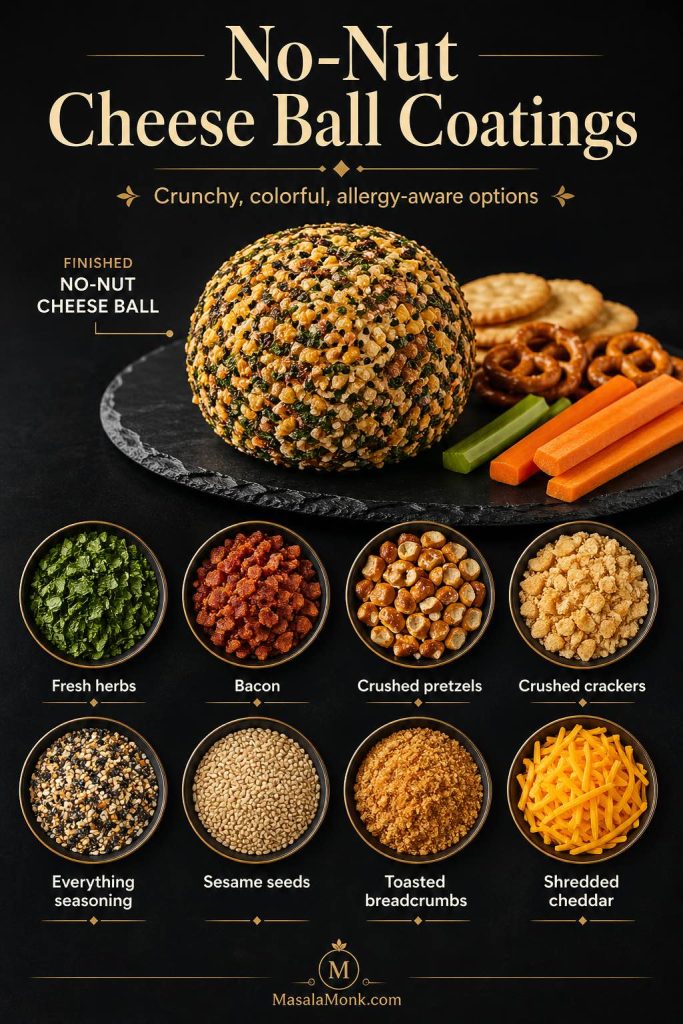
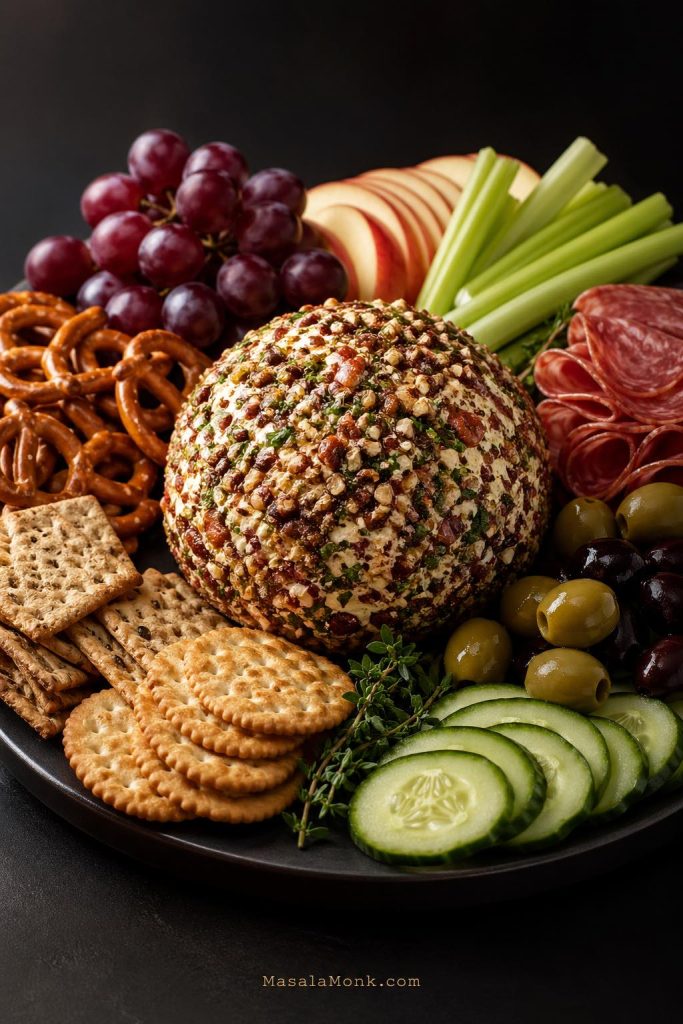
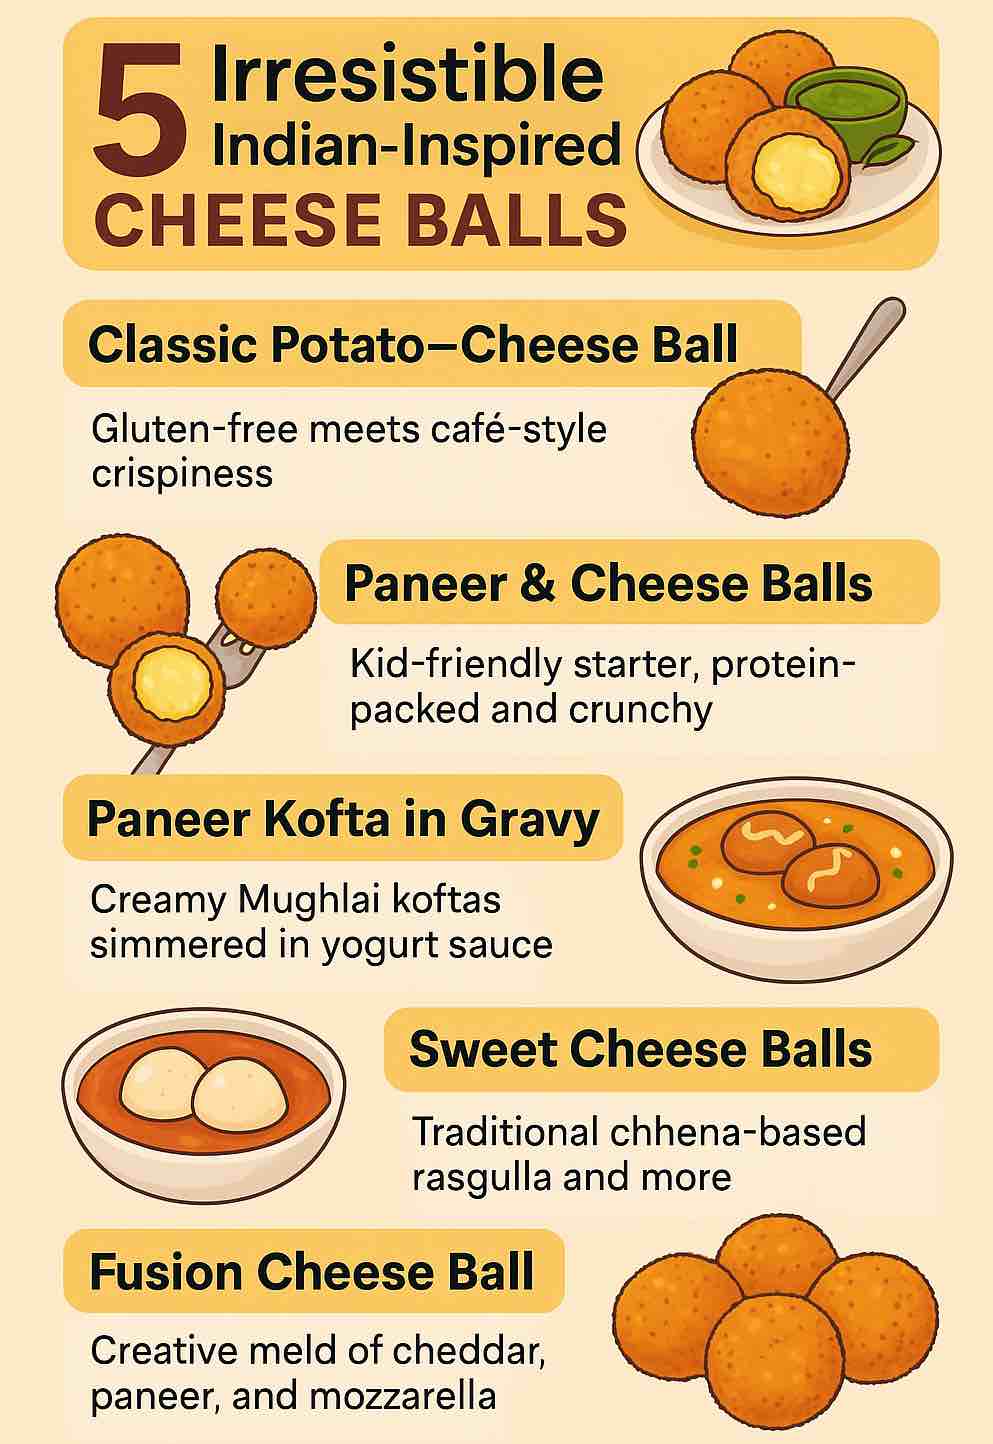
| Cheese board | Pair with a make-ahead cheese ball, cheddar cubes, soft cheese, pickles, and sliced vegetables. |
| Lunchbox snack | Pack only once the crackers are dry and no longer warm. |
| Road-trip snack | Store in a zip-top bag or airtight snack container. |
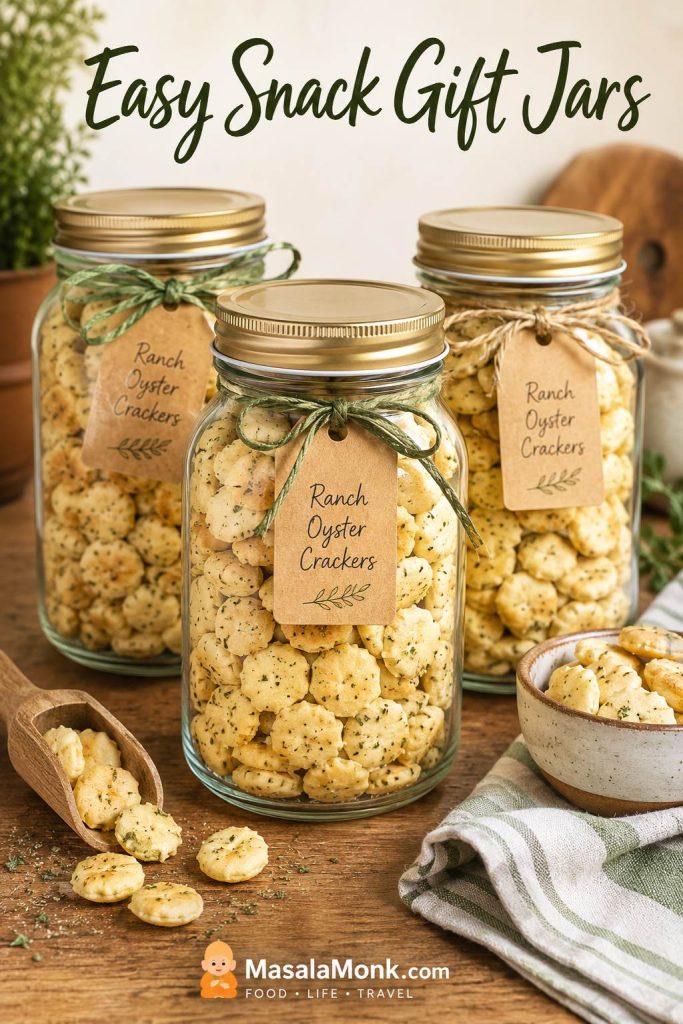
| Holiday snack jar | Fill small jars or tins once the crackers have cooled and feel dry to the touch. |
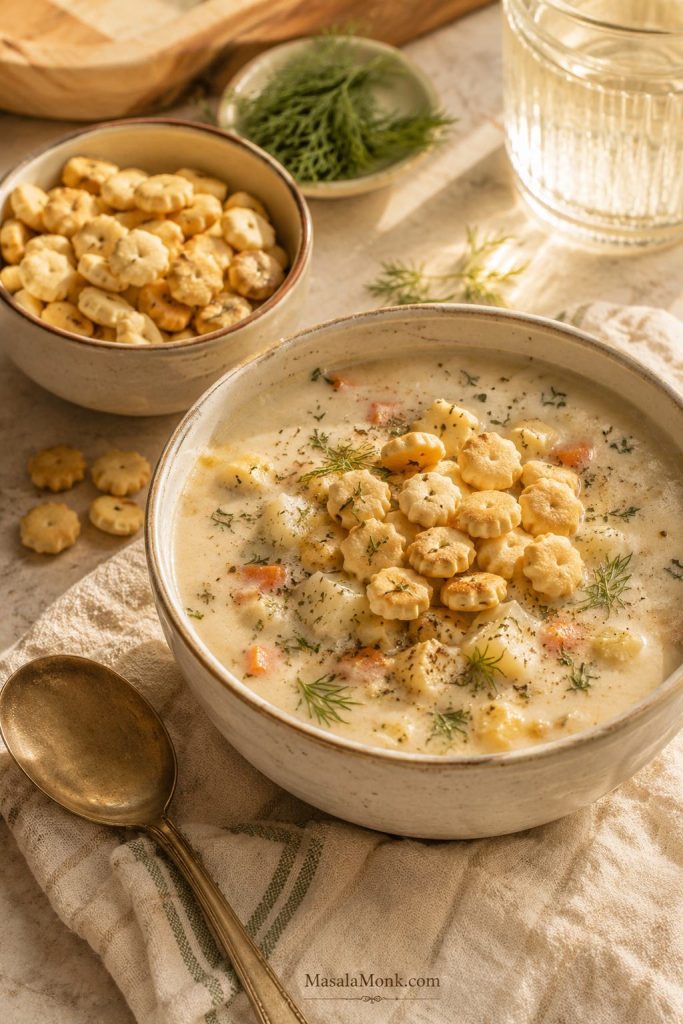
Use Ranch Oyster Crackers as a Soup Topping
For soup, add the crackers right before eating rather than letting them sit in the bowl. That keeps the first spoonful creamy underneath and crunchy on top.
Dip Boards and Appetizer Tables
For a hot appetizer table, set a bowl of these crackers near a bubbling spinach artichoke dip. They are best for nibbling alongside it or sprinkling over individual scoops, while sturdier chips, bread, or vegetables can handle the heaviest dips.
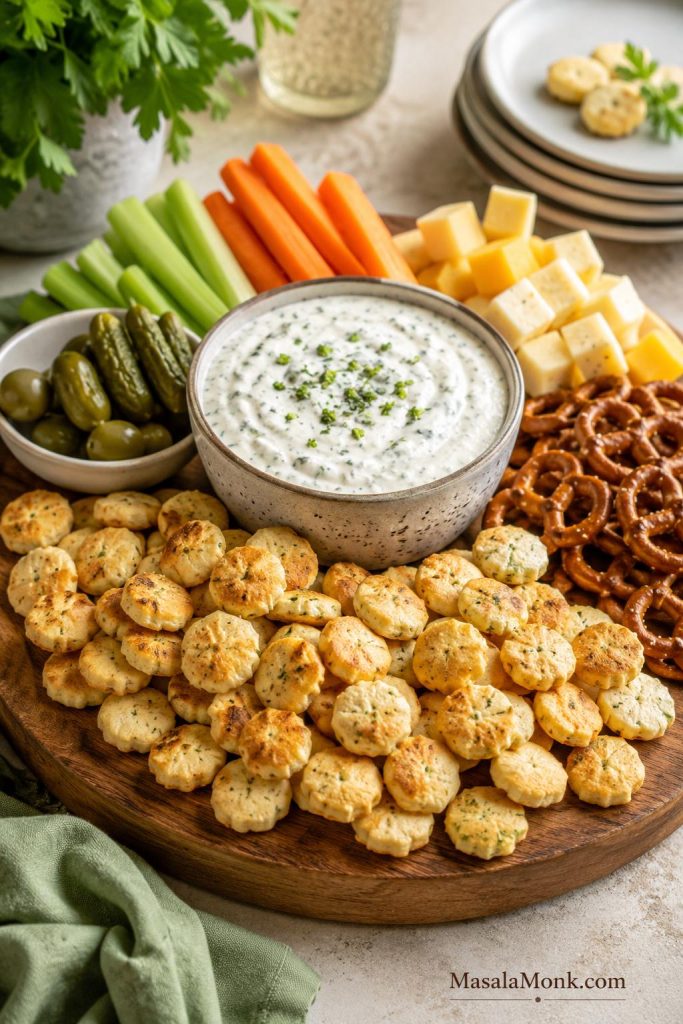
They also fit neatly into a larger snack board or casual charcuterie board, especially when you want one seasoned, crunchy element beside cheeses, pickles, fruit, nuts, and plain crackers.
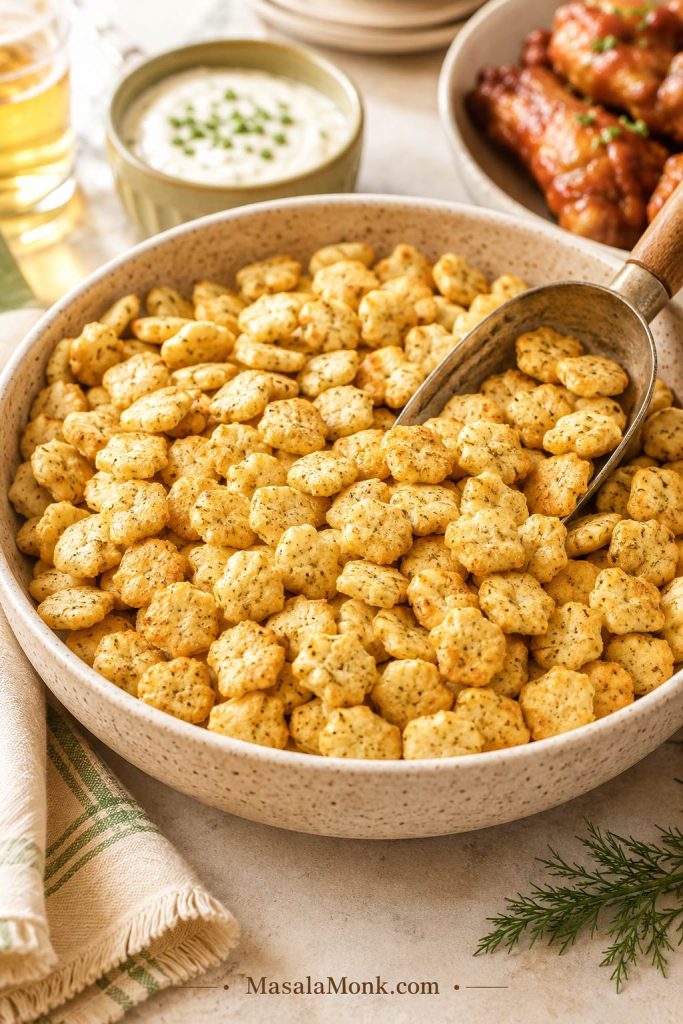
Party Bowl for Game Day and Snack Tables
If you are building a bigger game-day spread, serve them near wings, deviled eggs, cheese cubes, crunchy vegetables, and a few stronger crackers for heavier dips. Oyster crackers are excellent for sprinkling, topping, and casual snacking, but they are not always sturdy enough for very thick dips.
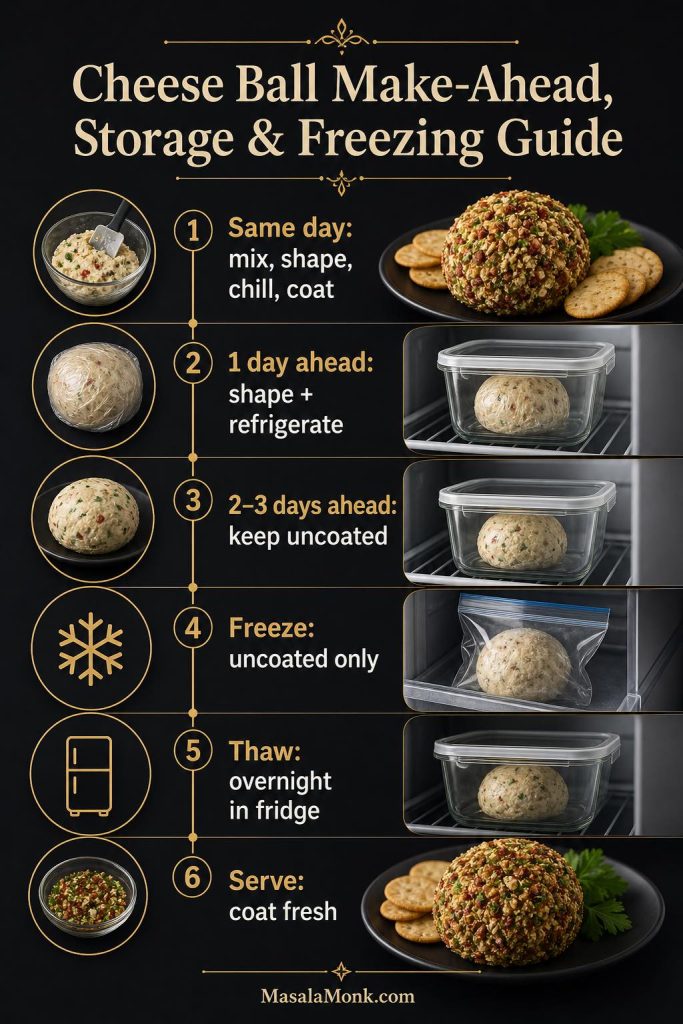
Storage and Make-Ahead Tips
Ranch oyster crackers are a good make-ahead snack as long as they are cool before they go into a container. Once cooled, store them airtight at room temperature and use them within the first several days for the cleanest crunch.
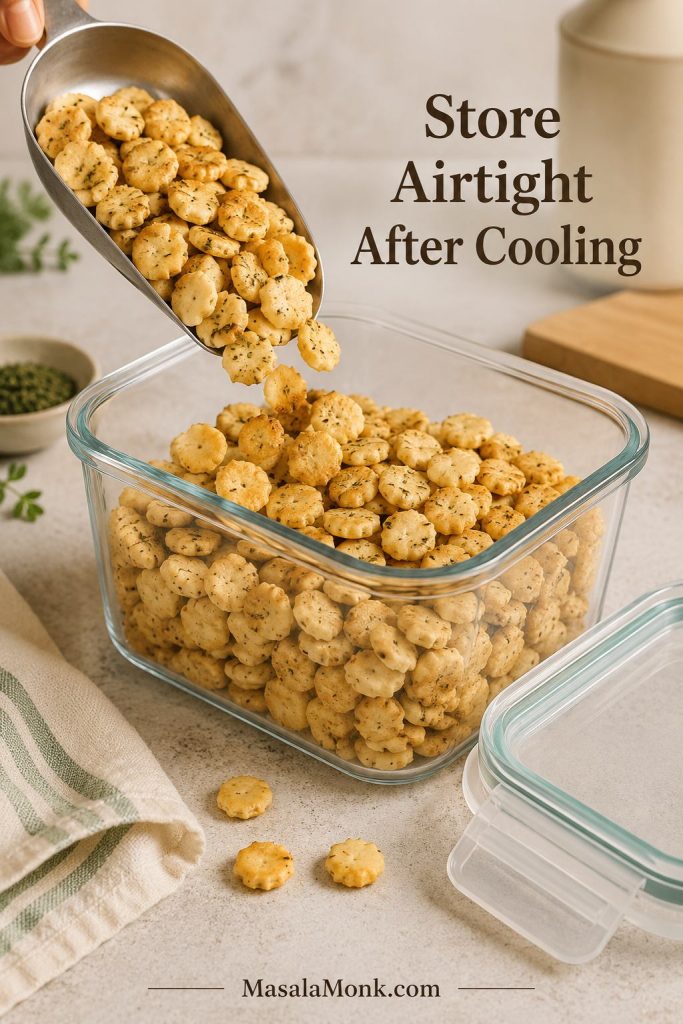
- Best storage: Use a sealed container, jar, tin, or zip-top bag.
- Room temperature only: The fridge can make crackers stale faster.
- Longer storage: If baked dry and stored airtight, they usually keep about 1 week, depending on humidity and coating.
- Gift jars: Use only crackers that feel dry to the touch, and never seal them warm.
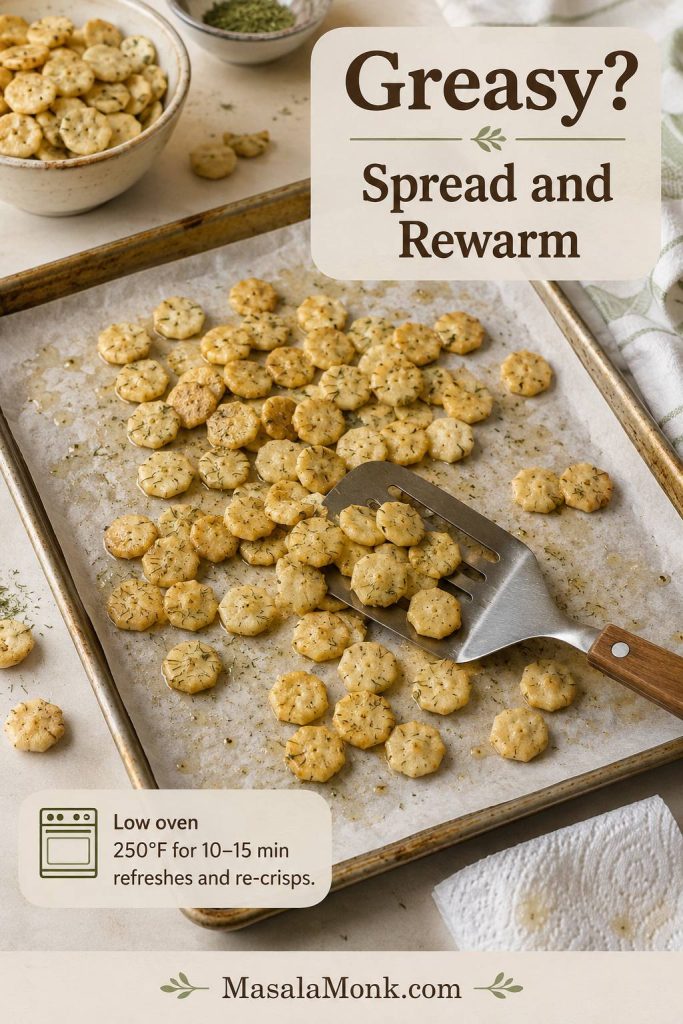
- Refresh if needed: Bake at 250°F / 120°C for 5–8 minutes, then cool on the pan again.
- Freshness check: If they smell stale, taste flat, or feel soft even after refreshing, make a fresh batch.
Gift Jars
For gifting, pack only fully cooled crackers into clean jars or tins. A simple label and tight seal matter more than fancy packaging because the texture is the real gift.
They are especially useful because you can make them before people arrive, then put out a bowl when the table still feels like it needs one more salty, crunchy thing.
If you are making these for a party, prep one or two other make-ahead bites too. A tray of classic deviled eggs gives the table something creamy and tidy while the crackers bring the crunch.
Freezing is not worth it for most batches. The crackers can pick up moisture and lose their clean crunch, so make them a few days before the party and store them well instead.
If a stored batch turns soft or oily, use the troubleshooting guide before deciding it is a loss.
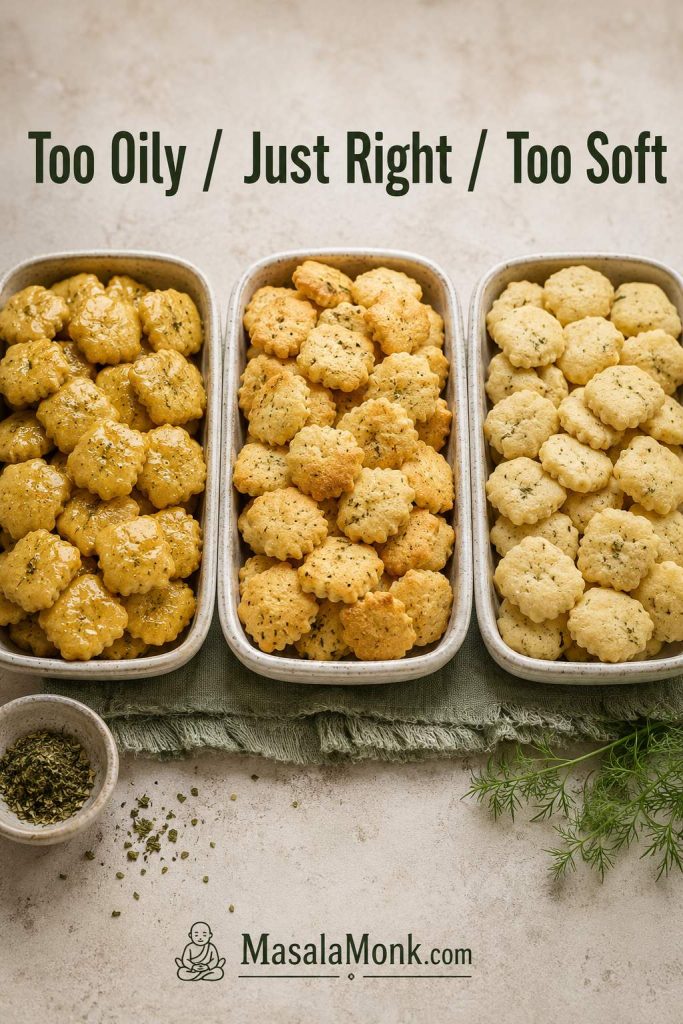
Troubleshooting the Batch
If a batch does not come out quite right, it is usually one of four things: too much fat, too much salt, not enough baking time, or uneven coating. The good news is that many batches can be saved, especially if the flavor is right but the texture is off.
Common Problems and Fixes
| Problem | Why it happened | Fix now | Fix next time |
|---|---|---|---|
| Greasy crackers | Too much oil or butter, or not baked long enough | Spread on a pan and bake 5–8 minutes more at 250°F / 120°C | Use less fat and spread in one layer |
| Soggy crackers | Bottled ranch dressing, too much fat, or stored while warm | Bake low until dry, then let the tray cool | Use dry ranch mix only and wait until the crackers are no longer warm before storing |
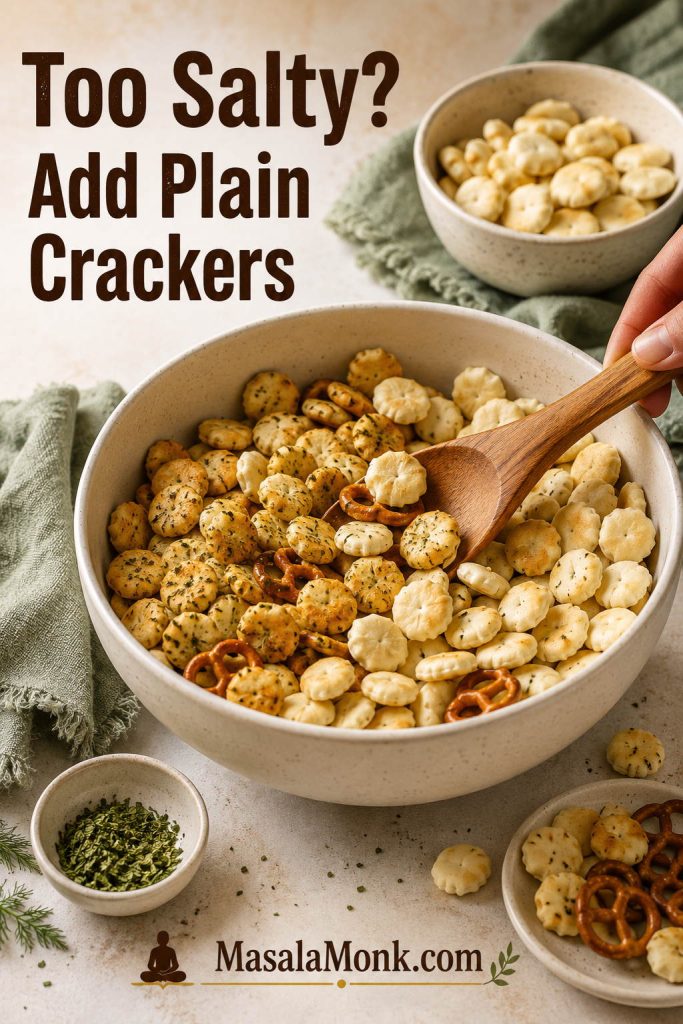
| Too salty | Full packet plus salty crackers, ranch dip mix, or salty add-ins | Add more plain crackers and toss; if you do not have extra crackers, mix the batch into unsalted pretzels or plain cereal | Start with ¾ packet or fewer salty extras |
| Bland | Too many crackers or too little seasoning | Dust while warm on the tray, then let cool before storing | Use the ratio table and taste your seasoning mix |
| Seasoning clumped | Dry powder hit oily crackers unevenly | Toss longer, break up clumps gently, and add a handful of plain crackers if some bites are too salty | Whisk seasoning into oil before adding to crackers |
| Burnt edges | Oven too hot, thin pan, or not stirred | Remove dark pieces before they flavor the batch | Use 250°F / 120°C and stir halfway |
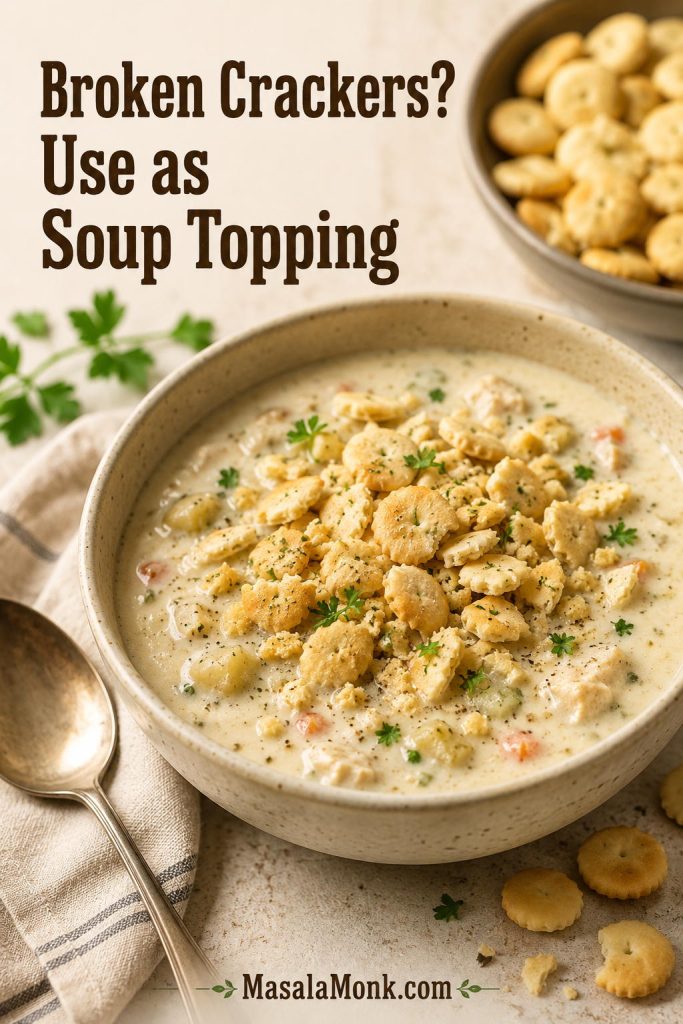
| Crackers broke | Bag shaken too hard or crackers were fragile | Use broken pieces as soup topping | Toss in a bowl with a spatula instead of shaking hard |
| Soft after storage | Stored warm, humid room, or container not airtight | Re-crisp at 250°F / 120°C for 5–8 minutes | Cool on the pan and store airtight |
Fix Greasy Crackers
If the flavor is good but the crackers feel slick, spread them back onto a pan and warm them gently. This gives the extra coating a chance to settle instead of sitting on the surface.
Too Salty? Stretch the Batch
If the seasoning tastes too strong, stretch the batch with plain crackers, pretzels, or unsalted cereal. Diluting the coating is usually better than trying to scrape seasoning off.
Use Broken Crackers as Soup Topping
The most reassuring part: even imperfect batches rarely go to waste. If the flavor is good, the broken, softer, or extra-seasoned crackers can still become excellent soup toppers.
Ranch Oyster Crackers Recipe
These baked ranch oyster crackers make about 5½–6 cups of crisp, savory snack crackers for soup, parties, road trips, and make-ahead appetizer bowls.
Equipment: Large bowl or gallon zip-top bag, small bowl or measuring cup, rimmed baking sheet, parchment paper, and a spatula.
Ingredients
- 12 oz / 340 g oyster crackers, about 5½–6 cups depending on brand
- ⅓ cup / 80 ml neutral oil, such as canola, vegetable, or avocado oil
- 2½ tablespoons dry ranch seasoning for balanced flavor, or up to 3 tablespoons for a bolder batch
- 1 teaspoon dried dill
- ½ teaspoon garlic powder
- ½–1 teaspoon lemon pepper
- ½ teaspoon onion powder, optional
- ¼ teaspoon smoked paprika or cayenne, optional
Instructions
- Heat the oven to 250°F / 120°C. Line a rimmed baking sheet with parchment if you want easier cleanup.
- In a small bowl or measuring cup, whisk together the oil, ranch seasoning, dried dill, garlic powder, lemon pepper, and any optional onion powder, smoked paprika, or cayenne.
- Add the oyster crackers to a large mixing bowl or gallon zip-top bag. Pour the seasoning oil over the crackers.
- Toss gently until the crackers are evenly coated.
- Spread the crackers in a single layer on the prepared baking sheet.
- Bake for 18–22 minutes, stirring after about 10 minutes, until the crackers smell toasted and look dry rather than glossy.
- Let the crackers cool on the pan before serving or storing.
Notes
- For a 9 oz / 255 g bag, use 2 tablespoons ranch seasoning for mild flavor or 2½–3 tablespoons for bold flavor. Use ¼ cup oil for a lighter coating, or ⅓ cup oil / 5 tablespoons melted butter for a richer snack.
- For a 16 oz / 454 g bag, use ½ cup oil and about 3 tablespoons ranch seasoning, or most/all of a standard 1 oz / 28 g packet adjusted for saltiness.
- For a butter version, use up to ½ cup / 113 g melted unsalted butter instead of oil.
- Dry ranch mix gives the crispest coating; bottled dressing softens the crackers.
- If the crackers need more flavor, dust them while warm on the tray.
Ranch Oyster Crackers FAQs
Can I use bottled ranch dressing instead of dry ranch mix?
Skip bottled ranch for this recipe. Dry ranch mix gives you the ranch flavor without adding the moisture that makes crackers soften.
How much ranch seasoning is in one packet?
Many packets are about 1 oz / 28 g, but the tablespoon amount can vary. For a 12 oz bag, 2½ tablespoons is balanced and 3 tablespoons gives a bolder snack-bowl flavor.
Can I use ranch dip mix instead of ranch dressing mix?
Yes, with a light hand. Dip mix can taste saltier or stronger, so start with a little less and add more after baking if the crackers need it.
Do I have to use a specific brand?
No. Store-brand ranch seasoning, shaker seasoning, classic packets, or homemade dry ranch-style seasoning can all work. The salt level matters more than the label.
Do they have to be baked?
Not always. Baking gives the snappiest batch, but the no-bake method works when you have time to let the crackers sit for a few hours.
Can I skip the dill?
Yes. Dill gives the old-school ranch-snack flavor, but parsley, chives, onion powder, or extra lemon pepper can take its place.
Is butter better than oil?
Choose butter for richer flavor and oil for a lighter crunch. For make-ahead batches, oil is the safer default because it stays cleaner and less heavy.
Why are mine greasy?
They can usually be rescued. Spread them out and bake at 250°F / 120°C for another 5–8 minutes so the coating has time to settle.
How long do they stay fresh?
They are best in the first several days. If baked dry, cooled fully, and stored airtight, they usually keep about a week.
Can I make them in the air fryer?
Yes. Cook a small batch at 300°F / 150°C for 5 minutes, shake, then cook another 2–5 minutes. Give the crackers room in the basket so they toast evenly.
Can I turn them into snack mix?
Absolutely. Once the crackers are baked and cool, fold them into pretzels, Chex-style cereal, cheese crackers, roasted nuts, or mini saltines.
Can I use another cracker?
Yes — just watch the timing. Mini saltines, small pretzels, Chex-style cereal, cheese crackers, and Goldfish-style crackers can all brown or dry at different speeds.
Are oyster crackers made with oysters?
Usually, no. They are small soup crackers traditionally served with oyster stew and chowder. Always check the package if you have allergy concerns.
Can I make them ahead?
Yes. Make them a day or two ahead, cool them fully, and store airtight at room temperature. Re-crisp at 250°F / 120°C for 5–8 minutes if needed.
Final Bite
Once the ratio makes sense, this becomes one of those repeat snacks you barely need to think about. It can sit beside soup on a quiet night, fill the extra bowl on an appetizer table, travel in a road-trip bag, or turn into a holiday jar without much work.
Make them once as written, then adjust the next batch to fit your table: extra dill for the old-school version, cayenne for the spicy bowl, Parmesan for a savory finish, or a no-ranch blend when you want something more homemade. However you season them, the job is the same: give soup a little crunch, give the snack table one more reason to linger, and make sure the bowl empties before anyone quite notices.