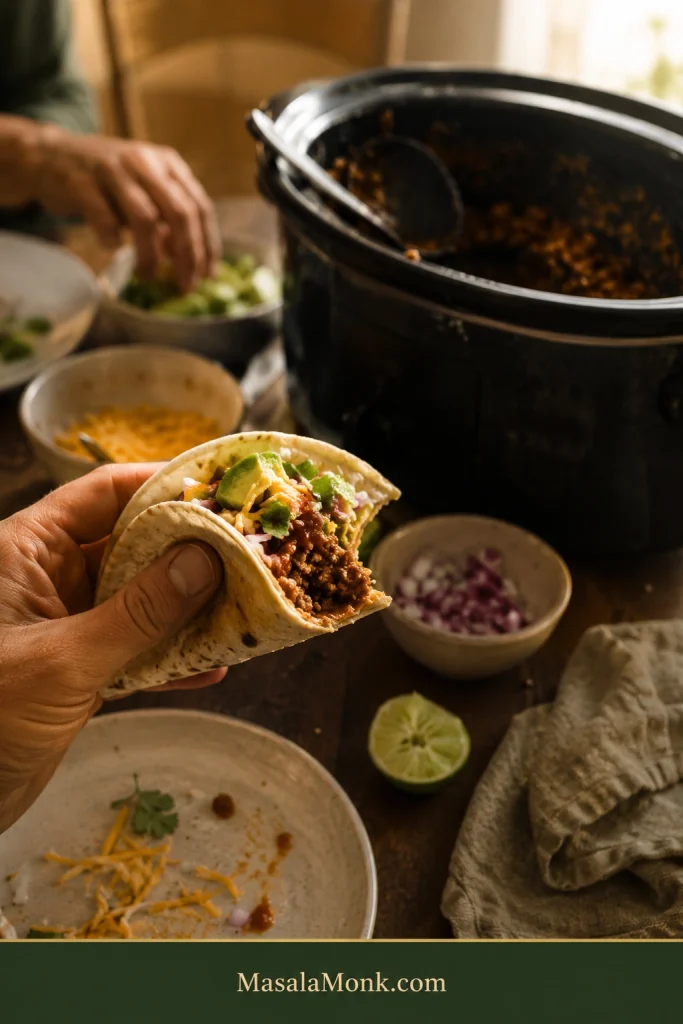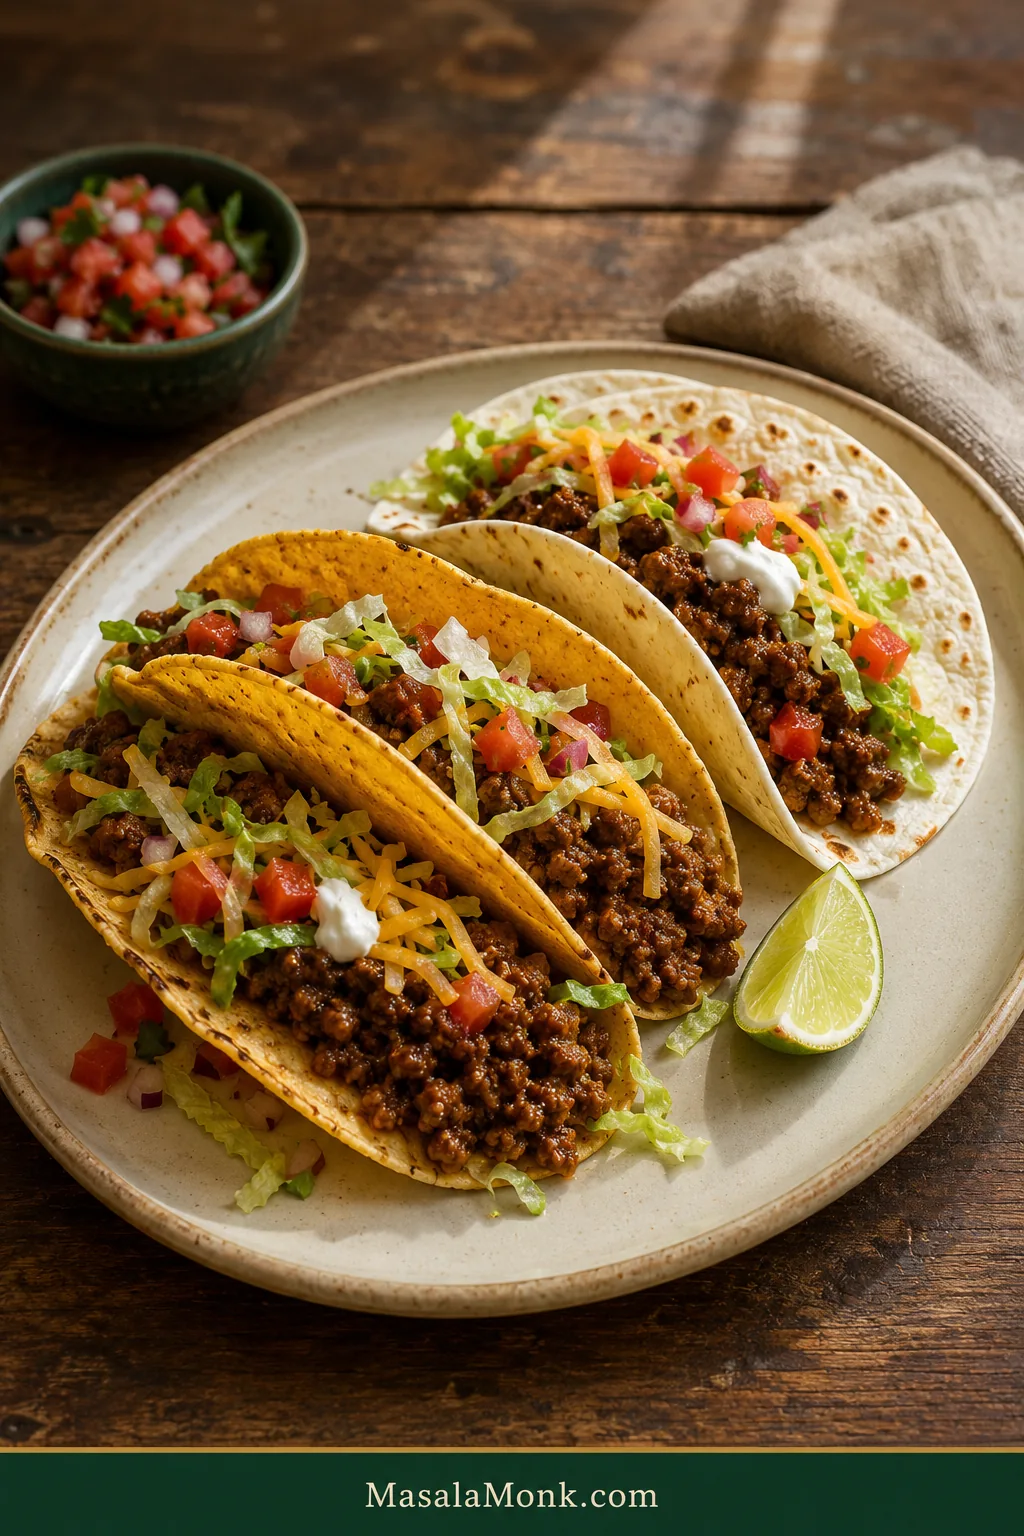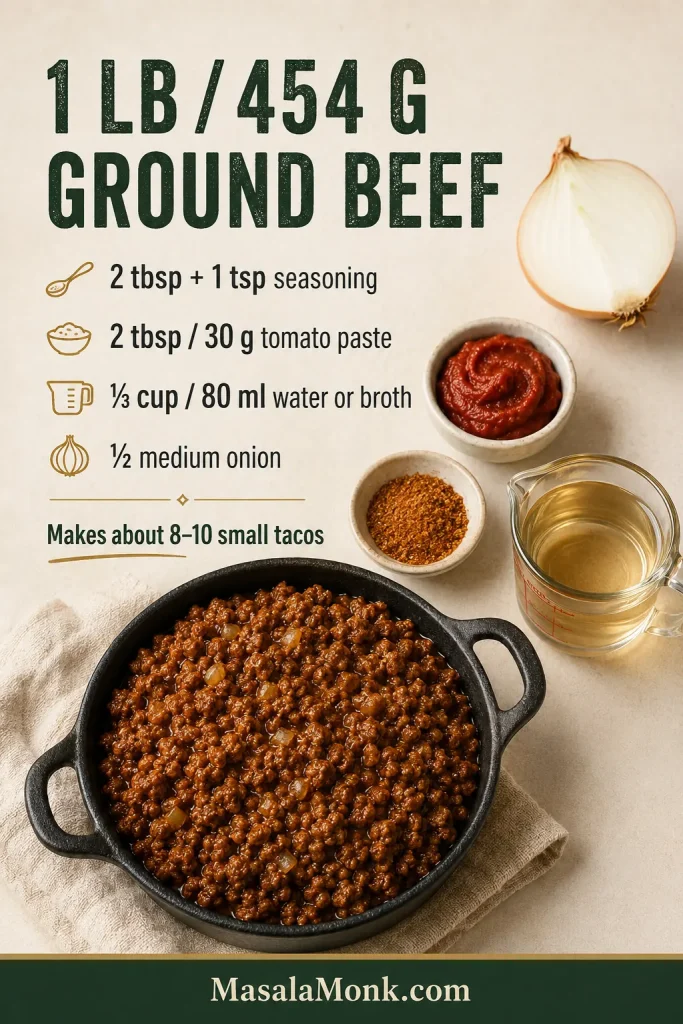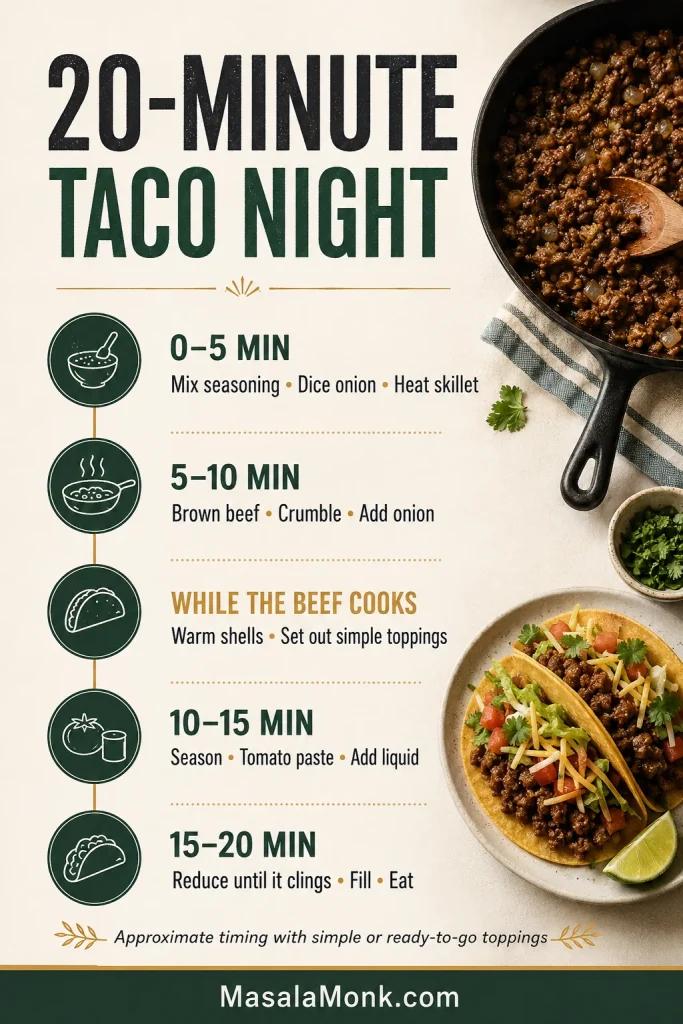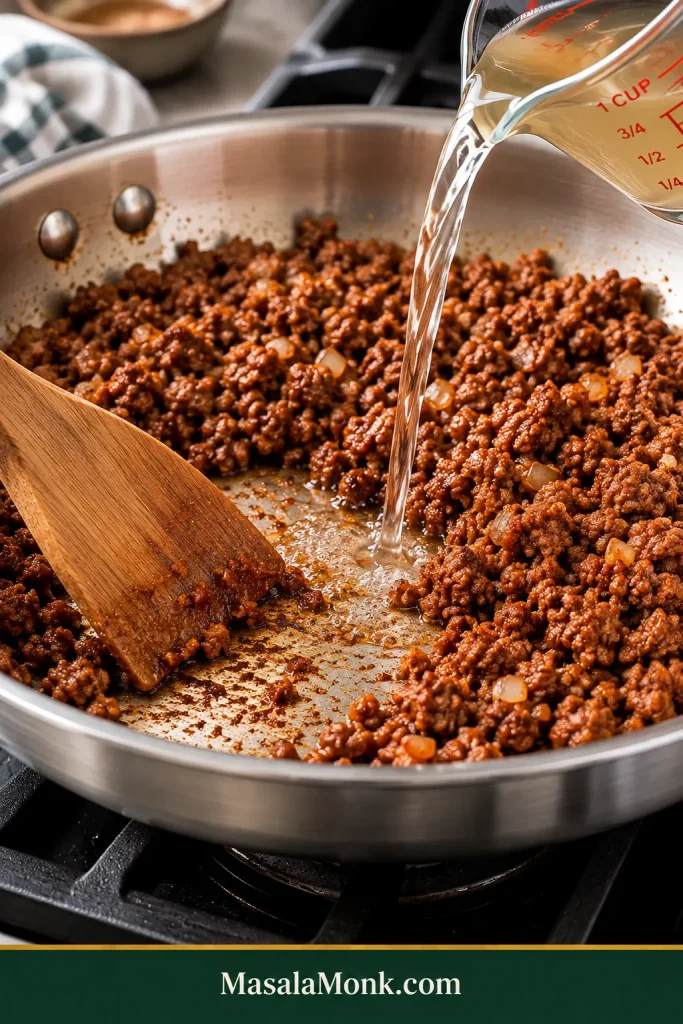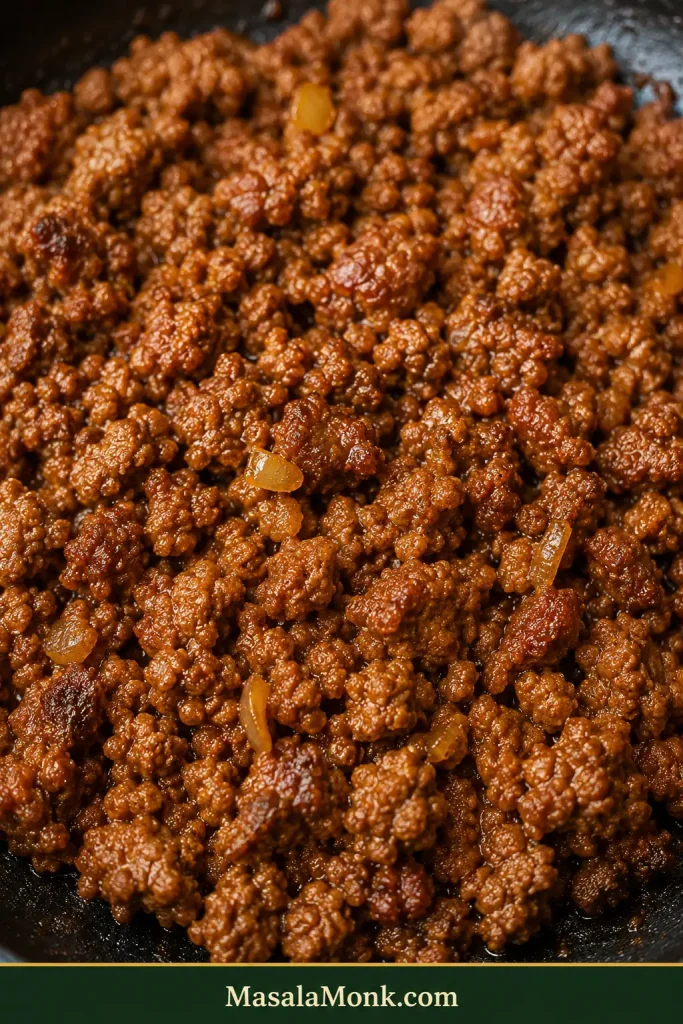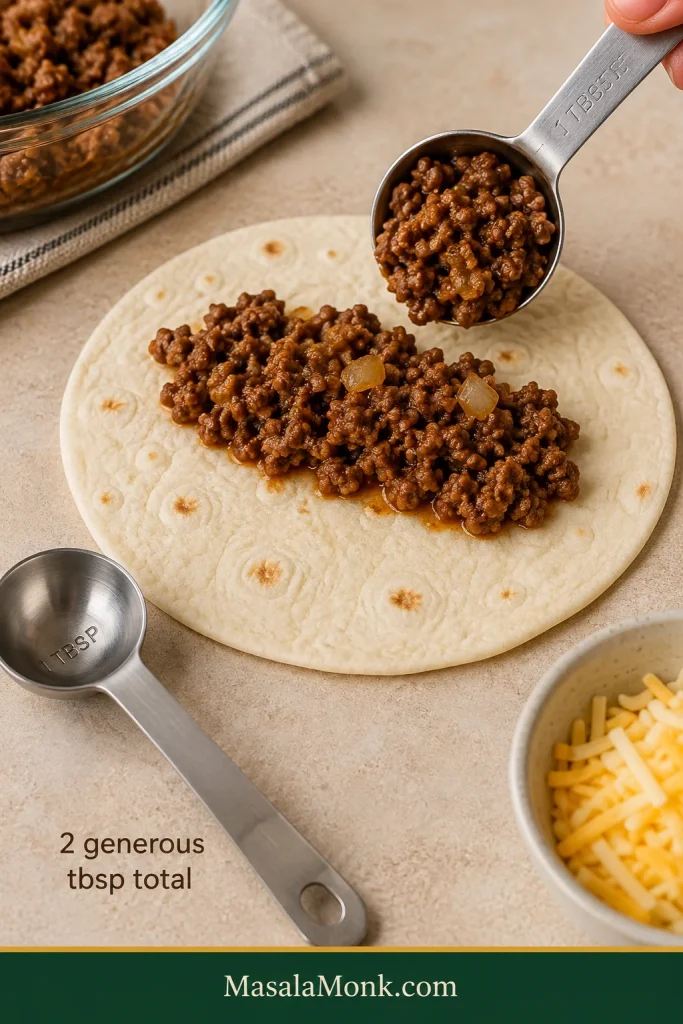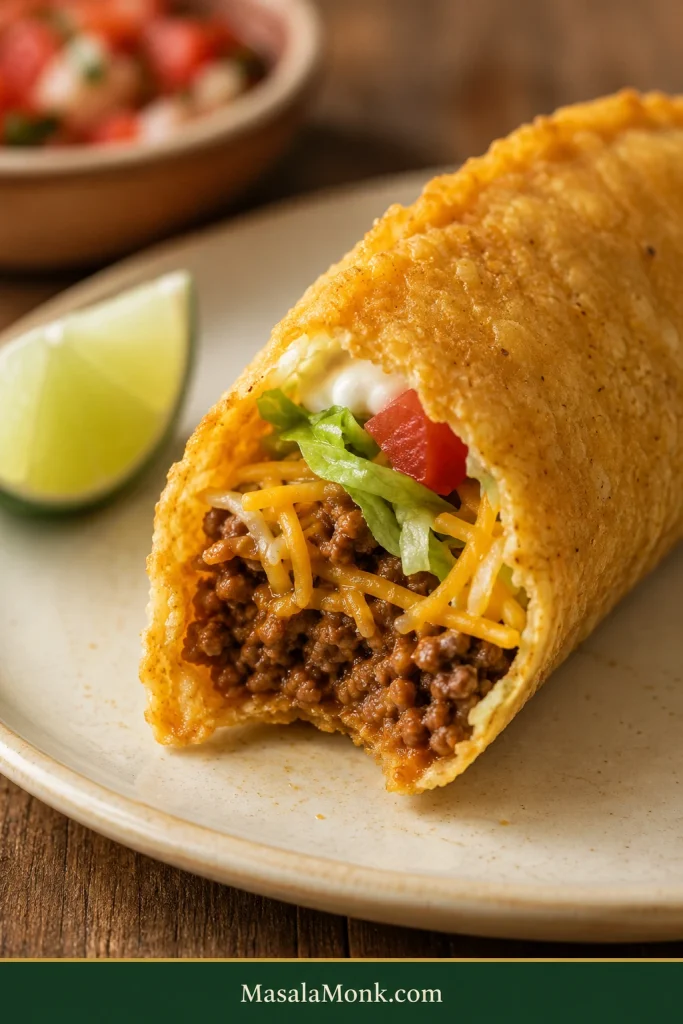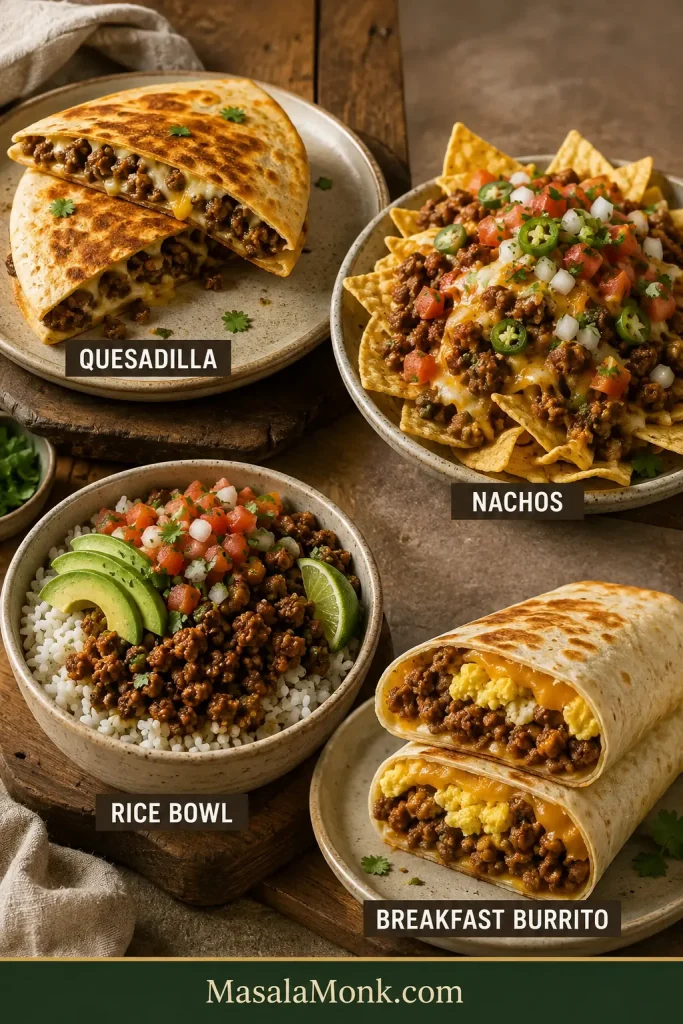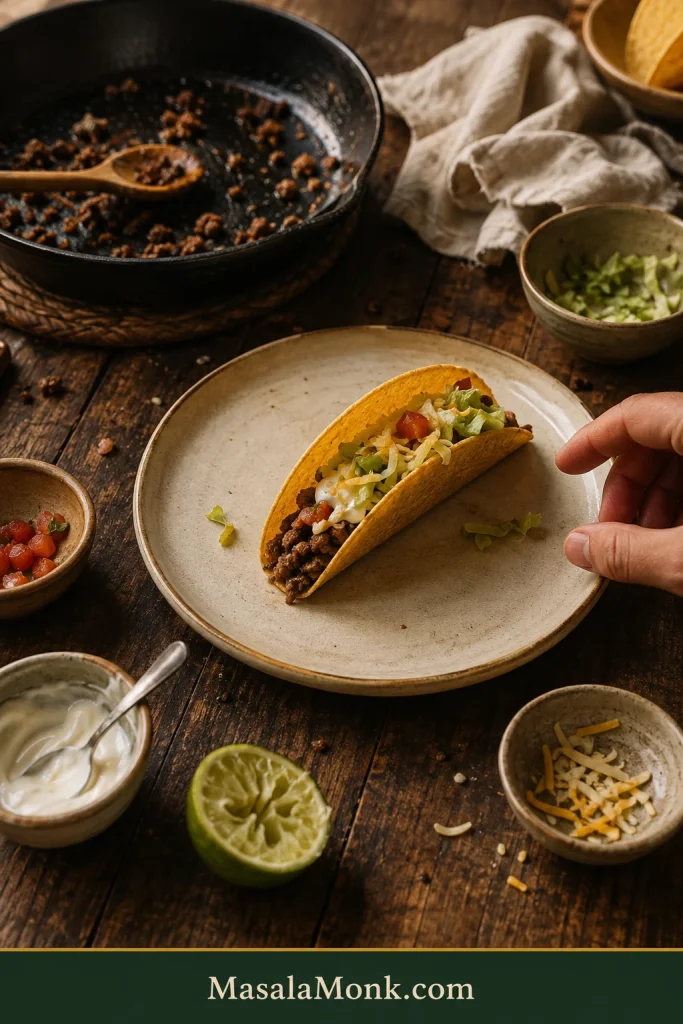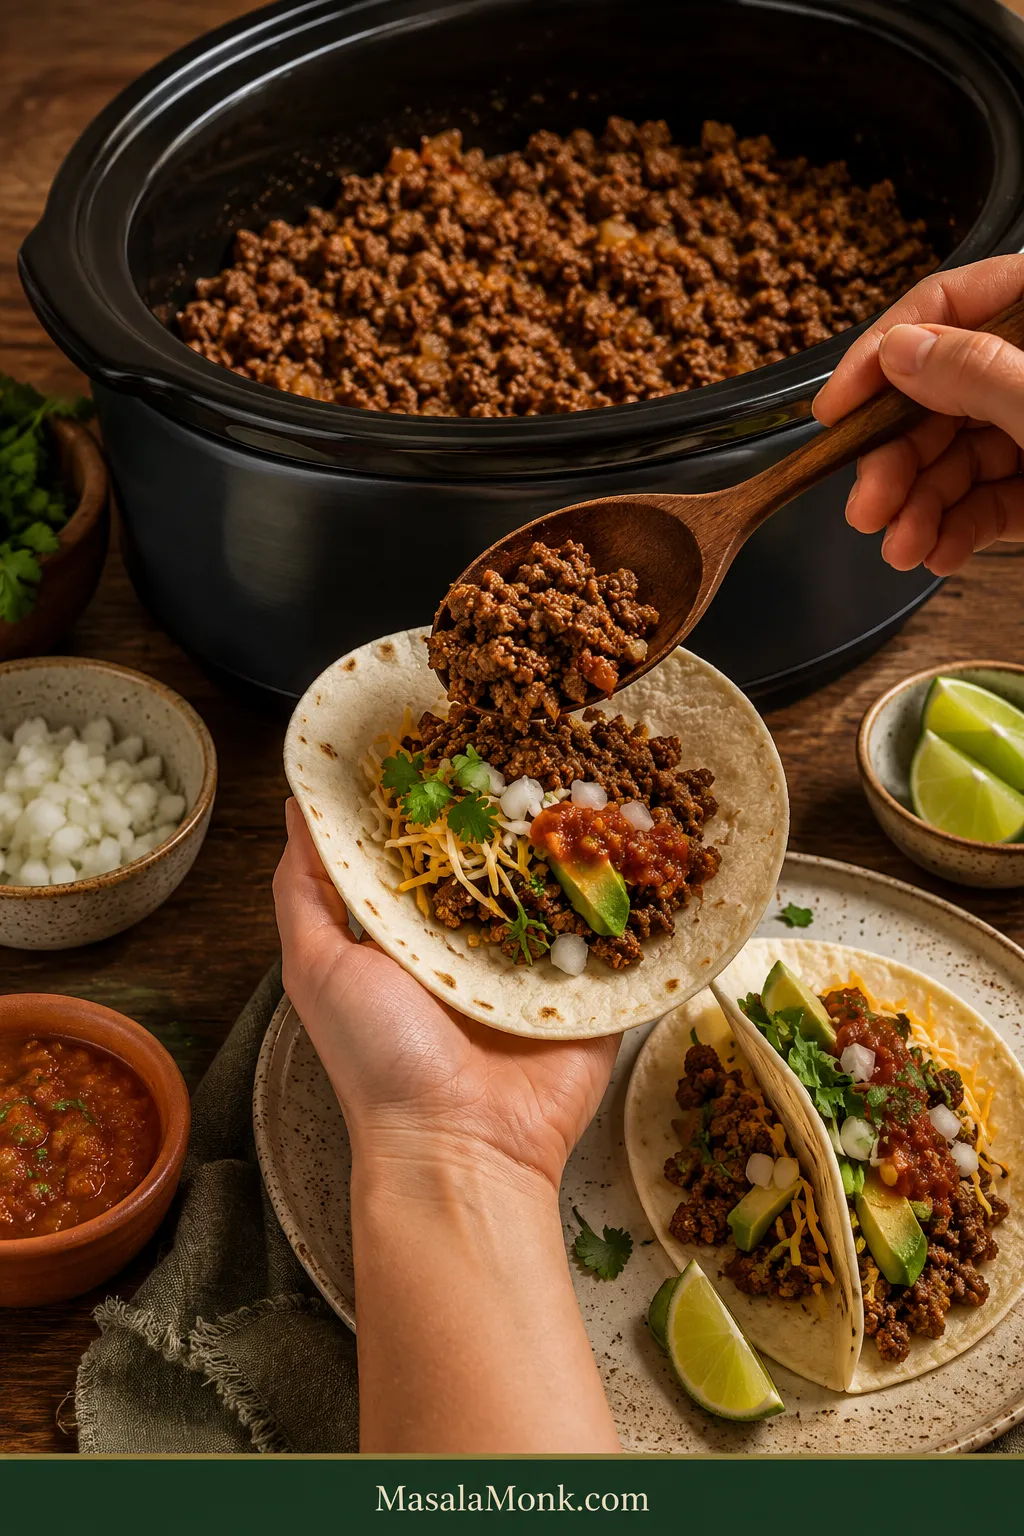
The best Crockpot taco meat has small, juicy beef crumbles coated in warm taco spices and tomato, ready to pile into soft tortillas while the cheese starts melting over the top.
And because the slow cooker does most of the work, the meat can be finished before everyone is ready to sit down. No standing over a skillet crumbling and stirring beef just as people start asking about dinner.
Ground beef has a few slow-cooker quirks. A dense block can stay clumpy, fatty beef can leave a slick of grease, thin salsa can make the filling watery, and extra hours do soft taco crumbles no favors. This method avoids most of those problems without turning an easy dinner into a project.
Quick Answer
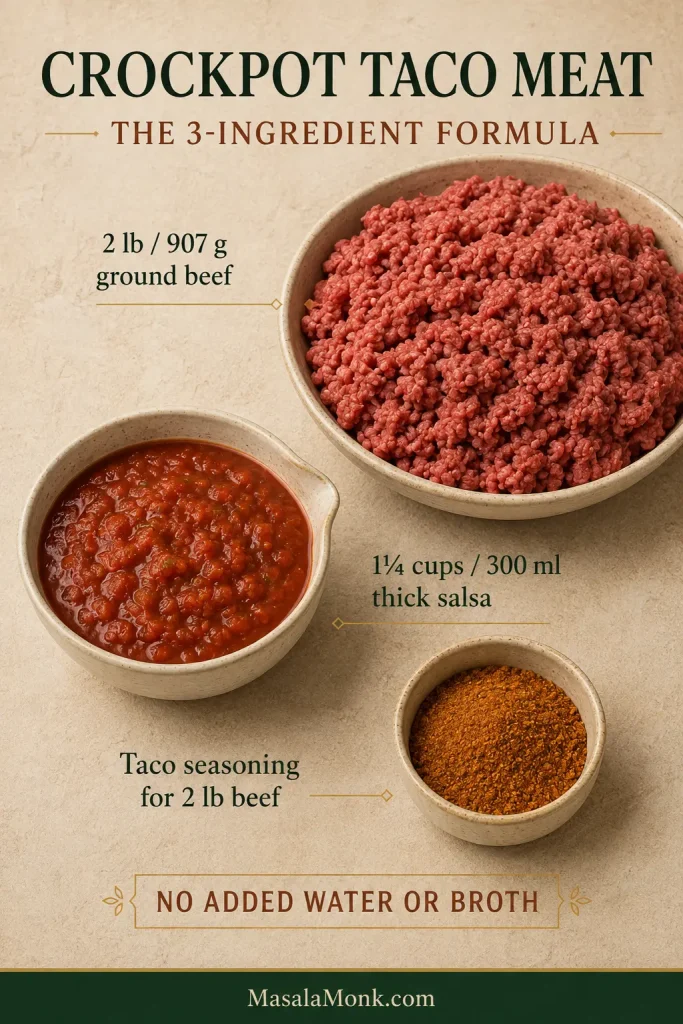
No browning or chopping is needed. For a 2-pound batch, combine 2 lb / 907 g raw, fully thawed lean ground beef with 1¼ cups / 300 ml thick salsa and taco seasoning.
Loosen the beef before cooking, then break it into the final crumble once it begins to set. Cook on HIGH for about 2½–3 hours or LOW for about 4–5 hours, starting your checks at the early end.
The beef is ready when it reaches at least 160°F / 71°C throughout and has the texture you want. Look for juicy, lightly glossy crumbles with very little free liquid underneath.
Added water or broth: none. Thick salsa already gives the beef the moisture it needs.
Want a visual finish check? See the Taco Meat Test.
Crockpot Taco Meat Recipe
Prep: about 5 minutes with prepared taco seasoning or 10 minutes with homemade. Yield: about 8 dinner servings.
The 3-Ingredient Version
- 2 lb / 907 g raw, fully thawed 90/10 ground beef
- 1¼ cups / 300 ml thick salsa
- Taco seasoning for 2 lb / 907 g beef
Using prepared taco seasoning? Use the amount your package recommends for 2 pounds of beef. If your brand’s packet is intended for 1 pound, that will usually mean two packets. Skip the packet’s stovetop water because the salsa supplies the cooking moisture here.
Using prepared seasoning? Jump straight to Instructions.
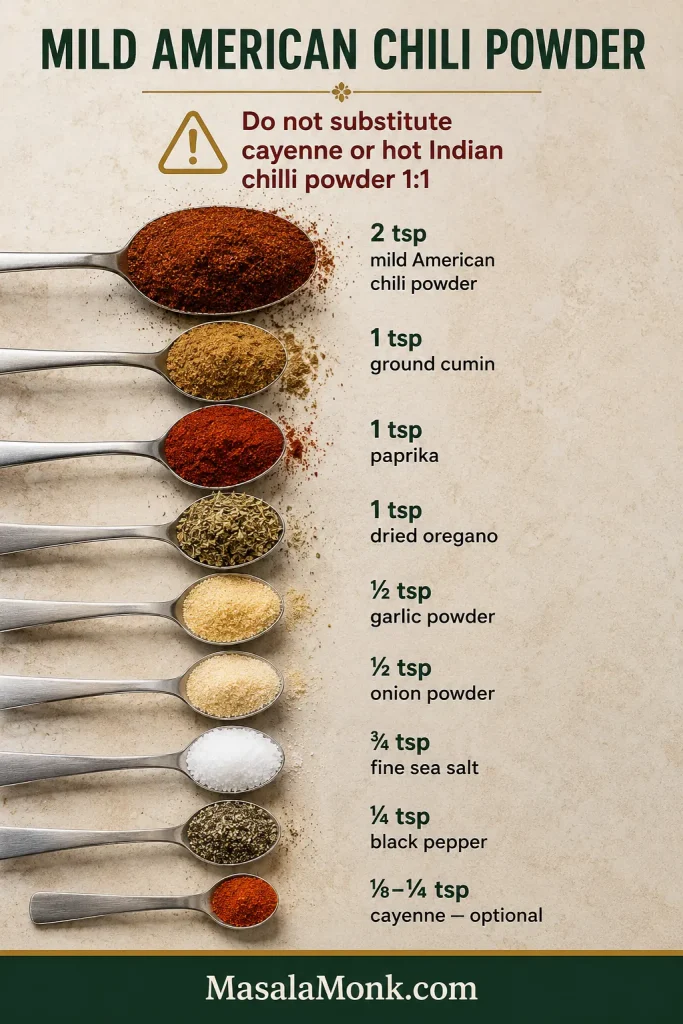
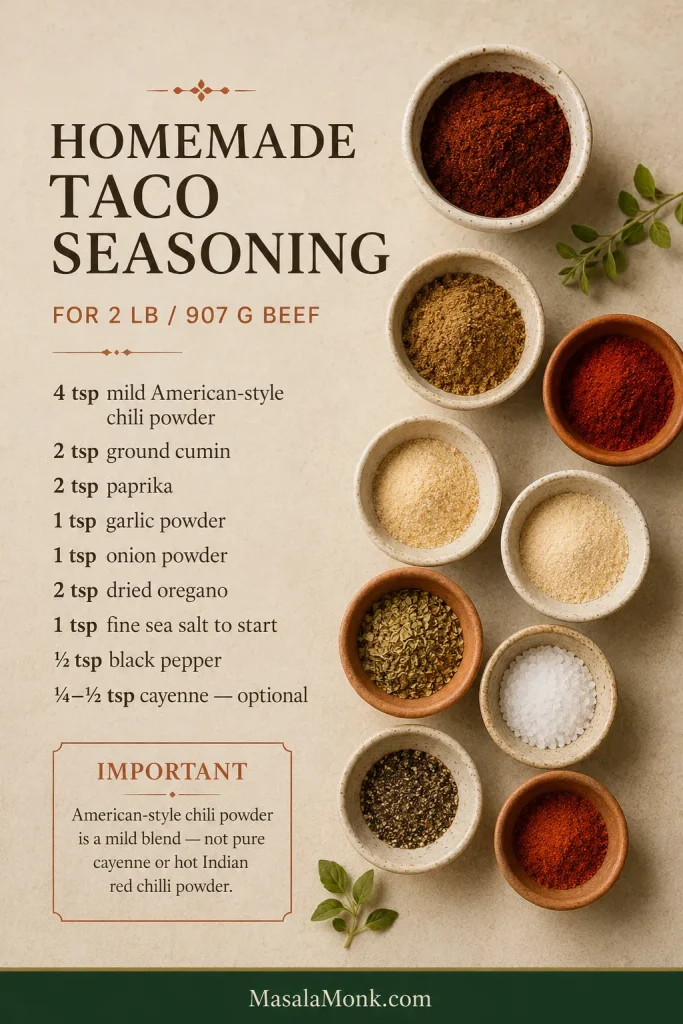
Prefer Homemade Taco Seasoning?
- 4 teaspoons mild American-style chili powder (not pure cayenne or hot Indian red chilli powder)
- 2 teaspoons ground cumin
- 2 teaspoons paprika
- 1 teaspoon garlic powder
- 1 teaspoon onion powder
- 2 teaspoons dried oregano
- 1 teaspoon fine sea salt to start, plus more if needed
- ½ teaspoon black pepper
- ¼–½ teaspoon cayenne, optional
In American taco recipes, “chili powder” usually means a relatively mild seasoning blend. Pure cayenne or a hot Indian chilli powder can be dramatically hotter, so use those much more cautiously.
Salsa can contribute plenty of sodium too. Starting with less salt gives you room to taste the cooked beef and adjust without discovering too late that the combination is overly salty.
Instructions
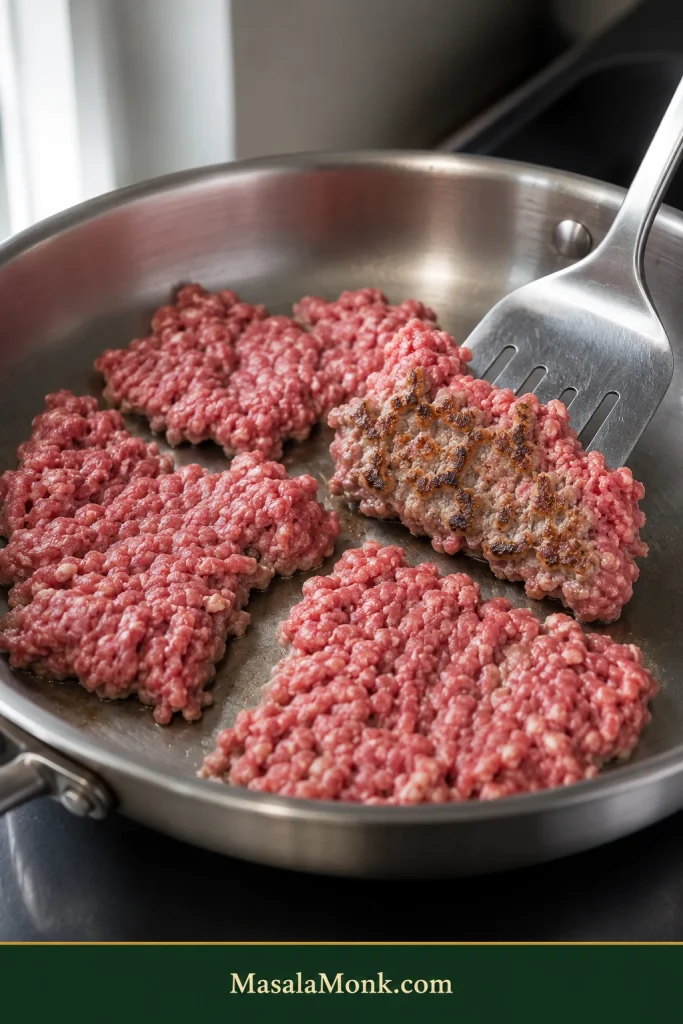
- Loosen and season the beef. Put the thawed beef in the slow cooker and pull the dense block into loose chunks. Scatter the taco seasoning evenly over the meat.
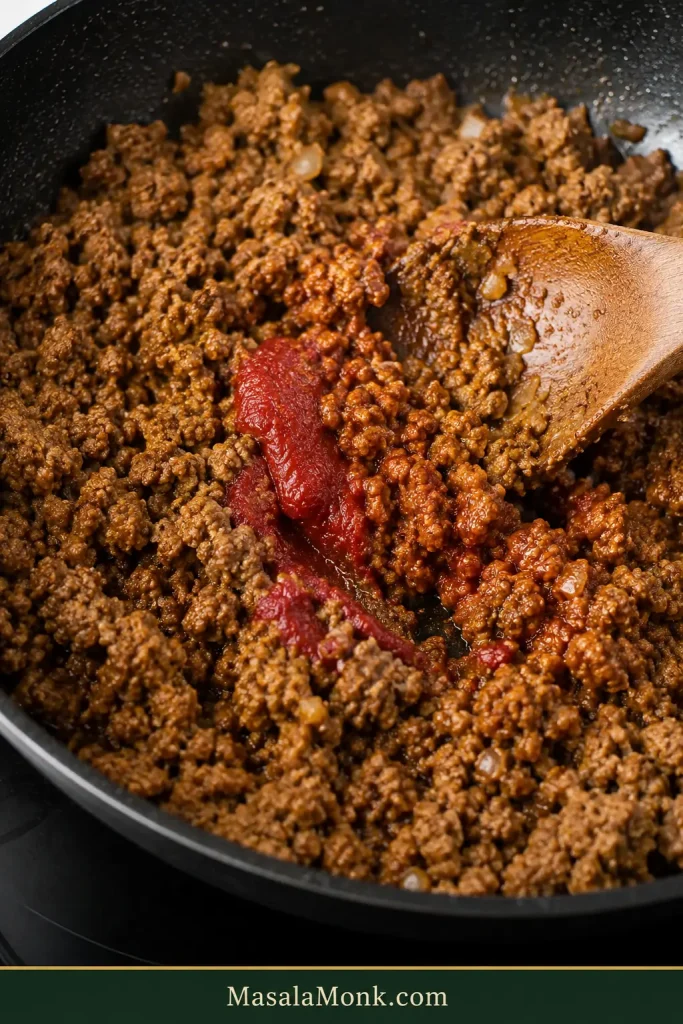
- Add the salsa. Spoon the thick salsa over the beef and stir lightly. Cover the slow cooker.
- Cook. Cook on HIGH for about 2½–3 hours or LOW for about 4–5 hours. Begin checking at the early end because slow cookers vary, and deeper batches can take longer.
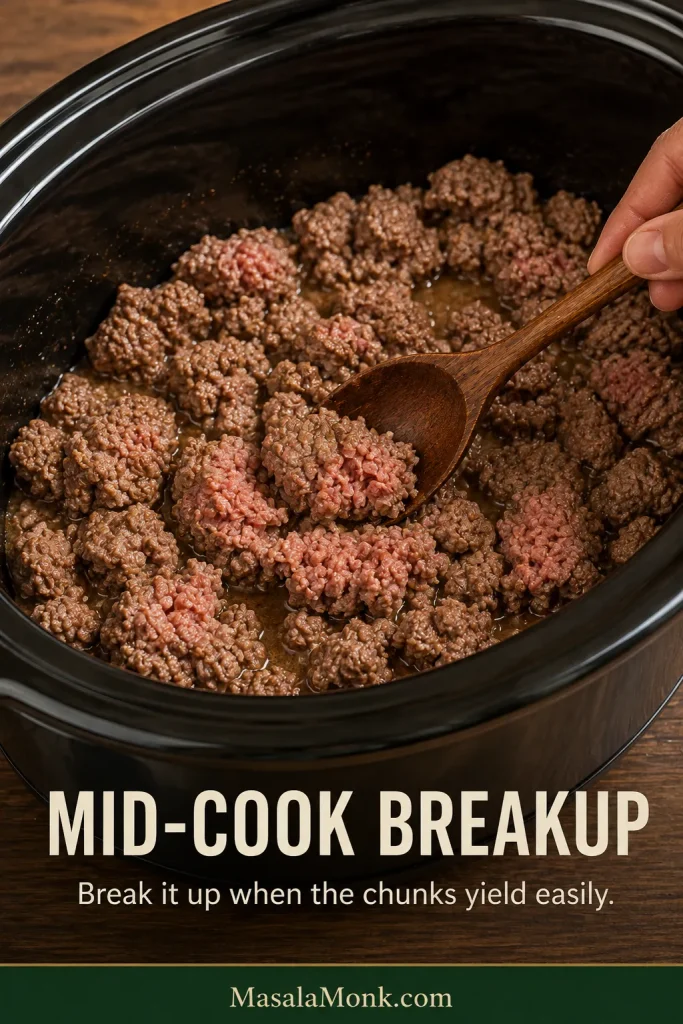
- Make the crumble. Around the middle of the cooking window, start checking the beef. When the chunks have started to set and separate easily, use a wooden spoon, meat chopper or potato masher to break them into the size you like. Replace the lid and continue cooking.
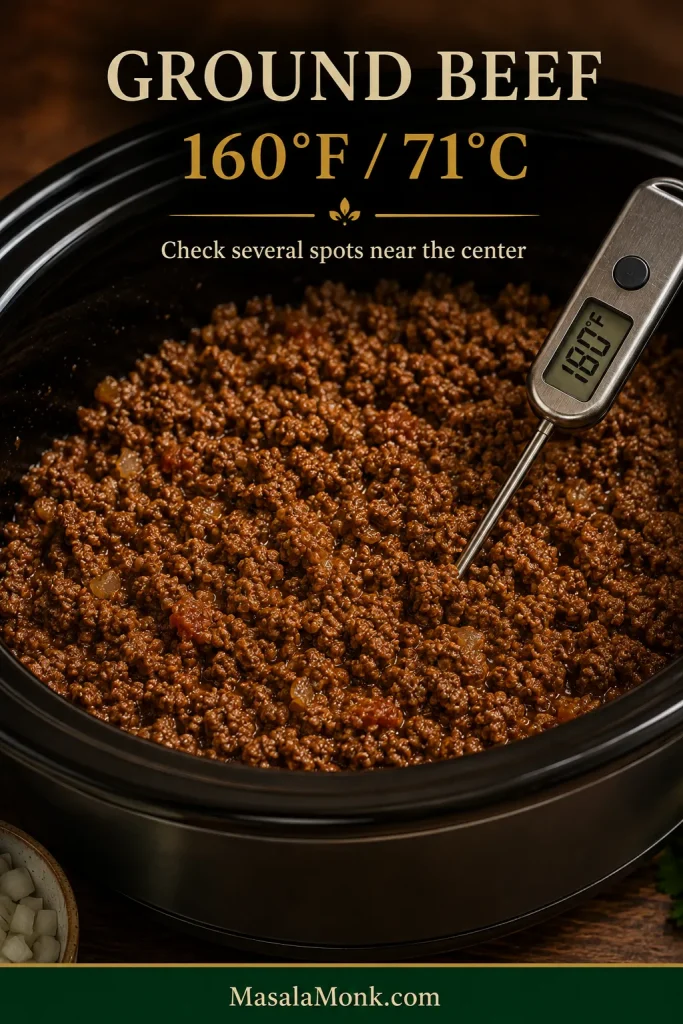
- Check doneness. Test several spots near the center. The beef should reach at least 160°F / 71°C throughout, with no dense raw pockets. Color alone is not a reliable doneness test.
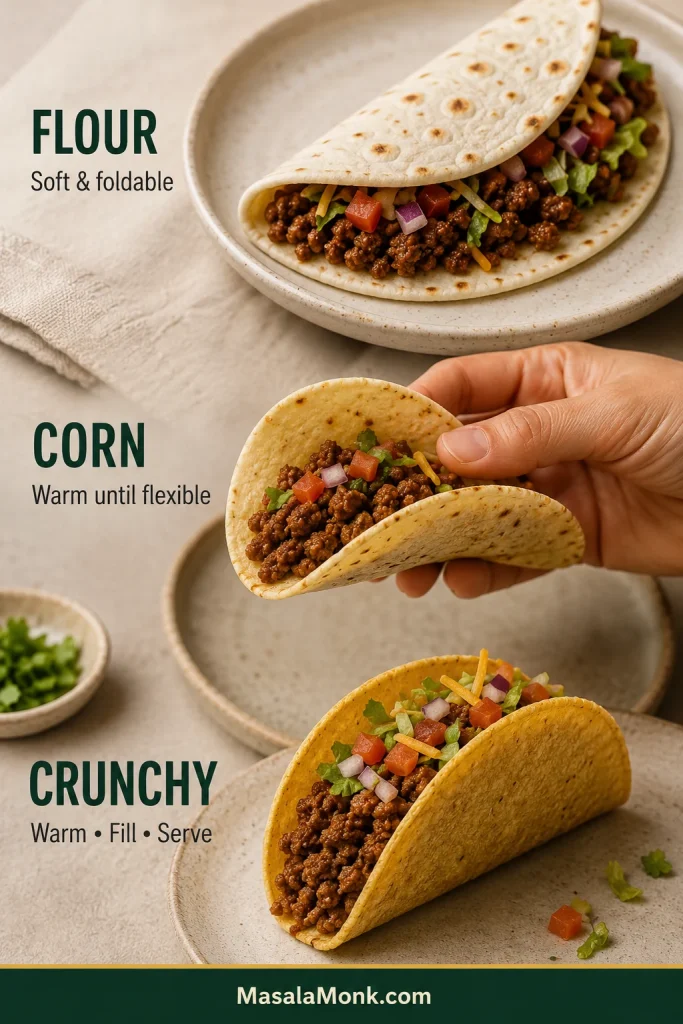
- Finish and serve. Stir well. Skim obvious grease or remove excess thin liquid only if needed, then taste and correct the salt or seasoning. If you add more dry seasoning, give it another 5–10 minutes of heat. Spoon into warm flour tortillas or soft homemade corn tortillas with cheese, onion, avocado, salsa, cilantro, jalapeños or lime.
Before You Serve
Food-safety note: if a spoon, masher or chopper touches undercooked beef, wash it or switch to a clean utensil before using it again with the fully cooked meat.
Cook’s note: can’t be there for the mid-cook breakup? Loosen the raw beef especially well at the beginning, then crumble it thoroughly once it is safely cooked. The pieces may be less uniform, but dinner still works.
When the beef is glossy, well seasoned and easy to scoop without liquid running around the crumbles, you’re done. Warm the tortillas and eat.
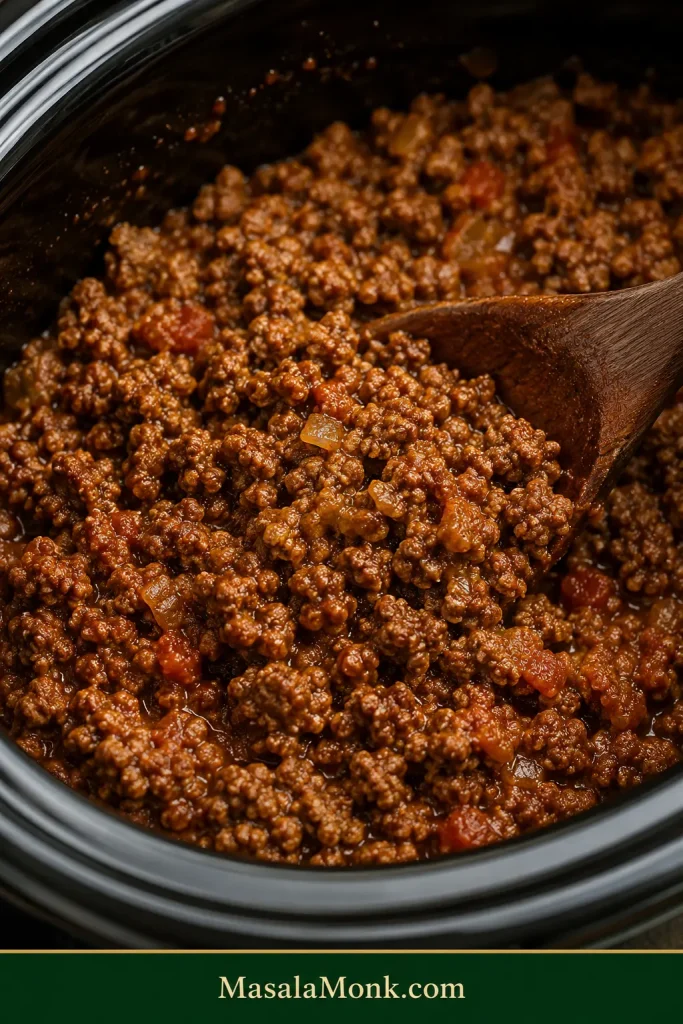
Want the process photos? See what to look for while the beef cooks. · Something looks off? Go straight to Troubleshooting.
When the Crockpot Works Best—and When to Brown First
The Crockpot’s advantage here is timing, not tenderness. Ground beef does not need hours of slow cooking to become tender. The Crockpot cuts down the stove work, lets the meat be ready before you need it, and keeps it hot until everyone is ready to eat.
If browned edges and a faster stovetop dinner matter more, the skillet wins.
Mostly Hands-Off
Thawed raw beef goes directly into the Crockpot with salsa and seasoning.
Best for: ordinary dinner batches, minimal cleanup and softer taco crumbles.
Browned & Firmer
Brown and drain the beef in a skillet. Stir in the seasoning and enough salsa to leave it juicy rather than saucy, then transfer it to the Crockpot to stay hot for serving.
Best for: firmer pieces, deeper browned flavor or higher-fat beef.
Big Taco Bar
Cook and drain the beef in batches, then use one or more Crockpots to keep it hot for serving.
Best for: larger quantities where even cooking and easy draining matter more than dump-and-go convenience.
Prefer firmer, deeply browned stovetop crumbles? Our Ground Beef Tacos Recipe is built around that skillet texture and a much faster cook.
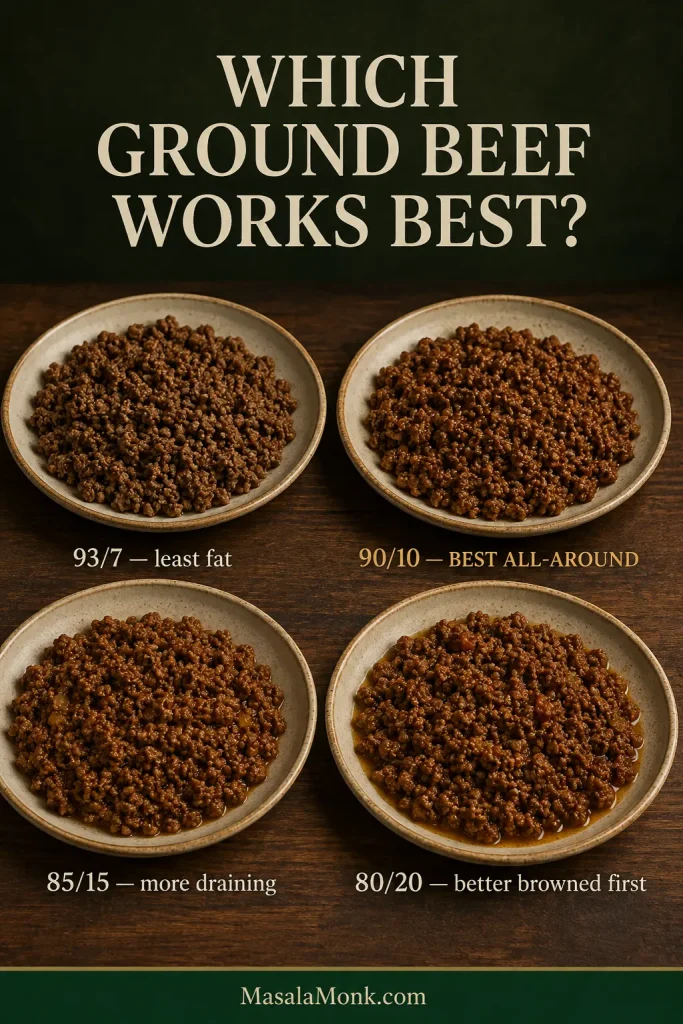
Which Ground Beef Works Best?
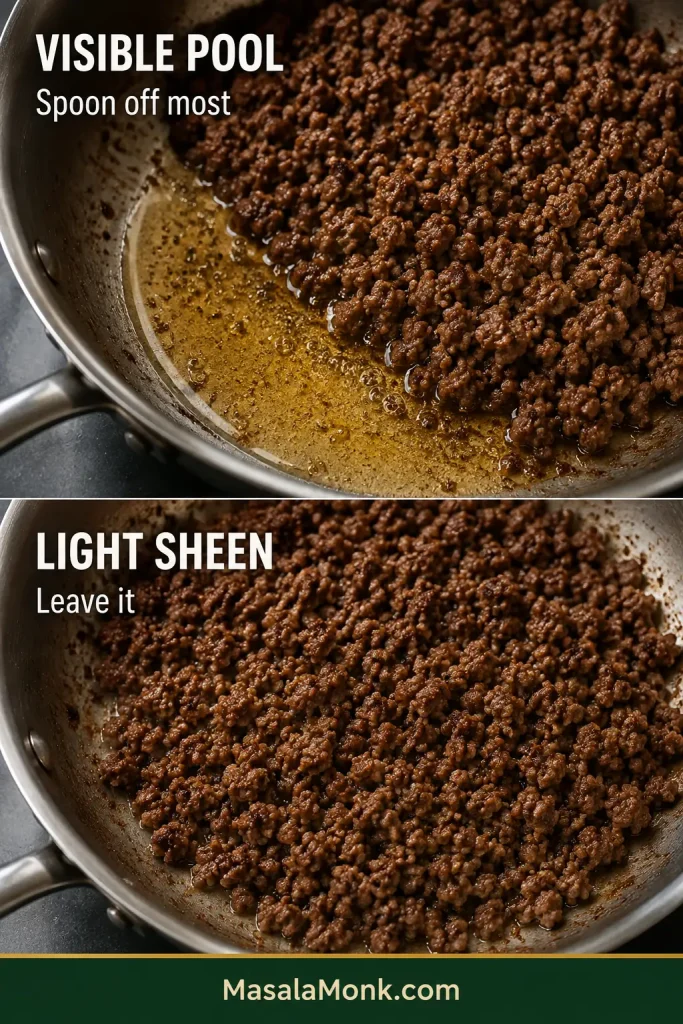
With skillet taco meat, excess fat can be poured off before the seasoning goes in. With the raw slow-cooker method, everything released by the beef stays in the pot until the end.
For this recipe, 90/10 hits the sweet spot: plenty of beefy flavor without leaving a large slick of fat underneath.
| Ground beef | What to expect | Best use |
|---|---|---|
| 93/7 | Very little rendered fat; leaner, less rich result | Minimal draining |
| 90/10 | Good beef flavor with some fat to skim if needed | Best all-around choice |
| 85/15 | Richer, with more fat collecting at the bottom | Fine if you don’t mind draining some |
| 80/20 | Can leave a substantial grease layer | Better browned and drained first |
Already have 85/15 in the refrigerator? Use it. Taco night does not require a special grocery run; just expect more fat at the end.
If your store labels it beef mince, use the same lean ratio and follow the recipe as written.
Why Salsa Consistency Matters
Salsa has a big say in how wet the taco meat becomes because it brings tomato, chile, aromatics, acidity, salt and moisture all at once.
To keep the beef juicy without leaving a puddle underneath, choose a thick salsa that sits on a spoon instead of immediately running off it. Thick salsa clings to the crumbles; very thin restaurant-style or watery fresh salsa is more likely to pool around them.
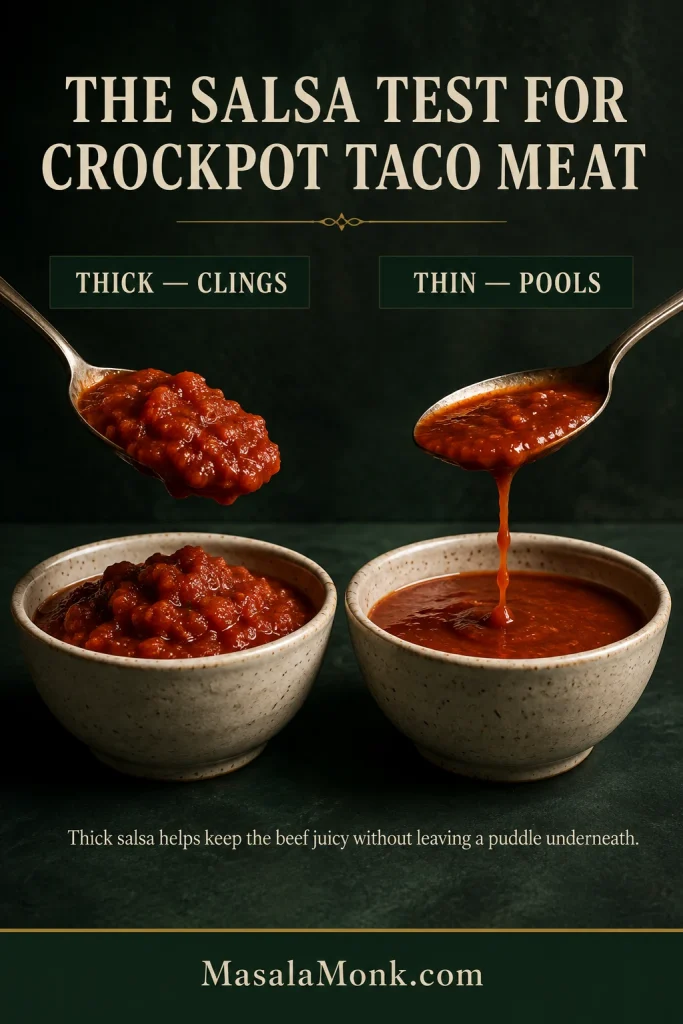
Thin salsa can still taste excellent. Start with less and add another spoonful after cooking if the beef needs it.
Chunky or smooth? Chunky salsa leaves visible pieces of tomato, onion and chile. A smoother salsa blends more completely into the beef and gives the filling a more uniform look. Mild, medium or hot is your call; consistency matters more to the slow-cooker method than heat level does.
For something brighter at the table, keep the finishing salsa separate. A spoonful of roasted salsa verde adds fresh acidity without making the beef wetter in the Crockpot.
Can Raw Ground Beef Go Straight Into the Slow Cooker?
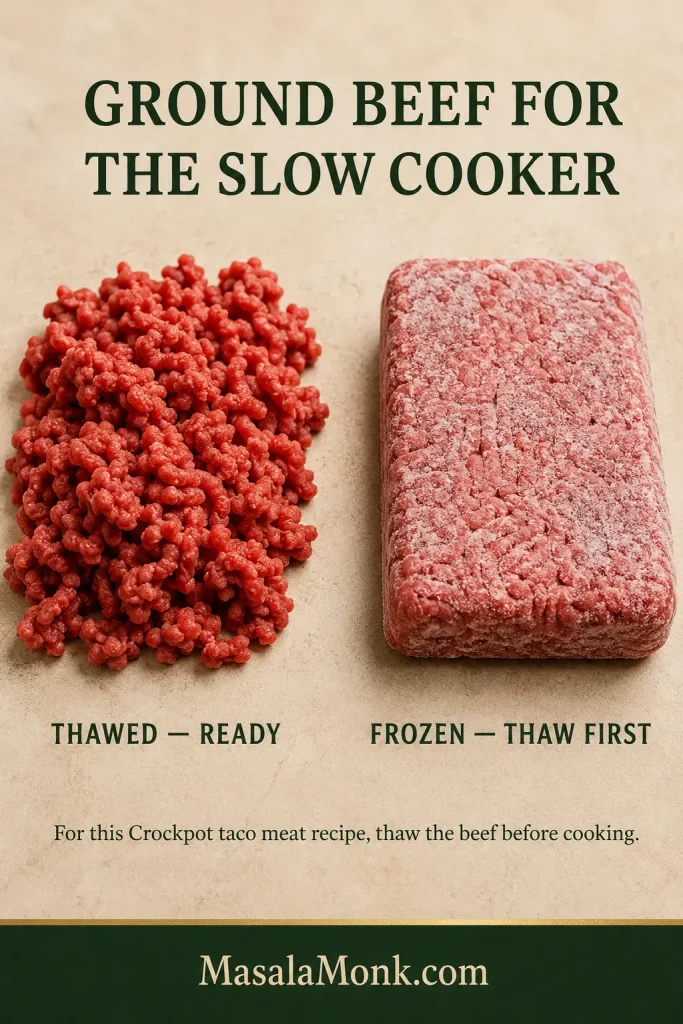
Yes. Use fully thawed beef, loosen the dense block before cooking and check doneness with a food thermometer instead of relying on color.
USDA slow-cooker guidance recommends thawing meat before it goes into a slow cooker. Thawed ground beef also separates more evenly and is much easier to crumble. Read the USDA slow-cooker guidance.
What to Look for While the Beef Cooks
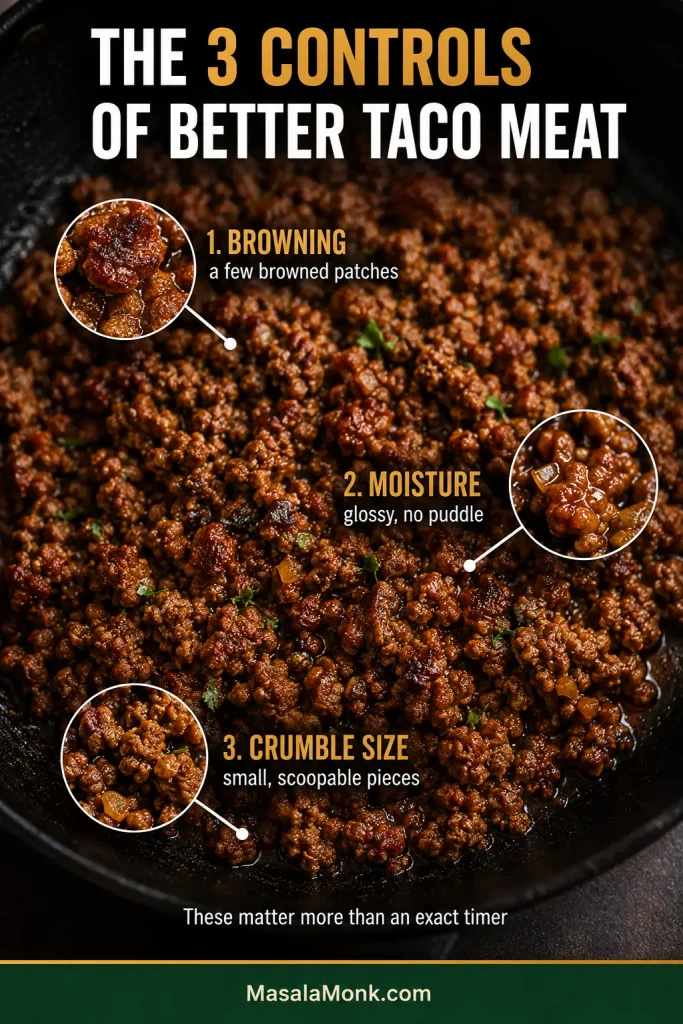
Start loose. Pull the raw beef into handful-size chunks before the lid goes on. They do not need to be tiny; opening up the dense block is what matters.
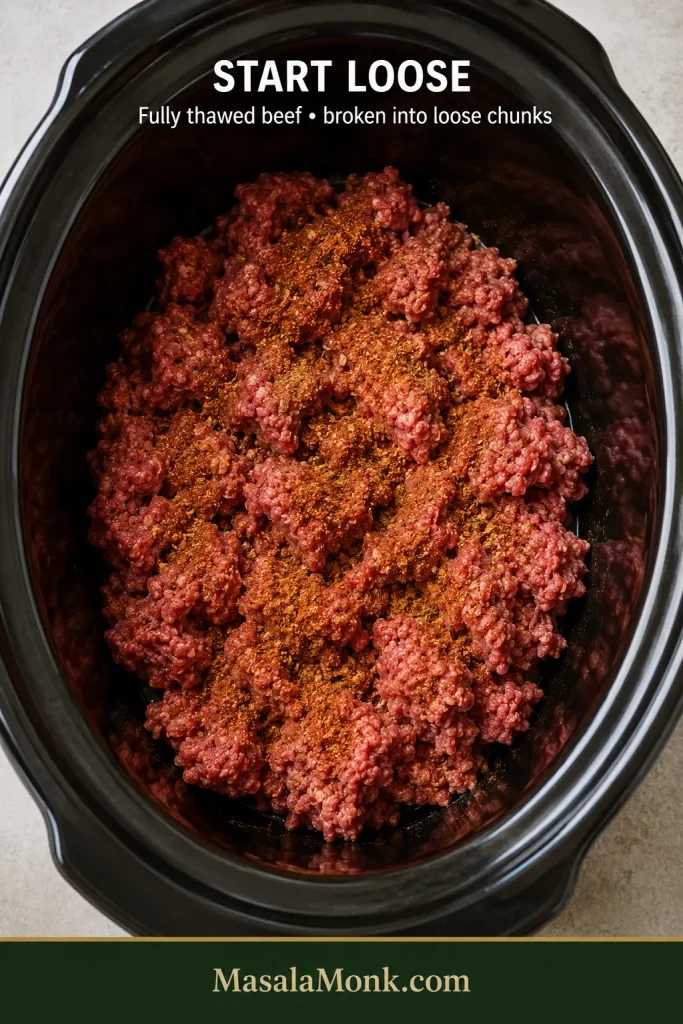
Expect moisture later. The pot may look surprisingly dry at first. Ground beef releases its own juices as it heats, and very little escapes from a covered slow cooker.
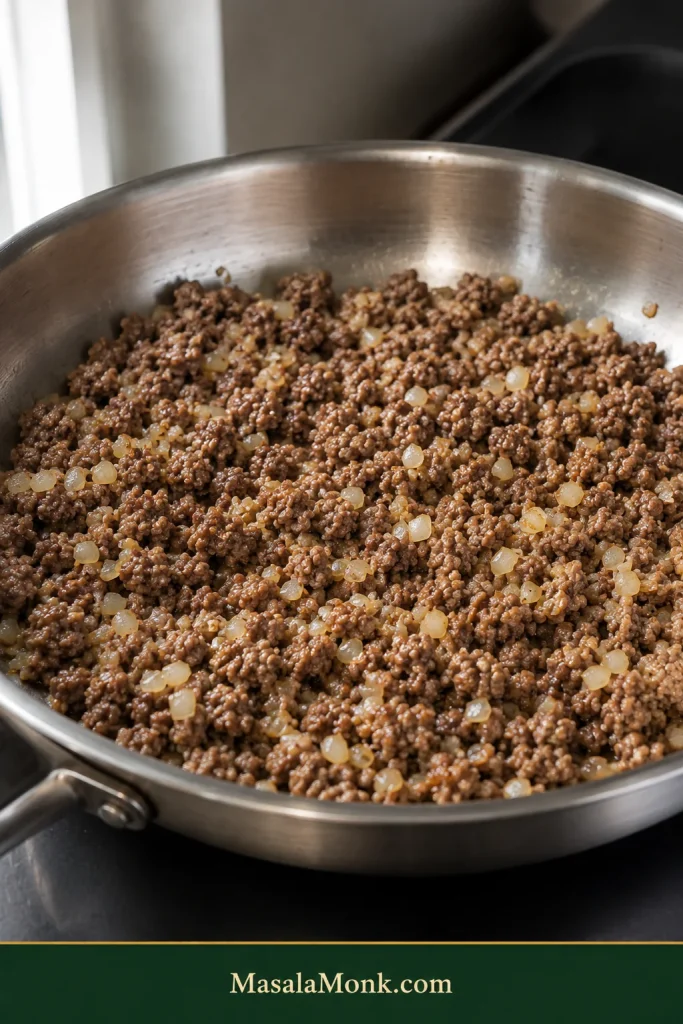
Break it when it yields easily. When the chunks separate with very little resistance, they are ready to crumble. Break them into the size you prefer and let the beef finish cooking.
Don’t judge by color alone. Appearance can be misleading, so use the thermometer reading in the recipe as the final doneness check.
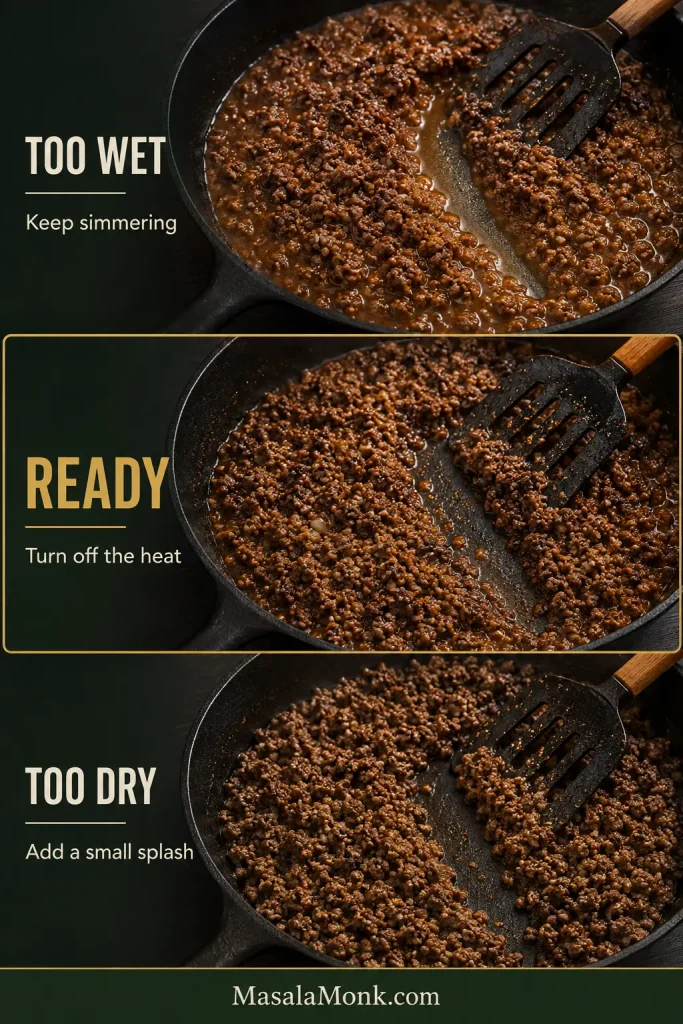
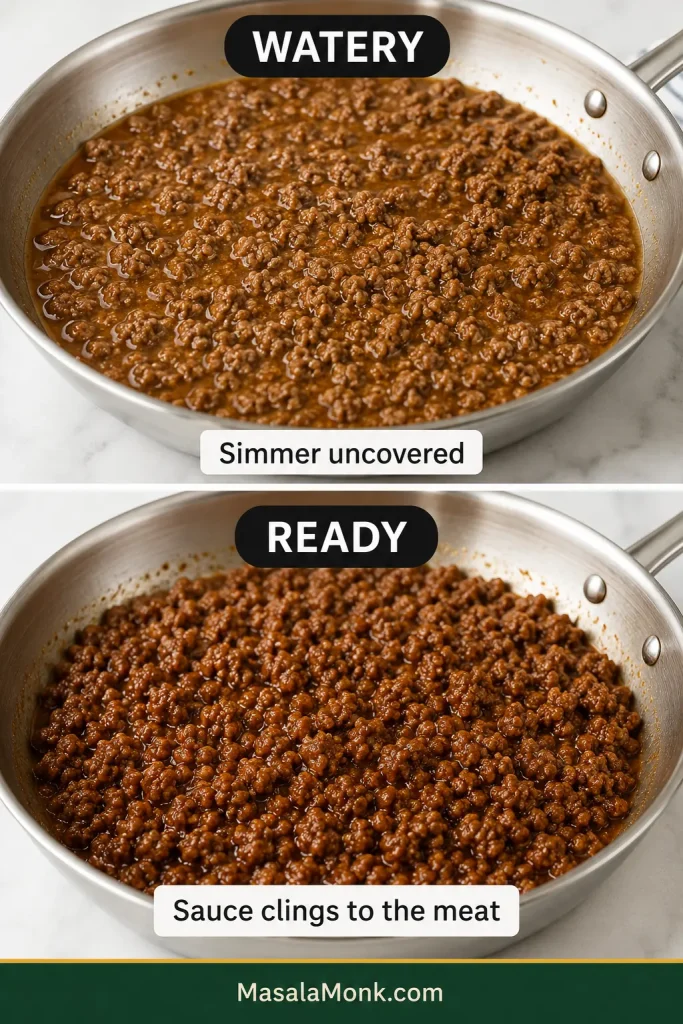
The Taco Meat Test: Too Wet, Just Right or Too Dry?
Drag a wooden spoon or spatula through the middle of the beef and watch what happens to the channel.
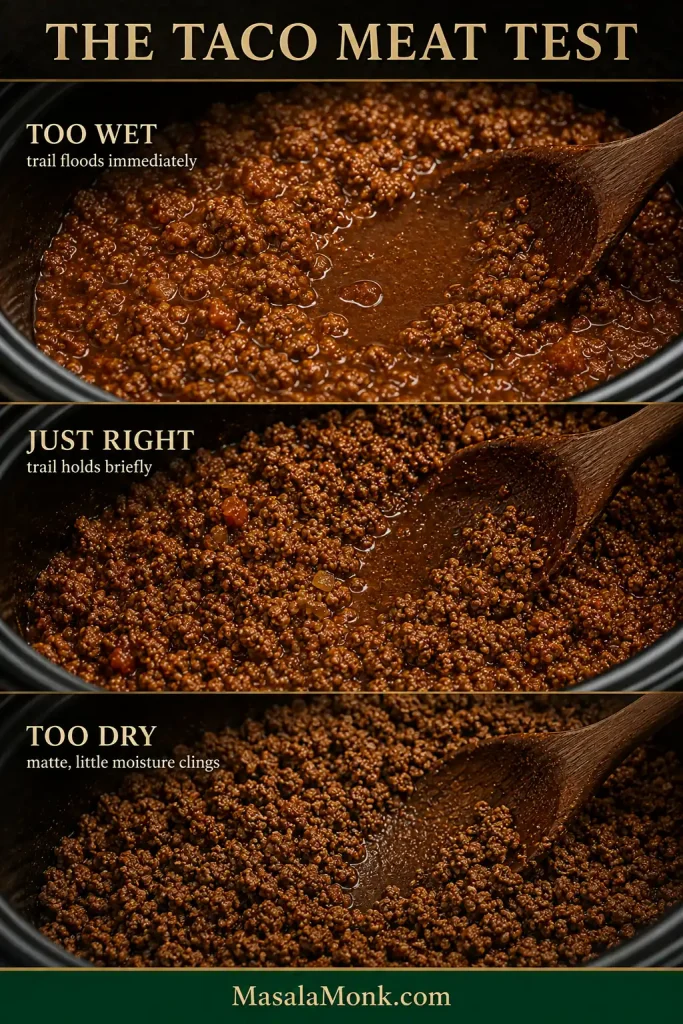
Too Wet
Thin liquid immediately floods back in and the meat looks as though it is sitting in sauce.
What to do: spoon out excess liquid or leave the lid off briefly while the beef is hot.
Just Right
The crumbles look juicy and lightly glossy. The spoon trail stays visible for a moment before a thin sheen of flavorful cooking juice slowly settles back in.
Leave it alone. You’re there. A thin layer of juice at the bottom belongs with moist taco meat, and the filling should scoop neatly without soaking the tortilla underneath.
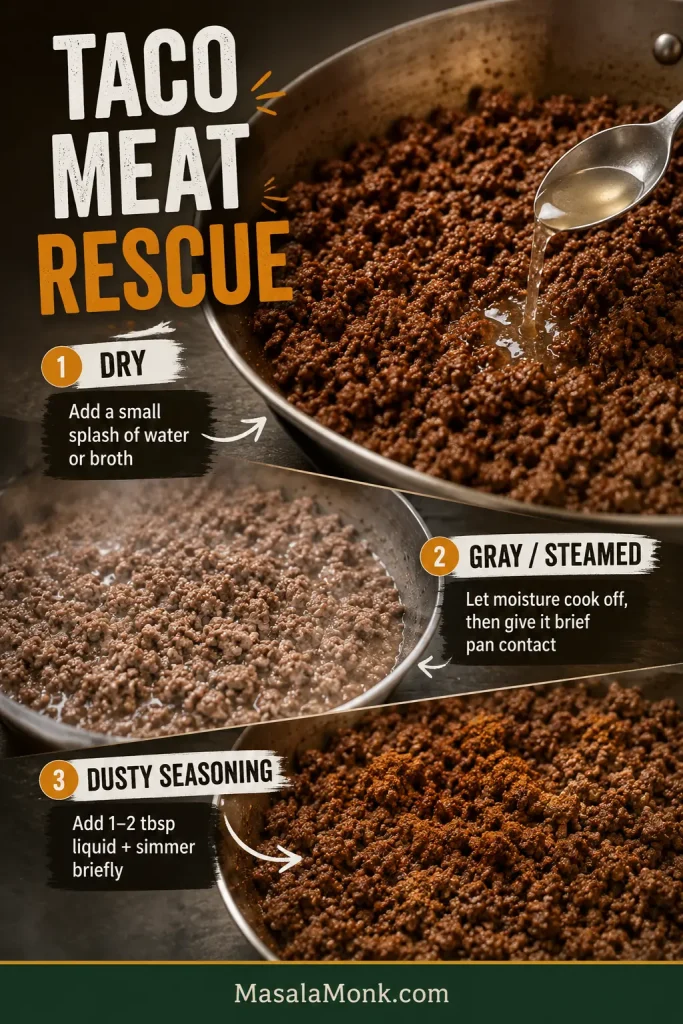
Too Dry
The beef looks matte and loose with very little moisture clinging to the crumbles.
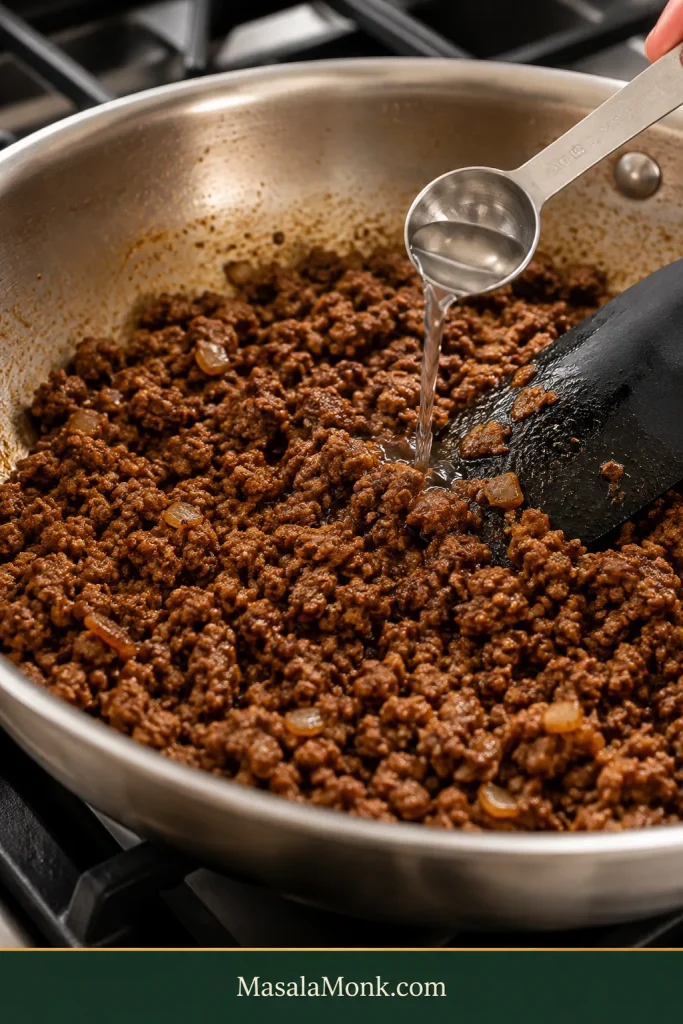
What to do: stir in 1–2 tablespoons of salsa if the beef could use more flavor as well as moisture, or water if the seasoning is already where you want it. Heat briefly, then check again before adding more.
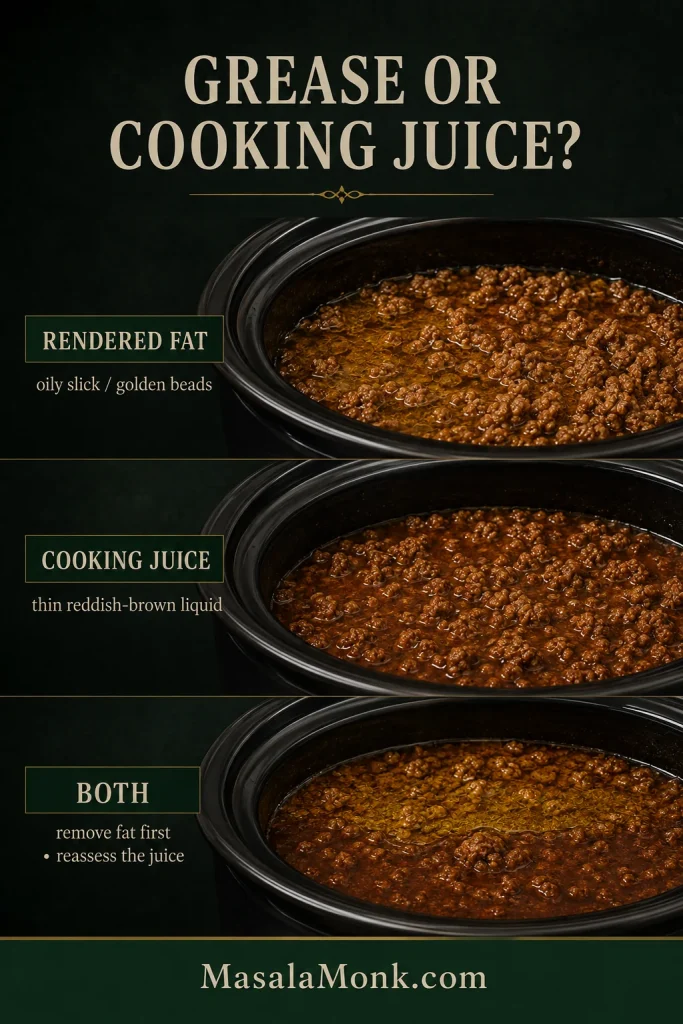
Is That Liquid Cooking Juice or Grease?
- Oily slick or yellow-brown beads: mostly rendered beef fat. Skim or drain it.
- Thin reddish-brown liquid: mostly beef juices and salsa moisture. Remove only what is excessive.
- An oily layer over thinner liquid: remove the fat first, stir the beef, then decide whether the remaining juice actually needs reducing.
Draining every drop can leave good taco meat unnecessarily dry. Remove the fat you do not want, stir again and reassess.
Still not right? Match the symptom in Troubleshooting.
How Fine Should You Crumble Taco Meat?
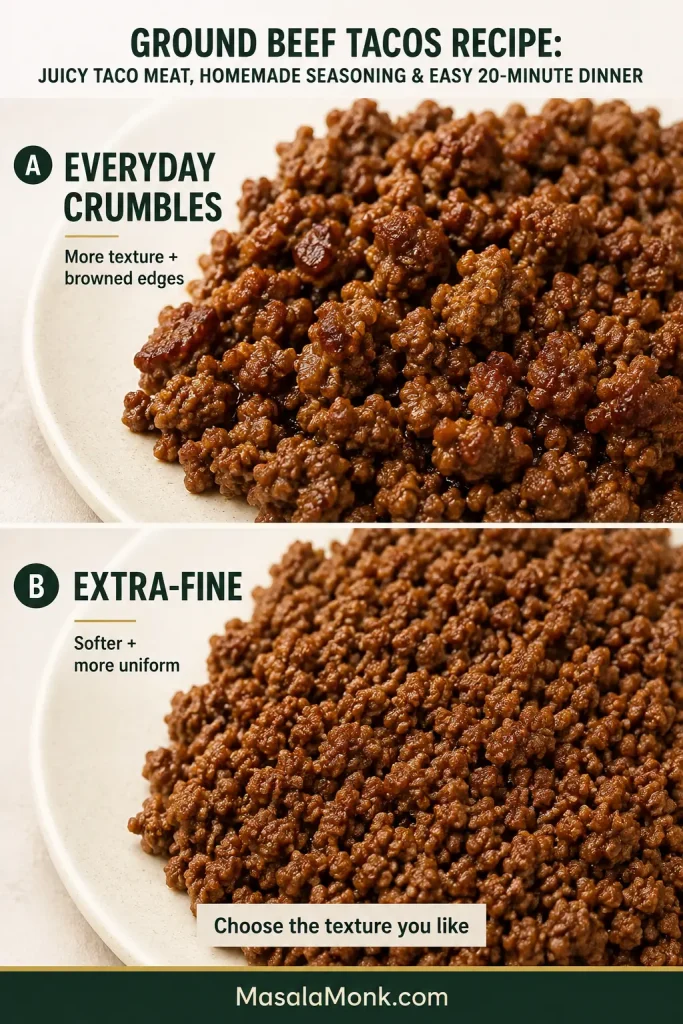
The Crockpot works well for fine and medium crumbles; deeply browned beef still belongs in a hot skillet. Choose the texture that fits the tacos you want tonight.
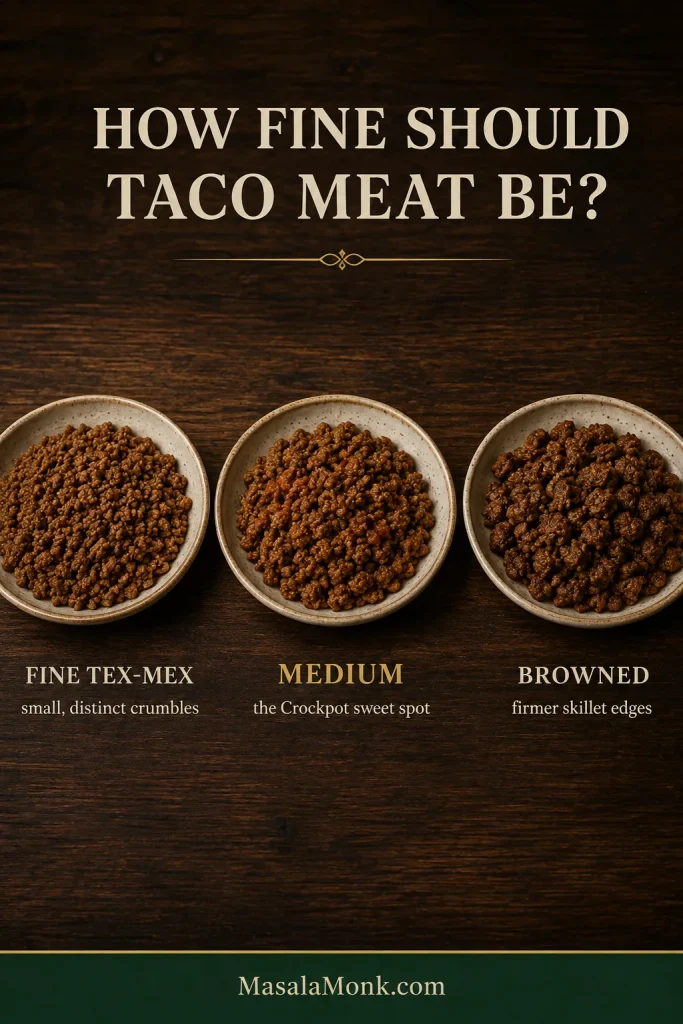
- Fine Tex-Mex-style crumbles: use a potato masher or meat chopper and work the beef fairly fine. Stop while distinct small pieces remain. The meat should feel tender and meaty, not pasty.
- Medium everyday crumbles: use a wooden spoon or sturdy spatula and stop earlier. This is what the main recipe aims for—tender, juicy and easy to scoop while still clearly feeling like ground beef.
- Firm, browned crumbles: use a hot skillet for browned edges and a firmer bite. The Crockpot can then keep the cooked meat hot until everyone is ready.
Easy Variations
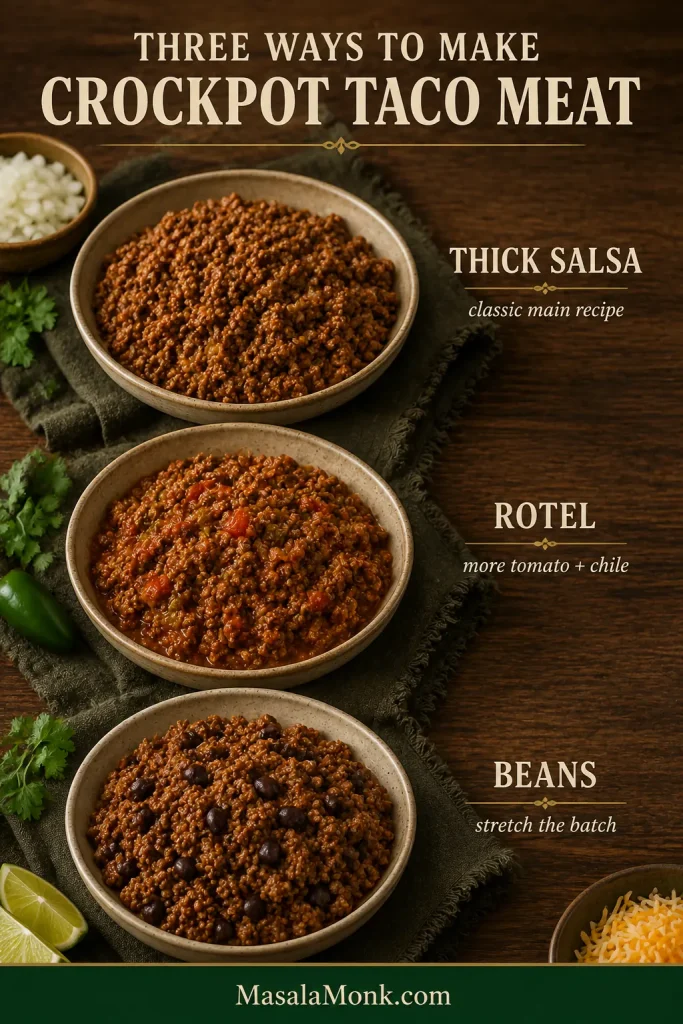
No-Salsa Version
For an intentionally smoother, saucier version without salsa, keep the 2 lb / 907 g ground beef and the same amount of taco seasoning. Replace the 1¼ cups / 300 ml salsa with 1 can plain tomato sauce, about 15 oz / 425 g.
Tomato sauces vary in saltiness, so hold back any extra salt until the beef is cooked and tasted. This version will not finish exactly like the thick-salsa recipe. If more sauce collects around the beef than you want, spoon off the excess or let the meat sit briefly uncovered while hot.
This skips salsa, not tomato. A completely tomato-free version needs a different moisture balance, so simply omitting the tomato is not a direct substitute.
Rotel Version
Replace the 1¼ cups / 300 ml salsa with 1 undrained 10-oz / 283 g can of Rotel. Keep the same homemade spice blend—or use enough packet seasoning for 2 pounds of beef. No added water is needed.
Rotel is thinner than the salsa used in the main recipe, so let the beef cook before deciding whether it needs anything else.
Stretch It With Beans
Drain and rinse a 15-oz / 425 g can of black beans or pinto beans, then stir them into the cooked beef for the final 20–30 minutes.
Whole beans stretch the batch without turning it into a completely different filling. Want the beans to become the meal instead of an add-in? That’s closer to our Crockpot chili.
Scaling Crockpot Taco Meat: What Changes From 1 to 4 Pounds
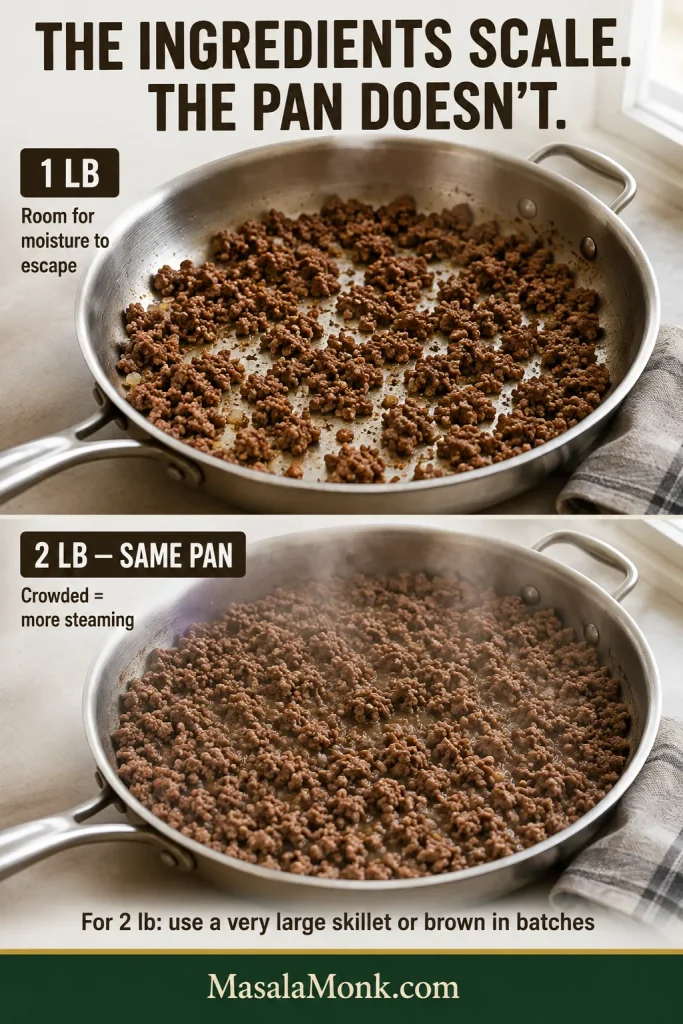
Scale the taco seasoning with the amount of beef. Salsa is different: as the batch gets larger and sits deeper in the cooker, don’t increase the salsa in exact proportion to the beef. Start with less and add more after cooking if the meat needs it.
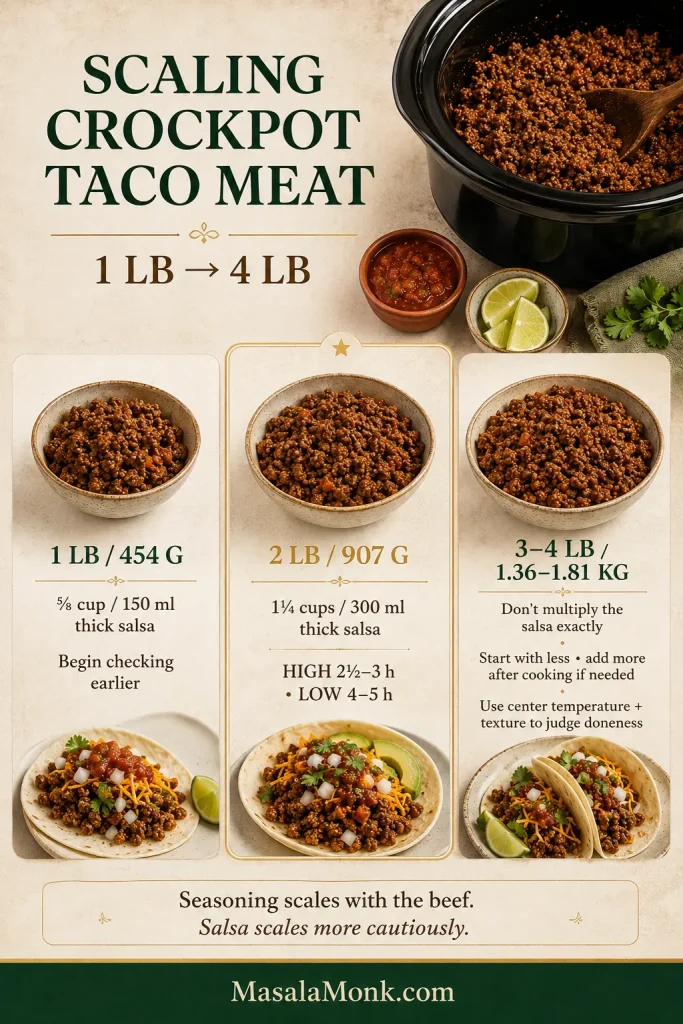
| Batch | Salsa guidance | What changes |
|---|---|---|
| 1 lb / 454 g | ⅝ cup / 150 ml thick salsa | Begin checking earlier; a smaller cooker is useful if available |
| 2 lb / 907 g | 1¼ cups / 300 ml thick salsa | Main recipe: HIGH 2½–3 h or LOW 4–5 h |
| 3–4 lb / 1.36–1.81 kg | Don’t increase the salsa in exact proportion to the beef; start with less and add more after cooking if needed | Use a roomy cooker and rely on center temperature and texture rather than adding a fixed amount of extra cooking time |
When the Cooker Gets Too Full
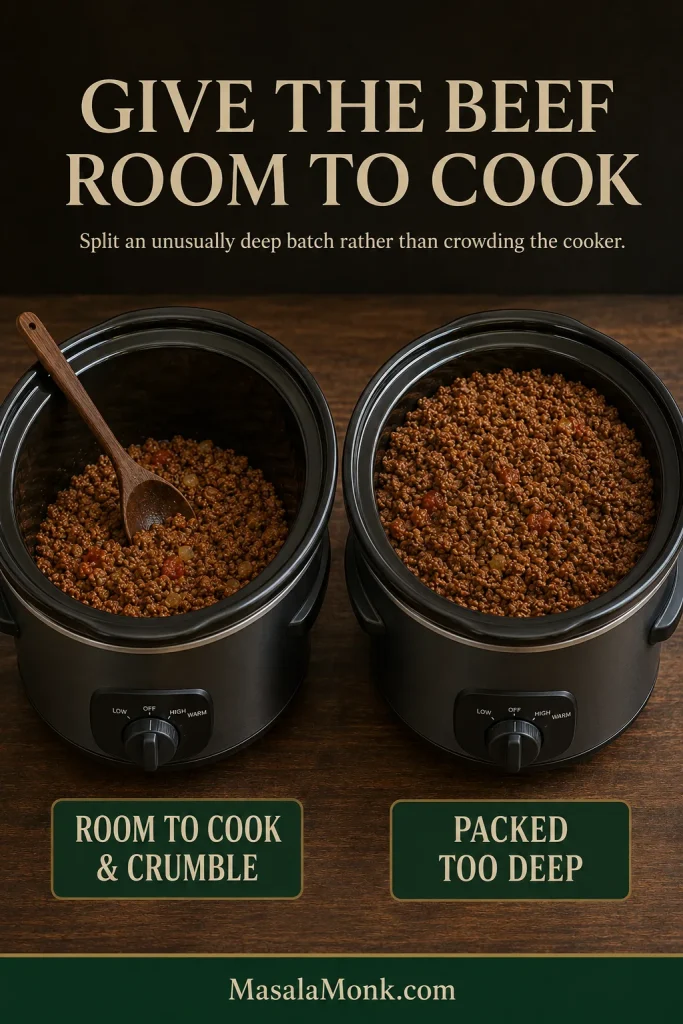
If the beef is packed unusually deep in your cooker, split the batch rather than crowding it in. The beef cooks more evenly and is easier to crumble that way. And when your cooker manual specifies a maximum fill level, follow it rather than packing the batch too deeply.
Feeding more than a family batch? Jump to taco-bar quantities and the large-batch method.
Troubleshooting
| Problem | What to do now | Next time |
|---|---|---|
| Watery | Remove excess thin liquid or briefly cook uncovered | Use thicker salsa and avoid adding extra liquid |
| Greasy | Skim or drain the rendered fat | Use 90/10 or 93/7 beef, or brown fattier beef first |
| Big clumps | Break the hot beef apart while it separates easily | Loosen the raw block and give it one mid-cook breakup |
| Mushy | Remove excess liquid and stop working the meat | Check sooner and stop at a larger crumble |
| Dry but sitting in liquid | Remove excess liquid first; taste the beef before adding any salsa | Check sooner and begin with thick salsa instead of extra liquid |
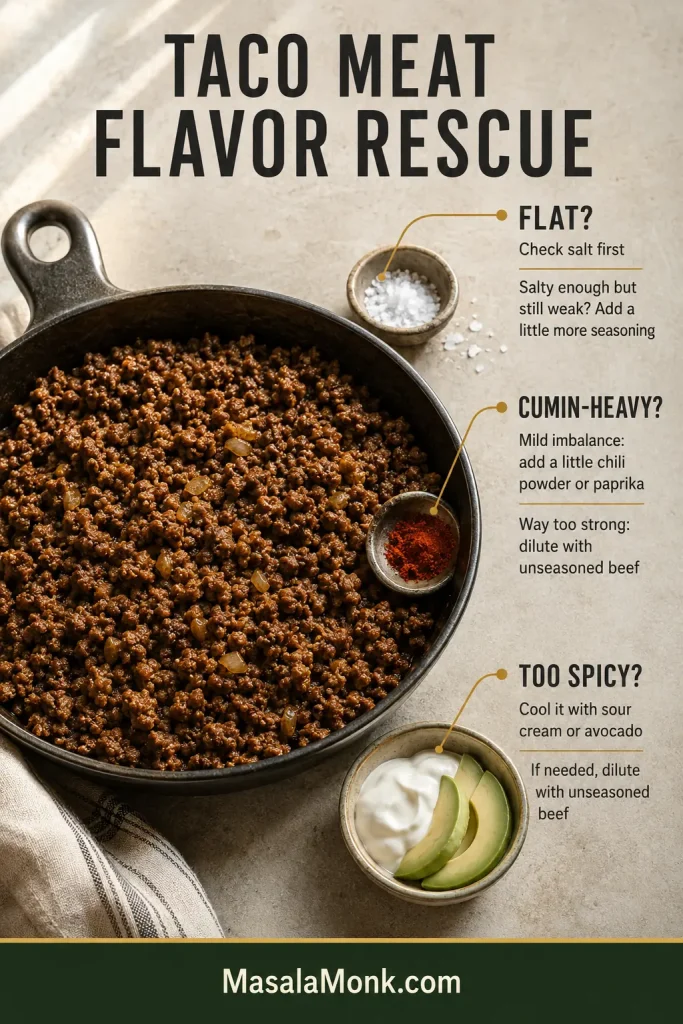
| Bland | Correct the salt and seasoning; if it is seasoned but still tastes flat, finish with lime for acidity | Scale the seasoning with the amount of beef |
| Too salty | Dilute with unseasoned cooked beef or beans | Hold back extra salt until the meat has been tasted |
If the table solved your problem, you’re done. Two problems are especially easy to misread.
Why Is the Beef Dry When There Is Liquid in the Crockpot?
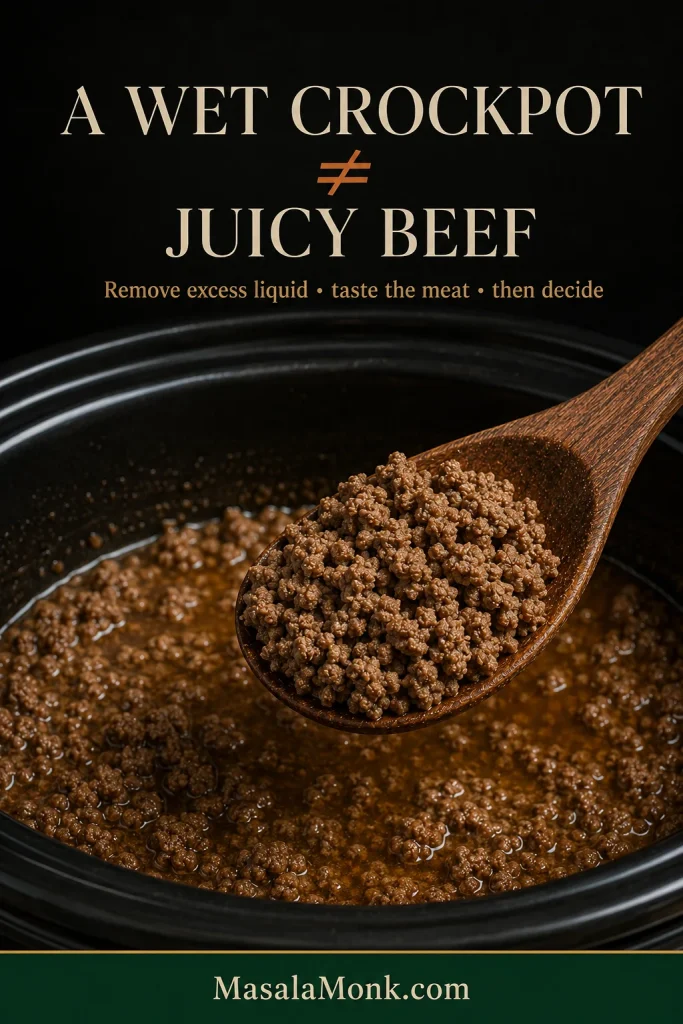
A wet Crockpot doesn’t necessarily mean juicy beef. You can have plenty of liquid around the meat while the crumbles themselves still taste dry.
The meat can continue losing moisture while sitting in released juices, fat or sauce.
Remove obvious excess liquid first and taste the meat. When extra cooking time is the real problem, pouring in a cup of broth only gives you dry-feeling beef in a wetter pot. A spoonful or two of salsa is plenty if the crumbles still need help.
Is It Mushy—or Just Soft?
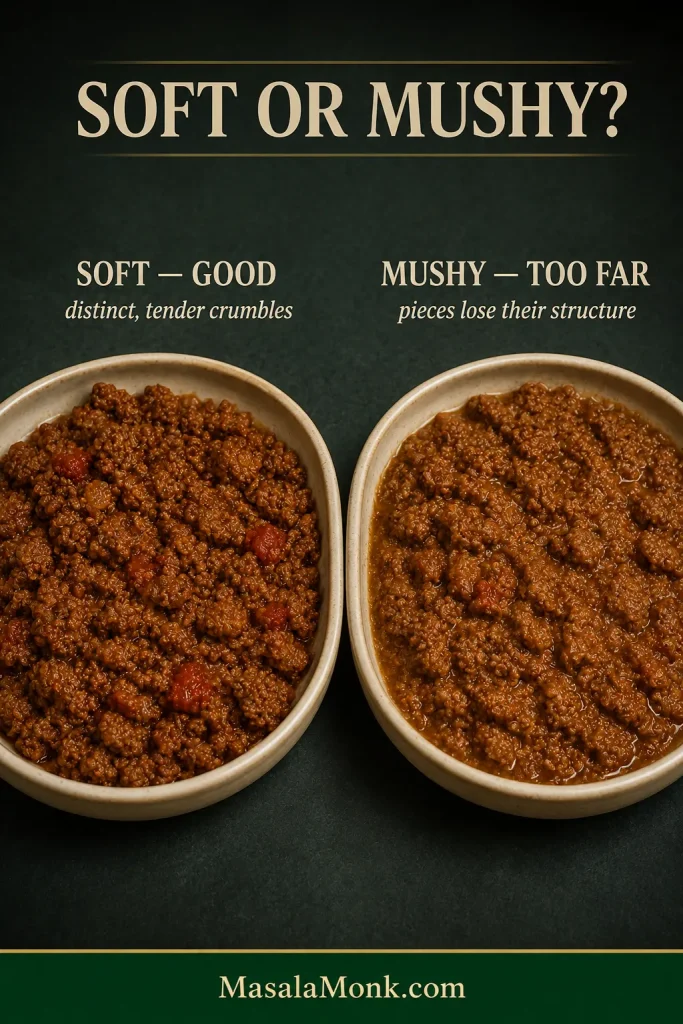
Slow-cooker taco meat is naturally softer than beef browned hard in a skillet. Tender crumbles that still hold their shape are exactly what many people want.
When the pieces lose that structure and become paste-like or waterlogged, they have moved into mushy territory. Prefer a firmer bite every time? Brown the beef first and let the Crockpot keep it hot instead.
For a family batch, that’s most of what can go wrong. Feeding a crowd changes the Crockpot’s job.
↑ Back to top · Jump to Recipe
For a Party or Taco Bar
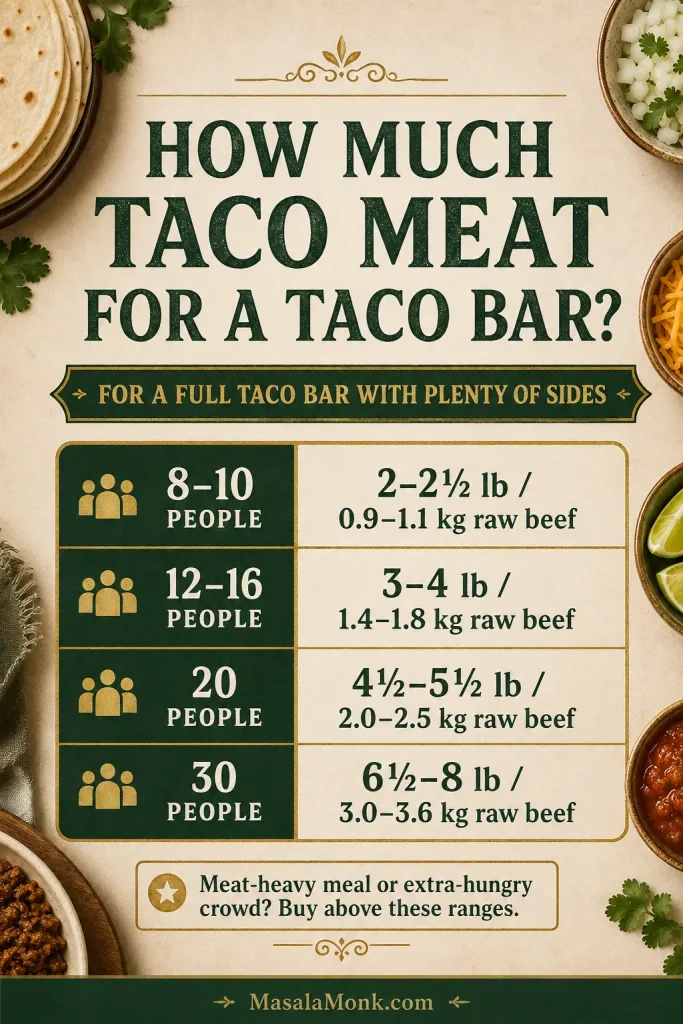
How Much Taco Meat Per Person?
For a full taco bar with plenty of beans, cheese, vegetables, salsa and sides, plan roughly 2½–3 oz / 70–85 g cooked taco meat per person.
For a meat-heavy meal or an especially hungry crowd, move closer to 3½–4 oz / 100–115 g cooked meat per person.
The buying amounts here assume plenty of other fillings and sides. Buy above them when the meat is doing most of the work.
| Crowd | Raw beef to buy | Best approach |
|---|---|---|
| 8–10 people | about 2–2½ lb / 0.9–1.1 kg | The main slow-cooker method works well |
| 12–16 people | about 3–4 lb / 1.4–1.8 kg | Use a roomy cooker or split the batch |
| 20 people | about 4½–5½ lb / 2.0–2.5 kg | Cook in batches, then keep hot for serving |
| 30 people | about 6½–8 lb / 3.0–3.6 kg | Cook in batches; two Crockpots can make serving easier |
Why the Crockpot Works for a Taco Bar
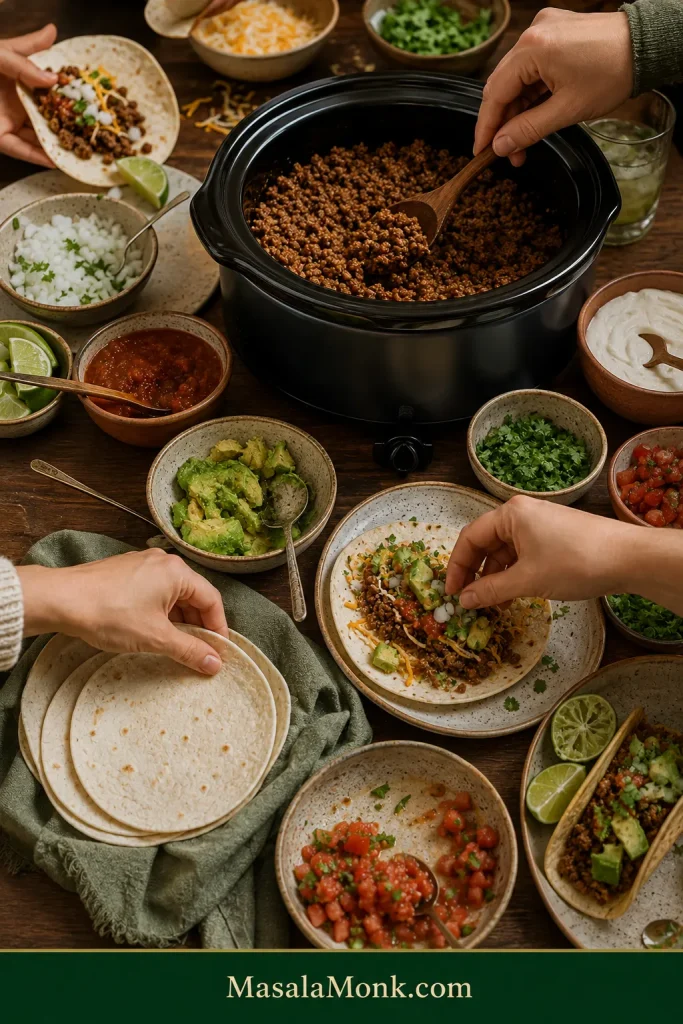
A taco bar works because everyone builds exactly what they want while you only have one hot filling to keep track of. For a cold side that can be finished before people arrive, our 7 layer dip can be waiting in the refrigerator.
For 5 Pounds or More, Change the Method
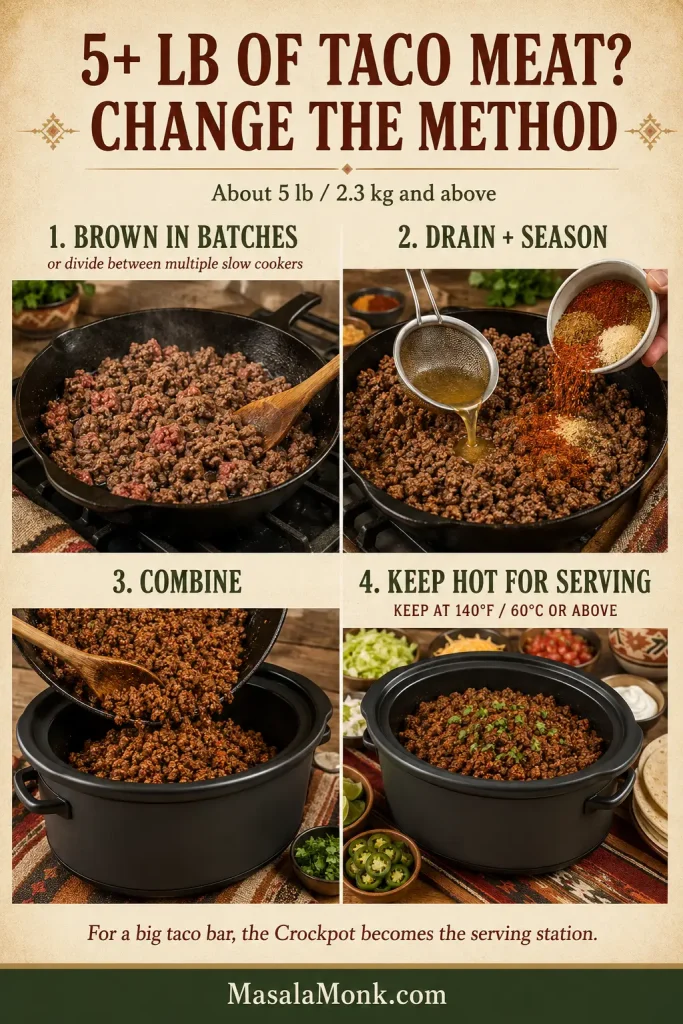
At about 5 lb / 2.3 kg and above, stop treating the meat as one giant raw slow-cooker batch. Brown the beef in batches that fit comfortably in the skillet, or divide the raw beef between multiple slow cookers. Drain excess rendered fat, season each batch, then combine the cooked meat in the Crockpot and keep it hot for serving.
Working in smaller batches keeps the crumbles distinct, makes excess fat easier to drain and helps the seasoning coat the beef evenly. For a big taco bar, the Crockpot becomes the serving station: the meat stays hot while you actually get to enjoy the gathering instead of playing line cook.
Keeping Taco Meat Warm
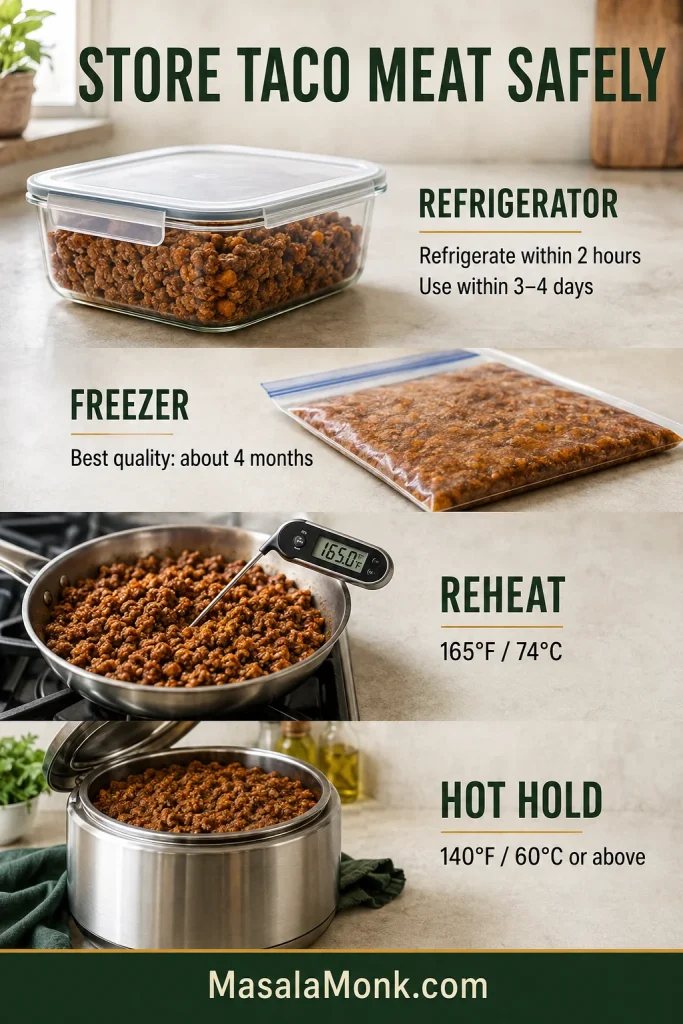
Use WARM only after the meat is fully cooked and already hot. Keep hot food at 140°F / 60°C or above during serving and keep the lid on between rounds.
↑ Back to top · Jump to Recipe
Make Ahead, Store, Freeze and Reheat
Quick storage guide: refrigerate cooked taco meat for 3–4 days, freeze it for about 3 months for best quality, and reheat leftovers to 165°F / 74°C.
Make It the Day Before
Cook the taco meat completely and get the moisture where you want it before storing. Divide a large batch into smaller, shallow containers and refrigerate it within 2 hours. If food is sitting outdoors above 90°F / 32°C, that window drops to 1 hour.
When serving leftovers again, reheat the meat to 165°F / 74°C before transferring it to a slow cooker on WARM.
How to Freeze Taco Meat
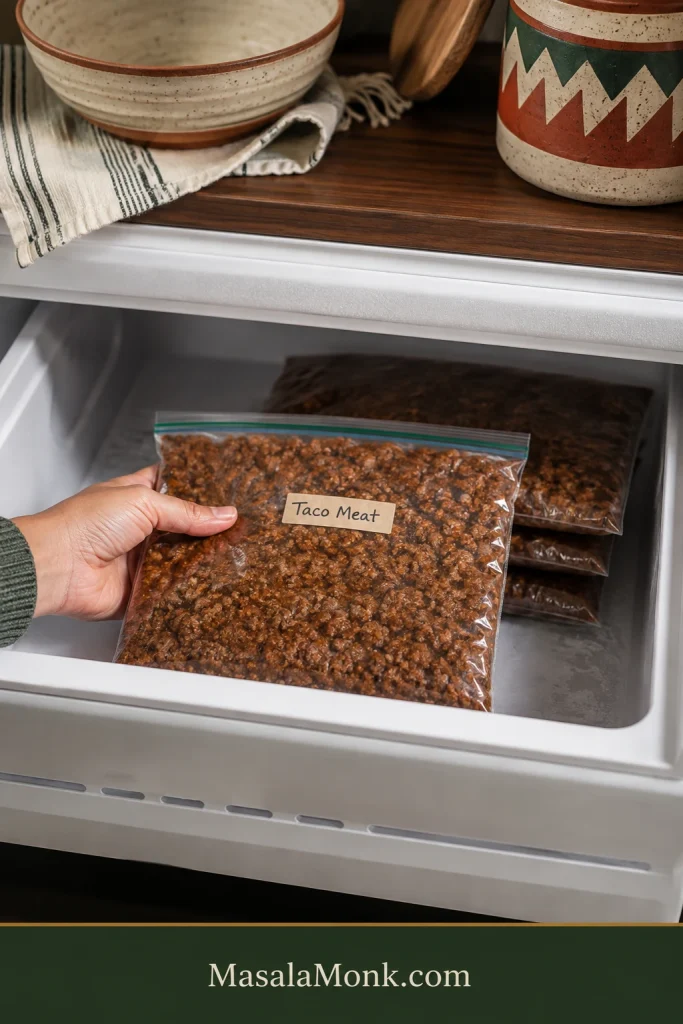
Freeze the meat in amounts that match the way you actually eat it. A dinner-size package or larger family-size package is far more useful than one giant frozen block.
Flat freezer bags stack neatly and thaw faster. For the best eating quality, use the frozen taco meat within about 3 months.
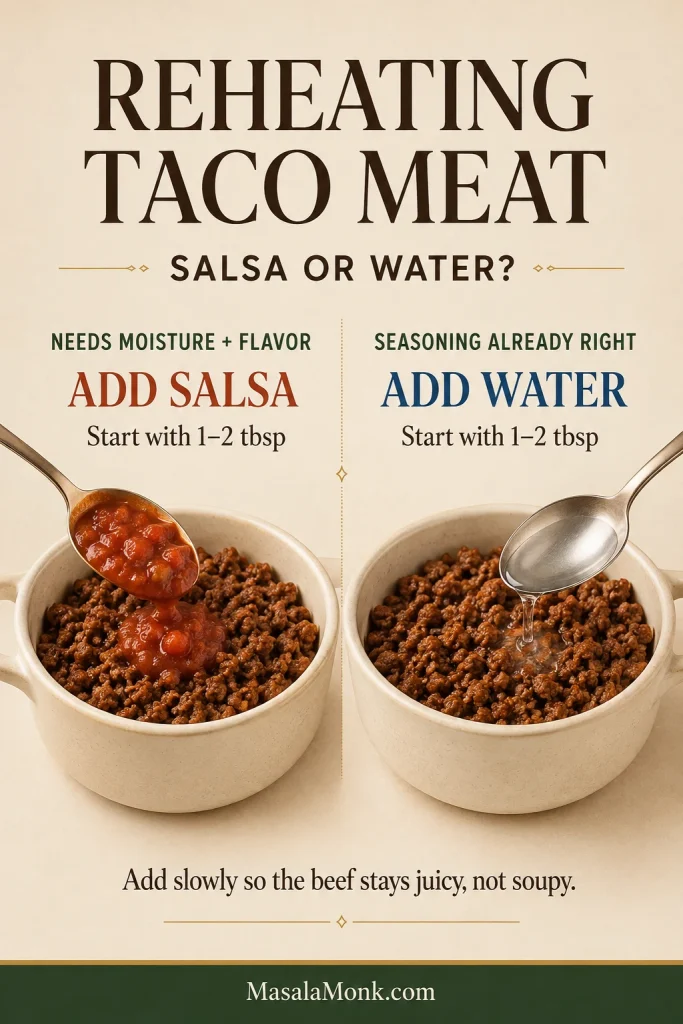
Reheat Without Turning It Into Soup
Cold taco meat often looks firmer and drier than it really is. Heat it first, then decide whether it needs anything.
Add salsa 1–2 tablespoons at a time if the meat could use more flavor as well as moisture, or use water if the seasoning is already where you want it. Add slowly so the beef stays juicy without becoming soupy.
Ways to Use the Leftovers
The nicest part of making 2 pounds is that tomorrow’s dinner is already halfway done.
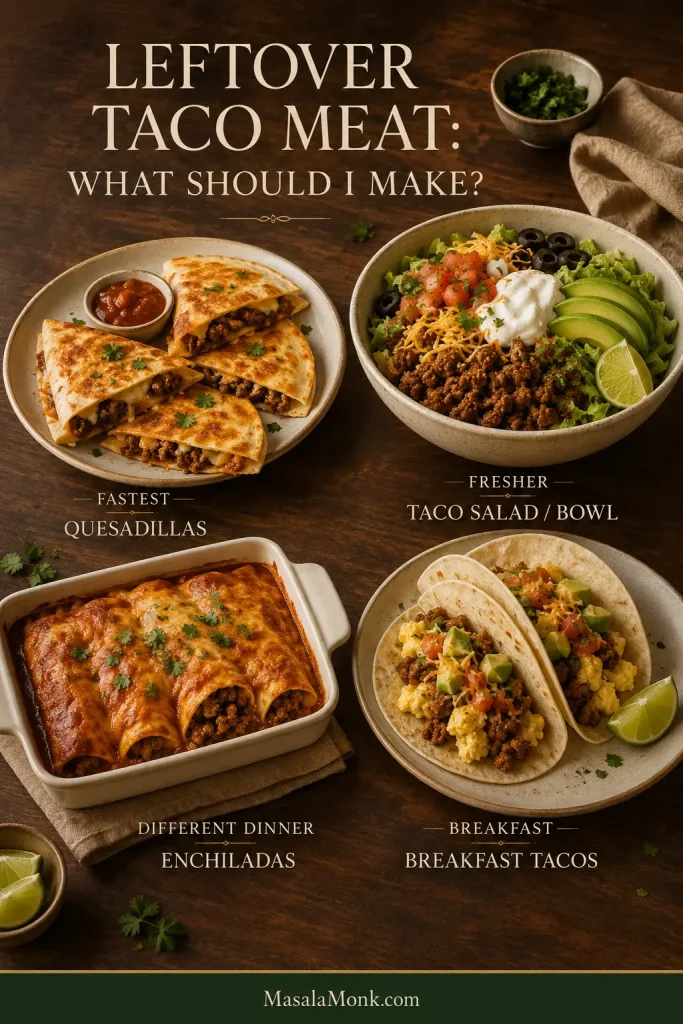
- Need dinner fastest? Make quesadillas, another round of tacos or a tray of nachos.
- Want something fresher? Spoon the beef over taco salad or build burrito bowls with crisp vegetables and salsa.
- Want it to feel like a different dinner? Turn the meat into enchiladas or pile it onto loaded baked potatoes.
- Saving a small portion for morning? Warm it for breakfast tacos with eggs, cheese or avocado.
Leftovers heading toward enchiladas? Pair the beef with our homemade red enchilada sauce and it feels like a completely different dinner.
Frequently Asked Questions
Can I Leave Taco Meat on LOW All Day?
This is not an 8–10 hour workday Crockpot recipe. Ground beef does not need the long tenderizing time of a tough roast. Start checking the standard batch around four hours on LOW; several extra hours can soften and dry the crumbles more than you want.
Can I Put Frozen Ground Beef in the Crockpot?
For this recipe, thaw it first. USDA slow-cooker guidance recommends thawing meat before slow cooking. Thawed beef separates much more easily, which makes it simpler to crumble and check for even doneness.
Can I Use Ground Turkey?
Yes. Expect a softer crumble, and don’t be surprised if the turkey releases more or less liquid depending on how lean it is. Because ground turkey is poultry, cook it to 165°F / 74°C, then drain excess liquid if needed.
How Long Can Taco Meat Stay on WARM?
For Crock-Pot-branded slow cookers, manufacturer guidance recommends no more than about 4 hours on WARM. Other brands may differ, so check your manual. Use WARM only for food that is already fully cooked and hot.
Taco Night Is Basically Handled
Once the beef has the crumble you like and just enough moisture to stay juicy, this is where the Crockpot earns its place: dinner can sit there ready while the tortillas warm and everyone finishes whatever they were doing.
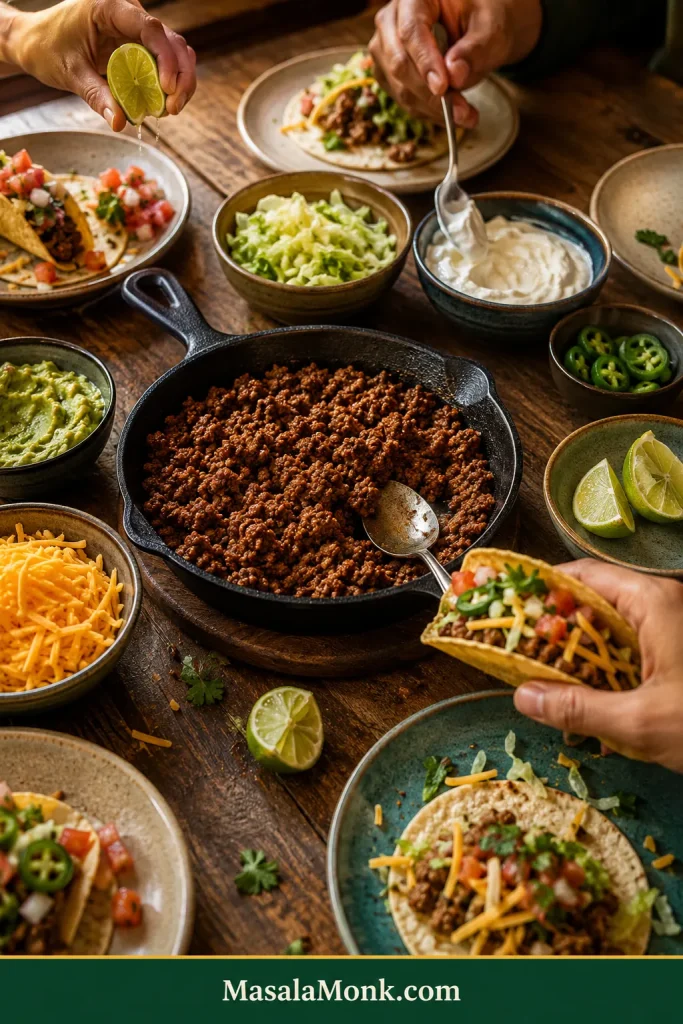
Put out whatever cheese, onion, avocado, lettuce, salsa, jalapeños or lime you already have. Leave the Crockpot where everyone can reach it and let people build their tacos the way they want them.
The meat is hot, seasoned and waiting when everyone is finally ready to eat. That’s really the whole point.