Ham and cheese quiche is what you make when brunch needs to feel special but you do not want to stand at the stove. It uses cooked ham, a simple egg custard, plenty of cheese, and a crust that can be homemade, refrigerated, frozen, or skipped completely.
The most satisfying bites have smoky ham, melted cheese, and soft custard against the flaky edge of the crust. This version is creamy without being loose, savory without being too salty, and practical enough for a holiday brunch, a quiet lunch, or a weeknight dinner with salad.

This ham and cheese quiche is built for real kitchens: the kind with leftover holiday ham, a frozen crust in the freezer, or a bit of cheese that needs using. As long as the ham is cooked, diced small, and not wet, the recipe is flexible.
The base is simple: 5 large eggs, 1 cup dairy, 1½ cups diced ham, and 1½ cups cheese for one 9-inch / 23 cm quiche. That ratio keeps the center creamy but sliceable, so you do not end up with a stiff egg pie or a watery middle.
Start with the quick answer and recipe if you are ready to bake. The extra notes are there for frozen crusts, crustless baking, make-ahead timing, variations, and troubleshooting.
Quick Answer
For one 9-inch / 23 cm ham and cheese quiche, use 5 large eggs, 1 cup dairy, 1½ cups cooked diced ham, and 1½ cups shredded cheese. Par-bake the crust, fill it, bake at 375°F / 190°C until the edges are set and the center is soft-set, then rest for 10 minutes before slicing.
| Quiche Element | Use This |
|---|---|
| Eggs | 5 large eggs |
| Dairy | 1 cup / 240 ml / 8 fl oz half-and-half, or cream + milk |
| Ham | 1½ cups / 200–225 g / 7–8 oz cooked diced ham, loosely measured |
| Cheese | 1½ cups / 150–170 g / 5–6 oz shredded cheese, loosely measured |
| Oven | 375°F / 190°C for a crusted quiche |
| Done when | Edges are set and the center is soft-set, not liquid |
For a first bake, keep it simple: deep-dish frozen or refrigerated pie crust, half-and-half, 1 cup sharp cheddar, ½ cup Swiss, and diced cooked ham. Once you see how the center should wobble, the variations become much easier.
Choose Your Ham and Cheese Quiche Path
Start with the same creamy base, then choose the version that fits your day: frozen crust for ease, crustless for meal prep, or extra vegetables when the fridge needs clearing.
| If This Is Your Situation | Best Path |
|---|---|
| You want the easiest brunch | Use a deep-dish frozen crust, half-and-half, sharp cheddar, Swiss, and cooked diced ham. |
| You have leftover holiday ham | Dice it small, pat it dry if needed, reduce the salt, and balance sweet glaze with Dijon and black pepper. |
| You want no crust | Grease the pie dish well and bake the same egg mixture at 350°F / 175°C until just set. |
| You want the creamiest texture | Use half-and-half, or equal parts heavy cream and whole milk. |
| You are adding vegetables | Cook, drain, and cool them before they touch the egg mixture. |
| You are meal-prepping | Bake the quiche first, cool it, slice it, then refrigerate or freeze the slices. |
Ham and Cheese Quiche Recipe
Description
This easy quiche has a creamy egg custard, diced cooked ham, plenty of cheese, and a crisp-tender pie crust. Use a frozen deep-dish crust for the easiest version, or make it with homemade or refrigerated crust. Serve it for brunch, lunch, holidays, meal prep, or an easy dinner with salad.
Crustless note: For a no-crust version, use the same filling in a well-greased 9-inch / 23 cm pie dish and bake at 350°F / 175°C for 30–40 minutes. See the crustless ham and cheese quiche section for the full method.
- Prep Time: 15 minutes
- Par-Bake Time: 10–12 minutes
- Final Bake Time: 35–45 minutes
- Resting Time: 10 minutes
- Total Time: About 1 hour 10 minutes to 1 hour 20 minutes
- Servings: 6–8 slices
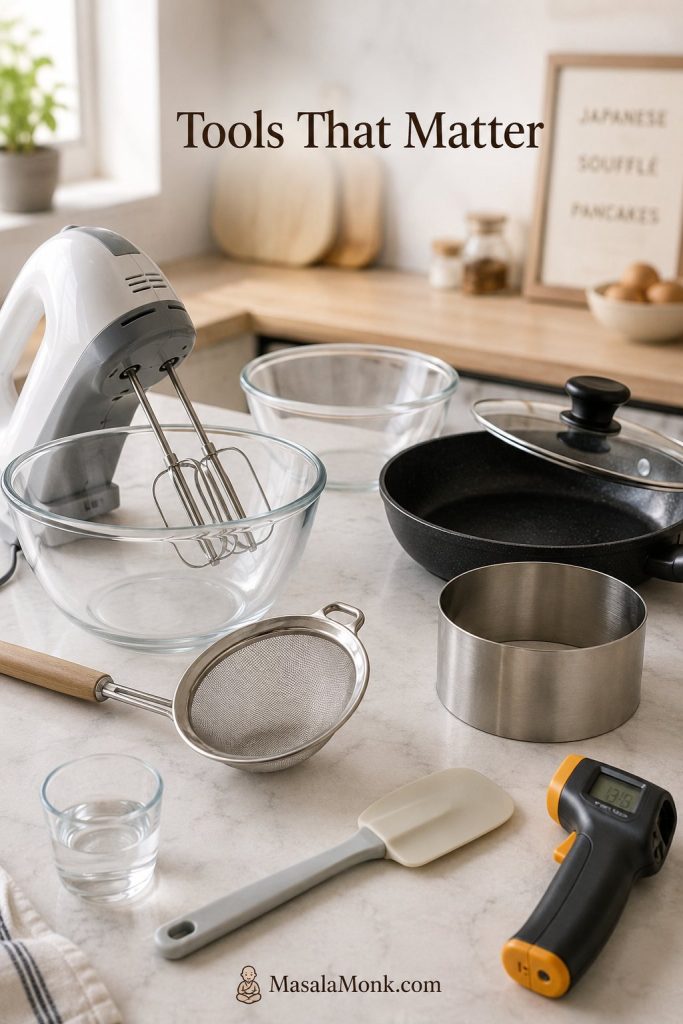
Equipment
- 9-inch / 23 cm pie dish or 9-inch deep-dish frozen pie shell
- Rimmed baking sheet
- Mixing bowl
- Whisk
- Measuring cups and spoons
- Fork
- Foil or pie shield
- Wire rack
- Instant-read thermometer, optional
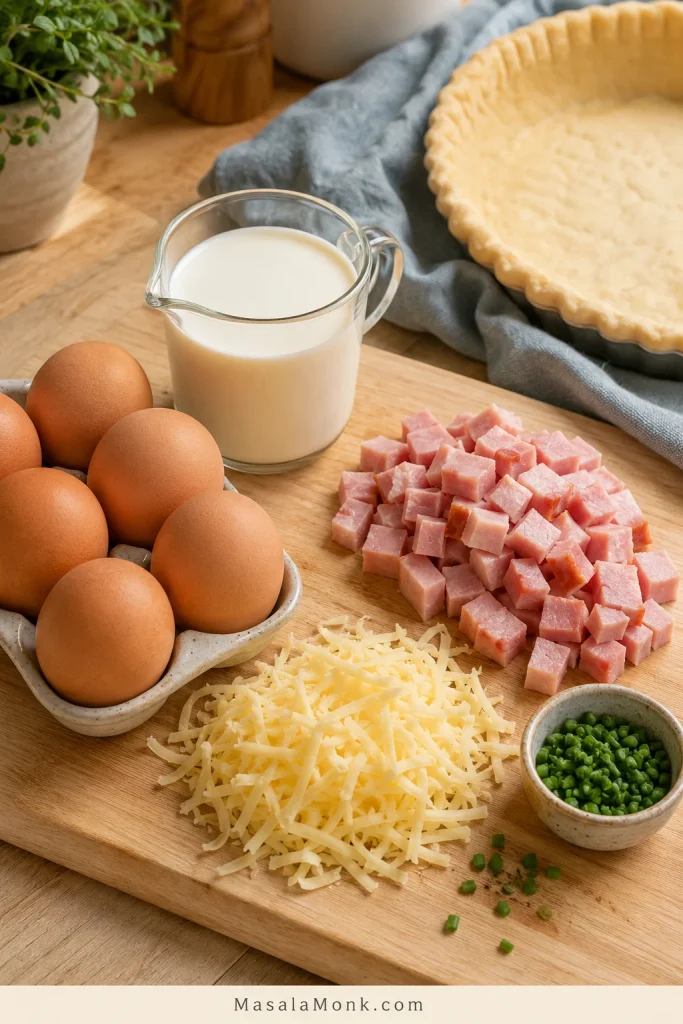
Ingredients
- 1 9-inch / 23 cm deep-dish pie crust, homemade, refrigerated, or frozen
- 5 large eggs
- 1 cup / 240 ml / 8 fl oz half-and-half, or ½ cup / 120 ml heavy cream plus ½ cup / 120 ml whole milk
- 1½ cups / 200–225 g / 7–8 oz cooked diced ham, measured loosely, not packed
- 1½ cups / 150–170 g / 5–6 oz shredded cheese, measured loosely, not packed
- 2–3 tablespoons chopped green onions or chives
- 1 teaspoon Dijon mustard
- ¼ teaspoon black pepper
- ¼–½ teaspoon salt
- Small pinch of nutmeg, optional
- 1 tablespoon butter or oil, optional, if sautéing onion, mushrooms, spinach, or other vegetables
Use ¼ teaspoon salt if your ham or cheese is salty. Use ½ teaspoon only if your ham is mild and your cheese is not very salty.
Instructions
1. Preheat and Set Up
Heat the oven to 375°F / 190°C and set a rack in the middle or lower-middle position. Place the pie crust on a rimmed baking sheet so it is easier to move and any overflow is caught.
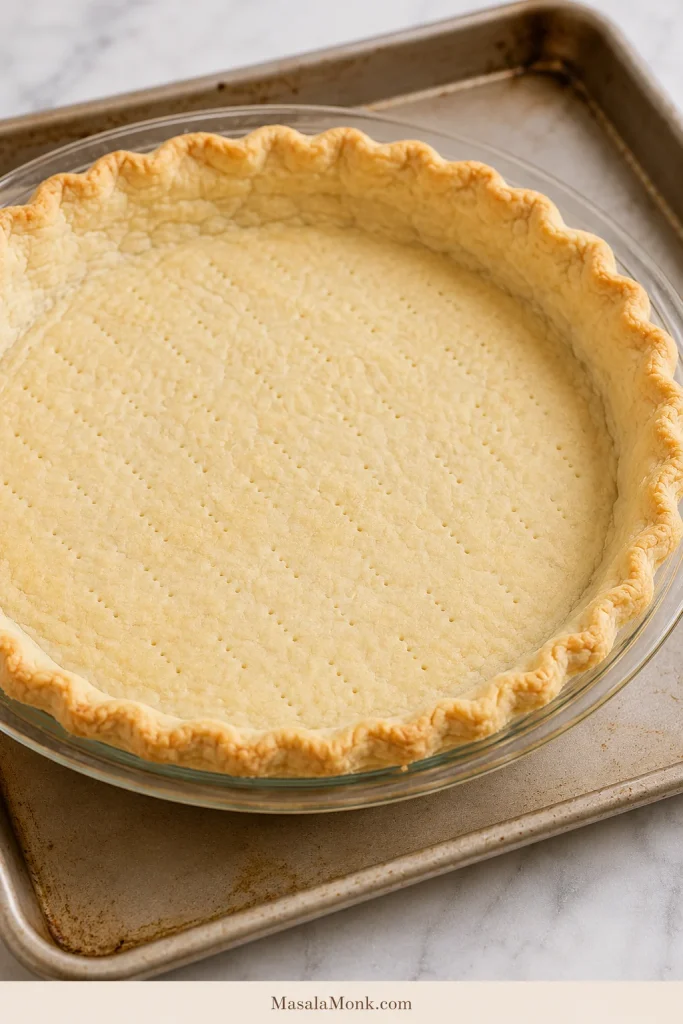
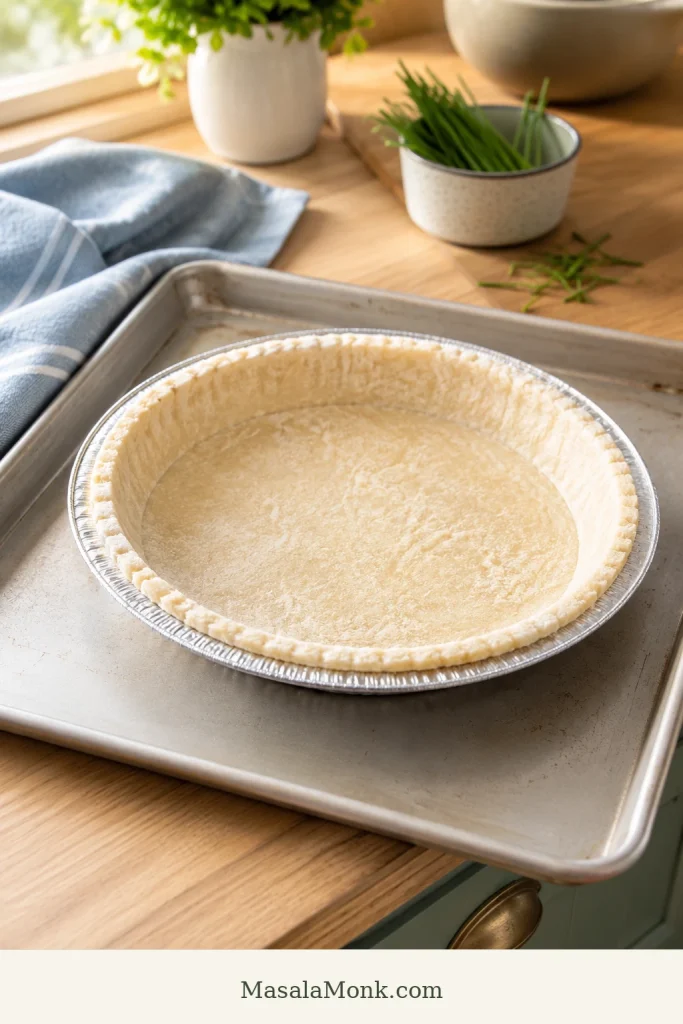
2. Par-Bake the Crust
Give the crust a short head start for 10–12 minutes, or follow the package timing if using a frozen shell. The surface should look dry and lightly set, even if it is still pale. Gently press down any puffed spots with a spoon.
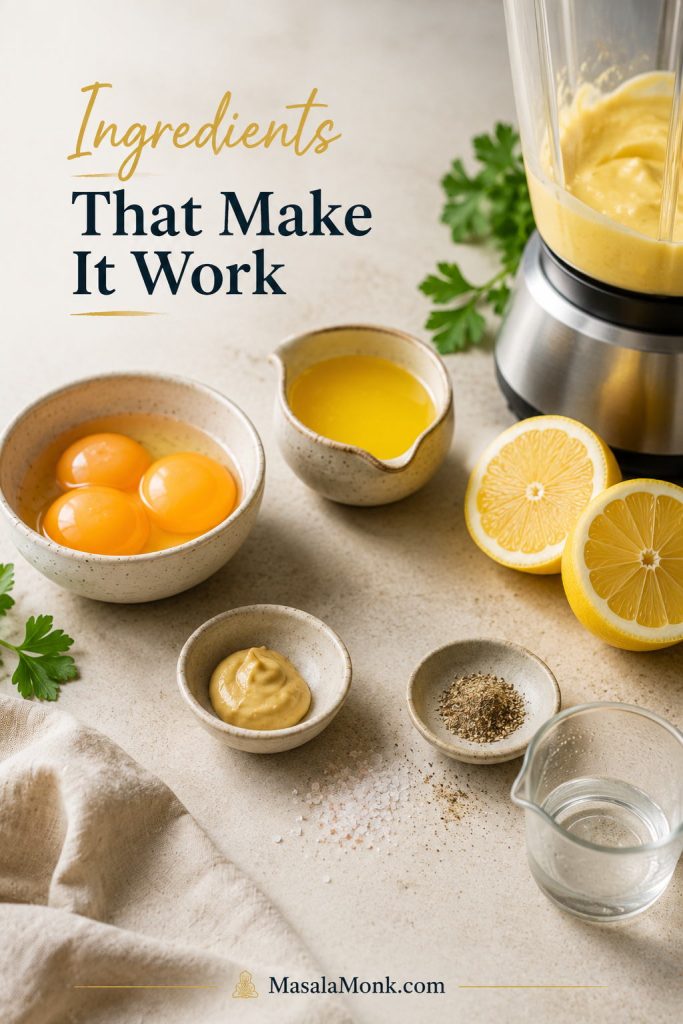
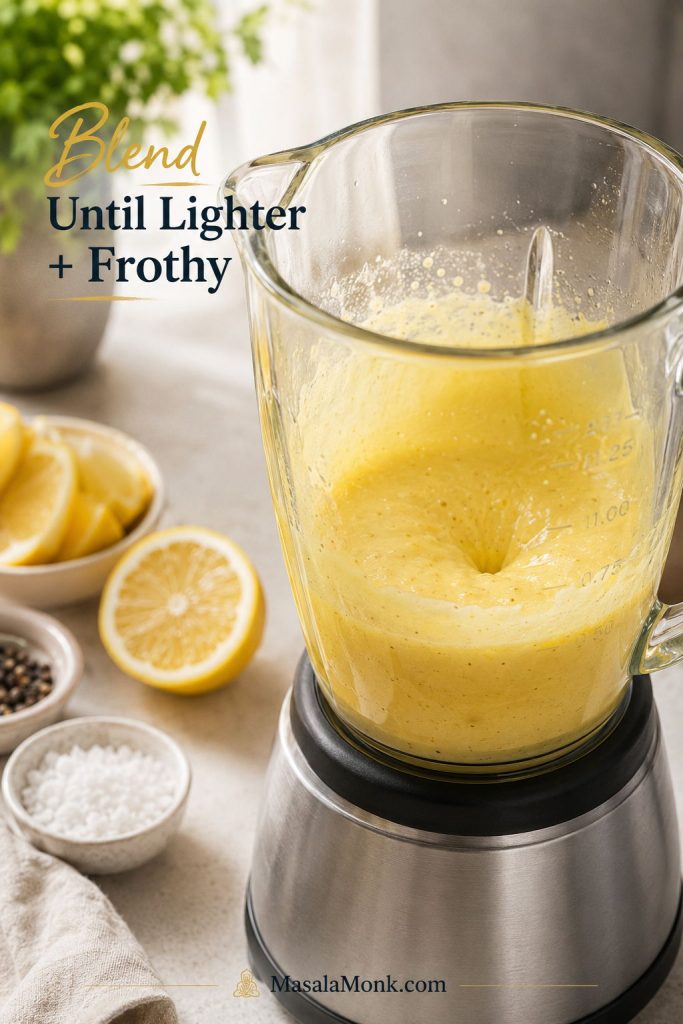
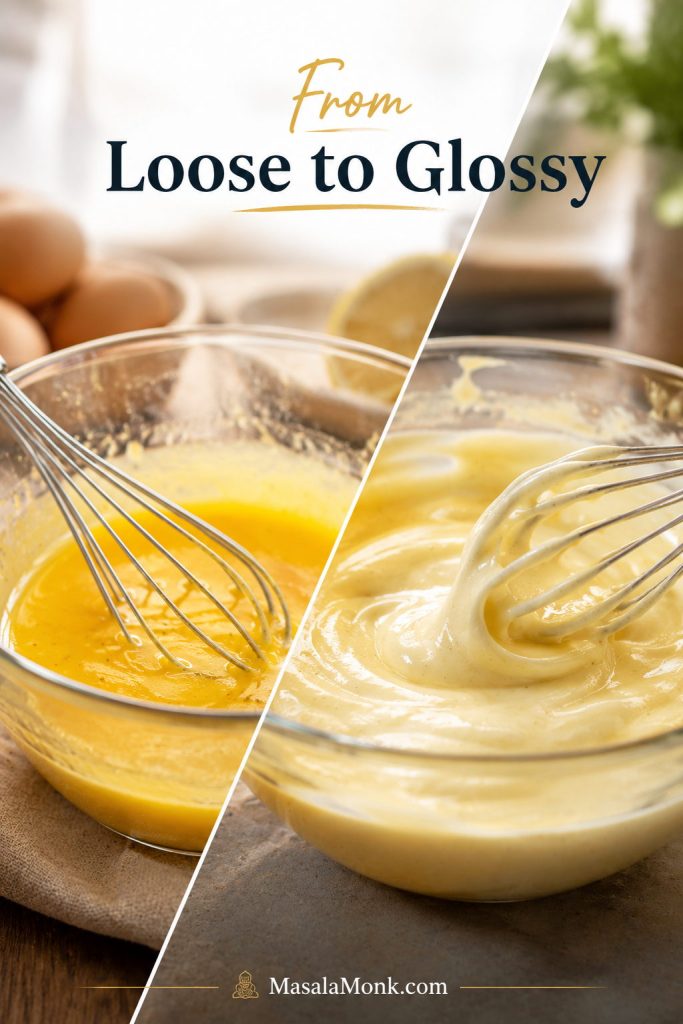
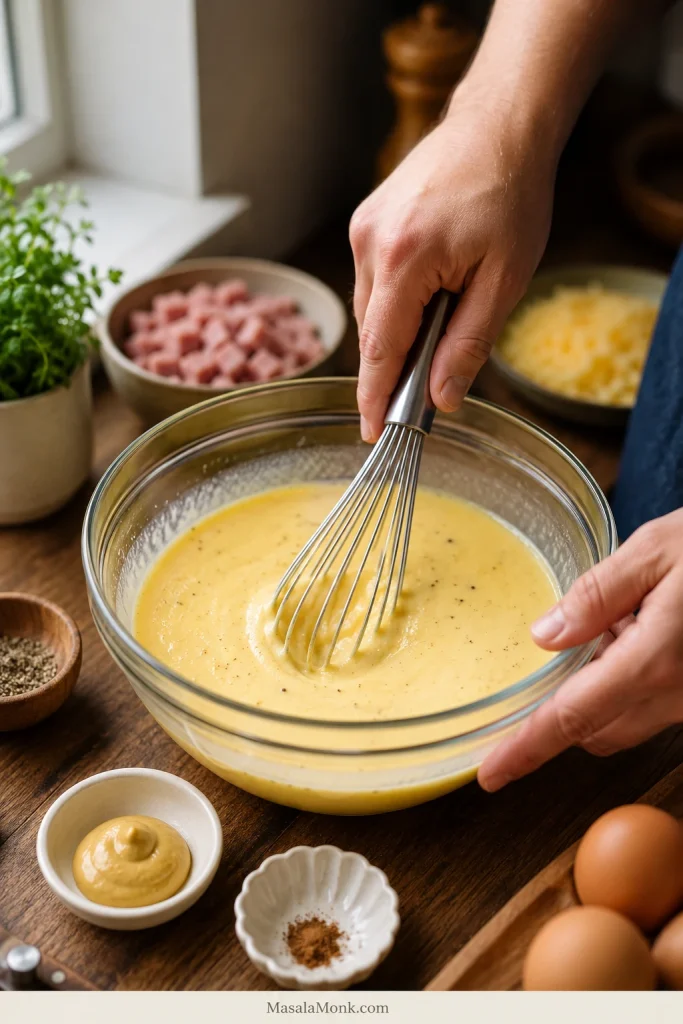
3. Whisk the Custard
Combine the eggs, half-and-half, Dijon mustard, black pepper, salt, and nutmeg in a mixing bowl until the mixture looks smooth and evenly yellow. Stop once it is blended; the custard should not be bubbly or foamy.
4. Layer the Ham, Cheese, and Chives
Scatter the diced ham evenly over the warm par-baked crust. Add the shredded cheese and green onions or chives so the filling is spread across the base before the custard goes in.

5. Pour Without Overfilling
Add the egg mixture slowly over the ham and cheese so it can settle into the gaps. Stop before it touches the rim, especially if the crust is shallow. A clean oven is worth more than one extra spoonful.

A shallow crust may not hold every drop of custard. When the filling looks close to the top, save the extra for a greased ramekin instead of risking overflow.

6. Bake Until Soft-Set
Slide the quiche into the oven for 35–45 minutes, until the edges are set and the center moves like soft-set pudding when you gently nudge the pan. Cover the crust edge with foil or a pie shield if it browns too quickly, and tent the whole quiche loosely if the top colors before the center is ready.

7. Rest Before Slicing
Set the quiche on a wire rack for 10 minutes before cutting. The center settles as it cools, which helps the slices lift cleanly instead of slumping.
8. Serve Warm or Room Temperature
Bring slices to the table warm or at room temperature for the creamiest texture. Chilled leftovers are fine for quick lunches, but the custard tastes better once the chill comes off.
A good slice should look softly set in the center, with ham and cheese suspended through the custard instead of sunk into one dense layer.

Recipe Notes
- This recipe card is for the crusted version. For crustless baking, use the crustless note above or jump to the crustless quiche section.
- If using frozen crust, make it deep-dish. Regular frozen shells can work, but they often cannot hold all the filling; the frozen crust notes explain why.
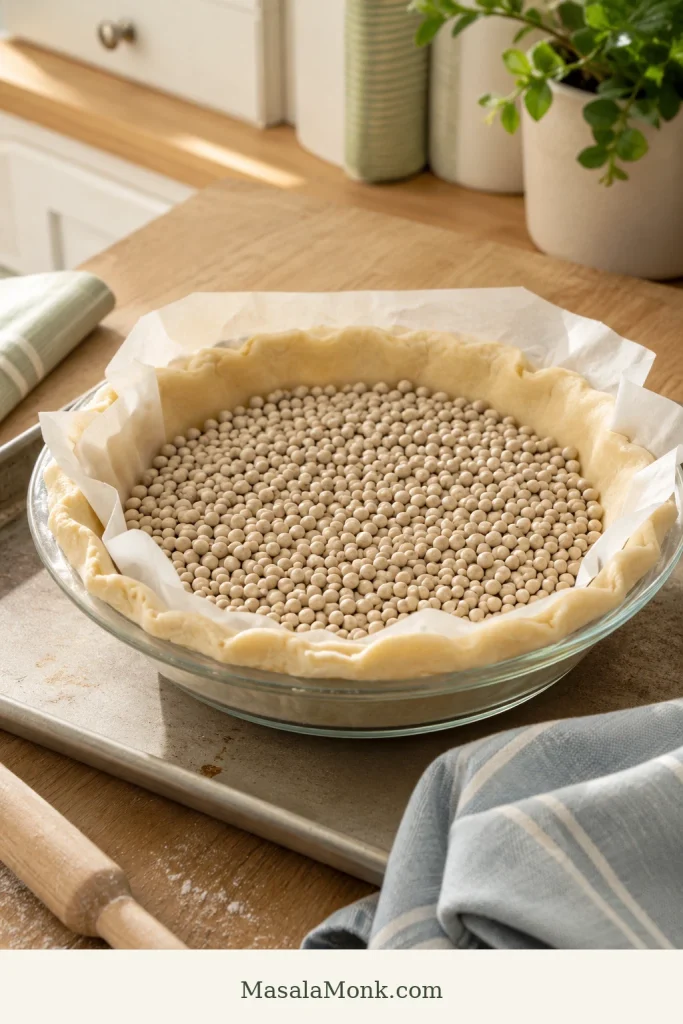
- If using homemade or refrigerated pie dough, chill it in the dish, line it with parchment, add pie weights, dried beans, or uncooked rice, and par-bake until the edges begin to set. Frozen crusts can usually follow package directions.
- Cook, drain, and cool vegetables before adding them so they do not throw off the texture.
- Do not overfill a shallow crust. Extra egg mixture can be baked in a small greased ramekin.
Why This Recipe Works
That ratio does most of the work here: 5 large eggs + 1 cup dairy + 1½ cups ham + 1½ cups cheese. Five eggs give the slice structure, one cup of dairy keeps the center soft instead of omelet-like, and the ham and cheese stay generous without weighing down the custard.
The goal is a slice that lifts cleanly but still tastes soft and creamy, with little pockets of ham and melted cheese all the way through.
A short head start in the oven also protects the crust. It keeps the bottom from turning pale and soft once the wet custard goes in, and it helps you avoid the usual quiche problems: too much liquid, wet add-ins, a soft bottom crust, and eggs baked until rubbery.
Ingredients and Key Tips
Quiche is forgiving, but it is not random. Once you control moisture, salt, and bake time, the rest becomes flexible.
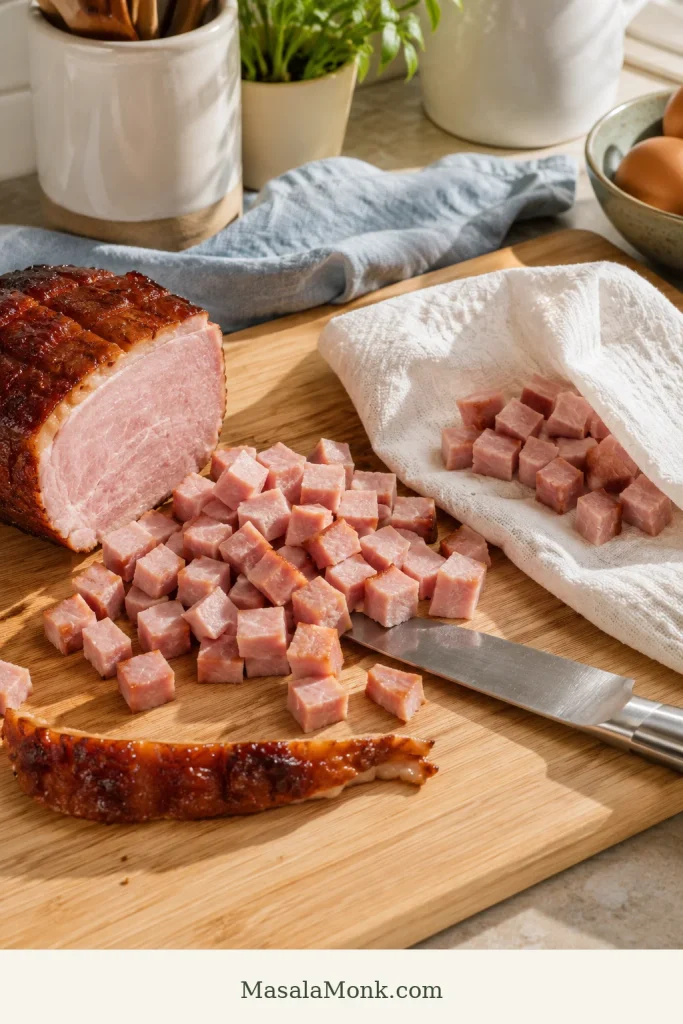
Ham
Almost any cooked ham works here: leftover holiday ham, ham steak, smoked ham, or thick-cut deli ham. Dice it small so it spreads evenly through the custard.
This is especially useful after a holiday meal, Sunday dinner, or any time you have cooked ham in the fridge. The ham is already seasoned and ready to help; you are not building brunch from nothing, just giving leftovers a better second life.
For deli ham, choose thicker slices and dice them small. Watery packages need a quick blot before the ham goes into the crust because extra moisture can affect the custard just like wet vegetables can.
Salty ham needs less salt in the egg mixture. You can always add a little salt at the table, but you cannot remove it once it is baked into the dish.
With sweet glazed ham, trim away any thick sticky edges before dicing. A little sweetness is fine, but too much glaze can make the quiche taste sweeter and more casserole-like than classic ham quiche. Dijon mustard, black pepper, cheddar, Swiss, or Gruyère will help balance it.
Brown the ham if it is pale, wet, or mild. Skip this step if the ham is already smoky, dry, or strongly flavored. A quick 2–3 minutes in a dry skillet or a little butter gives the edges more savory flavor.
Eggs
Five eggs is the sweet spot for this size: enough structure to slice, but not so many that the center turns firm and omelet-like.
Dairy
For the creamiest everyday texture, half-and-half gives you the easiest balance. If half-and-half is not available where you live, use equal parts heavy cream and whole milk.
Whole milk also works for a lighter quiche. The center will be less rich, but it will still set if you keep the egg-to-dairy ratio steady.
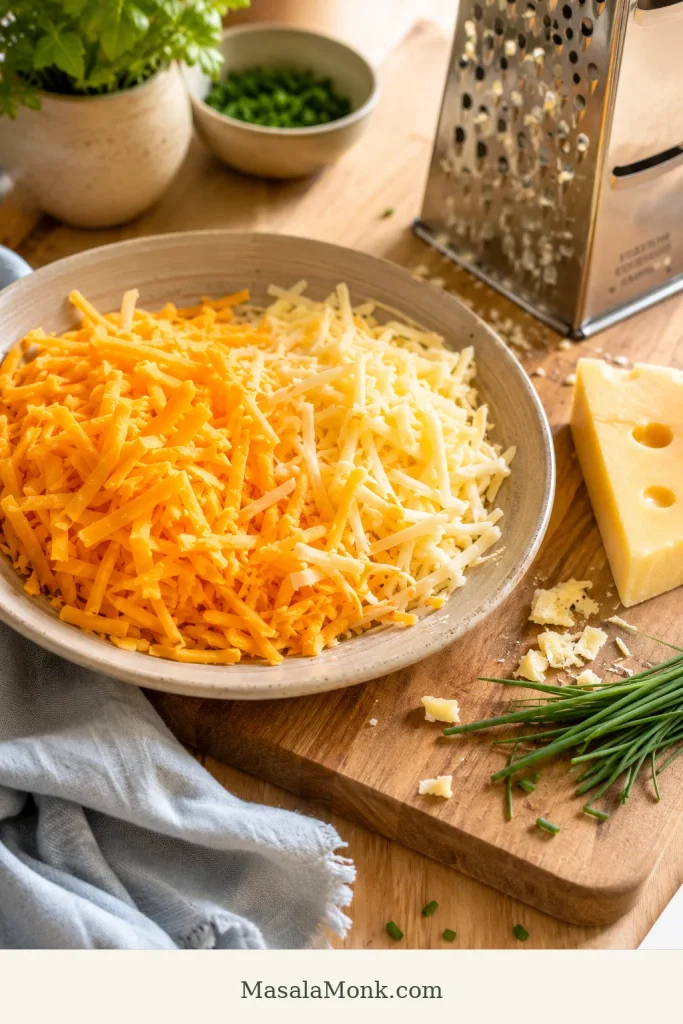
Cheese
For cheese, stay with something that actually has flavor. Sharp cheddar gives the quiche that familiar melted ham-and-cheese pull, Swiss is mild and classic, and Gruyère makes the dish feel more brunch-table polished.
Measure shredded cheese loosely, not packed tightly into the cup. Too much cheese can make the quiche greasy, salty, or heavy. Freshly shredded cheese melts most smoothly, but pre-shredded cheese is fine when convenience matters.
Avoid fresh mozzarella unless it is very well drained. It can release water into the custard. Low-moisture mozzarella is safer, but it is mild, so it works better as part of a blend than as the main cheese.
Green Onions, Chives, Onion, or Garlic
Green onions and chives are the easiest because they can go straight into the egg mixture. If using yellow onion, shallot, or garlic, sauté them first so the flavor softens before baking.
Dijon, Pepper, and Nutmeg
Dijon mustard adds gentle sharpness without making the quiche taste mustardy. Black pepper keeps the custard from tasting flat. A tiny pinch of nutmeg is optional, but it works beautifully with eggs, cream, cheese, and ham.
Before You Bake, Check These 5 Things
If you remember only three things, par-bake the crust, control wet add-ins, and pull the quiche before the center turns firm. If the center still makes you nervous, the doneness cues below explain the wobble, resting time, and thermometer range.
- The crust is par-baked and lightly set.
- The ham is diced small and patted dry if it feels wet.
- Any vegetables are cooked, drained, and cooled slightly.
- The cheese and ham are measured loosely, not packed down.
- The egg mixture sits below the rim of the crust.
Best Crust, Dairy, and Cheese Choices
This is where you can make the recipe fit your kitchen. Frozen crust, homemade crust, cream, milk, cheddar, Swiss, or Gruyère can all work — the goal is to keep the custard balanced and the crust from going soft.
Using a Frozen Pie Crust
If you are using a frozen crust, you are not cheating; you are making brunch easier. Choose a 9-inch deep-dish frozen crust if you can. Regular frozen shells can work, but they often cannot hold all the filling.
Keep the crust in its tin if it comes that way, place it on a rimmed baking sheet, prick the base lightly, and par-bake for 10–12 minutes before filling. Do not worry if it is not deeply browned after the first bake. It will go back into the oven with the custard.
Homemade or Regular Pie Crust
Not every 9-inch crust holds the same amount of custard. A regular 9-inch crust can still work, but you may not need every drop of the egg mixture.
If using homemade pie dough, chill it in the dish before blind baking. Line it with parchment, fill with pie weights, dried beans, or uncooked rice, and bake until the edges begin to set before removing the weights.
Do not fill the crust all the way to the rim. Quiche can puff as it bakes. If you have extra egg mixture, bake it in a small greased ramekin instead of forcing it into the crust.
What Dairy Makes the Creamiest Texture?
The dairy is where you can quietly change the whole personality of the quiche. Cream makes it rich, milk makes it lighter, and half-and-half sits comfortably in the middle.
| Dairy | Texture and Flavor | Good Use |
|---|---|---|
| Heavy cream | Richest, softest, most custardy | Special brunch or holiday quiche |
| Half-and-half | Creamy but not too heavy | Everyday choice |
| Whole milk | Lighter and less rich | Lighter quiche that still sets |
| Low-fat milk | Less creamy and slightly less forgiving | Use only if you accept a lighter texture |
| ½ cream + ½ whole milk | Rich and balanced | Easy substitute for half-and-half |
If you do not have half-and-half, use ½ cup / 120 ml heavy cream + ½ cup / 120 ml whole milk. To make the quiche without heavy cream, use 1 cup / 240 ml whole milk.
Cheddar, Swiss, or Gruyère?
Ham needs cheese with enough flavor to stand up to it. Sharp cheddar gives bold, familiar flavor. Swiss gives a mild, nutty, classic brunch taste. Gruyère makes the custard richer and deeper.
For an everyday version, use 1 cup sharp cheddar + ½ cup Swiss. For a richer brunch version, use 1 cup Gruyère + ½ cup cheddar or Swiss. A little Parmesan can also be added for salty, nutty depth, but use it lightly.
Bake Time, Doneness, and Visual Cues
For a crusted quiche, use 375°F / 190°C for 35–45 minutes. A shallow quiche may finish closer to 35 minutes, while a deep-dish or vegetable-heavy one may need closer to 45–50 minutes.
Use 350°F / 175°C for the crustless version or a very deep filling. Save 400°F / 200°C mainly for par-baking crust or quick browning, not for the full custard bake.
Visual Doneness Cues
- After par-baking: the crust should look dry and lightly set, not deeply browned.
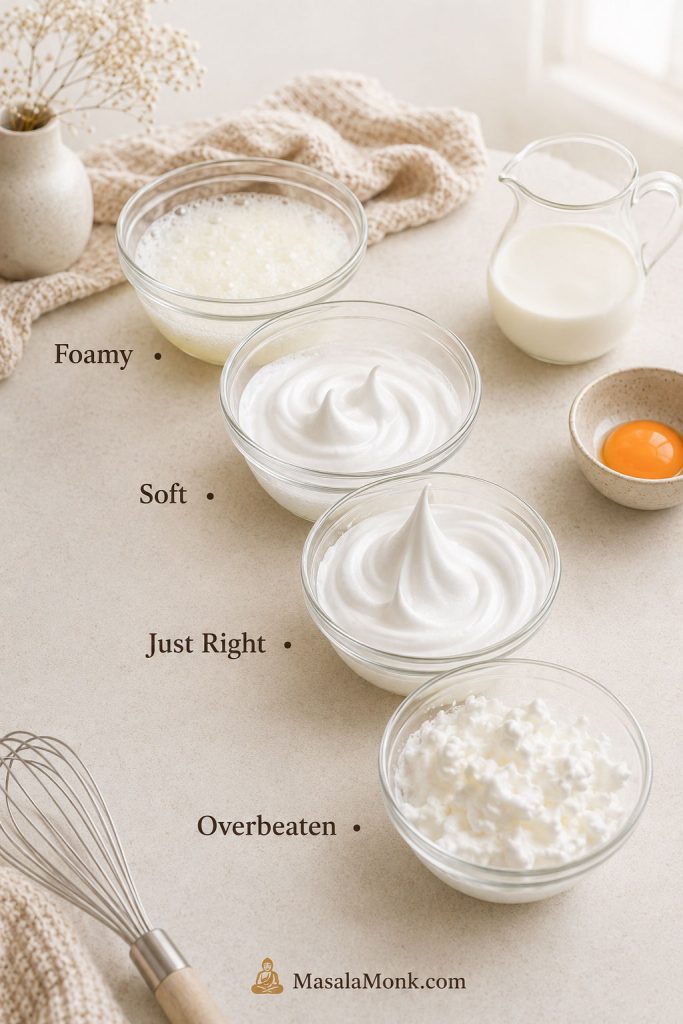
- After whisking: the egg mixture should look smooth and lightly yellow, not frothy.
- Before baking: the egg mixture should sit below the rim, with a little breathing room.
- Near the end: the top may puff slightly and turn golden in spots.
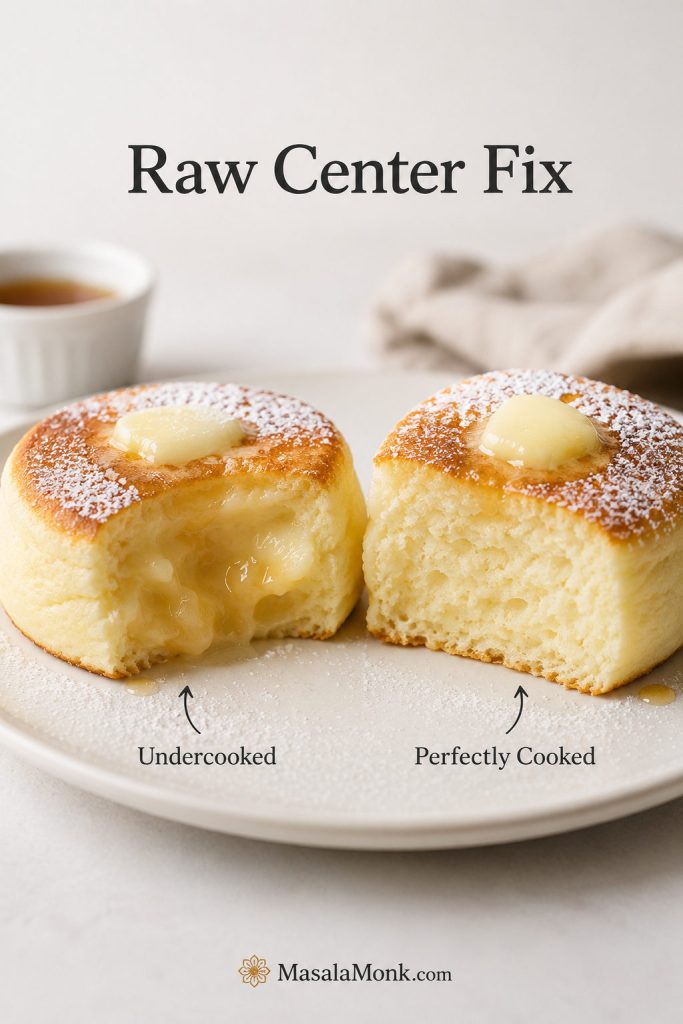
- When done: the center should move like soft-set pudding, not ripple like raw liquid.
- After resting: the center should look calmer, and the slice should hold when lifted.
If the crust browns too quickly, cover the edges with foil or a pie shield and keep baking until the center is set. If the top browns before the center is ready, tent the whole quiche loosely with foil.
The first time you bake quiche, the wobble can feel wrong. It is not. The quiche is done when the edges are puffed and set, the center is soft-set but not liquid, and the top is lightly golden in places.
Thermometer and Resting Cues
If using a thermometer, the center should reach at least 160°F / 71°C for egg safety. For a tender, sliceable quiche, start checking around 165°F / 74°C and avoid pushing far past 185°F / 85°C. Carryover heat and resting time will help the center finish setting.

If you are unsure, give the quiche a few more minutes of rest before cutting rather than putting it back into the oven too quickly. Resting often fixes a soft-looking center; overbaking does not.

Crustless Ham and Cheese Quiche and Easy Variations
Once the base is steady, this quiche is easy to bend toward the day: crusted for brunch, crustless for meal prep, mini for parties or lunchboxes.
| If You Want… | Do This |
|---|---|
| Classic ham and cheese quiche | Use cheddar + Swiss in a par-baked crust |
| Richer brunch quiche | Use Gruyère and a cream + milk mixture |
| Lighter quiche | Use whole milk instead of cream or half-and-half |
| Crustless quiche | Grease the dish well and bake at 350°F / 175°C |
| Vegetable quiche | Cook and cool vegetables before adding them |
| Mini quiches | Use muffin tins and fill each cup about ¾ full |
| Leftover ham quiche | Dice ham small and reduce added salt if needed |
Crustless Ham and Cheese Quiche
The crustless version is not just the fallback. It is the faster, lighter version for meal prep or for anyone skipping pastry.
To make it crustless, skip the pie crust and bake the egg mixture in a well-greased 9-inch / 23 cm pie dish. Use the same base: 5 eggs, 1 cup / 240 ml dairy, 1½ cups ham, 1½ cups cheese, Dijon, pepper, and herbs.
Bake at 350°F / 175°C for 30–40 minutes, or until the center is just set. The crustless version is softer than the crusted version, so let it rest for at least 10 minutes before slicing.

For another no-crust egg bake, the frittata recipe is the skillet-style route; for muffin-tin meal prep, use the egg muffins recipe.
Ham and Swiss Quiche
Ham and Swiss quiche has a mild, nutty, classic brunch flavor. Use Swiss for all or part of the cheese. A good blend is 1 cup Swiss + ½ cup sharp cheddar. Dijon mustard and chives work especially well with this version.
Ham and Spinach Quiche
For ham and spinach quiche, use either 1 cup cooked fresh spinach or ½ cup frozen spinach that has been thawed and squeezed very dry. Spinach pairs well with Swiss, Gruyère, cheddar, feta, or goat cheese.
Wet spinach is not a small issue. It can make the center watery, even if the egg ratio is right.

Broccoli Ham and Cheese Quiche
For broccoli ham quiche, use 1 cup small broccoli florets. Steam, blanch, microwave, or sauté them first, then drain well and chop small. Sharp cheddar is the easiest pairing, but Swiss or Gruyère also work.

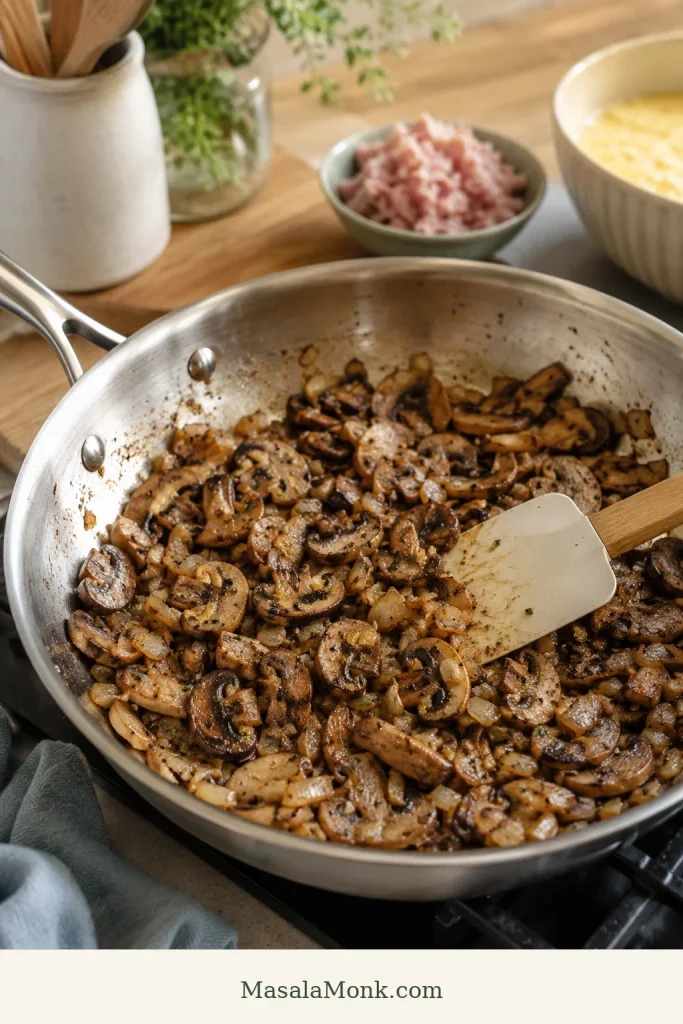
Mushroom, Onion, Asparagus, and Other Add-Ins
Add-ins are where a good quiche can go watery, so treat them before they reach the crust. A few minutes in a skillet can save the whole dish.
| Add-In | Amount | Prep |
|---|---|---|
| Mushrooms | ¾–1 cup sliced | Sauté until the moisture evaporates |
| Onion or shallot | ¼–½ cup chopped | Sauté until softened |
| Asparagus | ¾–1 cup chopped | Blanch or sauté if thick |
| Bell pepper | ½ cup diced | Sauté for better texture |
| Tomato | Small amount | Remove seeds and excess moisture |
Let cooked vegetables cool for a few minutes before adding them. Hot add-ins can start setting the eggs unevenly before the dish even reaches the oven.
Mini Ham and Cheese Quiche
Mini ham and cheese quiches are best when you want party bites, brunch trays, lunchboxes, or freezer-friendly portions. Use the same egg mixture, but cut the ham and add-ins smaller so each bite gets ham, cheese, and custard. For leftovers, use the make-ahead, storage, and reheating cues below.
The full filling usually makes about 10–12 regular muffin-size mini quiches or 24–30 mini muffin-size bites, depending on how much crust and add-ins you use.
- Regular muffin tin: bake at 350°F / 175°C for 18–25 minutes.
- Mini muffin tin: bake at 350°F / 175°C for 14–20 minutes.
- With crust: press small pie crust or puff pastry rounds into greased cups before filling.
- Without crust: grease the tin very well or use silicone liners.
- Filling level: fill each cup about ¾ full so the egg mixture has room to puff.
Let mini quiches cool for 5 minutes before loosening them with a small knife. They freeze well after baking; reheat from chilled or thawed in a 325°F / 160°C oven until warmed through.

Other Shortcut Variations
Puff pastry works well for mini quiches and party bites. Crescent dough gives a softer, breadier crust. A Bisquick-style ham and cheese bake is closer to an impossible pie than a classic quiche, so it is better treated as a separate recipe rather than a small swap.
For an old-fashioned ham and cheese quiche, keep it simple: pie crust, cooked ham, cheddar and Swiss, half-and-half, green onions or chives, and black pepper.
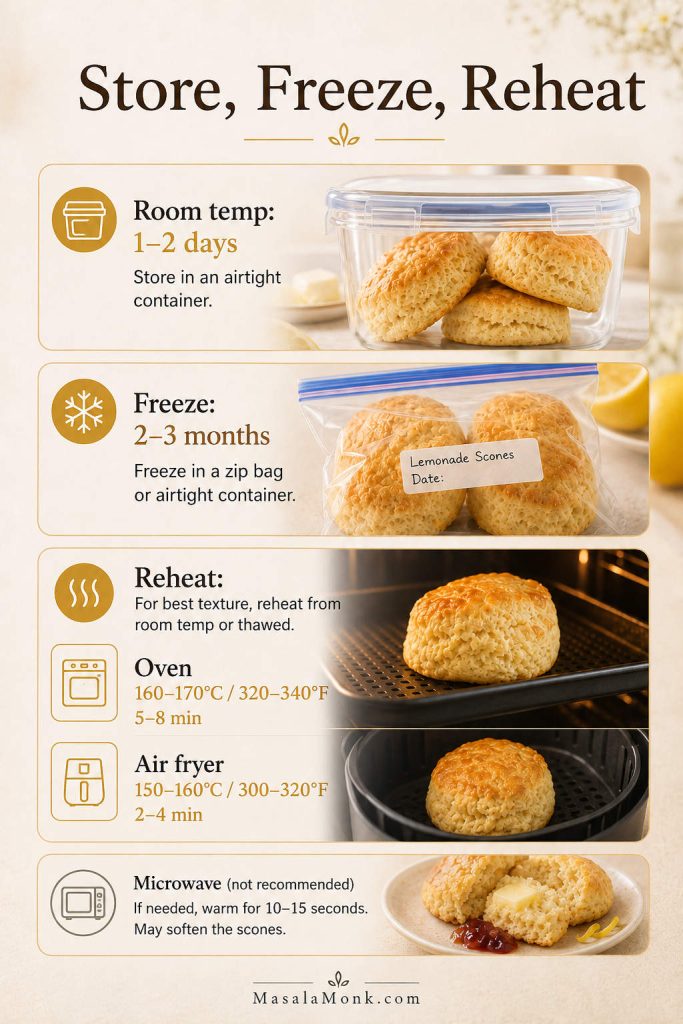
Make Ahead, Storage, and Reheating
Quiche is one of the rare egg dishes that actually likes being made ahead. It can rest, settle, reheat, and still taste good when everyone finally reaches the table.
This is also why quiche works so well for hosting: it gives you something generous to serve without asking you to cook every egg to order. When the timing is sorted, jump to what to serve with it for plate ideas.
For a crisper crust, do not pour the raw egg mixture into the shell many hours before baking. The crust can absorb moisture and soften before it ever reaches the oven. If you want to prep ahead, par-bake the crust, dice the ham, shred the cheese, cook any vegetables, and keep the egg mixture separate until baking.
For safety, cooked egg dishes should not sit at room temperature for more than 2 hours; the FDA gives the same basic egg-safety guidance.
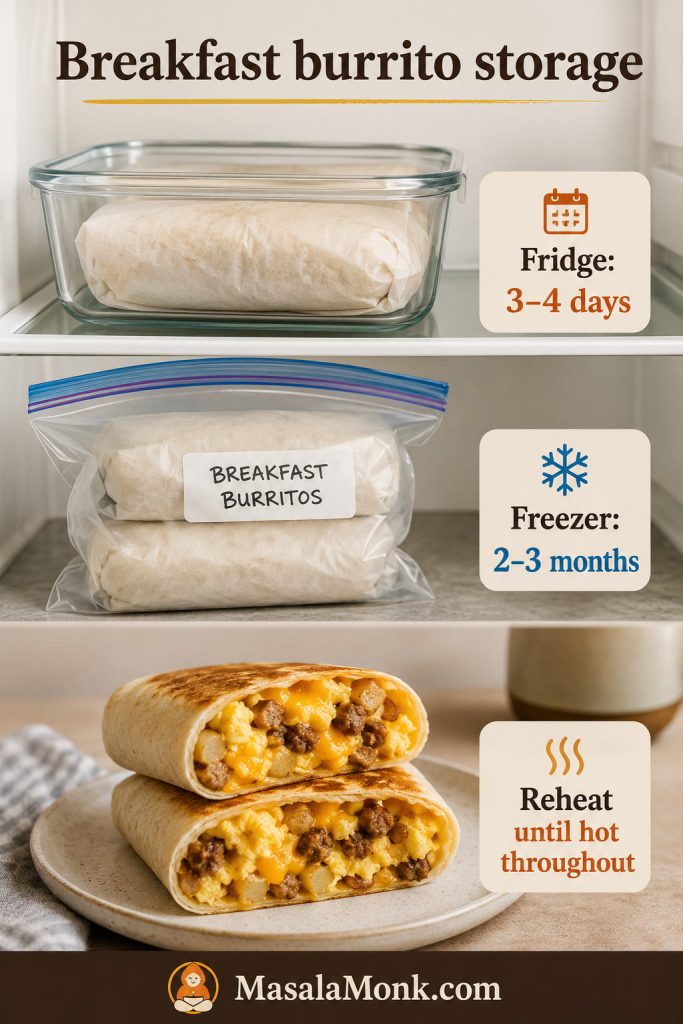
Fridge
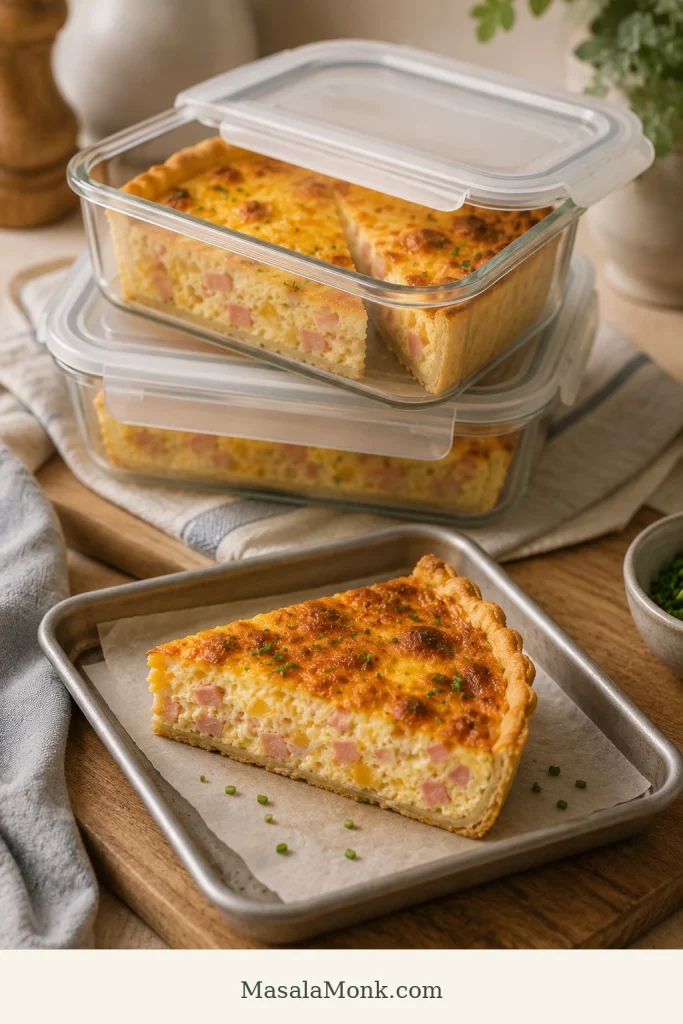
Let the quiche cool completely, then cover it and refrigerate for 3–4 days, whole or in slices. That timing lines up with USDA leftover food safety guidance.
Freezer
Quiche freezes more cleanly after baking. Cool it completely, wrap it tightly, and freeze it whole or sliced for up to 2 months for the creamiest texture.
The crust may soften slightly after freezing, but reheating in the oven helps bring it back. If freezing slices, wrap them individually or place parchment between them so they do not stick together.
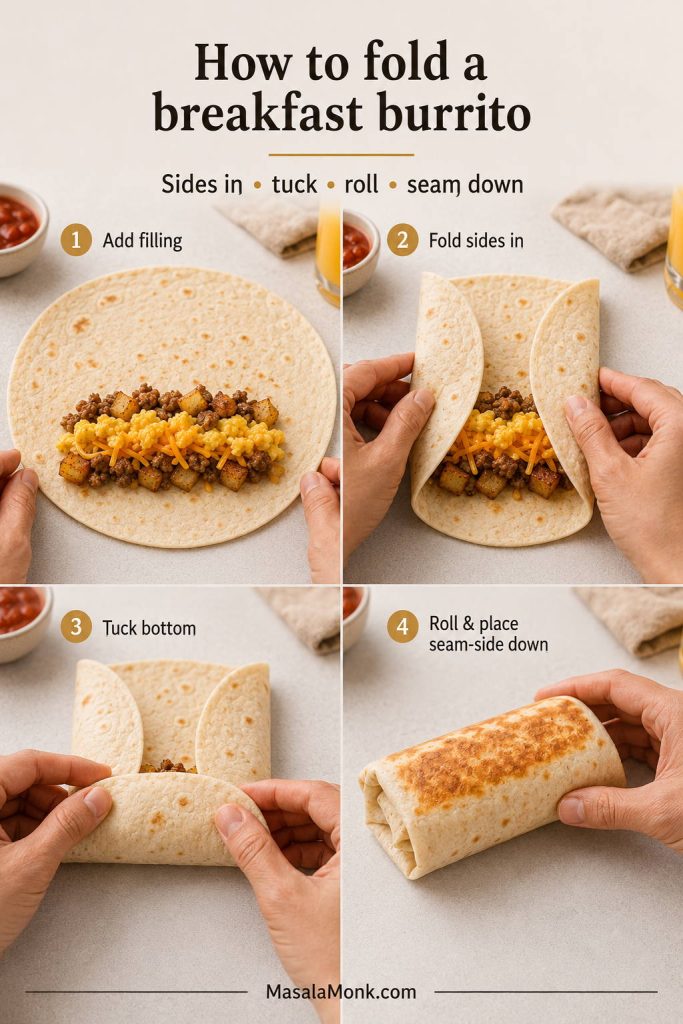
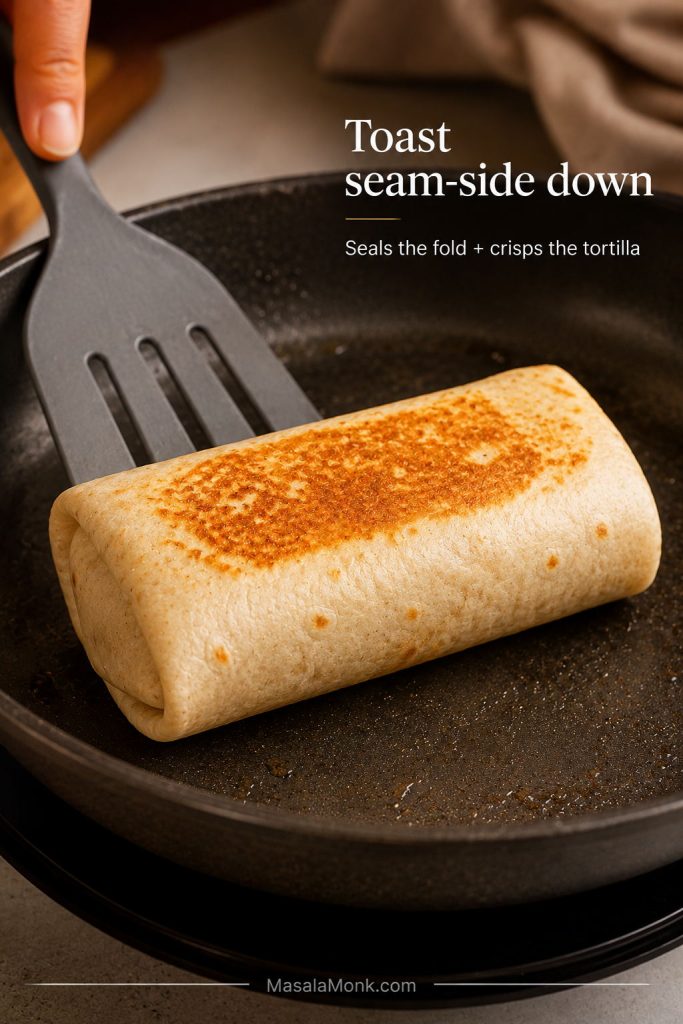
For a freezer breakfast that reheats faster than quiche, MasalaMonk’s breakfast burrito recipe is the better handheld option.
Reheating
For a better texture, reheat slices in a 325°F / 160°C oven until warmed through. Reheat loosely covered with foil, then uncover for the last few minutes if the crust needs crisping.
The microwave works for individual slices when speed matters, but it will soften the crust. If reheating from frozen, thaw overnight in the refrigerator first.
What to Serve with Ham and Cheese Quiche
The quiche already brings richness, salt, and comfort. The best sides simply make the plate feel fresher. A crisp salad or fresh fruit keeps each creamy, salty bite from feeling heavy.

- Brunch: fruit, coffee, soft homemade cinnamon rolls, or lightly dressed greens.
- Lunch: cucumber salad, tomato salad, or simple greens.
- Dinner: soup, roasted potatoes, or a bright side salad.
- Bigger crowd: this breakfast casserole with hash browns is a better fit than baking multiple quiches.
- Potlucks: cool slightly, slice cleanly, and serve warm or at room temperature.
How to Avoid Watery, Soggy, or Rubbery Quiche
When quiche goes wrong, it usually gives you clues. A watery middle, soggy bottom, rubbery texture, or salty bite can almost always be traced back to moisture, timing, salt, or overfilling — not to quiche being difficult.
Once you know what the center should look like, quiche stops feeling mysterious.
| Problem | Most Likely Cause | Fix Next Time |
|---|---|---|
| Watery center | Wet vegetables, watery ham, too much dairy, or underbaking | Cook and drain add-ins, keep the ratio steady, and rest before slicing |
| Soggy crust | Crust not par-baked or custard sat in crust too long | Par-bake first and assemble close to baking |
| Rubbery texture | Overbaking | Pull while the center is still soft-set |
| Too salty | Salty ham and cheese plus full added salt | Use ¼ teaspoon salt or less with salty ham |
| Overflow | Shallow crust or filling too close to rim | Use deep-dish crust and stop below the rim |
The 3 Biggest Quiche Mistakes
- Skipping the par-bake: this is the fastest path to a soft bottom crust.
- Adding wet ingredients: watery ham, spinach, mushrooms, and tomatoes can loosen the custard.
- Baking until fully firm: pull it while the center is still soft-set, then let it rest.
Why is my quiche watery?
Watery quiche is almost always a moisture or timing problem. The usual culprits are wet spinach, raw mushrooms, watery ham, too much dairy, underbaking, or slicing before the center has had time to settle.
- Cook and drain vegetables before adding them.
- Squeeze spinach very dry.
- Pat wet ham dry.
- Use the 5 eggs to 1 cup dairy ratio.
- Bake until the center is just set.
- Rest for 10 minutes before slicing.
Why is my crust soggy?
A soggy crust usually means the crust was not par-baked, the egg mixture sat in the crust too long before baking, or wet ingredients released moisture into the bottom. Par-bake the crust, cook and drain vegetables, and avoid assembling the raw custard in the crust too far ahead.

Why is my quiche rubbery?
Rubbery quiche is usually overbaked. Eggs become firm and tough when they cook too long. Remove the quiche when the center still has a gentle wobble. It will finish setting as it rests.
Why did the center not set?
The center may not set if the quiche is very deep, the oven temperature is too low, the mixture has too much liquid, or it simply needs more time. Cover the crust edges with foil if needed and continue baking until the center no longer looks liquid.
Why is it too salty?
Ham and cheese both bring salt. If your ham is salty, use less salt in the egg mixture. Dijon, black pepper, green onions, chives, and a small amount of cream can help balance the flavor without adding more salt.
Why did it overflow?
The crust may have been too shallow or filled too close to the top. Use a deep-dish crust when possible, stop before the egg mixture reaches the rim, and always bake the quiche on a rimmed baking sheet.
FAQs
Does ham and cheese quiche work without crust?
Yes. Grease a 9-inch / 23 cm pie dish, add the filling, and bake at 350°F / 175°C for 30–40 minutes. Rest before slicing so the center can settle.
Milk instead of cream: will the quiche still set?
Yes. Whole milk works. Keep it to 1 cup / 240 ml so the center still slices cleanly. It will taste lighter than a cream version, but it will still be a proper, sliceable quiche.
Best substitute for half-and-half
Use ½ cup / 120 ml heavy cream plus ½ cup / 120 ml whole milk. You can also use 1 cup / 240 ml whole milk for a lighter version.
Best cheese for ham quiche
Sharp cheddar gives bold flavor, Swiss gives a classic ham quiche taste, and Gruyère makes it richer. A cheddar-Swiss blend is the easiest everyday choice.
Frozen pie crust: deep-dish or regular?
Deep-dish is better because regular frozen shells may not hold all the filling. Par-bake the crust first, place it on a rimmed baking sheet, and avoid overfilling it.
Spinach in quiche: fresh, frozen, cooked, or raw?
Fresh spinach should be wilted first, and frozen spinach should be thawed and squeezed very dry. Raw or wet spinach can make the quiche watery.
Make-ahead quiche: bake first or assemble later?
Bake it first for the easiest make-ahead plan. To prep parts ahead, keep the par-baked crust, cooked add-ins, cheese, ham, and egg mixture separate until baking.
Freezing ham and cheese quiche: whole or sliced?
Both work. Bake it first, cool it completely, then freeze it whole or in slices. Slices are easier for quick meals. Thaw overnight in the refrigerator and reheat in the oven for the best texture.
Doneness cues for creamy, sliceable quiche
The edges should be set, and the center should look soft-set, not liquid. A gentle wobble is okay. If using a thermometer, the center should reach at least 160°F / 71°C.
Watery quiche: what went wrong?
Quiche usually turns watery because of wet vegetables, watery ham, too much dairy, underbaking, or slicing too soon. Cook and drain add-ins, use the right egg-to-dairy ratio, and rest it before slicing.
Is ham and cheese quiche the same as quiche Lorraine?
Not exactly. Quiche Lorraine is traditionally made with bacon or lardons and a savory custard. Ham and cheese quiche has a similar creamy egg base, but uses cooked ham and usually includes cheese like cheddar, Swiss, or Gruyère.
Final Thoughts
Once the ratio makes sense, this stops feeling like a recipe you have to follow tightly and starts feeling like a brunch formula you can use. Cooked ham after a holiday, spinach from the fridge, cheddar one week, Swiss the next, crusted for brunch, crustless for meal prep — it all works as long as the base stays steady.
That is the kind of recipe worth keeping: calm, flexible, and good enough for both leftover ham and a proper brunch table. Slice it warm, serve it with something crisp or fresh, and let the ham, cheese, custard, and flaky crust do the quiet work.
If you make it, start with the cheddar-Swiss version once, then tell me where you took it: crustless, extra herbs, leftover holiday ham, spinach, broccoli, or a different cheese blend.