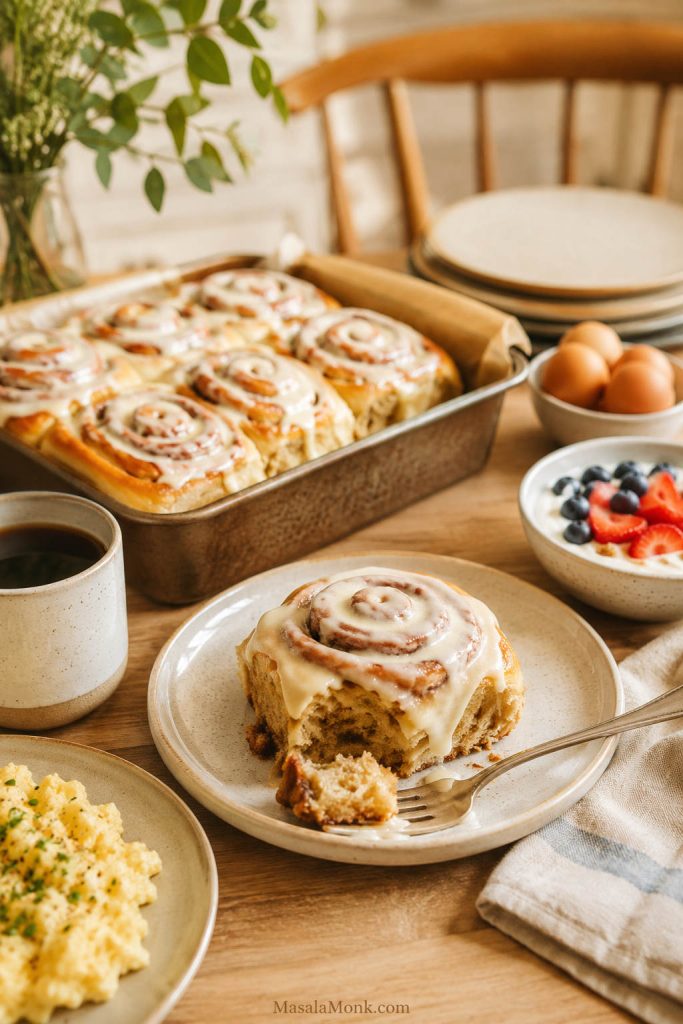
When you want the comfort of apple pie without making pie dough, this is the cake to bake. It is a no-mixer fresh apple cake with tender cinnamon apple pieces, a soft sheet-cake texture, and clear doneness cues so the middle bakes through instead of turning heavy.
The batter is simple, the apples do most of the work, and the pan keeps everything easy to slice. Most of the prep is just peeling and dicing the apples; after that, you whisk, fold, spread, bake, and let the cake settle before cutting into cozy apple-filled squares.
This is the cake you make when the apples are already sitting on the counter and you want the house to smell like you tried harder than you did. It has an old-fashioned snack-cake feel: simple batter, warm cinnamon, soft apple pieces, and no frosting required.
Not applesauce cake, not canned-filling cake, and not apple dump cake — this is fresh apple comfort with snack-cake effort: clean slices you can eat warm tonight and again with coffee tomorrow.
Quick Answer: What Is Apple Cake?
Apple cake is a cinnamon-spiced cake made with fresh diced apples folded into the batter. This version bakes in a 9×13 pan, uses oil and yogurt or sour cream so the cake stays tender after it cools, and slices into soft apple-filled squares.
For the most reliable result, use 360–400 g prepared apple pieces, dice them into ⅜–½ inch / 1–1.25 cm pieces, keep the batter thick and scoopable, and bake until the center of the pan is fully set. A few moist crumbs on the tester are good; shiny wet batter means the cake needs more time.
Think of it in three simple rules: measured apples, thick scoopable batter, and enough time for the middle to bake and rest.
Make This Apple Cake When
- There are 2–3 apples on the counter and dessert should not require pie dough.
- A no-mixer cake sounds better than a weekend baking project.
- Apple crisp feels too spoonable and you want clean, sliceable squares.
- Fresh apple pieces matter more than applesauce or canned filling.
- One cake needs to work warm after dinner and again the next day with coffee.
Fresh Apple Cake Recipe Card
Easy No-Mixer Fresh Apple Cake
A hand-mixed fresh apple cake with cinnamon, brown sugar, and tender 9×13 slices full of soft apple pieces. It is easy enough for a weekday bake, sturdy enough for a potluck, and warm enough for dessert.
| Prep Time | 25 minutes, mostly peeling and dicing apples |
| Bake Time | 42–52 minutes |
| Cooling Time | 30 minutes |
| Servings | 12 large squares or 16 smaller squares |
| Difficulty | Easy, no mixer |
| Pan | 9×13-inch / 23×33 cm light metal baking pan preferred |
| Best Apples | Honeycrisp, Granny Smith, Pink Lady, Fuji, Braeburn, or any crisp firm apple you enjoy eating raw |
| Best Doneness Sign | Center of the pan no longer jiggles; tester shows moist crumbs, not wet batter |
Before you start: Dice the apples first. Once the wet and dry ingredients are mixed, the batter should go into the oven soon so the leavening can work properly and the apples do not sit too long in the batter.
Ingredients
For the apple cake
- 2 1/2 cups all-purpose flour, spooned and leveled, or 313 g
- 2 teaspoons baking powder
- 1/2 teaspoon baking soda
- 3/4 teaspoon fine salt
- 2 teaspoons ground cinnamon
- 1/4 teaspoon ground nutmeg, optional
- 3 large eggs, at room temperature
- 3/4 cup neutral oil, such as sunflower, canola, or vegetable oil, or 180 ml
- 3/4 cup packed light brown sugar, or 150 g
- 1/2 cup granulated sugar, or 100 g
- 1/2 cup plain yogurt or sour cream, or 120 g
- 2 teaspoons vanilla extract
- 3 cups peeled, cored, diced apples, or 360–400 g prepared apple pieces
- 1/2 cup chopped walnuts or pecans, optional, or 55–60 g
Optional finishes
- Powdered sugar
- Cinnamon sugar topping
- Vanilla glaze
- Brown sugar glaze
- Caramel drizzle
- Vanilla ice cream or whipped cream
Instructions
Prepare the Pan, Apples, and Batter
- Prepare the oven and pan. Heat the oven to 350°F / 177°C. Grease a 9×13-inch / 23×33 cm light metal baking pan. Line with parchment, leaving a little overhang, if you want easier lifting and cleaner slices.
- Prepare the apples. Peel, core, and dice the apples into ⅜–½ inch / 1–1.25 cm pieces. Keep the pieces fairly even so they soften at the same rate.
- Mix the dry ingredients. In a medium bowl, whisk together the flour, baking powder, baking soda, salt, cinnamon, and nutmeg.
- Mix the wet ingredients. In a large bowl, whisk the eggs, oil, brown sugar, granulated sugar, yogurt or sour cream, and vanilla until smooth.
- Combine the batter. Add the dry ingredients to the wet ingredients. Fold gently with a spatula until no dry streaks remain. Do not overmix.
- Fold in the apples. Add the diced apples and nuts, if using. Fold until evenly distributed. The batter will be thick and scoopable.
Bake, Check, Cool, and Finish
- Spread into the pan. Scrape the batter into the prepared pan and nudge it evenly into the corners with a spatula. It should not pour like pancake batter.
- Bake. Bake for 42–52 minutes, or until the top is golden, the center of the pan no longer jiggles, and a tester inserted into the middle comes out with moist crumbs rather than wet batter. Start checking at 42 minutes.
- Check carefully. If the tester hits an apple piece, try another spot. For extra confidence, the thickest area should read about 200–205°F / 93–96°C on an instant-read thermometer.
- Cool before slicing. Let the cake cool in the pan for at least 30 minutes. This helps the cake settle around the apple pieces.
- Finish and serve. Dust with powdered sugar, add one of the finishes below, or serve plain. Warm squares are softer; room-temperature squares cut cleaner.
Glass pan note: If using a glass or ceramic baking dish, reduce the oven to 325°F / 165°C and expect the cake to take longer. Glass can brown the edges before the middle finishes, so check the center carefully.
If the top browns early: Loosely tent the pan with foil and keep baking until the cake feels set in the middle.
Crumb topping note: If you add the crumb topping from the finish section, start checking at the same time but expect the cake to need a few extra minutes.
Here is the finished sheet-cake shape you are aiming for: a shallow 9 by 13-inch apple cake that cuts into soft, apple-filled squares.

Apple Cake at a Glance: What Matters Most
| Best pan | 9×13-inch / 23×33 cm light metal pan |
| Apples | 360–400 g prepared diced apples |
| Apple size | ⅜–½ inch / 1–1.25 cm pieces |
| Batter | Thick, scoopable, and easy to spread with a spatula |
| Done when | Center no longer jiggles and tester shows moist crumbs |
| Best first bake | Plain or cinnamon sugar; use 360 g apples if they are very juicy |
Timing note: The bake window is intentionally flexible because apples, pan material, and ovens vary. Trust the center of the cake first, then the timer.

Ready to bake? Go back to the recipe card, or continue to why this apple cake works.
Table of Contents
Bake It Right
Finish, Store, Fix
Why This Apple Cake Works
This cake works because it balances apple moisture with enough structure to bake into clean squares. Fresh apples bring flavor and tenderness, but they also release juice in the oven. The recipe keeps that moisture in check with measured apples, a shallow pan, and a batter sturdy enough to hold the fruit instead of collapsing around it.
This is the kind of cake that does not need decorating to feel generous.
This is not a show-off cake. Square by square, it disappears: one warm piece after dinner, another small piece with coffee, and one more the next day when the cinnamon has settled into the apples.
Why the pan matters: Fresh diced apples add moisture and weight to the batter. A shallow rectangular pan gives the cake enough surface area to bake through while staying tender. If you change the pan, apple amount, or topping, trust what the cake looks and feels like more than the clock.
| Choice | What it does |
|---|---|
| Oil instead of butter | Keeps the cake softer after cooling |
| Brown sugar + cinnamon | Gives warm apple-pie flavor without pie dough |
| Yogurt or sour cream | Adds tenderness and balances sweetness |
| 9×13 pan | Keeps the apple-heavy batter shallow enough to bake evenly |
| Diced apples | Gives pockets of fruit without flooding the cake |
| Hand mixing | Keeps the batter gentle and helps avoid a tough cake |
Fresh Apple Cake vs Applesauce Cake vs Apple Dump Cake
Apple desserts overlap, but they do not behave the same way in the oven. Here, the main apple flavor comes from chopped apples folded into the batter. That makes it different from applesauce cake, where applesauce softens the texture, and different from apple dump cake, where canned filling and cake mix do most of the work.

If you want spoonable, bubbling apple filling under a buttery cake-mix topping, that is apple dump cake territory. This recipe is for slices, so it needs fresh diced apples and cake batter that can bake around them.
| Type | What it uses | Texture | Best for |
|---|---|---|---|
| Fresh apple cake | Diced fresh apples | Soft cake with visible apple pieces | Everyday baking, dessert, coffee, potlucks |
| Applesauce cake | Applesauce in the batter | Smoother, softer, spice-cake-like | Pantry baking and moist snack cake |
| Apple dump cake | Canned apple filling, cake mix, and butter | Spoonable, cobbler-like shortcut dessert | Fast desserts with almost no prep |
| Apple crumb cake | Apple cake plus streusel topping | Coffee-cake style with a crumbly top | Breakfast-dessert crossover and holiday baking |
If you want apple pieces in a cinnamon cake, stay with this recipe. If you want a smoother spice cake where applesauce provides most of the moisture, choose applesauce cake. Canned apple filling is better saved for shortcut bakes like apple pie with apple pie filling.
If you want to make your own thick fruit base for pies, crisps, and freezer desserts, use this apple pie filling recipe instead of folding cooked filling into this fresh apple cake batter.
Apple Cake Ingredients and Why They Matter
The ingredient list is simple, but every choice is doing a job: tender texture, warm spice, clean slices, and enough body to hold the apples without weighing down the cake.
Fresh Apples
Use firm apples that hold some shape in the oven. Honeycrisp, Granny Smith, Pink Lady, Fuji, Braeburn, and Jonagold all work well. If those named apples are not available, use any crisp, firm apple that tastes good raw. Avoid mealy or overripe apples; they bring moisture without much flavor.
The goal is little pockets of apple that taste soft and bright, not damp patches in the cake. For this recipe, use 360–400 g peeled, cored, diced prepared apple pieces. That is usually about 2–3 medium apples after peeling and coring, depending on size.
If your apples are very juicy, stay closer to 360 g. If they are firm and crisp, 400 g works well. You do not need perfect cubes; just keep the pieces close enough in size that they bake at the same pace.
All-Purpose Flour
All-purpose flour gives the batter enough body to hold the apple pieces. If possible, weigh the flour. If using cups, spoon the flour into the measuring cup and level it off. Scooping directly from the bag can pack in too much flour and make the cake dry.
Oil
Oil keeps the cake plush after cooling, which matters because apple cake is often even better the next day. The slice should still feel tender with coffee, not firm or dry from the fridge.
Butter gives richer flavor, but it can make cakes feel firmer once they sit. Neutral oil is the easier choice here because it stays gentle behind the apples and cinnamon.
Brown Sugar and Granulated Sugar
Brown sugar gives the cake a soft, caramel-like warmth that makes the apples taste rounder. Granulated sugar keeps the texture lighter, so the cake stays cozy without feeling heavy.
Eggs
Eggs help the cake rise, set, and slice cleanly. Room-temperature eggs mix more smoothly into the batter, but do not worry if you forget. Just whisk the wet ingredients well before adding the flour.
Yogurt or Sour Cream
Yogurt or sour cream keeps the cake tender and balances the sweetness, especially if your apples are very sweet. It should disappear into the batter, not make the cake taste tangy. If your Greek yogurt is very thick, regular plain yogurt or sour cream will give the easiest batter.
Cinnamon and Warm Spice
Cinnamon is what makes the cake smell like dessert before it even comes out of the oven. Nutmeg is optional, but a small amount adds warmth. You can also use homemade apple pie spice if you want a rounder spice blend with cinnamon, nutmeg, allspice, or ginger.
If the warm-spice side of this cake is what you love most, a soft 9×13 spice cake is the cleaner direction when you want the same cozy flavor without apple pieces.
Vanilla
Vanilla rounds the edges so the cake tastes warm and complete instead of just sweet and spiced. It is a small addition, but it helps the apple, cinnamon, and brown sugar feel fuller.
Best Apples for Apple Cake
Firm, flavorful apples make the most balanced apple cake. A mix of sweet and tart apples gives the best flavor. If you only have one kind, choose an apple that tastes bright raw and still feels crisp when you cut it.

Many firm baking apples that work well in pie also work well in cake, but the goal is different. In pie, apples need to hold slices in a filling. In cake, the pieces should soften without flooding the batter. For a deeper apple-by-apple breakdown, see our guide to the best apples for apple pie and use the same firm, flavorful logic here.
| Apple | Flavor | Why it works |
|---|---|---|
| Honeycrisp | Sweet-tart | Juicy, crisp, and flavorful; use the lower apple amount if very juicy |
| Granny Smith | Tart | Balances the sweetness and holds shape well |
| Pink Lady | Sweet-tart | Firm texture and bright flavor |
| Fuji | Sweet | Good for a sweeter, milder cake |
| Braeburn | Sweet-tart | Bakes well and has good apple flavor |
| Jonagold | Balanced | Softens nicely but still brings flavor |
Avoid apples that are mealy, bruised, overripe, or very soft. They can make the cake taste dull and the inside feel damp. If your apples are very sweet, a pinch more salt or a tart apple mixed in can make the flavor brighter.
Next step: Once you choose the apples, jump to how to cut apples for cake so the pieces bake through evenly.
Should Apples Be Chopped, Grated, Sliced, or Canned for Apple Cake?
Diced apples are best for this recipe. They give the cake visible fruit pieces while still letting the middle bake through. Aim for ⅜–½ inch / 1–1.25 cm pieces. Smaller pieces disappear; larger pieces can stay too firm or make the cake harder to slice.

- Diced fresh apples: best balance of apple texture and even baking.
- Grated apples: not ideal here because they release more moisture and can make the cake heavier.
- Thin sliced apples: better for French, German, or invisible apple cake styles.
- Canned apple pie filling: better for dump cake, pie, or shortcut apple desserts.
Peeling gives the softest texture. You can leave thin-skinned apples unpeeled for a rustic cake, but the skins will be noticeable in the finished slice.
The Best Pan and Tools for Apple Cake
You do not need a stand mixer for this apple cake. A bowl, whisk, spatula, knife, and rectangular baking pan are enough.
This is not a strict one-bowl cake, but it is fully hand-mixed: one bowl for dry ingredients, one for wet, then everything folds together with a spatula.

A light metal 9×13 pan is the easiest choice because it helps the cake bake through before the edges overbrown.
- 9×13-inch / 23×33 cm baking pan: light metal is the easiest default.
- Parchment paper: optional, but useful for cleaner lifting. Leave overhang if you want to lift the cake out of the pan.
- Foil: helpful if the top browns before the cake is set in the middle.
- Wire rack: helps the cake cool evenly.
- Instant-read thermometer: optional, but useful if you often worry about doneness.
How to Make Apple Cake
Nothing here is fussy. The only real discipline is folding gently, spreading the batter evenly, and giving the cake enough time to finish.
Start with the pan and apples. Grease the pan, line it with parchment if you want cleaner lifting, then peel, core, and dice the apples into even pieces. Once the batter is mixed, it should go into the oven without sitting around for too long.
Whisk the dry ingredients in one bowl and the wet ingredients in another. When you combine them, switch to a spatula and fold gently. The batter should be thick enough that you have to nudge it into the corners — that sturdiness helps the apples stay suspended instead of sinking into a heavy layer.

Fold in the apples until they are evenly spread through the batter. Scrape everything into the pan, smooth the top, and bake until the top is golden and the center is set. If the top gets dark before the cake is done, cover the pan loosely with foil and keep baking.
Let the cake cool for at least 30 minutes before slicing. Warm apple cake is lovely, but very hot apple cake is fragile. That short rest is what turns a soft bake into clean squares.
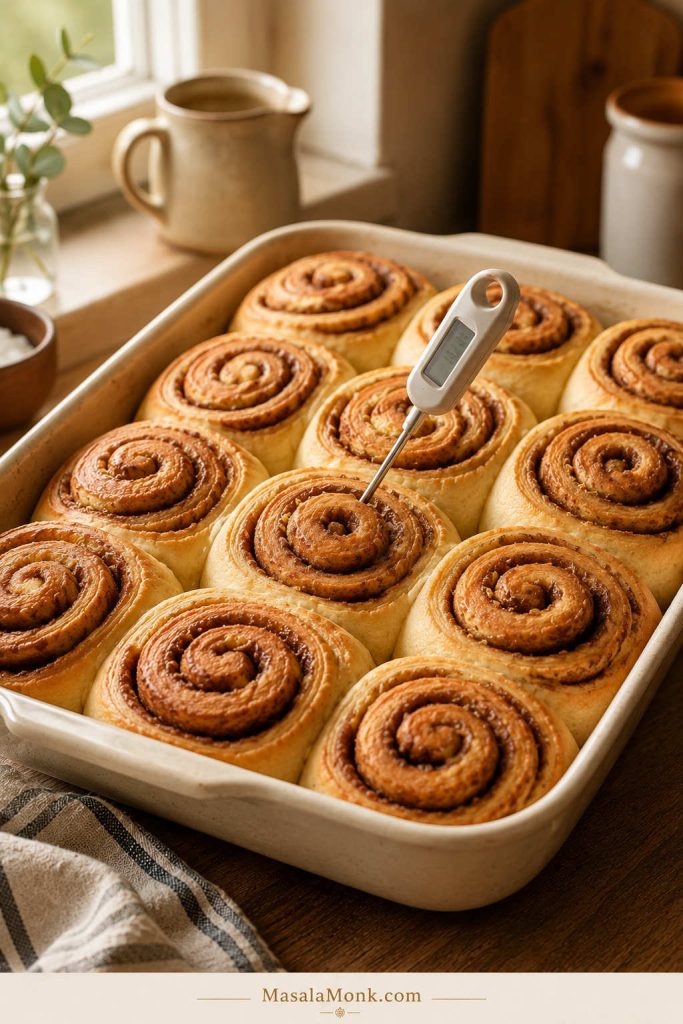
How to Know Apple Cake Is Done
Apple cake is generous, but it does ask you to check the middle instead of trusting the golden top alone. Because apple pieces stay moist, a tester can also look misleading if it goes straight through a piece of fruit.
Apple cake is done when:
- Golden, set top.
- Center of the pan no longer jiggles.
- Light spring-back when touched.
- A toothpick comes out with moist crumbs, not wet batter.
- A thin knife inserted into the cake does not reveal raw batter.
- The thickest area reads about 200–205°F / 93–96°C on an instant-read thermometer, if using one.

If the tester hits an apple piece, check another spot near the center. Moist apple is fine. Wet batter is not. When in doubt, give the cake a few more minutes, especially if you are baking in glass or if your apples were very juicy.
Moist Crumbs vs Wet Batter
Use the center of the pan for the most reliable doneness check. The tester should come out with soft crumbs, not a glossy streak of raw batter.

For a broader baking-science look at doneness cues, King Arthur Baking has a useful guide on how to tell when cake is done. For this apple cake, the most useful signs are a set center, moist crumbs, and no shiny wet batter.
Once you know what a finished center looks like, the gummy-center problem becomes much easier to avoid.
How to Avoid a Gummy Apple Cake Center
A good apple cake should feel soft and plush, not damp. If the middle turns gummy, it usually means the apples gave off more moisture than the batter could set around.
Common causes include too many apples, pieces that are too large, a deep pan, underbaking, or slicing while the cake is still too hot. To fix it, do not overload the apples, keep the batter sturdy, and make sure the middle has truly set before you slice.

How to keep the middle soft, not gummy
- Measure the apples. Use 360–400 g prepared apple pieces, not a heaping bowlful.
- Dice evenly. Keep pieces around ⅜–½ inch / 1–1.25 cm.
- Use a shallow pan. A deeper pan makes the cake harder to bake through.
- Keep the batter sturdy. Scoopable batter helps hold the apples.
- Fold gently. Once the flour goes in, avoid aggressive mixing.
- Do not trust top color alone. A golden top can still hide an underbaked middle.
- Tent if needed. If the top browns early, cover loosely with foil and continue baking.
- Cool before cutting. The cake sets more as it rests.
The finished cake should feel tender, set, and sliceable rather than damp or raw in the middle. A few moist crumbs on the tester are good. Shiny wet batter means it needs more time.
This sounds like a lot, but it mostly comes down to measured apples, scoopable batter, and patience before slicing. Once those are in place, the cake is much easier than the troubleshooting section makes it sound.
Apple Cake Pan Size Guide
The pan decides how relaxed this cake feels in the oven. A shallow 9×13-inch / 23×33 cm pan gives the apple-heavy batter room to bake evenly, which makes it the most forgiving choice for this recipe.

| Pan | Recommendation | What to expect |
|---|---|---|
| 9×13-inch / 23×33 cm | Easiest default | Most even bake, easy slices, lower gummy-center risk |
| 9-inch square | Works | Thicker cake; may need extra time |
| 9-inch round | Works | Prettier presentation, slightly thicker cake |
| Loaf pan | Better as a separate recipe | Deeper batter means higher risk of an underbaked middle |
| Bundt pan | Better as a separate recipe | Needs longer baking and very careful greasing |
| Muffin tin | Possible | Shorter bake time and more muffin-like texture |
| Slow cooker | Not for this recipe | Better suited to apple dump cake or spoon desserts |
For a light metal 9×13 pan, bake at 350°F / 177°C. With glass or ceramic, use 325°F / 165°C and expect a longer bake because the edges can brown before the middle finishes.
Once the apples are measured and the pan is right, the recipe is very forgiving. The batter is supposed to need a spatula, the apples soften as they bake, and the cake settles into clean squares as it cools.
Choose Your Apple Cake Finish
Plain apple cake is the quiet everyday version. Cinnamon sugar gives it a lightly crisp snack-cake top. Glaze, crumb topping, or caramel turns it into dessert.
For the first bake, serve it plain or use cinnamon sugar. Use brown sugar glaze when you want the cake to feel like it belongs on a dessert table.

| If you want… | Use this finish |
|---|---|
| Everyday snack cake | Serve plain or dust with powdered sugar |
| Cozy cinnamon top | Sprinkle cinnamon sugar before baking |
| Dessert-table version | Drizzle with vanilla or brown sugar glaze |
| Fall/holiday flavor | Add caramel drizzle |
| Coffee cake feel | Add a crumb topping |
| Old-fashioned style | Fold in walnuts, pecans, or raisins |
Plain, Cinnamon Sugar, or Glaze?
Choose the finish based on how you plan to serve the cake. Plain is best for everyday snacking, cinnamon sugar gives the top warmth and texture, and glaze makes the same cake feel more like dessert.

Exact Finishing Formulas
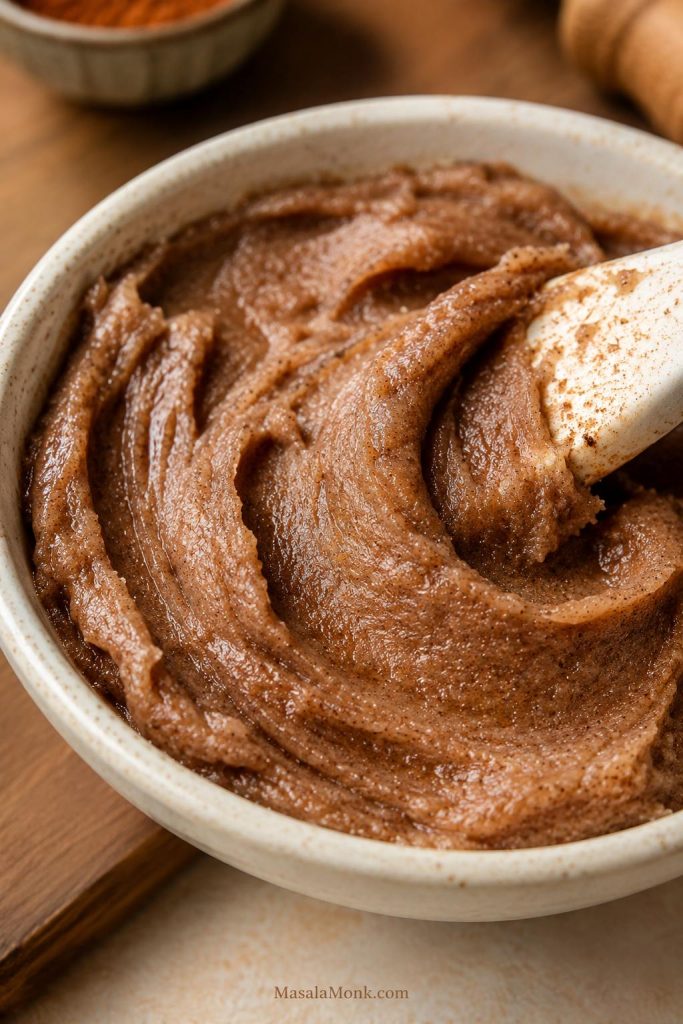
- Cinnamon sugar topping: Mix 2 tablespoons granulated sugar with 1/2 teaspoon cinnamon. Sprinkle over the batter before baking.
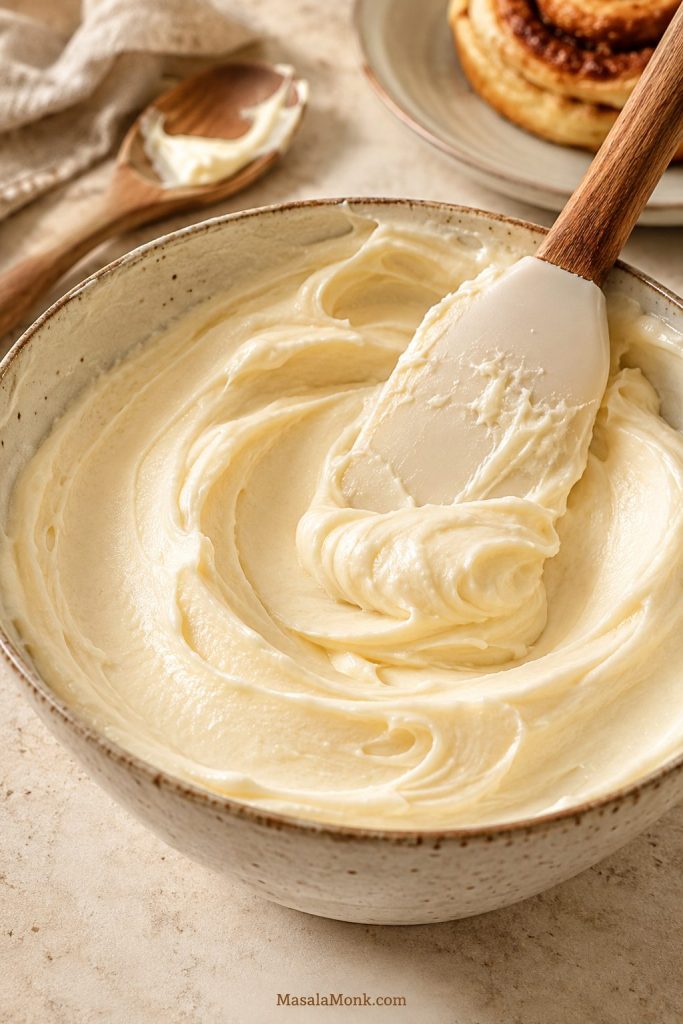
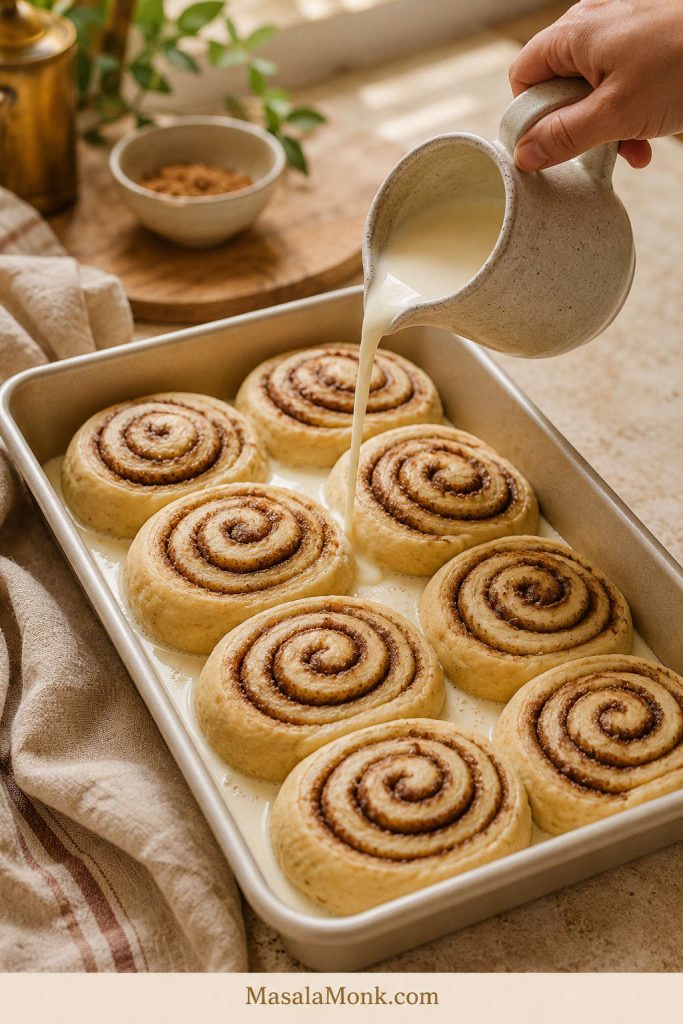
- Simple vanilla glaze: Whisk 1 cup powdered sugar with 1–2 tablespoons milk and 1/2 teaspoon vanilla until pourable. Drizzle over the cooled cake.
- Brown sugar glaze: Warm 3 tablespoons butter, 1/3 cup brown sugar, 1 tablespoon milk or cream, and a pinch of salt until smooth. Cool slightly, then drizzle over the cake.
- Simple crumb topping: Mix 1/2 cup flour, 1/3 cup brown sugar, 1 teaspoon cinnamon, and 4 tablespoons cold cubed butter until crumbly. Scatter over the batter before baking.
- Caramel finish: Use a light drizzle of caramel sauce after cooling, especially if serving with vanilla ice cream.
The plain version is quiet and cozy, the glazed version feels like company came over, and the cinnamon sugar version gives the top a little sparkle without turning the cake into a project.
Crumb topping can add a few minutes to the bake time because it insulates the top. If what you really want is pie structure with a buttery crumb topping, Dutch apple pie is the better direction.
Apple Cake Variations
Use the base recipe as your everyday version, then change the finish or mix-ins depending on the mood.
- Everyday: Add the cinnamon sugar topping for a lightly crisp, cozy top.
- Dessert table: Cool the cake fully, then drizzle with brown sugar glaze.
- Old-fashioned: Fold in 1/2 cup chopped walnuts, pecans, or drained soaked raisins.
- Coffee cake feel: Add the simple crumb topping from the finish section.
- Warm spice: Use apple pie spice instead of cinnamon and nutmeg, or add a small pinch of ginger and allspice.
- Separate recipe needed: Eggless, vegan, and gluten-free apple cakes need their own structure because eggs, dairy, and flour all help this version bake around the apples.
Fresh Apple Cake, Crumb Cake, Dump Cake, or French Apple Cake?
Apple cake means different things in different kitchens. Some versions are buttery and elegant, some are rustic tea cakes, some are crumb-topped, and some are almost all apple with just enough batter to hold the slices together.
- Soft apple-filled squares: make this fresh apple cake.
- Crumbly coffee-cake top: make apple crumb cake.
- Buttery round cake with sliced apples: look toward French or German apple cake.
- Shortcut spoon dessert: make apple dump cake.
- Mostly apple slices: make invisible apple cake.
- Tall oil-based holiday cake: Jewish apple cake is a different lane.
Apple Cake Troubleshooting
If something goes wrong, it is usually small and fixable. Fresh apple cake problems almost always come back to apple moisture, pan depth, flour measurement, or bake time — not a complicated technique.
| Problem | Likely cause | Fix now | Fix next time |
|---|---|---|---|
| Middle feels too soft | Too many apples, underbaking, or pan too deep | Tent with foil and bake 5–8 minutes more | Use 360–400 g apples and a shallow pan |
| Top browns before middle sets | Oven runs hot or top heat is strong | Cover loosely with foil and keep baking | Use a lower rack or reduce heat slightly if your oven runs hot |
| Dry cake | Too much flour, overbaking, or too little fat | Serve warm with glaze, cream, or ice cream | Weigh flour if possible and start checking earlier |
| Apples sank | Apple pieces too large or batter too loose | Serve as-is; the flavor will still be good | Dice apples smaller and keep the batter scoopable |
| Cake sank slightly | Underbaked cake or overmixed batter | Cool fully before slicing | Bake until fully set and fold gently after adding flour |
| Bland flavor | Mild apples, not enough salt, or too little spice | Add glaze, caramel, or cinnamon sugar before serving | Use tart apples, enough cinnamon, salt, and vanilla |
| Cake crumbles when sliced | Sliced while too hot | Let it cool longer, then cut with a sharp knife | Wait at least 30 minutes before slicing |
| Glaze melted into the cake | Cake was still warm | Let it cool and add a second thin drizzle | Cool completely before glazing |
The good news is that this cake is forgiving once the apple amount and pan size are right. Most fixes are small: a few more minutes in the oven, a little less apple next time, a lighter hand with the flour, or more patience before slicing.
How to Store Apple Cake
This is one of those cakes that rewards patience. The first slice is warm and soft; the next-day slice is deeper, tidier, and full of settled apple-cinnamon flavor.
- Room temperature: Store covered for 1–2 days if your kitchen is cool.
- Refrigerator: Store covered for 4–5 days.
- Freezer: Freeze individual squares wrapped well for up to 2–3 months.
- To reheat: Warm a slice briefly in the microwave or cover and heat in a low oven until just warm.

If the cake has a glaze, the top may soften during storage. For the cleanest finish, store the cake plain and add powdered sugar, glaze, or caramel shortly before serving.
How to Serve Apple Cake
Serve it casually with coffee, or warm a square just enough that the apple pieces soften again and the cinnamon smells fresh. Warm squares are softer and more dessert-like; room-temperature squares cut cleaner and feel more like snack cake.
A plain square with coffee is the quiet version; a warm square with ice cream is dessert.

- Dust with powdered sugar for the simplest finish.
- Serve warm with vanilla ice cream.
- Add whipped cream for a softer dessert.
- Drizzle with caramel sauce for a richer fall flavor.
- Serve with custard for a British-style apple dessert feel.
- Pair with coffee or tea for an afternoon cake.
- Add a spoonful of yogurt if serving it as a breakfast-style snack cake.
More Apple Desserts to Try
Fresh apple cake sits in the middle of the apple-dessert world: easier than pie, more sliceable than apple crisp, less fussy than apple tart, and fruitier than applesauce cake.
Choose apple crisp when you want spoonable fruit and oats, apple tart when you want something prettier, Dutch apple pie when you want crumb topping with pie structure, and applesauce cake when you want a smoother pantry-style cake. Stay here when you want soft fresh-apple squares with no pie dough.
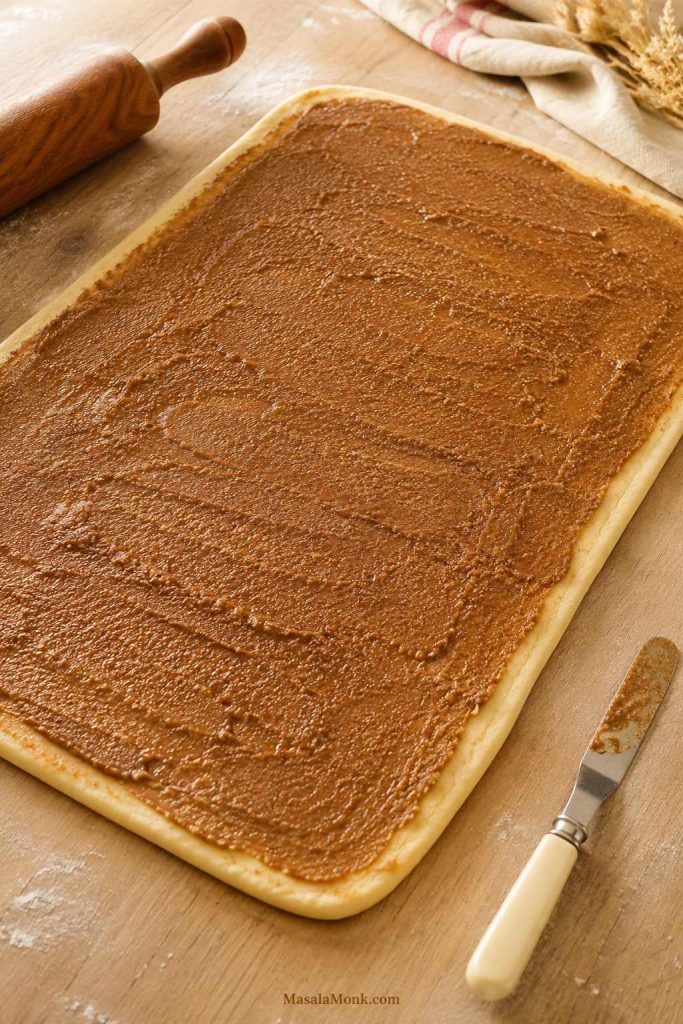
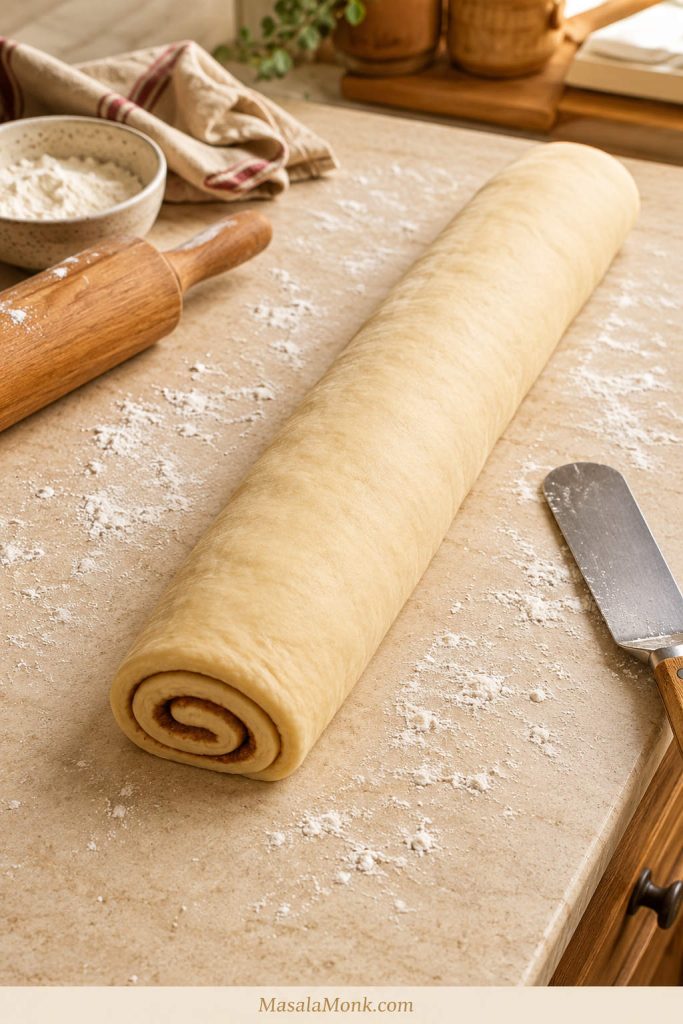
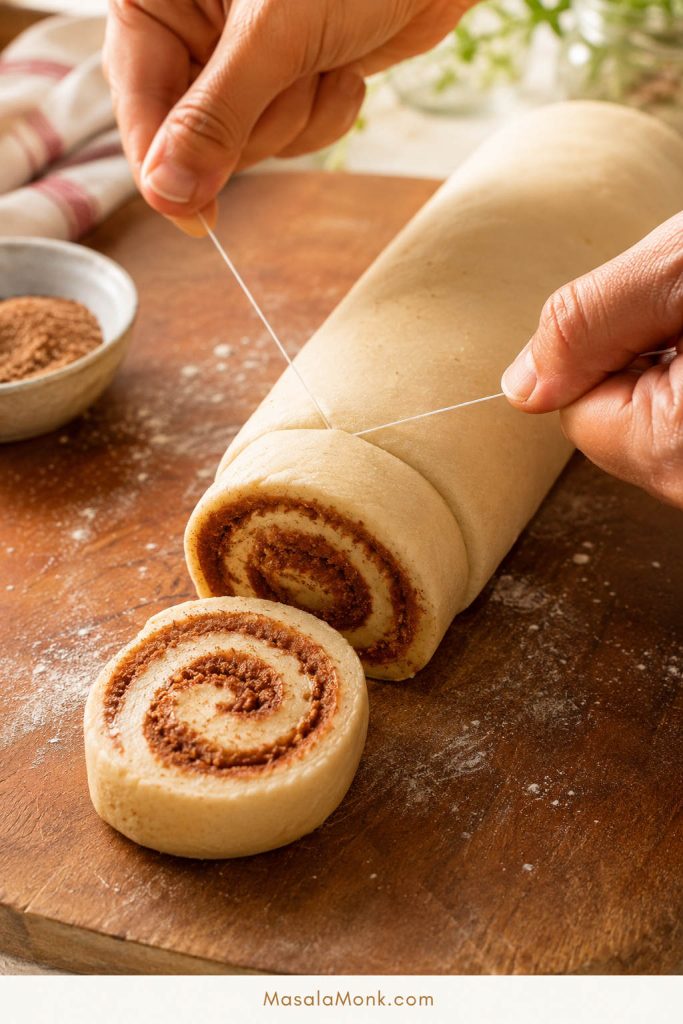
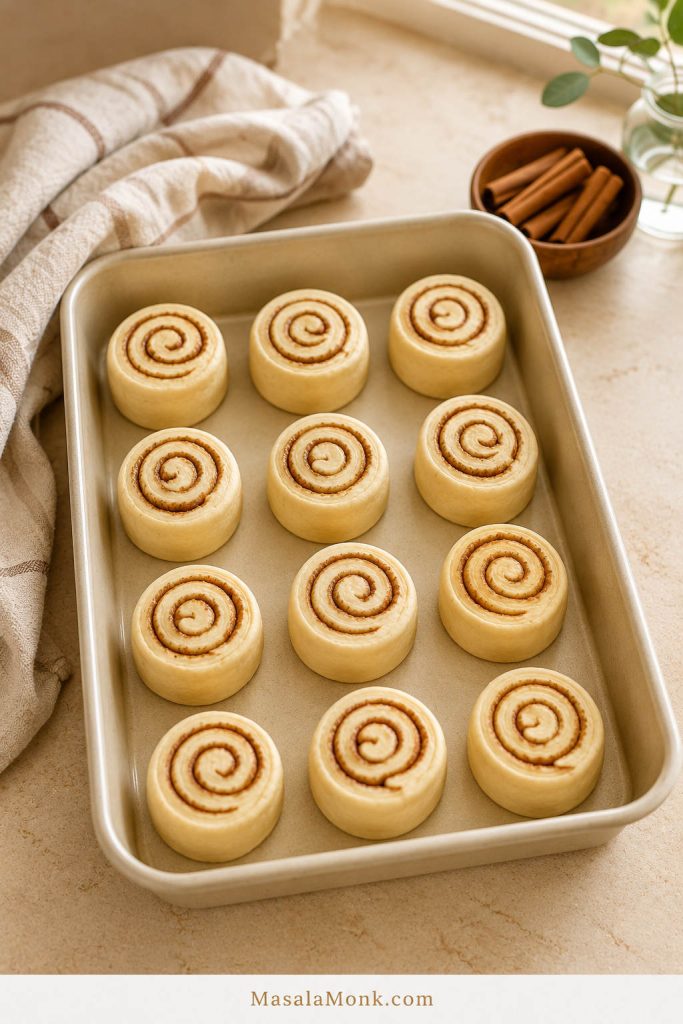
If you want a shortcut apple dessert instead of a from-scratch cake, this Apple Cinnamon Roll Bake with Apple Pie Filling is a better match for canned filling and refrigerated dough.
Apple Cake FAQ
What apples are best for apple cake?
Firm apples are best because they soften without turning watery. Honeycrisp, Granny Smith, Pink Lady, Fuji, Braeburn, and Jonagold all work well. If those are not available, use any crisp, firm apple that tastes good raw.
Do you peel apples for apple cake?
Peeling gives the softest texture. Thin-skinned apples can stay unpeeled for a rustic cake, but the skins will be noticeable in the finished slices.
Can you use canned apple pie filling in apple cake?
Not for this fresh apple cake. Canned apple pie filling is already cooked, sweetened, and thickened, so it changes the texture of the batter and can make the cake heavy. Use fresh diced apples here, and save canned filling for apple dump cake, shortcut bakes, or pie.
Why is my apple cake wet in the middle?
A wet middle usually means the cake needed more time, the pan was too deep, or the apples released more moisture than the batter could handle. Use measured diced apples, bake in a shallow rectangular pan, and check the center rather than judging by the top alone.
How small should apples be cut for apple cake?
Cut apples into ⅜–½ inch / 1–1.25 cm pieces. That size gives visible apple pockets while still allowing the cake to bake through evenly.
Is apple cake better with oil or butter?
For this style, oil is the easier choice because it keeps the cake softer after cooling. Butter gives richer flavor, but it can make the cake feel firmer once it sits.
Can you make apple cake ahead of time?
Yes. Apple cake is a good make-ahead dessert because the flavor deepens as it sits. Bake it a day ahead, store it covered, and add powdered sugar, glaze, or caramel shortly before serving.
Should apple cake be refrigerated?
It can sit at room temperature for 1–2 days if covered and kept in a cool kitchen. For longer storage, refrigerate it for 4–5 days. You can also freeze wrapped squares for 2–3 months.
What is the difference between apple cake and applesauce cake?
The main difference is where the apple moisture comes from. Fresh apple cake uses chopped apples, so the slices have visible fruit pieces. Applesauce cake uses applesauce in the batter, which creates a smoother, softer, spice-cake-like texture.
Does this apple cake work in a loaf pan?
A loaf pan is not the best choice for this exact recipe because the batter is deeper and more likely to stay wet in the middle. A 9×13 pan is more forgiving. For a loaf, use a dedicated apple loaf cake recipe with adjusted quantities and bake time.
Can apple cake be frozen?
Yes. Freeze individual squares wrapped tightly for 2–3 months. Thaw at room temperature or in the refrigerator, then warm briefly if you want the cake to taste closer to freshly baked.
Final Note
If you make it, notice which finish your table likes best: plain, cinnamon sugar, glaze, or caramel. Apple cake has a funny way of becoming “your” version after the first bake.
The best version gives you what apple pie promises, without the pie dough: tender apples, warm cinnamon, a soft cake, and clean squares you can eat warm tonight and again with coffee tomorrow.