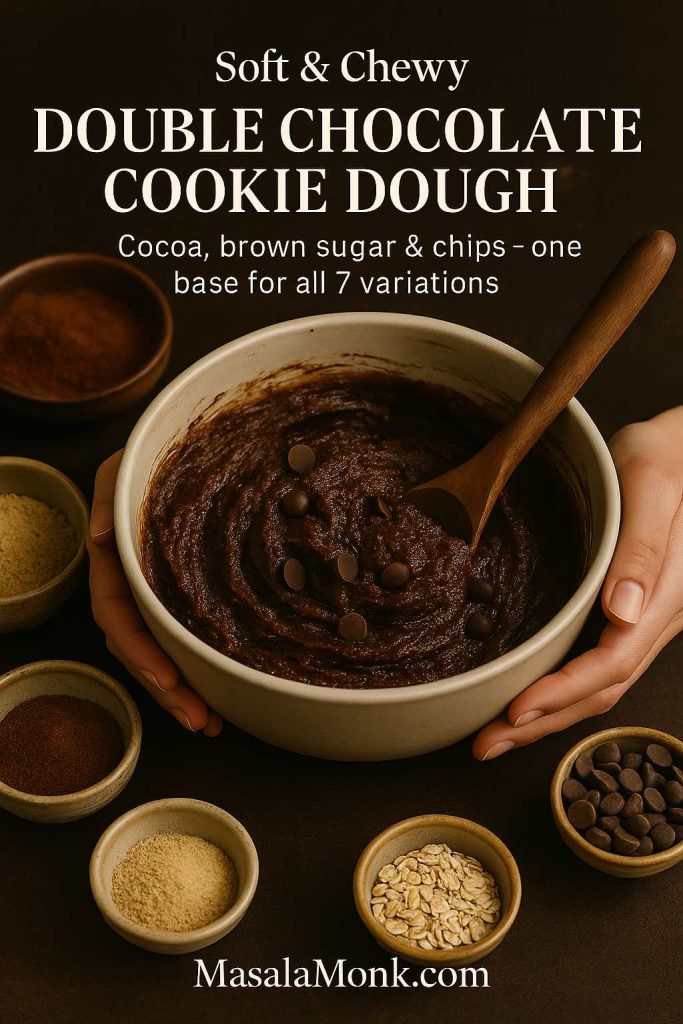
There’s something almost unfair about a good tray of double chocolate chip cookies. They’re small, they’re simple, and yet they manage to taste like the richest dessert in the room. When you add cocoa powder to a classic chocolate chip cookie and then fold in plenty of chocolate chips or chunks, you get that deep, fudgy flavor with all the comfort of a familiar cookie.
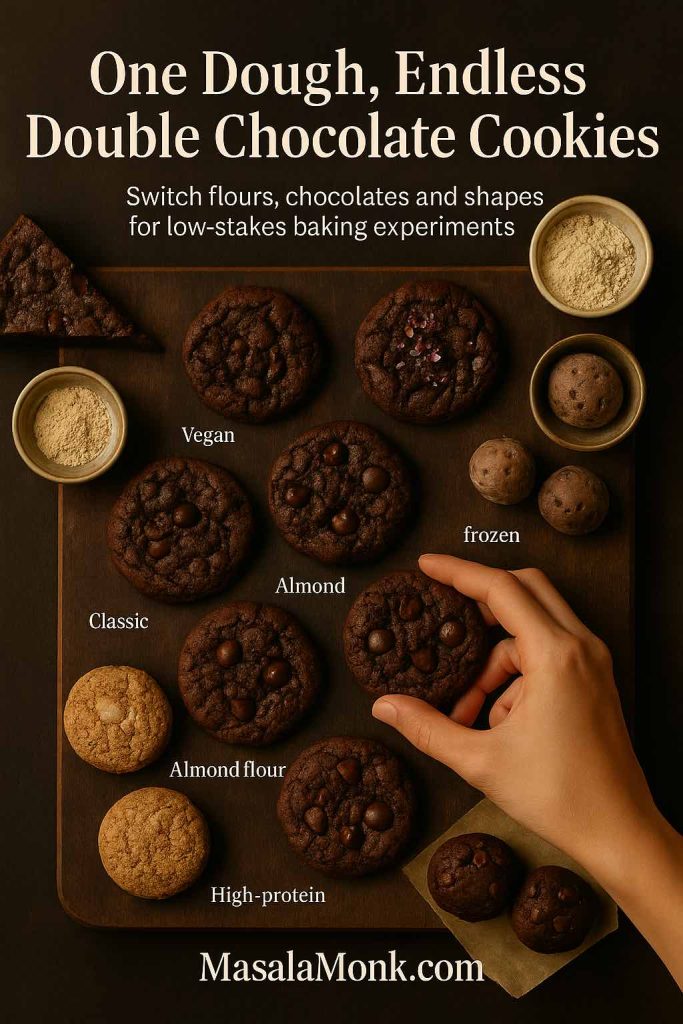
This recipe takes that idea and stretches it as far as it will go. You’ll start with one reliable base dough for Double Chocolate Chip Cookies. From there, you’ll turn it into seven different treats:
- classic bakery-style double chocolate chocolate chip cookies
- extra intense double dark chocolate cookies
- vegan double chocolate chip cookies
- gluten-free double chocolate cookies
- almond flour double chocolate chip cookies
- mint double chocolate chip cookies
- a high protein double chocolate cookie variation
- plus a double chocolate cookie cake and freezer-friendly cookie dough
Think of it as your chocolate cookie toolkit. Once you know the base recipe, it becomes very easy to tweak texture, ingredients and flavor without feeling like you’re starting from scratch every time. And if you fall in love with the “one dough, many options” mindset, you can keep playing with it in other bakes too, much like the format over at MasalaMonk’s own Peanut Butter Cookies (Classic Recipe & 3 Variations).
What makes this double chocolate chip cookie dough special
Before we get into measuring and mixing, it helps to understand what this particular dough is designed to do.
First, you’re using cocoa powder in the dry ingredients and chocolate chips in the dough itself. That’s what earns the “double” in double chocolate chip cookies. The cocoa brings an evenly distributed chocolate flavor, while the chips or chunks create pockets of melted chocolate.
Second, the sugar balance leans slightly toward brown sugar. That gives you a hint of caramel, a slightly chewier center, and a more forgiving bake if your oven runs a little hot or cool. Instead of a crisp, snappy biscuit, you get cookies that stay soft and slightly fudgy in the middle.
Third, this dough is formulated to cope with variations. A touch of extra moisture here, a little more cocoa there, some almond flour in one batch and a scoop of protein powder in another—none of those things break the dough, as long as you follow the basic structure.
Finally, there’s the chilling step. Letting cookie dough rest in the fridge isn’t just fussy chef behavior. When you rest dough, the butter firms up, the flour hydrates, and the flavors have time to deepen. King Arthur’s breakdown of why chilling cookie dough makes a difference shows that even a short chill shifts both spread and flavor in a noticeable way.
This means one recipe can serve as your base for every version in this post: chewy, dark, vegan, gluten-free, almond flour heavy, minty, high-protein, or pressed into a pan for a cookie cake.
Also Read: 10 Spinach Dip Recipes: Cold, Baked, Artichoke & More
Ingredients for the base double chocolate chip cookies
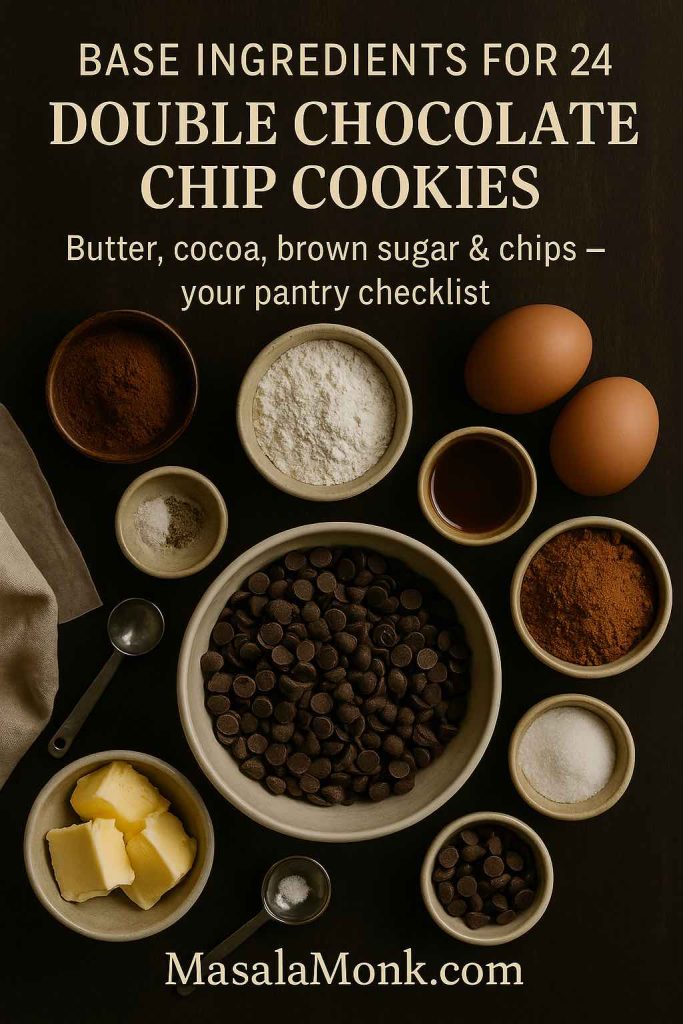
For about 24 medium cookies, you’ll need:
- 170 g (¾ cup) unsalted butter, softened
- 150 g (¾ cup) packed brown sugar
- 100 g (½ cup) white sugar
- 2 large eggs, at room temperature
- 2 teaspoons vanilla extract
- 250 g (2 cups) all-purpose flour, spooned and leveled
- 40 g (about ½ cup) unsweetened cocoa powder
- 1 teaspoon baking soda
- ½ teaspoon fine salt
- 250 g (1½–2 cups) chocolate chips or chopped chocolate
You can use either natural or Dutch-process cocoa here. Natural cocoa tastes a bit brighter and is slightly more acidic; Dutch-process will give you a darker color and a smoother, rounder chocolate flavor. For this recipe, both work because the leavening is baking soda and you’re not relying on the cocoa for the entire rise.
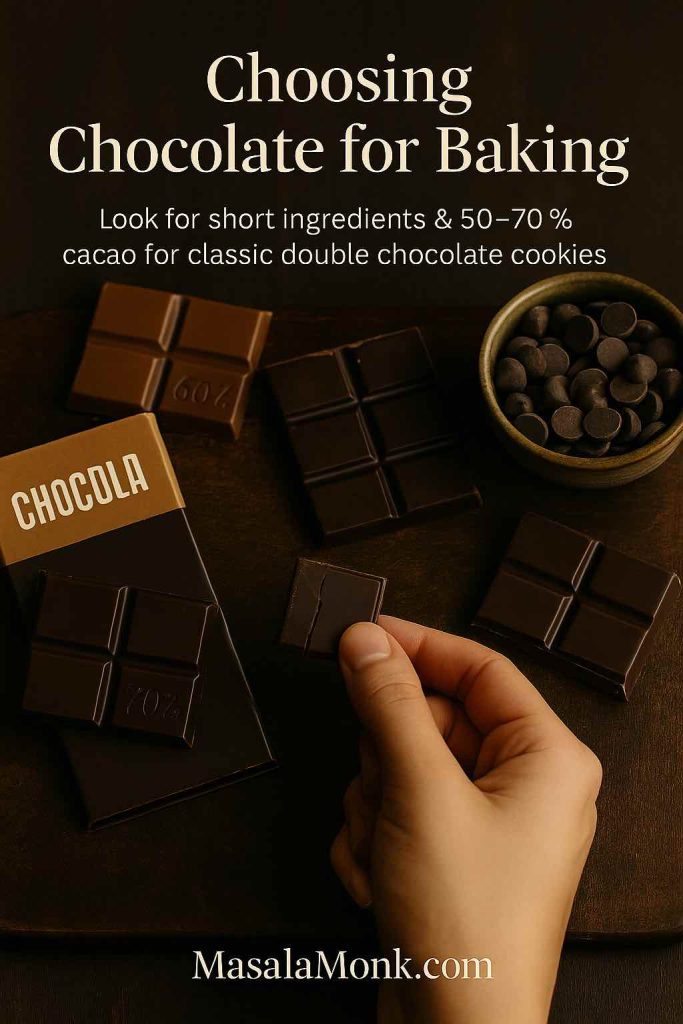
Choosing your chocolate
Since the chocolate is doing so much work, it’s worth picking a decent one. When you buy chocolate for baking, don’t just look at “dark” versus “milk.” Pay attention to the ingredient list and the cacao percentage.
A good bar usually has a short ingredient list with cocoa mass, cocoa butter, sugar, and maybe a little lecithin or vanilla, but not a lot of extra fats or artificial flavors. A Food & Wine explainer on what to look for on a chocolate label suggests checking for cocoa butter as the primary fat and a clear cacao percentage, then tasting a few brands to find the flavor profile you like.
If you’re curious about the difference between cacao, cocoa and dark chocolate more generally, MasalaMonk’s What is Cacao?: Cacao vs. Chocolate vs. Dark Chocolate walks through processing, nutrition and flavor in more detail.
For classic double chocolate chip cookies, something in the 50–70% range works beautifully. You’ll still get that big chocolate flavor without pushing things into bitter territory.
Also Read: Baked Jalapeño Poppers (Oven) — Time, Temp & Bacon Tips
Step-by-step: base double chocolate chip cookies
Once you’ve gathered everything, the process is straightforward and rhythmical. You can even do it by hand with a sturdy whisk and spatula if you don’t feel like hauling out a mixer.
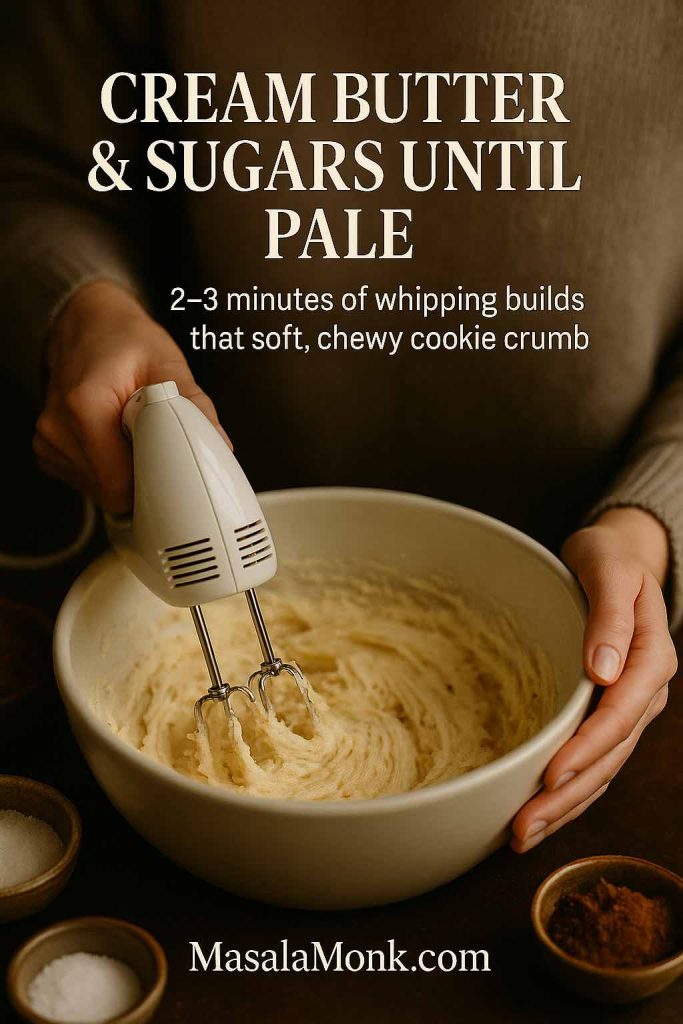
1. Cream the butter and sugars
Beat the softened butter with the brown and white sugar until the mixture looks a little lighter and feels fluffy. This usually takes 2–3 minutes with a hand mixer on medium speed.
Creaming does a couple of things at once: it disperses the sugar, traps a bit of air in the butter, and starts building the structure that keeps the cookies from turning into thin puddles. Proper creaming is part of why these double chocolate cookies bake up with soft centers and more defined edges.
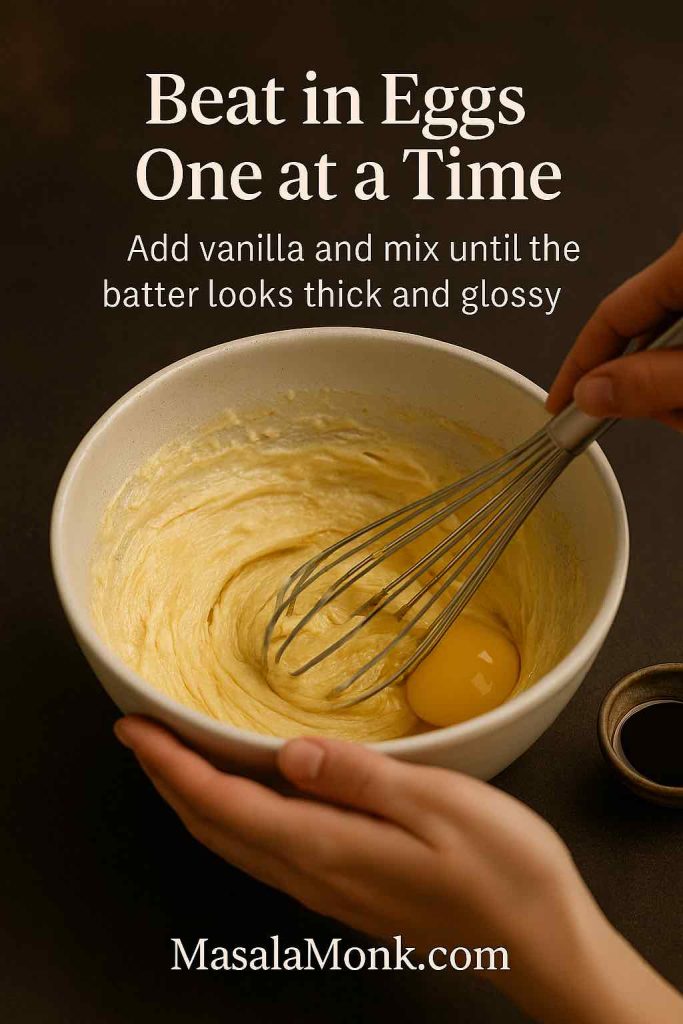
2. Add eggs and vanilla
Crack in the eggs one at a time, mixing well after each addition, then stir in the vanilla.
At this point, the mixture should look glossy and a little thick. Scrape down the sides of the bowl so you don’t have streaks of butter hiding underneath.
3. Whisk the dry ingredients
In a separate bowl, combine the flour, cocoa powder, baking soda and salt. Whisk until the cocoa looks evenly distributed and you’re not seeing clumps.
Cocoa, especially if it’s been packed tightly into a container, likes to form lumps. Whisking with flour breaks those up and means you won’t end up with bitter, dusty pockets in the finished cookies.

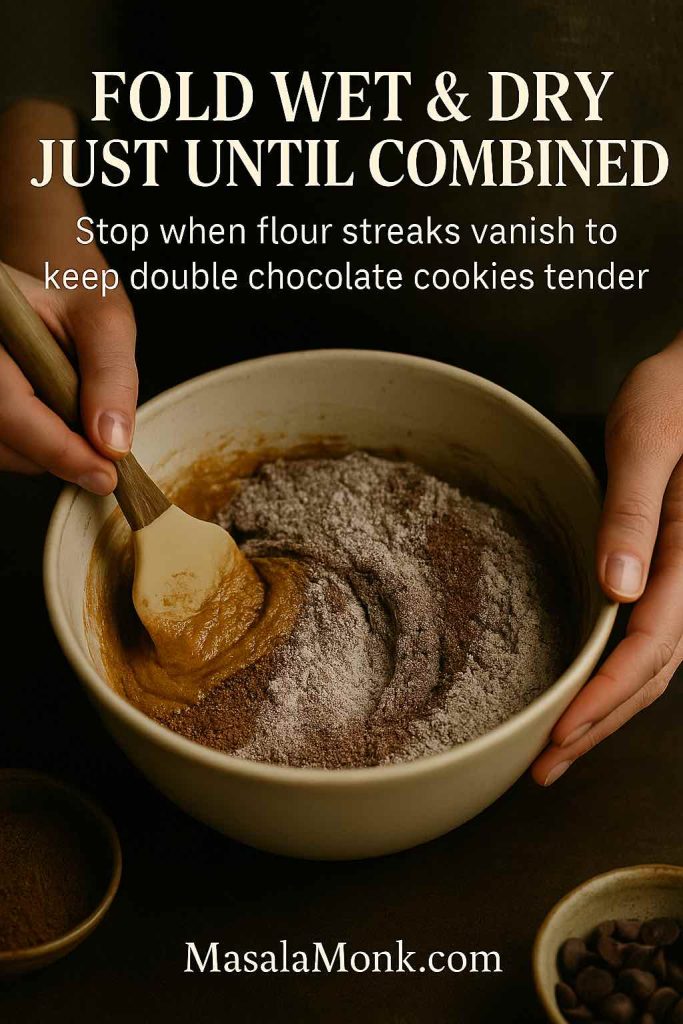
4. Bring the dough together
Add the dry ingredients to the wet mixture in two or three portions. Use a spatula or the mixer on low speed, and stop as soon as there are no streaks of flour left.
Over-mixing at this stage can make cookies tough, because it develops more gluten than you really need. You’re aiming for a thick, scoopable double chocolate chip cookie dough that holds its shape on a spoon.
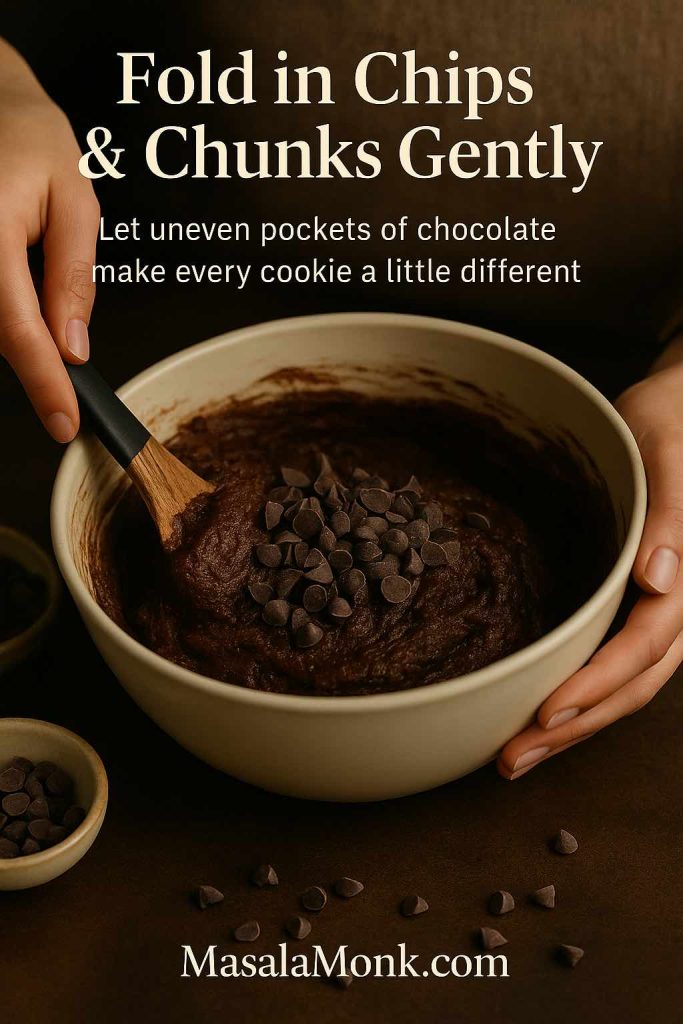
5. Fold in the chocolate
Tip in the chocolate chips or chopped chocolate and fold them through gently. You want them dispersed, but you don’t need to chase perfection here. Some cookies with more chocolate than others is very much the point of double chocolate chocolate chip cookies.
If you prefer more chocolate in every bite, use a mix of chips and finely chopped chocolate. The tiny shards melt into the dough and create that slightly gooey, almost brownie-like crumb.
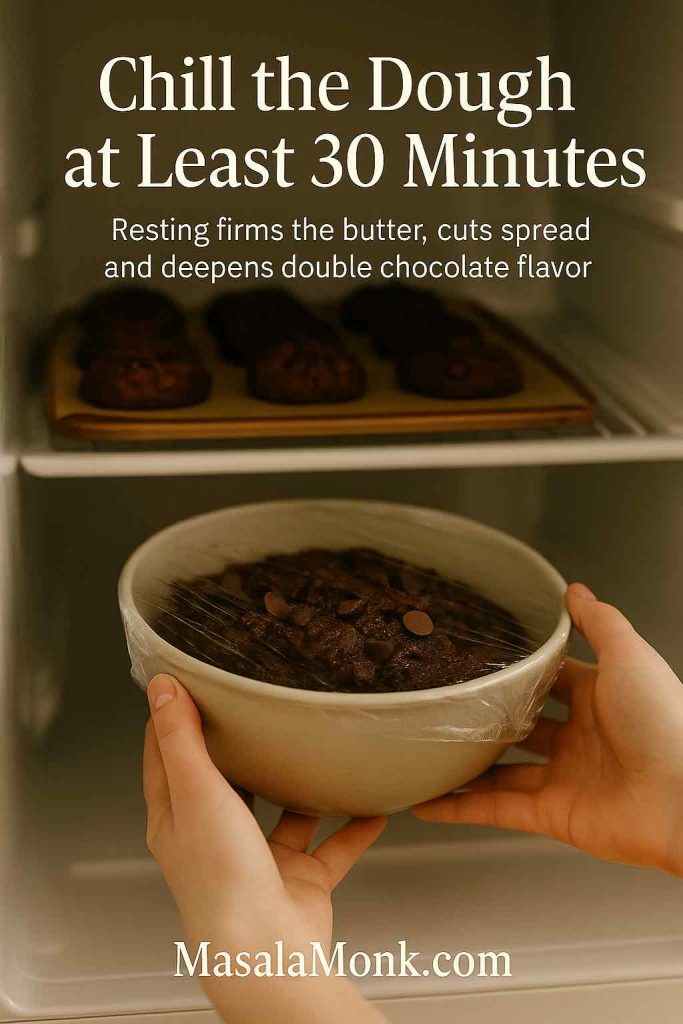
6. Chill the dough
Cover the bowl and chill the dough for at least 30 minutes. An hour is even better if you can spare the time.
Bakers and food writers have been testing this for years, and the consensus is remarkably consistent: resting cookie dough helps. King Arthur’s tests, along with more recent pieces such as Simply Recipes’ article on when chilling cookie dough is actually worth it, point out that even a short chill lets the flour hydrate and the butter firm up, which means less spreading, more flavor, and better browning.
If you’re in a hurry, take the edge off at least by popping the dough in the freezer for 15–20 minutes while you preheat the oven and line your baking trays.
7. Bake
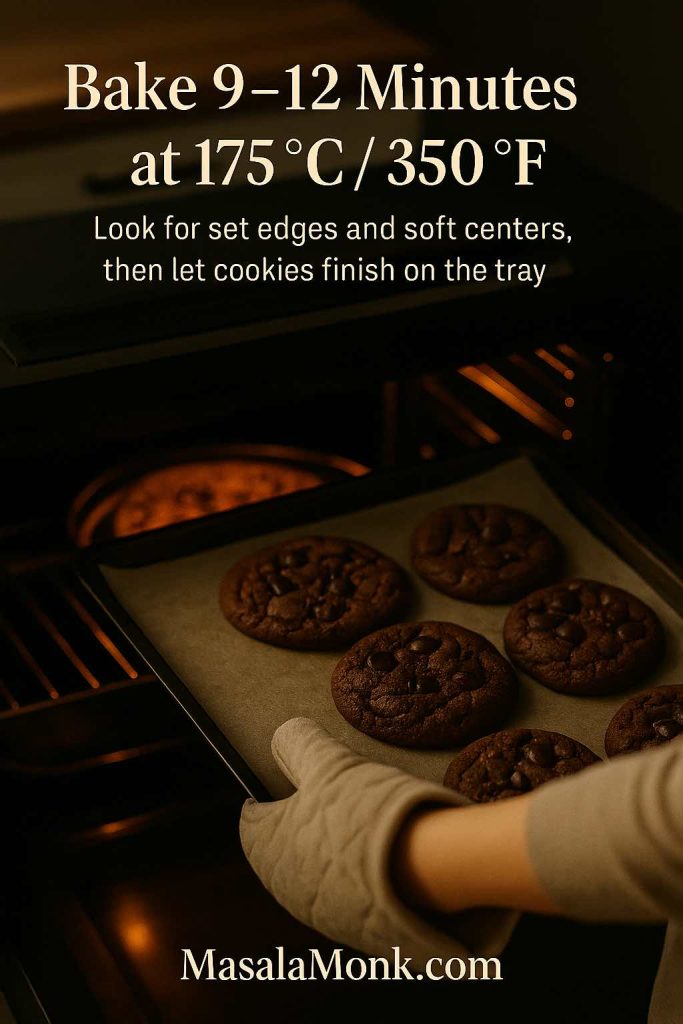
When you’re ready to bake:
- Preheat the oven to 175°C / 350°F.
- Line two baking trays with parchment.
- Scoop about 2 tablespoons of dough per cookie, spacing them well apart.
- Bake for 9–12 minutes, depending on size and your oven.
You’re looking for set edges and slightly soft centers. The cookies will continue to firm up as they cool on the tray. Once they’ve sat for about 5 minutes, transfer them to a rack.
At this point, you’ve got a tray of rich, classic double chocolate chip cookies. You can stop here and call it a day—or you can divide the dough and explore the variations.
Also Read: Carbonara Recipe: Italian Pasta (Creamy, Veggie, Chicken, Shrimp, Tuna & Keto)
Double Dark Chocolate Cookies
When you want a cookie that tastes like the inside of a very grown-up chocolate bar, a double dark chocolate version is the way to go.
To transform a portion of the base dough into double dark chocolate cookies:
- Replace about ¼ of the chocolate chips with chopped dark chocolate in the 70–80% range.
- Add 1–2 tablespoons extra cocoa powder.
- Reduce the white sugar by 1–2 tablespoons to keep the sweetness balanced.
Because darker chocolate has a higher cocoa content and less sugar, it naturally tastes more intense and slightly bitter. Cutting the sugar just a touch prevents the cookies from feeling cloying, while the extra cocoa pushes them into that deep, almost brownie-like zone.

If you’ve ever wondered how to judge a bar of dark chocolate before you bake with it, chocolate makers and tasting guides suggest checking both the cacao percentage and the aroma. A recent Food & Wine piece on choosing high-quality chocolate recommends looking for a distinct cocoa smell and a clear note—fruity, nutty, or toasty—when you snap a square. That same bar will usually make a fantastic add-in for your double dark chocolate cookies.
Bake this variation exactly like the base recipe, though you may find they benefit from a minute or so longer in the oven, as the extra cocoa slightly changes how they set.
Also Read: Mimosa Recipe: 10 Easy Versions from Classic to Caramel Apple
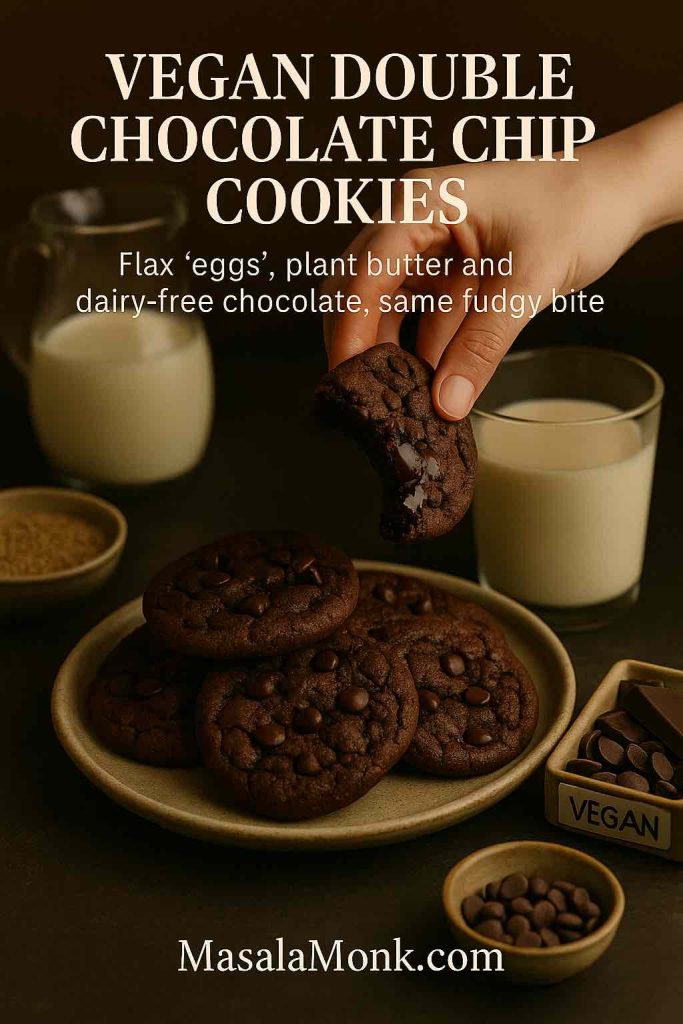
Vegan Double Chocolate Chip Cookies
Next, let’s adapt the dough into a version without eggs or dairy. Vegan double chocolate chip cookies still need structure, moisture and fat; you’re just getting those from different sources.
For a vegan batch, you’ll:
- Swap the butter for a vegan butter block or coconut oil (use a solid-but-soft fat, not liquid oil).
- Replace each egg with a flax “egg”: 1 tablespoon ground flaxseed mixed with 2½ tablespoons water, rested until gel-like.
- Use dairy-free chocolate chips or chopped dark chocolate that’s labeled vegan.
The method stays the same: cream the vegan butter with the sugars, stir in the flax eggs and vanilla, then fold in the dry ingredients and chocolate.
Flax eggs work especially well in denser, fudgier bakes like brownies and cookies. A detailed guide to egg alternatives from Rainbow Plant Life sets out the basic ratio—1 tablespoon flax meal to 2½ tablespoons water per egg—and explains that this mixture adds binding and moisture rather than lift, which is exactly what you want here.
If you’re curious about other options, vegan pastry chefs and dietitians often mention chia seeds, aquafaba, mashed banana and applesauce as workable egg substitutes, each with slightly different strengths. Articles such as Eater’s exploration of egg replacements in baking describe how bakers match the substitute to the role of the egg—binding, moisture, fat, or aeration—before they adjust the recipe.
Once baked, these vegan double chocolate chip cookies are slightly less chewy than the original, but every bit as satisfying. Let them cool fully before moving them; plant-based fats tend to feel softer while warm.
Also Read: Vegan French Toast: 6 Easy Recipes (Pan, Air Fryer, GF & High-Protein)
Gluten-Free Double Chocolate Cookies
For gluten-free readers, the goal is to keep that soft, fudgy center without the wheat. The easiest way to manage that is to lean on a good gluten-free flour blend that’s meant to be swapped 1:1 for all-purpose flour.
To make gluten-free double chocolate cookies from the base dough:
- Replace the all-purpose flour with a gluten-free “measure for measure” blend.
- Make sure your cocoa powder, chocolate chips and other add-ins are labeled gluten-free if you need to avoid cross-contamination.
- Add a tablespoon or two of milk or water if the dough feels unusually stiff; gluten-free blends sometimes absorb a bit more liquid.
King Arthur’s guide to how to bake gluten-free notes that for non-yeasted recipes like cookies, brownies and many cakes, you can usually swap all-purpose flour for a well-formulated 1:1 gluten-free flour without changing anything else, as long as the blend contains a binder such as xanthan gum.
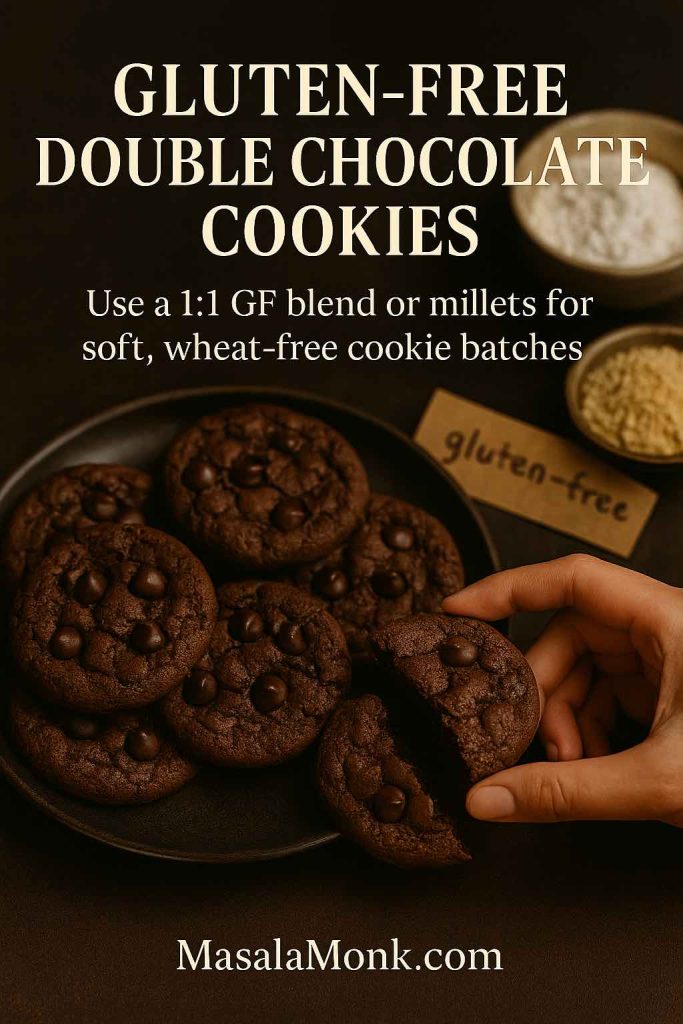
If you prefer to lean into naturally gluten-free grains rather than blends, you can also experiment with millet and oat flour. Millets in particular are a versatile, gluten-free group of grains with a gentle flavor and good nutrition. MasalaMonk’s piece on Millets: The Gluten-Free Superfood explains how they fit into gluten-free eating and why they’re a strong alternative to wheat for people with celiac disease or intolerance.
For a partly millet-based version, try replacing ¼–⅓ of the flour with very finely ground millet flour while still using a gluten-free blend for the rest. Chill the dough well to help the structure set before it hits the oven.
Expect gluten-free double chocolate cookies to spread a little differently and to feel slightly more delicate while hot. Let them cool on the tray for a few extra minutes before transferring them.
Also Read: All About Gluten: Symptoms, Testing, Diet & 7-Day Gluten-Free Meal Plan
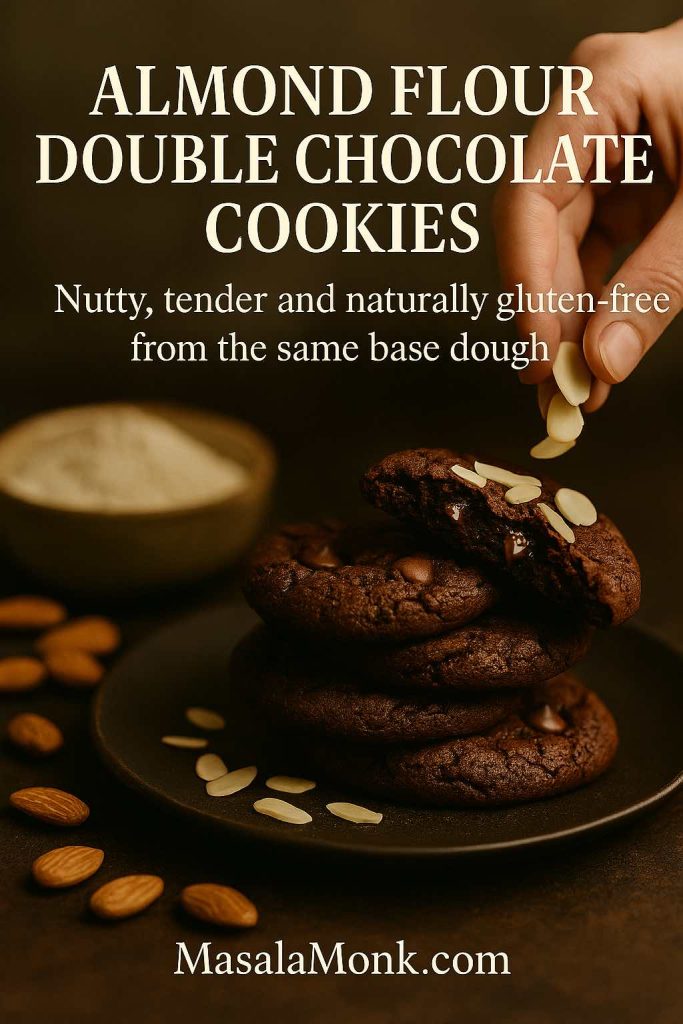
Almond Flour Double Chocolate Chip Cookies
Almond flour double chocolate chip cookies sit somewhere between a classic cookie and a brownie. They’re tender and a little denser, with a rich, nutty aroma that works beautifully with dark chocolate.
To adapt part of the base dough:
- Replace 1 cup (125 g) of the all-purpose flour with fine almond flour.
- If the dough looks very loose, add an extra tablespoon or two of flour or cocoa powder.
- Chill for at least 45–60 minutes to help the dough firm up before scooping.
Almond flour adds both fat and protein, so these cookies bake up with a slightly more cake-like crumb, but still feel fudgy because of the cocoa and chocolate. If you enjoy bakes that pull a little closer to the “better for you” side without turning into a health food project, this variation is a nice middle ground.
Because almond flour is naturally gluten-free, you can also combine this approach with the gluten-free version above: use a gluten-free blend for part of the flour and almond flour for the rest. That way you get a cookie that works for more people but doesn’t sacrifice texture.
To balance out richer desserts on other days, you might appreciate building some higher-protein breakfasts into your week. MasalaMonk’s High Protein Overnight Oats 5 Ways and the more recent Protein Oatmeal: Turn Plain Oats into a High-Protein Meal show how simple additions like yogurt, egg whites, paneer, nuts and seeds can transform oats into a very satisfying meal.
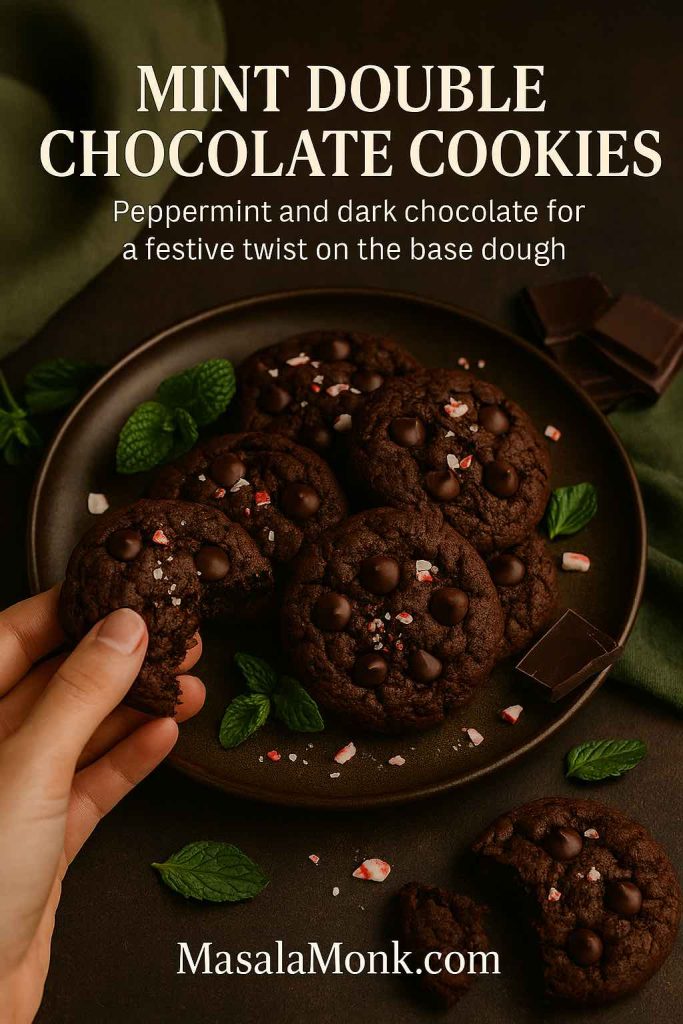
Mint Double Chocolate Chip Cookies
Mint and chocolate share the kind of friendship that tends to divide people—some adore the combination, others avoid it entirely. If you’re in the first camp, mint double chocolate chip cookies will probably disappear even faster than the plain ones.
To turn a portion of dough minty:
- Add ½ teaspoon peppermint extract to the dough along with the vanilla. If your extract is very strong, start with ¼ teaspoon.
- Swap ¼ of the chocolate chips for chopped mint chocolate or chocolate filled with mint cream.
- Optionally, press a few extra chips or tiny shards of mint chocolate onto the top of each cookie before baking.
Peppermint extract is powerful, so it’s better to begin modestly and adjust next time than to overshoot and feel like you’re eating toothpaste. Once you find your sweet spot, you can use that same ratio in brownies, hot chocolate and other chocolate desserts.
These mint double chocolate chip cookies are especially lovely in colder months. They pair naturally with a hot drink, and they look beautifully festive on a dessert table next to something creamy like a trifle or a slice of Tres Leches Cake with its many variations.
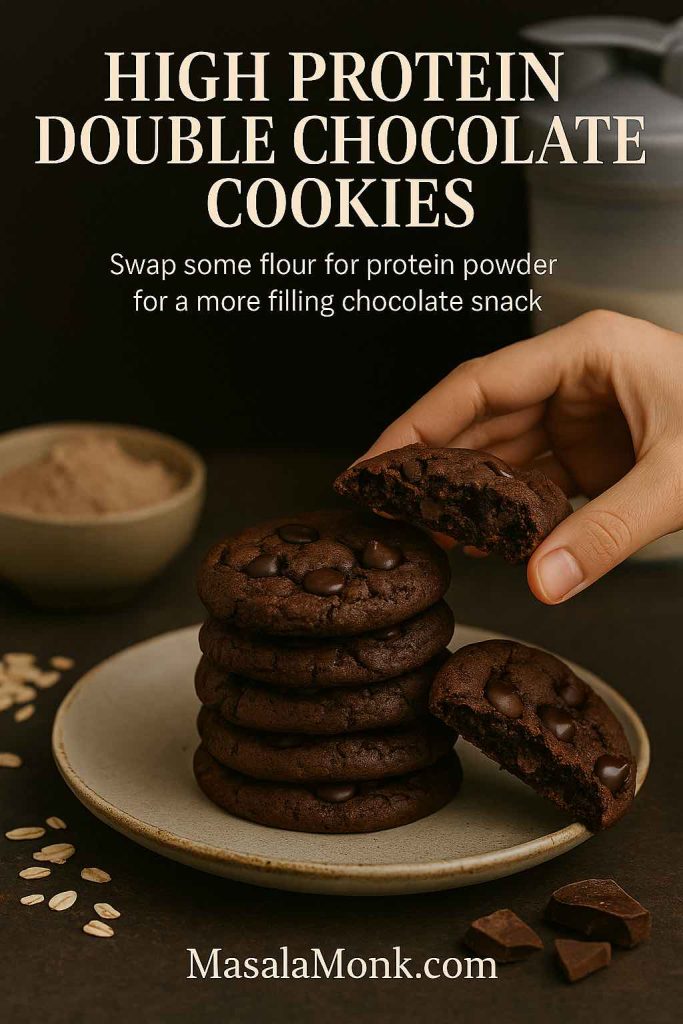
High Protein Double Chocolate Cookies
Sometimes you want a cookie that leans a bit more toward snack than dessert—still indulgent, but with enough protein to keep you satisfied for a while. High protein double chocolate cookies handle that nicely.
Here’s a simple way to adjust the base dough:
- Replace ¼–⅓ cup of the flour with a scoop of protein powder. Whey, casein or a good plant-based blend all work, though the texture will vary slightly.
- Use chocolate or vanilla protein powder, depending on how strong you want the chocolate flavor to be.
- Add 1–2 tablespoons extra liquid (milk, water or plant milk) if the dough seems dry or crumbly, because protein powder absorbs a lot of moisture.
- Chill thoroughly so the dough can hydrate and so the cookies don’t spread too much.
When bakers and food technologists work on high-protein cookie recipes for commercial products, they tend to talk about the same challenges over and over: dryness, excessive spread, and a slightly chalky texture if the protein percentage is pushed too far. Research and trade articles on formulating high-protein cookies emphasize balancing protein powder with enough fat and moisture, then keeping the bake time a little on the shorter side so the cookies stay tender rather than turning tough.
In your own kitchen, the easiest way to approach this is to treat the high-protein version as one of several options rather than the only batch of cookies you bake. Mix the protein variation with some classic cookies on a platter, or serve it after a workout alongside a bowl of protein oats. The idea isn’t to turn dessert into a diet food; it’s simply to give you a slightly more substantial option when you want one.
Also Read: 10 High Calorie Protein Shakes & Smoothie Recipes for Healthy Weight Gain
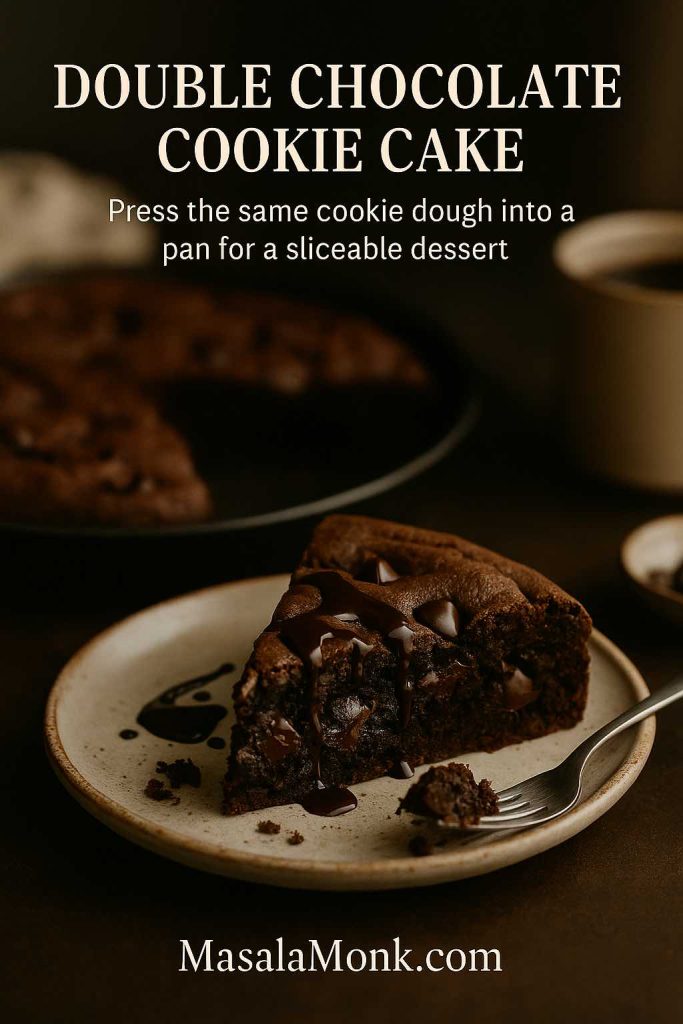
Double Chocolate Cookie Cake
Once you’ve fallen in love with the flavor of this dough, it’s almost inevitable that someone will ask for a giant cookie. A double chocolate cookie cake is really just a thick cookie baked in a pan and sliced into wedges, but it feels far more celebratory.
To make one:
- Line or grease a 9-inch round or square pan.
- Press chilled dough evenly into the pan. Take a moment to smooth the surface; it makes the finished cookie cake look more polished.
- Bake at 175°C / 350°F for 18–24 minutes.
- Begin checking around the 18-minute mark. The edges should look firm and slightly crisp, while the center still looks a tiny bit soft.
- Cool completely in the pan before slicing.
You can leave the cookie cake plain, decorate it with swirls of buttercream, or drizzle over something glossy. MasalaMonk’s 3 Minutes Homemade Chocolate Syrup – Dairy and Gluten Free works really well as a drizzle here, especially if you want to keep the topping lactose-free or suitable for guests avoiding gluten.
For birthdays or celebrations, you can dot the top with extra chocolate chips, chopped nuts, or even a few mint pieces if you like that flavor. Once you’ve baked a cookie cake once, you’ll probably find yourself repeating the trick whenever you need something festive but don’t feel like layering and frosting a full cake.
Also Read: 10 Best Espresso Martini Recipe Variations (Bar-Tested)
Freezing and baking double chocolate chip cookie dough safely
Since this dough holds up to chilling and freezing, it makes sense to set aside at least part of each batch for later.
To freeze:
- Scoop the dough into balls onto a lined tray.
- Freeze until firm, then transfer the frozen dough balls to a container or zip bag.
- Label with the date and bake temperature so you don’t have to dig around for the recipe later.
When you’re craving cookies, you can bake these from frozen at the same temperature, adding a minute or two to the bake time. They’ll be slightly thicker because the centers start out colder, which works nicely for double chocolate chip cookies.

One thing to keep in mind is that raw cookie dough made with untreated flour and raw eggs isn’t safe to eat. The U.S. Centers for Disease Control and Prevention has clear guidance on raw flour and dough, explaining that both flour and eggs can carry germs like E. coli and Salmonella and that outbreaks have been linked to raw cookie dough in recent years. The FDA echoes the same message in its update on flour as a raw food, emphasizing that flour is not treated to kill germs and should always be cooked.
If you want to make an “edible” double chocolate dough for snacking, heat-treat the flour in the oven and skip the eggs entirely, using milk, cream, or a plant-based alternative for moisture instead. Keep that version clearly labeled so you don’t accidentally bake it later.
Also Read: Homemade Hot Chocolate with Cocoa Powder Recipe
How to serve your double chocolate chip cookies
Once you have a box or tin full of cookies, it’s surprisingly fun to start thinking in pairings.
One very obvious partner is hot chocolate, and a good one makes both the drink and the cookies feel special. The Homemade Hot Chocolate with Cocoa Powder Recipe at MasalaMonk walks through a simple ratio that uses cocoa powder, sugar and milk in a way that lets you adjust how dark or sweet your mug feels, with options for dairy-free or lower-sugar tweaks. A tray of double chocolate chip cookies next to a pot of that hot chocolate is an instant winter evening.

On days when you want something a little lighter but still comforting, you can pair a cookie or two with a small glass jar dessert such as Chia Pudding – Steel Cut Oats, Mango, Chia Seeds, Fox Nuts. That way you get both crunch and creaminess in the same snack.
If you’re hosting, it’s also fun to build a small dessert spread built around the same chocolate theme. Your double chocolate chip cookies can sit alongside a slice of Tres Leches Cake with its 10 variations, or even next to a plate of those peanut butter cookies mentioned earlier. Different textures and flavors make it more likely that everyone finds something they’re happy to reach for.
Making the recipe your own
By this point, you’ve seen just how far one simple dough can go. Out of the same bowl, you can bake:
- a straightforward tray of double chocolate chip cookies
- richer double dark versions
- vegan double chocolate chip cookies with flax eggs and plant-based chocolate
- gluten-free double chocolate cookies using blend flours or millets
- almond flour double chocolate chip cookies with a nutty, tender crumb
- mint double chocolate chip cookies for the holidays
- high protein double chocolate cookie experiments
- and even a double chocolate cookie cake for the days when only a giant cookie will do
Once you’ve tried a couple of these variations, the dough stops feeling like a fixed recipe and starts feeling more like a flexible template you can bend to your own moods and pantry.
Also Read: Sheet Pan Chicken Fajitas Recipe (Easy One-Pan Oven Fajitas)
Playing with texture and spice
After you’re comfortable with the base, it becomes very easy to nudge the cookies in different textural directions.
If you like them softer and chewier, keep the centers slightly underbaked and let them finish setting on the tray. For a crisper result, flatten the scoops a little more before baking and leave the cookies in the oven for an extra minute or two. That simple change alone can push them closer to double chocolate chip biscuits, perfect for dunking into coffee or hot chocolate.
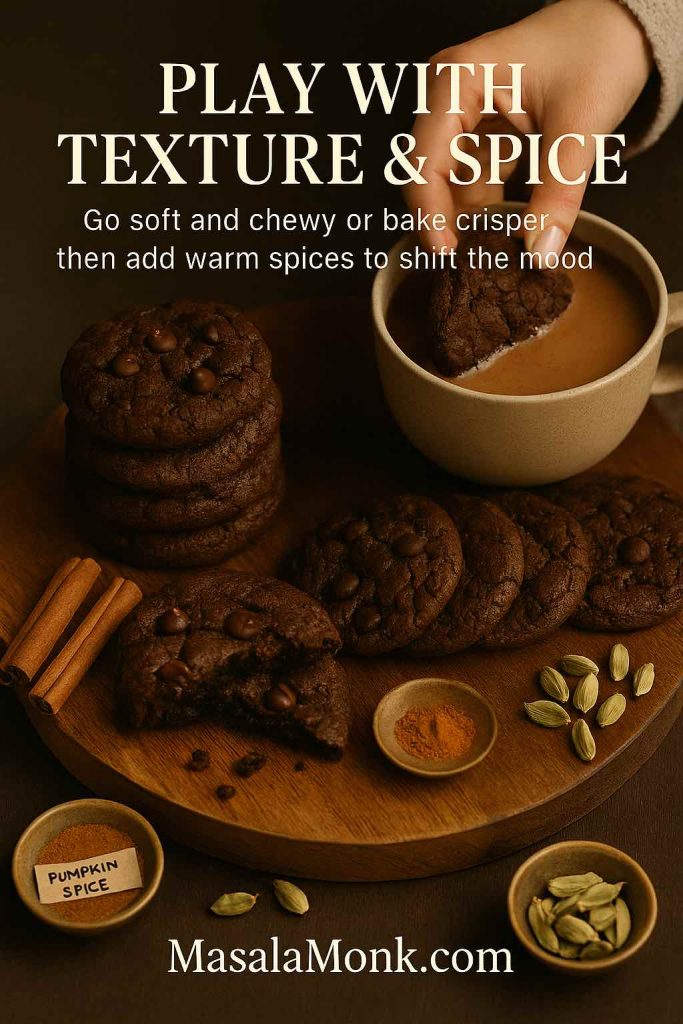
Beyond texture, small flavor tweaks go a long way. A pinch of cinnamon, a touch of cardamom, or a sprinkle of pumpkin pie spice folded into part of the dough can shift the whole experience. Suddenly the same double chocolate cookie feels warm and autumnal, or gently spiced in a way that makes it sit neatly alongside masala chai or a spiced latte. You don’t need much—often just ½ teaspoon of spice in a half-batch is enough to give a clear personality without overpowering the chocolate.
Also Read: Katsu Curry Rice (Japanese Recipe, with Chicken Cutlet)
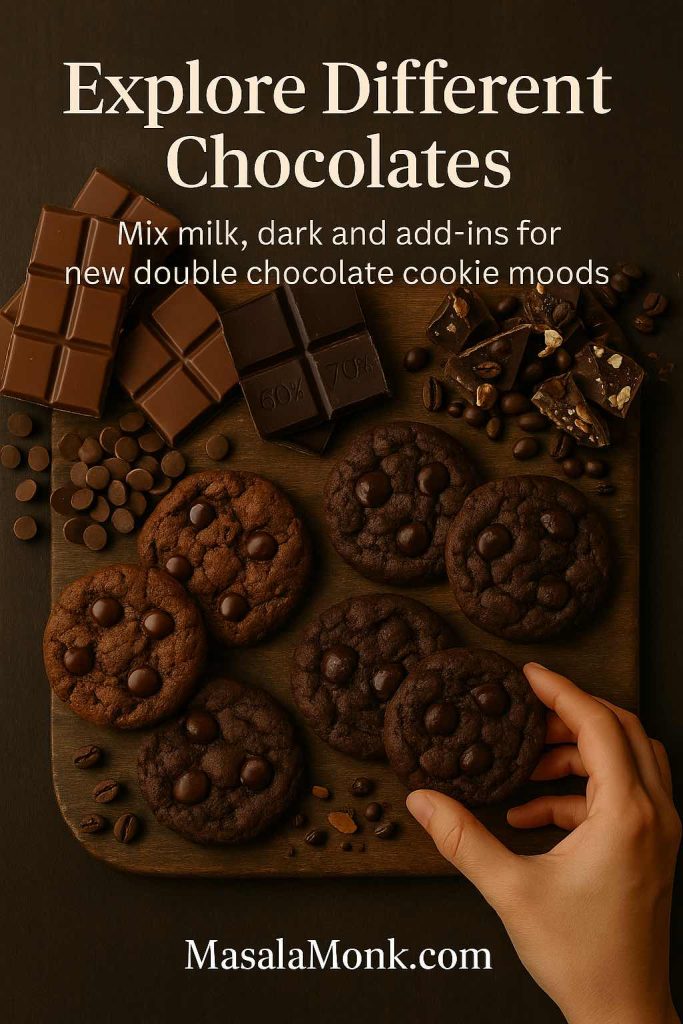
Exploring different chocolates
Another easy way to keep things interesting is to change the chocolate itself. Instead of using the exact same chips every time, try:
- a swirl of milk and dark chocolate together
- chopped bars with nuts, coffee, or dried fruit
- single-origin dark chocolate for a more complex, grown-up flavor
Nutrition writers and dietitians often point out that darker chocolate brings more cocoa solids and flavanols, while milk chocolate leans creamier and sweeter. A Verywell Health comparison of dark chocolate vs. milk chocolate explains that dark chocolate usually has a higher cocoa content and more of those beneficial plant compounds, whereas milk chocolate comes with more sugar and milk solids and a softer flavor profile.
In a cookie, that translates into bolder, slightly more bitter pockets when you use a high-percentage dark bar, and gentler, almost hot-chocolate-like bites when you lean on milk chocolate. Neither is wrong; they’re just different moods. One batch might suit a late-night dessert board, while the other feels perfect for a relaxed afternoon with kids.
Also Read: French 75 Cocktail Recipe: 7 Easy Variations
Conclusion
The real magic of having a reliable base recipe is that it gives you room to relax. Once you trust that the dough will behave, you no longer have to obsess over every tiny adjustment. Instead, you can focus on the fun decisions: which flour to reach for today, how dark you want the chocolate to be, whether you’re in the mood for biscuits or a cookie cake, and if this is the week for a vegan, gluten-free or high-protein twist—or for none of those at all.
Every batch becomes a small, low-stakes experiment. Sometimes you’ll discover a new favorite combination; other times you’ll simply circle back to the classic tray of double chocolate chip cookies that started it all. In both cases, the process stays comforting and familiar, which is part of why baking feels so grounding.
And as that unmistakable smell of cocoa, butter and caramelizing sugar fills your kitchen, it’s hard to imagine anyone complaining that you’ve made too many versions. If anything, the real “problem” with this dough is that once you know how easily it can turn into eight different treats, there’s always one more double chocolate cookie idea worth trying.
Also Read: What to Mix with Jim Beam: Best Mixers & Easy Cocktails
FAQs
1. What makes a cookie a double chocolate chip cookie?
A double chocolate chip cookie uses cocoa powder in the dough and chocolate chips or chunks mixed in. So the chocolate flavor comes from two places. That is why it is called “double chocolate.”
2. Can I use both chips and chunks in this double chocolate cookies recipe?
Yes, you can mix them. Chips hold their shape more. Chunks melt into bigger pockets of chocolate. Using both gives great texture in double chocolate chip cookies.
3. How do I stop my double chocolate chip cookies from spreading too much?
Chill the dough before baking. Make sure the butter is not melted, only softened. Do not over-grease the tray. Also, measure flour accurately so the dough is not too wet.
4. How do I make double chocolate cookies more chewy instead of cakey?
Use more brown sugar than white sugar. Do not overbake; take them out when the centers still look soft. Let them cool on the tray for a few minutes. That keeps double chocolate chip cookies chewy.
5. Can I make small batch double chocolate chip cookies with this recipe?
Yes, you can. Simply divide all ingredients by two or four. Keep the method and baking time almost the same. Watch the cookies closely near the end.
6. How do I turn this into vegan double chocolate chip cookies?
Swap butter for vegan butter or coconut oil. Replace each egg with a flax or chia “egg.” Use dairy-free chocolate chips. Follow the same mixing order as the original recipe.
7. Will vegan double chocolate chip cookies taste different?
They will taste slightly different but still rich and chocolatey. The texture may be a bit softer. Some people even prefer the gentle chew of vegan double chocolate cookies.
8. What is the best way to make gluten free double chocolate cookies?
Use a good gluten-free 1:1 baking flour blend. Chill the dough so the cookies hold shape. Avoid overbaking because gluten-free cookies dry faster. Let them cool on the tray before moving.
9. Can I mix gluten-free flour and almond flour in one batch?
Yes, you can combine them. Use a gluten-free blend as the base and replace part of it with almond flour. The double chocolate cookies will be tender and slightly nutty.
10. What does almond flour do in double chocolate chip cookies?
Almond flour adds fat, flavor, and a soft crumb. The cookies feel richer and more moist. They can spread a little more, so chilling is helpful.
11. How can I make double dark chocolate cookies from this dough?
Use darker chocolate with higher cocoa percentage. Add a spoon or two more cocoa powder. Reduce the sugar slightly if you like a deeper, less sweet flavor.
12. Can I add mint to make mint double chocolate chip cookies?
Yes, you can add peppermint extract. Start with a small amount and taste next time if you want more. You may also use chopped mint chocolate in place of part of the chips.
13. How do I make high protein double chocolate cookies?
Replace a portion of the flour with protein powder. Add a little extra liquid if the dough feels dry. Bake for slightly less time so the cookies stay soft.
14. Can I make a double chocolate cookie cake with this recipe?
Yes, press the dough into a lined pan instead of scooping. Bake longer than normal cookies, until the edges are set. Cool before slicing into wedges.
15. How long can I chill double chocolate chip cookie dough in the fridge?
You can chill it for up to three days. The flavor gets deeper as it rests. Cover the bowl or wrap the dough tightly so it does not dry out.
16. Can I freeze double chocolate chip cookie dough?
Yes, freeze scooped dough balls on a tray. Then store them in a container or bag. Bake from frozen and add a minute or two to the baking time.
17. Why do my double chocolate cookies crack on top?
Cracks can happen when the outside sets faster than the inside. This often gives a nice, bakery-style look. If you want fewer cracks, shape the dough smoothly and avoid very high heat.
18. How do I know when double chocolate cookies are done baking?
Look for set edges and a center that is just barely soft. The cookies will firm up as they cool. If they look fully firm in the oven, they may end up dry.
19. Can I make double chocolate chip biscuits instead of soft cookies?
Yes, flatten the scoops more and bake a little longer. Use slightly less brown sugar and a bit more white sugar. Let them cool fully so they crisp up.
20. Are double chocolate chip cookies better with milk chocolate or dark chocolate?
Both work well. Milk chocolate gives a sweeter, creamier taste. Dark chocolate adds stronger cocoa flavor and less sweetness. Choose based on what you and your guests enjoy most.