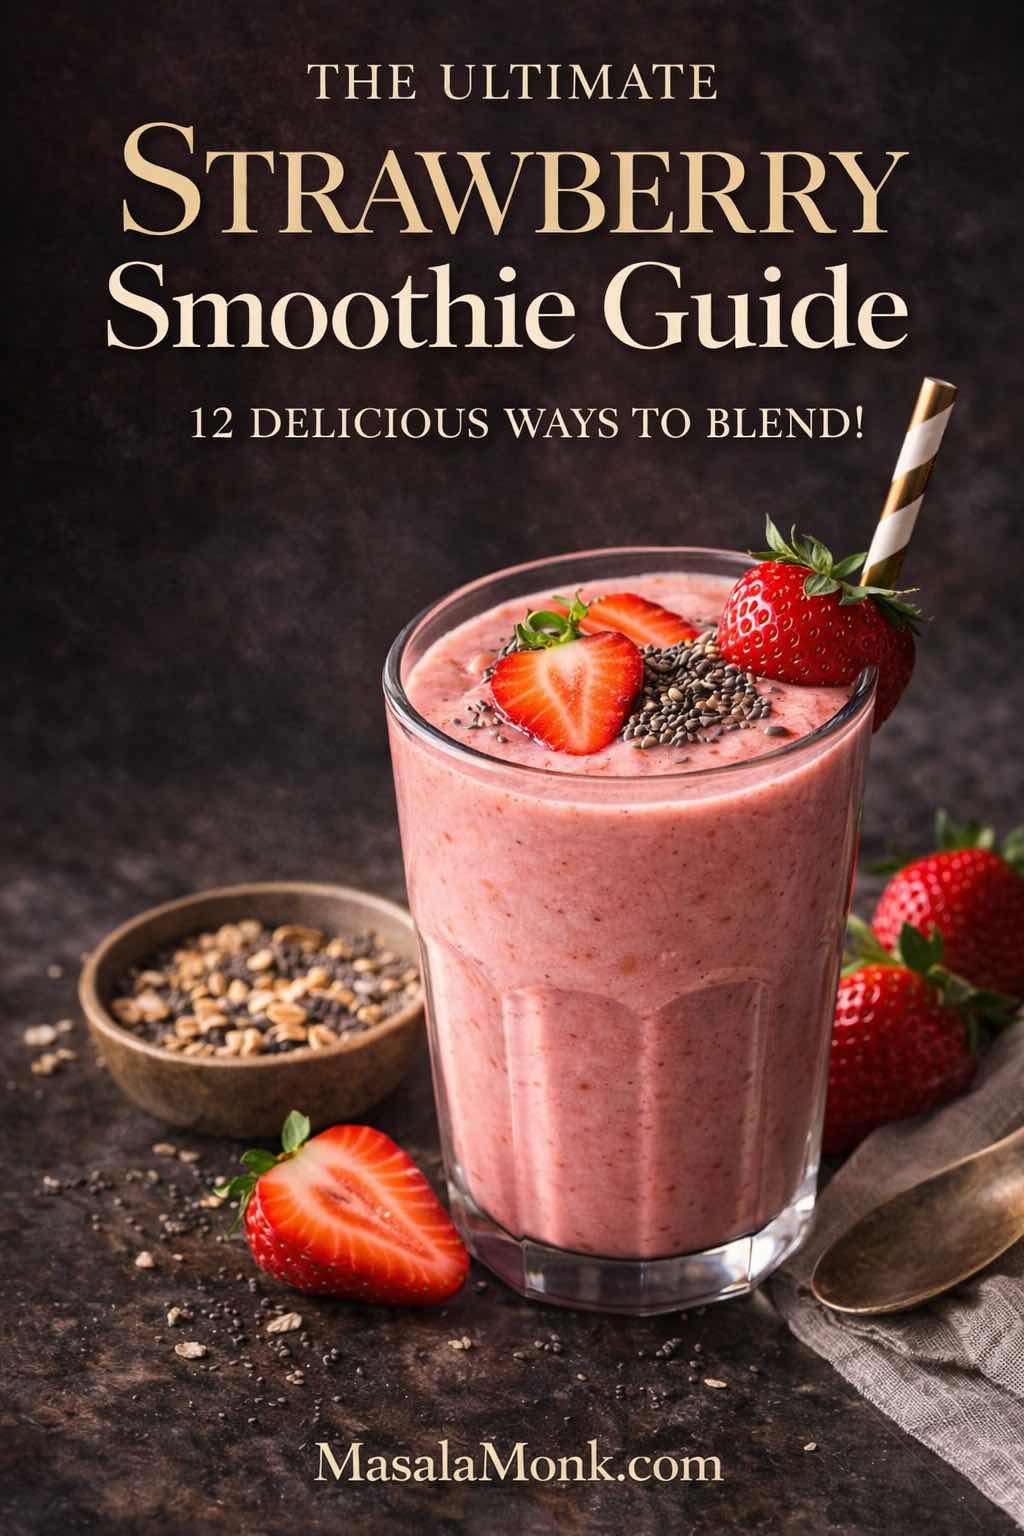
A strawberry smoothie recipe can be as simple as fruit and milk—sweet, cold, and comforting in the way only strawberries manage. Still, it can also be the kind of drink that feels a little more intentional: thicker, creamier, packed with protein, or bright and tropical depending on what you toss into the blender. That’s the charm. You can keep it basic on a sleepy morning, then lean into something spoonable and extra on the weekend.
Even if you start with one strawberry smoothie recipe, the variations open up fast. Add banana and you’ve got a strawberry banana smoothie that tastes like a classic diner treat. Stir in yogurt and it turns into a strawberry smoothie with yogurt—tangy, creamy, and quietly luxurious. Blend in protein powder and you’re suddenly in strawberry protein shake territory, where the smoothie stops being “just a drink” and starts pulling real weight as breakfast or post-workout fuel. Push the texture thicker and you’ve stepped into strawberry smoothie bowl land, with toppings and crunch and the satisfaction of eating your smoothie with a spoon.
Before any of that, though, it’s worth doing two quick things that make every version better.
First, wash fresh strawberries properly. The FDA’s guidance on handling produce is practical and straightforward in their page on selecting and serving produce safely. Second, if you ever like checking nutrition basics for ingredients you use often, the USDA FoodData Central strawberry listings are a dependable reference.
Now that you’ve got clean berries and a blender, let’s make smoothies that taste like strawberries—whether you want them light and drinkable, thick and creamy, or bold enough to count as a full meal.
Also Read: Fight Anemia and Boost Hemoglobin: 10 High Iron Shakes & Smoothie Ideas
The small details that make smoothies taste smoother, richer, and more “finished”
Start with the fruit: fresh strawberries vs frozen strawberries
Fresh strawberries taste vivid and perfumed when they’re in season. Frozen strawberries, on the other hand, are the secret to texture. If you’re chasing that thick café-style consistency, a strawberry smoothie made with frozen strawberries is hard to beat.
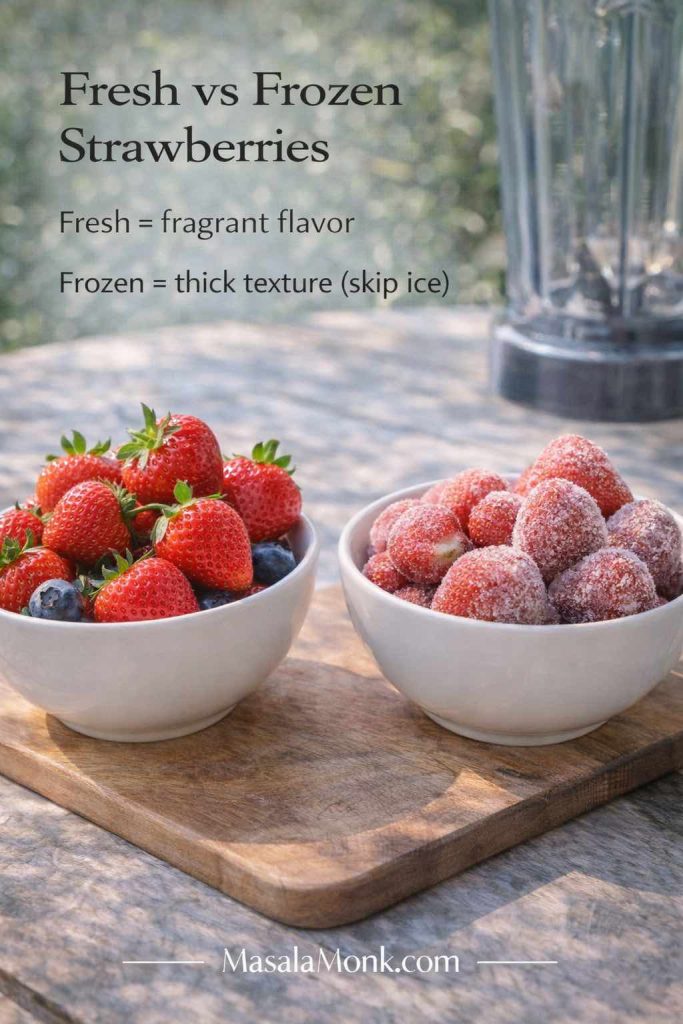
When you use frozen fruit, you’re essentially replacing ice with flavor. That’s why the “smoothie frozen fruit” approach works so well: you get frost and thickness without watering down the fruit. The same logic applies to any recipe for smoothie with frozen fruit—frozen berries, frozen mango, frozen pineapple—because cold fruit behaves like a built-in thickener.
If your blender is strong, you can go fully frozen. If it struggles, you can use half frozen and half fresh, then adjust.
A simple ratio that keeps you out of watery territory
A lot of disappointment comes from one thing: too much liquid too soon. Instead, begin conservatively and add more only when the blender needs it.
A reliable starting point for most drinkable smoothies:
- 2 cups fruit (more if you want it extra thick)
- ¾ cup liquid (milk, almond milk, coconut water, juice)
- ½ cup creamy element (yogurt, banana, oats, nut butter)

For thicker blends, especially smoothie bowls:
- 2½ to 3 cups frozen fruit
- ¼ to ½ cup liquid (start low)
- Optional yogurt, but don’t lean on it too heavily unless you like a tang-forward bowl
Once you get comfortable with this, you can improvise endlessly—banana strawberry fruit smoothie one day, strawberry mango smoothie the next—without thinking too hard about measurements.
Choosing the liquid sets the vibe
The liquid you choose isn’t just “what makes the blender spin.” It decides the flavor direction and the mouthfeel.

- Milk makes a classic strawberry smoothie with milk: creamy, mild, and familiar.
- Almond milk keeps things lighter and slightly nutty, which is perfect for an almond milk strawberry smoothie or a banana strawberry smoothie almond milk version.
- Yogurt-based liquids (like kefir or drinkable yogurt) create a tangy, thicker “strawberry smoothie drink” feel.
- Coconut water brightens tropical smoothies. If you like that clean, refreshing finish, MasalaMonk’s coconut water smoothie ideas are a great source of flavor combinations.
Yogurt: regular, Greek, or strawberry yogurt?
Yogurt is one of the easiest ways to turn “nice” into “wow.”

- Greek yogurt makes thick smoothies and supports the kind of creamy texture people want when they look up smoothie recipes with Greek yogurt.
- Regular yogurt is softer and more drinkable; it’s ideal for strawberry fruit smoothie recipes with yogurt that feel light but still creamy.
- Strawberry yogurt adds extra sweetness and a dessert-like flavor. It’s also handy if you want a strawberry smoothie with strawberry yogurt and you don’t feel like adding a sweetener.
If you like the idea of a strawberry yogurt shake recipe that feels like a treat without ice cream, yogurt is the cleanest path.
Blend order matters more than you think
If your blender ever stalls, it’s usually because frozen fruit got stuck around the blades. The fix is simple: blend in layers.

- Liquid first
- Soft ingredients next (yogurt, banana, nut butter, protein powder)
- Frozen fruit last
With leafy greens, blend greens with liquid first, then add fruit. You’ll see why when we get to the strawberry spinach smoothie.
Sweetness: aim for balance, not sugar
Strawberries can be sweet or tart depending on the batch. Instead of reaching straight for sugar, you can sweeten through ingredients:
- ripe banana
- dates
- honey or maple
- a splash of orange juice (especially good with pineapple)
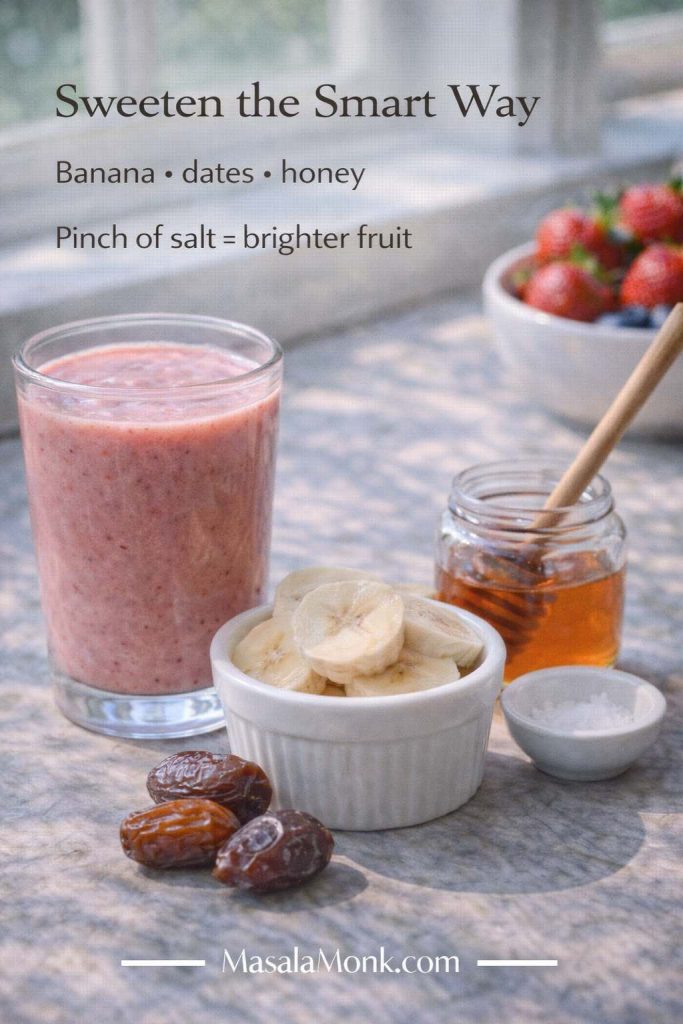
A tiny pinch of salt can also make fruit taste brighter. It won’t taste salty; it just rounds out the flavor.
A note on “shake” style smoothies (without ice cream)
When someone wants a strawberry shake recipe, they often mean a smoothie that feels like a milkshake—thicker, creamier, a little frothy—without adding ice cream.
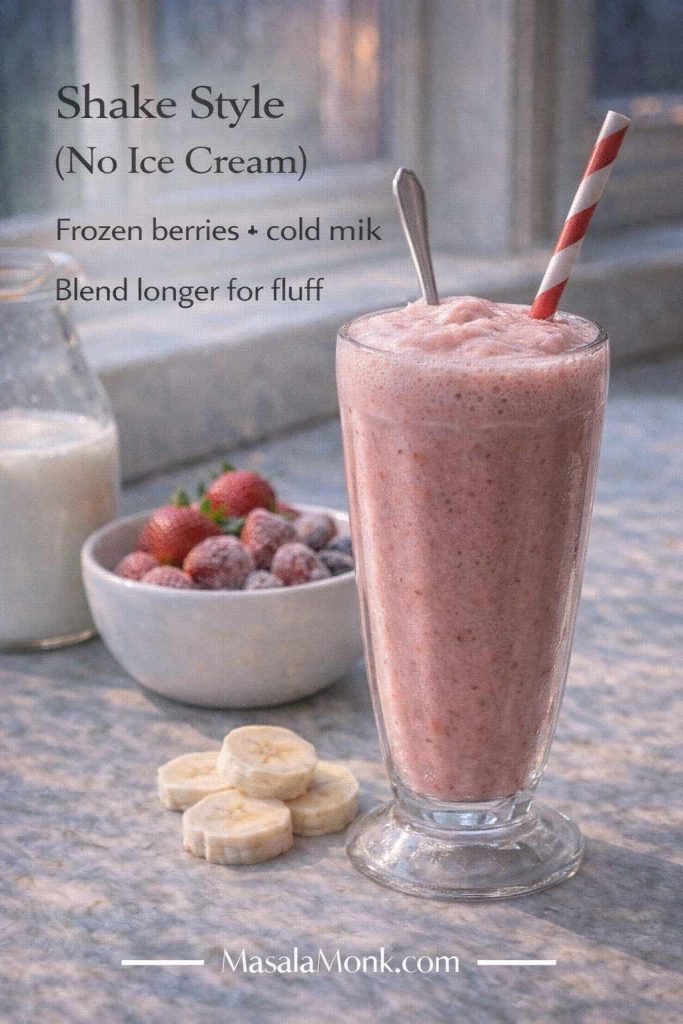
To get that strawberry milkshake without ice cream feel:
- use cold milk
- use frozen strawberries
- include banana or yogurt for thickness
- blend a little longer for fluff
That’s it. You’ll get a strawberry shake without ice cream that still feels indulgent.
Also Read: How to Make Churros (Authentic + Easy Recipe)
Recipe 1: Strawberry Smoothie (Classic, flexible, and dependable)
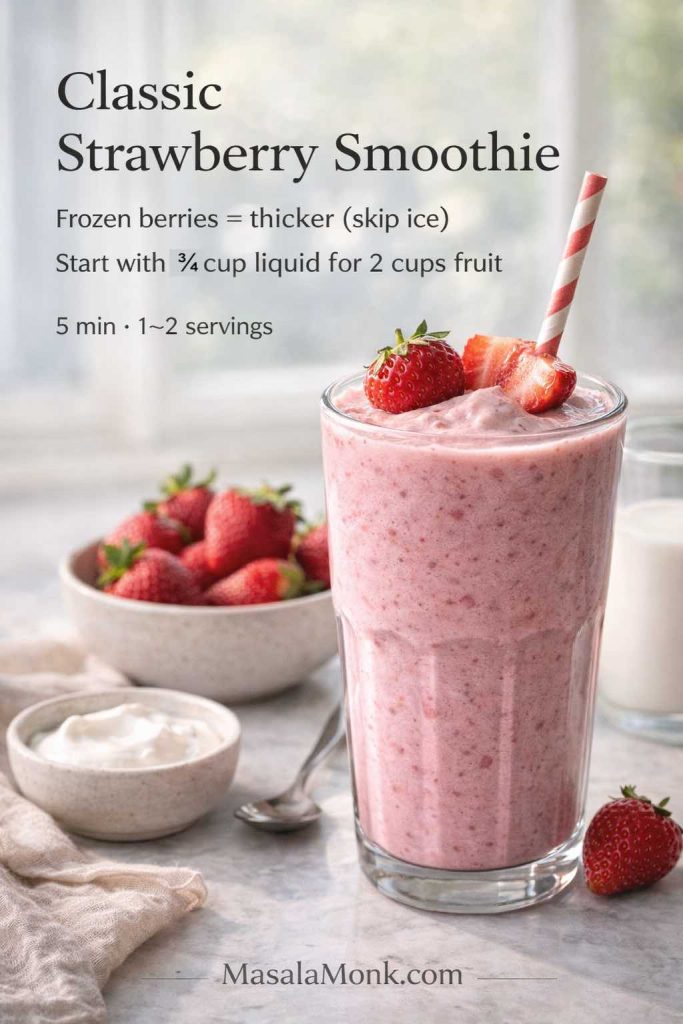
This is the foundational strawberry smoothie recipe you can return to anytime. It’s simple enough to memorize, yet it’s also the base that supports dozens of strawberry fruit smoothie recipes.
Ingredients for Strawberry Smoothie Recipe
- 2 cups strawberries (fresh or frozen)
- ¾ cup milk (or almond milk)
- ½ cup yogurt (optional)
- 1–2 teaspoons honey or maple (optional)
- Ice (only if using fresh strawberries and you want it extra cold)
Method
Add the liquid to the blender first, followed by strawberries. Blend until smooth. If you’re using yogurt, add it after the berries break down, then blend again. Taste and adjust.
Make it three different ways (without changing the spirit)
Strawberry smoothie with yogurt
Add ½ cup Greek yogurt for a creamy, thick finish. This is the version that often feels like the best strawberry smoothie recipe when you want something satisfying.
Strawberry smoothie recipe without yogurt
Skip yogurt and add ½ banana, or 2 tablespoons oats, or 1 tablespoon chia. Each makes it creamy in a different way.
Strawberry smoothie with milk
Use cold milk and frozen strawberries for a smooth, classic drink. If you want it extra thick, reduce the milk slightly and add more frozen strawberries instead.
If you’re ever unsure what to do with a batch of berries, this is the “good strawberry smoothie recipe” you can make without thinking.
Also Read: Peanut Butter Cookies (Classic Recipe & 3 Variations)
Recipe 2: Strawberry Banana Smoothie (the classic everyone loves)
A strawberry banana smoothie is sweet, creamy, and forgiving. It’s also the smoothie that most people associate with the phrase “fruit smoothie.” Whether you call it banana and strawberries smoothie or banana strawberry fruit smoothie, the goal is the same: smooth texture, bright berry flavor, and a sweetness that feels natural.
Ingredients for Strawberry Banana Smoothie Recipe
- 2 cups strawberries (frozen is ideal)
- 1 banana (fresh or frozen)
- ¾ cup milk (or almond milk)
- ½ cup yogurt (optional)
- Pinch of salt (optional)

Method
Blend milk and strawberries first. Once the strawberries break down, add banana and yogurt (if using), then blend until creamy.
Variation options you’ll actually use
Strawberry banana smoothie with yogurt
Use Greek yogurt for extra thickness. If you’re building smoothie recipes with yogurt and strawberries into your routine, this is a great staple.
Strawberry banana smoothie with milk
Keep it simple: cold milk + frozen strawberries + banana. It feels like a strawberry banana drink, especially if you blend it until slightly frothy.
Strawberry banana smoothie without yogurt
Frozen banana does the heavy lifting. Use slightly less liquid and you’ll still get a thick smoothie.
If you enjoy comparing techniques, Serious Eats has a clear, straightforward strawberry banana smoothie method that’s easy to read alongside your own version.
And if you ever want a more filling, nutty twist, MasalaMonk’s nut-infused smoothie recipes are a great way to borrow ideas—like adding walnuts for richness without making the smoothie taste heavy.
Also Read: Double Chocolate Chip Cookies – Easy Recipe with 7 Variations
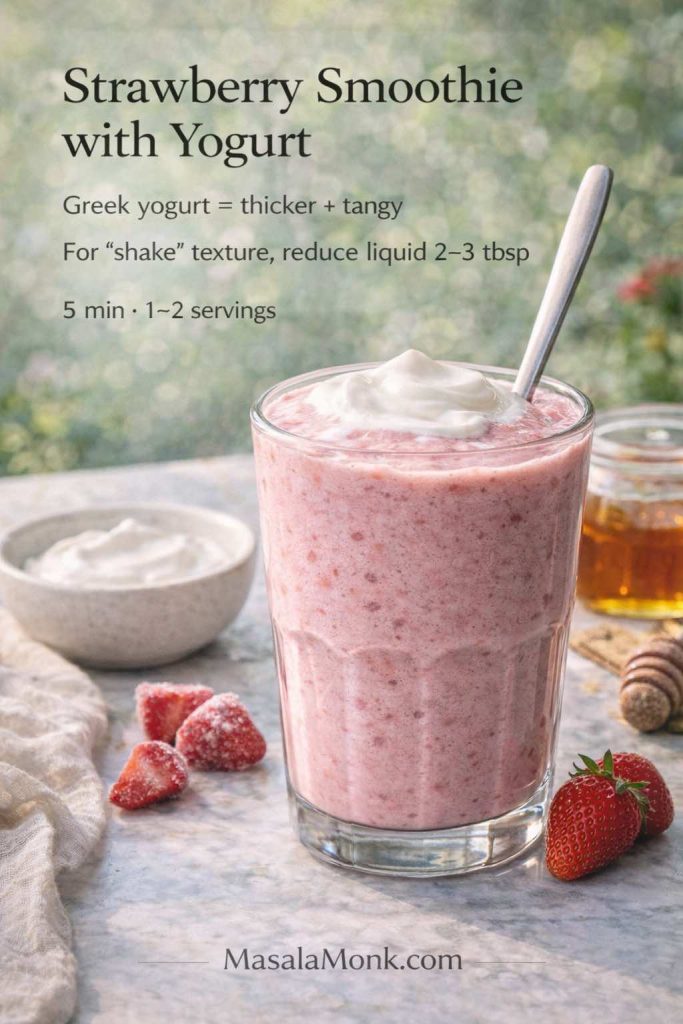
Recipe 3: Strawberry Smoothie With Yogurt (extra creamy, lightly tangy)
Sometimes the “best strawberry smoothie” isn’t the simplest one—it’s the one with that lush, creamy texture that tastes like it came from a café. Yogurt is the easiest way to get there.
This recipe also naturally fits smoothie recipes with Greek yogurt, strawberry smoothie recipe with yogurt, and even the idea of a strawberry yogurt milk smoothie if you prefer a thinner pour.
Ingredients for Strawberry Smoothie With Yogurt Recipe
- 2 cups frozen strawberries
- ½ cup Greek yogurt
- ¾ cup milk (or almond milk)
- 1 teaspoon honey (optional)
- ½ teaspoon vanilla (optional)
Method
Blend milk and yogurt first until smooth. Then add strawberries and blend until thick and creamy. Taste; sweeten lightly if needed.
Two directions to take it
If you want something closer to a strawberry yogurt shake recipe, use cold whole milk and blend longer so it becomes a little airy. On the other hand, if you prefer a brighter, lighter smoothie, use regular yogurt and almond milk.
Either way, you’ll get a strawberry smoothie drink that feels creamy without being heavy.
Also Read: French Toast Sticks (Air Fryer + Oven Recipe) — Crispy Outside, Custardy Inside
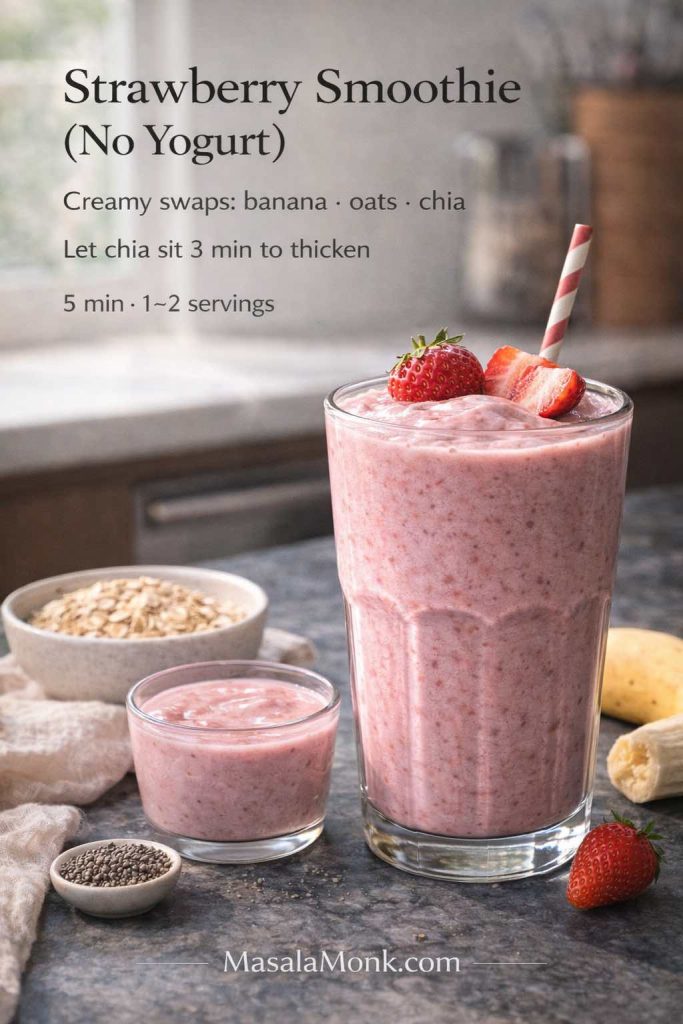
Recipe 4: Strawberry Smoothie Without Yogurt (still creamy, still satisfying)
If yogurt isn’t your thing—or you simply ran out—you can still make a strawberry smoothie that’s thick and silky. The trick is replacing yogurt with something that brings body.
Ingredients for Strawberry Smoothie Recipe Without Yogurt
- 2 cups frozen strawberries
- ¾ cup milk or almond milk
- One creamy option:
- ½ banana, or
- 2 tablespoons oats, or
- 1 tablespoon chia (let it sit for a few minutes after blending), or
- ¼ avocado
- Optional sweetener if your berries are tart
Method
Blend liquid and your creamy option first. Add frozen strawberries and blend until smooth.
What it tastes like
With banana, the smoothie leans sweet and classic—almost like a strawberry banana smoothie but lighter. When making it with oats, it becomes more breakfast-like, especially if you let it sit briefly so it thickens. And with avocado, it feels plush and rich, yet it still tastes like strawberries.
This is a simple strawberry smoothie solution that feels complete even without yogurt.
Also Read: 10 Best Chicken Sandwich Recipes (BBQ, Parm, Buffalo & More)
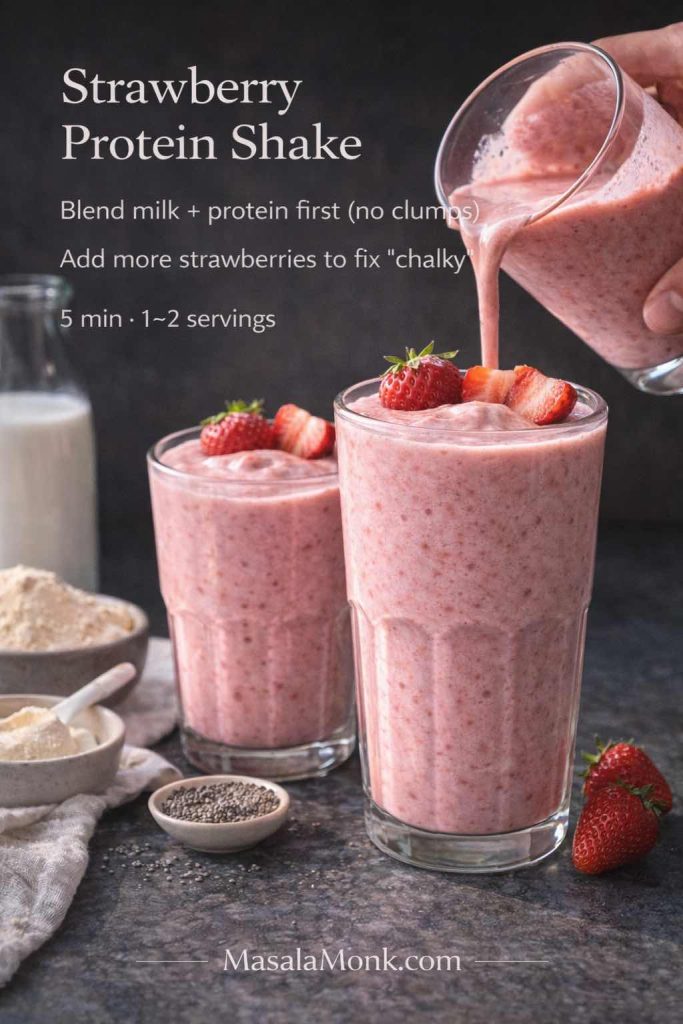
Recipe 5: Strawberry Protein Shake (filling, fast, and surprisingly delicious)
A strawberry protein shake should still taste like fruit, not like a supplement. The best versions are creamy, balanced, and easy to drink even when you’re not in the mood for something heavy.
It’s also a natural fit for strawberry protein drink, strawberry protein smoothie, and strawberry protein shake powder type blends.
Ingredients for Strawberry Protein Shake Recipe
- 2 cups frozen strawberries
- 1 cup milk (or almond milk)
- 1 scoop vanilla protein powder
- ½ banana or 1 date (optional)
- 1 tablespoon chia or ground flax (optional)
Method
Blend the milk and protein powder first. Next, add strawberries and blend until thick. If you’re using chia, pulse it in at the end.
Make it more satisfying in a clean way
A spoonful of nut butter adds richness and makes the smoothie feel like a meal. Hemp seeds work well too; MasalaMonk’s hemp seed smoothie ideas include combinations that pair nicely with berries.
If you’re in a season where you want higher-calorie blends, MasalaMonk’s high calorie protein shakes can inspire how to build a thicker, more substantial shake while keeping your own version strawberry-forward.
For an external reference point, Healthline has a simple strawberry banana protein powder smoothie that’s easy to compare if you like seeing alternate ratios.
Also Read: Almond Flour Pancakes (Easy Recipes) Fluffy, High-Protein, Keto & More
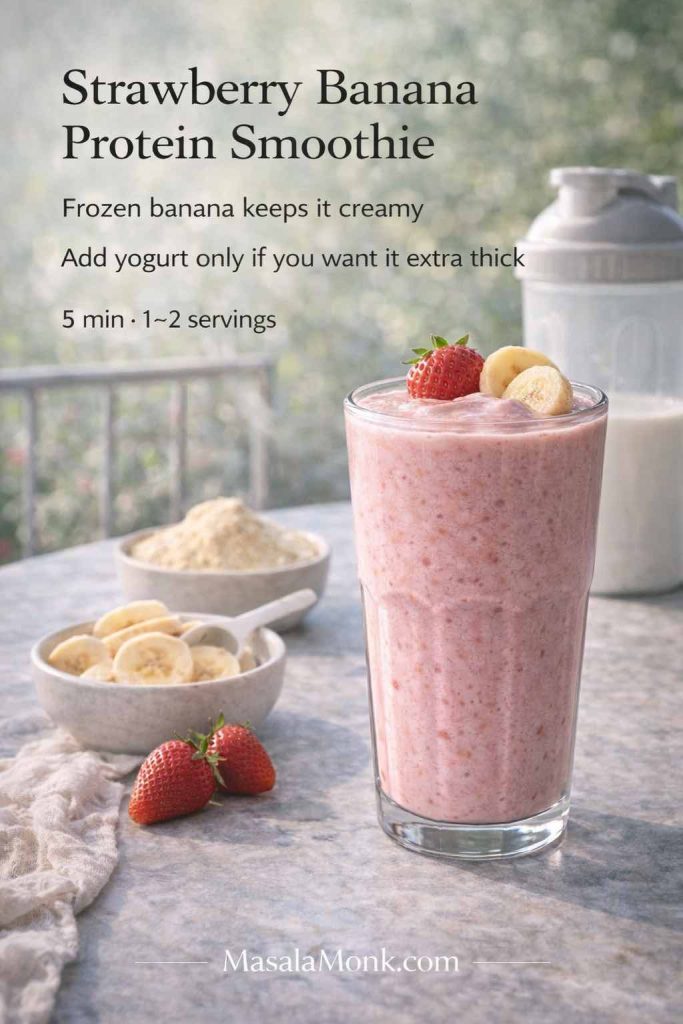
Recipe 6: Strawberry Banana Protein Smoothie (breakfast + gym-friendly)
This is what happens when a strawberry banana smoothie grows up. It’s still sweet and familiar, yet it carries you further thanks to protein.
It also naturally matches phrases like strawberry banana protein smoothie, banana and strawberry protein shake, and protein banana strawberry smoothie.
Ingredients for Strawberry Banana Protein Smoothie Recipe
- 1½ cups frozen strawberries
- 1 banana
- 1 cup milk or almond milk
- 1 scoop protein powder
- ½ cup yogurt (optional)
Method
Blend milk and protein powder until smooth. Add strawberries and banana, then blend until creamy.
Two easy adjustments
If you want it lighter, skip the yogurt and rely on frozen banana for creaminess. Conversely, if you want it extra thick, add yogurt and reduce the milk slightly.
If you’re using almond milk, you’ll end up close to a strawberry banana smoothie with almond milk—just with more staying power.
Also Read: Bolognese Sauce Recipe: Real Ragù & Easy Spag Bol
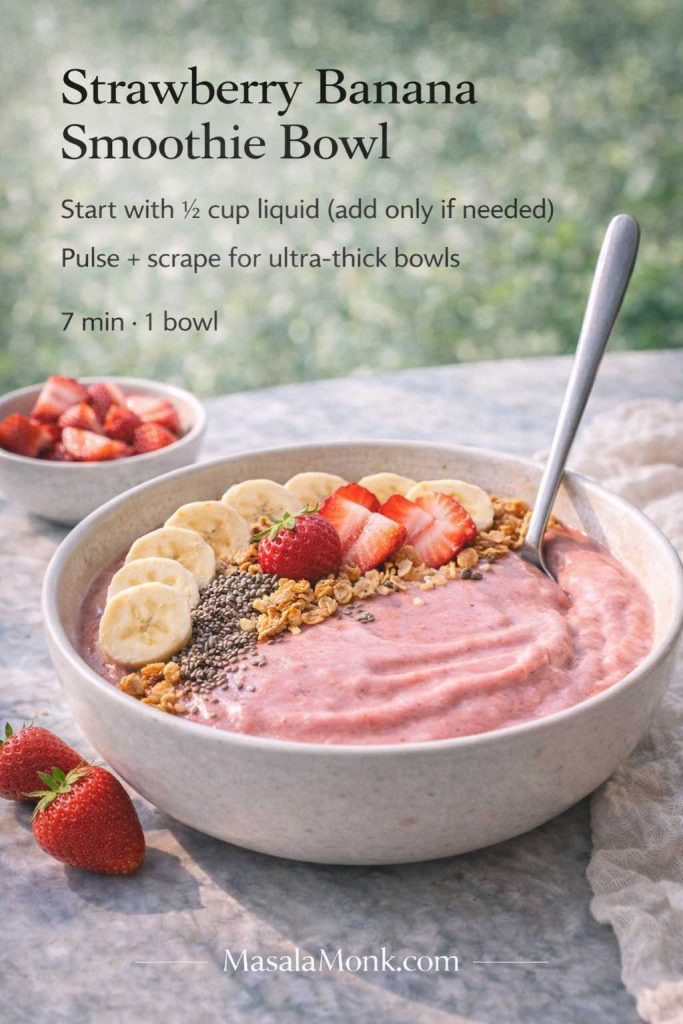
Recipe 7: Strawberry Banana Smoothie Bowl (thick, spoonable, topping-ready)
A smoothie bowl is all about texture. Instead of “drinkable,” you’re aiming for thick enough to hold toppings without everything sinking.
This covers strawberry banana smoothie bowl, smoothie bowl strawberry banana, and strawberry smoothie bowl recipe style blends naturally—without turning it into a project.
Ingredients for Strawberry Banana Smoothie Bowl Recipe
- 2 cups frozen strawberries
- 1 frozen banana (sliced before freezing)
- ¼ to ⅓ cup milk or almond milk (start small)
- Optional: ¼ cup yogurt for tang
Method
Add frozen fruit to the blender first. Then add the smallest amount of liquid to help it catch. Blend, stop, scrape, blend again until thick. Spoon into a bowl.
Toppings that work every time
- Granola + sliced strawberries
- Banana coins + nut butter drizzle
- Coconut flakes + pineapple chunks
- Chia seeds + cacao nibs

If you want a quick visual reference for thickness, Bakerita’s strawberry banana smoothie bowl shows a classic approach. Meanwhile, Minimalist Baker’s smoothie bowl method explains the key principle: minimal liquid and patience in the blender.
For a make-ahead angle, MasalaMonk’s meal prepping with strawberries is a great companion read, especially if you like prepping frozen fruit packs for quick blending.
Also Read: Classic Rum Punch + 9 Recipes (Pitcher & Party-Friendly)
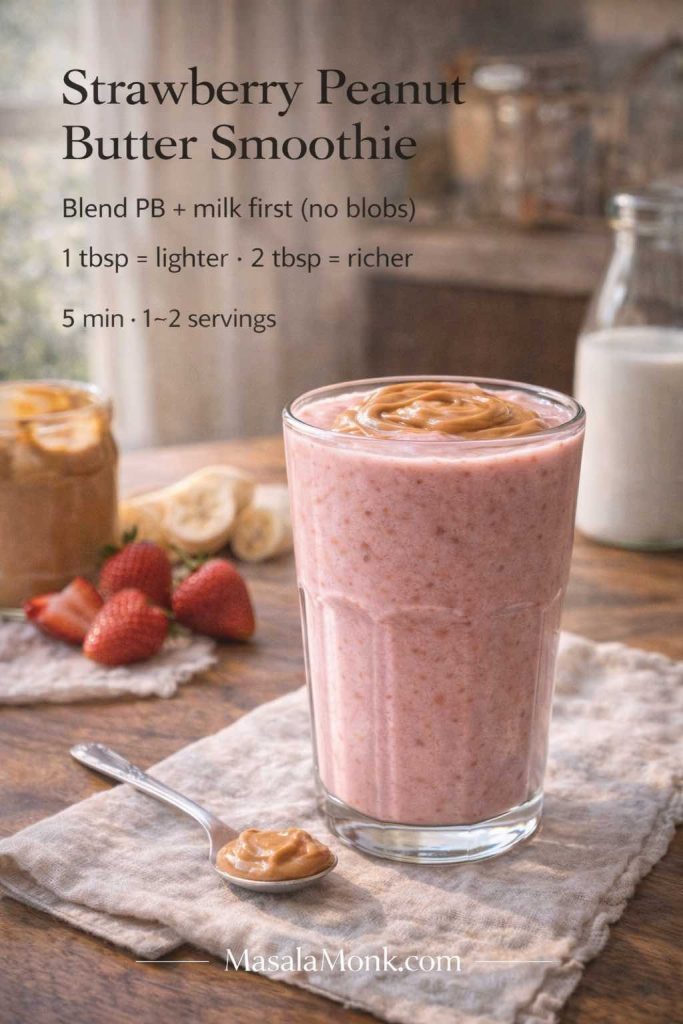
Recipe 8: Strawberry Peanut Butter Smoothie (comforting, rich, and balanced)
Strawberries and peanut butter sound unusual until you taste them together. The berries keep it bright; the peanut butter adds depth. The result feels like dessert while still being breakfast-friendly.
This naturally fits strawberry peanut butter smoothie, peanut butter and strawberry smoothie, and strawberry banana peanut butter smoothie variations.
Ingredients for Strawberry Peanut Butter Smoothie Recipe
- 2 cups frozen strawberries
- 1 banana
- 1–2 tablespoons peanut butter
- ¾ cup milk or almond milk
- Optional: pinch of cinnamon, pinch of salt, splash of vanilla
Method
Blend milk and peanut butter first so it emulsifies. Add strawberries and banana and blend until thick and creamy.
A few ways to change the mood
If you want something lighter, use almond milk and stick to 1 tablespoon peanut butter. If you want it more like a strawberry shake without ice cream, use cold milk and blend longer so it becomes airy.
Either direction, you’ll have a smoothie that feels indulgent without being heavy.
Also Read: Moscow Mule Recipe (Vodka Mule): The Master Formula + 9 Variations
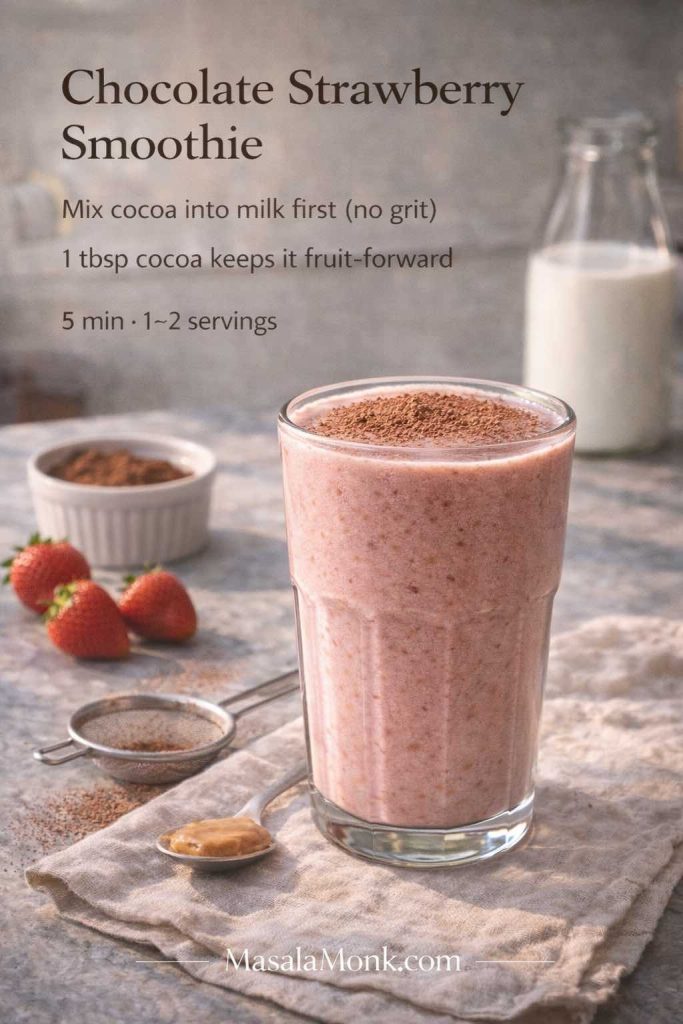
Recipe 9: Chocolate Strawberry Smoothie (cocoa-forward, not syrupy)
Chocolate and strawberry is a classic pairing, although it can become overly sweet if you lean on syrups. Cocoa powder keeps things grounded while frozen strawberries keep it bright.
This is a natural fit for chocolate strawberry smoothie, chocolate and strawberry smoothie, and cocoa strawberry smoothie versions.
Ingredients for Chocolate Strawberry Smoothie Recipe
- 2 cups frozen strawberries
- 1 banana (or 2 dates)
- 1 tablespoon cocoa powder
- 1 cup milk (or almond milk)
- Optional: ½ cup yogurt for extra creaminess
Method
Blend cocoa powder with milk first so it dissolves smoothly. Add strawberries and banana, then blend until creamy.
A protein-friendly approach
If you like the idea of a strawberry banana chocolate protein smoothie, you can add vanilla or chocolate protein powder and keep the cocoa modest. That way, the smoothie stays fruit-forward rather than tasting like a protein bar in liquid form.
If you’re curious about adding seeds for extra richness, MasalaMonk’s hemp seed smoothie ideas include combinations that pair beautifully with cocoa.
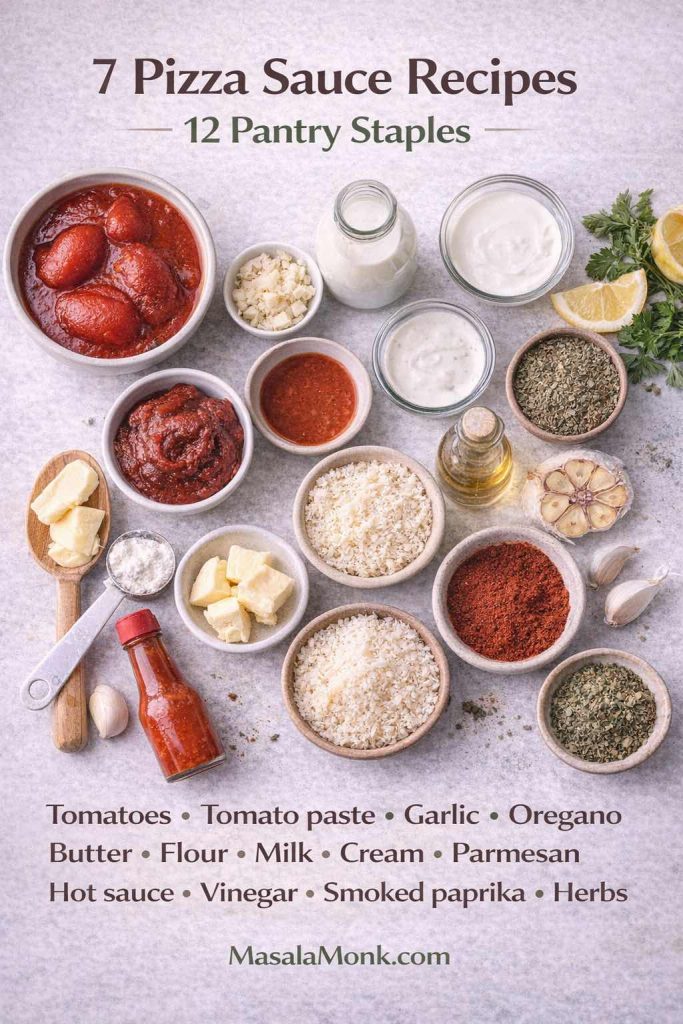
Also Read: 7 Pizza Sauce Recipes | Marinara, White Garlic, Alfredo, Buffalo, BBQ, Vodka & Ranch
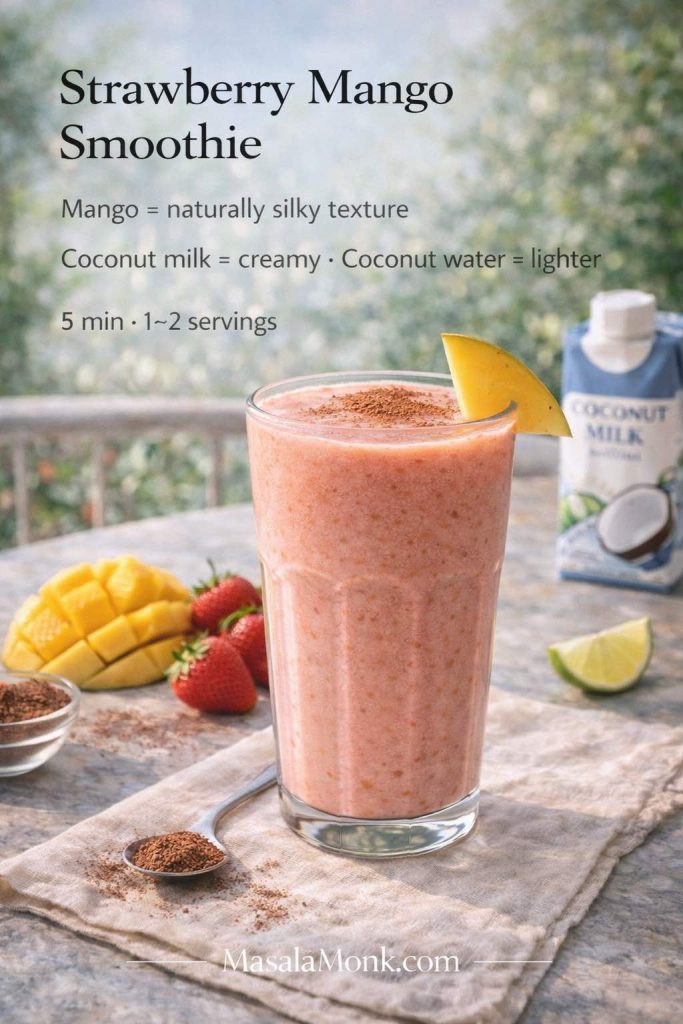
Recipe 10: Strawberry Mango Smoothie (sunny, tropical, and silky)
Strawberry mango smoothie blends are bright, cheerful, and naturally creamy—even without much dairy. Mango has a way of smoothing everything out, so the texture feels “finished” with very little effort.
This fits strawberry mango smoothie, mango and strawberry smoothie, mango and strawberry smoothie recipe, and smoothie strawberry mango phrasing naturally.
Ingredients
- 1½ cups frozen strawberries
- 1 cup frozen mango
- ¾ cup coconut milk beverage or milk
- Optional: ½ banana or 1 date
- Optional: 1 tablespoon chia
Method
Blend liquid and fruit until smooth. If you’re using chia, pulse it in at the end.
An easy twist if you like “shake” style blends
If you enjoy mango drinks beyond smoothies, MasalaMonk’s mango shake guide offers variations that translate well—especially if you want a dairy-free or lower-sugar direction.
Also Read: Vodka Pasta (Penne alla Vodka) + Spicy Rigatoni, Chicken, and Gigi Recipes
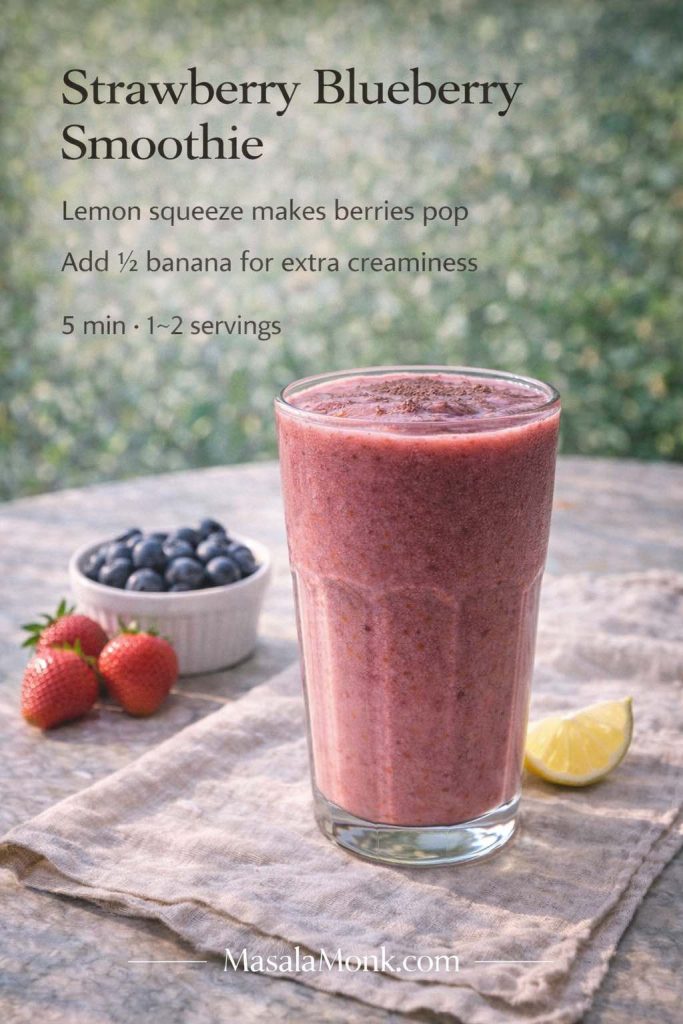
Recipe 11: Strawberry Blueberry Smoothie (berry-forward, vibrant, and satisfying)
A strawberry blueberry smoothie tastes like berries—not just sweetness. It’s also endlessly flexible, because you can keep it lean and bright or make it creamy and thick depending on your mood.
This naturally covers strawberry blueberry smoothie, strawberry and blueberry smoothie, strawberry blueberry smoothie recipe, and smoothie strawberry and blueberry phrasing.
Ingredients
- 1½ cups frozen strawberries
- 1 cup frozen blueberries
- ¾ to 1 cup milk or almond milk
- Optional: ½ cup yogurt
- Optional: sweetener only if needed
Method
Blend liquid and berries until smooth. Add yogurt if using, then blend again until creamy.
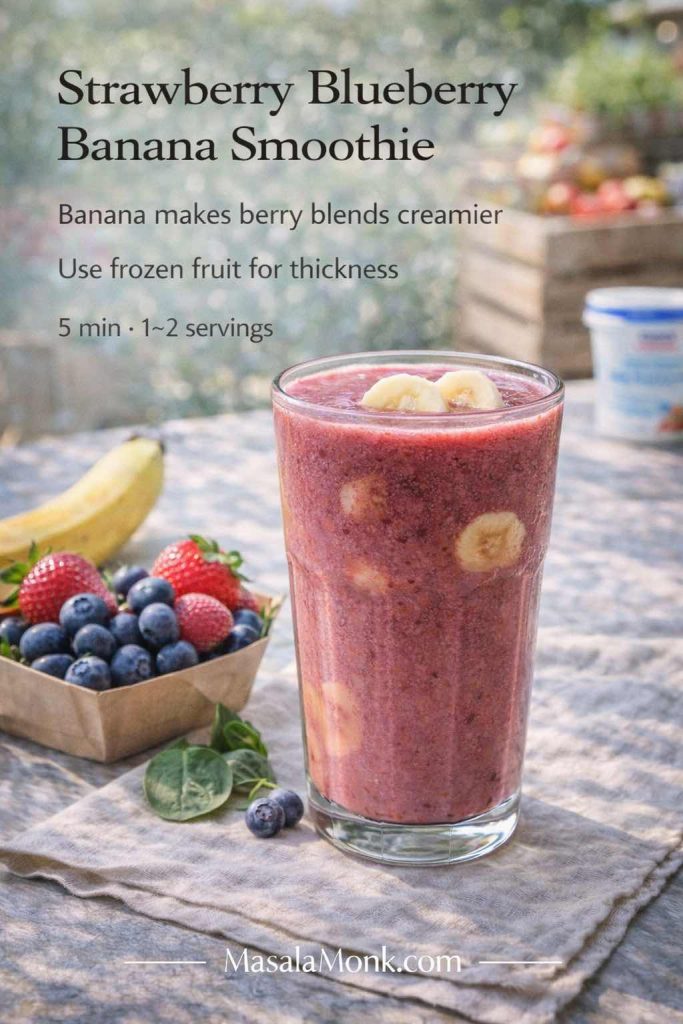
Triple-fruit variation (banana blueberry and strawberry smoothie)
Add ½ banana. You’ll end up with a strawberry blueberry banana smoothie that tastes rounder and creamier, and it also aligns beautifully with the classic banana blueberry and strawberry smoothie style.
If you enjoy berry blends in general, you can also push this into “berry smoothies” territory by adding raspberries or blackberries—just keep your liquid modest so it stays thick.
Also Read: Golden Milk Recipe: The Best Bedtime Detox Drink!
Recipe 12: Strawberry Pineapple Smoothie (bright, tangy, refreshing)
Pineapple brings a tropical sharpness that makes strawberries taste even sweeter. If you like a smoothie that feels light and energizing, strawberry pineapple smoothie blends are a great choice.
This naturally fits pineapple and strawberry smoothie and smoothie with strawberries and pineapple versions.
Ingredients
- 1½ cups frozen strawberries
- 1 cup pineapple chunks (fresh or frozen)
- ¾ cup coconut water or milk
- Optional: ½ banana for sweetness

Method
Blend coconut water and pineapple first until smooth. Add strawberries and blend until frosty.
If you enjoy the clean, refreshing finish of coconut water, MasalaMonk’s coconut water smoothie ideas pair naturally with this style.
And if you like the idea of “tropical” but want more structure, MasalaMonk’s meal prepping with strawberries includes a tropical bowl direction that’s easy to adapt using strawberry, pineapple, mango, and banana.
Also Read: Authentic Louisiana Red Beans and Rice Recipe (Best Ever)
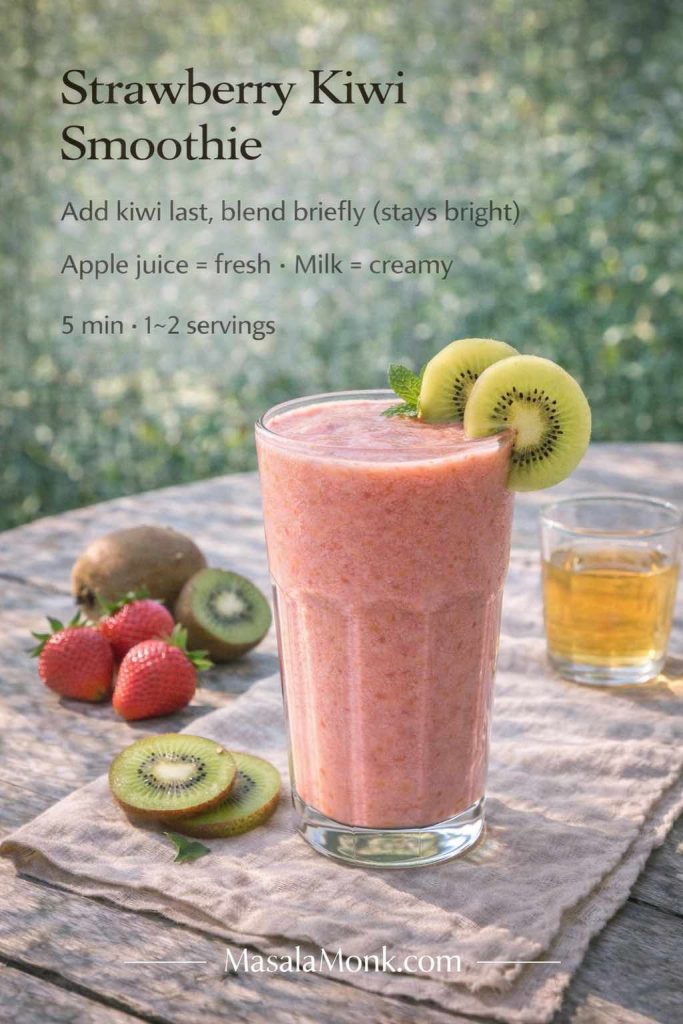
Bonus: Strawberry Kiwi Smoothie (zippy, bright, and a little fancy recipe)
This one isn’t part of the numbered list above, but it deserves a spot in your rotation. Strawberry kiwi smoothies taste like a fruit salad that decided to become a drink—bright, juicy, and refreshing.
It also naturally matches strawberry kiwi smoothie, kiwi and strawberry smoothie, and smoothie with kiwi and strawberry phrasing.
Ingredients
- 2 cups strawberries (frozen works best)
- 1–2 kiwis, peeled
- ¾ cup apple juice or milk
- Optional: ½ banana if you want it sweeter
Method
Blend strawberries with your liquid first. Add kiwi and blend briefly until smooth.
Kiwi can get slightly bitter if over-blended in some machines, so keeping it quick helps the flavor stay clean.
Also Read: 10 Creative Chia Pudding Recipes for Every Taste
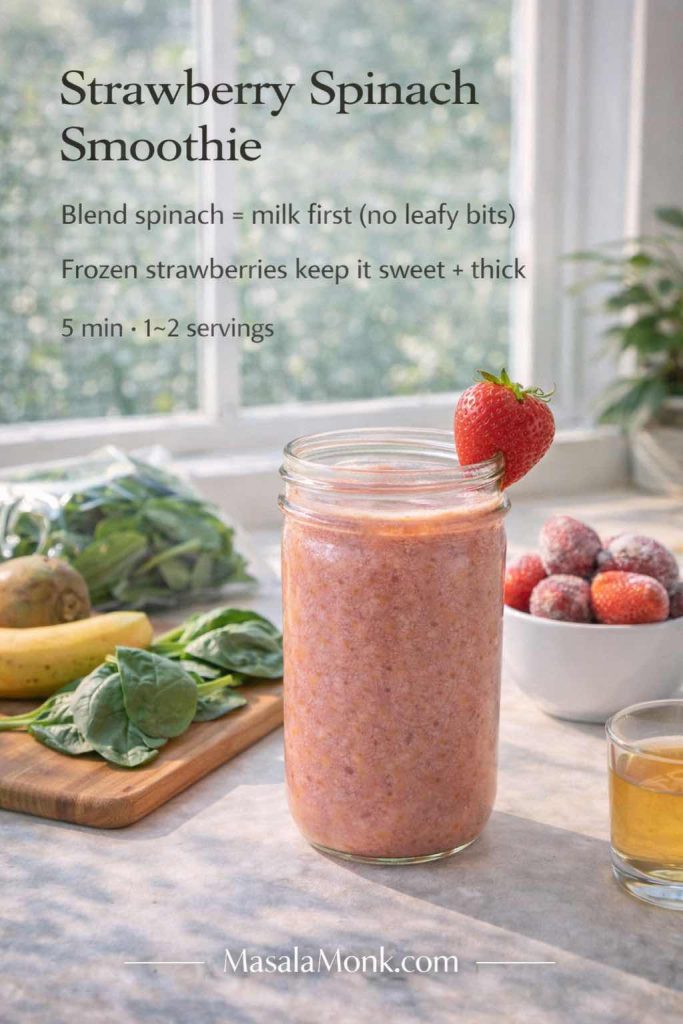
Bonus: Strawberry Spinach Smoothie Recipe (green, but still tastes like strawberries)
If you want greens without sacrificing flavor, this is the one. Strawberry spinach smoothie blends are at their best when they taste like fruit first, spinach second.
This naturally covers smoothie with spinach and strawberries and strawberry smoothie with spinach variations.
Ingredients
- 2 cups frozen strawberries
- 1 banana
- 1–2 packed cups baby spinach
- ¾ to 1 cup milk or almond milk
- Optional: chia or flax for extra body
Method
Blend milk and spinach first until completely smooth. Then add strawberries and banana and blend until thick and creamy.
If you’re interested in iron-friendly directions, MasalaMonk’s high-iron smoothies and shakes includes ideas in the same spirit—greens plus vitamin C–rich fruits—without turning the smoothie into something that tastes medicinal.
Also Read: Tres Leches – Mexican 3 Milk Cake Recipe
How to build your own “mix and match” variations without overthinking it
Once you’ve made a few of these, you’ll start noticing patterns. From there, you can spin off new combinations easily—whether you’re craving smoothie strawberry ingredients that feel light, or something thicker and more filling.
If you want a smoothie recipe without strawberries
Sometimes you land here even though you’re not in a strawberry mood. In that case, you can swap strawberries for another frozen fruit and keep the same method. Mango, blueberries, pineapple, and mixed berries all work beautifully. The blending logic stays exactly the same as any recipe for smoothie with frozen fruit.
If you want smoothie ideas with strawberries but not banana
Banana is popular, although not everyone loves it. If you want a strawberry smoothie no banana or strawberry smoothie without banana direction, try one of these as your “creamy element” instead:
- Greek yogurt
- oats
- chia (let it rest briefly after blending)
- avocado (use a small amount)
That’s how you get a creamy strawberry smoothie without banana, without needing special ingredients.
If you want a strawberry smoothie recipe no banana and no yogurt
Use frozen strawberries, almond milk, and oats or chia. It turns into a simple strawberry smoothie that’s creamy enough to satisfy, yet still light.
If you want a strawberry fruit shake feel
Lean on cold milk, frozen strawberries, and an extra banana slice or two. Blend longer until the texture looks fluffy. You’ll end up with a strawberry fruit shake that feels like a treat, especially if you add a splash of vanilla.
Also Read: How to Cook Perfect Rice Every Time (Recipe)
Make-ahead smoothie packs (the easiest way to drink smoothies more often)
If you’ve ever bought frozen strawberries and bananas with good intentions, only to watch the bananas over-ripen on the counter, smoothie packs are the answer.
They also make mornings smoother because you’re not measuring fruit while half awake.
What to do
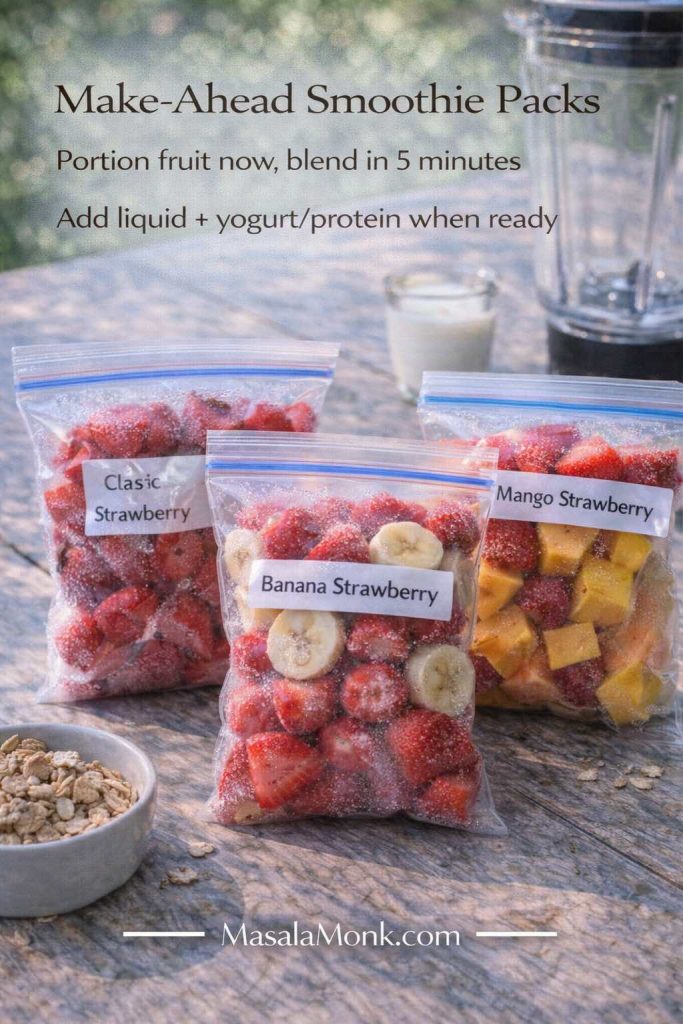
Portion fruit into freezer bags or containers. Then, when you want a smoothie, dump a pack into the blender and add liquid plus any creamy element you like.
Packs to try (easy, practical, and delicious)
Classic Strawberry pack
- 2 cups strawberries
This one works with milk, almond milk, or yogurt. It’s the base for most strawberry smoothie recipes.
Banana Strawberry pack
- 1½ cups strawberries
- 1 banana, sliced
This is your go-to for a strawberry banana smoothie recipe whenever you want it.
Mango Strawberry pack
- 1½ cups strawberries
- 1 cup mango
Add coconut milk beverage for the smoothest, sunniest result.
Blueberry Strawberry pack
- 1½ cups strawberries
- 1 cup blueberries
Great with milk, almond milk, or yogurt, depending on whether you want it bright or creamy.
Strawberry pineapple pack
- 1½ cups strawberries
- 1 cup pineapple
Try coconut water for a fresh finish, especially on hot days.
Turning packs into smoothie bowls
If you want a smoothie bowl, use the same packs—but cut your liquid down dramatically. Instead of ¾ cup, start with ¼ cup, then increase only if the blender needs it.
Also Read: Whole Chicken in Crock Pot Recipe (Slow Cooker “Roast” Chicken with Veggies)
A few serving ideas that make smoothies feel less repetitive
It’s easy to love smoothies for a week and then get bored. A small change in presentation can keep them interesting.

- Pour your strawberry smoothie with milk into a chilled glass and add a few sliced strawberries on top. It feels more “finished.”
- Turn a strawberry banana smoothie into a smoothie bowl on weekends and add crunchy toppings.
- Make a chocolate strawberry smoothie when you’re craving dessert, then add a spoonful of yogurt to keep it creamy and satisfying.
- Blend a strawberry protein smoothie after workouts, then sprinkle chia on top for a little texture.
Small shifts keep the routine enjoyable, which is often the real secret to sticking with it.
Also Read: Mayo Recipe: 15+ Homemade Mayonnaise Variations
FAQs
1. What’s the easiest strawberry smoothie recipe for beginners?
To keep it simple, start with strawberries + milk and blend until smooth. For an easy strawberry smoothie recipe that’s consistently creamy, use frozen berries and begin with less liquid than you think you need. Afterward, adjust: add a splash more milk if it’s too thick, or add more frozen strawberries if it’s too thin. That approach turns a basic strawberry smoothie into a good strawberry smoothie recipe you can repeat without measuring perfectly every time.
2. What are the best strawberry smoothie ingredients for a creamy texture?
In practice, creaminess comes from a combination of frozen fruit and one “softener.” Strawberries provide flavor; banana, yogurt, oats, chia, or nut butter provide body. For a classic strawberry smoothie recipe, frozen strawberries + milk + yogurt is hard to beat. Alternatively, if you prefer fewer ingredients, frozen strawberries + milk + banana creates a thick, smooth result with a naturally sweet finish.
3. Can I make a strawberry smoothie with yogurt, and what yogurt works best?
Absolutely—strawberry smoothie with yogurt is one of the creamiest versions. Greek yogurt yields a thicker, tangier blend, while regular yogurt makes it lighter and more drinkable. As it happens, flavored strawberry yogurt can also work when you want extra sweetness without adding honey. If your goal is a strawberry smoothie recipe with yogurt that feels like a treat, choose a thicker yogurt and keep the liquid modest.
4. How do I make a strawberry smoothie recipe without yogurt that’s still creamy?
For that reason, you’ll want a substitute that adds body. A ripe banana is the easiest swap; it thickens and sweetens at the same time. Otherwise, oats (2 tablespoons) add a breakfast-like texture, while chia seeds thicken after blending if you let the smoothie rest briefly. In a pinch, a small piece of avocado can create a velvety mouthfeel without overpowering the strawberry flavor.
5. What’s a simple strawberry smoothie recipe with only 3 ingredients?
A simple strawberry smoothie recipe can be as straightforward as: frozen strawberries, milk, and banana. That combination also doubles as an easy strawberry smoothie recipe when you don’t want yogurt. By the same token, you can swap banana for yogurt if you prefer tang over sweetness. Either way, keeping the ingredient list short tends to make the strawberry flavor stand out more.
6. How do I make a strawberry smoothie with milk that doesn’t taste watery?
All things considered, wateriness comes from too much liquid or too much ice. Use frozen strawberries rather than ice, and start with about ¾ cup milk for 2 cups fruit. Next, blend thoroughly so the fruit fully breaks down—under-blended smoothies can taste thin even when they aren’t. If it still feels light, add more frozen strawberries instead of adding more milk.
7. What’s the best strawberry banana smoothie recipe for a thick, creamy result?
A reliable strawberry banana smoothie recipe uses frozen strawberries and a ripe banana, plus just enough milk to get the blender moving. At the same time, blending the milk with strawberries first can prevent clumps, especially if your berries are very icy. If you want a richer strawberry and banana smoothie recipe, add yogurt; if you’d rather keep it simpler, rely on the banana for creaminess and reduce the liquid slightly.
8. How do I make a strawberry banana smoothie with yogurt?
In contrast to the no-yogurt version, a strawberry banana smoothie with yogurt has more tang and a thicker texture. Add yogurt after the fruit begins to blend—this helps the blender stay smooth and prevents the mixture from getting stuck. Subsequently, tweak consistency with frozen fruit rather than extra liquid. If you want a more dessert-like finish, a dash of vanilla makes the flavor feel rounder.
9. How do I make a strawberry banana smoothie with milk that tastes like a shake?
To get that “strawberry shake recipe” vibe, use cold milk, frozen strawberries, and a ripe banana, then blend a little longer to introduce air. In addition, skip ice whenever possible—ice can dull the flavor and thin the texture as it melts. For a strawberry shake without ice cream, a spoonful of yogurt can mimic milkshake creaminess without making it heavy.
10. What’s the easiest way to use frozen fruit in smoothies?
In practice, the best smoothie frozen fruit method is to treat frozen fruit as your thickener. Start with frozen strawberries (or a frozen fruit mix), add liquid gradually, and blend in stages. If you’re following a recipe for smoothie with frozen fruit, begin with less liquid than suggested and increase only if the blender stalls. That strategy keeps the smoothie thick and prevents the “watery aftertaste” that can happen when you over-pour liquid.
11. How do I make a frozen strawberry smoothie that’s smooth, not icy?
A frozen strawberry smoothie turns silky when you blend long enough and use a creamy element. Yogurt, banana, or a spoonful of nut butter helps prevent an icy texture. Moreover, letting frozen fruit sit for 2–3 minutes before blending can reduce harsh ice crystals. If your blender struggles, blend the liquid with softer ingredients first, then add the frozen strawberries gradually.
12. Can I make a strawberry smoothie bowl recipe if I only have a regular blender?
Yes—strawberry smoothie bowl recipes are doable in most blenders with one adjustment: use far less liquid. Begin with frozen strawberries and frozen banana, add only a small splash of milk, and stop to scrape down the sides. In the same vein, pulsing can help the blades catch. If it becomes too thick to blend, add liquid a tablespoon at a time rather than pouring freely.
13. How do I thicken a strawberry banana smoothie bowl if it turns runny?
In that situation, add more frozen fruit first—frozen strawberries or frozen banana fixes texture quickly. Alternatively, a spoonful of oats or chia can thicken the bowl if you let it sit a couple of minutes. Avoid adding extra yogurt once it’s already runny, because yogurt can add moisture. For a reliable strawberry banana smoothie bowl, starting with minimal liquid is the best prevention.
14. What’s a good strawberry protein shake that still tastes like fruit?
A strawberry protein shake works best when protein supports the flavor rather than taking over. Blend your liquid with protein powder first to prevent clumps, then add frozen strawberries. Next, consider adding a banana or yogurt to keep the texture creamy and the taste balanced. If you want a strawberry protein smoothie that feels more like dessert, a small pinch of cocoa or vanilla can round out the flavor without burying the strawberries.
15. How do I make a strawberry banana protein smoothie without it tasting chalky?
To reduce chalkiness, use less powder than you think you need and build creaminess with banana or yogurt instead. Additionally, blending the powder with liquid first makes a smoother base. If the flavor still feels strong, add more strawberries rather than more sweetener—extra fruit softens the protein taste while keeping the smoothie bright. That approach usually produces a better strawberry protein drink overall.
16. Can I make a strawberry smoothie no banana that’s still thick?
Certainly—strawberry smoothie without banana is easy if you replace banana’s thickening role. Greek yogurt is the simplest option; oats and chia also work well. In particular, chia thickens after blending, so a short rest can transform texture. If you need a strawberry smoothie recipe no banana and no yogurt, use oats or chia with frozen strawberries and start with minimal liquid.
17. How do I make a non dairy strawberry smoothie or an almond milk strawberry smoothie?
A non dairy strawberry smoothie works beautifully with almond milk, oat milk, or coconut milk beverage. For an almond milk strawberry smoothie, blend frozen strawberries with almond milk and add a creamy element like banana, oats, or nut butter. In addition, skip ice and rely on frozen fruit for thickness. If you’re aiming to make smoothie without milk entirely, coconut water can be used, although it’ll taste lighter and more refreshing.
18. How do I make a strawberry shake without ice cream?
A strawberry shake without ice cream comes down to cold milk, frozen strawberries, and one thickener. Banana creates a classic milkshake-style sweetness; yogurt adds tang and creaminess. After that, blend longer than usual to make it slightly frothy. If you’re after a strawberry milkshake without ice cream that feels extra rich, add a small spoonful of nut butter and a pinch of salt.
19. What’s the best way to add strawberry puree for smoothies?
Strawberry puree for smoothies works best as a flavor booster rather than the main thickener. Use puree when you want a strong strawberry taste from fresh berries, then add frozen fruit (or a banana/yogurt) to build texture. Likewise, puree is handy in smoothie bowls if your blender needs help catching—use a little puree as the base, then blend in frozen fruit for thickness.
20. Can I prep frozen strawberries and bananas ahead for quick smoothies?
Yes—frozen strawberries and bananas are one of the easiest make-ahead combos. Slice bananas before freezing so they blend smoothly. Then, portion frozen fruit into packs so you can dump and blend. For a drinkable smoothie, add milk or almond milk; for a thicker bowl, add only a small splash. As a result, you’ll make strawberry banana smoothie recipes far more often because the hardest part is already done.
21. What if I’m using frozen smoothie mixes or strawberry smoothie mix packets?
Frozen smoothie mixes can be convenient, although flavor varies. To make them taste fresher, add extra frozen strawberries and keep sweeteners minimal. If you’re working with a strawberry smoothie mix or strawberry smoothie powder, use it lightly and let real fruit lead. In general, blending the mix with milk or almond milk and adding a banana improves both texture and taste.
22. What can I make if I want a smoothie recipe without strawberries?
A smoothie recipe without strawberries can follow the same structure—frozen fruit + liquid + a creamy element. Mango, pineapple, blueberries, and mixed berries all work well. Consequently, you can still keep a thick, creamy texture by relying on frozen fruit instead of ice. If you like tropical flavors, mango and pineapple blends are naturally smooth; if you prefer a deeper berry taste, blueberries make a rich base.


