
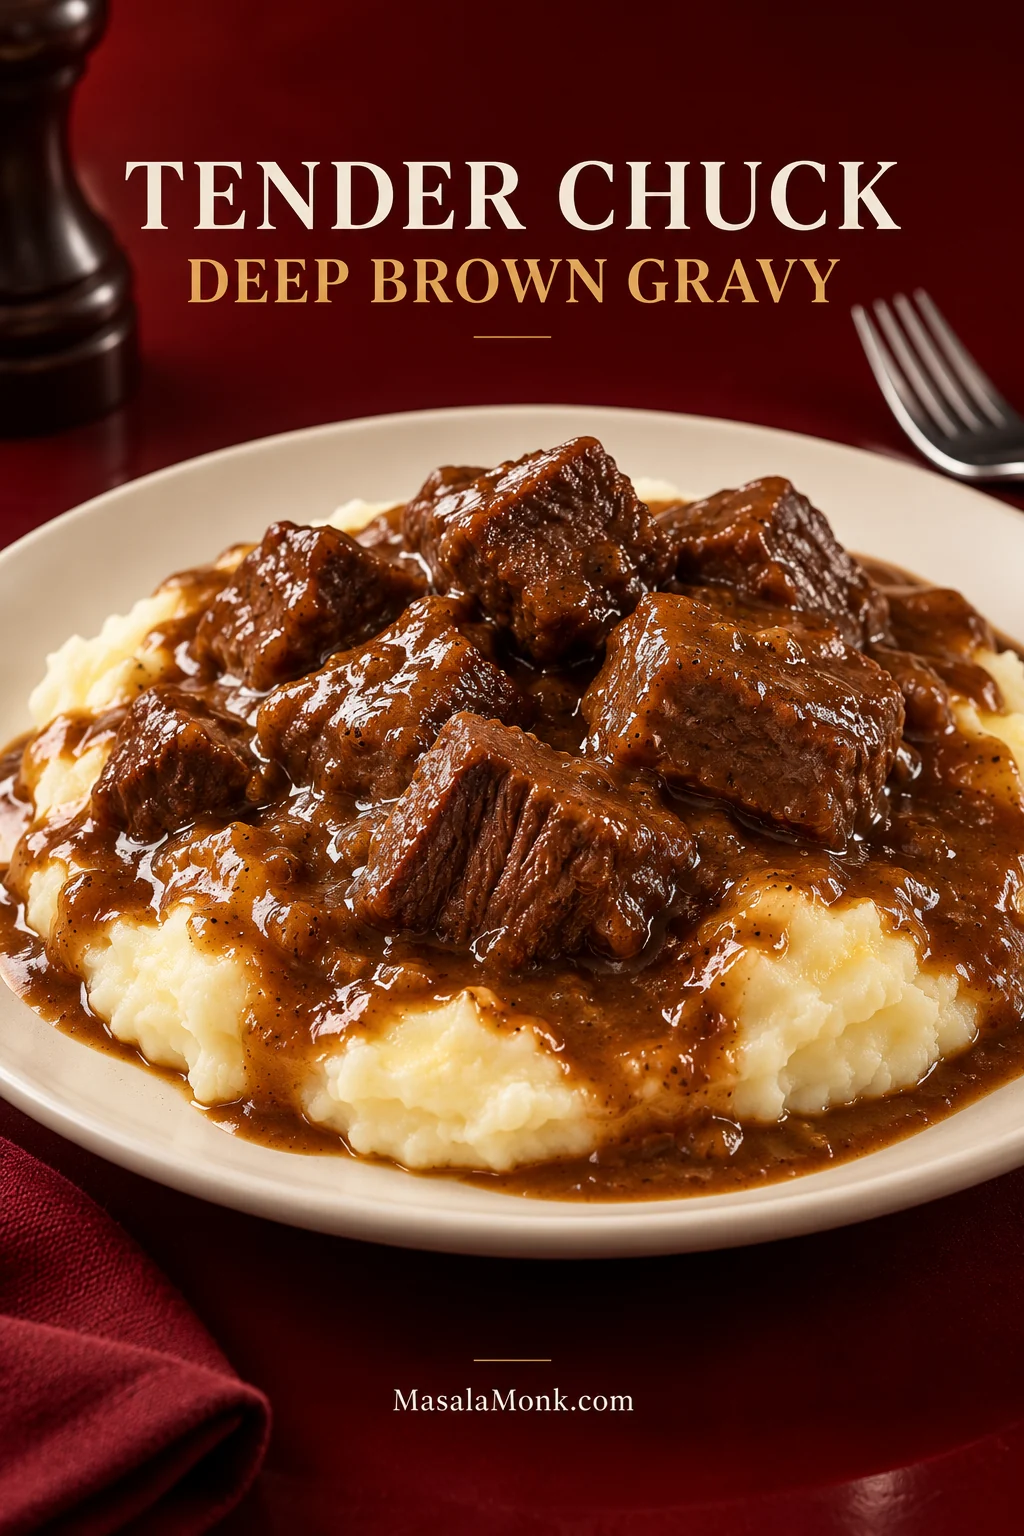
This stovetop beef tips and gravy recipe turns boneless chuck into tender, distinct pieces with plenty of deep brown gravy for mashed potatoes, rice or egg noodles. The sauce comes from the same pot: browned beef, onion, garlic, broth and a butter-flour paste, with no canned soup or gravy packet needed.
The parts worth watching are simple but important. Give the beef room to brown, keep the braise gentle and stop once the chuck is tender rather than cooking by the clock. By then, evaporation and gelatin will already have given the liquid some body, so you can thicken the gravy only as much as it actually needs.
How to cook beef tips: Brown the chuck in uncrowded batches, then braise gently until fork-tender—usually about 1¾ to 2¼ hours. Remove the beef while you finish the gravy, then return it just long enough to warm through.
Beef Tips and Gravy Recipe
Boneless chuck is browned in a Dutch oven, braised until fork-tender, then returned to a deep brown gravy.
Active cooking: about 40–45 minutes. Most of the remaining time is the covered braise.
Equipment
- 5- to 6-quart heavy Dutch oven or other heavy lidded pot
- Tongs
- Whisk
Ingredients
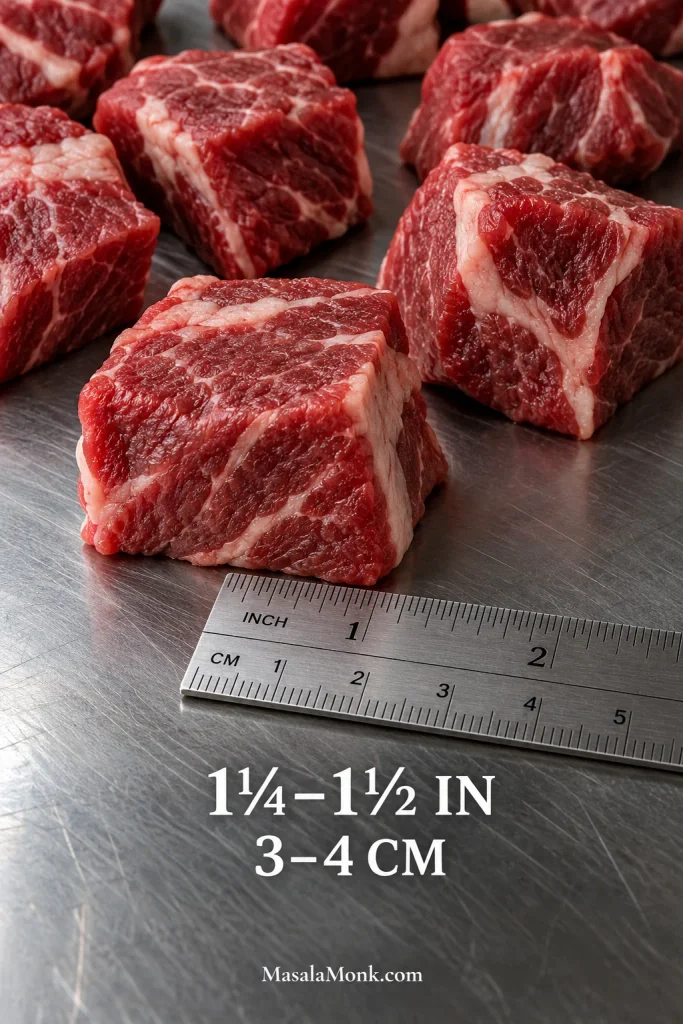
- 2 lb (900 g) boneless chuck roast, trimmed of large hard pieces of exterior fat and cut into 1¼- to 1½-inch (3- to 4-cm) pieces
- 1¼ teaspoons (about 7 g) fine sea salt, plus more to taste
- 1 teaspoon freshly ground black pepper, plus more to taste
- 2 tablespoons (30 ml) neutral high-heat oil, divided as needed
- 1 large yellow onion (about 7 oz / 200 g), diced
- 1 tablespoon (16 g) tomato paste
- 4 garlic cloves (about 12 g), finely chopped or minced
- 1 teaspoon dried thyme
- Up to 3 cups (710 ml) low-sodium beef broth, divided
- 1 tablespoon (15 ml) Worcestershire sauce
- 1 bay leaf
- 2 tablespoons (28 g) unsalted butter, softened
- 3 tablespoons (about 24 g) all-purpose flour
- Up to 1 teaspoon (5 ml) apple cider vinegar or fresh lemon juice, optional, added ¼ teaspoon at a time if needed
Instructions
Prep and brown the beef
- Prepare the beef. Cut the chuck into 1¼- to 1½-inch (3- to 4-cm) pieces. Pat thoroughly dry, then season with the salt and black pepper.
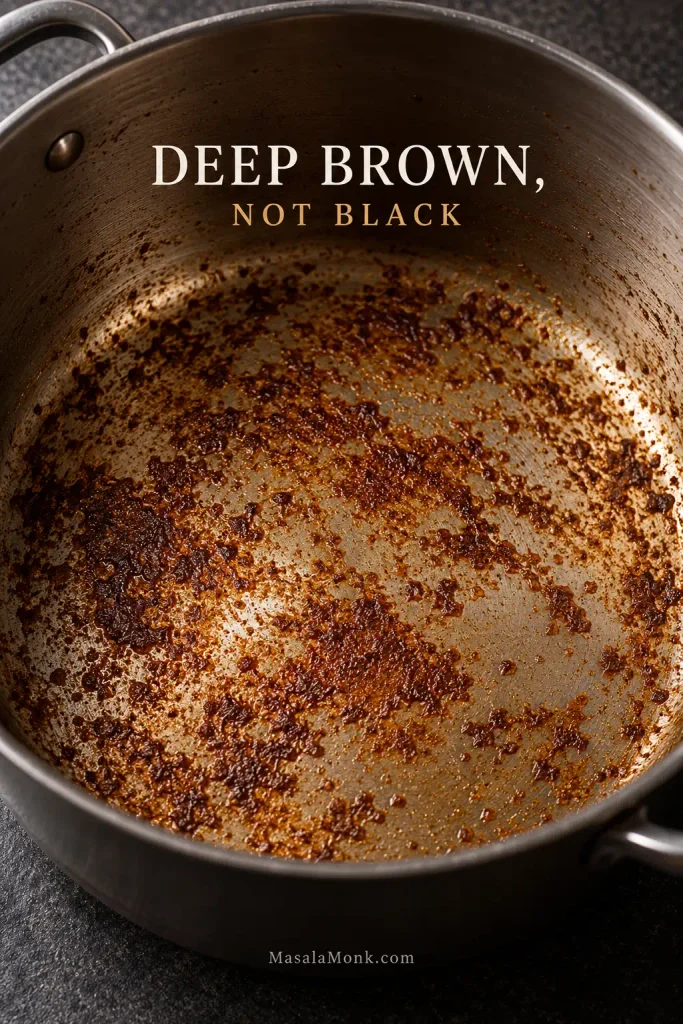
- Brown in batches. Heat 1 tablespoon oil over medium-high heat. Add one uncrowded layer of beef and leave it alone until the underside is dark chestnut-brown in spots. Turn and brown another side or two, then transfer to a bowl. Repeat with the remaining beef, adding oil if the pot looks dry. The browned bits on the bottom—called fond—should stay deep brown. If they start turning black, deglaze with a splash of the measured broth and save that liquid with the beef.
- Build the base. Reduce the heat to medium. Add the onion and cook for 5 to 7 minutes, stirring often, until softened and beginning to color. Stir in the tomato paste and cook for 1 minute. Add the garlic and thyme and cook for another 30 seconds.
Start and finish the braise
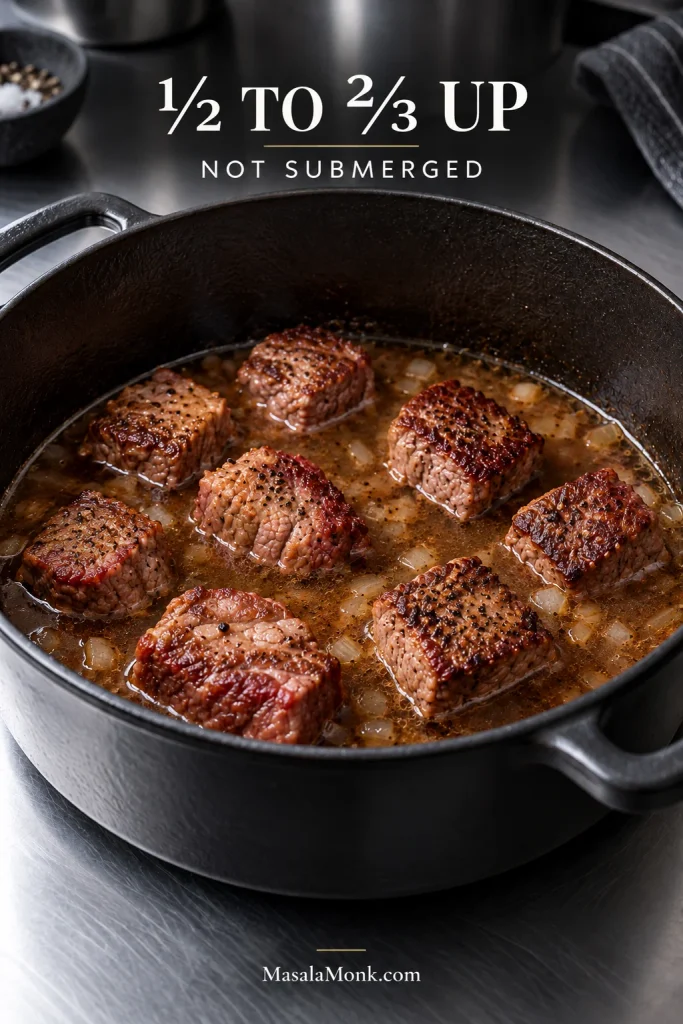
- Deglaze and start the braise. Pour in ½ cup (120 ml) broth and scrape the bottom thoroughly. Return the beef and its juices to the pot. Add the Worcestershire sauce, bay leaf and enough of the remaining broth for the liquid to come halfway to two-thirds up the beef. Keep any leftover broth nearby. Bring just to a gentle simmer.
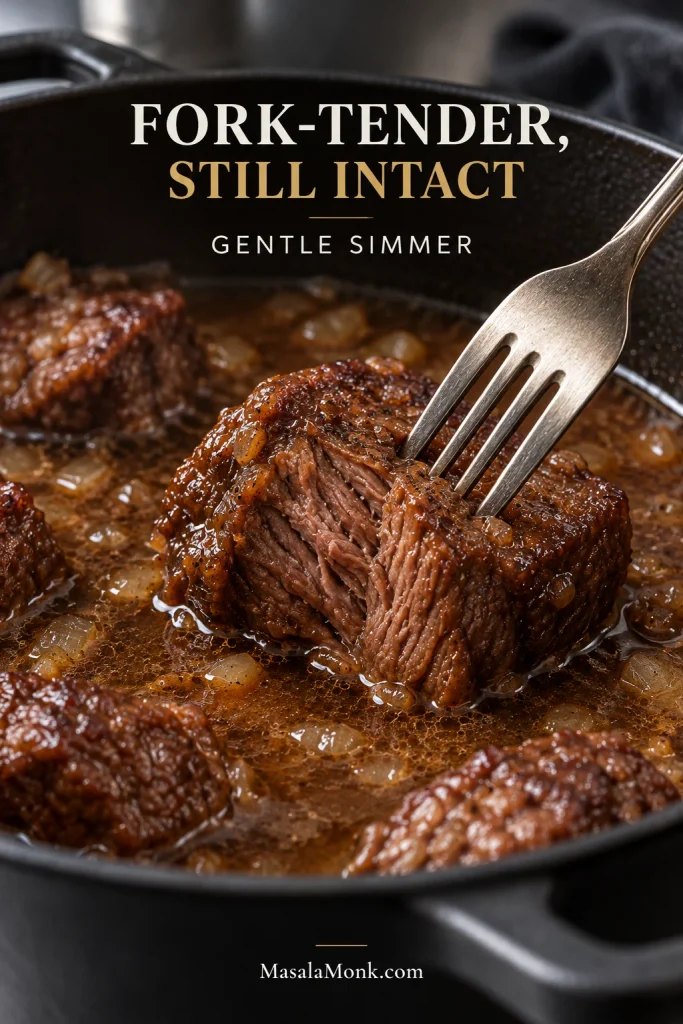
- Braise gently. Cover and lower the heat to maintain a very gentle simmer. When you lift the lid to check, you should see only occasional small bubbles, not a hard boil. Start checking at 1½ hours; most batches take 1¾ to 2¼ hours. If the beef feels firm, continue in 15- to 20-minute intervals. Add some of the reserved broth whenever the liquid drops well below halfway up the beef. Stop when a fork slides in easily and the pieces remain whole.
- Reduce the liquid. Transfer the beef to a clean bowl and discard the bay leaf. Skim off an obvious layer of surface fat. If the liquid looks thin, simmer uncovered for 5 to 10 minutes. Taste after reducing before adding more salt.
Finish the gravy and serve
- Make the gravy. Mash the softened butter and flour together until smooth. Whisk small pieces of the paste into the simmering liquid, letting each addition disappear before adding another. Stop when the gravy coats a spoon and flows easily; you may not need all of the paste. Simmer for another 4 to 5 minutes so the flour cooks through.
- Return the beef. Add the beef and its juices back to the pot and warm gently for 2 to 3 minutes. Taste before adjusting anything. If the gravy needs salt or more savory depth, add a little salt or a small splash of Worcestershire. When the salt level is right but the flavor seems flat or heavy, try black pepper or ¼ teaspoon cider vinegar or lemon juice. Taste again before adding more.
- Rest and serve. Take the pot off the heat and leave it for 5 to 10 minutes. The gravy will tighten slightly as it settles. Spoon generously over mashed potatoes, rice or egg noodles.
Recipe Note
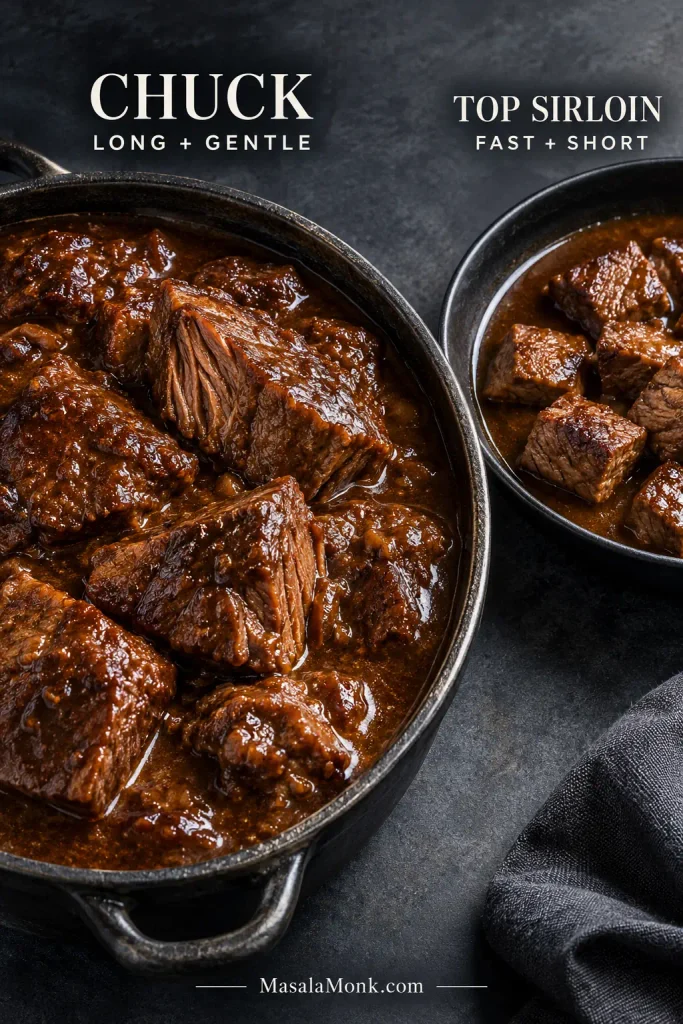
Timing here is for chuck. Stew meat can soften unevenly, while top sirloin needs the shorter method below.
This is a research-developed recipe based on established beef-braising techniques and published cooking guidance. MasalaMonk has not independently kitchen-tested it.
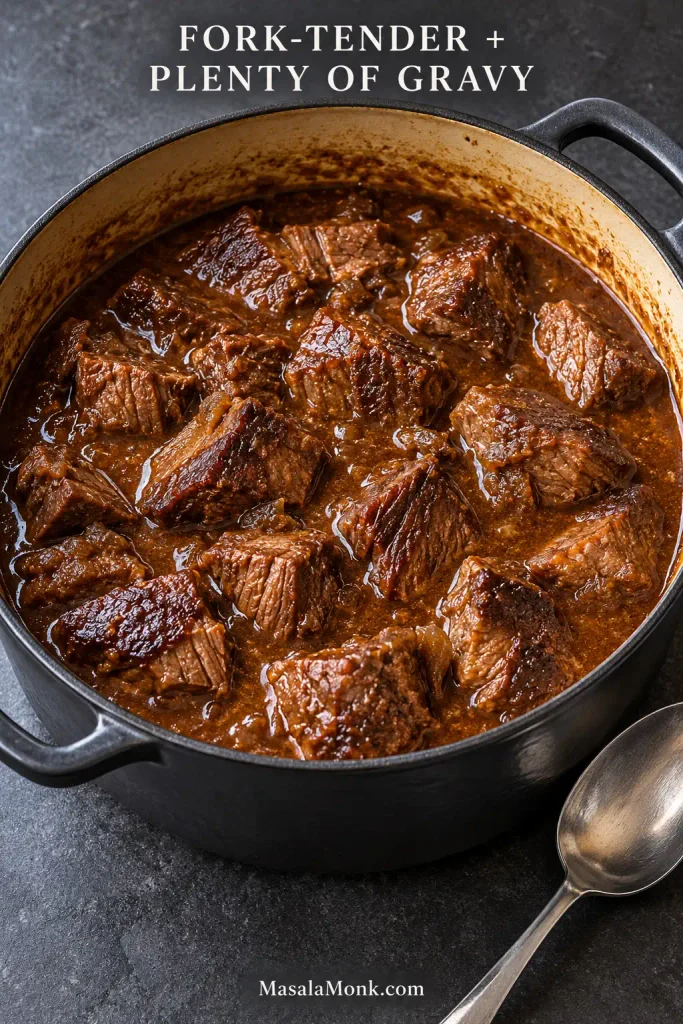
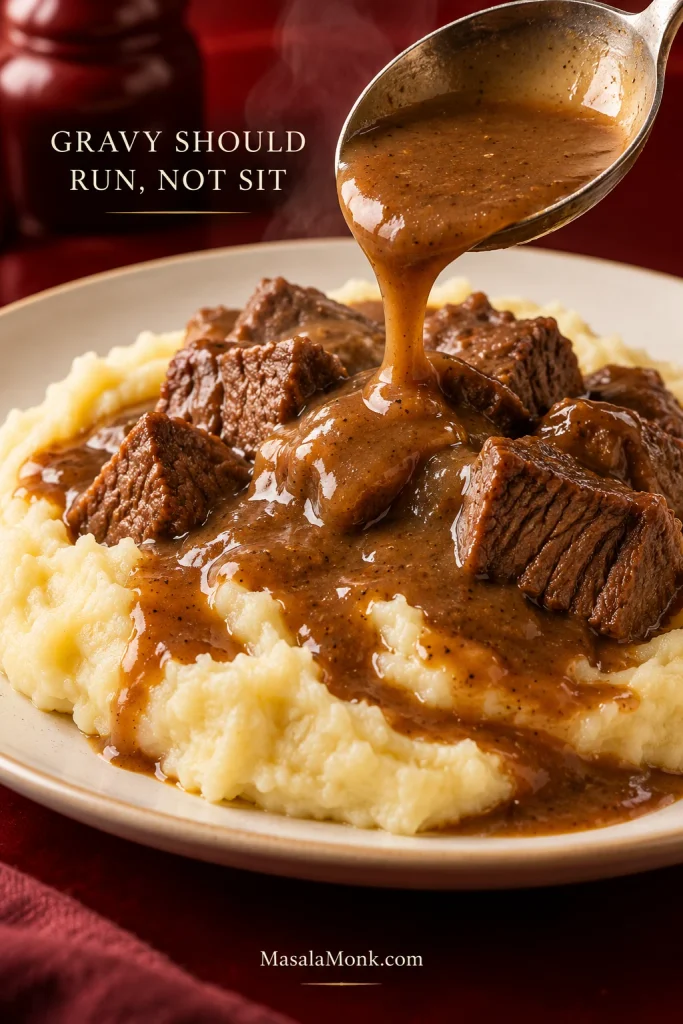
What should the finished pot look like? The beef should still be distinct, with enough flowing gravy around the pieces to spoon generously over whatever you serve underneath.
Beef, Browning and Gravy Guide
What Are Beef Tips? Chuck, Stew Meat or Top Sirloin?
“Beef tips” describes the pieces and dish more than one universally defined retail cut. Depending on the butcher, store or recipe, the beef may come from chuck, top sirloin or mixed stew meat.
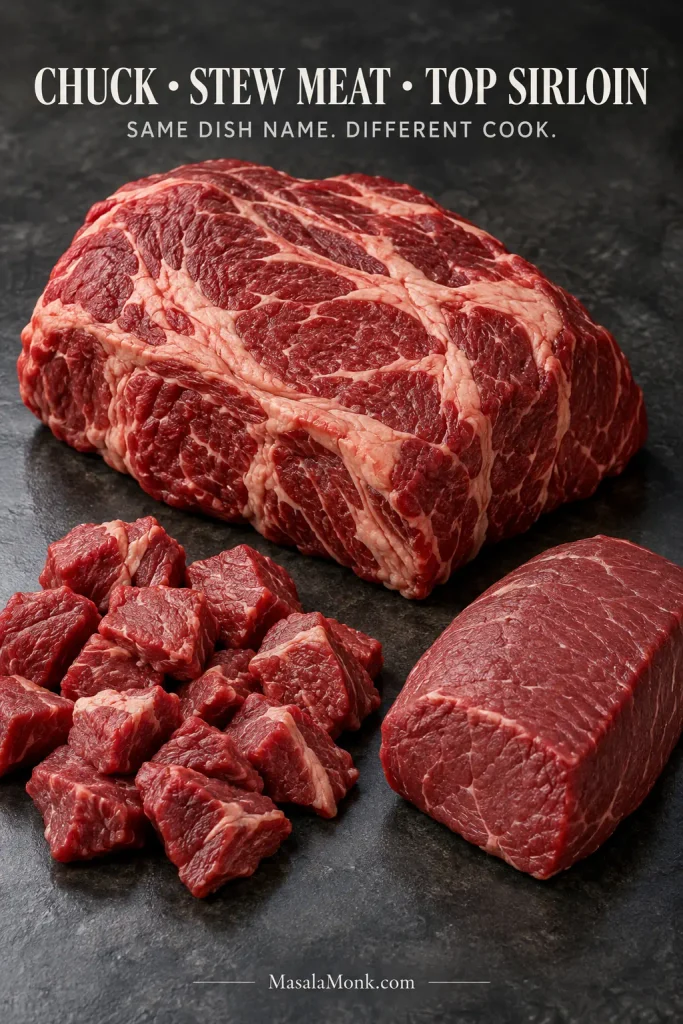
For this recipe, boneless chuck roast is the most reliable choice. It has enough marbling and connective tissue for a long braise, and buying a whole roast lets you cut the pieces yourself. Aim for roughly 1¼- to 1½-inch (3- to 4-cm) pieces so they stay substantial as they cook.
If stew meat is what you already have, use it. Just expect some pieces to soften sooner than others because one package can contain more than one cut.
If you bought top sirloin, don’t give it the two-hour chuck treatment. Top sirloin starts tender. Sear it quickly, let the gravy develop, then put the beef back in only long enough to finish cooking. For exact quantities and timing, go straight to the faster top sirloin method.
Brown the Beef Without Steaming It—or Burning the Fond
Don’t crowd the pot. Dry beef with a little room around each piece browns much more readily than beef packed into a wet pan.
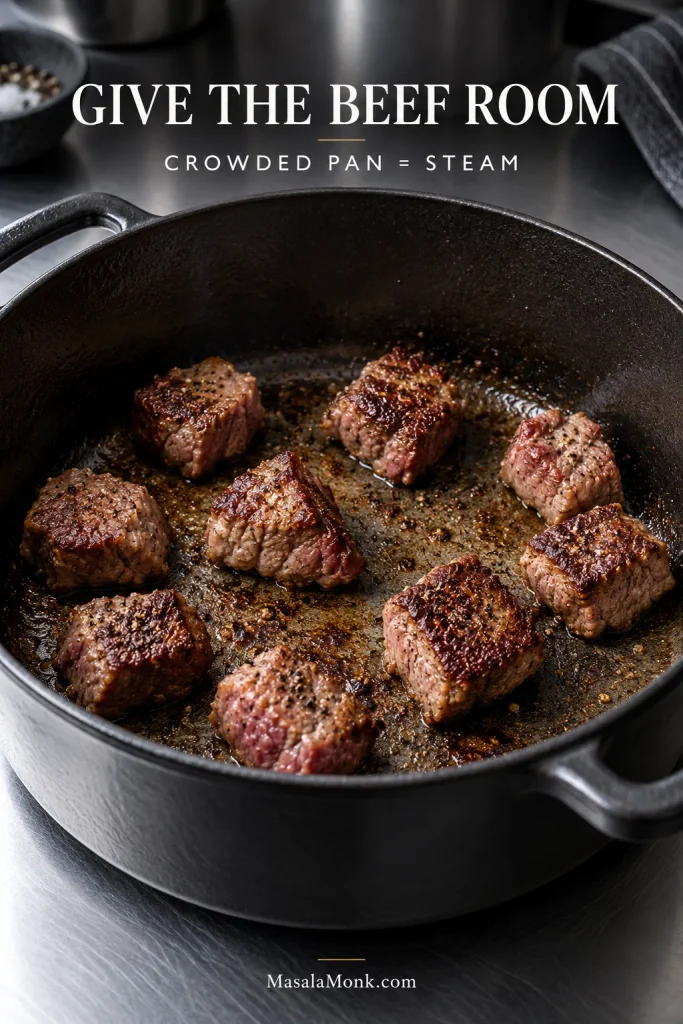
Look for a dark chestnut-brown crust in spots. Simply changing from red to gray-brown is not enough. Two or three well-browned sides are plenty.
Deep brown fond builds the gravy; black fond tastes burnt. If the bottom starts heading toward black, deglaze with a splash of broth before continuing.
Read the Braise, Not Just the Clock
With the broth in, patience matters more than extra heat. Keep the liquid roughly halfway to two-thirds up the beef, then hold the braise at a gentle simmer rather than racing along at a boil.
Tough at this stage doesn’t mean you’ve ruined it. Chuck can feel stubborn before its connective tissue has softened, so firm resistance usually means it needs more time at the same gentle simmer. If you are unsure what the pot needs next, use the troubleshooting table.
When the beef yields easily and the pieces hold together, you’re there. Small pieces of chuck can turn stringy or dry if they cook long after softening. Once it’s tender, stop.
Finish the Gravy
Don’t decide the final thickness while the chuck is braising. By the time the beef is tender, evaporation and gelatin from the meat may already have given the cooking liquid much more body.
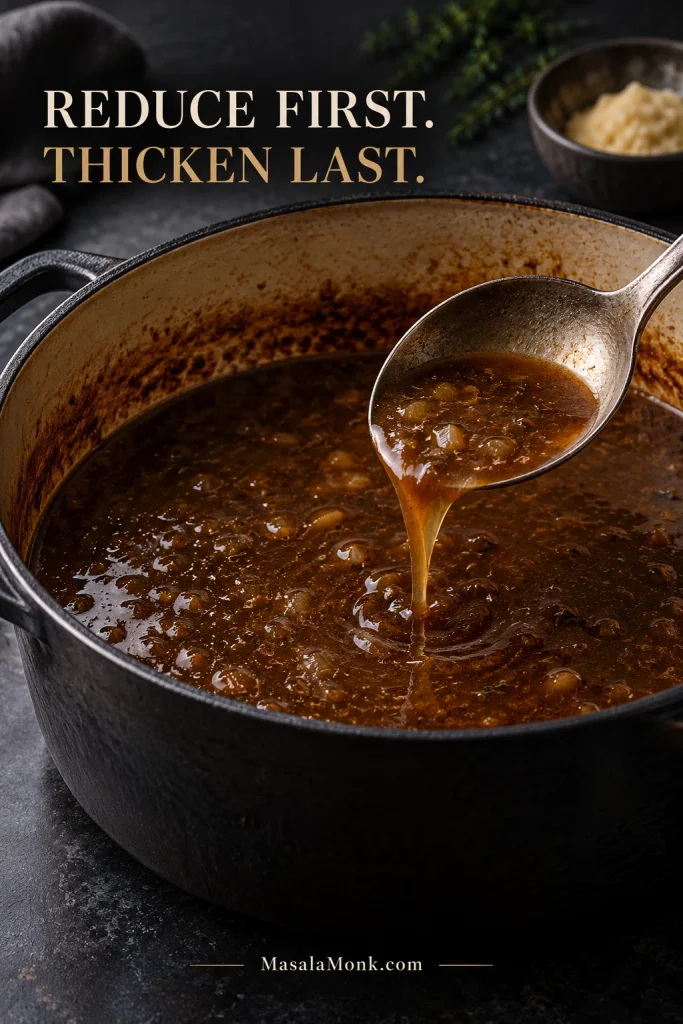
Remove the beef first, skim any obvious surface fat and reduce the liquid only if it looks loose. Add the butter-flour paste gradually until the gravy has the body you want. There is no prize for using every bit of thickener.
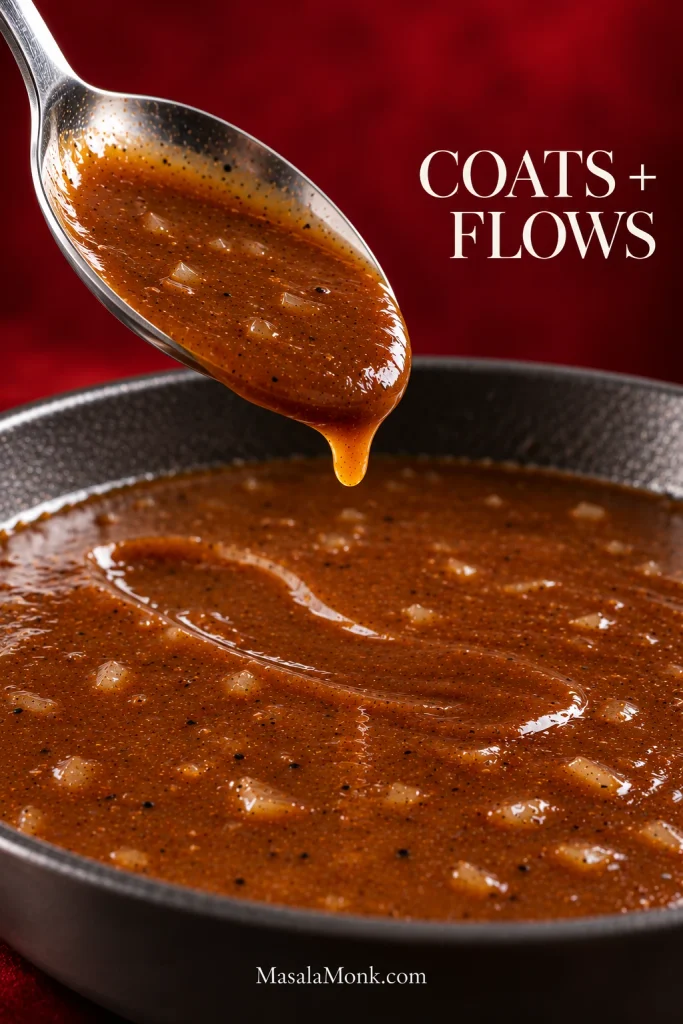
The gravy should taste beefy, not floury. It should coat the meat but run from the spoon. If you can taste raw flour, simmer it another minute or two. For a texture that still seems off, jump to the gravy fixes.
If you like gravy built from browned pan flavor, try our smothered pork chops with onion gravy next.
Fix the Pot: Tough Beef, Thin Gravy & Other Problems
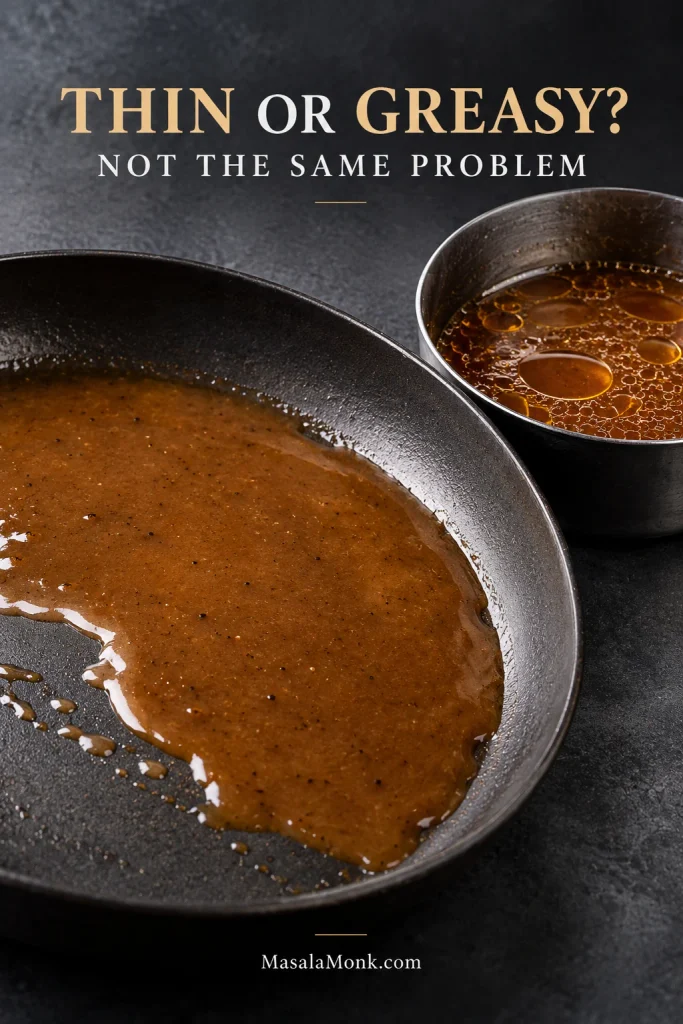
Most problems here are recoverable. Tough chuck usually needs more time; thin or greasy gravy is easier to correct once the beef is out of the pot.
Quick fixes by symptom
| Problem | What to do |
|---|---|
| Beef will not brown | Pat it dry and leave more room between pieces. If liquid pools in the pot, use smaller batches. |
| Fond is getting too dark | Deglaze before it burns. Save that browned liquid with the beef and continue on a cleaner surface. |
| Chuck is still tough | Keep the simmer gentle and check again in 15 to 20 minutes. Chuck often just needs more time. |
| Beef is dry or stringy | You can’t make overcooked beef juicy again, but plenty of gravy will make it better to eat. Next time, stop while the pieces are tender and still hold their shape. |
| Gravy is watery | Remove the beef first, then simmer the gravy uncovered. Add more thickener only after excess liquid has had time to reduce. |
| Gravy is too thick | Whisk in low-sodium broth 1 to 2 tablespoons (15 to 30 ml) at a time until it loosens. |
| Gravy looks greasy | Skim excess fat from the surface. More flour will make the gravy thicker without removing the extra fat. |
| Gravy tastes flat | Taste for salt first. If it is underseasoned, add a little salt or Worcestershire. When the salt level is right, try black pepper or ¼ teaspoon cider vinegar or lemon juice instead. |
| Gravy is too salty | Dilute gradually with unsalted broth or water. If that makes the gravy too loose, simmer only briefly; a long reduction will concentrate the salt again. |
Mushrooms, Red Wine and a Faster Top Sirloin Version
Mushrooms
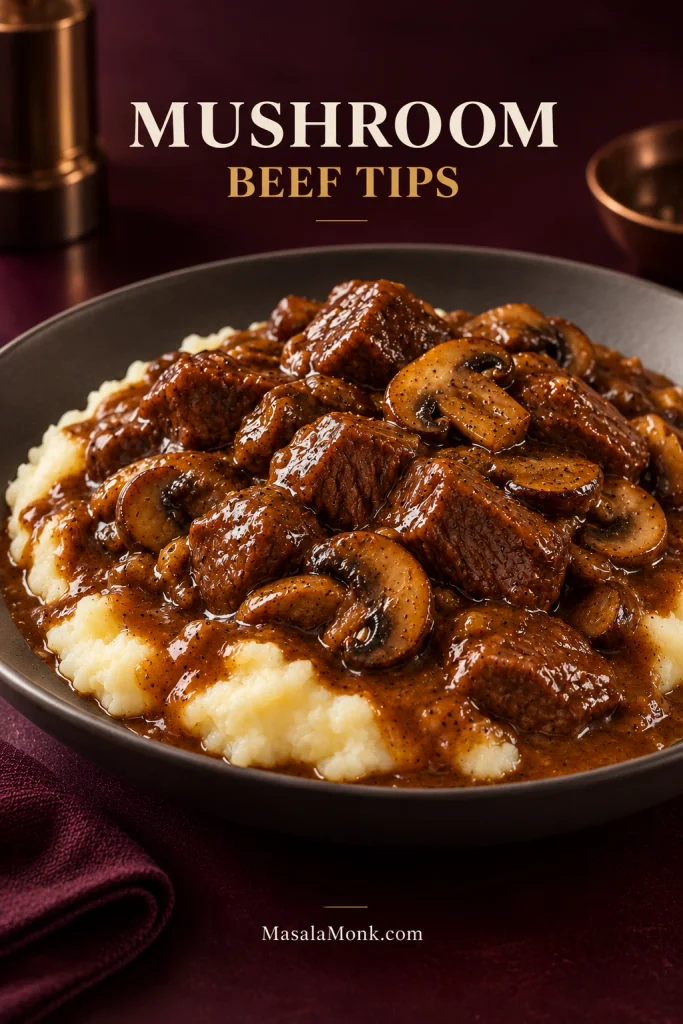
Use 8 oz (225 g) sliced cremini or white mushrooms. Brown them after the beef until their released moisture has mostly evaporated and the slices begin to take on color.
Set them aside while the chuck braises, then add them back with the beef at the end so they keep some of their browned flavor and texture.
Red wine
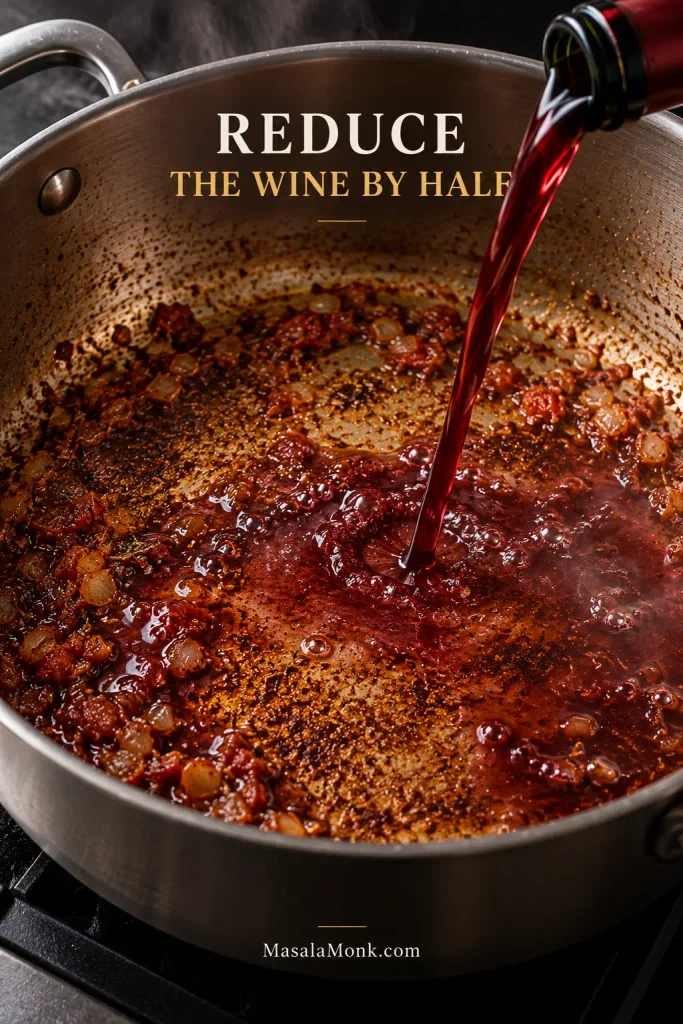
Add ½ cup (120 ml) dry red wine after the tomato paste, garlic and thyme. Scrape up the fond and let the wine reduce by half, then add only enough beef broth for the braising liquid to come halfway to two-thirds up the beef.
Top sirloin instead of chuck
Top sirloin makes this a much quicker, slightly smaller batch. Use 1½ lb (680 g), cut into 1-inch (2.5-cm) pieces, and season with 1 teaspoon fine sea salt and ¾ teaspoon black pepper. Sear in batches for 30 to 60 seconds on each broad side, then remove before the centers are fully cooked.
Cook the onion, tomato paste, garlic and thyme as above. Add 2 cups (475 ml) low-sodium broth with the Worcestershire and simmer for about 10 minutes. Mash together 1 tablespoon (14 g) softened butter and 1½ tablespoons (about 12 g) flour, then whisk it in gradually. Return the top sirloin and its juices and start checking after 2 to 3 minutes. Once the thickest pieces reach at least 145°F (63°C), take the pot off the heat and let the dish stand for 3 minutes before serving.
For another quick-cooking top sirloin dinner, our Beef Stroganoff recipe keeps the beef’s time in the sauce short.
Prefer the Crock-Pot? Our Slow Cooker Beef Tips and Gravy Recipe uses liquid levels and timing designed for the slow cooker.
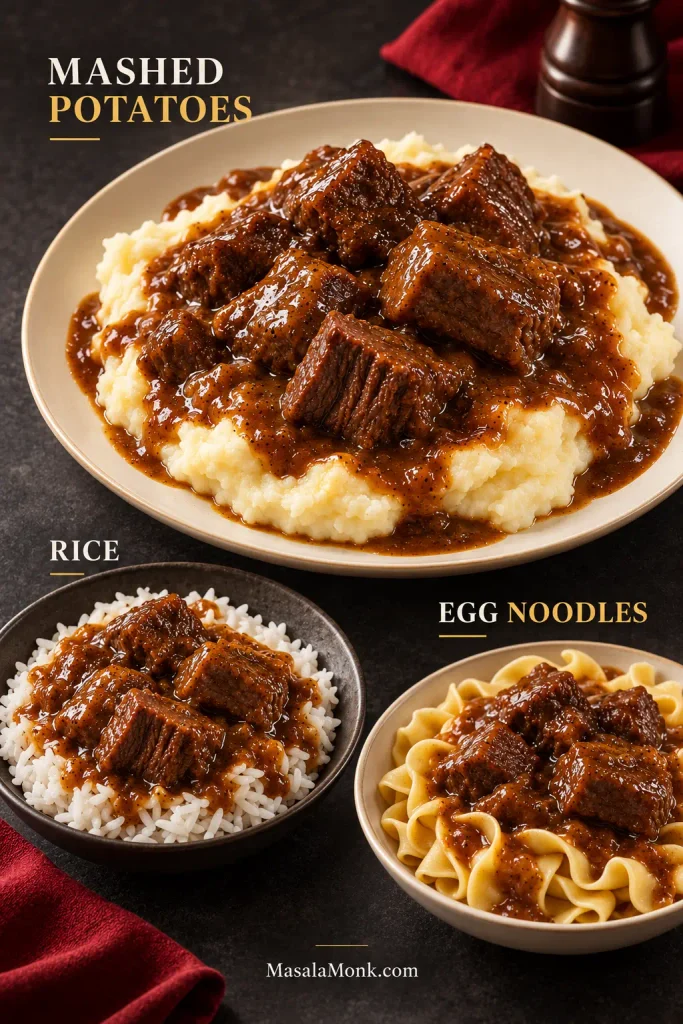
Mashed Potatoes, Rice or Egg Noodles?
Creamy mashed potatoes are especially good here because the gravy can run into the ridges instead of sitting on top like paste. This is the kind of dinner where making enough gravy really matters.
For rice, keep the gravy on the looser side so it can run through the grains. If you’re making it alongside dinner, our guide to how to cook perfect rice covers the stovetop method and common rice varieties.
Egg noodles work best with gravy that is a touch more clingy.
Choosing among all three? Keep the beef the same and make only small adjustments to the final gravy so it suits what is underneath.
Green beans almondine bring toasted almonds and a little lemon, which is especially welcome beside the rich beef and gravy.
Make Ahead, Store and Reheat
The finished beef tips and gravy can be made 1 to 2 days ahead and reheated together gently. To prep ingredients ahead, cut the chuck and chop the onion the day before, then refrigerate them separately.
Cool leftovers promptly and refrigerate them in covered containers. USDA recommends using refrigerated leftovers within 3 to 4 days and reheating leftovers to 165°F (74°C). Count that window from the day the beef was originally cooked, including when the dish was made ahead.
After chilling, the gravy may look very thick or almost set. That is normal. Gelatin from the chuck and the flour both firm as they cool.
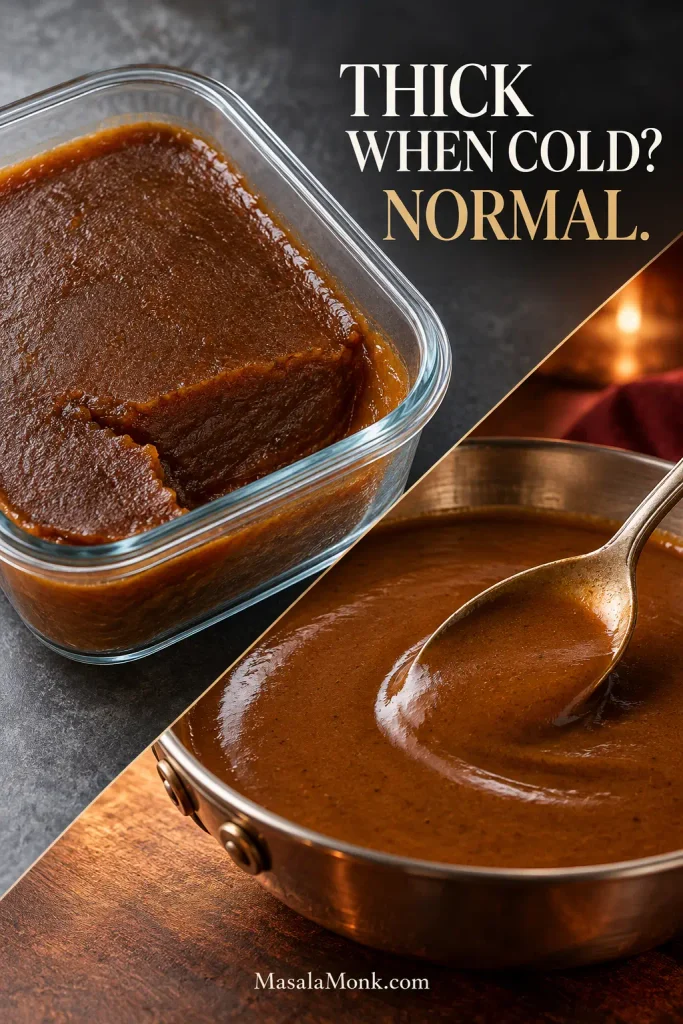
Reheat gently on the stovetop, stirring often, until the gravy has warmed enough to loosen. If it still seems too thick, add low-sodium broth or water 1 tablespoon at a time. Continue until the beef reaches 165°F (74°C) throughout and the gravy comes briefly to a boil, then take the pot off the heat so the already-tender beef does not keep cooking.
Freeze the cooled beef and gravy in an airtight freezer-safe container for 2 to 3 months for best quality. Thaw in the refrigerator, reheat slowly and add a little broth if the gravy needs loosening.








