
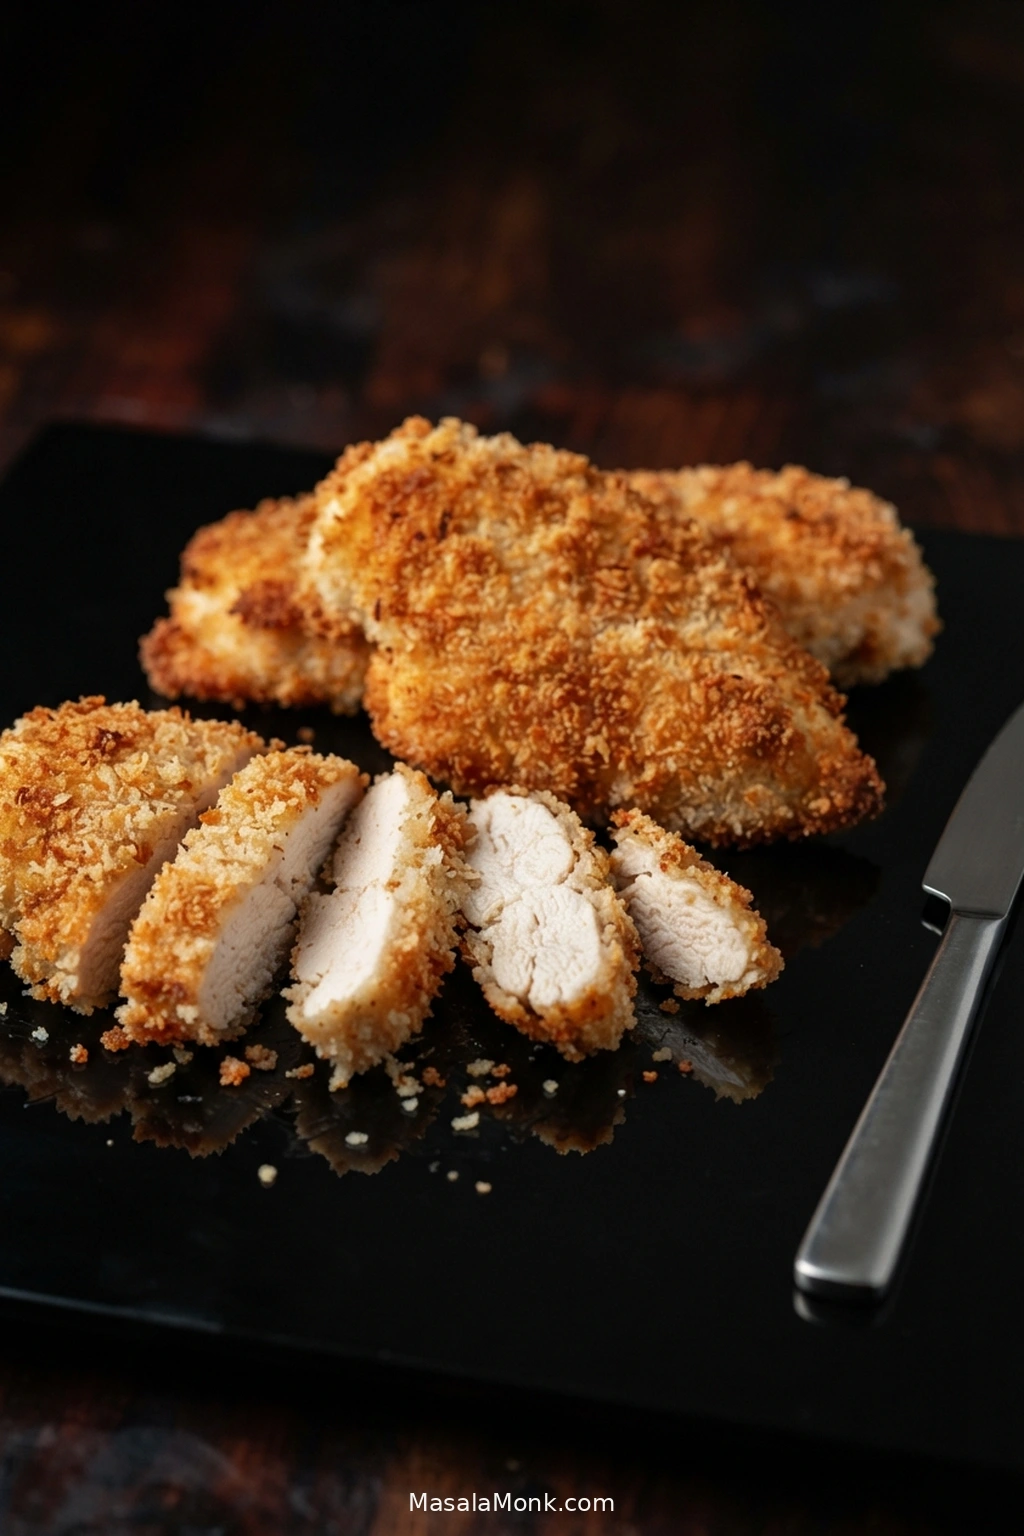
This air fryer fried chicken breast recipe gives you crisp, golden breading around juicy chicken without a pan of frying oil. The crust needs enough time to brown and crunch before lean chicken breast has a chance to dry out.
Splitting the breasts into thinner cutlets makes that much easier. A thin mayonnaise-Dijon layer holds the breading in place without the usual flour-and-egg dredging station. Fine breadcrumbs fill the gaps, while panko leaves rougher edges for extra crunch. The coating is light enough that mayonnaise should not dominate; Dijon mainly leaves a little tang behind.
For 1/2-inch / 12–13 mm cutlets, allow 10–12 minutes per batch at 390°F / 200°C. Begin checking the thickest part around 9 minutes and remove each piece when it reaches 165°F / 74°C. Use the clock to know when to start checking and the thermometer to decide when the chicken comes out.
This is the breaded, fried-style version. For chicken breast without breading, use the air fryer chicken breast recipe instead.
Air Fryer Fried Chicken Breast Recipe
Thin chicken breast cutlets with a seasoned breadcrumb-panko crust, air fried until crisp outside and juicy in the center.
Equipment
- Air fryer
- Sharp chef’s knife
- Small bowl
- Shallow bowl or plate for breading
- Tongs
- Instant-read thermometer
- Meat mallet or rolling pin, optional
- Wire rack, optional
Ingredients
- 2 large boneless, skinless chicken breasts, about 18–20 oz / 510–565 g total
- 3/4 teaspoon fine sea salt, about 4 g, divided
- 1/2 teaspoon black pepper, about 1 g, divided
- 2 tablespoons mayonnaise, about 30 g
- 1 tablespoon Dijon mustard, about 15 g
- 1/2 cup plain fine dry breadcrumbs, about 50 g
- 1/2 cup plain panko breadcrumbs, about 30 g
- 1 teaspoon paprika, about 2 g
- 1 teaspoon garlic powder, about 3 g
- 1/2 teaspoon onion powder, about 1 g
- 1/4 teaspoon cayenne pepper, optional
- 2 teaspoons olive or avocado oil, 10 mL
- Cooking spray or additional oil for misting, as needed
Instructions
Prepare and Bread the Chicken
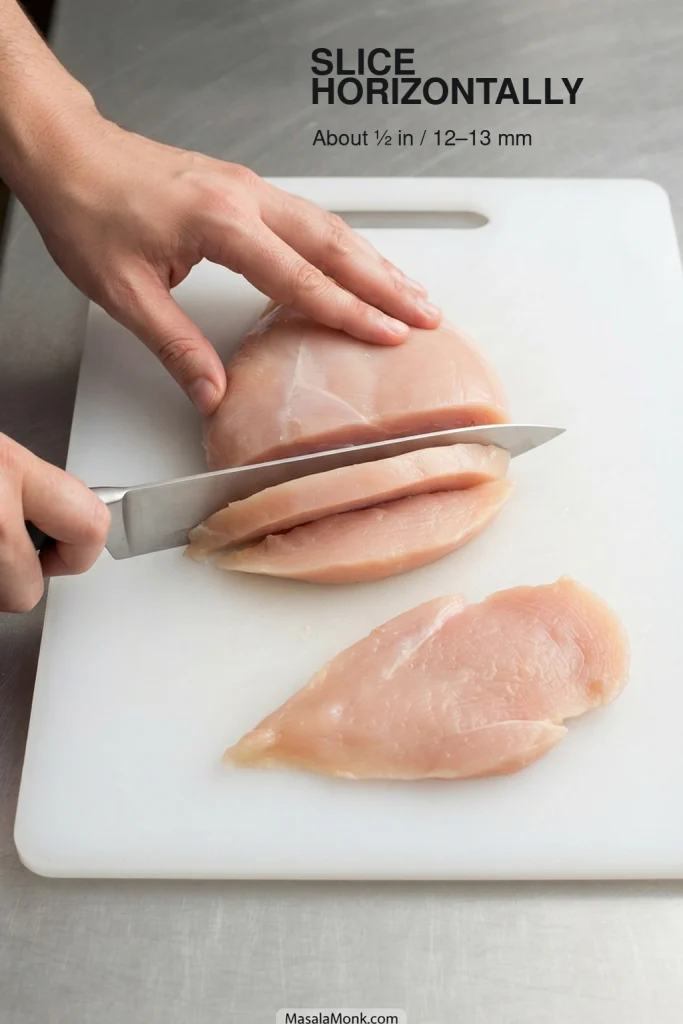
- Slice the chicken. Cut each breast horizontally into 2 cutlets. Aim for pieces about 1/2 inch / 12–13 mm thick. They do not need to match perfectly. If one cutlet has a noticeably thicker center, gently pound just that area until the piece is closer to an even thickness.
- Dry and season. Pat every surface of the chicken thoroughly dry. Season both sides with 1/2 teaspoon salt and 1/4 teaspoon black pepper.
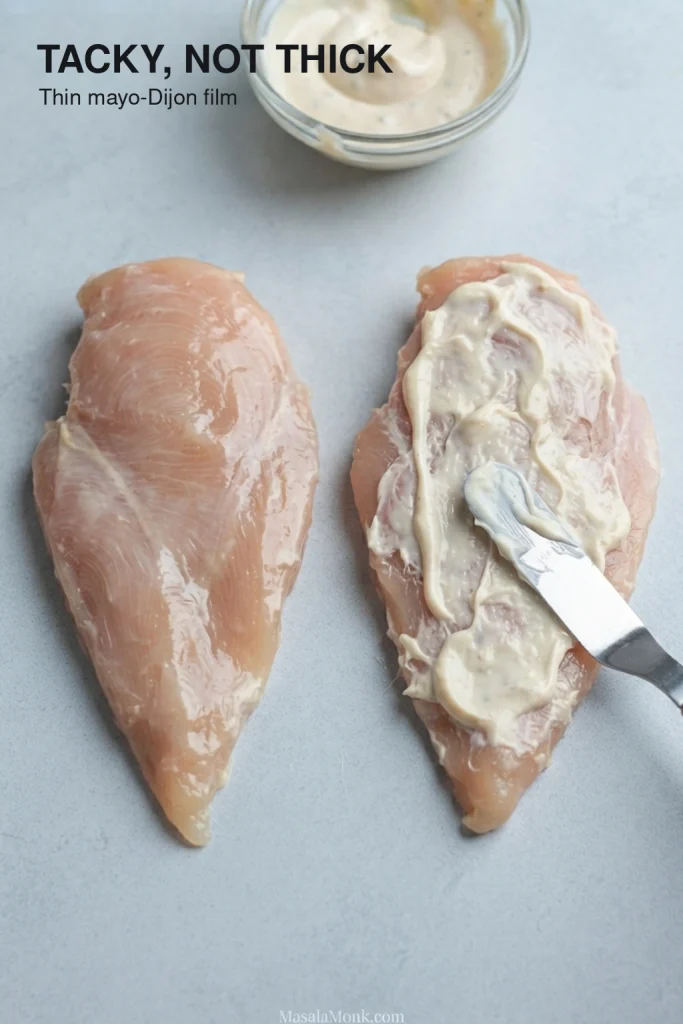
- Mix the binder. Stir together the mayonnaise and Dijon mustard. Spread a thin film over every side of the chicken. You need enough to make the surface tacky, not a thick wet coating.
- Make the breading. Combine the fine breadcrumbs, panko, paprika, garlic powder, onion powder, optional cayenne, remaining 1/4 teaspoon salt and remaining 1/4 teaspoon black pepper. Drizzle in the 2 teaspoons / 10 mL oil and toss until the crumbs are lightly coated but still loose.
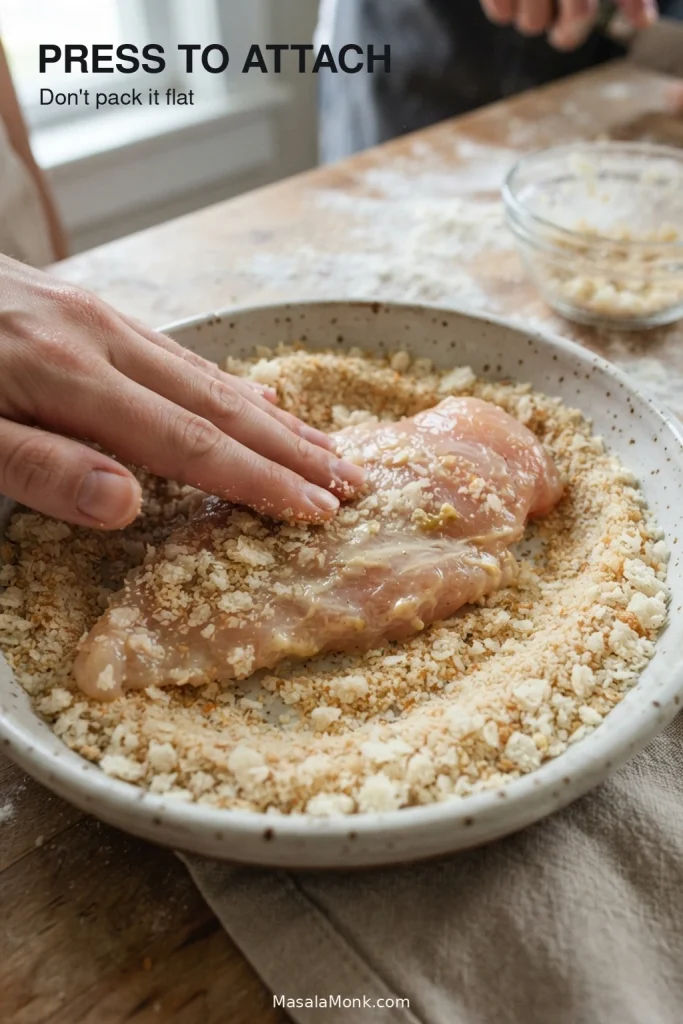
- Bread the cutlets. Press each piece into the crumbs just enough for the breading to cling to both sides and the edges. Leave the panko rough instead of packing it flat.
Air Fry the Chicken
- Let the breading settle and preheat. Rest the cutlets for 10 minutes. While they sit, preheat the air fryer to 390°F / 200°C for 3 minutes, or use the machine’s preheat cycle.
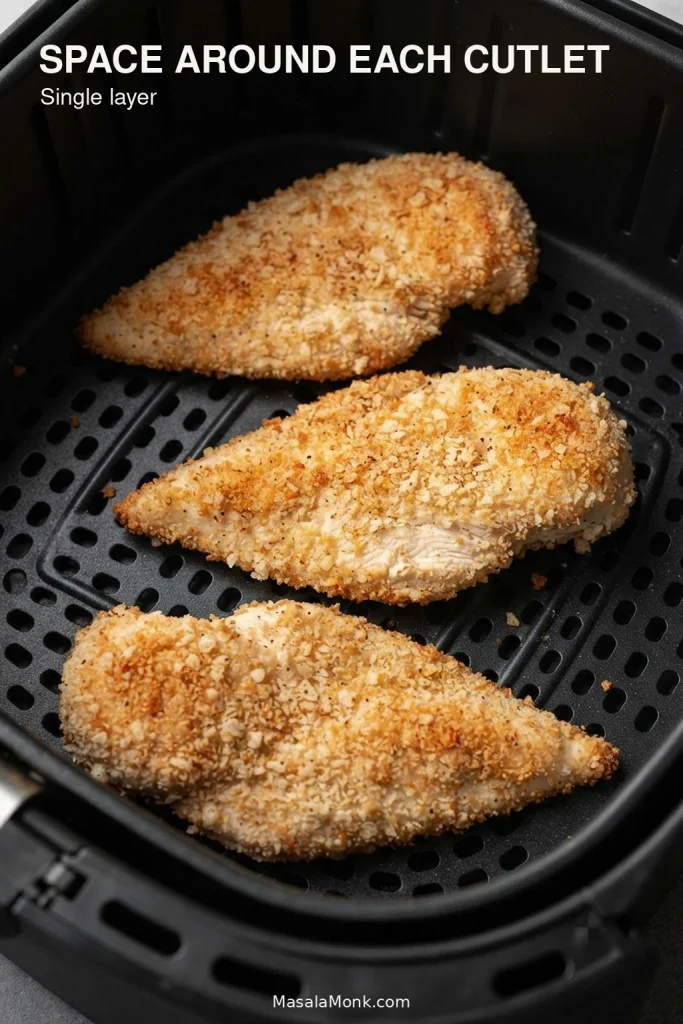
- Load the basket. Lightly oil the basket if your model tends to stick. Arrange the cutlets in one layer with space around them. If four pieces feel crowded, cook in two batches.
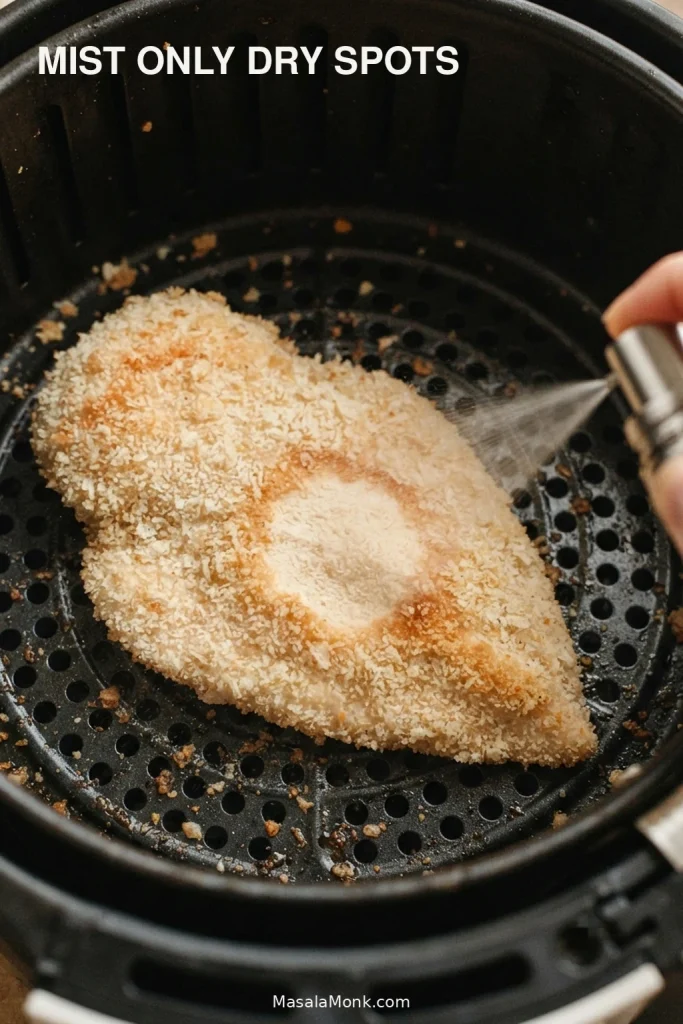
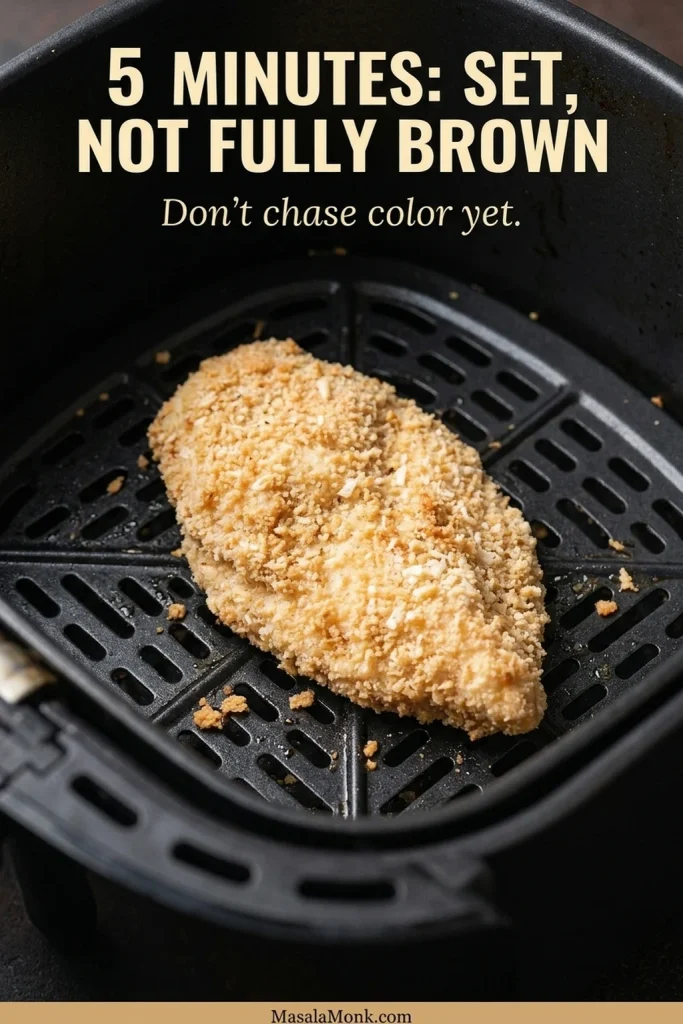
- Cook the first side. Mist any obviously dry breading very lightly with oil. Air fry for 5 minutes. A few pale crumbs are normal at this stage; what matters is that the surface looks set rather than wet or pasty.
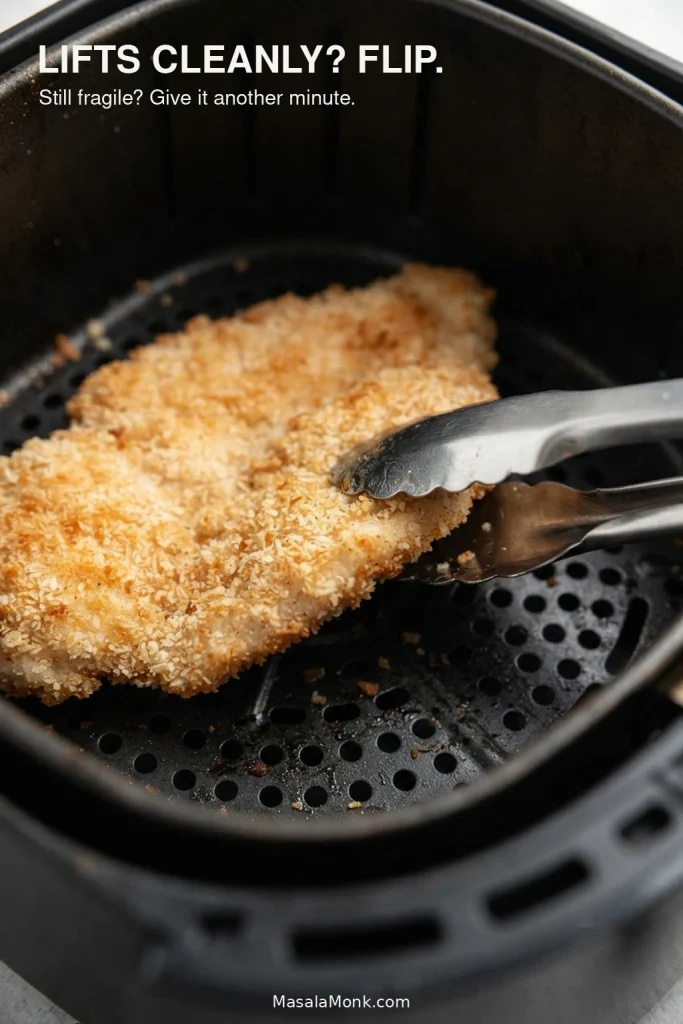
- Flip and finish. Slide the tongs under one edge. When the crust lifts cleanly, turn the chicken carefully. If it still feels fragile, give it another minute. Once flipped, mist any pale, dry-looking patches and continue cooking. Begin checking the center when the batch reaches about 9 minutes total.
- Remove each piece when it is ready. Most 1/2-inch cutlets finish in 10–12 minutes total. Remove each piece as soon as its thickest center reaches 165°F / 74°C. If the smaller cutlet gets there first, take it out and let the others catch up.
Rest Before Serving
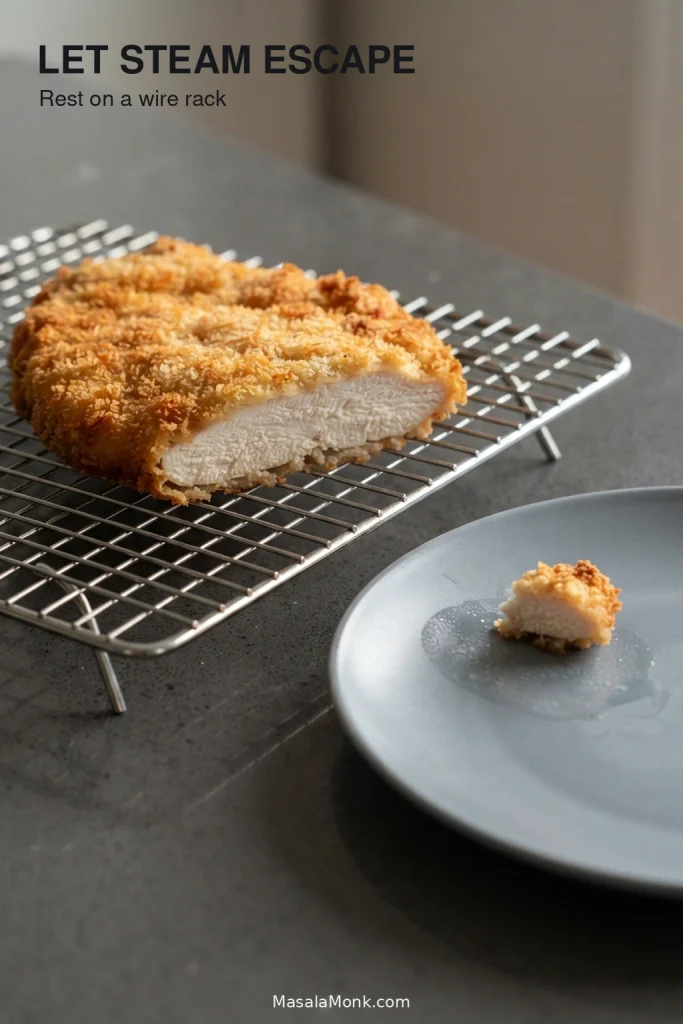
- Rest briefly. Move the cooked chicken to a clean wire rack for 3–5 minutes. No rack? Set the pieces separately on a clean plate and serve promptly. Avoid stacking or tightly covering the hot cutlets so trapped steam does not soften the crust.
Recipe Notes
- Cooking in batches? Start checking every batch around 9 minutes, but let the crust and thermometer tell you when each piece is ready.
- Keep raw and cooked chicken separate. Discard leftover binder or breading that has touched raw chicken, and move cooked cutlets to a clean plate or rack rather than the surface that held them raw.
- Using seasoned breadcrumbs? Taste them first and reduce the added salt if necessary.
How to Keep the Crust Crisp and the Chicken Juicy
Thin cutlets, a light, tacky coating and just enough oil do most of the work. From there, watch the crust and check the center.
Why We Split the Chicken Breast Into Cutlets
A thick supermarket chicken breast can still be underdone in the center when the crust is already as brown as you want it. Splitting it horizontally to about 1/2 inch gives the meat and breading a much better chance of finishing together. The pieces do not need to be identical; start checking the smaller one first.
Working with very large breasts? Slice them horizontally first. If the center of a cutlet is still noticeably thicker, gently pound just that area rather than flattening the whole piece.
Next, see how the binder, crumbs and oil build the crisp crust →
How to Build a Crisp Air-Fryer Crust
A deep fryer surrounds breading with hot fat. An air fryer does not, so the coating needs a little more help with adhesion and browning. The three things that matter most are a thin tacky binder, the right crumb texture and enough oil where the crust needs it.
Keep the Mayo-Dijon Layer Thin
Mayonnaise and Dijon leave a tacky film that helps the crumbs stay attached as the cutlet cooks. Spread only enough to coat the surface.
If the cutlet looks heavily frosted with mayonnaise, scrape some off. A thick wet layer can soften the crumbs before they have a chance to crisp.
No mayonnaise? Beat 1 large egg with about 1 teaspoon Dijon mustard. Let the excess drip away before pressing the chicken into the crumbs.
Fine Breadcrumbs Cover; Panko Brings the Crunch
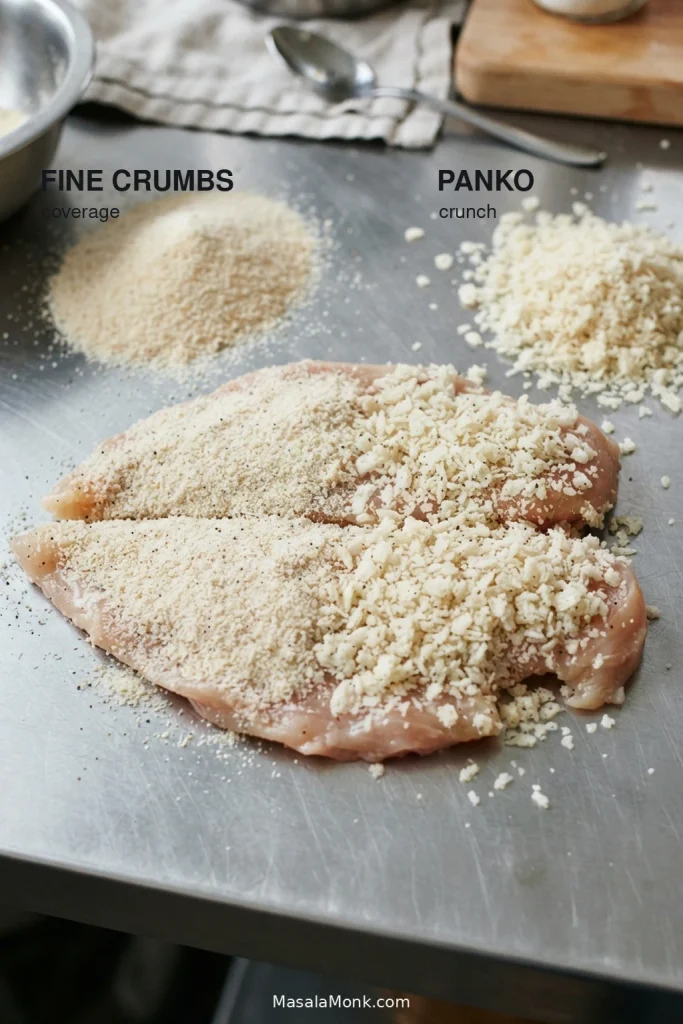
Fine breadcrumbs settle into the gaps for more even coverage, while panko leaves larger golden flakes that give the crust its bigger crunch. Season the crumbs as well as the chicken so the crust has flavor of its own.
Press to Attach, Not to Flatten
Once the chicken has an even layer, stop pressing. The crumbs should cling, but the panko should still look rough rather than flattened into a smooth shell.
Oil the Crumbs, Then Mist Only Dry Spots
A small amount of oil tossed through the crumbs helps them start browning from the beginning. After the flip, look before you spray. If most of the crust is already golden, mist only the pale, dry patches.
Next, see what the breading should look like as it cooks →
Read the Breading as It Cooks
You do not need every crumb to turn exactly the same shade of brown. Watch for the breading to move from tacky, to set, to dry and golden.
At Five Minutes, Look for a Set Surface
The first side does not need to be deeply browned yet. What matters at this point is that the coating has stopped looking wet or pasty and has formed a stable surface that can survive the flip.
| Stage | What you should see | What to do |
|---|---|---|
| Before cooking | An even layer that looks attached, with no wet sludge or thick piles of loose crumbs | Cover any bare spots, then leave the breaded chicken alone for 10 minutes |
| Ready to flip | The first side looks dry and set, and the developing crust lifts without smearing | Turn gently and mist only pale, dry-looking areas |
| Ready to check | The raised crumbs look dry and browned rather than damp or dusty | Check the thickest center with a thermometer and remove the cutlet when it reaches 165°F / 74°C |
Let the Crust Tell You When to Flip
When the first side looks set, slide the tongs underneath one edge. A crust that releases cleanly is ready to turn; if it still clings or smears, give it another minute before trying again.
What a Crisp Finished Crust Looks Like
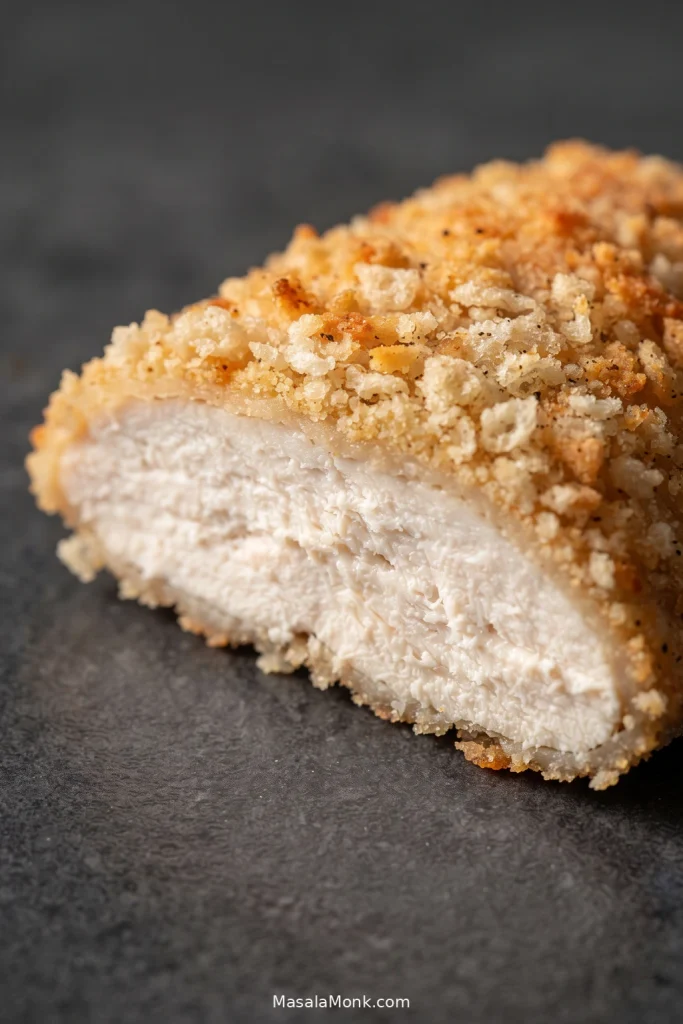
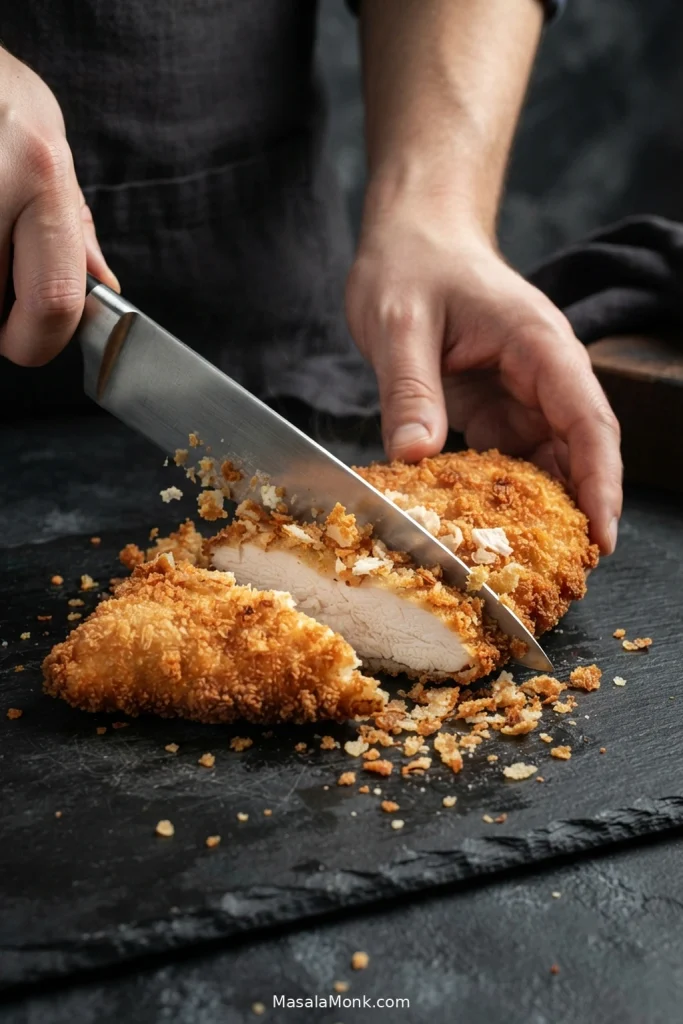
By the end, the raised crumbs should look dry and deeply golden in places while the coating stays bonded when the chicken is cut. Color can tell you the crust is ready to check; the thermometer still gets the final say on the meat underneath.
Air Fryer Fried Chicken Breast Time and Temperature
For 1/2-inch breaded chicken breast cutlets, air fry at 390°F / 200°C for 10–12 minutes per batch, flipping once. Begin checking around 9 minutes. Thinner pieces can finish sooner, so start checking them earlier rather than relying on the full window.
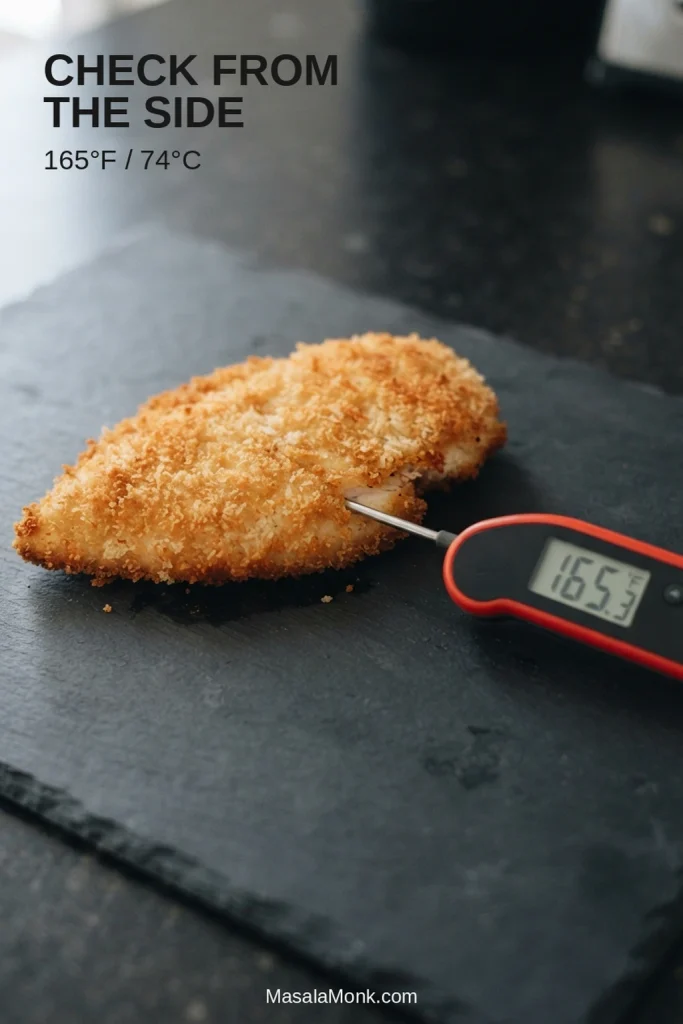
Check a thin cutlet from the side. Insert an instant-read thermometer horizontally into the thickest part so the probe reaches the center. Remove each piece when it reaches 165°F / 74°C. The USDA safe-temperature guidance lists 165°F for poultry.
Crust not behaving as expected? Go to troubleshooting →
Troubleshooting Air Fryer Fried Chicken
If the Breading Keeps Falling Off
Breading sliding away from the chicken can come from a wet surface, too much binder or crumbs that never had time to settle. Pat the chicken very dry, keep the mayo-Dijon layer thin and give the breading its 10-minute rest.
Crust tearing as you lift it? Give that side another minute. Once it has properly set, it should release much more cleanly.
If it sticks badly to the basket, lightly oil the basket before loading it. For particularly grabby baskets, perforated parchment can help if your air-fryer manufacturer allows it. Add the liner only with food on top to hold it down, and keep it clear of the heating element and airflow openings.
If the Crust Stays Pale or Soft
Dry, pale patches: mist only those areas lightly with oil. Large dusty-looking spots need a little surface fat to brown.
Give the Cutlets Room for Airflow
A soft underside points to trapped steam. Leave space around the cutlets and keep airflow open underneath; overlapping pieces and solid liners work against you here.
Keep the Crust Crisp After Cooking
Crisp in the basket but soft on the plate? Hot chicken is still giving off steam. Rest the pieces separately and add wet sauces only when you are ready to eat. A little honey mustard dressing on the side gives you tangy sweetness without soaking the whole cutlet.
If the Outside and Center Are Not Ready Together
Dark crust with an underdone center: lower the air fryer to 350°F / 175°C and continue cooking, checking the center frequently, until the chicken reaches 165°F / 74°C. Next time, bring the cutlets closer to the 1/2-inch target before breading.
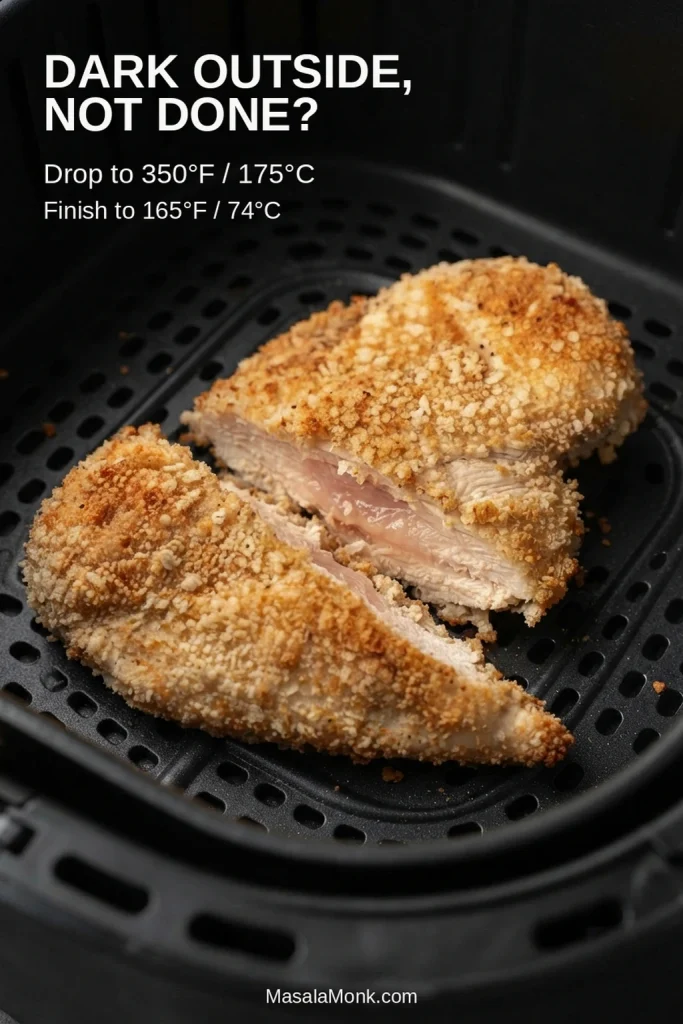
When the chicken is nearly done but the crust still looks pale, mist any dry areas and raise the fryer to 400°F / 205°C for 1 minute at a time. Check the center between bursts. You are giving the crust a last push, not starting another full cooking cycle.
If the chicken comes out dry, it likely stayed in the fryer too long. Start checking the next batch sooner, and take finished pieces out individually instead of making the smallest one wait for the largest.
Easy Ways to Change the Crust
Add a Little Flour
Replace 1/4 cup / about 25 g of the fine breadcrumbs with 1/4 cup / about 30 g all-purpose flour. Mix the flour thoroughly through the remaining breadcrumbs and panko so isolated floury patches are less likely to stay pale.
Make It Spicier
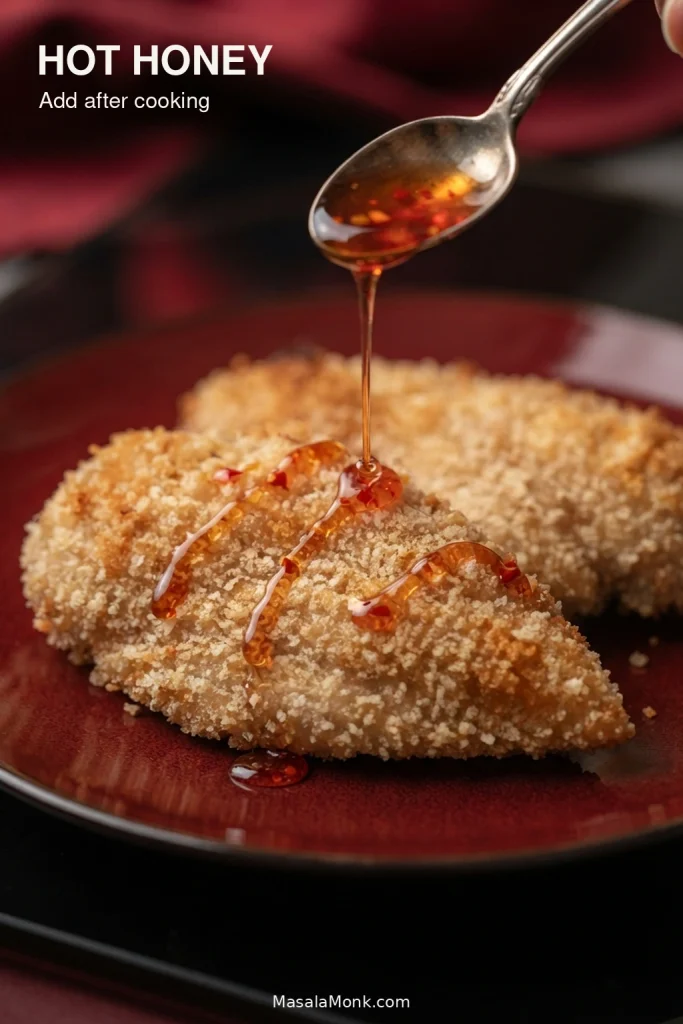
Increase the cayenne to 1/2 teaspoon and add 1/2 teaspoon chili powder to the crumbs. For sweet heat, drizzle hot honey sauce over the chicken just before serving so the crust keeps as much crunch as possible.
Add Parmesan
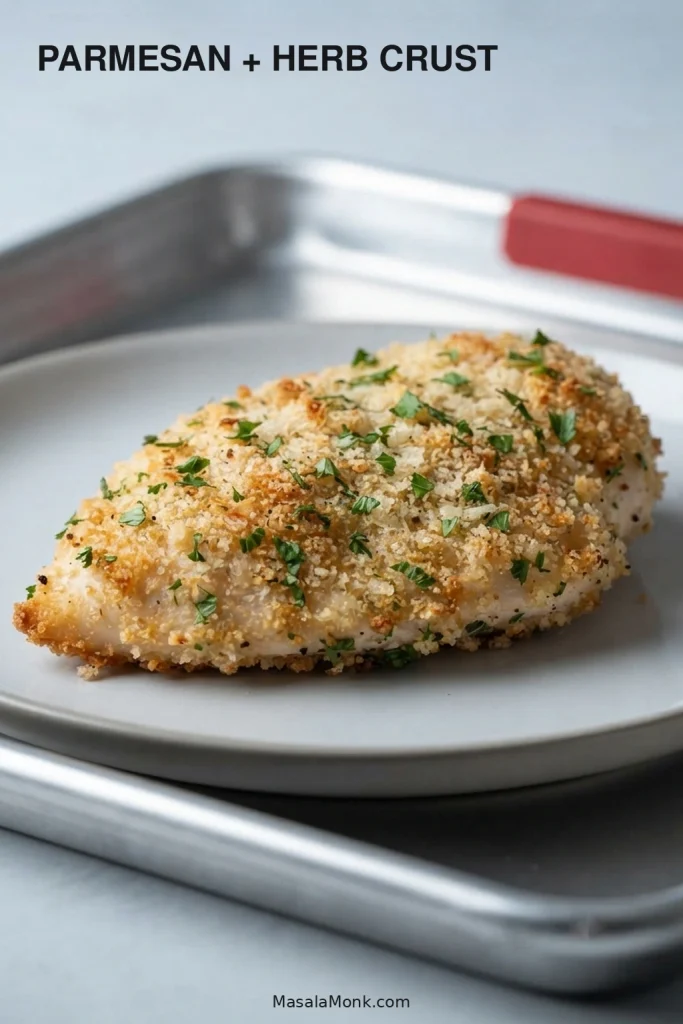
Mix in 1/4 cup / about 20 g finely grated Parmesan and 1/2 teaspoon dried oregano or Italian seasoning. Parmesan brings its own salt, so reduce the salt in the crumb mixture if your cheese or breadcrumbs are already well seasoned.
Storage and Reheating
Refrigerate cooked chicken within 2 hours, or within 1 hour if the temperature is above 90°F / 32°C. Keep it covered in the refrigerator and use it within 3–4 days, in line with USDA leftovers guidance.
To re-crisp the coating, reheat the cutlets in the air fryer at 350°F / 175°C. Start checking around 3 minutes; a thicker or very cold piece may need closer to 5. Reheat leftovers to 165°F / 74°C.
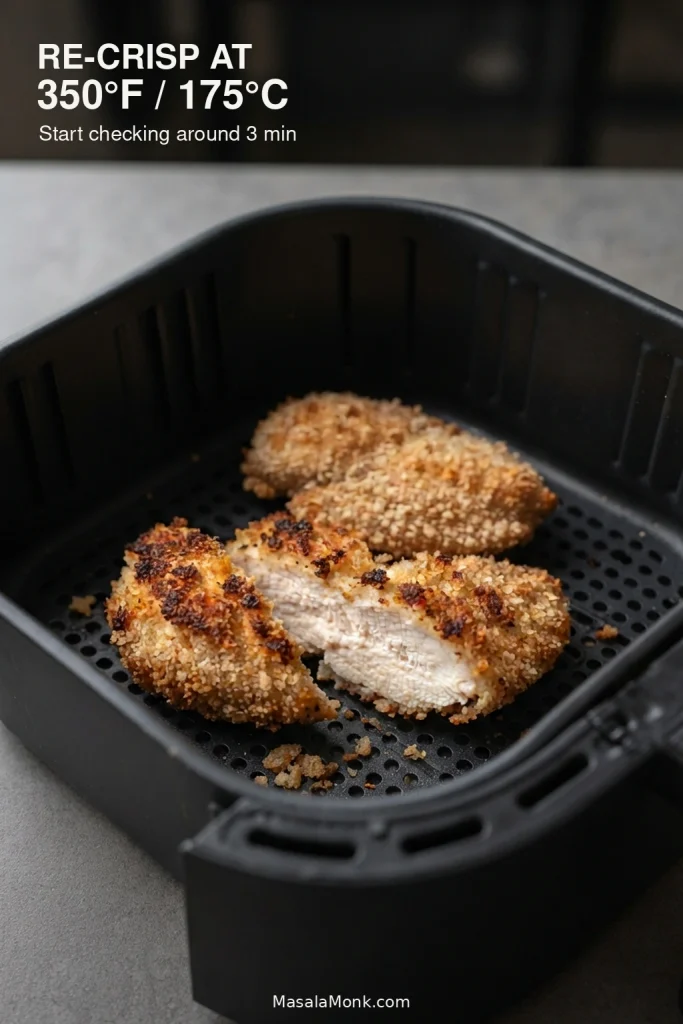
The microwave is quicker, but the trapped steam softens the breading. Use it when speed matters more than crunch.
What to Serve With Air Fryer Fried Chicken Breast
Serve the cutlets while the crust is still at its best. Cut into one and you should have a crisp shell around moist, steaming chicken rather than a dark crust hiding a dry center.
Build a Comfort-Food Dinner
For a comfort-food dinner, creamy mashed potatoes make a soft, buttery contrast to the crunchy chicken; green beans or broccoli work nicely alongside.
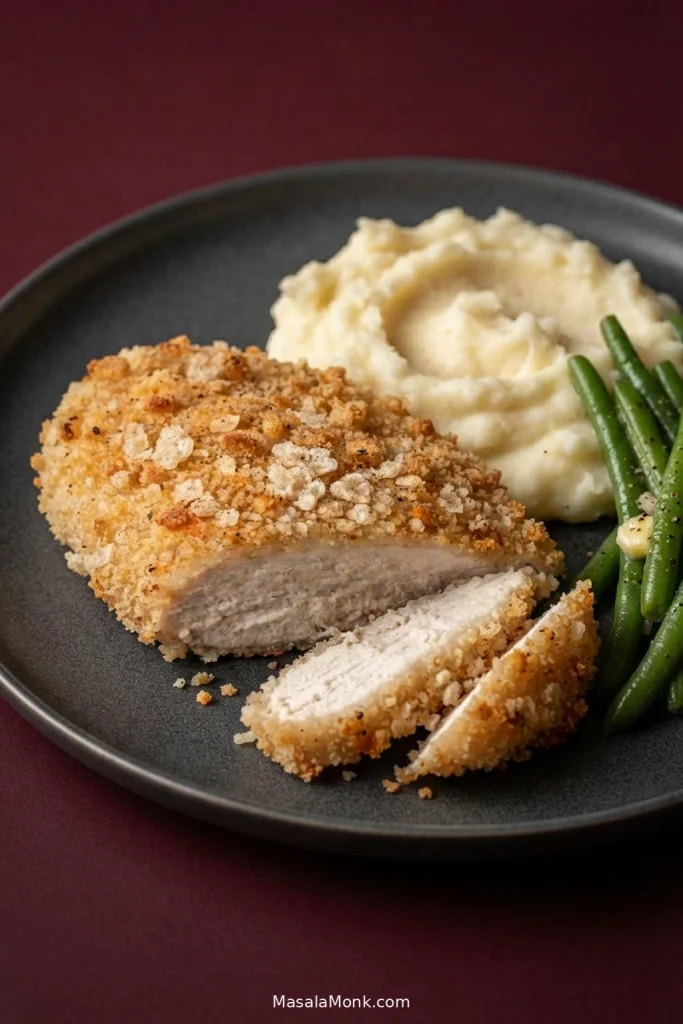
If you want something cold and crisp alongside, creamy coleslaw brings crunchy cabbage and enough tang to cut through the savory breading.
Turn It Into a Crispy Chicken Sandwich
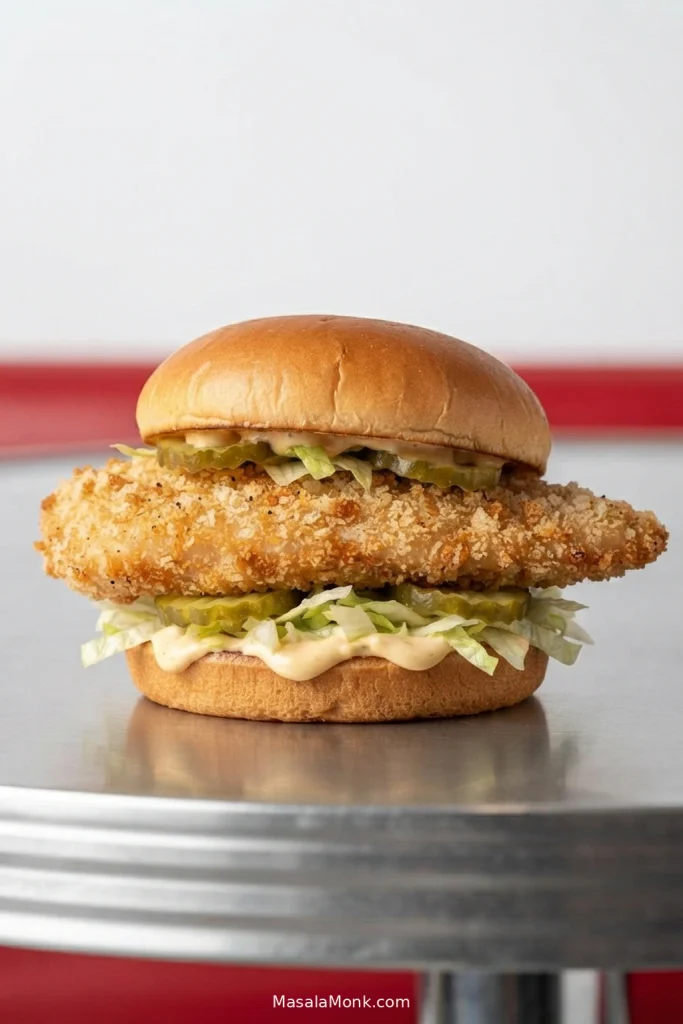
The cutlets are sturdy enough for sandwiches too. Add pickles, lettuce or slaw and a thick sauce just before serving so the crust stays crisp. If that sounds like dinner, the chicken sandwich recipes have more ideas for fillings, sauces and toppings.
Recipe development note: This recipe is research-derived from established air-fryer breaded-chicken methods, common reader troubleshooting patterns and food-safety guidance. MasalaMonk has not independently kitchen-tested this exact formula.








