
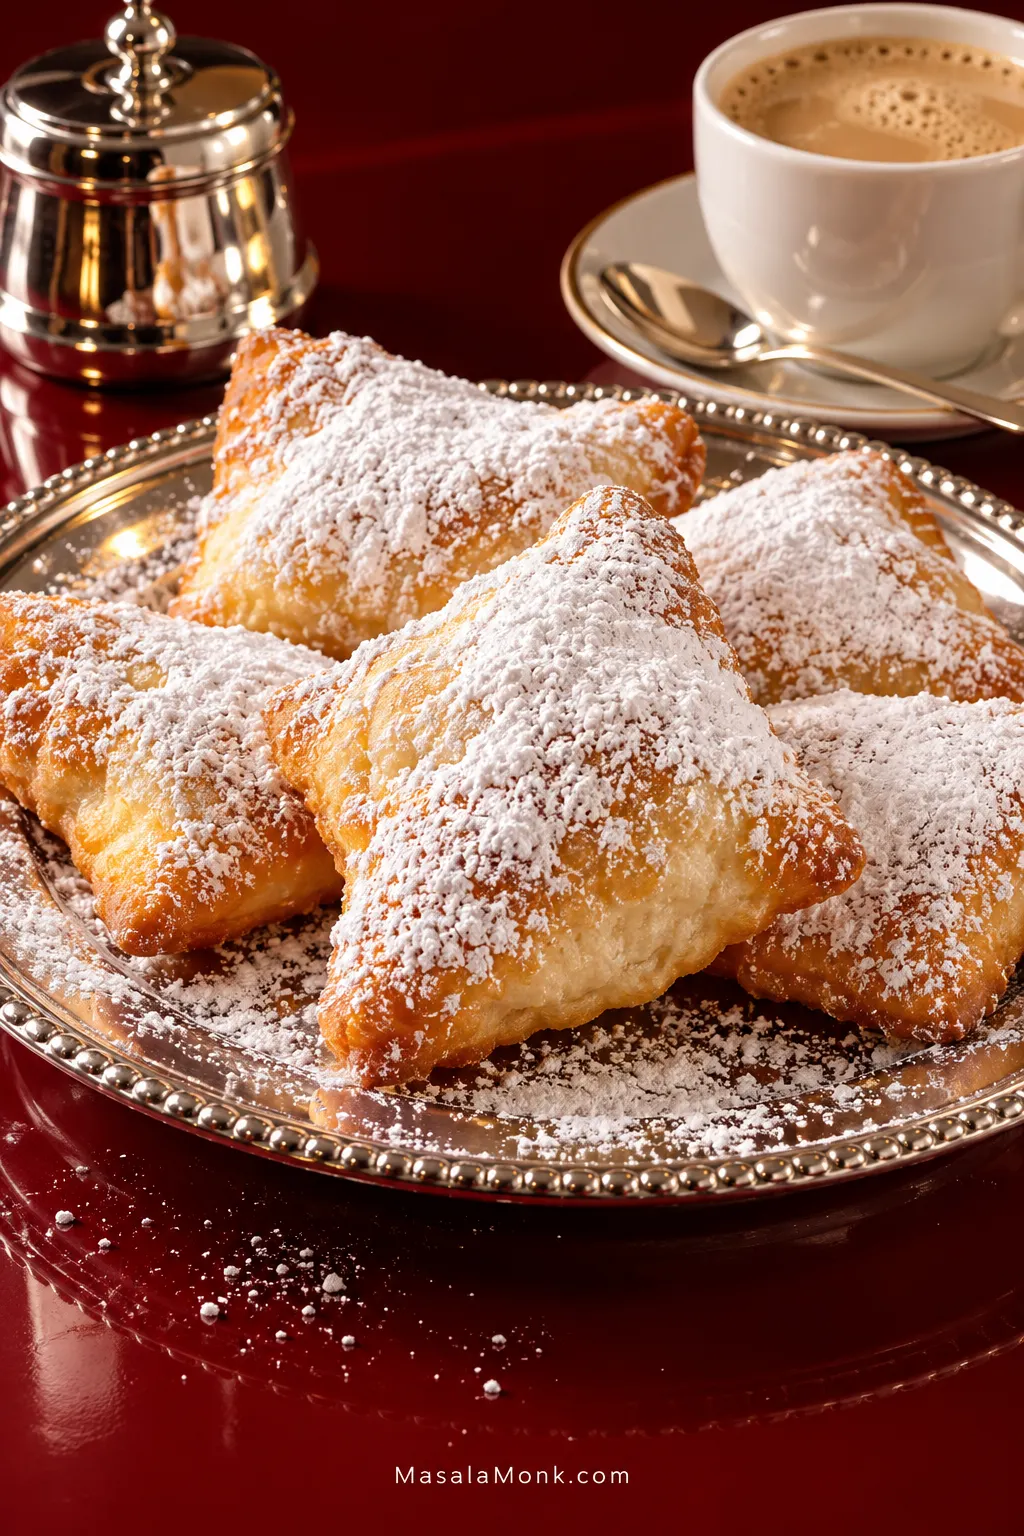
Hot, freshly fried beignets should be lightly golden outside, light and tender through the middle, and covered with enough powdered sugar that eating one neatly is almost beside the point. These are the square, yeast-raised beignets associated with New Orleans: simple dough, hot oil, plenty of powdered sugar, and the best texture while they are still warm.
What helps most is knowing what the dough should feel like, when it has risen enough, and how the first piece behaves in the fryer. Once those cues make sense, the whole process becomes much easier to manage.
Beignets Recipe
Fluffy New Orleans-style beignets made with a lightly enriched yeast dough, fried until golden and finished with powdered sugar.
Active prep: about 30 minutes · Same-day rise: 1–2 hours · Fry: 20–35 minutes · Same-day total: 2–3 hours
Equipment: a heavy Dutch oven or deep pot, deep-fry or candy thermometer, rolling pin, pizza cutter or sharp knife, spider or slotted spoon, and a wire rack or paper-towel-lined tray. A stand mixer is convenient but not required.
Ingredients
- ¾ cup (180 ml) warm water, 105–110°F / 40–43°C
- 2¼ teaspoons (7 g) active dry yeast
- ¼ cup (50 g) granulated sugar, divided
- ½ cup (120 ml) whole milk, lukewarm
- 1 large egg
- 3 tablespoons (42 g) unsalted butter, melted and slightly cooled
- 1 teaspoon vanilla extract, optional
- 4 cups (480 g) all-purpose flour, plus up to ¼ cup (30 g) extra if the dough genuinely needs it
- Additional all-purpose flour, for lightly dusting the work surface
- 1¼ teaspoons (about 7 g) fine salt
- Fresh neutral high-heat oil, such as canola or vegetable oil, enough for a 2–3 inch / 5–7.5 cm depth
- 1½–2 cups (180–240 g) powdered sugar
Before adding more flour: finish kneading first. Correct beignet dough is soft, elastic and a little tacky. Add extra flour only if, after full kneading, the dough is still too loose to gather and hold itself together as one soft mass, and add it 1 tablespoon at a time.
Instructions
Make and Raise the Dough
- Wake up the yeast. Stir the yeast and 1 teaspoon of the measured sugar into the warm water. Leave for 5–10 minutes, until the surface looks creamy or foamy. If the surface is still flat, give it up to 15 minutes; with no activity by then, replace the yeast before continuing.
- Mix and knead.
Mix: add the lukewarm milk, egg, remaining sugar, melted butter and vanilla, if using. Add 4 cups (480 g) flour and the salt, then mix until no dry flour remains.
Knead: knead for 6–8 minutes in a stand mixer on low to medium-low speed, or 8–10 minutes by hand. The dough should become smooth and elastic while keeping a little tackiness. After full kneading, add extra flour only if the dough remains too loose to gather and hold together as one soft mass, 1 tablespoon at a time. - Let the dough rise.
Same day: place the dough in a lightly greased bowl, cover and leave until expanded, puffy and about doubled, usually 1–2 hours.
Overnight: let the covered dough stand at room temperature for 20–30 minutes, then refrigerate for 8–18 hours. In a very warm kitchen, refrigerate it sooner. The next day, well-risen dough only needs enough time to roll comfortably, often 15–30 minutes. It can still be cool. Dough that looks tight and barely risen needs more covered room-temperature time before rolling.
Shape, Fry and Finish
- Roll and cut. Turn the dough onto a lightly floured surface and roll evenly to ¼ inch / 6 mm thick. Cut into roughly 2½-inch / 6.4 cm squares with a pizza cutter, pastry wheel or sharp knife. Fry the irregular edge pieces too; repeatedly gathering and rerolling scraps can make them tougher. Keep the cut squares loosely covered while the oil heats. That short wait is enough here; fry them once the oil reaches temperature.
- Heat the oil. Pour 2–3 inches / 5–7.5 cm of oil into a deep, heavy pot, keeping the oil below about halfway up the sides. Position the thermometer tip in the oil without letting it rest on the bottom of the pot. Heat to 365°F / 185°C.
- Test one piece. Lower a single square gently into the oil, moving it away from you. It should rise quickly toward the surface and begin to puff within several seconds. Fry until golden, turning as needed, 2–3 minutes total. Split it open before starting the full batch. The center should be cooked and tender rather than wet or gummy.
- Fry in small batches. Start with 3–4 beignets at a time, leaving room for them to float and expand. Depending on the width of your pot, expect 5–8 batches. Aim for 365°F / 185°C before each batch. A temporary drop toward 350°F / 177°C when the dough goes in is normal; let the oil recover before adding more.
- Drain and sugar. Lift the beignets out once puffed and evenly golden. Drain for 30–60 seconds on a rack or paper towels, then sift a generous layer of powdered sugar over them while they are warm. Serve right away.
Recipe Notes
- Flour: all-purpose flour gives the dough enough structure without pushing the center too far toward chewy. Bread flour can work too, but you do not need it for this recipe.
- Instant yeast: use the same 7 g amount and mix it directly with the flour. The rise may move faster, so start checking the dough earlier rather than waiting for the full stated time.
- Measuring flour: weighing is strongly preferred. If using cups, spoon the flour into the cup and level it rather than packing it down.
- Frying oil: fresh canola or another neutral high-heat vegetable oil works well. Avoid oil previously used for onions, garlic, fish or heavily seasoned foods, since those flavors can carry into the beignets.
Beignets Guide
Frying & Texture
How Soft Should Beignet Dough Be?
Beignet dough should feel softer and tackier than a typical bread dough. After kneading, it should still gather and hold together as one elastic mass.
A little sticking to your fingers or mixer bowl is normal. The real problem is dough that remains so loose after kneading that it cannot gather and hold itself together.
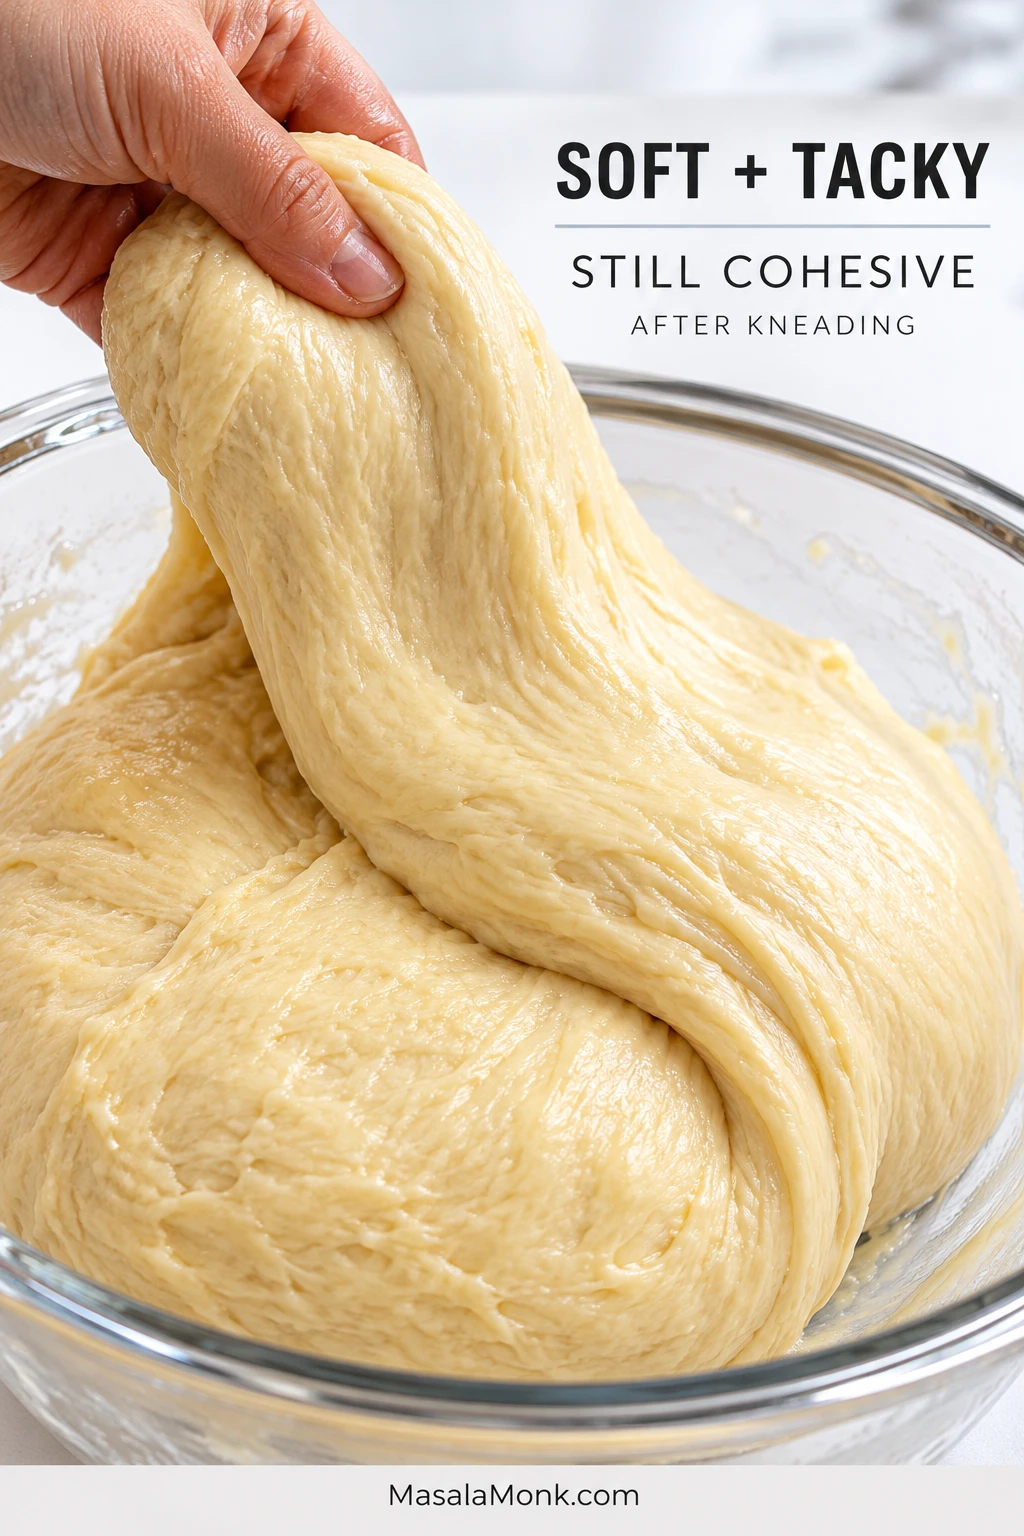
| What the Dough Feels Like | What It Means |
|---|---|
| Too loose to gather into a cohesive mass | Finish kneading first. If it still cannot gather and hold itself together, add extra flour a tablespoon at a time. |
| Soft, cohesive and tacky | A little sticking here is exactly what you want. |
| Firm, neat and very easy to handle | Extra flour may have pushed it too far, which can leave the fried center denser and more bread-like. |
Knowing When the Dough Is Ready
For a same-day batch, the dough is ready to roll once it has grown noticeably, looks puffy and has lost its tight, freshly kneaded feel. About doubled is a useful visual guide, though a cool kitchen may take longer.
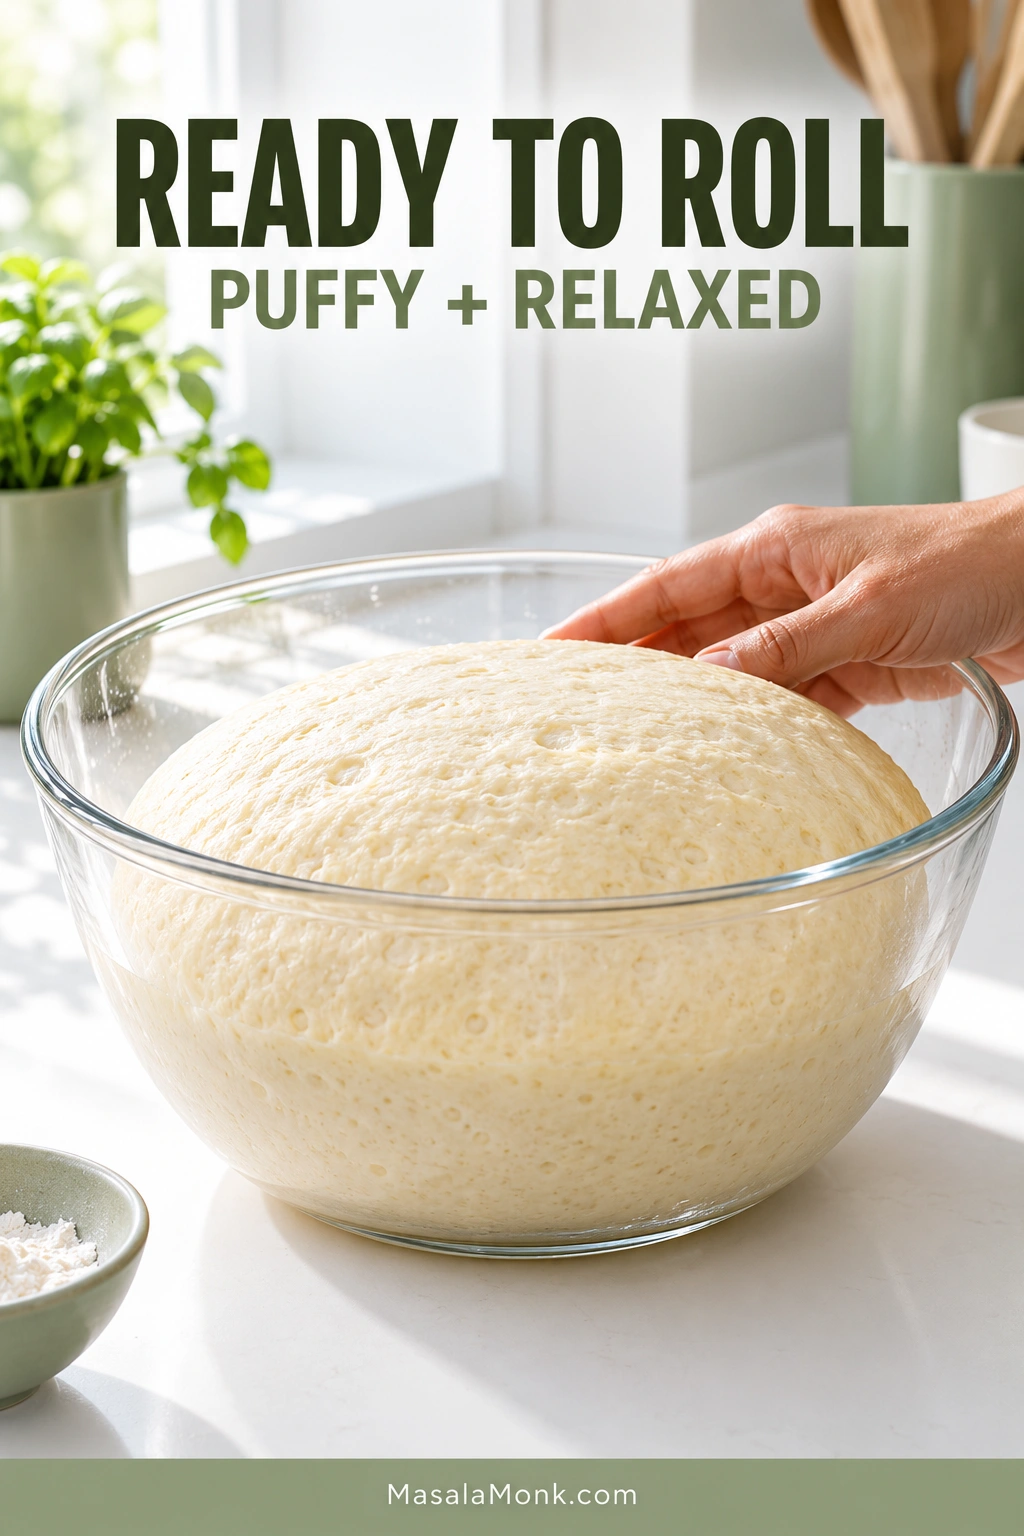
- Needs more time: little visible expansion; tight and compact.
- Ready: expanded, puffy and no longer tight.
- Too far: extremely swollen, fragile or beginning to weaken.
Take a look at overnight dough when it comes out of the refrigerator rather than putting it straight onto another timer. Well-expanded dough only needs to loosen enough to roll comfortably. A tight-looking dough needs more covered time at room temperature first.
By now the dough should feel noticeably lighter than it did after kneading. Roll it and you can feel the difference: it gives under the pin instead of constantly springing back.
Roll, Cut and Set Up the Fryer
Even thickness matters more than perfect corners. A ruler is not required; keep the pieces reasonably similar and they will fry at about the same rate.
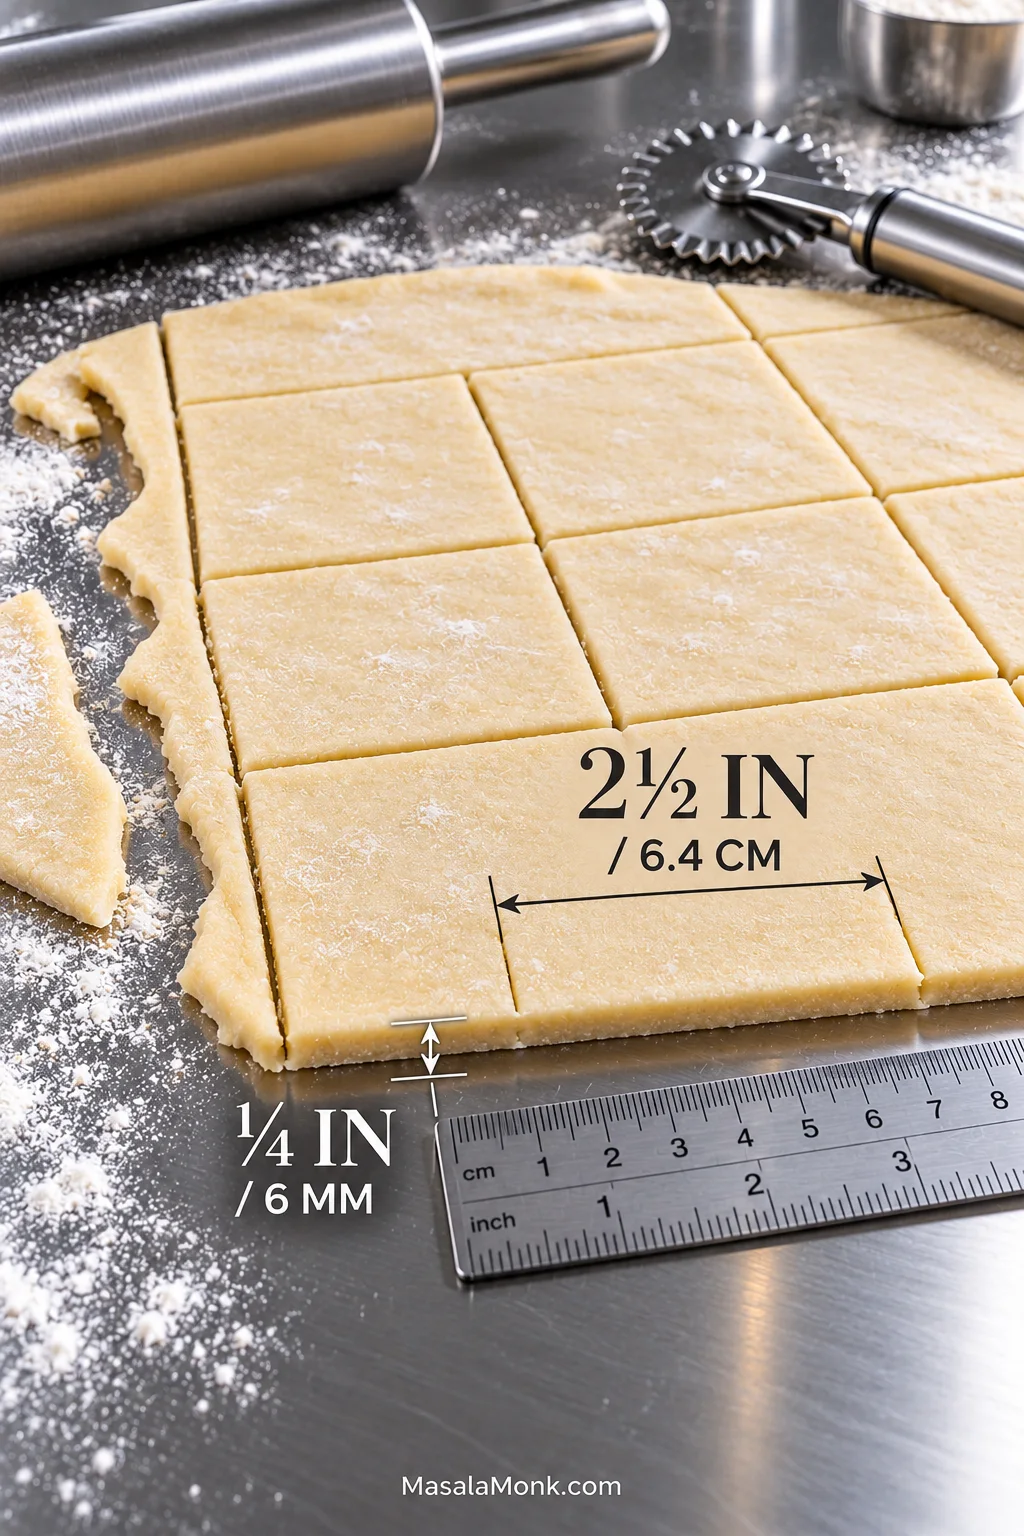
Aim for ¼ inch / 6 mm. At this thickness, the dough has room to puff without leaving such a thick center that the outside darkens first. Use only enough bench flour to prevent sticking.
Cut roughly 2½-inch / 6.4 cm squares. A pizza cutter or pastry wheel makes quick work of the dough, although a sharp knife is fine. The squares do not need perfect edges to fry well.
Set up the pot with headroom. A deep, heavy pot gives the oil room to surge and bubble when the dough goes in, while the extra mass helps the temperature recover between batches. Leave generous space above the oil rather than filling the pot high.
What Should Happen When a Beignet Hits the Oil?
The first square tells you more than the timer does. It checks the dough thickness, oil temperature and the way your particular pot and stove are behaving.
Things move quickly once the dough goes in: the square rises, its surface swells, the sharp edges soften and the pale dough begins turning gold.
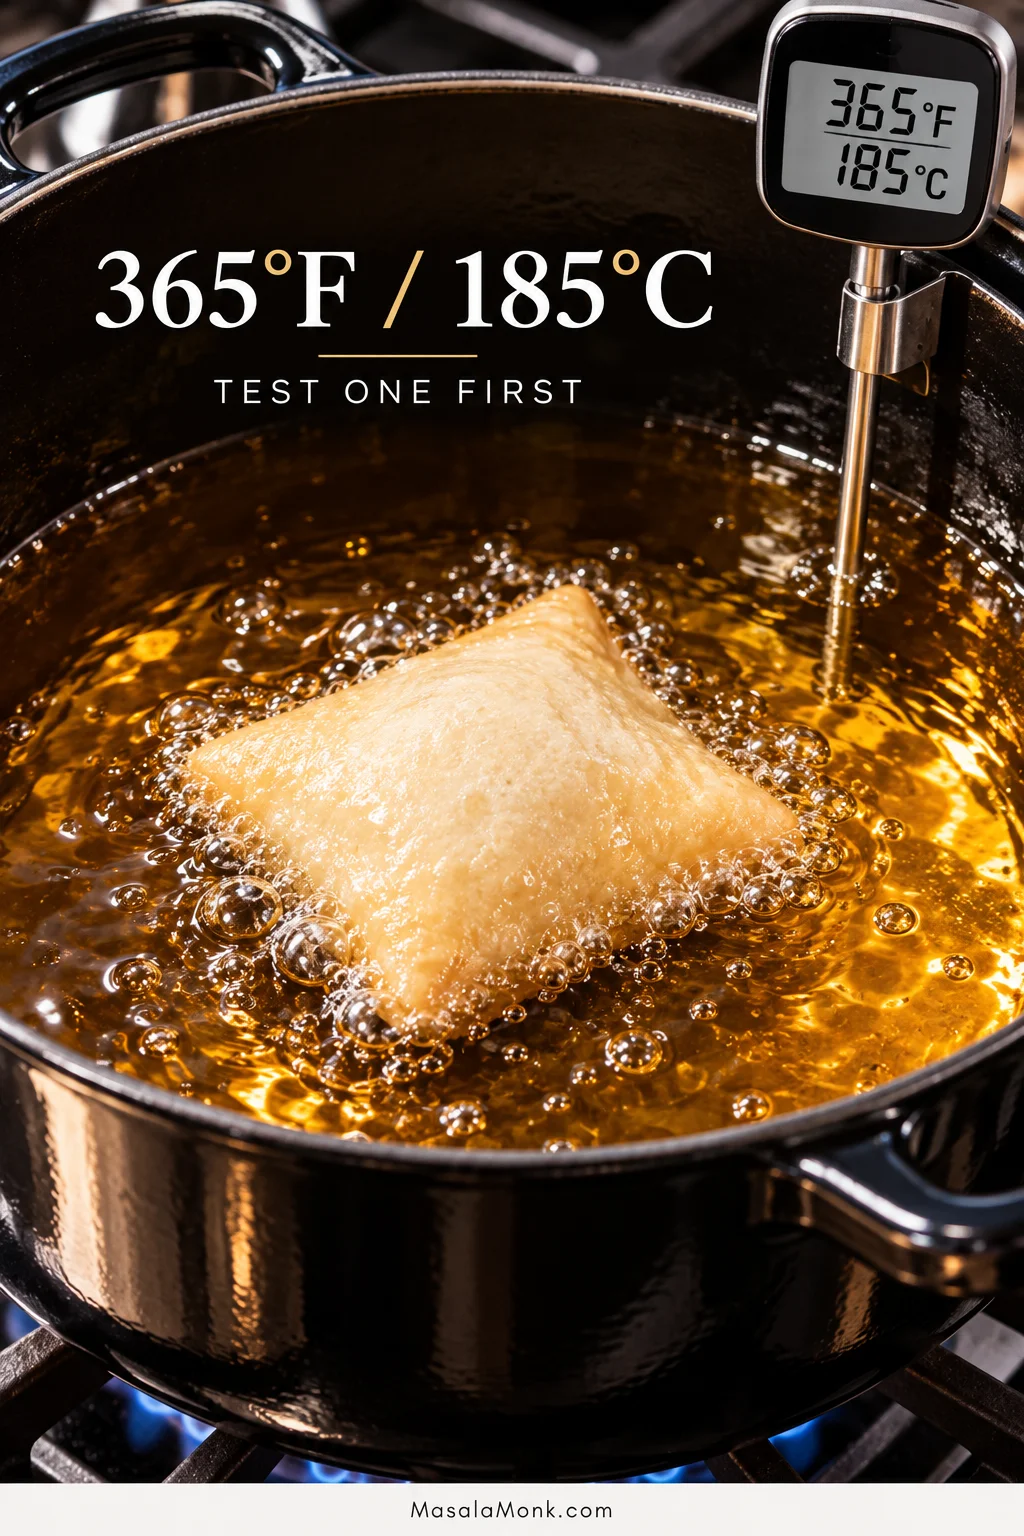
| What You See | What It Suggests |
|---|---|
| Rises quickly, floats and begins to puff | Good start. Watch the color and check the center before frying the rest. |
| Stays low, pale and sluggish | The oil is probably too cool. Let it heat back up. |
| Colors almost immediately | The oil is too hot. Reduce the heat before the next piece. |
| Early batches are good; later ones turn pale or greasy | The pot needs more recovery time, or too many pieces are going in at once. |
| Dark outside, wet inside | Lower the oil temperature or check whether the dough was rolled too thick. |
Cut the test piece open before committing the rest of the batch. A golden crust with a cooked, tender center means the temperature and thickness are working together; wet dough inside points toward heat that is too aggressive or a piece rolled too thick.
Once that first one is right, the rest becomes a rhythm: fry a few, let the oil recover, then go again.
If the test piece is flat, greasy or wet inside: jump to Beignet Troubleshooting →
Fluffy Doesn’t Mean Every Beignet Is Hollow
Cut open several beignets and they may not all look alike. One can have a large central pocket while the next has several smaller, irregular spaces. Neither pattern is automatically a problem.
The center should feel light and tender, with no wet or gummy band of raw dough. A tight, heavy crumb tells you more than the size of the air pocket.
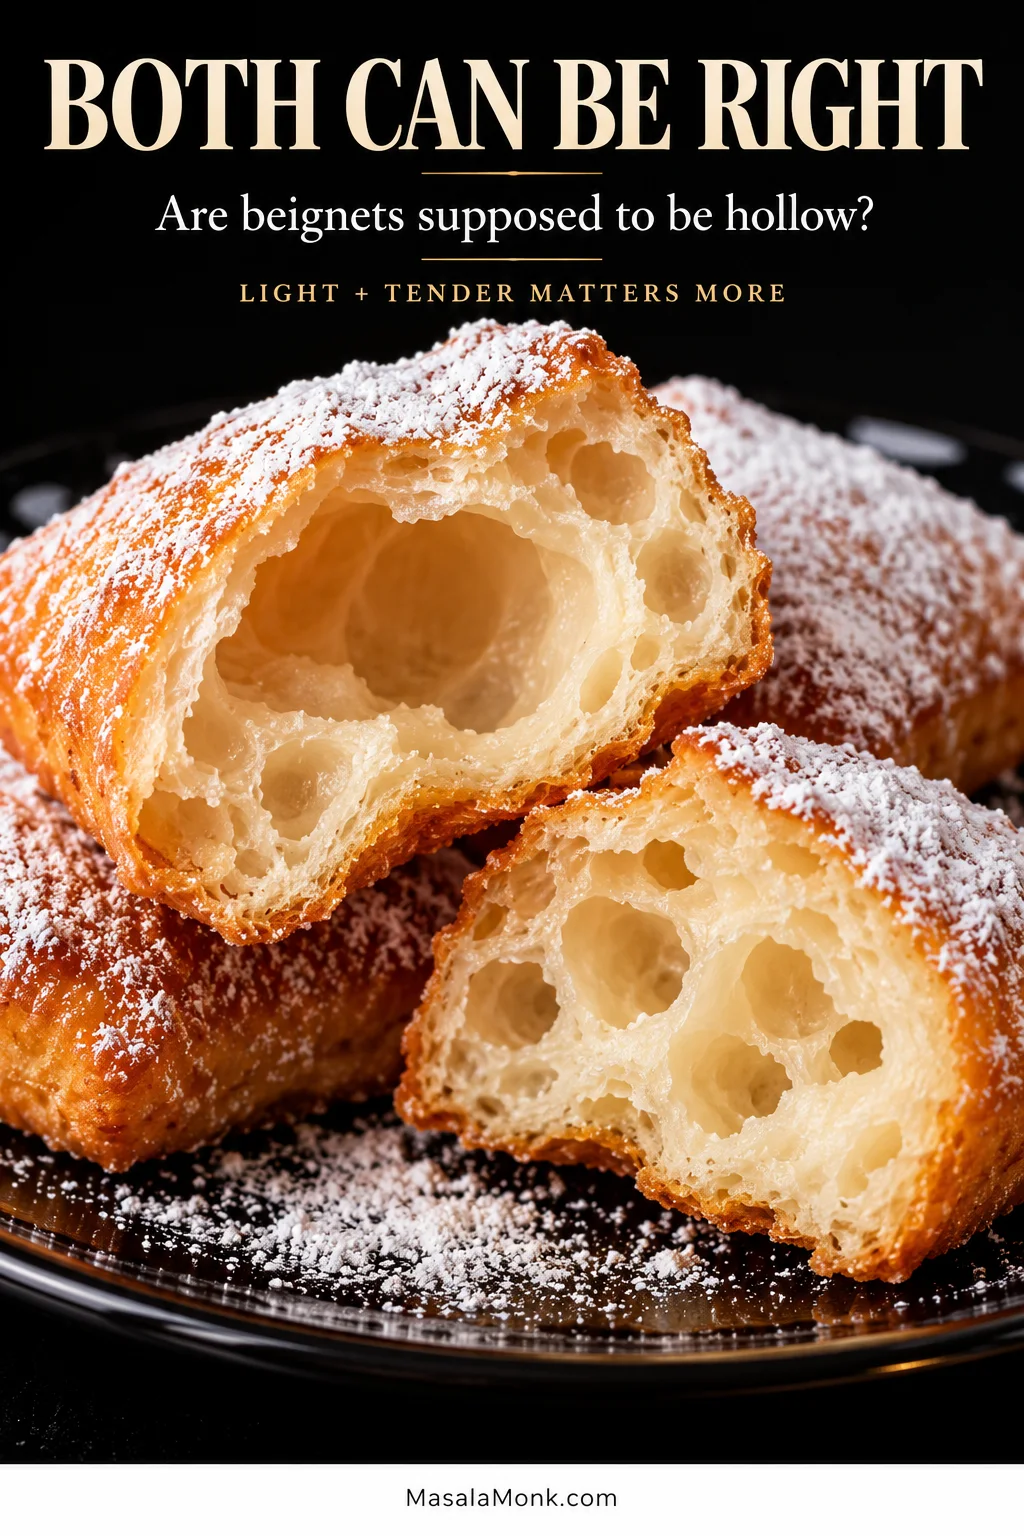
So if the first piece balloons dramatically, taste it before trying to “fix” it. It may be exactly where it needs to be.
Beignet Troubleshooting
When a batch goes wrong, work backward. Dough consistency, fermentation, thickness and fryer temperature leave different clues.
Barely Any Rise?
No foam during the initial bloom points toward inactive yeast or overly hot water. If the yeast foamed normally but the dough has barely expanded, it probably just needs more time, especially in a cool kitchen.

Still extremely sticky? If the dough remains too loose to gather and hold together after full kneading, add extra flour 1 tablespoon at a time and stop as soon as it forms a soft, cohesive mass.
Dense instead of light? Dough that became firm after extra flour was added likely took on too much. A supple dough that barely expanded before rolling points instead toward a short rise. Repeatedly rerolled scraps can be tougher too.
When a good rise goes too far. Overproofed dough becomes fragile and harder to handle. Once it is well expanded and puffy, more waiting will not make the finished beignets lighter.
Flat in the fryer? With properly hot oil, flat pieces usually trace back to weak fermentation or dough rolled too thin. Extra frying time will brown them, not create the missing puff.
Greasy Beignets
Pale, greasy beignets usually mean the oil is too cool. Fry fewer pieces and give the pot time to recover before the next batch.
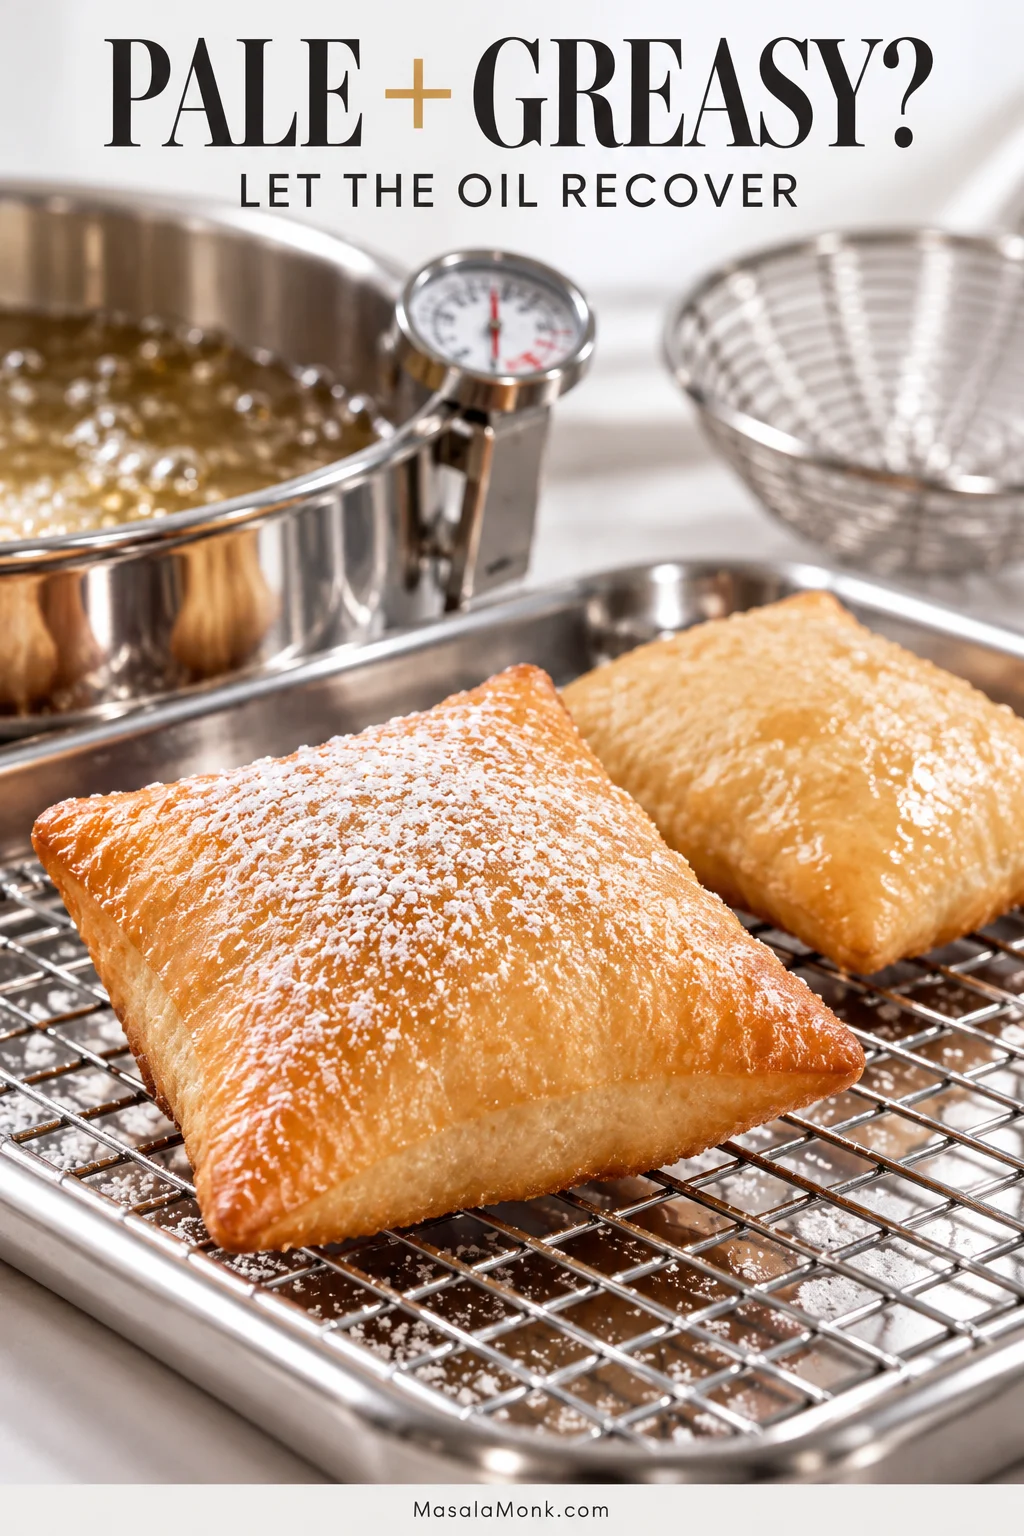
Solved the problem? Back to the Beignets Recipe ↑
Can You Bake or Air Fry Beignets?
Baked and air-fried versions exist, but this dough is built for hot oil. Changing the cooking method usually means changing the dough too. For the puffed crust and tender center here, fry this version as written. If you would rather skip the pot of oil, our air fryer donuts use a yeast dough developed specifically for the air fryer.
Make the Dough Ahead, Not the Beignets
For the best make-ahead option, use the overnight dough route in the recipe card: refrigerate it for 8–18 hours, then check the rise, roll, cut and fry the next day. Finished beignets do not hold nearly as well.

Let leftover beignets cool completely before covering them and keep them at room temperature until the next day. An oven, toaster oven or air fryer can bring back warmth and some surface crispness; a microwave mostly makes them softer. Add fresh powdered sugar after reheating. You can recover some of the texture, but not the exact contrast of a beignet eaten minutes after frying.
Making the beignets now? Back to the recipe card ↑
What Makes These New Orleans-Style Beignets?
In this recipe, the square shape, yeast-raised dough and generous powdered-sugar finish give the beignets their familiar New Orleans-style character. The word beignet itself is broader, but in Louisiana this particular version became closely tied to New Orleans. 64 Parishes traces that history through the city’s French foodways.
Beignets vs Donuts
Beignets and yeast donuts share plenty of family resemblance, but New Orleans-style beignets are usually cut into squares rather than rings and finished with a heavy coating of powdered sugar. The dough itself does not need to be very sweet; much of the sweetness arrives after frying.
What About Café du Monde?
If Café du Monde is your reference point, expect the same broad New Orleans style—square, puffed and heavily sugared—not an exact copy of its mix.
Café du Monde’s own beignet tips emphasize soft dough, properly hot oil and small batches. Its mix is different from this yeast dough, but those frying habits work just as well in a home kitchen.
Recipe note: This recipe is based on established yeast-raised New Orleans-style beignet methods and has not been independently kitchen-tested by MasalaMonk. Flour absorption, dough temperature, proofing speed and fryer behavior vary, so use the dough, rise and first-piece cues alongside the measurements.
Serve Them While They’re Hot
A warm pile of beignets needs very little beyond powdered sugar and coffee. Café au lait is the classic companion.
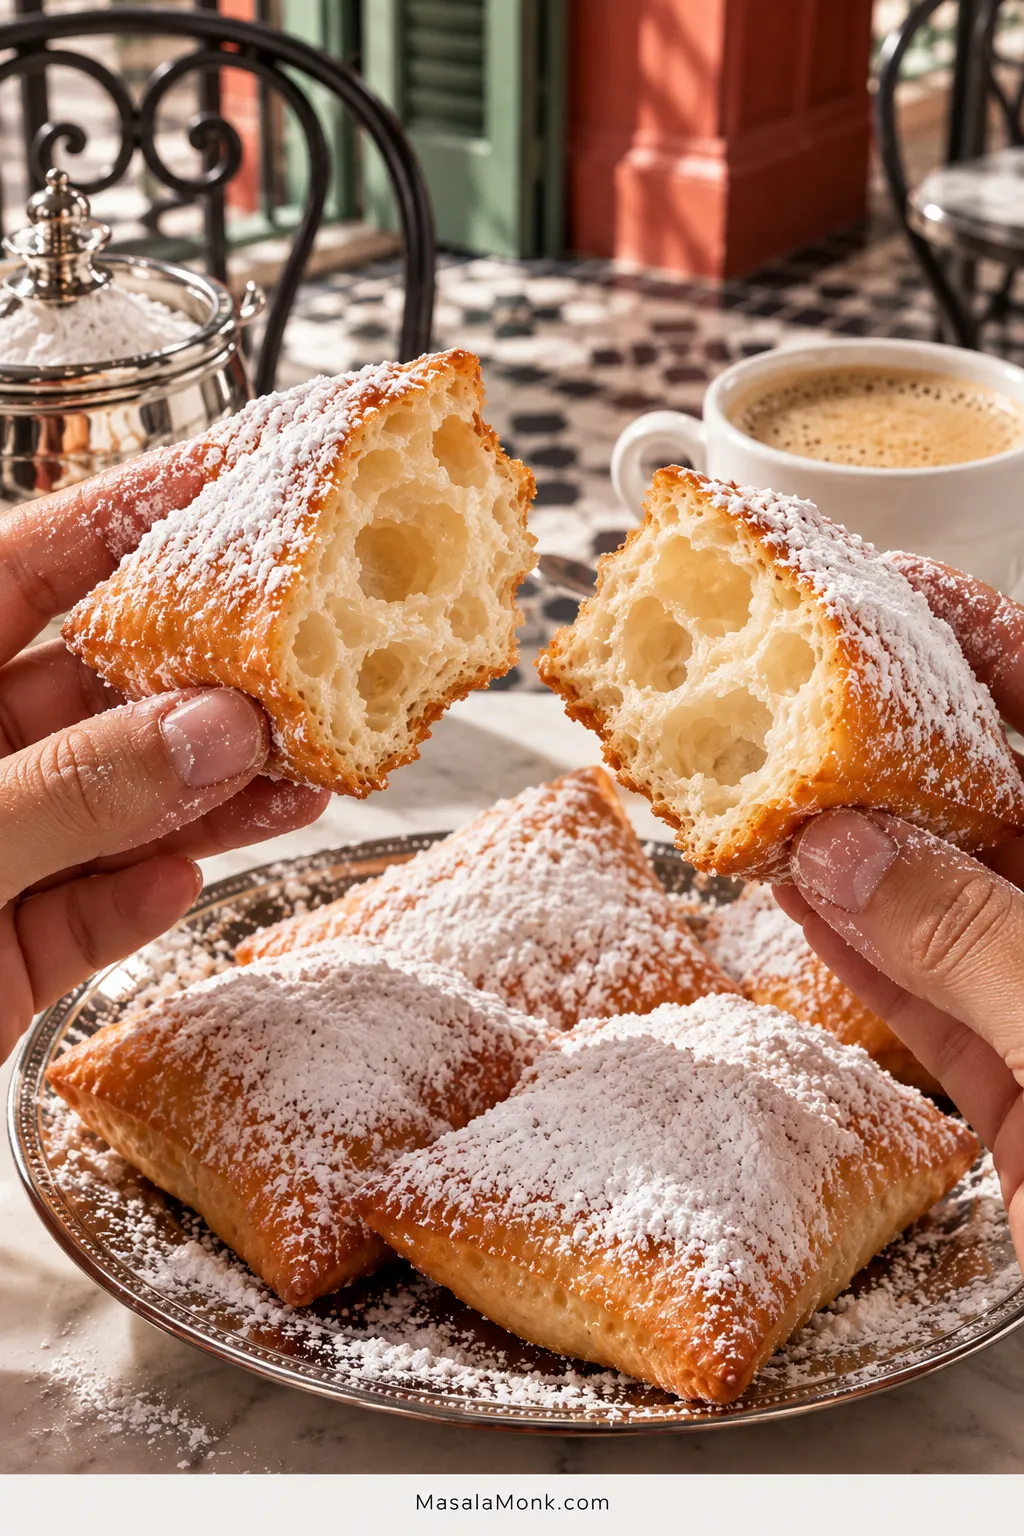
The first plate is worth eating exactly as it is. Tear one open while it is still warm and accept that powdered sugar is going to end up on the table.








