
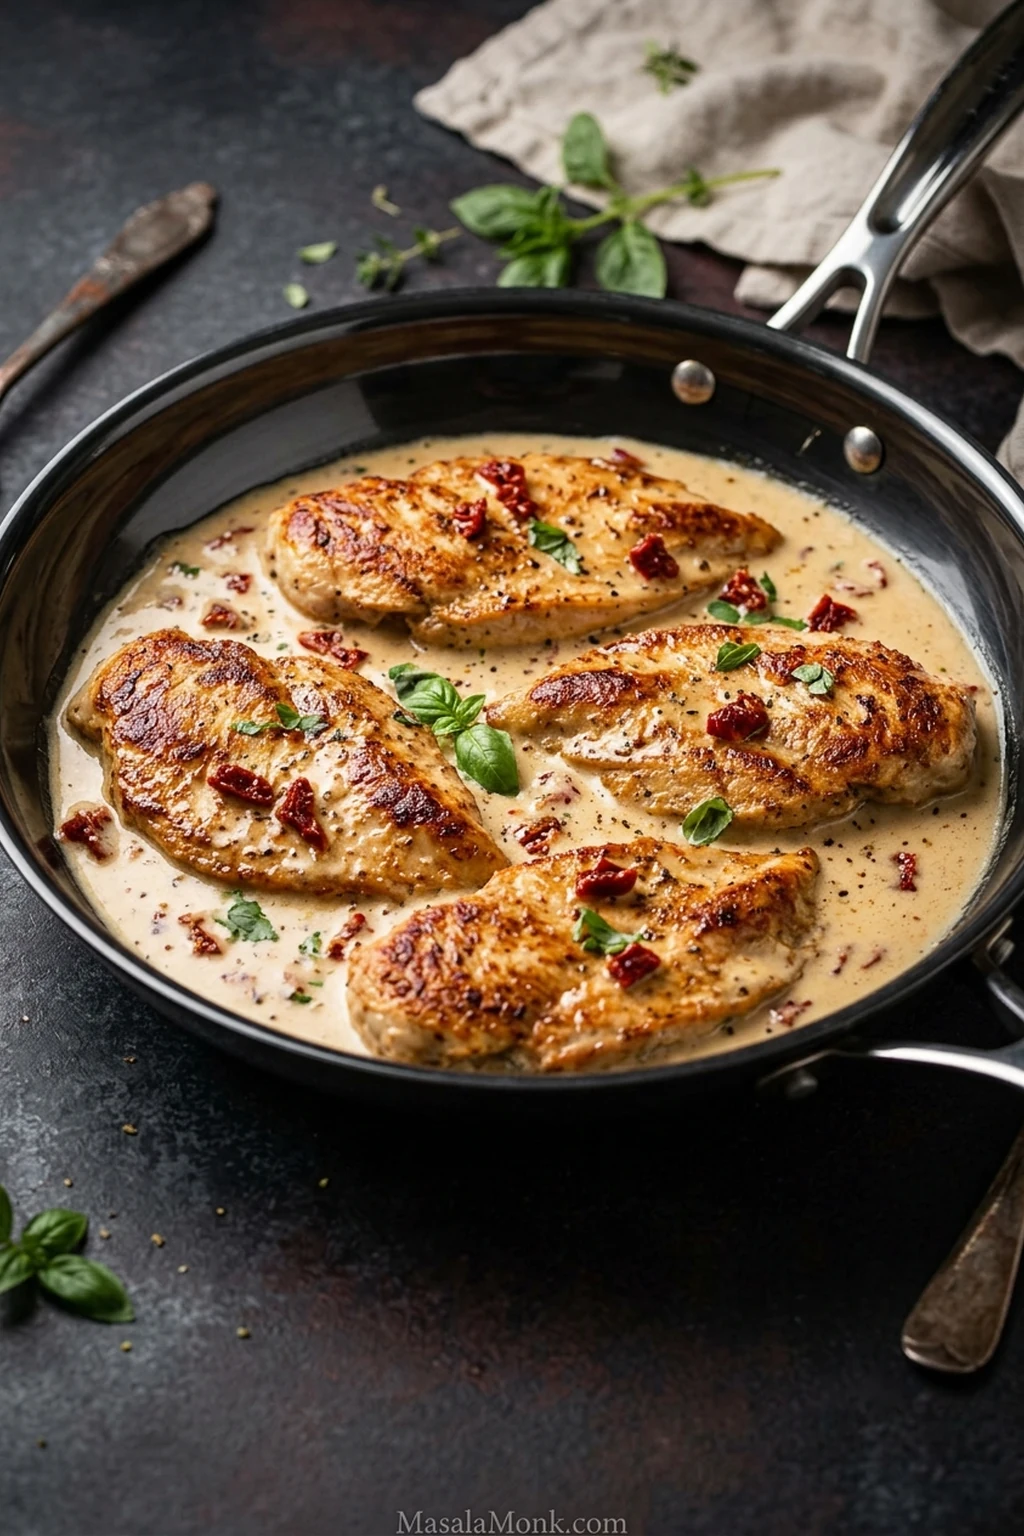
Golden chicken, creamy garlic-Parmesan sauce, little bursts of sun-dried tomato and fresh basil. This Marry Me Chicken recipe has plenty of richness without the sauce feeling heavy.
Marry Me Chicken is a modern one-skillet chicken dinner built around sun-dried tomatoes, garlic, cream and Parmesan. Delish credits Lindsay Funston with creating the original version in 2016. Its memorable name took off after someone tasting the chicken during the video shoot joked that it was good enough to inspire a marriage proposal.
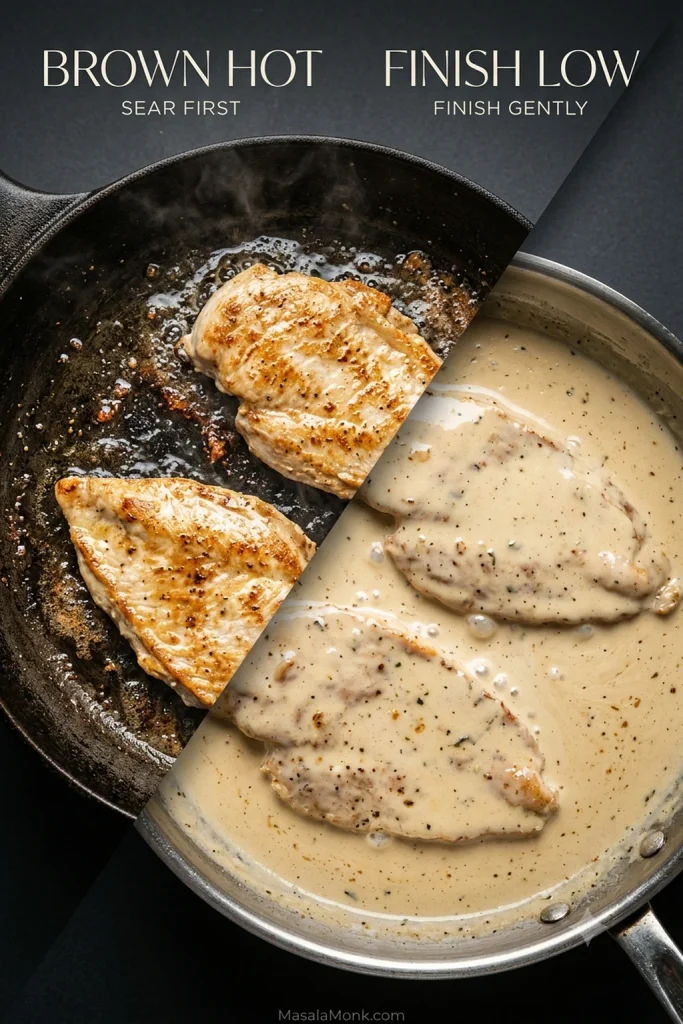
The tricky part isn’t the ingredient list. It’s knowing when the skillet needs to change gears. Give the chicken enough heat to brown properly, then turn things down once the cream sauce starts coming together. Brown hot, finish low. That’s the rhythm of the whole recipe.
The Heat Changes as You Cook
This gets much easier once you stop treating the whole dish as one continuous simmer. The skillet needs something different at each stage.
| Stage | What you want |
|---|---|
| Brown the chicken | Medium-high heat; deep golden color and browned bits in the skillet. |
| Tomato paste + garlic | Medium heat; tomato paste darkening slightly, then garlic turning fragrant without scorching. |
| Broth + cream | A low simmer; enough evaporation to give the sauce body without boiling it hard. |
| Parmesan | Skillet off direct heat; finely grated cheese melting after the hard bubbling settles. |
| Finish the chicken | Low heat; chicken reaching 165°F (74°C) without drying out. |
Marry Me Chicken Recipe
Golden chicken cutlets finished in a creamy garlic, sun-dried tomato and Parmesan sauce. Brown the chicken first, build the sauce in the same skillet, then finish everything over low heat.
Key equipment: a 12-inch (30-cm) skillet and an instant-read thermometer.
Marry Me Chicken Ingredients
- 24 oz (680 g) boneless, skinless chicken breast, fully thawed
- ¾ teaspoon fine sea salt (about 4 g), plus more only if needed at the end
- ½ teaspoon freshly ground black pepper
- 2 tablespoons (16 g) all-purpose flour
- 1 tablespoon (15 ml) oil from the sun-dried tomato jar
- Up to 1 tablespoon (15 ml) olive oil, only if the skillet needs it
- 4 garlic cloves, finely minced
- 1 tablespoon (about 16 g) tomato paste
- ¾ cup (180 ml / 6 fl oz) low-sodium chicken broth
- ¾ cup (180 ml / 6 fl oz) heavy cream
- ½ cup (about 80 g / 2.8 oz) oil-packed sun-dried tomatoes, drained well and chopped into roughly ¼-inch (6-mm) pieces
- ½ cup (about 40–45 g / 1.5 oz) Parmesan, freshly and finely grated
- 1 teaspoon Italian seasoning
- ¼ teaspoon crushed red-pepper flakes, or up to ½ teaspoon for more heat
- ¼ cup loosely packed fresh basil leaves, torn or thinly sliced
- Small lemon wedge, optional
How to Make Marry Me Chicken
Brown the Chicken
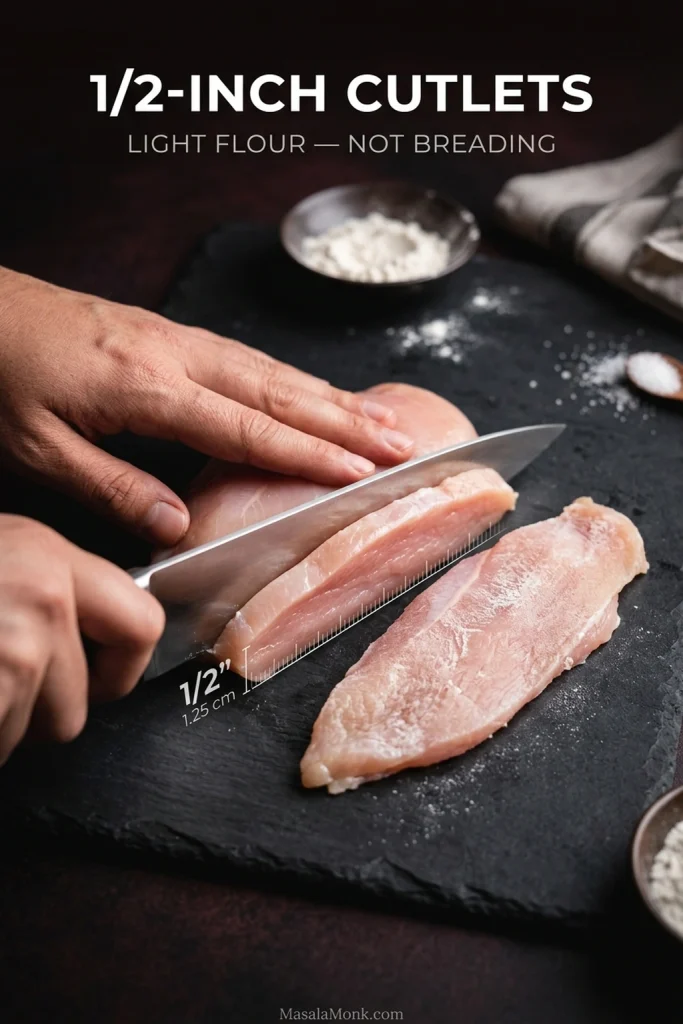
- Make four even cutlets. Slice the chicken breasts horizontally, then even out any particularly thick areas. Aim for about ½ inch (1.25 cm) at the thickest point.
- Dry, season and flour. Pat the fully thawed chicken dry and season both sides with salt and pepper. Dust with the flour, then shake off the excess. You want only a very light coating, with no visible clumps of flour.
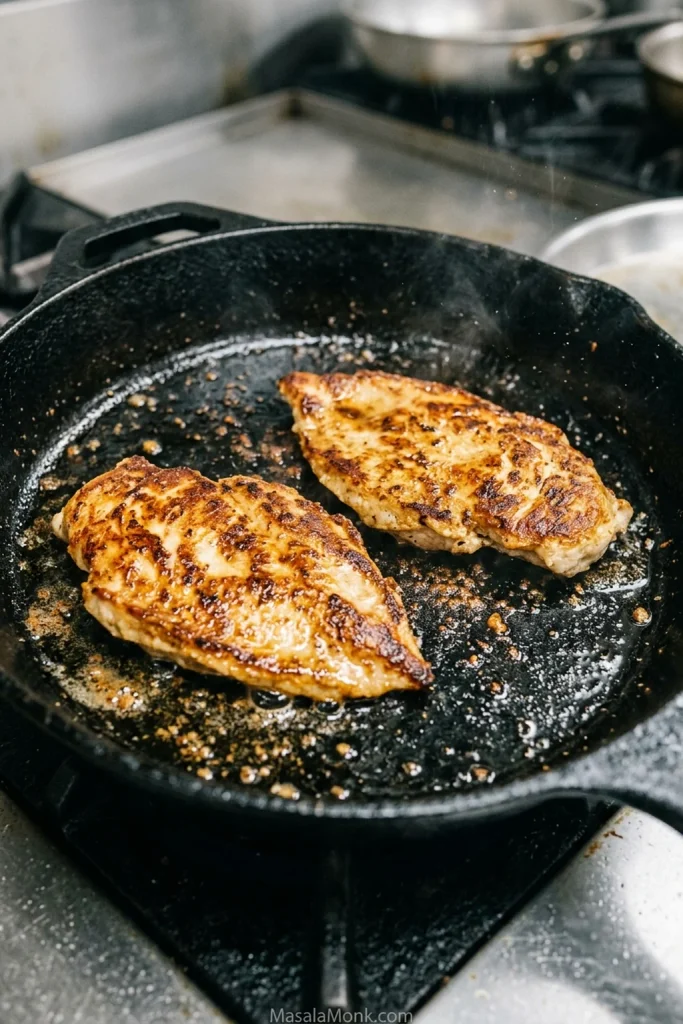
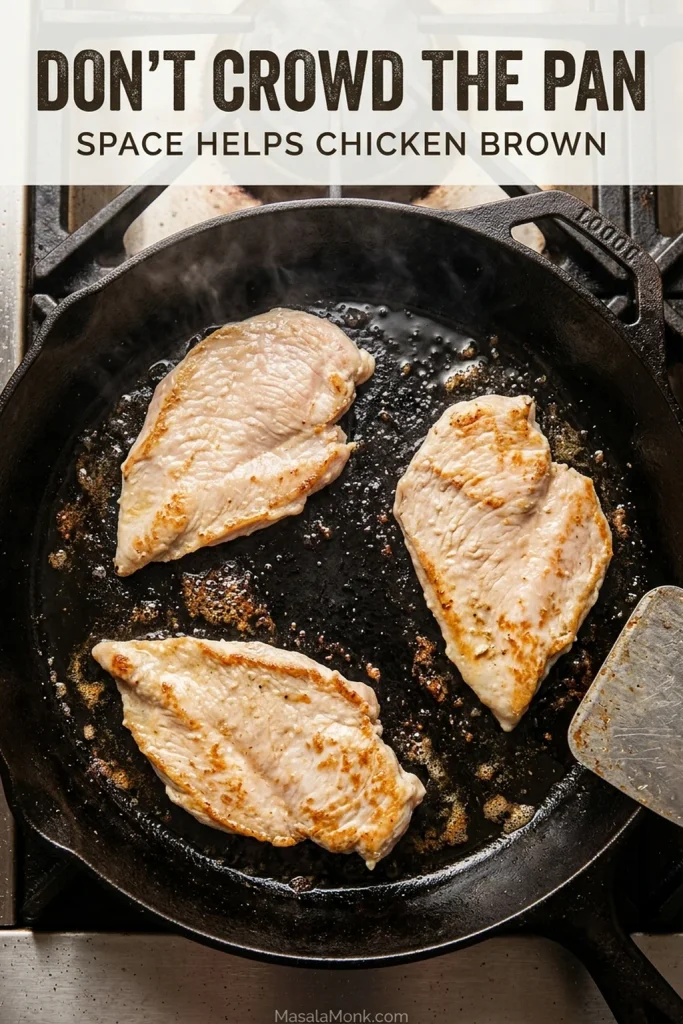
- Sear until golden. Heat a 12-inch (30-cm) skillet over medium-high heat. Add the sun-dried tomato oil and only as much additional olive oil as the skillet needs. Arrange the chicken in one uncrowded layer, working in two batches when necessary. Cook about 2–3 minutes on the first side, until deeply golden, then about 1–2 minutes on the second.
- Transfer the chicken. Move cutlets that still need cooking to a plate. If a particularly thin piece has already reached 165°F (74°C), place it on a separate clean plate and keep it aside until the sauce is finished.
Build the Sauce
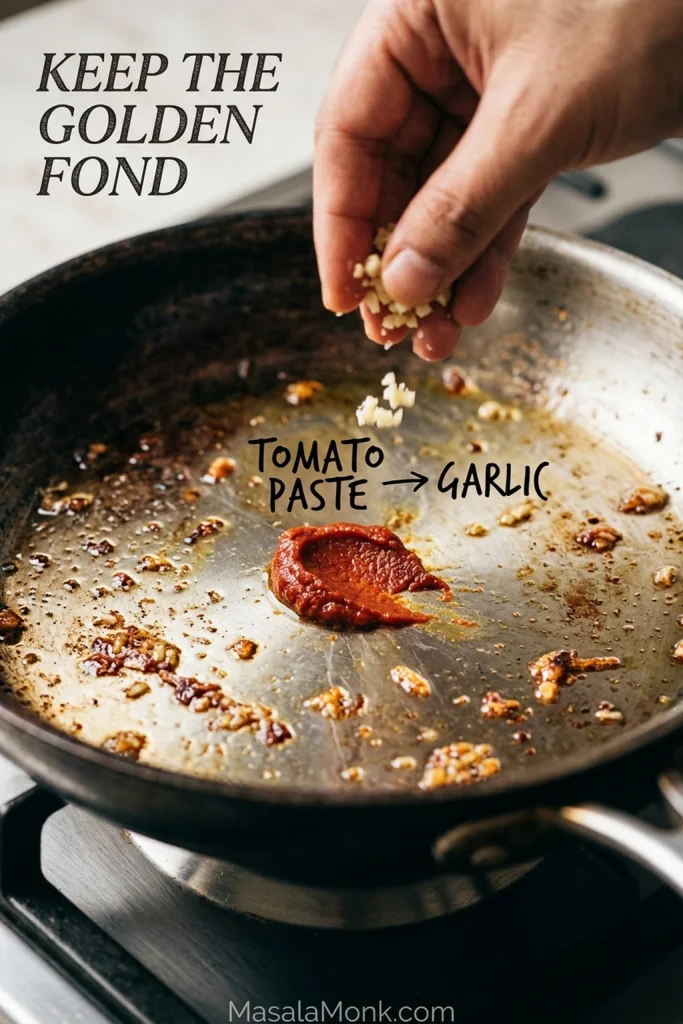
- Cook the tomato paste, then the garlic. Reduce the heat to medium. Stir in the tomato paste and cook for about 1 minute, until it begins to darken. Add the garlic and cook for about 30 seconds more, just until fragrant.
- Deglaze. Pour in the chicken broth and scrape across the bottom of the skillet to loosen the browned bits. Stir in the chopped sun-dried tomatoes.
- Add the cream. Lower the heat and stir in the heavy cream, Italian seasoning and red-pepper flakes. Bring the sauce to a low simmer.
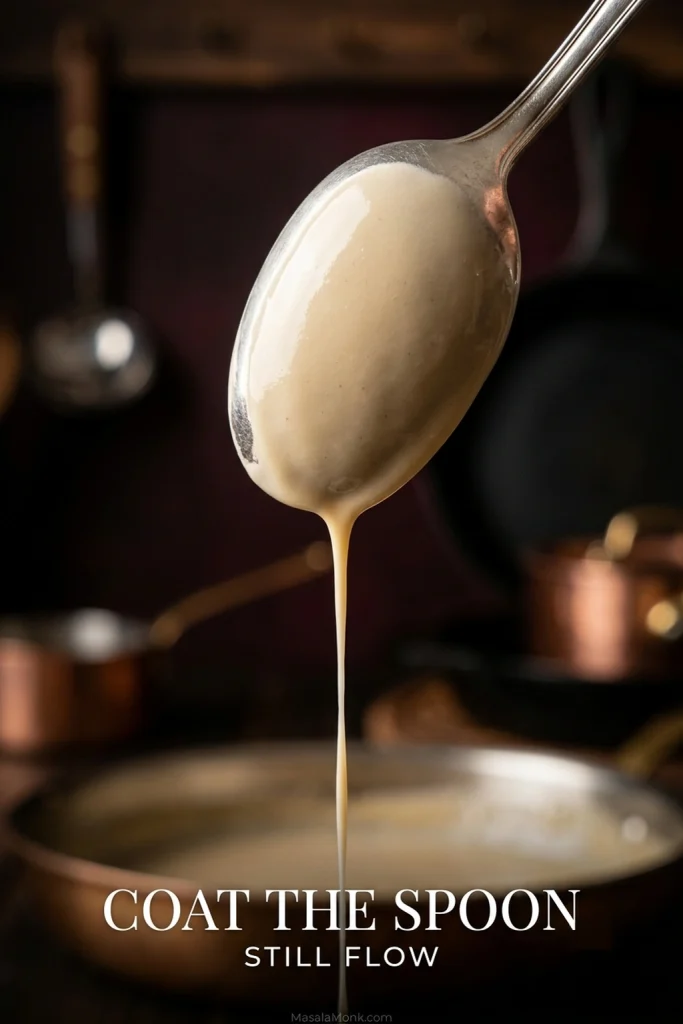
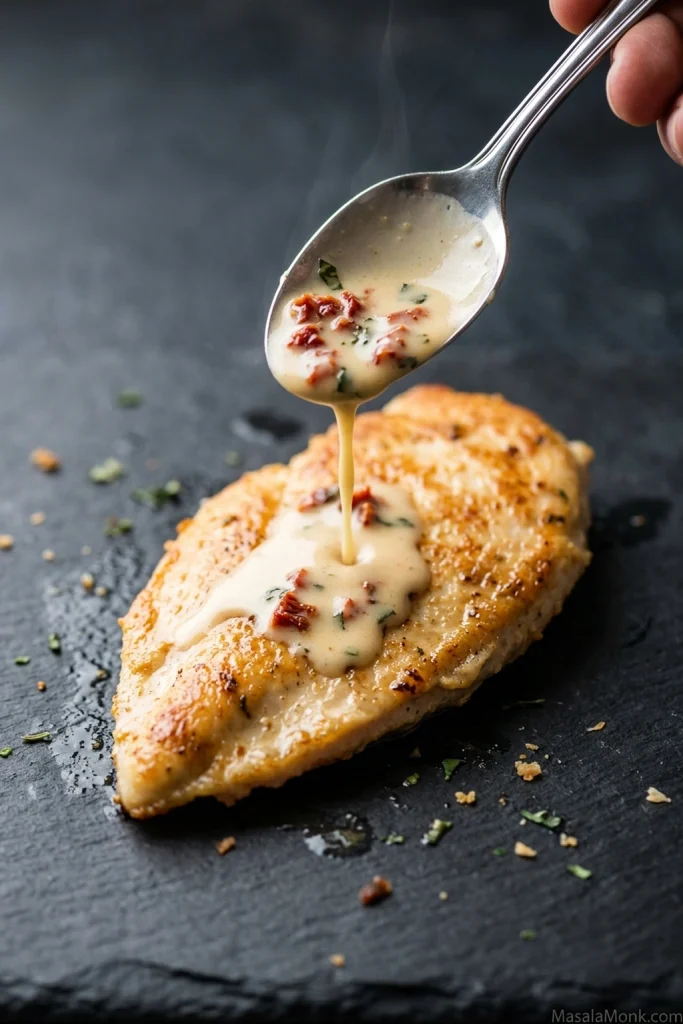
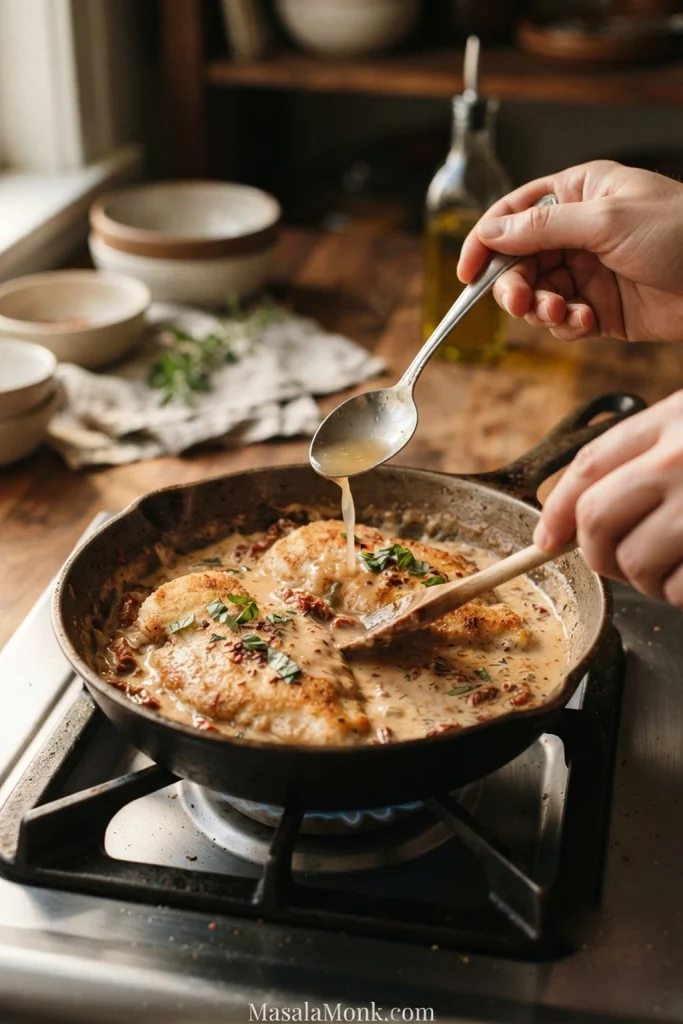
- Watch the sauce, not only the clock. Simmer for roughly 2–4 minutes. Stop when it lightly coats the back of a spoon but still runs easily when you tilt it. A slightly loose sauce is safer here than one you’ve already reduced too far.
Finish Over Low Heat
- Add the Parmesan off heat. Take the skillet off direct heat and let the hard bubbling settle. Add the Parmesan in two or three additions, stirring until each one melts before adding the next. The sauce should look glossy and still be loose enough to spoon.
- Return the chicken and any resting juices. Set the skillet back over low heat, then add the pieces that still need cooking along with the juices collected on the plate.
- Cook to temperature. The thickest part of each cutlet should reach 165°F (74°C), the USDA safe minimum temperature for chicken. If one gets there first, take it out. The chicken gets the final say, not the timer.
- Finish and serve. Turn off the heat, add the basil and taste for salt. Use a tiny squeeze of lemon only if the sauce still needs brightness. Add any already-cooked cutlets from the clean plate only long enough to coat and warm through, then spoon the sauce over all four pieces.
Recipe Notes
- Half-and-half: It can work, but the sauce will be thinner and less forgiving of high heat. Keep it at a low simmer and allow a little more reduction time. Regular milk is not a direct substitute here.
- Gluten-free or no flour: A suitable cup-for-cup gluten-free flour works for the light coating. You can also omit the flour and allow a little more reduction time.
- Dry white wine: Add ¼ cup (60 ml / 2 fl oz) after cooking the tomato paste and garlic, then reduce it almost completely before adding the broth. Use ½ cup (120 ml) broth instead of ¾ cup.
- Half batch: Use a smaller skillet if you have one. A small amount of sauce can reduce surprisingly fast in a wide 12-inch pan.
- Thin sauce: Let it reduce before reaching for more Parmesan. Extra cheese is not the best first fix.
A note on testing: This MasalaMonk recipe is research-derived rather than independently kitchen-tested. It is built from established cooking methods and recurring home-cook feedback, so use the visual cues and thermometer readings alongside the approximate timings.
Getting the Chicken and Sauce Right
Start With Even Chicken Cutlets
Chicken breast size varies wildly. One piece can be nearly twice as thick as another. Even a single breast can taper from a bulky center to a thin edge. That’s why this recipe starts by making four even cutlets.
Slice the breasts horizontally and aim for cutlets about ½ inch (1.25 cm) thick at their thickest point. They’ll brown quickly, and the center won’t lag far behind the edges.
Frozen chicken should be fully thawed first. Dry the surface well too. Moisture has to evaporate before browning can start. That’s why wet chicken so often looks pale even after several minutes in the pan.
If chicken breast often turns dry or uneven for you, our baked chicken breast guide goes further into thickness, temperature and judging doneness with a thermometer.
The flour coating here is deliberately light. Two tablespoons across the whole batch helps with browning and gives the sauce a little support. Shake off whatever doesn’t stick.
How to Brown the Chicken
The first sear is mainly about color and flavor. Give the chicken enough time against the hot skillet to turn properly golden and leave browned bits—also called fond—behind.
Leave the first side alone long enough to color. Chicken that has browned properly usually releases from the pan more easily than chicken you keep trying to turn too soon.
The same idea matters in chicken piccata: get real color on the cutlets first, then let the skillet do a different job once the sauce starts.
Give the Cutlets Room to Sear
Don’t squeeze broad cutlets into a crowded pan. One skillet doesn’t mean every piece has to occupy it at the same moment. If the pieces overlap or liquid starts pooling around them, cook in two batches.
Pull Each Cutlet When It Is Done
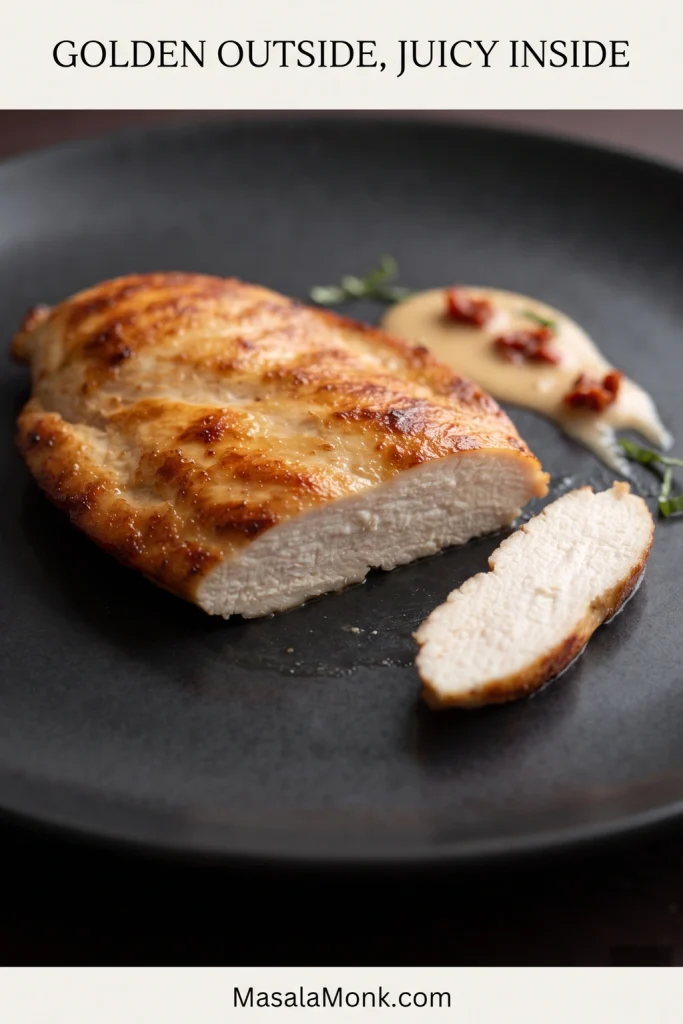
When the chicken comes out, it should look deeply golden even though the centers may still need finishing. Put those partially cooked cutlets on one plate. If a thinner piece has already reached 165°F (74°C), move it to a separate clean plate and leave it there until the sauce is finished.
Build the Sauce Before Adding Cream
Check the skillet once the chicken is out. Keep the golden-brown fond. Remove anything genuinely black or scorched, and pour off excess oil if the bottom looks greasy.
Cook the tomato paste for about a minute, until it starts to darken, then add the garlic for the final 30 seconds. Pour in the broth and scrape the bottom of the pan. Those browned bits already bring plenty of savory flavor, so you don’t need a bouillon cube or a mountain of Parmesan to make the sauce taste fuller.
Oil-packed sun-dried tomatoes work especially well here because they’re already tender, and a measured spoonful of their oil adds tomato flavor to the sear. Chop them fairly small so every serving gets some.
The Sauce Should Coat, Not Sit
Marry Me Chicken sauce should lightly coat the back of a spoon while still flowing easily when you tilt it.
It shouldn’t run around the plate like broth, and it shouldn’t sit in a stiff mound either. Stop reducing while it is still silky and easy to spoon.
A cream sauce can go from thin to almost paste surprisingly quickly, so watch this stage closely. Parmesan, the little bit of flour carried over from the chicken, and cooling will all give the sauce more body later.
Keep the cream at a low simmer. A hard boil can make the sauce disappear quickly and increases the chance of separation. Already too thick, grainy or oily? Jump to the troubleshooting table instead of trying to correct it blindly.
Why Pan Size Changes the Reduction
If you’ve ever halved a creamy skillet recipe and wondered why the sauce practically vanished, the pan may have been the reason.
With half the sauce in the same wide skillet, you have much less liquid spread across almost the same surface area. It can reduce surprisingly fast. A smaller skillet helps; if the 12-inch pan is all you have, turn the heat down and start checking sooner.
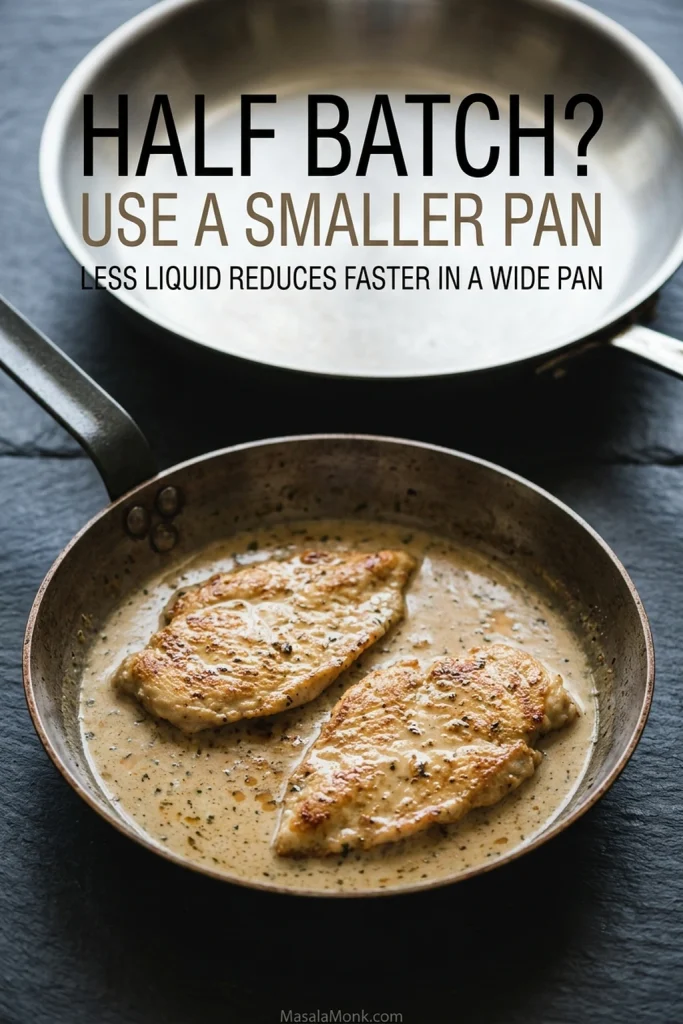
Once the sauce reaches that loose, spoon-coating stage, stop reducing. The Parmesan is what comes next.
Let the Pan Calm Down Before the Parmesan
Don’t add the Parmesan while the sauce is bubbling hard. Take the skillet off the heat, let the bubbling settle, then stir in freshly and finely grated Parmesan in two or three additions.
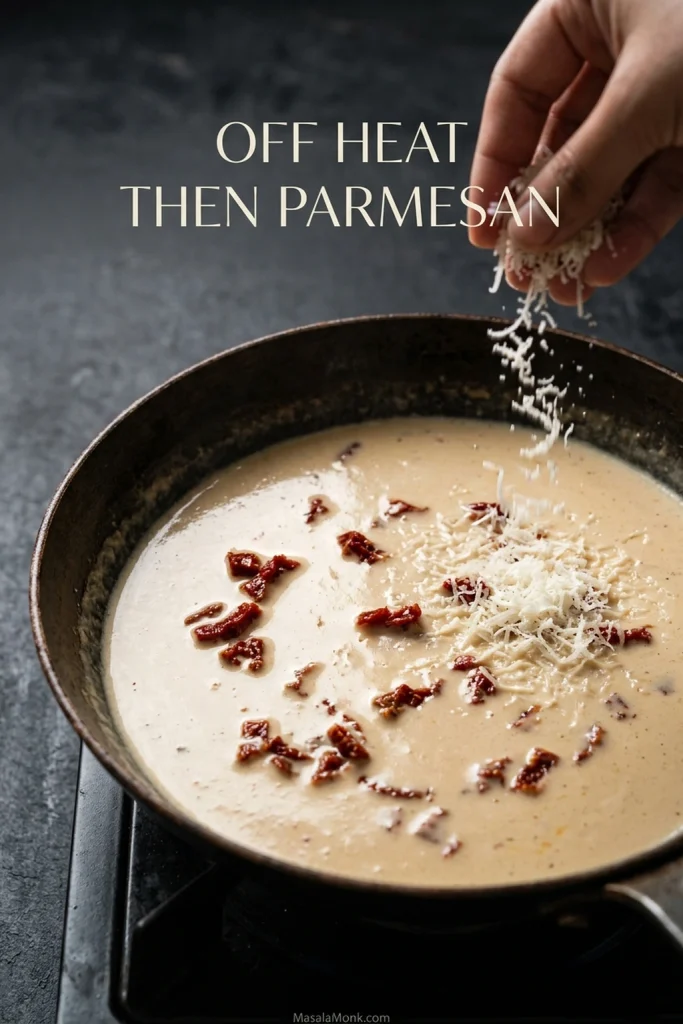
If you can, grate the Parmesan from a block. It usually melts more smoothly here than pre-shredded cheese. Once the sauce is glossy and smooth, return the chicken that still needs cooking and keep the heat low.
When Marry Me Chicken Goes Wrong
Start with what you can actually see in the skillet. Most problems come back to moisture, heat or how far the sauce has reduced.
| What you see | What to do |
|---|---|
| Sauce too thin or watery | Before adding Parmesan, keep it at a low uncovered simmer until it lightly coats a spoon. If the cheese is already in, use very low heat and remove the chicken while the sauce tightens. |
| Sauce too thick | Add low-sodium broth 1 tablespoon (15 ml) at a time until the sauce flows easily again. |
| Sauce grainy | The Parmesan probably got too hot or melted poorly. Remove the skillet from the heat and stir slowly. A fully grainy sauce may not become completely smooth again. |
| Sauce oily or separated | Take it off the heat and stop boiling. Slow stirring may help if the sauce has only just begun to split, but a fully broken sauce may not recover completely. |
| Sauce almost disappeared | The pan was too hot, too wide for the quantity, or the sauce simply reduced too long. Add broth gradually until it becomes spoonable again. |
| Chicken pale instead of golden | Dry the surface more thoroughly, preheat the skillet and leave more room between the cutlets. Use two batches when necessary. |
| Chicken is dry | Check that the cutlets are even and pull thinner pieces as soon as they’re done instead of waiting for every cutlet to finish together. |
| Sauce tastes rich but flat | Add the basil, taste for salt, then try a tiny squeeze of lemon if it still needs brightness. |
Useful Variations
These changes still keep the creamy sun-dried tomato sauce at the center of the dish.
Boneless chicken thighs
Use about 1½ lb (680 g) boneless, skinless chicken thighs. Brown them well, then cook until they reach at least 165°F (74°C). Their shape and thickness usually mean they need a little longer than breast cutlets. Thighs also tend to stay juicy if they cook somewhat beyond the minimum temperature.
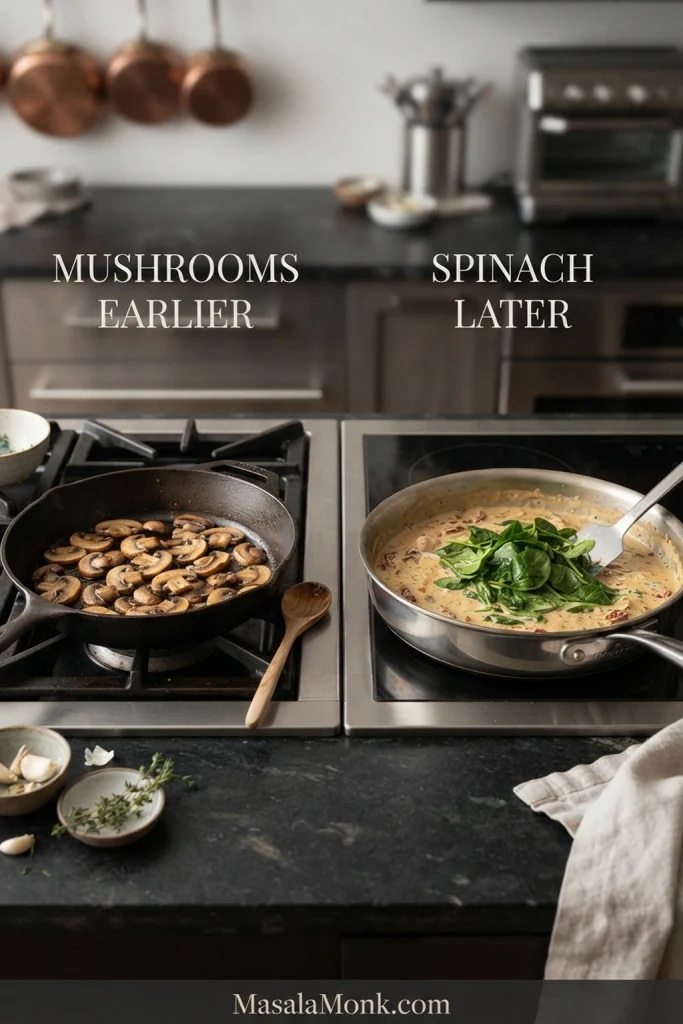
Spinach and Mushrooms Need Different Timing
Spinach
Stir in about 2 packed cups of baby spinach during the final minute of the cream reduction. Let it wilt, then take the skillet off the heat and continue with the Parmesan step. Adding the spinach before the cheese lets any extra moisture cook off first.
Mushrooms
Use about 8 oz (225 g) sliced cremini or button mushrooms. After the chicken comes out, brown the mushrooms in the same skillet. Wait until most of their released moisture has evaporated and the edges pick up color. Transfer them to a clean bowl or plate, build the sauce as written, then return the mushrooms near the end.
For a much more mushroom-forward dinner, MasalaMonk’s cream of mushroom chicken builds the sauce around them from the start.
No sun-dried tomatoes?
You can leave them out, but the sauce will lose some of the concentrated sweet-tangy flavor associated with Marry Me Chicken. Use 1 tablespoon (15 ml) olive oil for browning in place of the reserved tomato oil, and keep the tomato paste in the sauce.
Fresh tomatoes can still make a very good creamy tomato chicken, but they behave differently and won’t give you the same concentrated flavor.
For a much lighter or dairy-free version: heavy cream and Parmesan affect the structure of this sauce as well as its flavor. Simply replacing the cream with milk or a plant drink won’t give you the same result.
If lemon is what you actually want to lead, MasalaMonk’s lemon pepper chicken is a better fit. For a skillet where wine rather than cream drives the sauce, Chicken Marsala takes things in a different direction.
What to Serve with Marry Me Chicken
A good side either catches some of that sauce or brings freshness to an otherwise rich plate.
- Creamy mashed potatoes catch the sauce beautifully without competing with the chicken.
- Rice or crusty bread keep the plate simple and give the extra sauce somewhere useful to go.
- Green beans almondine add crisp-tender beans, toasted almonds and a little lemon beside the creamy chicken.
- Roasted broccoli, asparagus or a sharp green salad bring freshness when you want a lighter contrast.
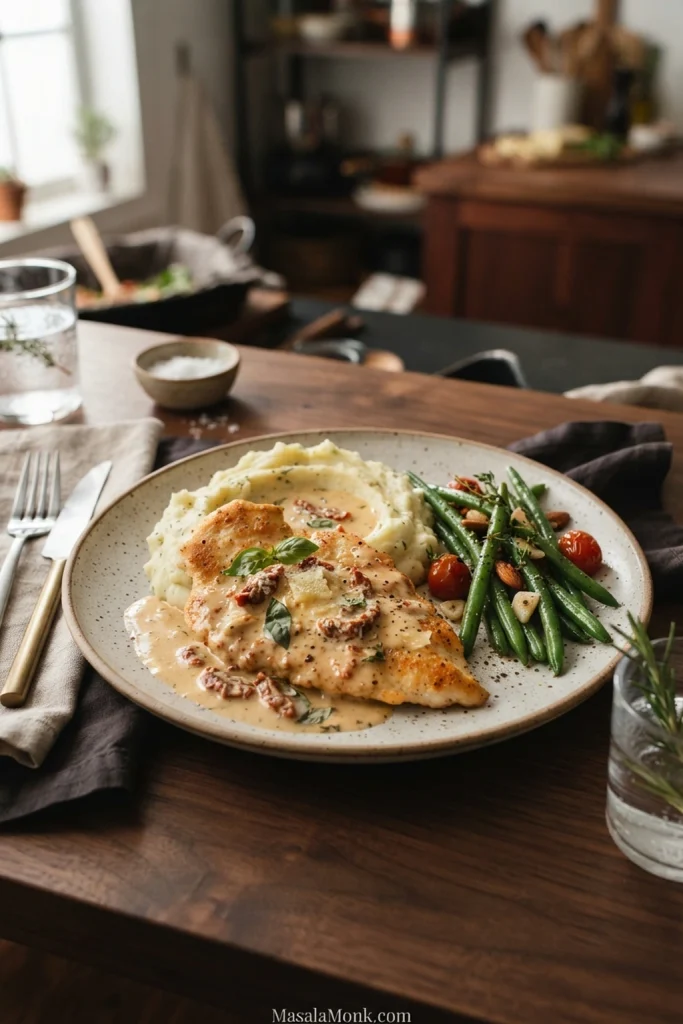
Pasta works underneath the chicken too. Keep the portion modest so the sauce still feels generous instead of disappearing into a large bowl of noodles.
Planning ahead or saving leftovers? Jump to storage and reheating for the low-heat method that keeps the cream sauce from tightening too far.
Make Ahead, Storage and Reheating
If you’re planning ahead, prep the ingredients rather than fully cooking the dish. Slice the chicken, chop the tomatoes, grate the Parmesan and measure the sauce ingredients earlier in the day. The finished chicken and sauce are best soon after cooking.
For leftovers, cool the chicken promptly and refrigerate it in a covered container for up to 3–4 days. Keep some sauce around the chicken rather than storing the pieces dry.
Reheat over low heat and avoid boiling. Cold cream sauce will be firmer, so add 1–2 tablespoons (15–30 ml) low-sodium broth per serving if it needs loosening.
Freezing is possible, but the texture is less dependable. Cream-and-cheese sauces can look grainy or slightly separated after freezing and thawing.
This is the sort of dinner worth bringing to the table in the skillet. Spoon the sauce over the chicken and scatter over a little more basil if you have it. Keep bread, rice or potatoes nearby for whatever is left in the pan.








