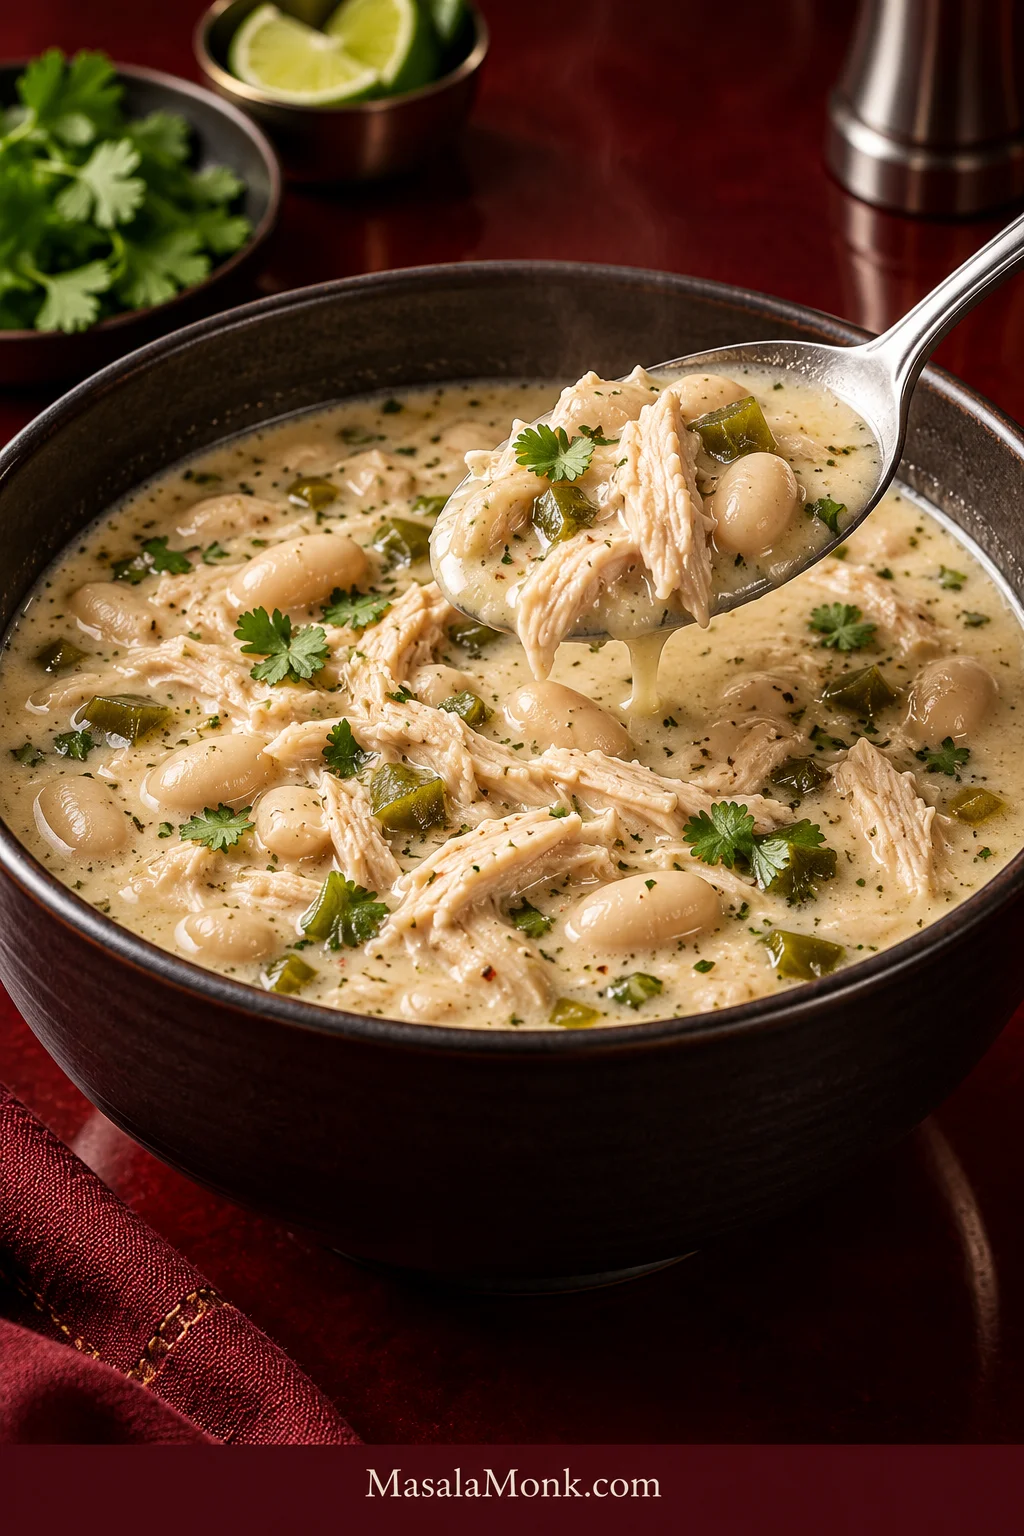
Good white chicken chili has tender shredded chicken and creamy white beans in a green-chile broth that lightly coats the spoon but still ladles easily. Cumin and garlic give it warmth, the peppers still come through under the creaminess, and fresh lime keeps the finished bowl bright rather than heavy.
This stovetop version starts by softening the peppers and blooming the spices, then lets the beans provide most of the body. Some stay whole, some are mashed, and a modest amount of cream cheese goes in once the broth is nearly where it needs to be. Use raw chicken breast for the full method, or rotisserie chicken to skip the raw-chicken cooking and shredding step.
White Chicken Chili Recipe
A one-pot stovetop chili with tender chicken, creamy white beans, poblano, green chiles, warm cumin and a fresh lime finish. The broth stays rich and spoonable without becoming heavy or cheese-dominated.
Equipment
- 5–6 quart / 4.7–5.7 L Dutch oven or other heavy pot
- Instant-read thermometer
- Potato masher or sturdy fork
- Small heatproof bowl
Ingredients
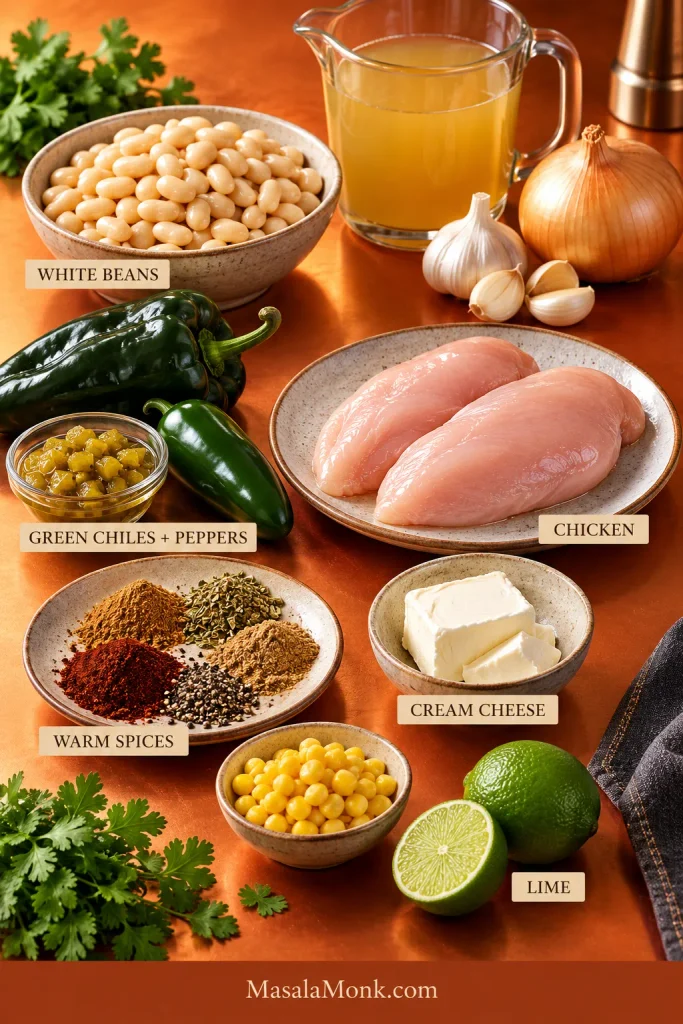
- 2 tablespoons olive oil / 30 ml
- 1 medium yellow onion, diced (about 1½ cups / 200 g)
- 1 medium poblano pepper, seeded and diced (about 100 g)
- ½–1 jalapeño, finely chopped; remove the ribs and seeds for less heat
- 4 garlic cloves, minced
- 2 teaspoons ground cumin
- 1 teaspoon dried oregano
- 1 teaspoon ground coriander
- ¼ teaspoon freshly ground black pepper
- 1 teaspoon ancho chile powder or another mild ground chile
- ½ teaspoon fine sea salt to start, plus more to taste
- 2 cans (15 oz / 425 g each) Great Northern, cannellini or navy beans, drained and rinsed
- 2 cans (4 oz / 113 g each) diced mild green chiles, undrained, 8 oz / 227 g total
- 2½ cups / 590 ml low-sodium chicken broth, plus up to ½ cup / 120 ml more as needed
- 1½ lb / 680 g boneless, skinless chicken breasts
- 1 cup / about 150 g frozen corn, optional; no need to thaw
- 4 oz / 113 g full-fat cream cheese, softened
- 1 tablespoon / 15 ml fresh lime juice to start, plus more to taste
- ¼ cup chopped fresh cilantro, optional
- Cayenne pepper or hot sauce, optional, for extra heat at the end
- Avocado, shredded Monterey Jack, sour cream, tortilla strips and extra lime wedges, for serving as desired
Instructions
- Soften the onion and peppers. Heat the olive oil in the Dutch oven over medium heat. Add the onion, poblano and jalapeño with a small pinch of the measured salt. Cook for 5–6 minutes, stirring occasionally, until the onion is translucent and the peppers have softened.
- Bloom the garlic and spices. Add the garlic, cumin, oregano, coriander, ancho chile powder, black pepper and the rest of the salt. Stir for 30–60 seconds, until the cumin, garlic and peppers smell distinctly fragrant. Do not let the garlic or ground spices scorch.
- Build the broth. Add both cans of beans, the undrained green chiles and 2½ cups / 590 ml chicken broth. Keep the remaining ½ cup / 120 ml broth aside so you can loosen the finished chili only if it needs it.
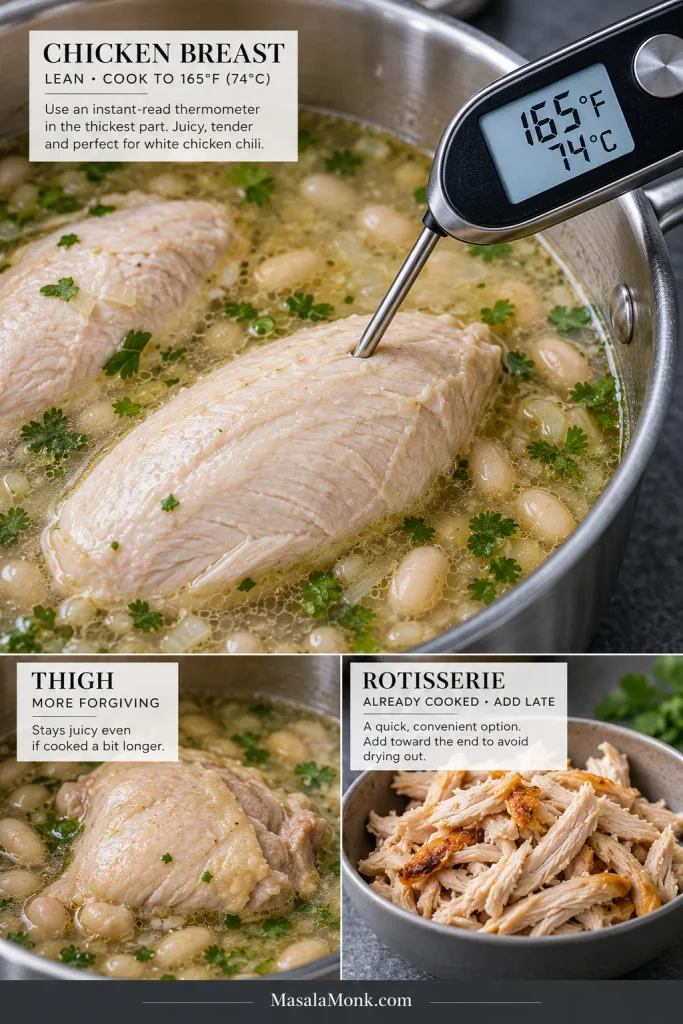
- Cook the chicken gently. Nestle the chicken breasts into the pot and bring the liquid just to a simmer. The chicken does not need to be completely submerged. Reduce the heat so the broth bubbles gently, partially cover, and cook until the thickest part reaches 165°F / 74°C, usually 12–18 minutes depending on thickness. Turn very thick pieces once halfway through if a large portion sits above the liquid.
- Remove and shred the chicken. Transfer the cooked chicken to a board or shallow bowl and let it rest for a few minutes before shredding. Keep the pot at a gentle simmer while you continue.
Mash Some Beans, Keep Most Whole
- Thicken with the beans. Mash about 1 cup of the beans against the side and bottom of the pot with a potato masher or sturdy fork. Stir well. The broth should begin to look creamier while plenty of whole beans remain visible.

Finish and Rest
- Return the chicken. Add the shredded chicken and the corn, if using. Simmer uncovered for 3–5 minutes. The broth should begin clinging lightly to the chicken and beans. If it still looks watery, give it another few minutes uncovered before adding the cream cheese.
- Add the cream cheese. Reduce the heat to low. Put the softened cream cheese in a heatproof bowl and whisk in about ½ cup of hot chili liquid a little at a time until smooth. Stir it back into the pot and keep the heat gentle. The chili should look smooth and creamy without becoming thick like a dip.
- Let the chili rest. Remove the pot from the heat for 5–10 minutes. As the beans absorb a little more liquid, the broth should settle around the shredded chicken and whole beans instead of running thinly away from them.
- Finish the flavor. Stir in 1 tablespoon / 15 ml lime juice, then taste for salt, brightness and heat. Add more lime, cayenne or hot sauce only as needed. If the chili has thickened more than you want during the rest, loosen it with reserved broth 2–4 tablespoons / 30–60 ml at a time. Stir in the cilantro or offer it at the table.
Recipe Notes and Shortcuts
- Chicken thighs: Use roughly the same weight of boneless, skinless thighs. They are safe at 165°F / 74°C and stay forgiving beyond that; they often become more tender around 175–185°F / 79–85°C.
- Dairy options: For no cream cheese, mash about ½ cup more beans and leave the chili dairy-free. Or finish it off the heat with about ½ cup / 120 g full-fat Greek yogurt or sour cream. For heavy cream, stir in ¼–½ cup / 60–120 ml after the broth has thickened. Keep the mashed-bean step so the beans still give the broth its body.
- Mild chili: Use half a seeded jalapeño or leave it out. The poblano and mild green chiles still give the pot plenty of pepper flavor.
- Salsa verde: For a tangier tomatillo variation, stir in roasted salsa verde to taste once the chili is nearly finished. Go carefully with the lime because salsa verde already brings acidity.
Food-safety note: The safe minimum internal temperature for chicken is 165°F / 74°C; see the FoodSafety.gov temperature chart.
Research note: MasalaMonk developed this recipe by comparing established white chicken chili methods, ingredient ratios and recurring home-cook troubleshooting. This exact version has not been independently kitchen-tested by MasalaMonk.
Getting White Chicken Chili Right on the Stovetop
In This Guide
Beans, Chiles & Chicken
Control the Texture
Great Northern, Cannellini or Navy Beans
All three can make excellent white chicken chili. Keep most of the beans whole so every spoonful still has texture, then crush enough to give the surrounding broth some natural creaminess.
| Bean | What to expect |
|---|---|
| Great Northern | Tender, mild and easy to mash. A very good all-purpose choice for a creamy broth. |
| Cannellini | Creamy inside but slightly better at staying intact, so more distinct whole beans remain in the bowl. |
| Navy | Small and soft, making them especially easy to mash into the broth. |
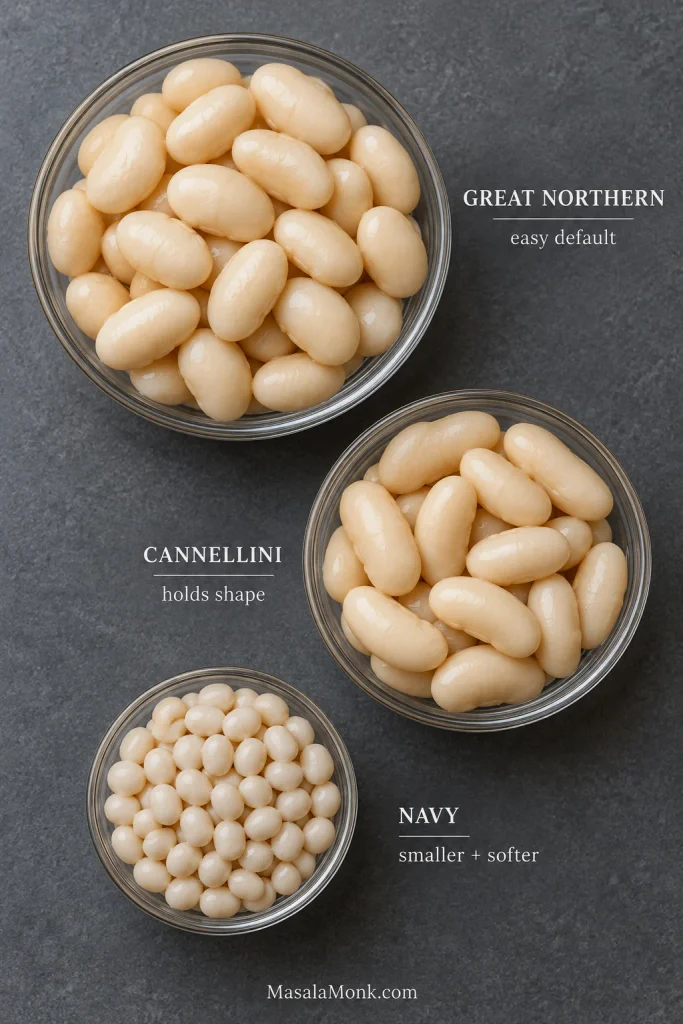
If you are standing in the grocery aisle and do not want another decision, use Great Northern beans. Already have cannellini or navy beans? Use them. The way the beans are handled matters more than the label on the can.
Drain and rinse them so the salt and liquid stay under your control. Bean-can liquid can add starch, but its sodium level, thickness and flavor vary from brand to brand.
Our White Bean Soup uses the same idea of keeping some beans whole while others give the broth body, but takes the finished bowl in a softer, brothier direction.
Build the Flavor Before the Broth Goes In
Give the onion, poblano and jalapeño several minutes in the hot oil before adding any liquid. Once the garlic and spices join them, the pot should smell distinctly of toasted cumin, garlic and green pepper rather than raw onion.
Cumin is the backbone here, with coriander, oregano and mild ancho chile around it. Mexican oregano is especially good in this chili if you already keep it in the pantry, but it is not worth making a special shopping trip for; regular dried oregano works well.
Poblano and canned green chiles give the broth its deeper pepper flavor, while jalapeño supplies the fresh heat—and one jalapeño can be much hotter than the next. For more fresh-chile heat from the start, use serrano instead of or alongside the jalapeño. After cooking, use cayenne or hot sauce if the pot still needs more heat.
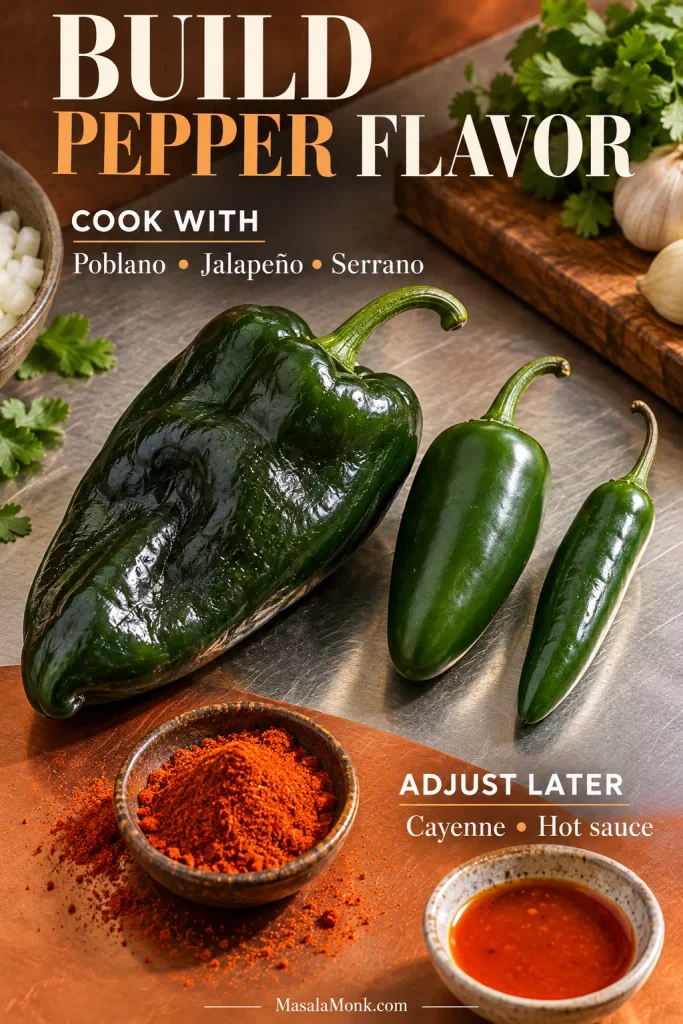
Keeping the whole pot mild does not mean every bowl has to be. A spoonful of Pico de Gallo adds fresh chile, tomato, cilantro and lime at the table.
Unlike the chiles and spices, add the lime after cooking. It wakes up the creamy broth and makes the green chiles taste clearer instead of disappearing into the richness.
Choosing the Chicken
Chicken breast gives the lean, familiar shredded texture used in the main recipe, but breast pieces can vary a lot in thickness. Let the thermometer rather than the clock decide when they come out of the pot.
Boneless thighs are richer and more forgiving if the chili needs a little extra simmering. Rotisserie chicken is the shortcut choice: skip the poaching step and add the cooked meat only long enough to warm through.
Make It Thick Before You Make It Creamy
Richness and thickness are not quite the same thing. Bean starch and a short uncovered simmer give this chili its body; dairy comes afterward for a smoother finish.
Cream Cheese and Other Dairy Options
The main recipe uses a modest amount of cream cheese. Once the broth has body, it makes the chili creamier without muting the poblano, cumin and lime.
For a cream-cheese-free version, mash a little more of the beans. You can stop there for a dairy-free bowl, or finish the chili off the heat with Greek yogurt or sour cream. Greek yogurt gives a lighter tang; sour cream gives a fuller, creamier finish. Lower-fat yogurt is more prone to splitting, so whisk a little hot chili into it before stirring it into the pot.
Heavy cream gives a silkier finish. Add it only after the broth has thickened so it enriches the chili rather than becoming the main thickener.

Start With 2½ Cups of Broth
Start with 2½ cups / 590 ml and keep another ½ cup / 120 ml nearby. Pot width, bean texture and evaporation all affect the final consistency. Adding a little broth later is easier than trying to cook out too much.
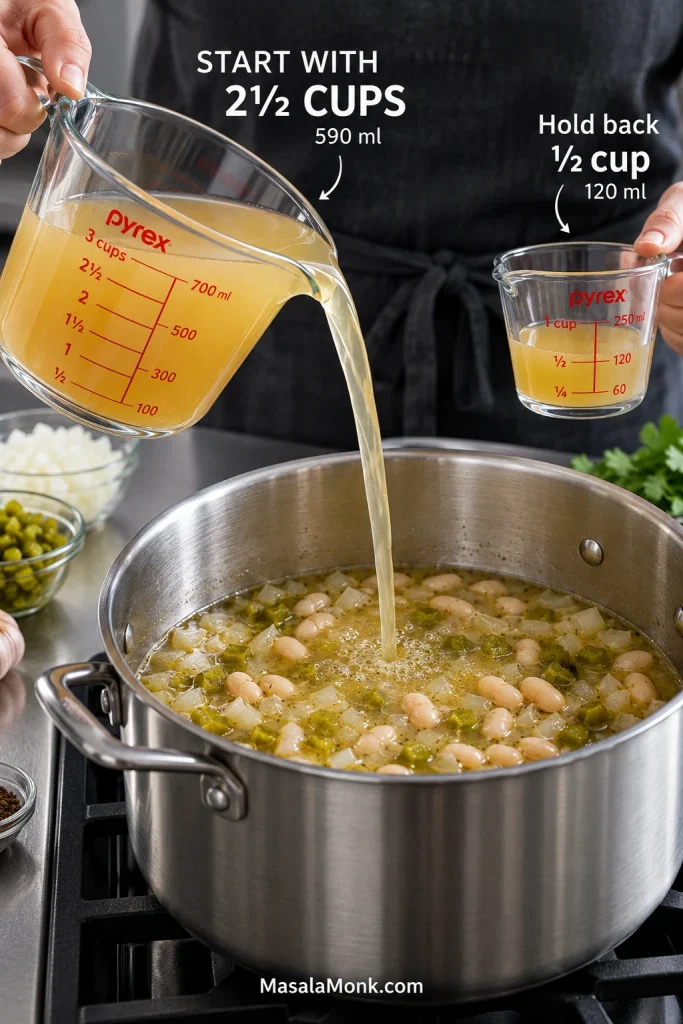
Do not top up the pot simply because part of the raw chicken sits above the liquid. A partially covered gentle simmer is enough; turn a very thick piece once if needed and let the thermometer tell you when it is done.
The Texture You’re Looking For
Lift a spoonful. The broth should coat the shredded chicken and beans, but everything should still settle easily back into the bowl. It should feel like chili, not dip and not chicken soup.
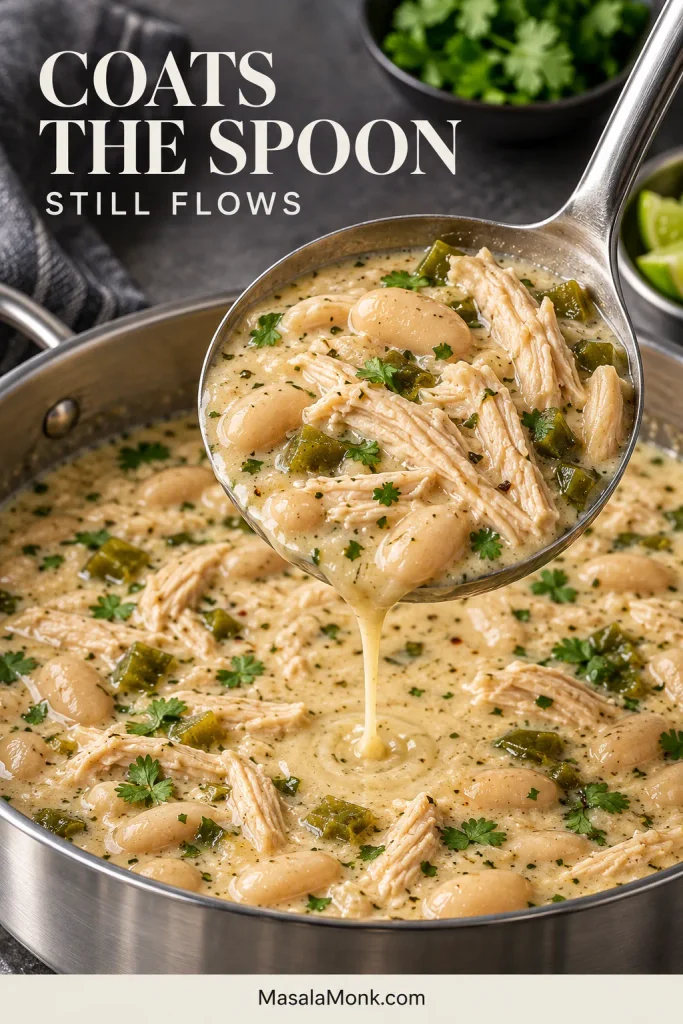
For a quick check, drag a spoon through a ladleful. The liquid should briefly part and then slowly close around the beans and chicken. A gap that disappears immediately points to a thin pot; one that barely closes means the chili needs a little broth.
Make the final call only after the 5–10 minute rest. By then, one spoonful should carry shredded chicken, whole beans and creamy broth together instead of leaving thin liquid behind. Refrigerated leftovers will thicken further.
Prefer something intentionally brothier? Try our Chicken Tortilla Soup.
Fix My White Chicken Chili
If the pot is already in front of you, start with what you can see and taste instead of automatically adding more cream cheese or another spoonful of spices.
| What you see or taste | What to do now |
|---|---|
| Thin like soup | Let it rest first. Still thin? Mash more beans and simmer uncovered. |
| Thick like a dip | Add broth 2–4 tablespoons / 30–60 ml at a time, stirring between additions. If you are unsure how much to hold back next time, revisit broth control. |
| Flat or bland | If the chili is also thin and diluted, simmer it uncovered for a few minutes before adding more seasoning. Otherwise, use the salt → lime → heat check below. |
| Too spicy | Add more beans first if you have them, then only enough broth to keep the chili spoonable. Sour cream or avocado at serving can soften the heat too. |
| Cream cheese stays lumpy | Ladle some hot broth along with the cream-cheese lumps into a heatproof bowl, whisk until smooth, then stir it back into the pot. Keep the heat low. See Cream Cheese and Other Dairy Options for the smoother method. |
| Yogurt or sour cream split | Take the pot off the heat immediately and stir gently; do not keep boiling it. The texture may stay slightly grainy, but the flavor is usually fine. Next time, temper the dairy with a little hot chili before adding it. |
| Chicken turns dry | Stop cooking it. Shred it smaller and return it only at serving. A little extra broth in the bowl can make it feel less dry, but overcooked breast will not become juicy again. For the next batch, revisit Choosing the Chicken. |
Balance Salt, Lime and Heat
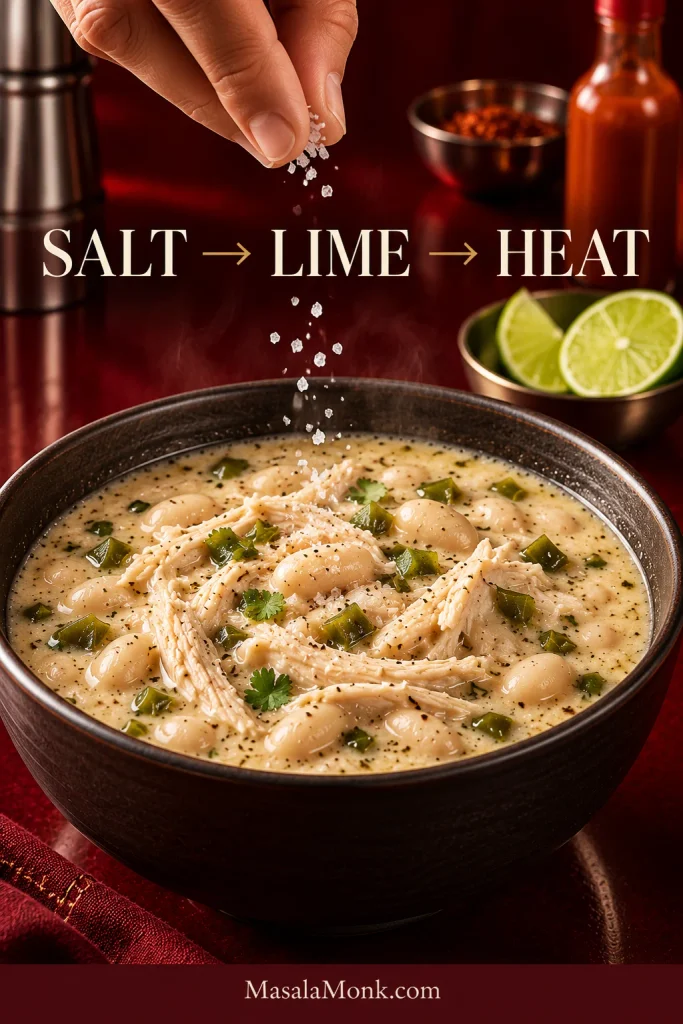
For a chili that simply tastes dull, use this order: salt → lime → heat. Salt sharpens what is already there, lime makes the creamy broth feel brighter, and extra chile makes more sense once those first two are balanced.
Finish the Bowl
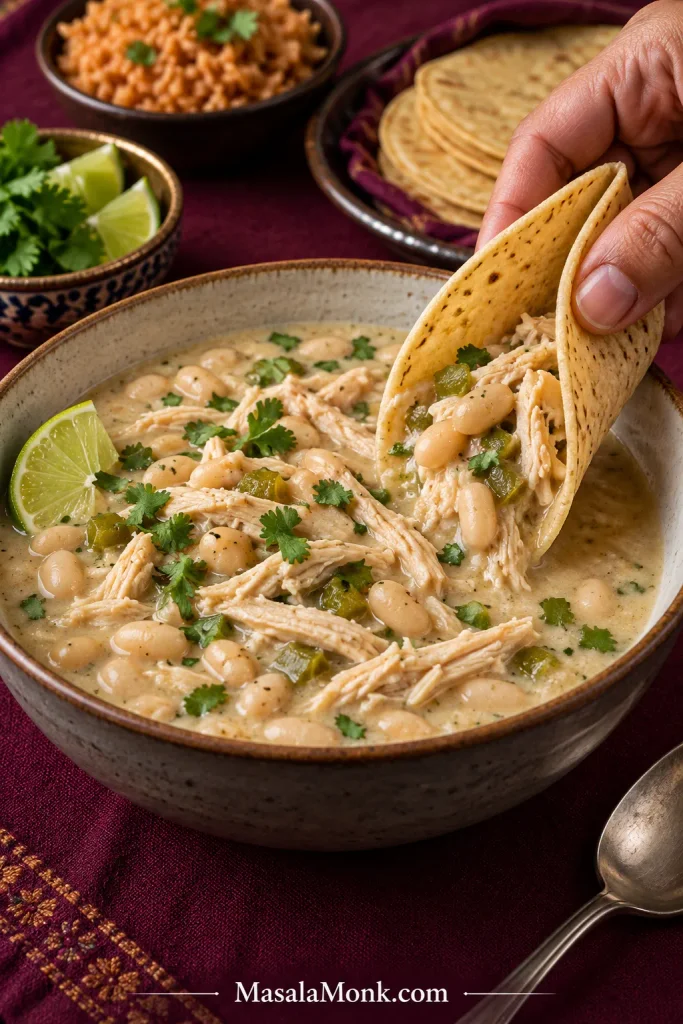
You do not need a mountain of toppings. A few crisp tortilla strips, avocado and a final squeeze of lime give you hot creamy broth, cool avocado and crunch in the same spoonful. Cilantro adds freshness, while Monterey Jack or a small spoonful of sour cream brings extra richness when you want it.
Soft homemade corn tortillas are excellent alongside the bowl, while a small helping of Mexican Rice turns it into a fuller meal.
Make Ahead, Store and Reheat
Refrigerate: Transfer leftovers to shallow containers and refrigerate within 2 hours of cooking. Keep covered and use within 3–4 days, in line with USDA leftovers guidance.
Reheat: Warm gently on the stovetop or in the microwave. Add broth or water 1–2 tablespoons / 15–30 ml at a time until it loosens back to the consistency you want. Reheat leftovers thoroughly to 165°F / 74°C.
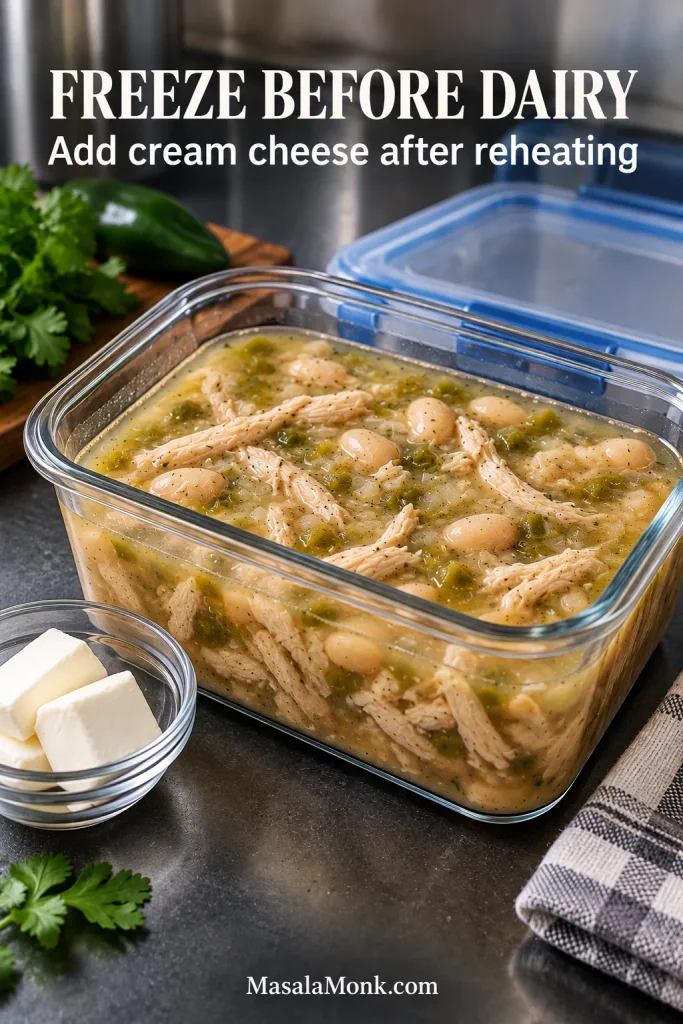
Freeze Before Dairy
Finished white chicken chili can be frozen, although the dairy may be slightly less smooth after thawing. For the smoothest texture when meal-prepping, freeze the chili before adding cream cheese, then add the dairy after thawing and reheating.