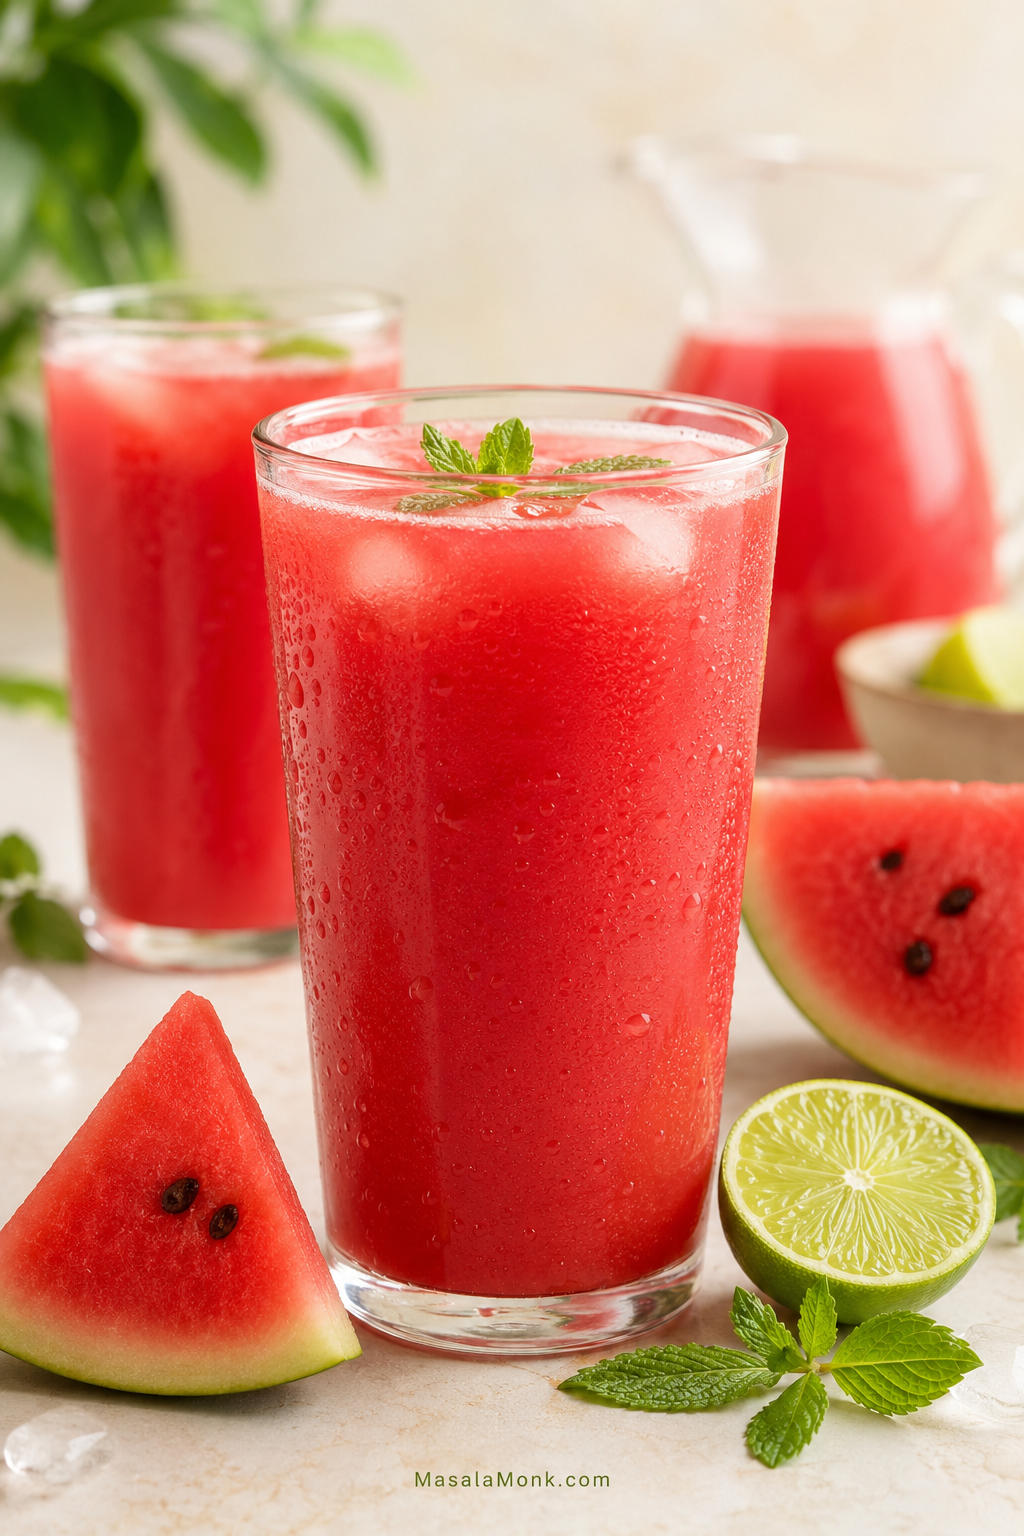
There are days when a cold glass of watermelon juice feels better than dessert: icy, ruby-red, naturally sweet, and bright enough to wake you up in a few sips. The only catch is that it can turn flat or watery if you blend it the wrong way.
This watermelon juice recipe keeps the flavor bold by blending cold watermelon without added water, then balancing it with lime or lemon and a small pinch of salt. You do not need a juicer, and you can leave it pulpy, strain it smooth, or turn the same base into watermelon cucumber juice, watermelon pineapple juice, mint watermelon juice, or Indian-style tarbooz juice with black salt.
The best glass should taste like biting into cold watermelon, not like watermelon-flavored water. That is why this method starts with chilled fruit, skips added water, and adjusts only after you taste: citrus for lift, a tiny pinch of salt for brightness, and more cold fruit for body.
What’s in This Guide
Make the Juice
Variations & Storage
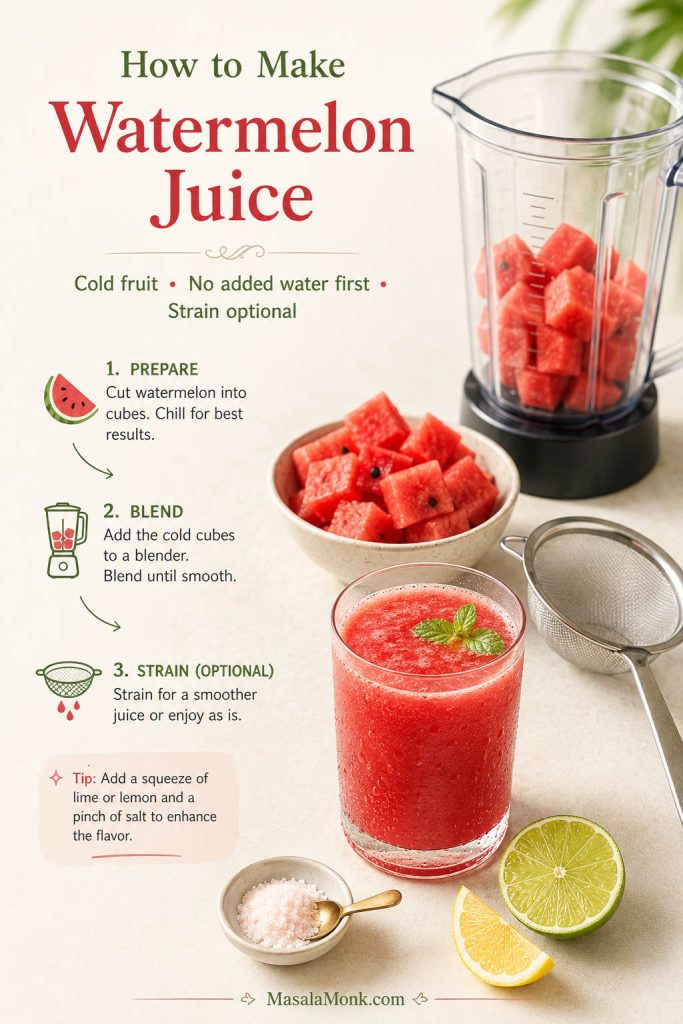
Quick Answer: How to Make Watermelon Juice
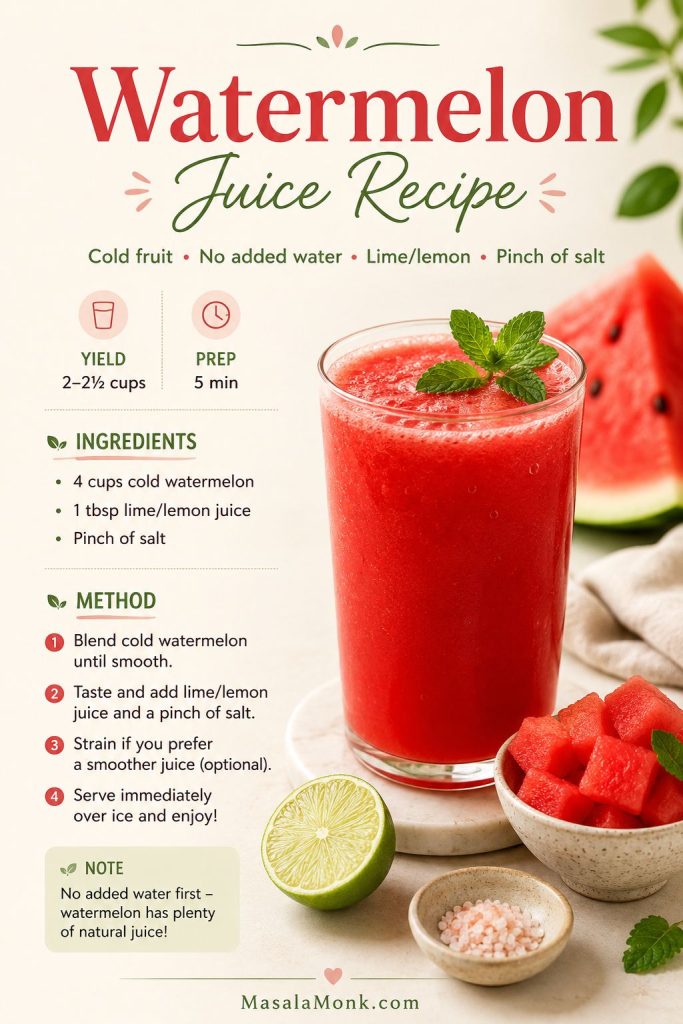
Blend 4 cups cold seedless watermelon cubes with 1 tablespoon fresh lime or lemon juice and a small pinch of salt. Do not add water at first. Strain the juice if you want it smooth, or leave it unstrained for a thicker, pulpy, fresh-fruit texture. Serve it over ice right away, or chill it briefly and stir before pouring.
Sweet watermelon needs very little help. Bland fruit is where the lime-and-salt trick matters most. That small adjustment is what turns watery blended fruit into a bright, cold glass that actually tastes alive.
If your juice tastes flat, thin, or pulpy after blending, use the flavor fixes before adding more ice or sugar.
Why This Watermelon Juice Works
The best version should taste like cold, ripe watermelon first: clean, juicy, and bright. Everything else in this recipe is there to protect that flavor, not cover it up.
- No juicer needed: Watermelon blends easily because it is naturally full of juice.
- No added water: The drink stays sweet, fresh, and concentrated instead of diluted.
- Lime or lemon wakes it up: A little acidity lifts even average watermelon.
- A small pinch of salt helps: Regular salt sharpens the sweetness; black salt gives an Indian-style summer cooler flavor.
- Straining is optional: Keep the pulp for body, or strain the juice for a cleaner pitcher-style drink.
Because the base is so clean, you can use it for everyday drinking, mocktails, brunch drinks, popsicles, or cocktails like a watermelon margarita.
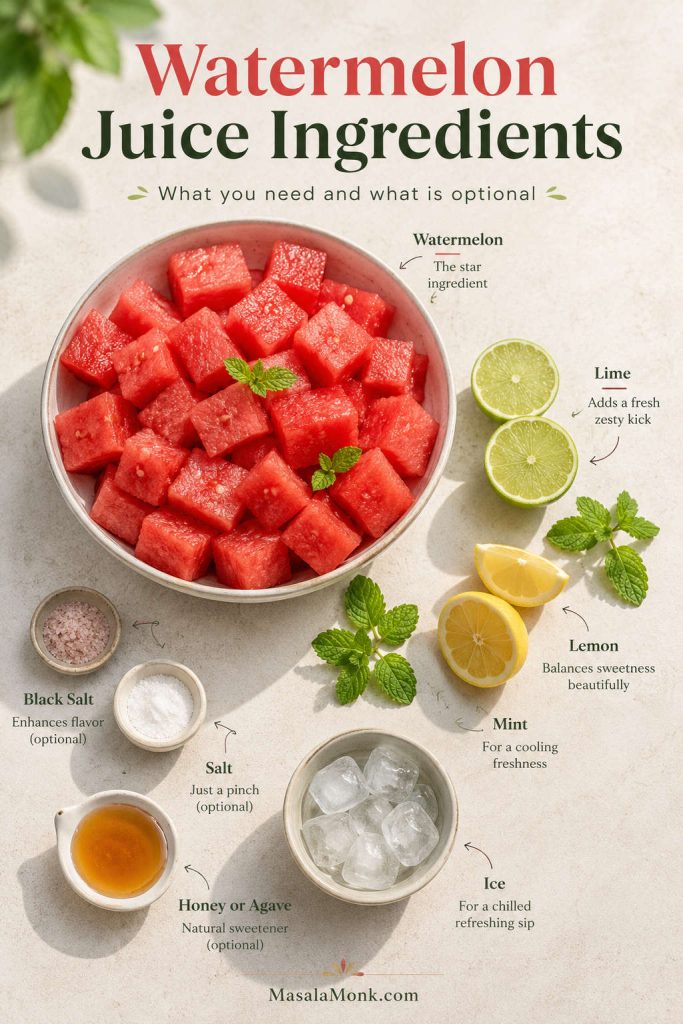
Ingredients for Watermelon Juice
You only need watermelon for the simplest version, but lime or lemon and a little salt make the drink taste much more alive.
| Ingredient | US Measure | Metric | Why It Matters |
|---|---|---|---|
| Cold seedless watermelon cubes | 4 cups | About 600 g | The main body, sweetness, and color of the drink. |
| Fresh lime or lemon juice | 1 tablespoon | 15 ml | Lifts the flavor and fixes flat-tasting fruit. |
| Fine salt or black salt | Small pinch, up to 1/8 teaspoon | About 0.5 g | Makes the fruit taste sweeter and more refreshing. |
| Fresh mint leaves | 6–10 leaves | Optional | Adds a cooling summer flavor. |
| Honey, sugar, or agave | 1–2 teaspoons | Optional | Use only if the watermelon is not sweet enough. |
| Ice | As needed | Optional | Serve over ice, but avoid blending in too much ice because it waters down the flavor. |
Seedless vs Seeded Watermelon
Seedless watermelon is easiest because you can cube and blend it quickly. If you have seeded watermelon, remove as many black seeds as possible before blending. A few small white seeds are usually fine in a blender, especially if you plan to strain the juice.
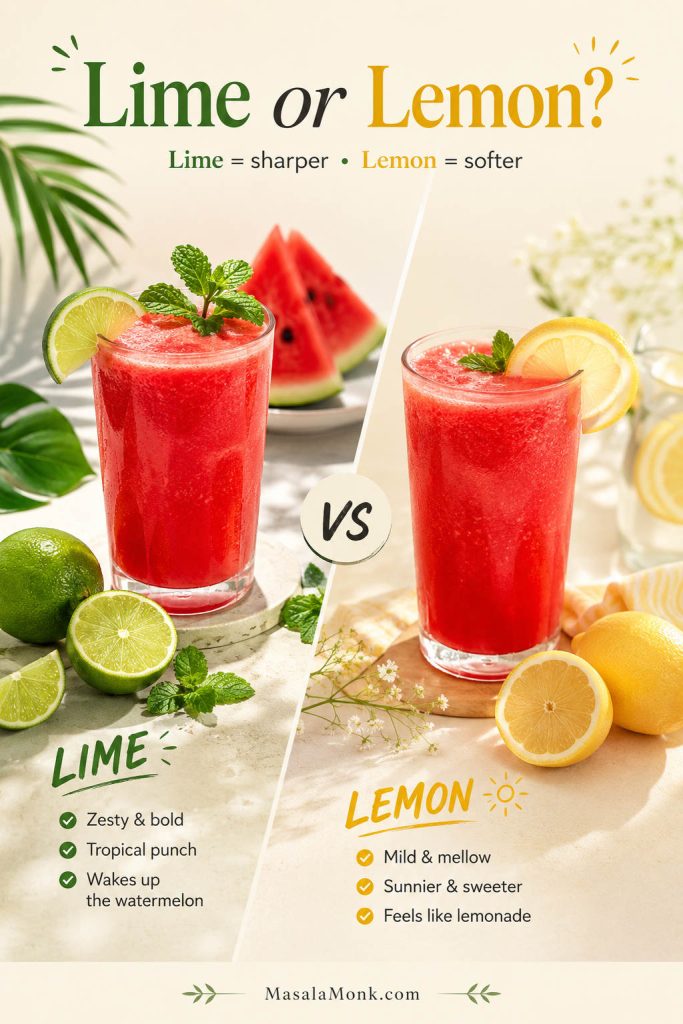
Lime or Lemon?
Lime gives the drink a sharper, more tropical edge. Lemon tastes softer and more familiar, especially if you are making watermelon lemonade or Indian-style tarbooz juice. Either works, so use what you have.
Do You Need Sugar?
Usually, no. A ripe watermelon should be sweet enough. However, if the fruit is pale, bland, or not fully ripe, add 1–2 teaspoons of honey, sugar, simple syrup, or agave. Start small because the drink should still taste fresh, not syrupy.
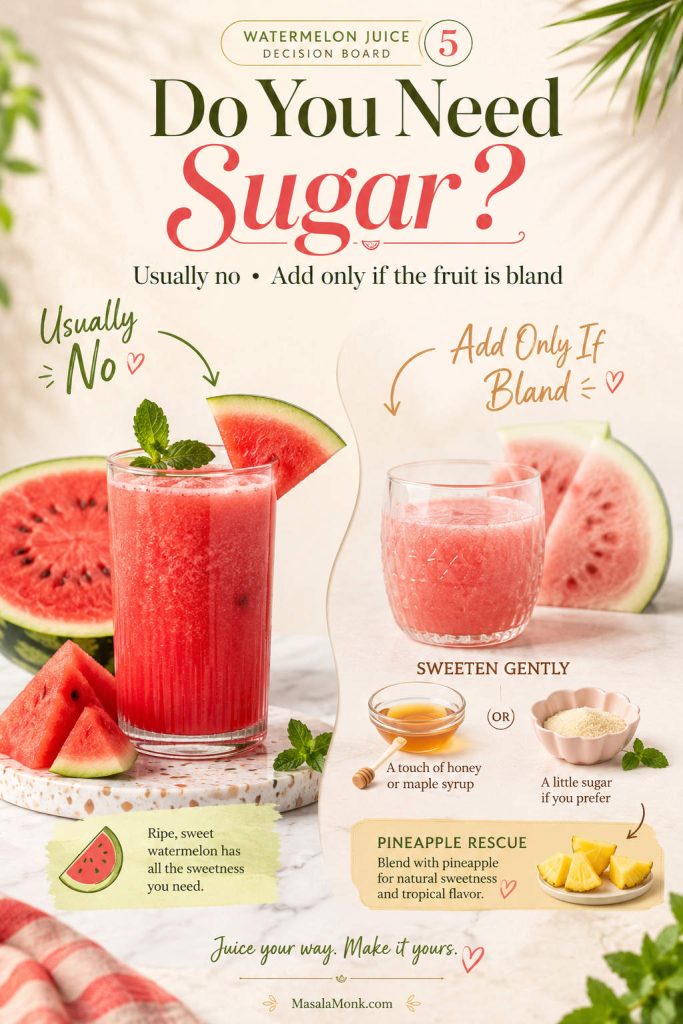
If your watermelon needs help but you do not want to lean on sugar, pineapple is one of the easiest fruit fixes. For another naturally sweet tropical drink, this pineapple mango juice follows the same fruit-forward idea.
How to Pick a Sweet Watermelon
The best juice starts before the blender. If the melon is sweet and ripe, the recipe needs almost no help. If you only check two things, choose one that feels heavy for its size and has a creamy yellow field spot.
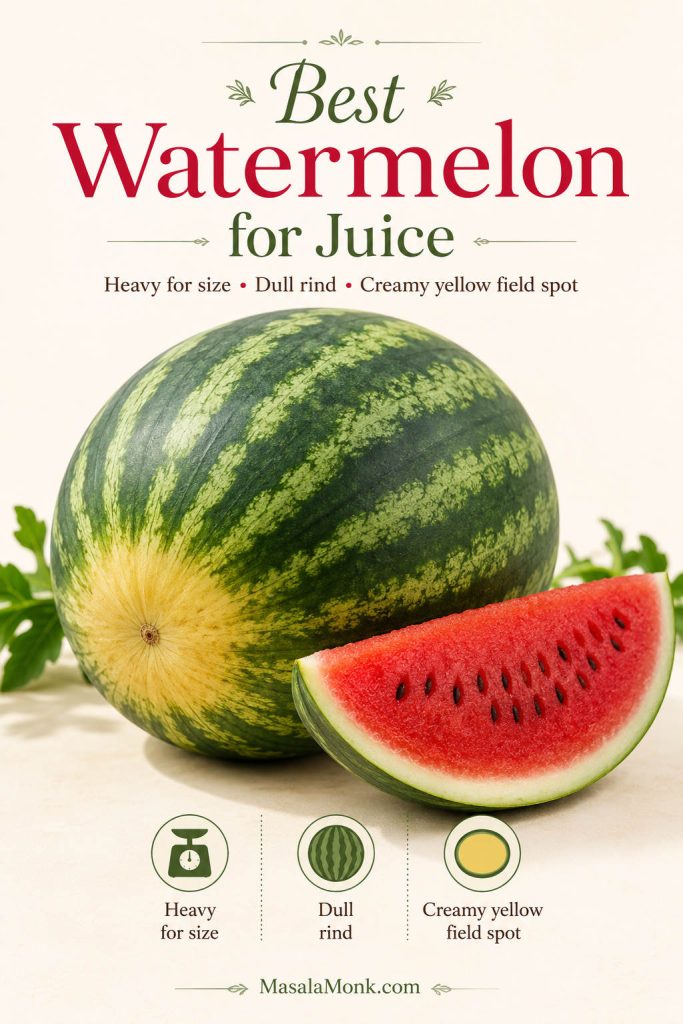
- Heavy for its size: A juicy watermelon should feel heavier than it looks.
- Dull rind: A shiny rind can mean the fruit is underripe.
- Creamy yellow field spot: This is where the melon rested on the ground. A deeper yellow spot usually suggests better ripeness.
- Symmetrical shape: Avoid oddly dented or misshapen fruit when possible.
- No soft spots or sour smell: Once cut, the flesh should smell fresh and sweet, not fermented.
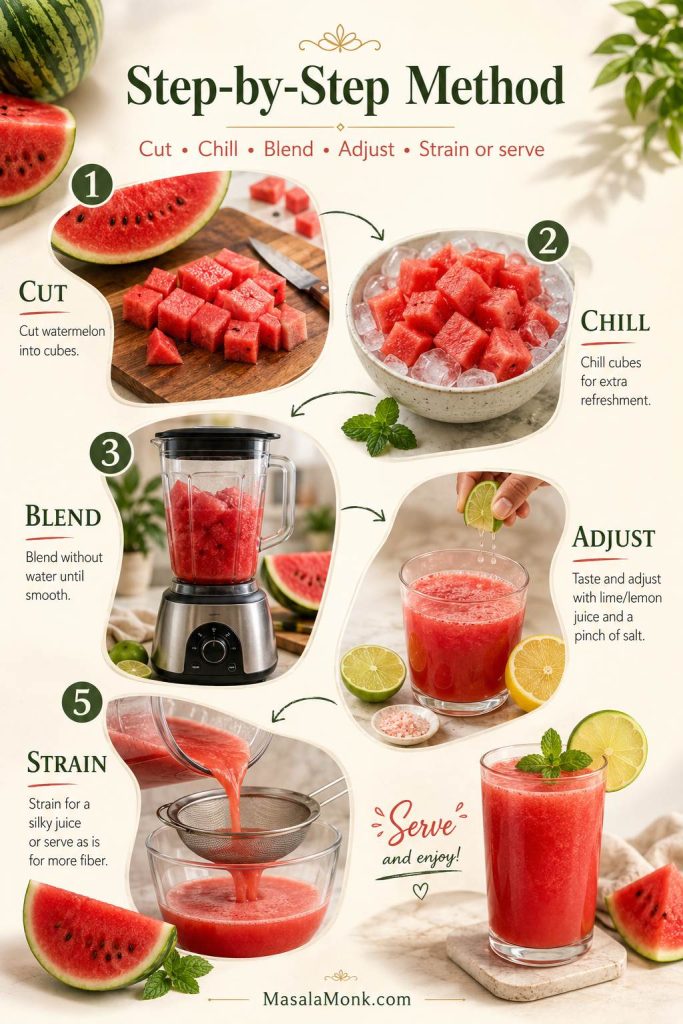
How to Make Watermelon Juice in a Blender Without a Juicer
This is the easiest clean method because it is fast, low-effort, and does not require special equipment. You do not need a perfect watermelon for it to work. A great melon needs almost nothing; an average one can still become a good drink with citrus, salt, cold temperature, or a little pineapple.
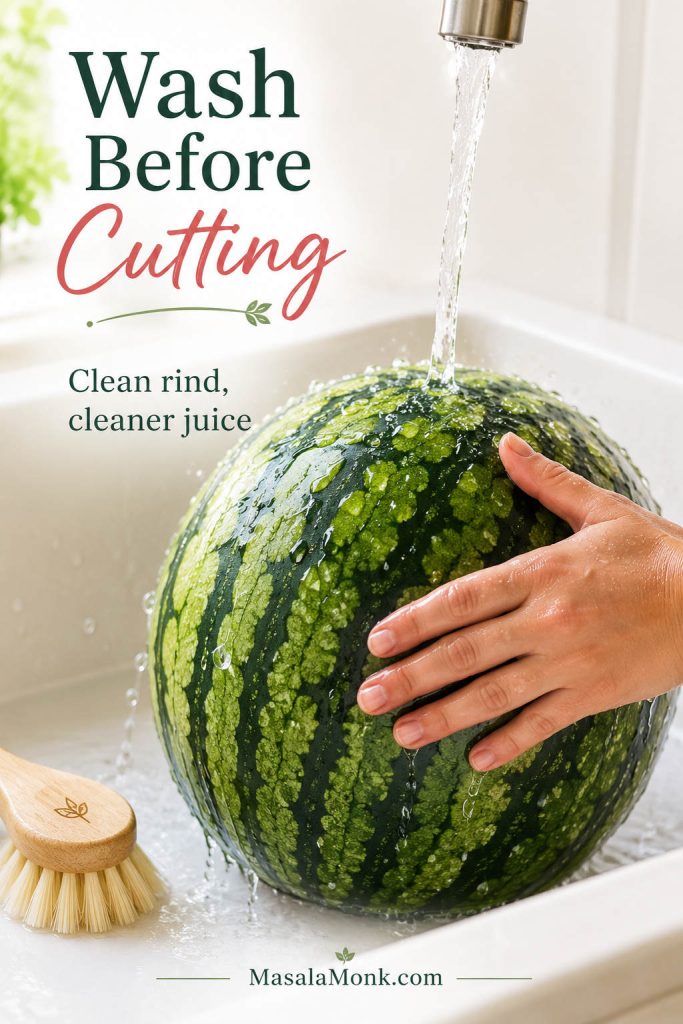
Wash the Watermelon Before Cutting
Rinse the outside before cutting, and scrub the rind under running water if it feels dusty or dirty. You do not eat the rind, but the knife passes through it into the fruit, so a clean outside matters. Food-safety guidance also recommends washing produce before cutting, even when you do not eat the skin.
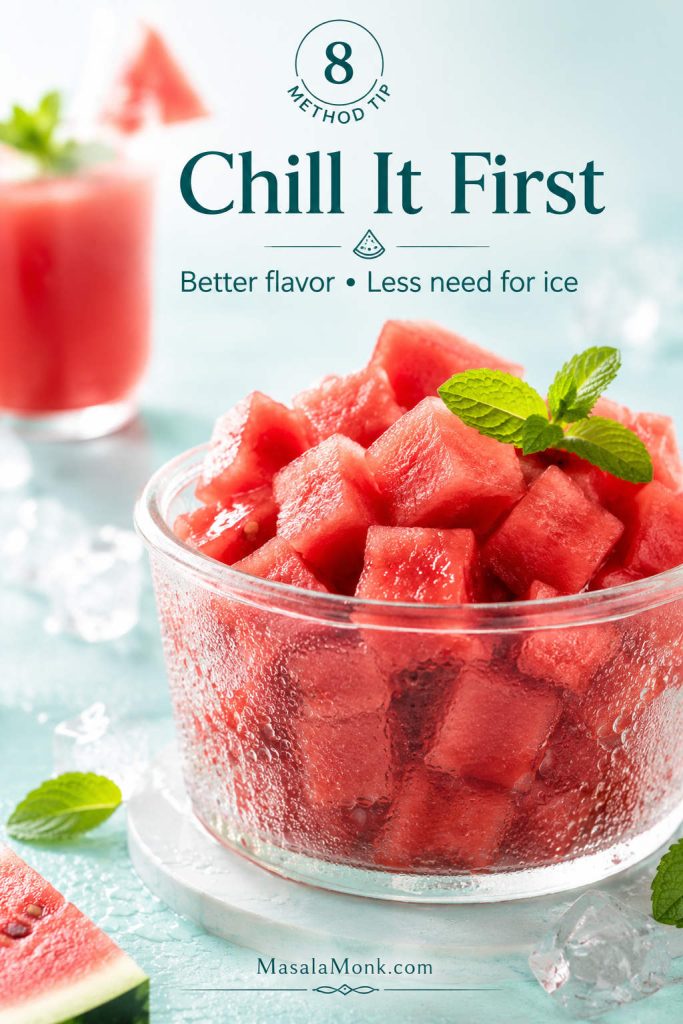
Chill the Watermelon
Cold fruit makes better juice. If the watermelon is already cold, you can serve the drink right away without blending in extra ice. If it is room temperature, cube it and chill the pieces for 30 minutes before blending, or chill the finished pitcher briefly before serving.
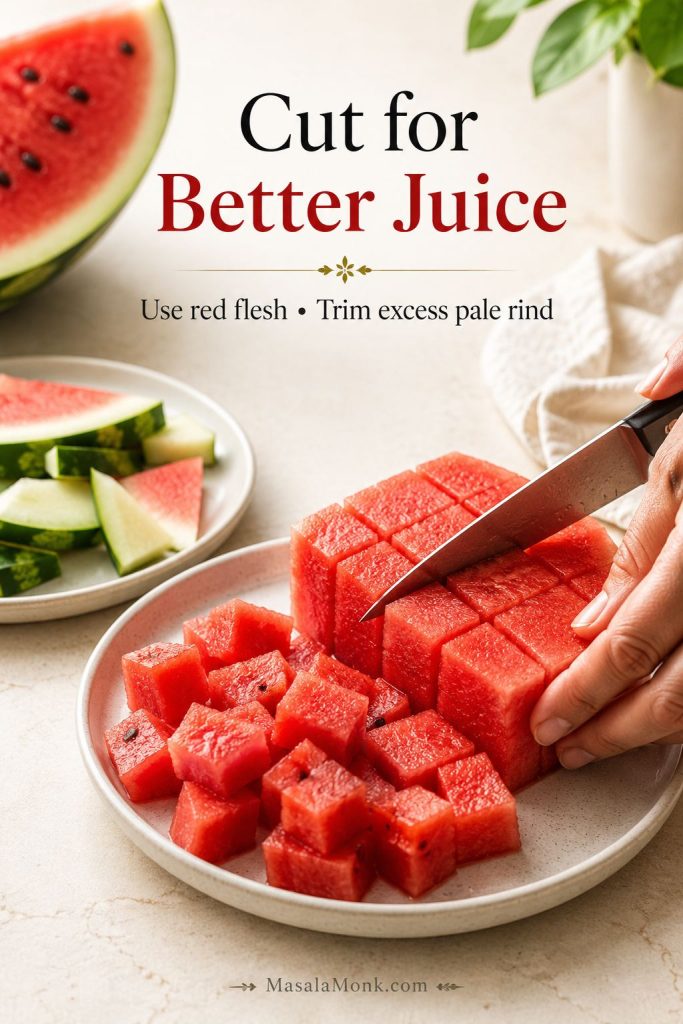
Cut Away the Rind
Slice off the green rind and the pale white part underneath it. A little pale edge will not ruin the drink, but too much white rind can make it taste grassy or thin.
Blend Without Water
Add the watermelon cubes to a blender and blend for 30–60 seconds, until smooth. Do not add water at first. The fruit releases plenty of liquid as it blends.
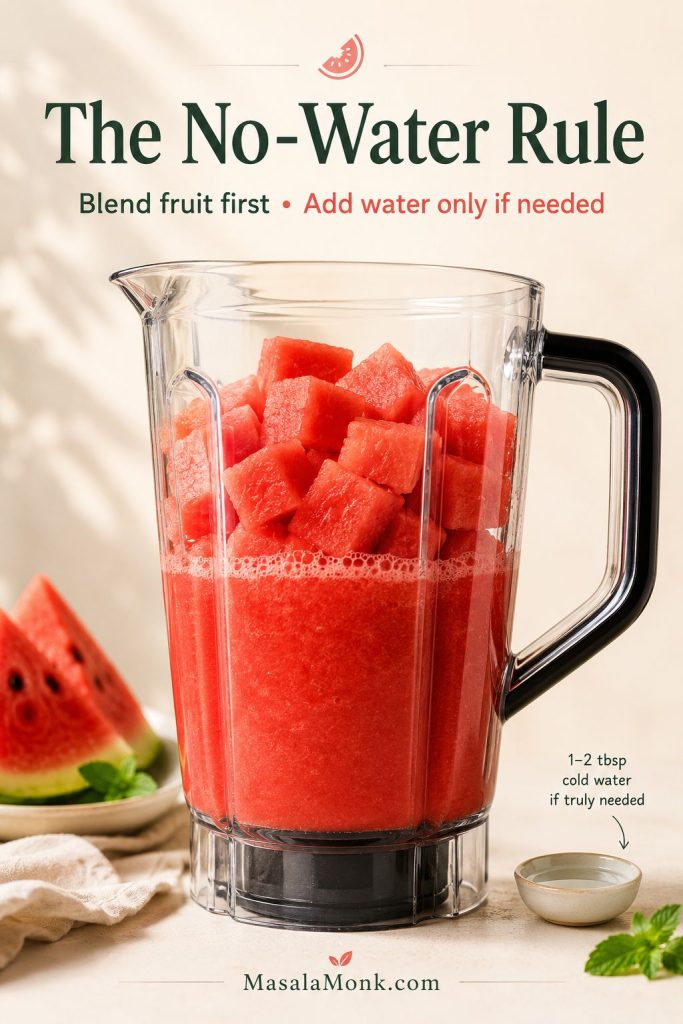
The No-Water Rule
Blend the watermelon by itself first. Extra water makes the drink thinner before you know whether it needs help. If the blender struggles, pulse a few times, press the fruit down with a tamper if your blender has one, or add only 1–2 tablespoons cold water to get the blades moving.
If the first blend tastes weak or watery, taste and adjust before adding ice or extra water.
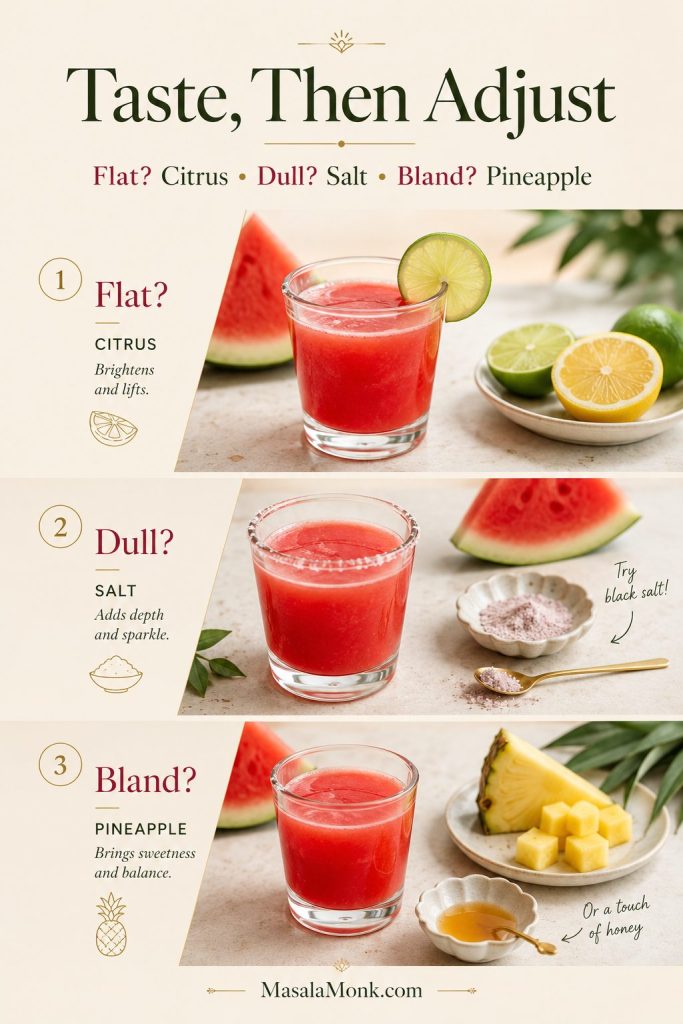
Taste, Then Adjust
Taste before adding anything else. Sweet but flat? Add lime or lemon. Dull? Try a tiny pinch of salt or black salt. Not sweet enough? Add a teaspoon or two of honey, sugar, agave, or a little pineapple.
Strain If You Want It Smooth
Pour the juice through a fine-mesh strainer for a clean, smooth glass. Leave it unstrained if you like a thicker, pulpy, fresh-fruit texture.
Serve Cold
Pour into glasses over ice and enjoy soon after blending. Garnish with mint, lime, lemon, or small watermelon wedges if you want it to look more polished.
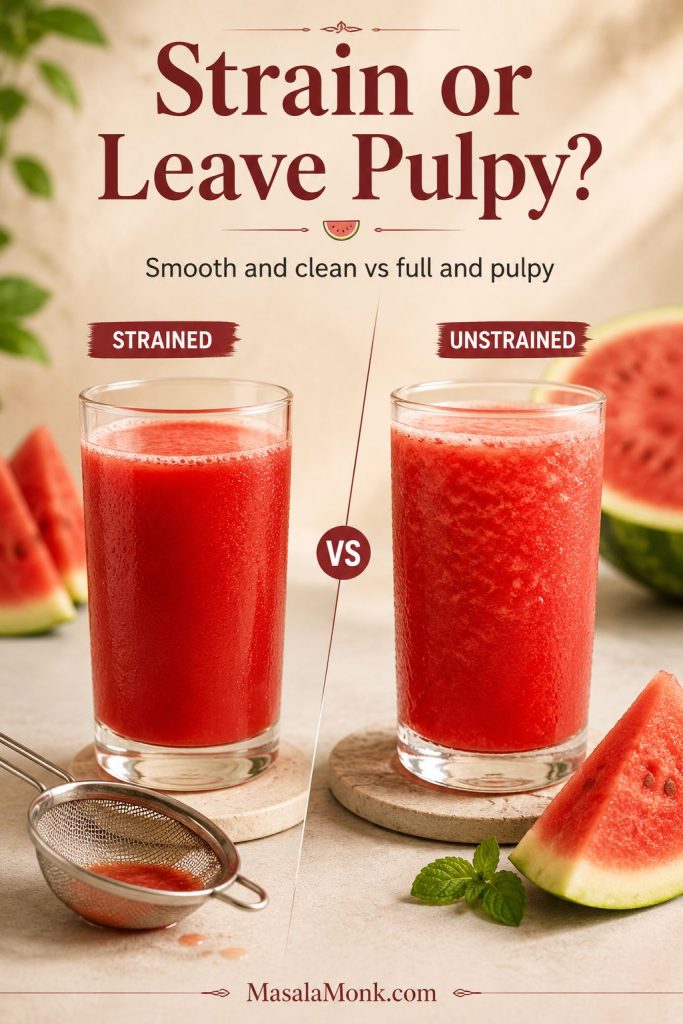
Should You Strain Watermelon Juice?
Straining is optional. The right choice depends on the texture you want and how you plan to serve the drink.
If you want a juice-bar-style glass, strain it. If you want more body and less waste, leave it pulpy.
| Style | Texture | Best For |
|---|---|---|
| Unstrained | Thicker, pulpy, more body | Everyday drinking, less waste, a fuller fruit texture |
| Fine-mesh strained | Smooth but still fresh | Pitchers, guests, cleaner glasses |
| Cheesecloth or nut milk bag | Very smooth and polished | Mocktails, cocktails, party drinks, or extra-smooth juice |
For a quick glass at home, unstrained is perfectly fine. For a pitcher, mocktail, or cocktail, straining gives a cleaner finish.
Still not sure about texture? See the texture guide for thin, just-right, and pulpy juice.
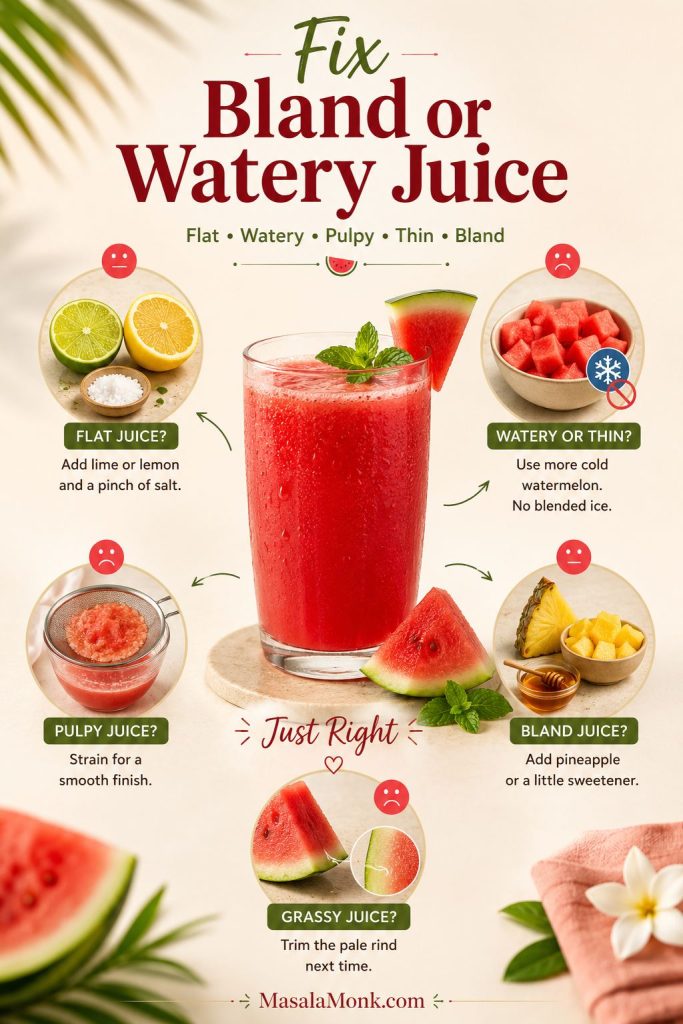
How to Fix Bland, Watery, or Pulpy Watermelon Juice
This is where homemade watermelon juice either becomes excellent or stays forgettable. Watermelon changes from fruit to fruit, so taste the blended juice before adding anything. Then fix the exact problem instead of dumping in ice, sugar, or water.
If the first sip is not right, do not panic and do not add more ice. Flat juice needs citrus and salt, thin juice needs more cold fruit, and pulpy juice needs straining.
| Problem | Best Fix |
|---|---|
| Tastes flat | Add 1 tablespoon lime or lemon juice and a small pinch of salt. |
| Not sweet enough | Add 1–2 teaspoons honey, sugar, or agave. Pineapple also helps. |
| Too sweet | Add lime, lemon, cucumber, or sparkling water. |
| Too watery | Chill it, stir it, and serve over ice instead of blending ice into it. For more body, blend in extra cold watermelon. |
| Too pulpy | Strain through a fine-mesh sieve, cheesecloth, or nut milk bag. |
| Too thin after straining | Blend in more cold watermelon, not more ice. |
| Separated in the fridge | Stir or shake before serving. Separation is normal. |
| Slightly grassy | Use less of the pale white part near the rind next time. |
What not to do: Do not fix thin, bland juice by blending in a lot of ice or water. That makes the flavor even weaker. Use lime or lemon for brightness, a small pinch of salt for lift, pineapple for sweetness, or more cold watermelon for body.
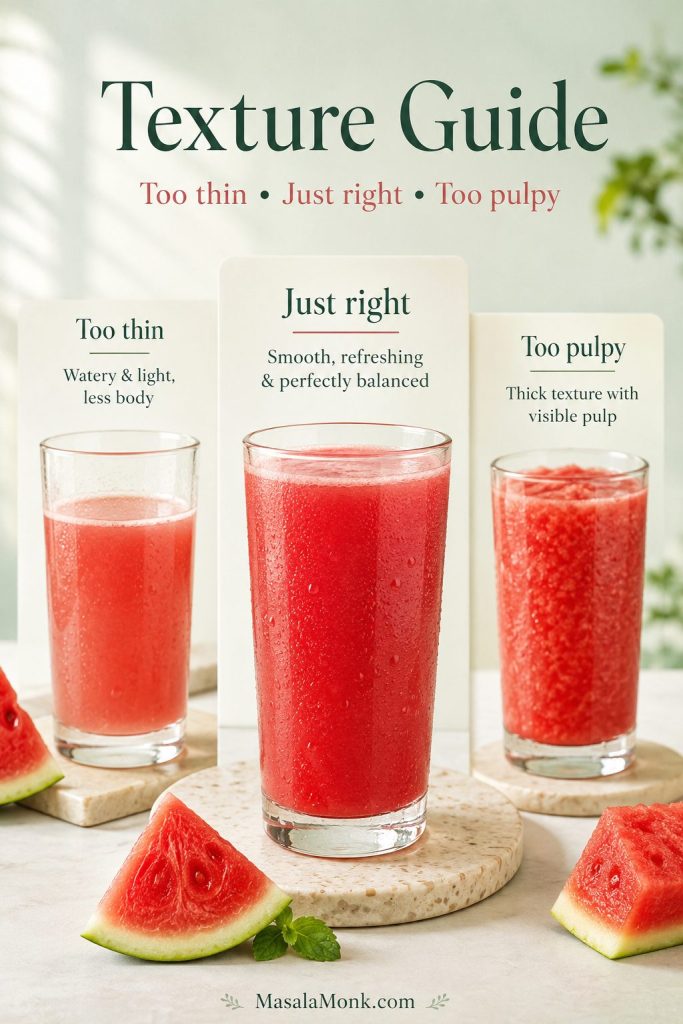
What the Right Texture Looks Like
The ideal texture is bright and full without becoming thick. Use this guide after blending or straining, especially if the juice tastes thin or feels too pulpy.
Watermelon Juice Variations
Once the basic glass tastes bright, choose the variation by mood: cucumber for cooler and lighter, pineapple for sweeter and fuller, ginger for bite, sparkling water for a mocktail feel, and black salt for Indian-style tarbooz juice.
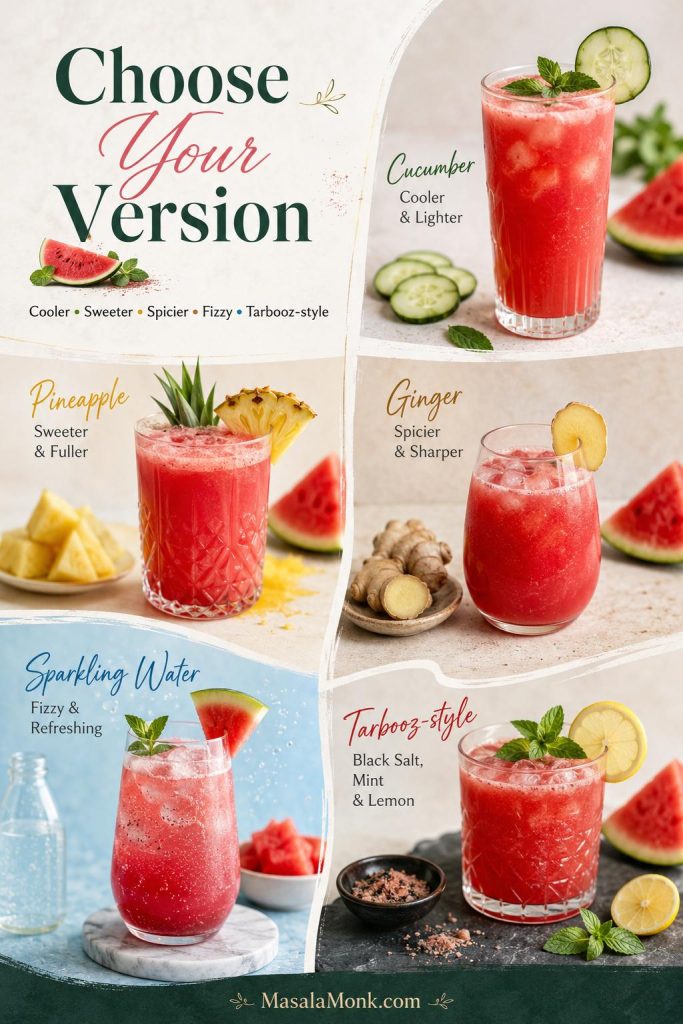
| What You Want | Make This Version |
|---|---|
| Bright, crisp, and classic | Watermelon lime juice |
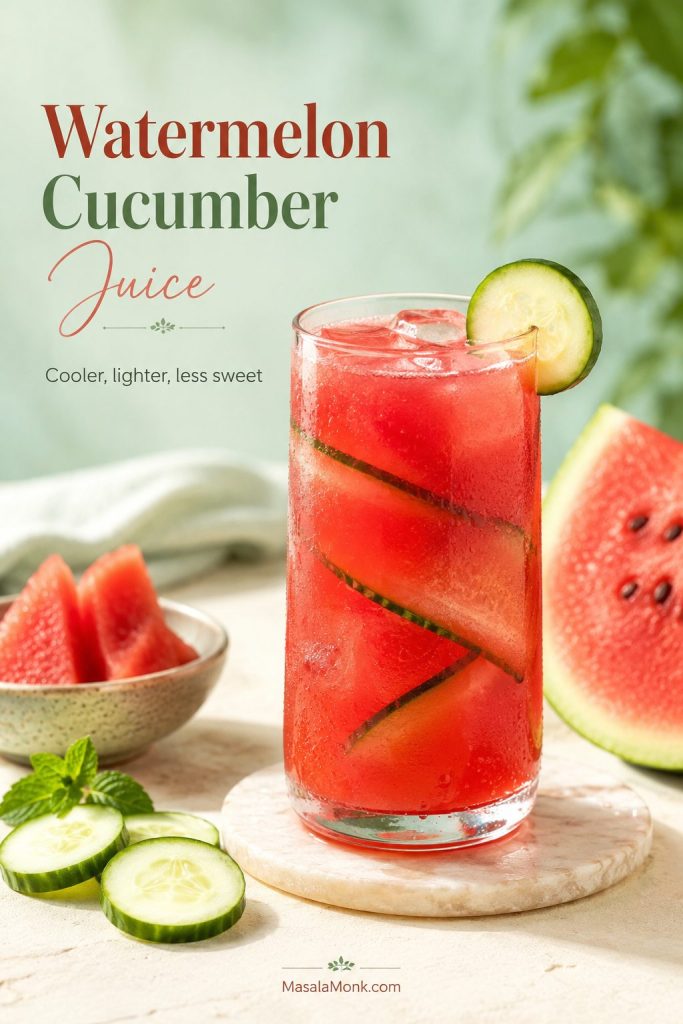
| Cooler and less sweet | Watermelon cucumber juice |
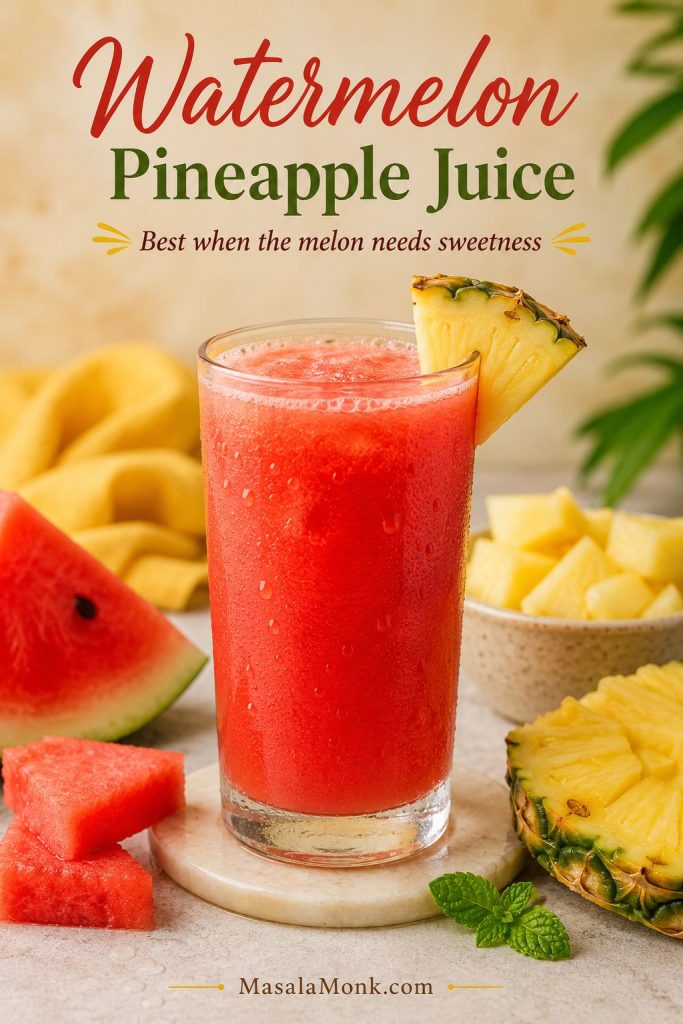
| Sweet-tart and tropical | Watermelon pineapple juice |
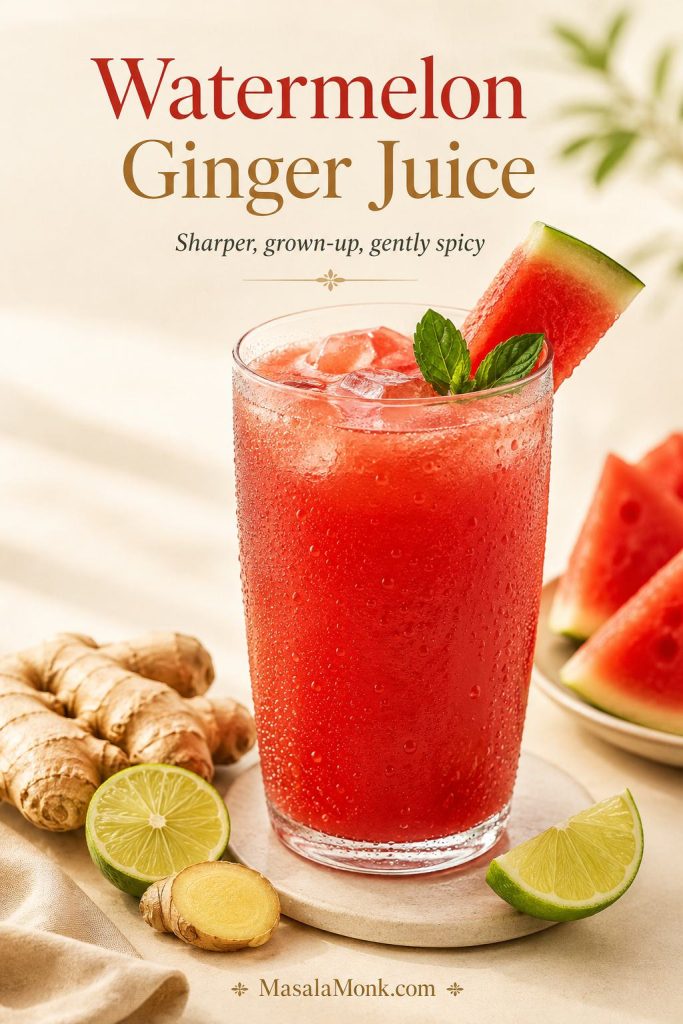
| A little bite | Watermelon ginger juice |
| Light, fizzy, and mocktail-like | Sparkling watermelon juice |
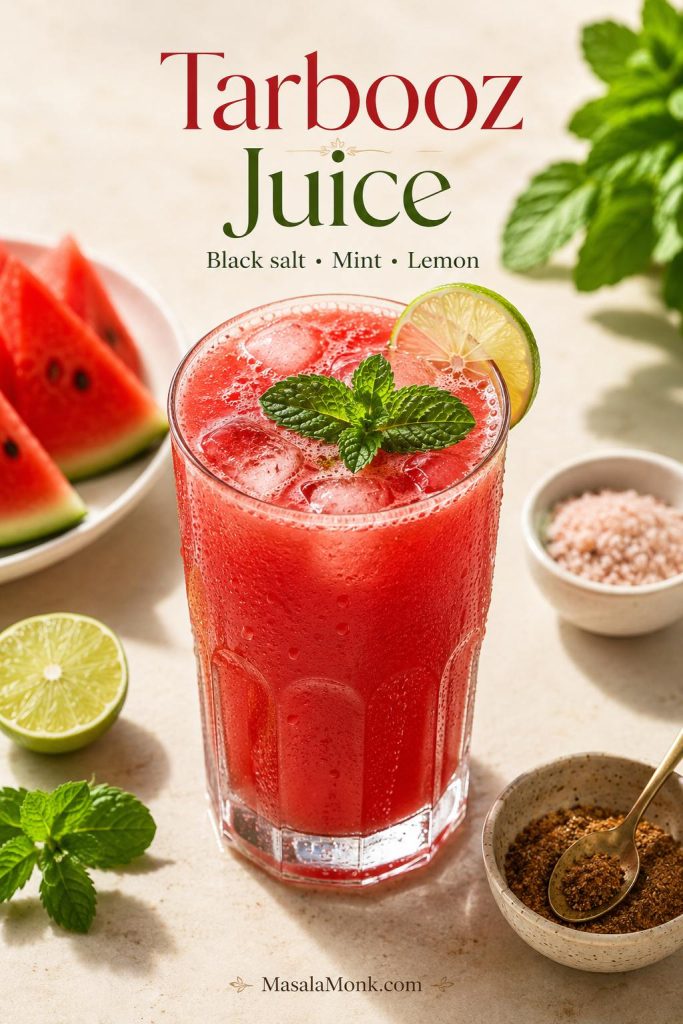
| Tangy Indian summer-cooler flavor | Tarbooz juice with black salt, mint, and lemon |
If you are making a pitcher or party batch, check the yield guide before scaling any variation.
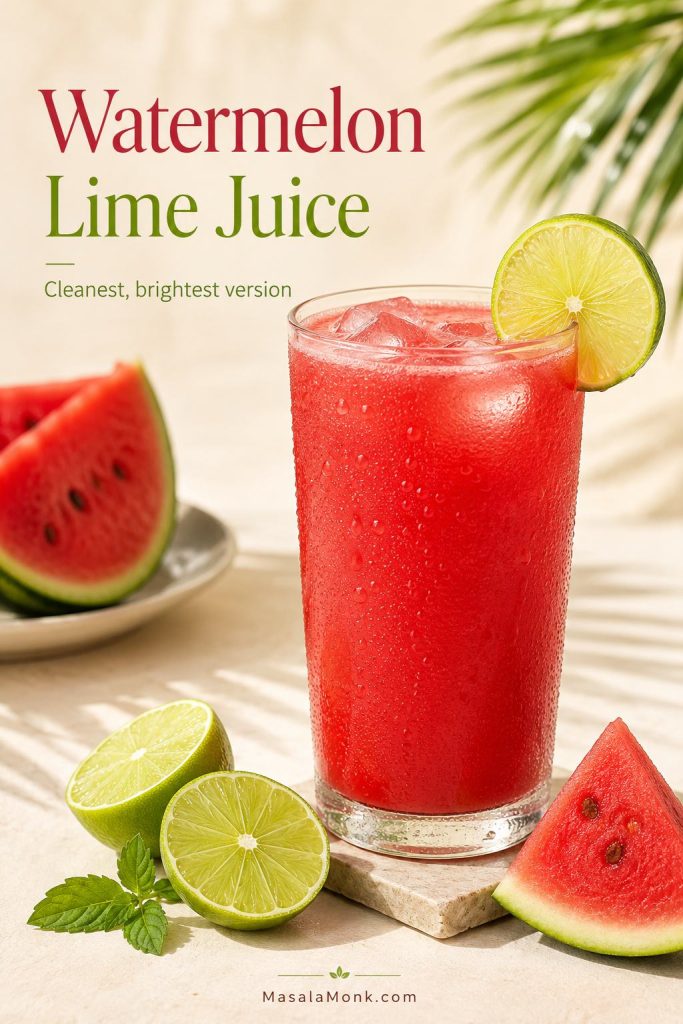
Watermelon Lime Juice
Choose this when you want the cleanest, brightest glass. Blend 4 cups watermelon with 1 tablespoon lime juice and a small pinch of salt. It tastes crisp, cold, and not too sweet.
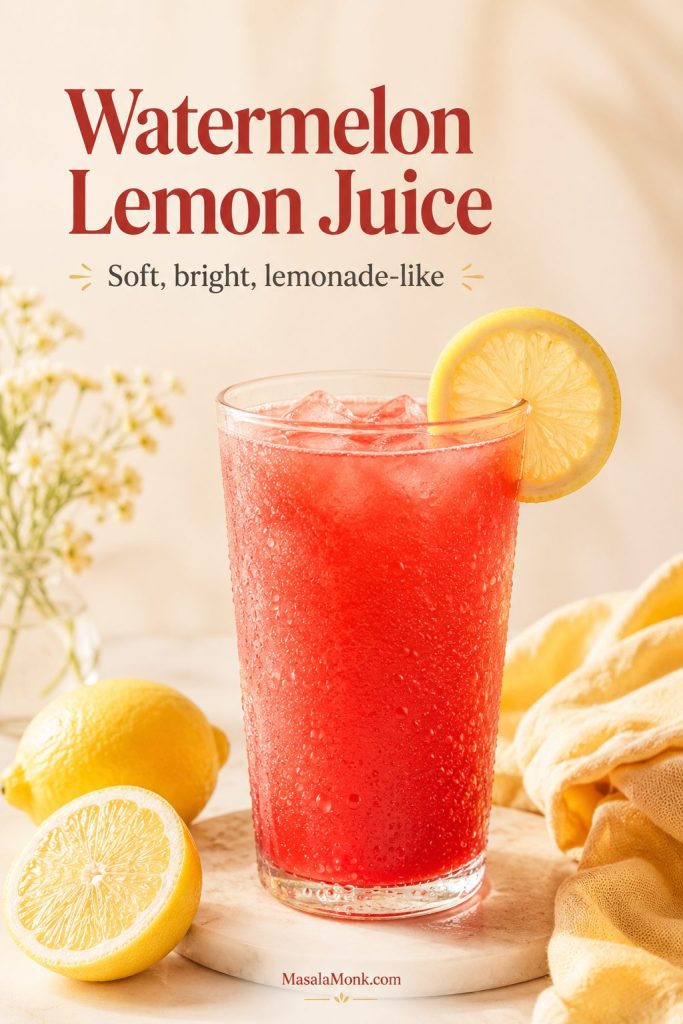
Watermelon Lemon Juice
Lemon gives the base a softer, lemonade-like brightness. Use 1 tablespoon lemon juice instead of lime. This is the simplest version of watermelon and lemon juice, and it works especially well with mint or black salt.
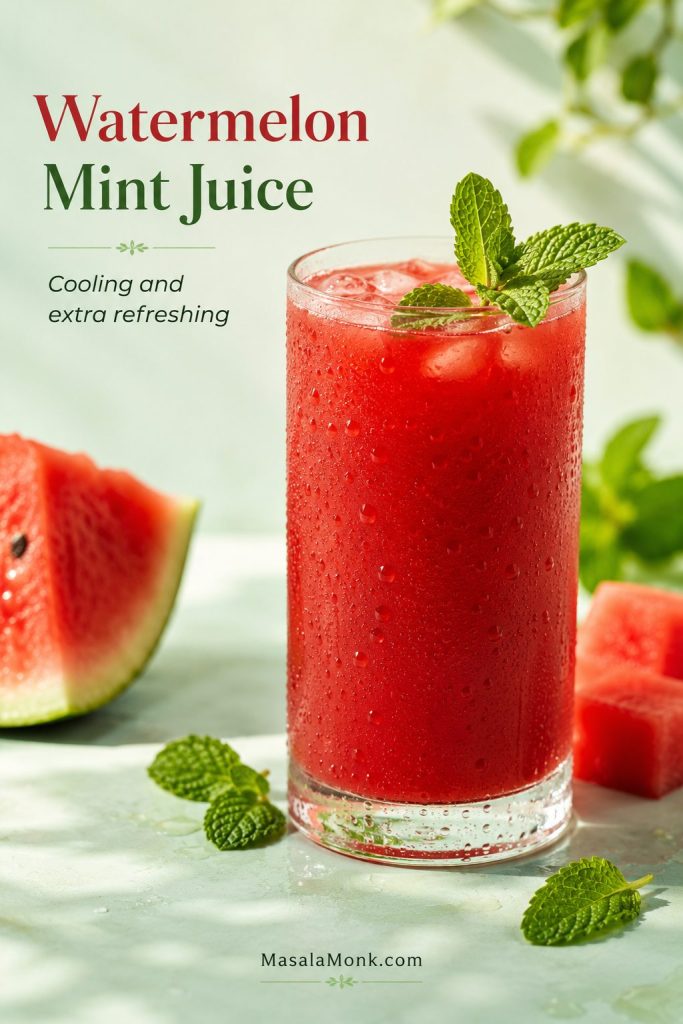
Watermelon Mint Juice
Mint makes the drink taste colder and more refreshing, especially on very hot days. Blend 4 cups watermelon with 6–10 fresh mint leaves and 1 tablespoon lime juice. Start with fewer leaves if your mint is strong, because too much can turn the flavor herbal instead of fresh.
If mint and lime are your favorite part of the glass, you may also like this mojito recipe for the same cooling, citrusy direction.
Watermelon Cucumber Juice
When you want something cooler and less sweet, add cucumber. Blend 4 cups watermelon with 1/2 to 1 cup peeled cucumber, 1 tablespoon lime or lemon juice, and a small pinch of salt. This also covers the same idea people search for as watermelon and cucumber juice.
Watermelon Pineapple Juice
For bland watermelon, pineapple is the easiest rescue. It brings both sweetness and acidity, so the blend tastes fuller without needing much added sugar. Use 2 cups watermelon with 1 cup pineapple, then add lime if you want more sharpness. If you are looking for watermelon and pineapple juice, this 2:1 fruit ratio is the easiest place to start.
Watermelon Ginger Juice
For a sharper, more grown-up glass, add fresh ginger. It cuts through the sweetness and gives the juice a warm little kick. Blend 4 cups watermelon with 1 to 2 teaspoons fresh grated ginger and 1 tablespoon lemon or lime juice.
Watermelon Coconut Water
For a softer, slightly tropical version, blend 3 cups watermelon with 1/2 cup coconut water, lime, and mint. Use less coconut water at first because it thins the drink quickly.
Sparkling Watermelon Juice
For a mocktail-style glass, fill a cup about two-thirds full with cold watermelon juice, then top with chilled sparkling water. Add lime and mint for a cleaner finish.

For more non-alcoholic summer drink ideas, use this juice as a base for watermelon mocktails, especially versions with lime, mint, coconut water, or bubbles.
Indian-Style Tarbooz Juice
For an Indian summer-cooler flavor, blend watermelon with lemon or lime, mint, and a small pinch of black salt. Add only a tiny pinch of roasted cumin, black pepper, or chaat masala if you want that street-style edge. Keep the seasoning light so the fruit tastes cooler and brighter, not salty.
Juicing Watermelon: Blender vs Juicer Method
For watermelon, a blender is usually the better first choice because the fruit is already soft, juicy, and easy to break down. A juicer can work, but it often gives you a thinner, cleaner drink rather than the cold, full-bodied glass most people want at home.
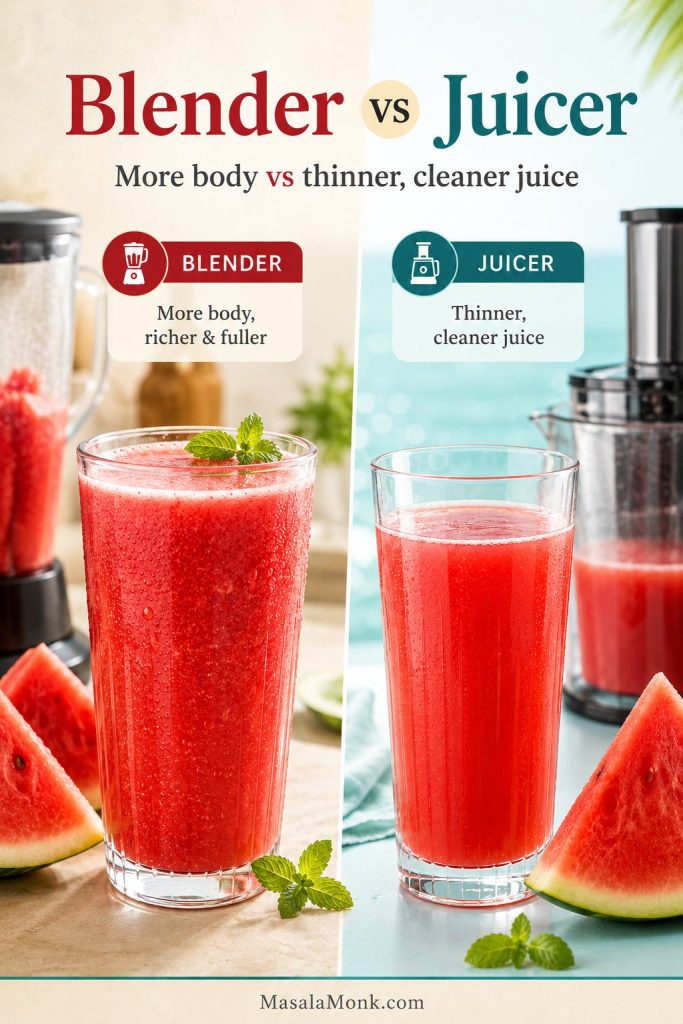
| Method | Result | Best For |
|---|---|---|
| Blender, unstrained | Thicker juice with more body | Everyday drinking and less waste |
| Blender, strained | Smooth, clean juice | Pitchers, guests, mocktails, cocktails |
| Juicer | Thinner, clearer juice | People who already own a juicer and prefer a lighter drink |
If you use a juicer, remove the rind and feed the pieces through slowly. If you use a blender, you can decide after blending whether you want to strain the juice or keep the pulp.
For a more filling drink, unstrained blended juice has an advantage because it keeps more of the fruit’s body. Mayo Clinic notes that juicing is not healthier than eating whole fruits and vegetables, and that blending edible parts can retain more fiber and plant compounds than extracting juice alone. You can read their general juicing guidance for more context.
How Much Juice Does One Watermelon Make?
The exact yield depends on ripeness, juiciness, and whether you strain. These estimates will help you plan.
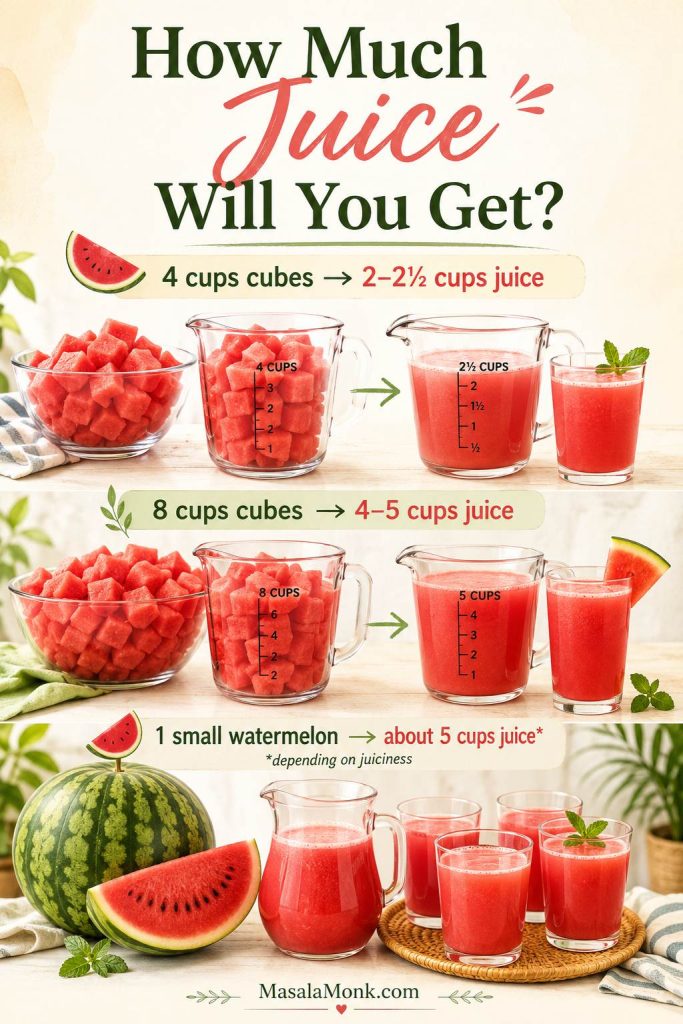
| Watermelon Amount | Approximate Juice Yield |
|---|---|
| 4 cups cubed watermelon / about 600 g | About 2–2½ cups / 480–600 ml |
| 8 cups cubed watermelon / about 1.2 kg | About 4–5 cups / 950 ml–1.2 L |
| 1 small watermelon, about 6–6.5 lb | About 5 cups, depending on juiciness |
If you are making a pitcher for a group, start with 8 cups of cold cubed watermelon. That usually gives enough for about 4 glasses, especially if you serve it over ice or top some glasses with sparkling water.
How to Store Watermelon Juice
This drink tastes best right after blending. The flavor is brightest, the color is freshest, and the texture has not had time to settle.

Storage Rule
For the best make-ahead flavor, refrigerate watermelon juice in a clean covered jar for up to 24 hours. It can keep for 2–3 days if properly chilled, but the flavor fades and the juice naturally separates. Stir or shake before serving.
If you are serving guests, blend it the same day if possible. If you make it ahead, keep it covered and cold, then stir well and taste again before pouring.
- Best: drink it right away.
- Best make-ahead window: up to 24 hours in the fridge.
- Possible: 2–3 days in a clean airtight jar, if kept cold.
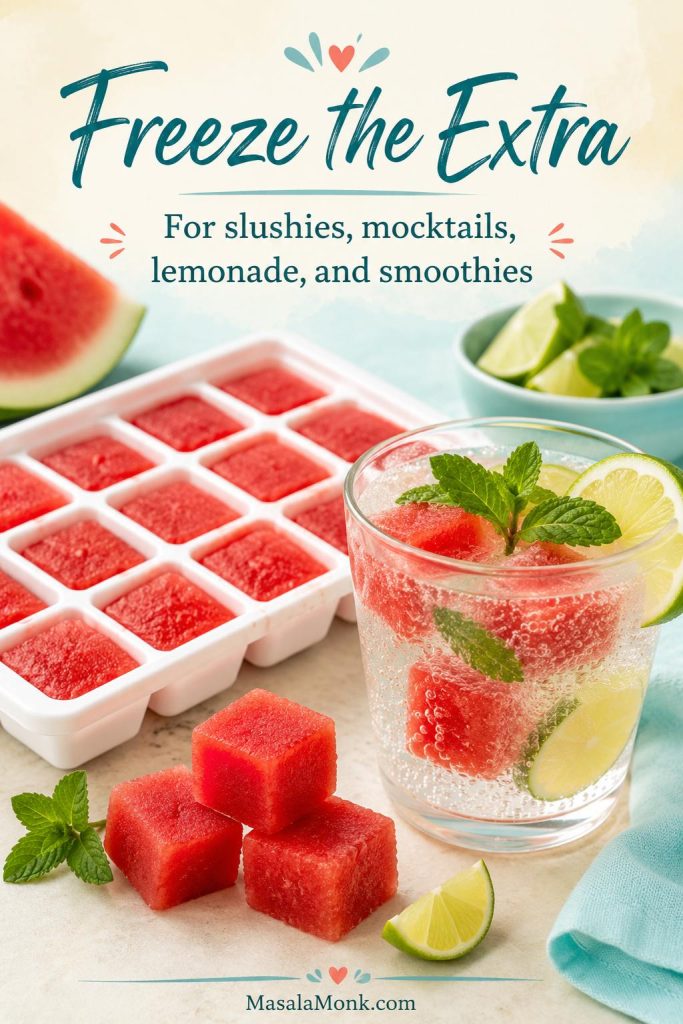
- Freeze: pour into ice cube trays for smoothies, mocktails, lemonade, or slushies.
- Do not leave it out: fresh fruit juice should not sit at room temperature for long.
Separation is normal. It does not mean the juice has gone bad unless it smells sour, tastes fizzy, looks spoiled, or has been stored too long.
Freeze Extra Juice Into Cubes
Freezing is the best option when you have extra juice but do not want to drink it plain later. The cubes work better as a mixer than as thawed juice.
For more serving ideas, see the ways to use watermelon juice section.
Is Watermelon Juice Healthy?
Think of watermelon juice as a fresh summer drink, not a health shortcut. You do not have to turn it into a wellness claim for it to be worth making; a cold, unsweetened glass can simply taste like real fruit and feel better than soda.
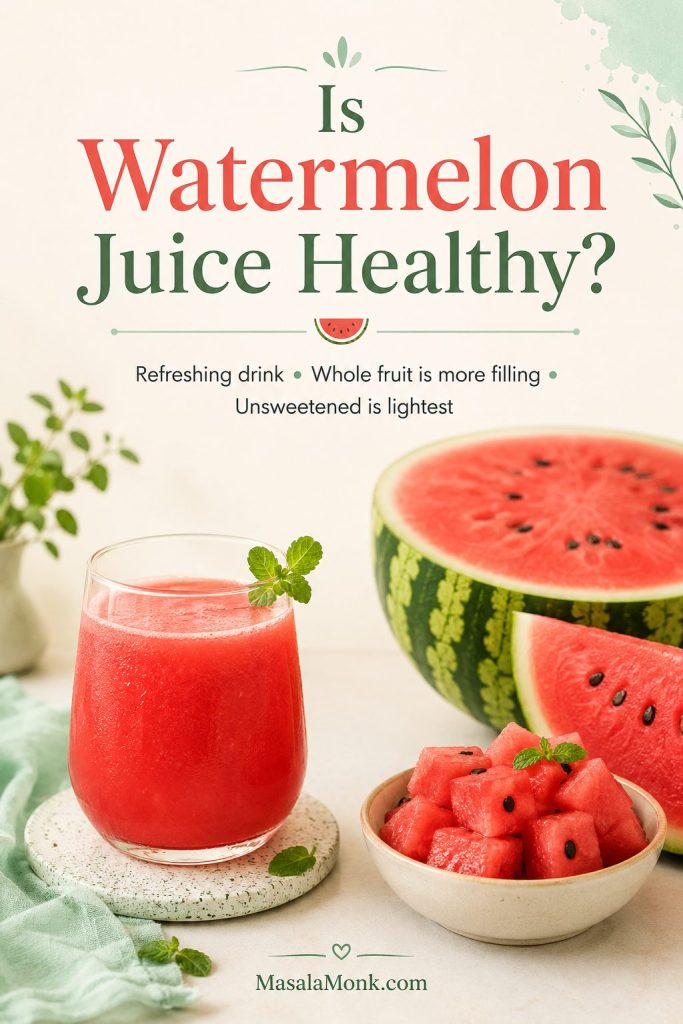
It is naturally sweet, colorful, and hydrating. However, it is still fruit juice, so whole watermelon is usually more filling because you chew it and keep more of the fruit’s natural structure. Unstrained blended juice keeps more body than fully strained juice, but it is still easier to drink quickly than eating watermelon pieces.
A modest glass of unsweetened watermelon juice is mostly blended fruit, so the calories and natural sugars depend on how much watermelon you drink. The main practical point is portion size: it is easier to drink several cups of juice than to slowly eat the same amount of fruit.
If you want a lighter drink, keep it unsweetened and add lime, mint, cucumber, or sparkling water instead of extra sugar. For a deeper nutrition-focused read, see our guide to watermelon juice benefits.
For a lighter glass, you can also try the watermelon cucumber juice or sparkling watermelon juice variations.
Is Watermelon Juice Good for Weight Loss?
It can fit into a balanced diet, especially if it replaces soda or heavily sweetened drinks. However, it does not cause weight loss by itself. For fullness, whole watermelon is usually better because it contains more intact fiber and takes longer to eat.
If weight management is your goal, keep the drink unsweetened, avoid oversized portions, and treat it as one refreshing glass within the rest of your day.
Ways to Use Watermelon Juice
Once there is a cold pitcher in the fridge, it disappears quickly. Drink it plain, stretch it with bubbles, freeze it into cubes, or use it as the base for summer drinks.
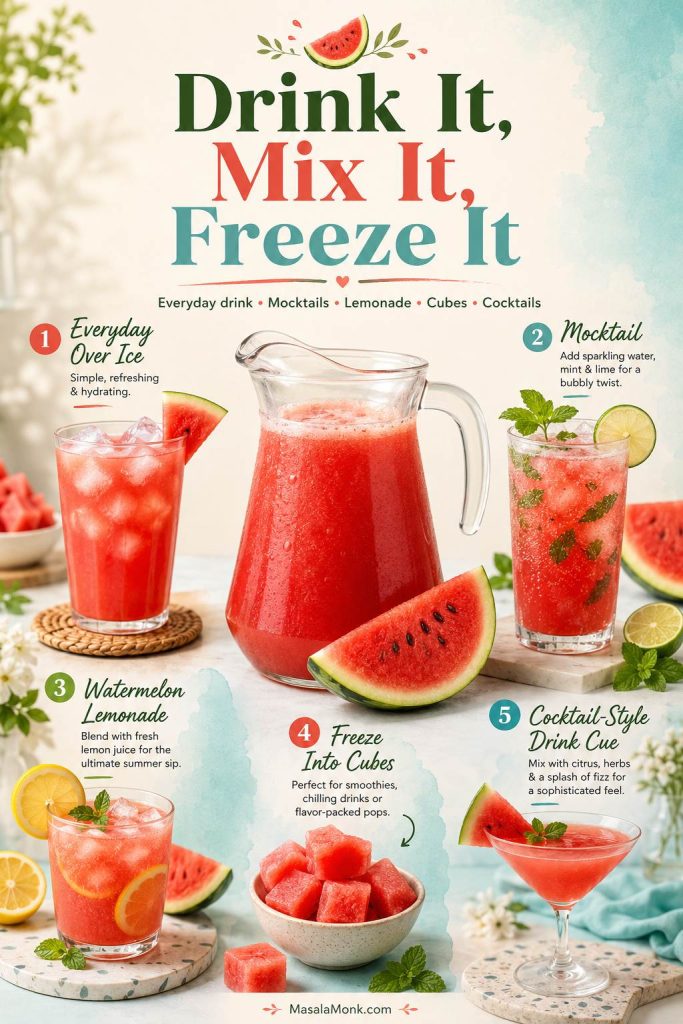
- Everyday drink: serve cold over ice with lime.
- Mocktail base: top with sparkling water, mint, cucumber, or coconut water.
- Watermelon lemonade: mix with lemon juice and a little sweetener if needed.
- Frozen cubes: use in lemonade, slushies, smoothies, and summer pitchers.
- Cocktails: strain first for cleaner margaritas, mojitos, and daiquiris.
If you are making cocktails, strained juice usually works better because it gives a cleaner texture. For a frozen cocktail direction, strained watermelon juice also works well in a watermelon daiquiri.
Make the simple version once: cold watermelon, lime or lemon, and a pinch of salt. After that first bright, icy glass, you will know exactly how to adjust the cucumber, pineapple, mint, ginger, and black salt versions by taste.
Watermelon Juice Recipe Card
Here is the quick-reference version of the recipe, with the no-water rule and taste-before-adjusting step built in.
Watermelon Juice Recipe
Fresh watermelon juice made in a blender with cold fruit, no added water, lime or lemon, and a small pinch of salt for a bright, not-watery glass.
Equipment
- Blender
- Knife and cutting board
- Measuring cup
- Fine-mesh strainer, optional
- Pitcher or jar
Ingredients
- 4 cups cold seedless watermelon cubes, about 600 g
- 1 tablespoon fresh lime or lemon juice, 15 ml
- Small pinch fine salt or black salt, up to 1/8 teaspoon
- 6–10 fresh mint leaves, optional
- 1–2 teaspoons honey, sugar, or agave, only if needed
- Ice, for serving
Instructions
- Rinse the outside of the watermelon before cutting.
- Chill the watermelon if possible. Cold fruit makes better juice and reduces the need for extra ice.
- Cut away the rind and pale white part, then cube the red flesh.
- Add the cubes to a blender. Blend for 30–60 seconds, until smooth. Do not add water at first.
- Taste the juice. Add lime or lemon juice and a small pinch of salt or black salt. Add mint if using.
- Blend briefly again. If the fruit is not sweet enough, add 1–2 teaspoons honey, sugar, or agave.
- Strain through a fine-mesh sieve if you want smooth juice, or leave it unstrained for a thicker texture.
- Serve immediately over ice, or chill for 30 minutes and stir before serving.
Notes
- Do not add water unless your blender truly cannot move. Add only 1–2 tablespoons if needed.
- For watermelon cucumber juice, add 1/2 to 1 cup peeled cucumber.
- For watermelon pineapple juice, use 2 cups watermelon and 1 cup pineapple.
- For watermelon ginger juice, add 1–2 teaspoons fresh grated ginger.
- For Indian-style tarbooz juice, use lemon or lime, mint, black salt, and a tiny pinch of roasted cumin or chaat masala.
- The juice naturally separates. Stir or shake before serving.
Storage
Watermelon juice is best fresh. Refrigerate it in a clean covered jar for up to 24 hours for best flavor, or up to 2–3 days if properly chilled. Stir before serving.
For extra help beyond the card, see straining, storage, and watermelon juice variations.
FAQs
Do you need a juicer to make watermelon juice?
No. A blender is enough because watermelon is soft and naturally juicy. Blend the cubes until smooth, then strain only if you want a cleaner texture.
Should watermelon juice be strained?
Only if you want a smoother glass. Unstrained juice has more body; strained juice looks cleaner in pitchers, mocktails, and cocktails.
Can I make watermelon juice without sugar?
Usually, yes. Ripe watermelon is sweet enough on its own, especially when lime or lemon and a tiny pinch of salt brighten the flavor.
Why does watermelon juice separate?
Fresh blended fruit naturally separates as it sits because the pulp and liquid settle at different rates. Stir or shake before serving. Separation alone does not mean the juice has spoiled.
How long does fresh watermelon juice last?
It tastes best immediately. For the best make-ahead flavor, refrigerate it in a clean covered jar for up to 24 hours. It may keep for 2–3 days if properly chilled, but the flavor fades and separation increases.
Can I freeze watermelon juice?
Yes. Freeze it in ice cube trays, then use the cubes in lemonade, sparkling water, smoothies, mocktails, or slushies. The texture changes after thawing, so frozen cubes are better for mixing than drinking plain.
Can I use lemon instead of lime?
Yes. Lime tastes sharper and more tropical, while lemon gives a softer lemonade-style brightness. Use 1 tablespoon lemon or lime juice for every 4 cups of watermelon.
Can I make watermelon juice with seeds?
You can use seeded watermelon, but remove as many black seeds as possible before blending. A few small white seeds are usually fine, especially if you plan to strain.
What can I mix with watermelon juice?
The easiest mixers are lime, lemon, mint, cucumber, pineapple, ginger, coconut water, sparkling water, black salt, and a little roasted cumin. For mocktails and cocktails, strain it first so the drink tastes cleaner.
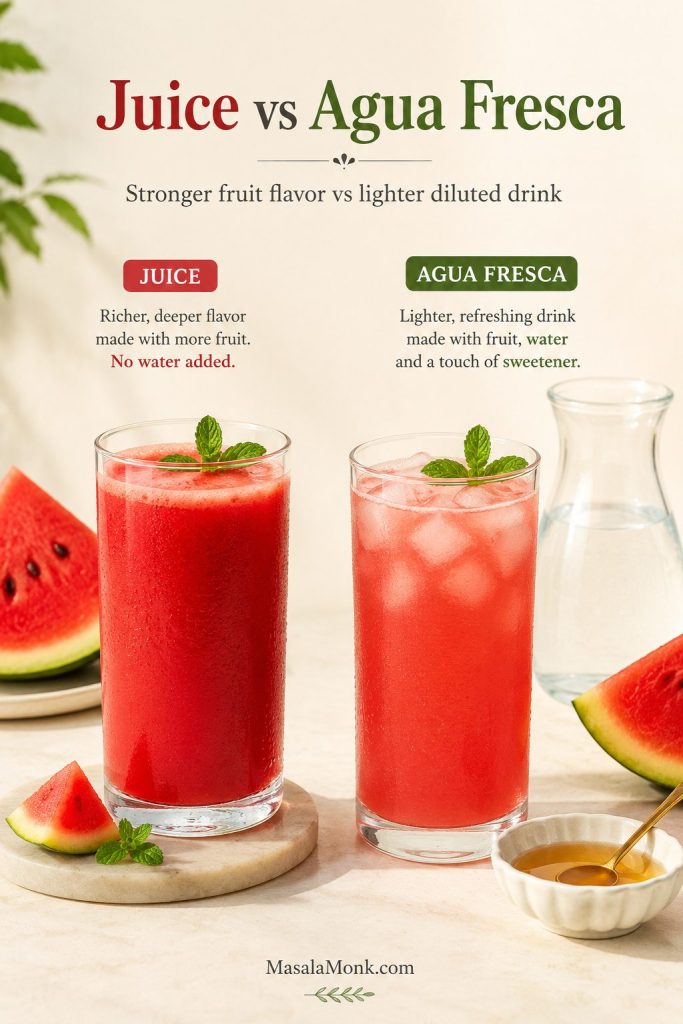
Is watermelon juice the same as watermelon agua fresca?
Not exactly. Watermelon juice is usually mostly blended watermelon, sometimes with citrus or salt. Watermelon agua fresca is usually lighter because it is diluted with water and often sweetened. For stronger fruit flavor, use this recipe without added water; for a lighter Mexican-style agua fresca, dilute and sweeten to taste.