Crispy, healthy, and surprisingly easy—homemade fruit and veggie chips are the snack everyone deserves to master. Whether you want to transform a bumper crop, reduce food waste, or just love snacking smart, this guide dives deep into everything you need to know to make delicious chips right in your kitchen.
Why Make Chips at Home?
Forget expensive store-bought bags with mystery ingredients. Homemade chips let you:
- Control the oil, salt, and seasoning
- Use any produce—from classic potatoes to leafy greens or even green bananas
- Skip additives and preservatives
- Customize flavors exactly how you like them
Plus, it’s a fun and creative way to get more fruits and veggies in your diet!
Getting Started: What You’ll Need
- Sharp knife or mandoline slicer (for uniform, thin slices—this is non-negotiable for great chips)
- Baking sheets or dehydrator trays
- Parchment paper or silicone baking mats
- Salad spinner or clean towels (for drying slices)
- Large mixing bowl
- Air fryer or deep fryer (optional, but helpful for certain veggies)
Pro Tip: A mandoline slicer makes the biggest difference—uneven slices = uneven chips.
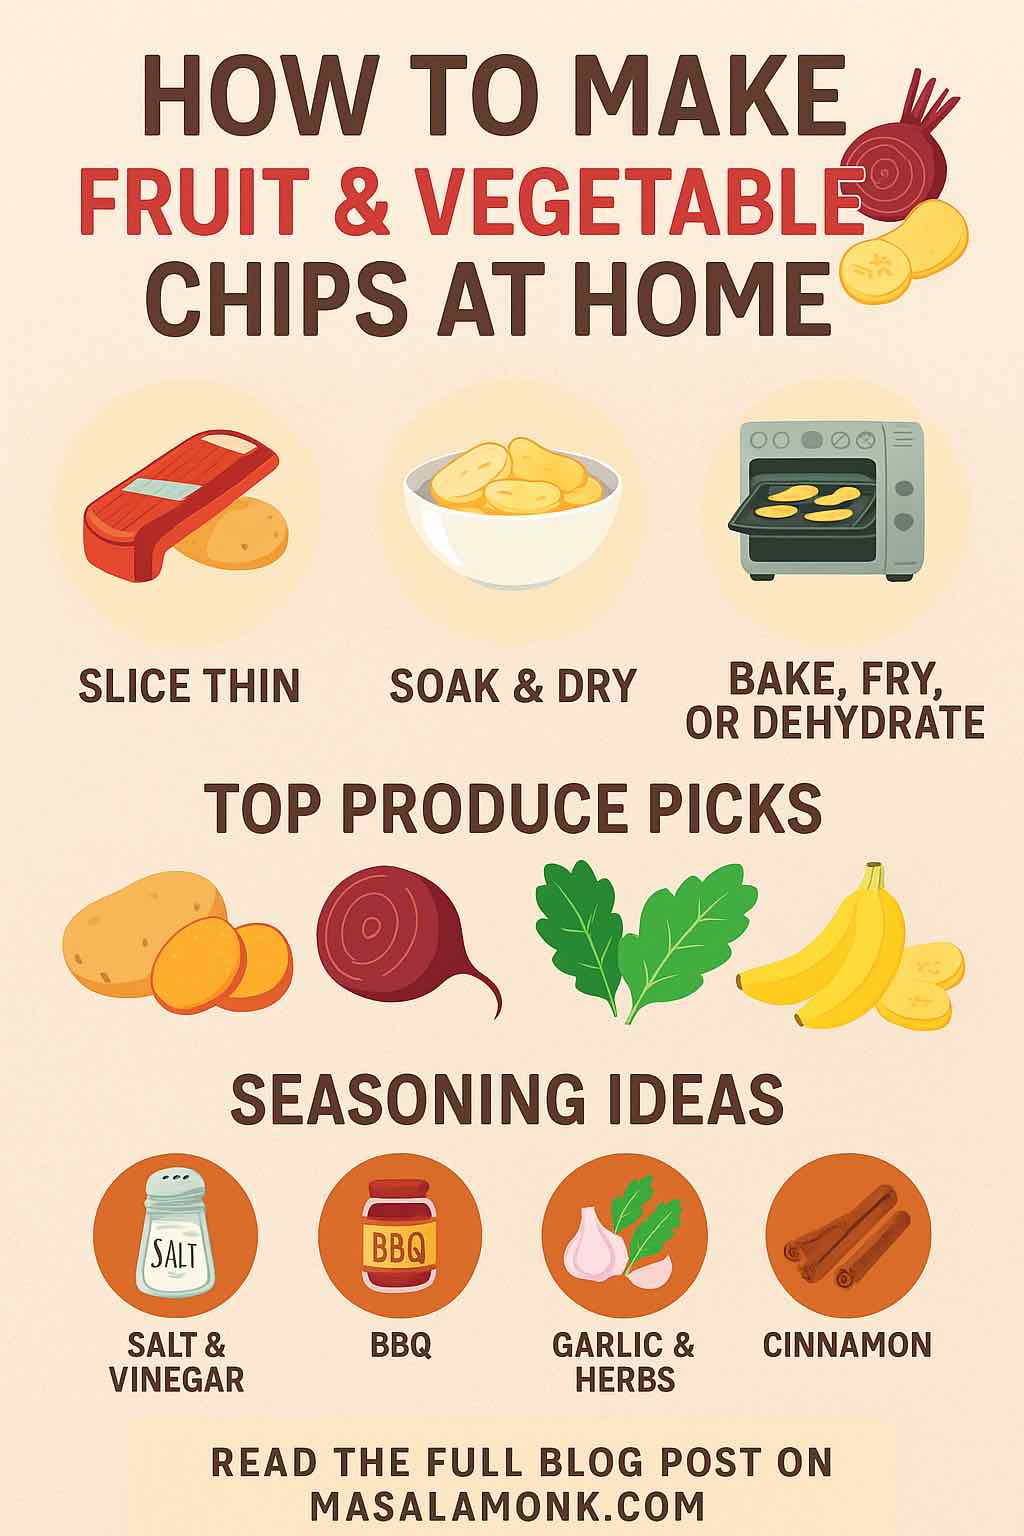
Core Method: The Science of Perfect Chips
1. Slice Thin and Even
- Aim for 1–2 mm thickness. Too thick? They’ll be chewy. Too thin? They might burn.
- Mandoline slicers are best, but a sharp chef’s knife works with patience.
2. Soak and Dry
- Starchy veggies (potato, sweet potato, beet): Soak in cold water 15–30 minutes to remove surface starch. This gives you crispier chips and reduces browning.
- All chips: Pat slices completely dry—moisture is the enemy of crisp!
3. Season Creatively
- Basic: Olive oil, salt, pepper.
- Advanced: Smoked paprika, za’atar, garlic powder, cinnamon, nutritional yeast, chili powder, ranch mix.
- Leafy greens: Add nutritional yeast for a cheesy crunch, or lemon zest for zing.
4. Choose Your Cooking Method
A. Oven-Baked
- Preheat to 150–180 °C (300–350 °F).
- Lay slices in a single layer on parchment. Don’t overlap!
- Brush or spray with oil. Sprinkle seasoning.
- Bake 15–30 min, flipping halfway. Check often in final 5 minutes!
- Remove golden chips, return undercooked ones for a few extra minutes.
B. Air Fryer
- Preheat to 160–180 °C (320–350 °F).
- Arrange slices in a single layer.
- Air-fry for 8–18 min, shaking the basket halfway.
C. Dehydrator
- Set to 55–65 °C (130–150 °F).
- Dry for 8–16 hours (depends on slice thickness and water content).
- No oil needed—just patience!
D. Deep Frying (Occasional Treat)
- Oil to 150–170 °C (300–340 °F).
- Fry in batches, stirring so they don’t stick.
- Drain on paper towels; season while hot.
5 Fruits & Vegetables That Make Awesome Chips
1. Potato & Sweet Potato
- Prep: Peel (optional), slice thin, soak, dry.
- Flavor: Classic (salt), BBQ, salt & vinegar, cinnamon-sugar (sweet potato).
- Best method: Oven, air fryer, or deep fryer.
2. Beetroot
- Prep: Peel, slice very thin, soak briefly.
- Flavor: Sea salt, black pepper, or balsamic vinegar powder.
- Best method: Oven for earthy sweetness and crispness.
3. Kale (or Spinach, Cabbage)
- Prep: Tear into chip-size pieces, remove stems, wash and dry very thoroughly.
- Flavor: Olive oil + nutritional yeast, or sesame oil + chili flakes.
- Best method: Oven-baked at a low temp (150 °C/300 °F) for 10–15 min.
4. Zucchini/Carrot/Parsnip
- Prep: Slice lengthwise or into coins, pat dry.
- Flavor: Garlic powder, Italian herbs, or just salt.
- Best method: Oven or dehydrator.
5. Banana/Plantain
- Prep: Peel, slice diagonally, brush with lemon juice to prevent browning.
- Flavor: Salt for savory (green banana), cinnamon for sweet (ripe banana).
- Best method: Dehydrator or oven at low temp.
User Experiences: The Honest Truth
What Home Cooks Love:
- “Mandoline slicing is key! Without it, I always get some soggy chips and some burnt.”
- “Leaving chips in the (turned-off) oven for an hour after baking really crisps them up.”
- “Green bananas make the crunchiest chips—ripe ones are just chewy.”
What Can Go Wrong:
- Kale chips are notorious for being tricky: “They get brittle or burnt if you’re not careful. Low heat and watch closely.”
- Dehydrators can take a long time (“Overnight at least!”) but reward patience.
- Batches vary: Even with the same recipe, humidity and slice thickness make a big difference.
Best User Hacks:
- Toss potato or beet slices in a bit of vinegar before baking for an extra tang and crisp.
- For root veggies, try brining or lightly fermenting before baking—this boosts crunch and flavor!
- Use a salad spinner for speedy, effective drying—no more damp chips.
Pro Tips & Troubleshooting
- Chips aren’t crisp? Let them cool fully—many crisp up as they cool.
- Still soggy? Return to a low oven (100 °C/210 °F) for 10–15 min, or leave in the warm, off oven to dry further.
- Uneven browning? Your slices might be uneven or you’ve overcrowded the pan.
- Too oily? Brush, don’t drizzle. Or skip oil and use a dehydrator.
Safety Note: Acrylamide Awareness
Some veggies (especially potatoes) produce a natural compound called acrylamide at high temperatures, which in large amounts could pose health risks.
- How to reduce it?
- Soak starchy veggies before cooking.
- Bake/air fry at moderate temps.
- Avoid over-browning.
Creative Seasoning Combos
- BBQ: Smoked paprika, garlic, onion powder, a touch of brown sugar
- Mediterranean: Za’atar, lemon zest, sumac
- Spicy: Cayenne, black pepper, lime juice powder
- Sweet: Cinnamon, nutmeg, coconut sugar (for apple, banana, or sweet potato chips)
Storage & Shelf Life
- Store in airtight containers once chips are completely cool.
- Homemade chips have no preservatives—eat within 1–4 days for peak crispness.
- If chips lose crunch, re-crisp in a low oven for a few minutes.
Your First Batch: Simple Oven Beet Chips
Ingredients:
- 2 medium beets
- 1–2 tsp olive oil
- Salt and pepper
Method:
- Preheat oven to 170 °C (340 °F).
- Peel and slice beets as thinly as possible.
- Toss with oil, salt, pepper.
- Lay out in a single layer on parchment.
- Bake 20–30 min, flipping halfway—watch carefully at the end!
- Remove crisp chips; let cool to finish crisping.
Final Thoughts: Start Simple, Experiment Often
The joy of homemade chips is in the creativity and discovery. Use what you have, try new flavors, and don’t worry about making them perfect every time. The more you experiment, the better your chips will get—and the more fun you’ll have.
Got your own chip hacks or flavor combos? Share in the comments below!
Happy crunching!
Want more snack ideas or troubleshooting tips? Leave your questions, and let’s make snack-time epic together.
10 FAQs and Answers
1. What’s the best way to get homemade chips super crispy?
Answer:
Slice your produce as thin and even as possible (1–2 mm) with a mandoline. Dry the slices thoroughly after washing or soaking. For oven or air fryer, don’t overcrowd the pan—single layers only. Bake/air fry at moderate heat, and let chips cool completely after cooking; they crisp up more as they cool.
2. My chips always turn out soggy. What am I doing wrong?
Answer:
Sogginess is usually from too much moisture or thick slices. Pat slices very dry before cooking, and make sure you slice thin. Avoid using too much oil—brush or spray lightly. Try leaving the chips in a turned-off oven after baking to help them dry out further.
3. Can I make chips without any oil?
Answer:
Yes! Dehydrators are great for oil-free chips. In the oven or air fryer, you can also skip oil, but chips may not be as golden or flavorful. Watch closely so they don’t burn or dry out too much.
4. What’s the healthiest vegetable for homemade chips?
Answer:
Kale, spinach, beets, and carrots are popular for their nutrients. Leafy greens are low-calorie and packed with vitamins, while beets and carrots provide fiber and antioxidants. Choose vegetables you enjoy—variety is key to nutrition!
5. How long do homemade chips last, and how do I store them?
Answer:
Let chips cool completely, then store in an airtight container at room temperature. They’re best eaten within 1–4 days. If they lose crunch, crisp them in a low oven (100°C/210°F) for a few minutes.
6. Which fruits work best for fruit chips?
Answer:
Apples, bananas, pears, and mangoes are favorites. Choose firm, not overripe fruit for better crispness. Green bananas or plantains make the crunchiest chips.
7. Can I use a microwave to make chips?
Answer:
Yes, the microwave can make small batches quickly! Lay slices between parchment or on a microwave-safe plate. Cook in 30–60 second bursts, flipping until crisp. Keep a close watch to avoid burning.
8. Why do my kale chips always turn out bitter or burnt?
Answer:
Kale chips burn easily if the oven is too hot or they bake too long. Use lower temperatures (around 150°C/300°F), and check after 10–12 minutes. Remove thinner pieces as they crisp up to avoid burning.
9. Is it possible to make chips from vegetable peels?
Answer:
Absolutely! Potato, carrot, beet, and parsnip peels can be washed, seasoned, and baked for a zero-waste, crunchy snack.
10. Are homemade chips healthier than store-bought?
Answer:
Definitely! You control the oil, salt, and additives. Homemade chips can be baked or air-fried with minimal or no oil, and they’re free of preservatives and artificial flavors found in most packaged chips.