Posted on Leave a comment

Nutritious and Delicious: Green Moong Dal Chilla with Veggie Stuffing

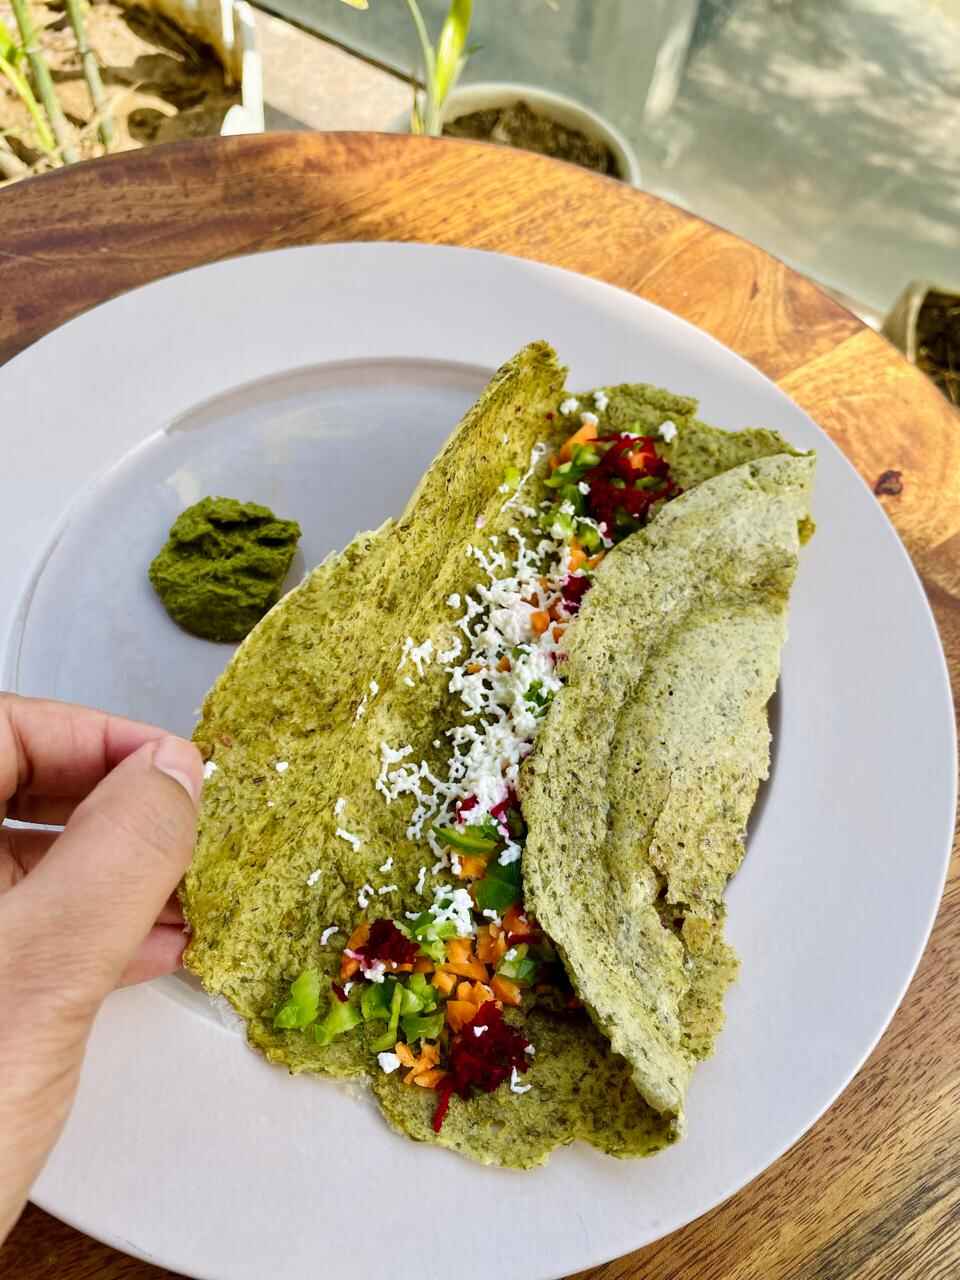
As the seasons change, so does our craving for nutritious and delicious meals. Today, I’m excited to share with you a recipe that’s perfect for breakfast or a light dinner – Stuffed Green Moong Dal Chilla. This recipe is packed with protein and veggies, making it a wholesome choice for everyone in the family.

Ingredients:

For the Chilla Batter:

1 cup soaked green moong dal
2-3 garlic cloves
2 green chillies
Salt to taste

For the Stuffing:

1 carrot, grated
1 capsicum, finely chopped
1 beetroot, grated
100g paneer, grated
Instructions:

Soak the green moong dal overnight or for at least 6 hours.
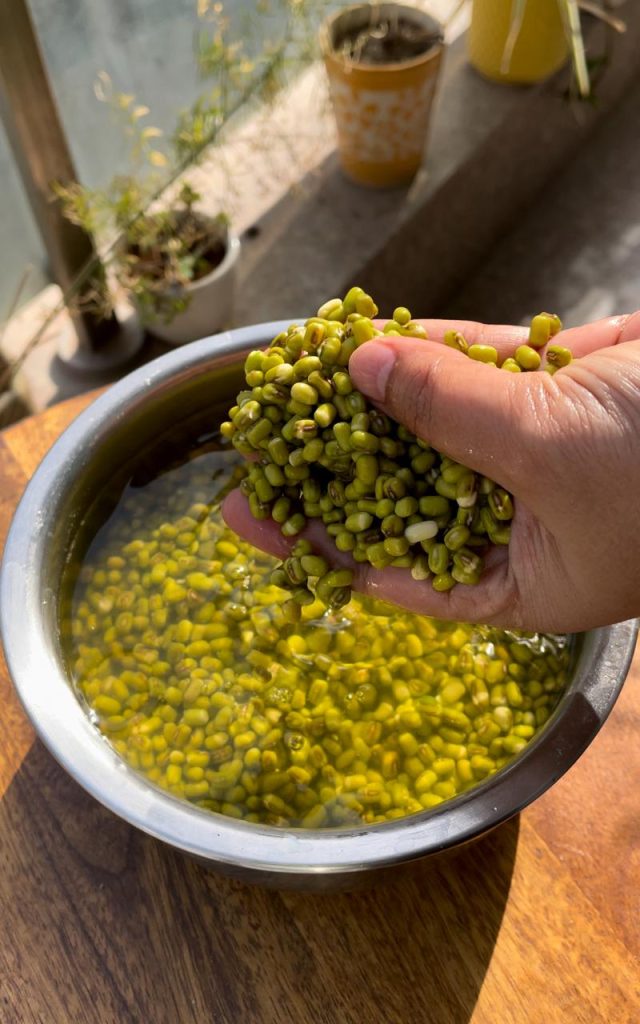
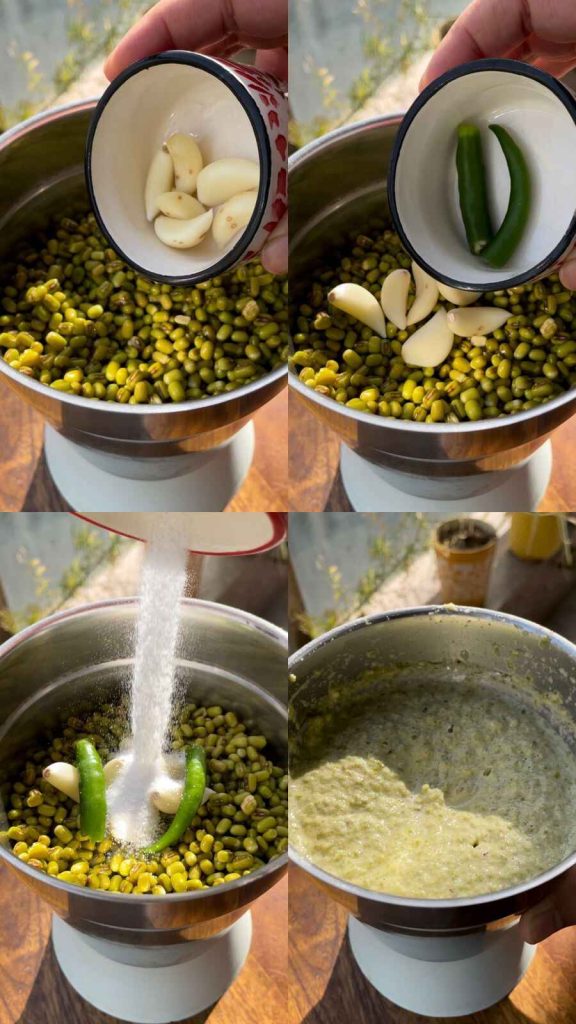
Drain the soaked moong dal and add it to a blender along with garlic cloves, green chillies, and salt. Blend until you get a smooth batter. You can add a little water if needed to reach the desired consistency.
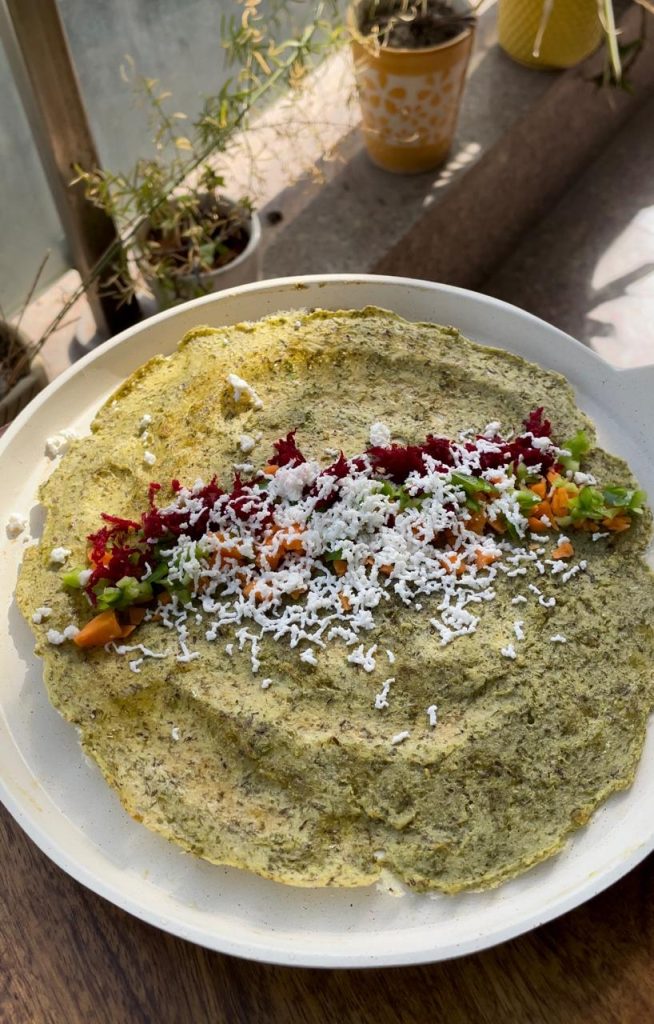
Grate the carrot, beetroot, and paneer. Finely chop the capsicum. Mix all the grated and chopped vegetables together. Add a pinch of salt if desired.

Heat a non-stick pan or griddle over medium heat and lightly grease it with oil. Pour a ladleful of the chilla batter onto the pan and spread it in a circular motion to form a thin pancake.
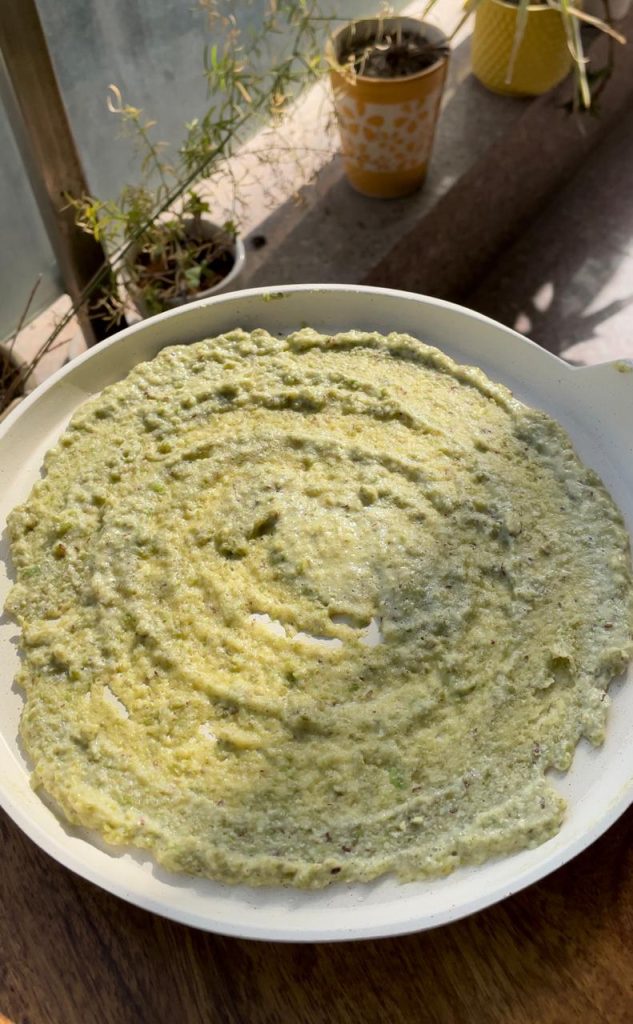

Cook the chilla on one side until it starts to turn golden brown. Flip it over and cook the other side.
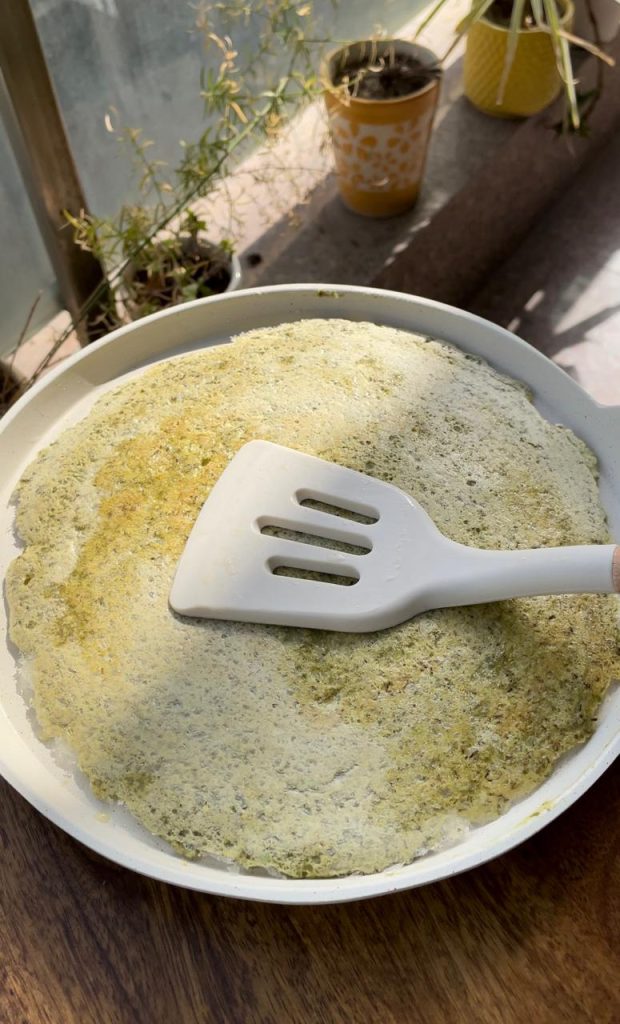
Once both sides of the chilla are cooked, place a generous amount of the vegetable and paneer stuffing on one half of the chilla.

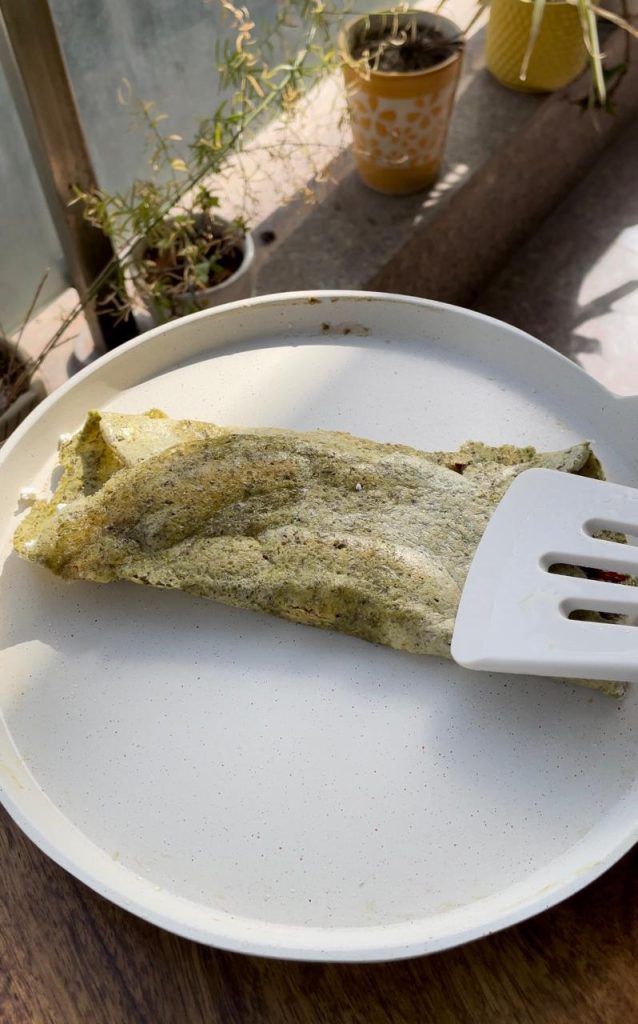
Fold the chilla over the stuffing to make a semi-circle. Press down gently with a spatula to ensure the stuffing is secure and the chilla is cooked through.
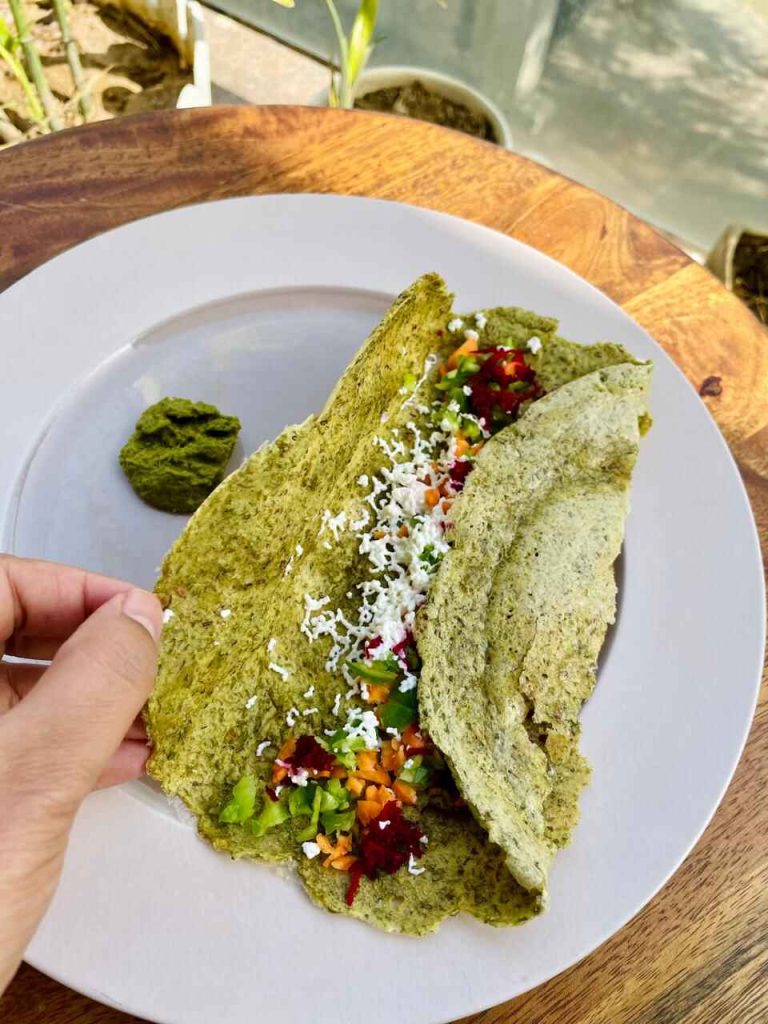
Serve the stuffed green moong dal chilla hot with a side of your favorite chutney or yogurt.
Health Benefits of Green Moong Dal Chilla:
Protein-Rich: Green moong dal is an excellent source of plant-based protein, essential for muscle repair and growth.

Fiber-Filled: The vegetables and dal provide a good amount of dietary fiber, aiding in digestion and keeping you full for longer.

Nutrient-Dense: Packed with vitamins and minerals from the carrots, capsicum, beetroot, and paneer, this dish supports overall health and well-being.

Give this delicious and nutritious stuffed green moong dal chilla a try, and don’t forget to share your feedback! If you have your own variations, we’d love to hear them in the comments below. Happy cooking!
Posted on 1 Comment

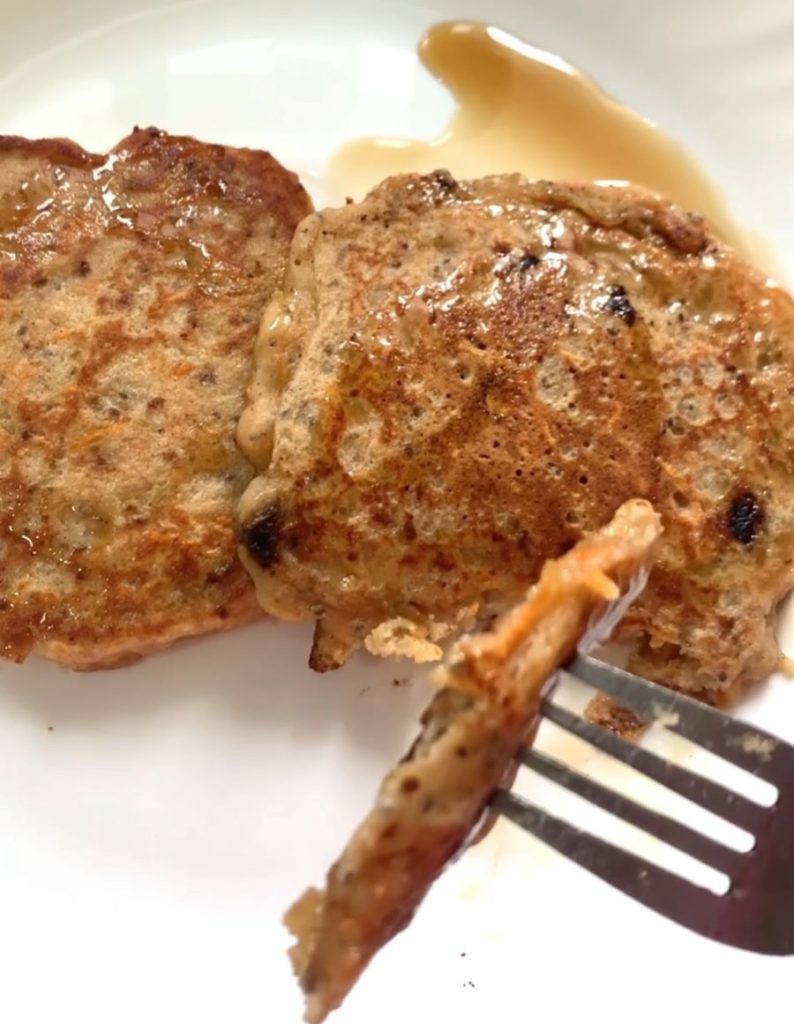
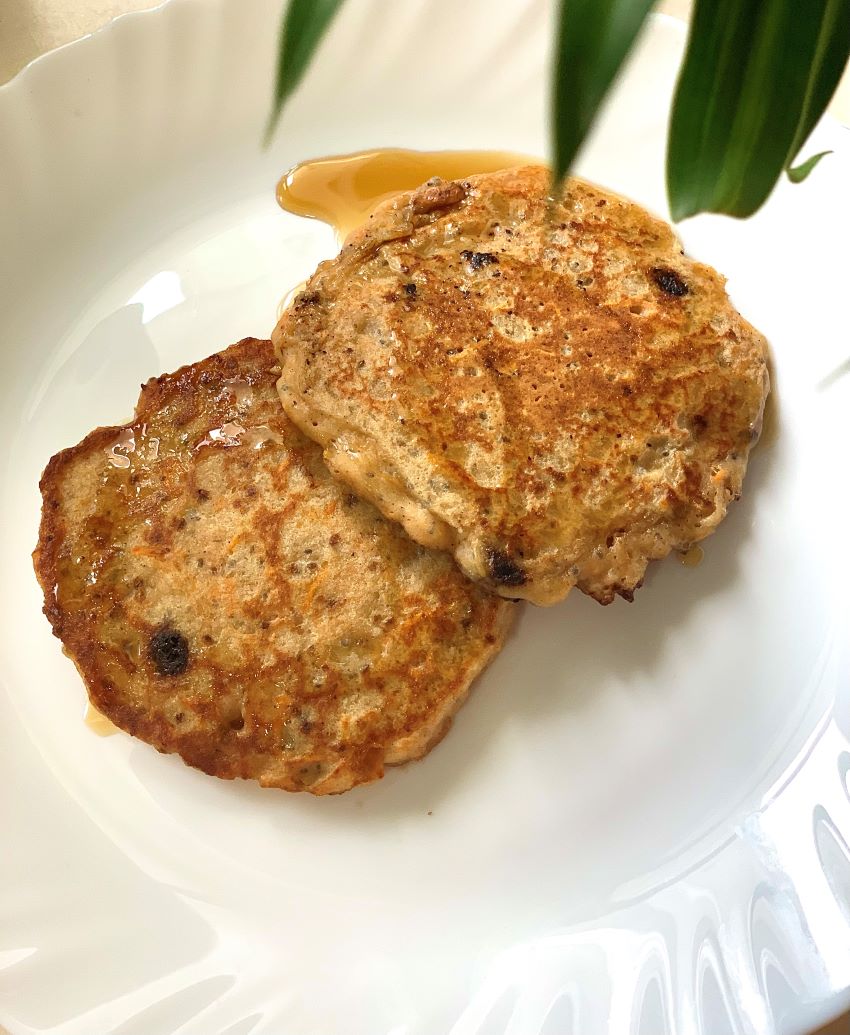
Healthy Wholewheat Carrot Chia Seed Pancakes- Vegetarian High Protein Recipe

These fluffy Carrot Pancakes are high protein vegetarian pancakes and are a brilliant way of incorporating vegetable or fruit in your or your child’s diet. These pancakes remind me of carrot cake, without the frosting of course. They are packed with all the healthy ingredients with inclusion of yogurt to give it more nutrition and a fluffy texture. 

They are so easy to whip up with wholesome, easy to find ingredients and you are just going to love the flavor and texture! Carrots are a great addition to pancakes because of their subtle flavor. Your child will definitely notice bits of carrots but will not mind it. You can also check out my healthy carrot cake recipe here- Wholewheat Carrot Orange Tea Cake

Ingredients you will need

  • Wholewheat flour: Wholewheat flour gives a nice nutty flavor to these pancakes. However if you want to make these pancakes gluten free, you can use buckwheat flour. It is a little more nutrient-dense, though the two work similarly. For more gluten free pancake recipes check out my Healthy Protein Packed Pancake recipe.
  • Jaggery Powder: Jaggery adds some natural caramel like sweetness. You can also try these pancakes with applesauce.
  • Plain yogurt: This adds moisture and protein. You can also use milk instead. If you want to make it vegan, you can add Almond Milk or Coconut Milk or any other nut milk. Check out the recipe of Homemade Almond Milk here
  • Coconut Oil: I used coconut oil that’s melted in the pancakes to add some moisture and richness. You can choose to add Olive Oil or Unsalted Butter too.
  • Pure Vanilla Extract: This adds lovely flavor to the pancakes batter.
  • Baking powder and Baking Soda: They are essential to give the pancakes rise, make it fluffy and light in texture
  • Cinnamon and Nutmeg: I love to add these flavors in carrot pancakes or cake. They add a nice warmth and cozy feeling to the pancakes.
  • Chia Seeds: Chia seeds will add more nutrition and protein to the pancakes since we are not using eggs here. Also, it will add more moisture. 2 tbsps of Chia Seeds contain 5 grams of protein.

Recipe: makes 7 pancakes

Ingredients 

  • 1.5 cups of Wholewheat flour
  • 1/2 tsp Baking Soda
  • 1/4th tsp Baking Powder
  • 1/2 tsp Cinnamon Powder
  • 1/4th tsp Salt
  • 1/4th tsp Nutmeg Powder
  • 4 tbsps Jaggery Powder
  • 1 cup Grated Carrot
  • 1.5 cups Yogurt
  • 2 tbsps Chia seeds soaked in 1/4th cup water for 10 minutes 
  • 2 tbsps Oil (Olive/Coconut) or Melted Unsalted Butter
  • 1/2 cup Dark Chocolate Chunks (70%)

Instructions

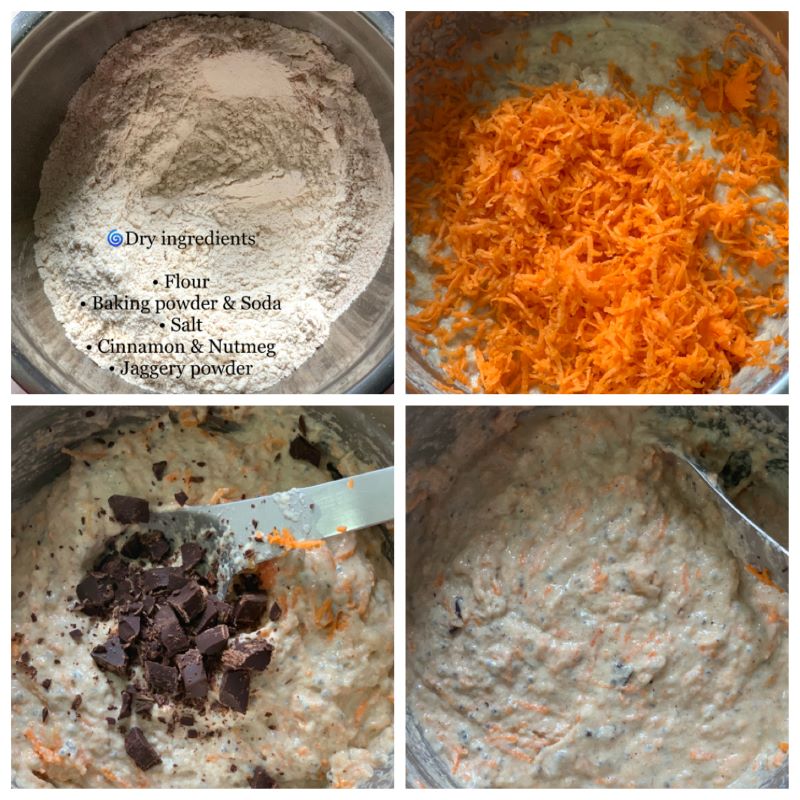
  • Stir together jaggery, yogurt or milk or almond milk, butter or oil and vanilla in a medium bowl.
  • Add in the flour, baking powder & soda, cinnamon, nutmeg, salt, and stir gently to combine.
  • Now add grated carrots and mix gently. Top it with chocolate chunks if using.
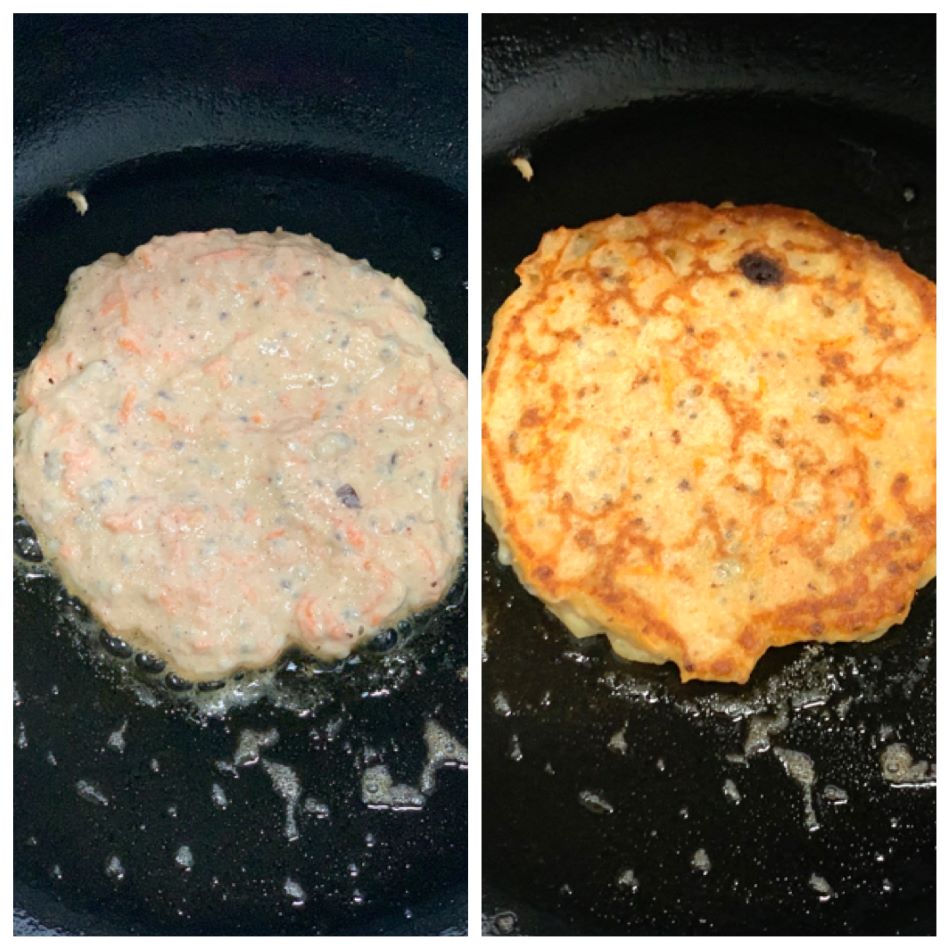
  • Heat a nonstick or cast iron pan or griddle over medium-heat, coat it with some butter. Add a ladle full of batter and spread it thinly. 
  • Cook per side for 2-3 minutes or till the top sets and bubbles start bursting. Flip and cook the other side.

Enjoy 😊 I hope you enjoy this recipe. It is a must try especially for your child if he/she is a picky eater. Do let me know in the comments if you try this recipe and want more of such healthy recipes. 

Posted on 1 Comment

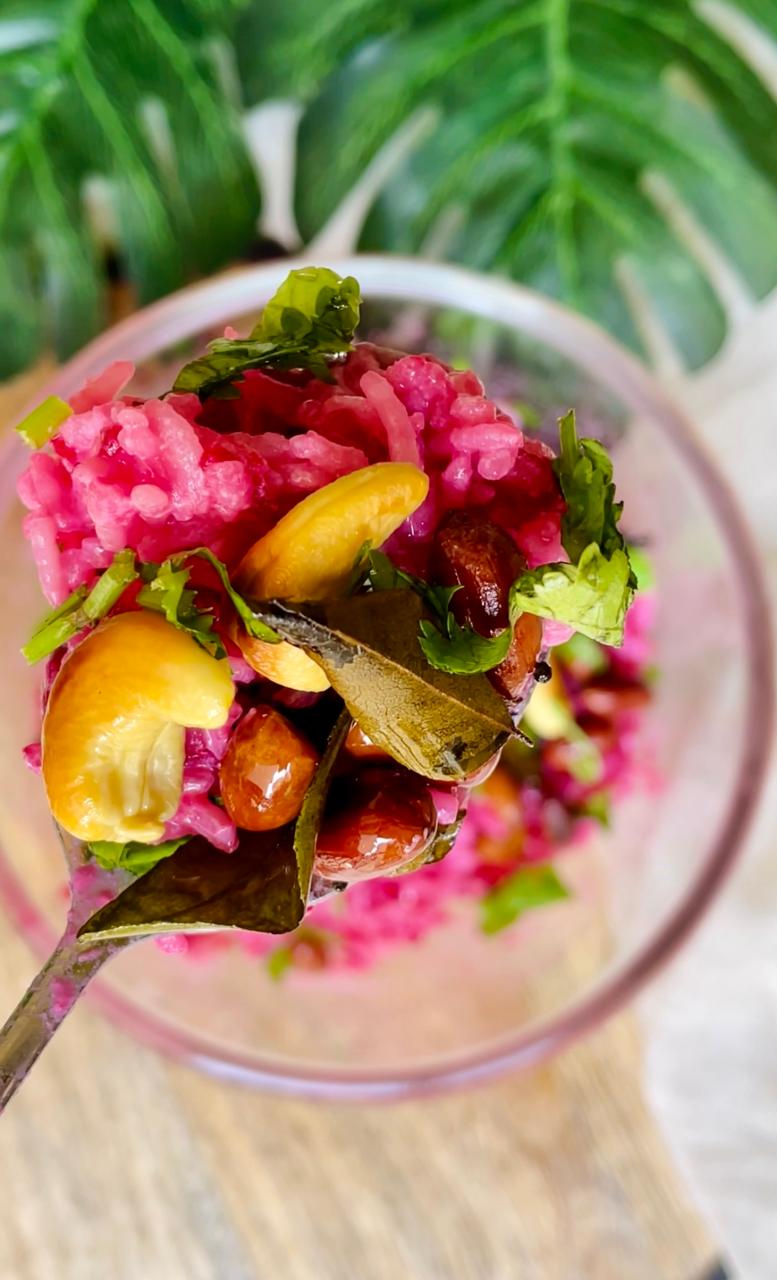
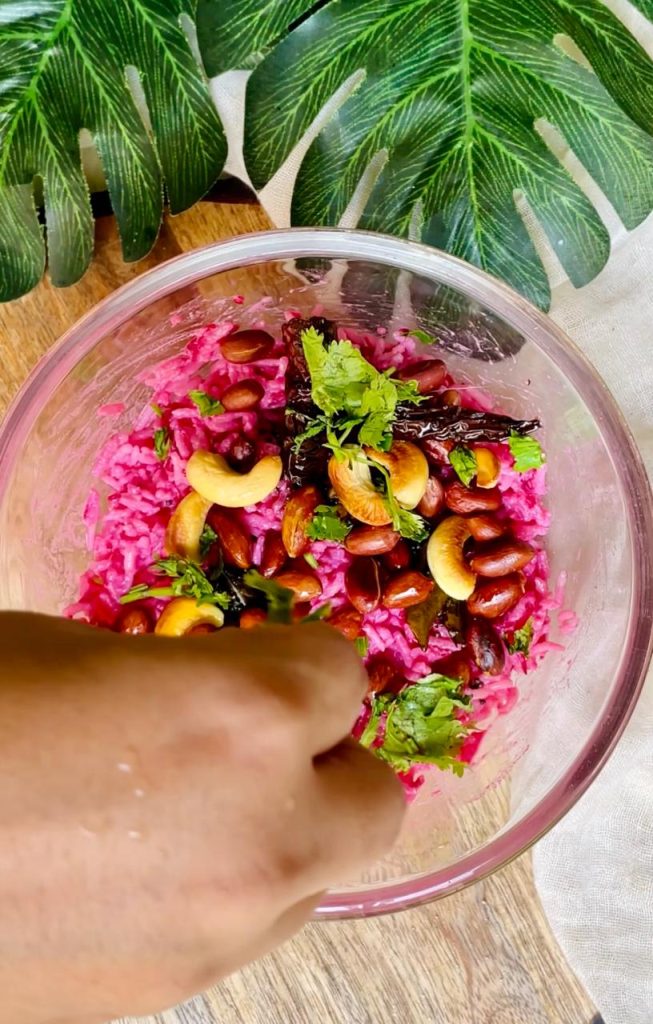
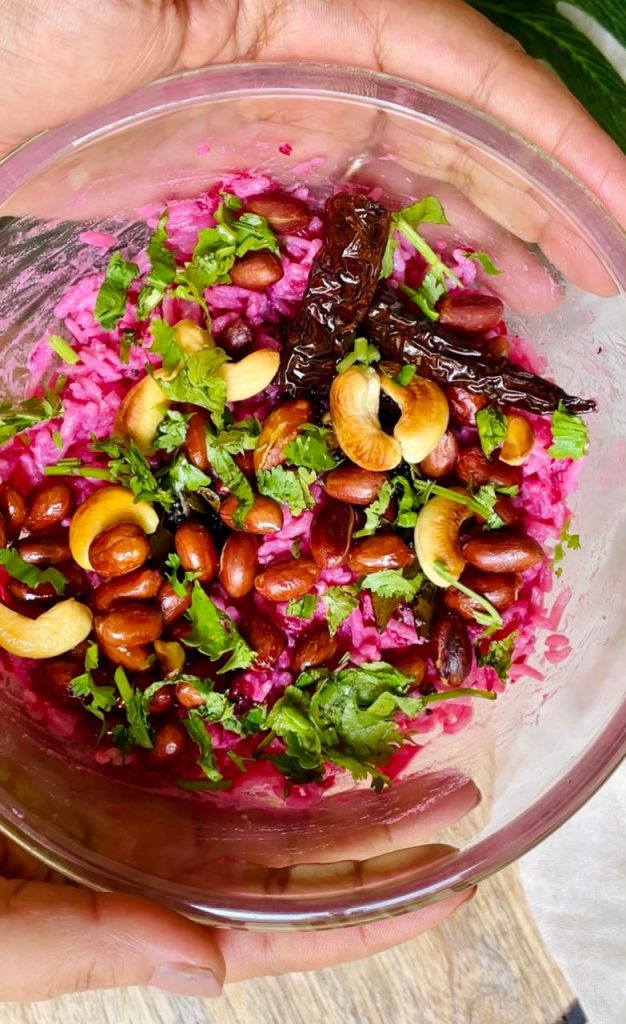
Barbie Curd Rice: A Vibrant Beetroot Twist on Classic Curd Rice

Curd rice, a beloved dish in South India, is not only comforting but also a perfect coolant for the scorching summer days. The addition of beetroot not only gives it a beautiful pink hue, earning it the nickname “Barbie Curd,” but also enhances its nutritional value. Beetroot is rich in antioxidants and essential nutrients, which aid in detoxification and boost overall health. Curd, being a probiotic, improves digestion and keeps the gut healthy.

Combining these ingredients makes for a delicious and refreshing meal that helps beat the heat. Enjoy this vibrant twist on the classic curd rice to stay cool and nourished this summer. Get ready to embark on a culinary journey filled with flavors and colors as we present to you the enchanting “Barbie Curd Rice”!

Ingredients:

Boiled rice
Creamy curd (yogurt)
Grated beetroot
Roasted peanuts and cashews
Fresh coriander leaves
Salt, to taste
Tadka (tempering):
Curry leaves
Rai (mustard seeds)
Whole red chillies

Instruction:

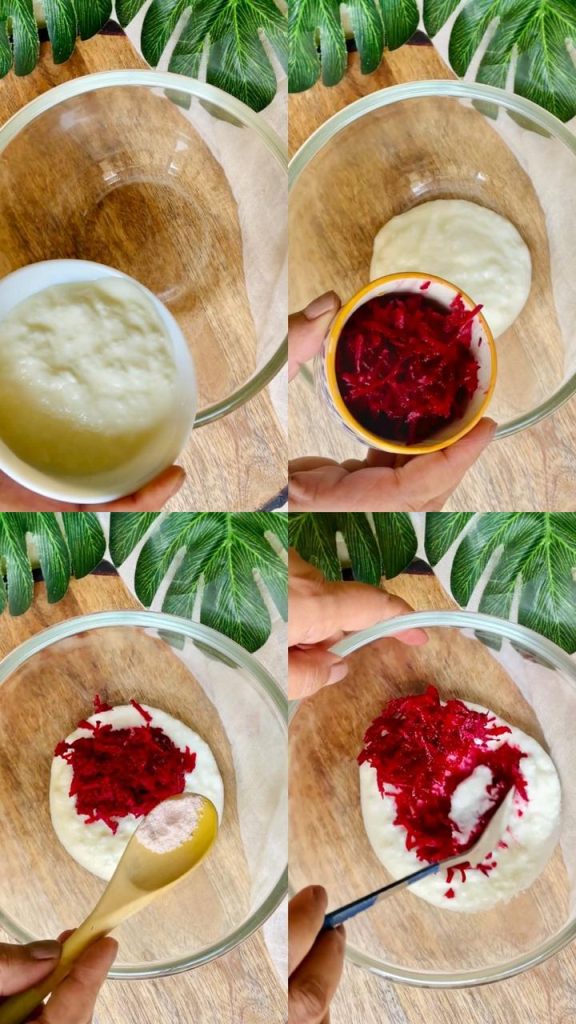
In a big mixing bowl, take a generous amount of creamy curd (yogurt). The tangy goodness of curd is going to bring out the flavors of this dish beautifully. Add the vibrant grated beetroot to the curd. This is where the “Barbie” charm comes in, infusing the dish with a splash of lovely pink. Season the mixture with a pinch of salt. Remember, balance is key!

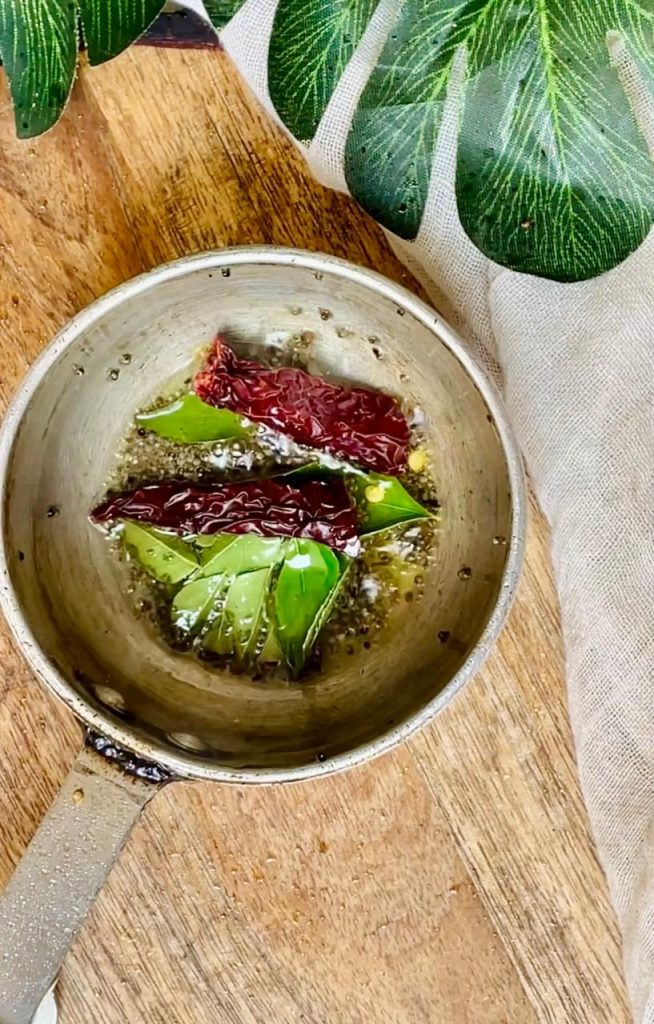
Start by preparing the tadka: In a small pan, heat a tablespoon of oil. Add the rai (mustard seeds) and allow them to crackle. Toss in the whole red chillies and curry leaves. Let them sizzle for a moment until fragrant.

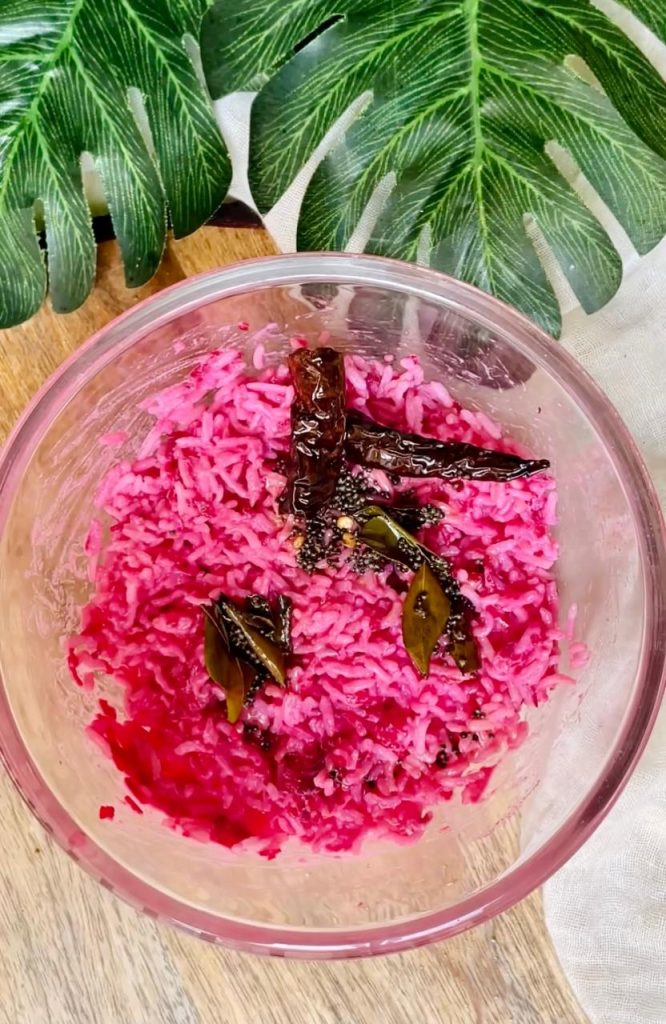
Gently fold in the perfectly cooked boiled rice. The rice will absorb the flavors of curd and beetroot, creating a harmony of tastes and textures. Pour the prepared tadka over the curd rice. The crackling spices and aromatic curry leaves will elevate the dish to new heights.

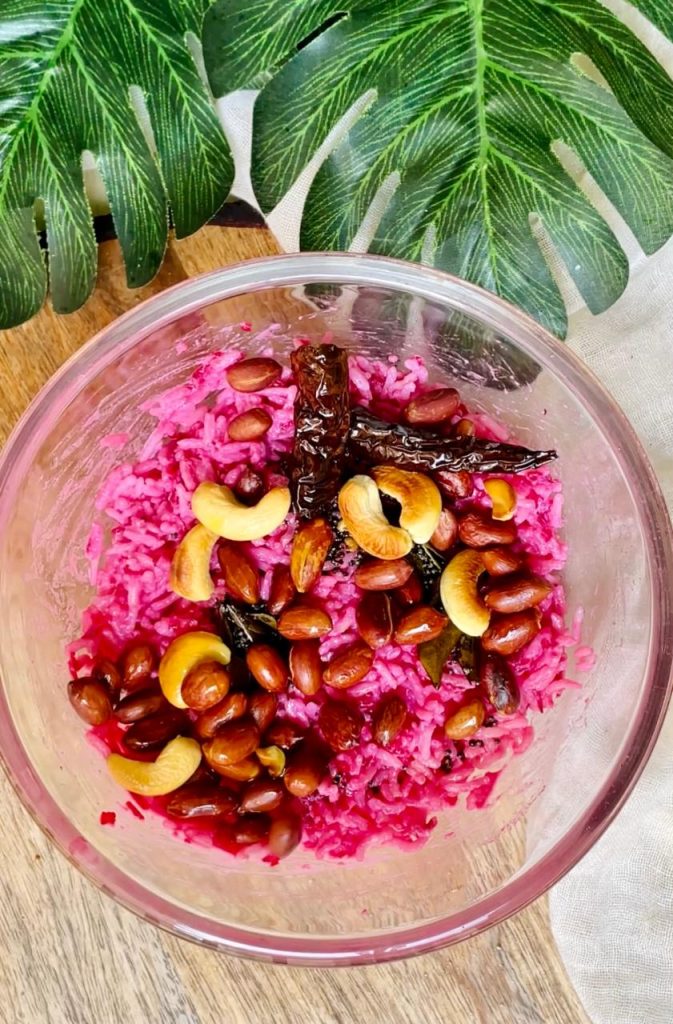
Now, it’s time to add a delightful crunch! Sprinkle roasted peanuts and cashews generously over the top.

Finally, add a handful of fresh coriander leaves to enhance the freshness and add a burst of color.

Serving Suggestion:
Serve this beautiful “Barbie Curd Rice” on a plate and admire the magical blend of colors and textures. The vibrant pink from the beetroot, the golden crunch of nuts, and the lush green of coriander create a stunning visual treat.

Elevate your dining experience and surprise your taste buds with our Barbie Curd Rice. A delicious and visually captivating dish that’s perfect for special occasions or whenever you want to indulge in something delightful.

We hope you enjoy making and savoring this delightful Barbie Curd Rice with a beetroot twist. It’s not just a feast for the eyes, but also a nutritious and refreshing dish perfect for summer days. Give this colorful and healthy recipe a try and let us know how it turned out for you. We’d love to hear your feedback and any variations you might have added. happy cooking! 🍽🌈

Posted on 1 Comment

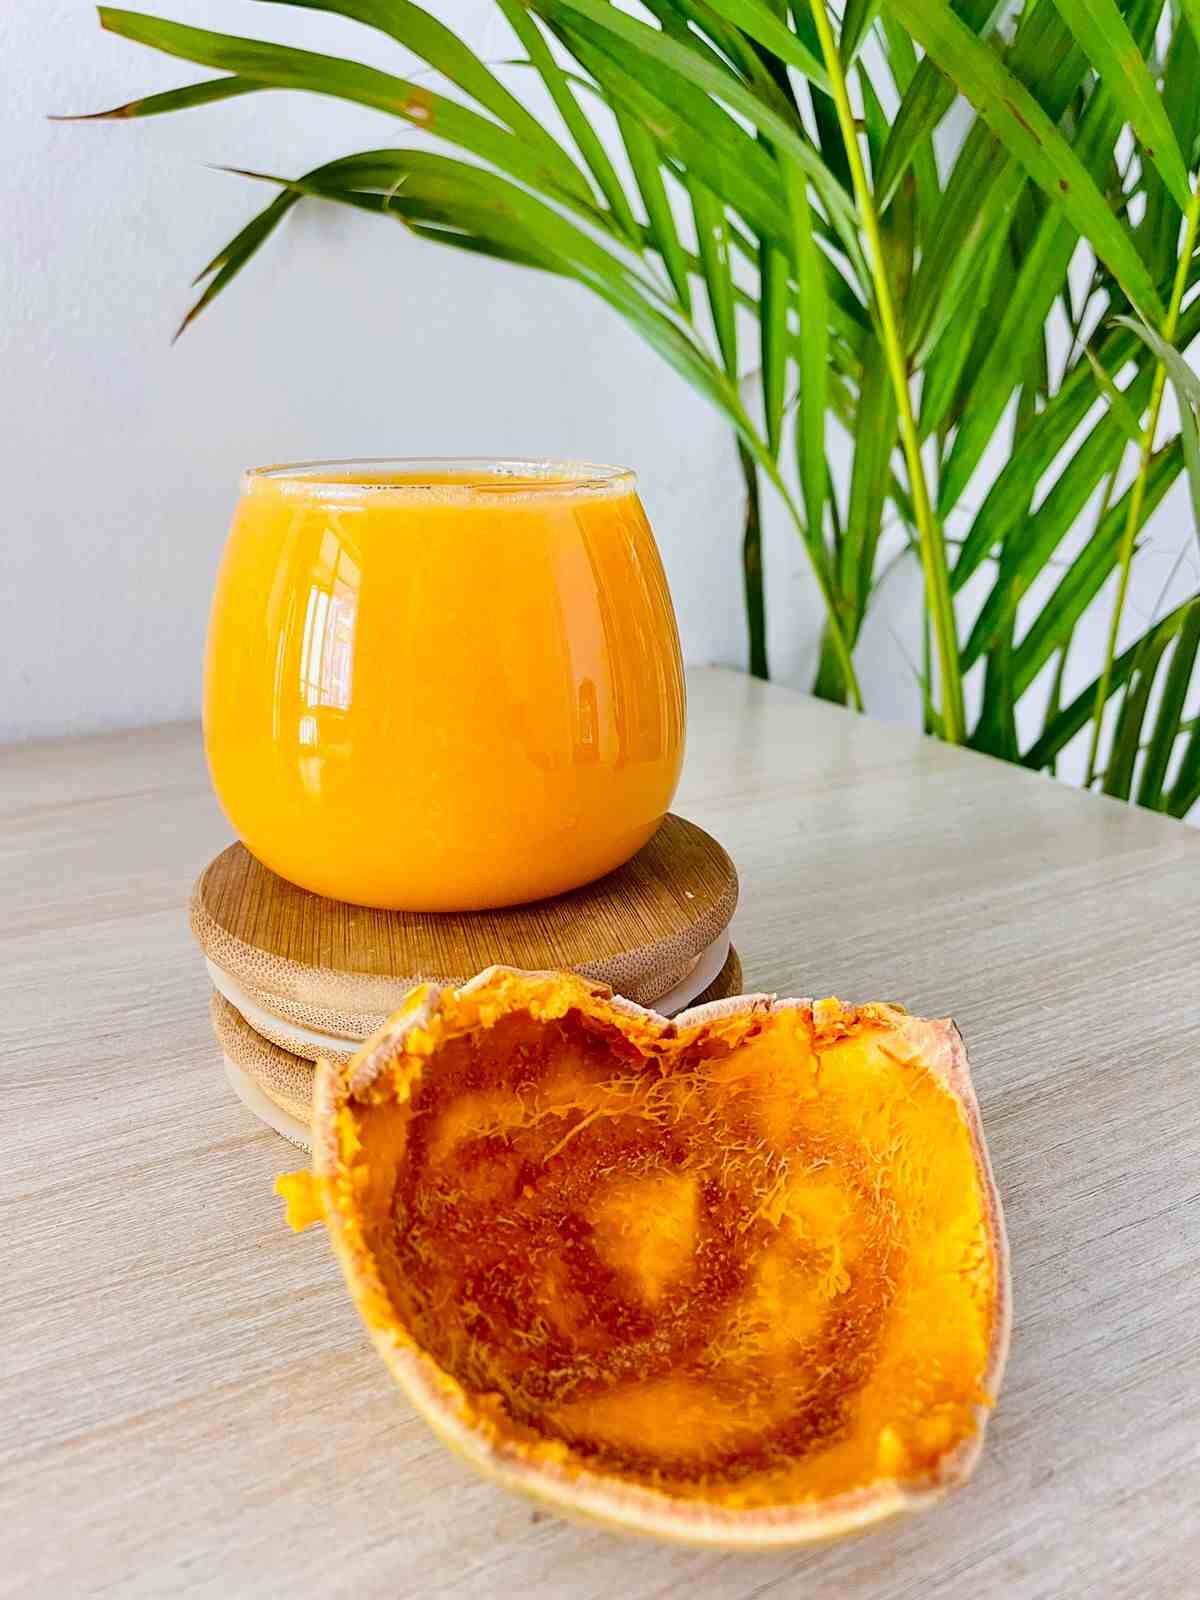
Refreshing Bael Sharbat / Wood Apple Summer Drink

Once upon a time, I couldn’t stand the taste of bael fruit. It was my grandfather’s favorite summer fruit, and he made it a tradition for every child to enjoy bael sharbat during the scorching heat. Those days, bael fruits arrived fresh from our village. Fast forward to urban life, and now I find myself craving these regional delights. I make it a point to visit the local market and grab some bael fruit to whip up the sharbat at least once or twice every summer. Funny how our tastes change with time, isn’t it?

It is very easy to make and it is also very amazing in taste!

Ingredients:

1 ripe bael fruit
Lemon juice (from 1 lemon)
Black salt, to taste
Cold water
Ice cubes
Sugar, to taste
Mint leaves for garnish (optional)

Instructions:

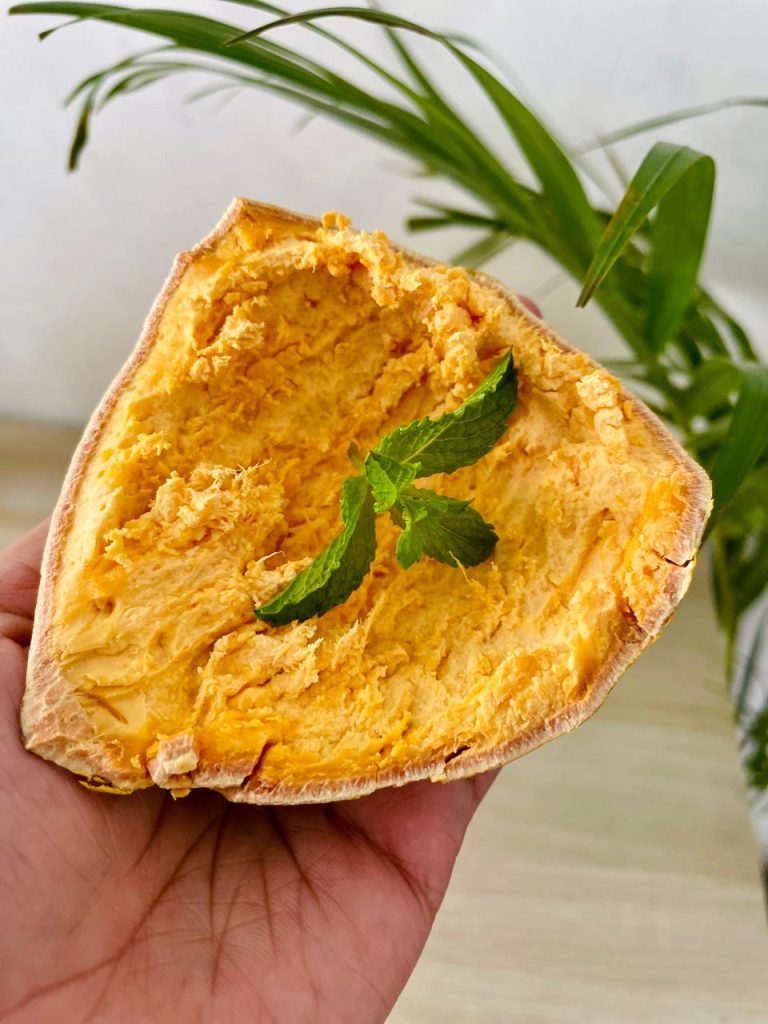
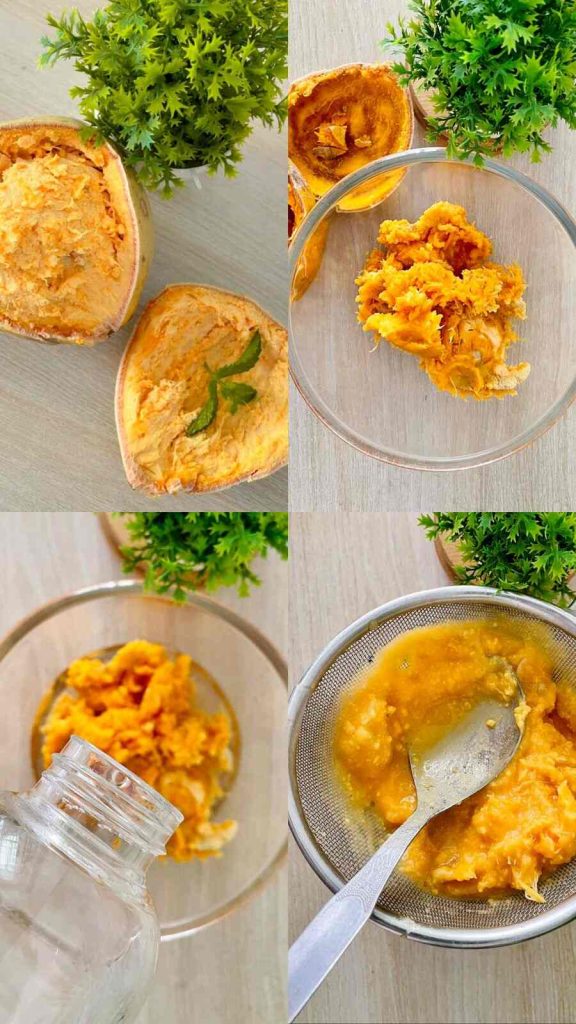
Begin by cracking open the ripe bael fruit and scooping out the pulp. Discard the seeds and any hard parts.
In a bowl, add the bael pulp and cover it with water. Let it sit for 2-3 minutes to soften.
After soaking, strain the pulp through a fine mesh strainer to separate the juice from the fibers.
Add more water to the strained juice according to your desired consistency.

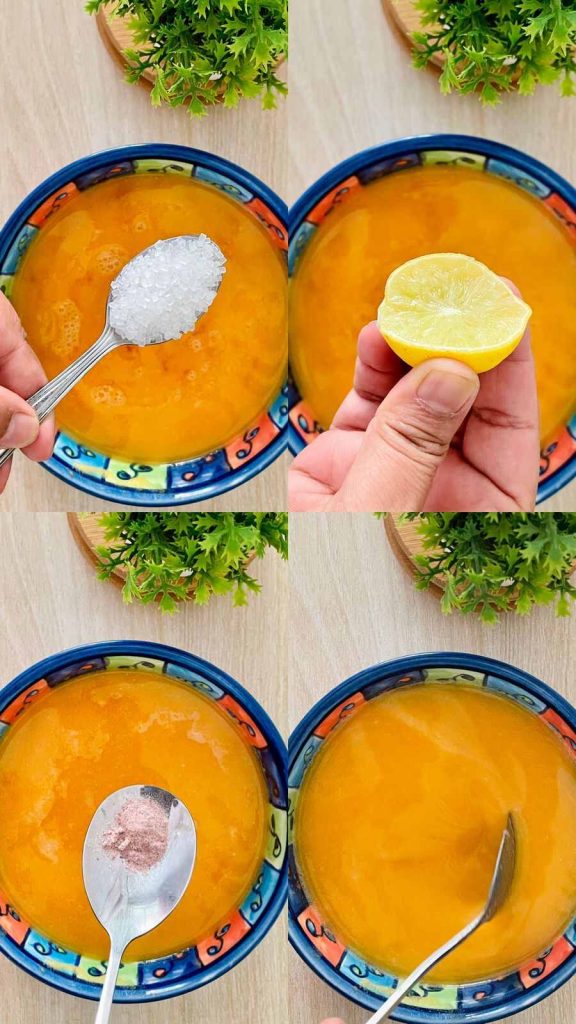
Mix in sugar, lemon juice, and black salt to taste. Adjust the sweetness and tanginess according to your preference.
Stir well until the sugar and salt are fully dissolved.


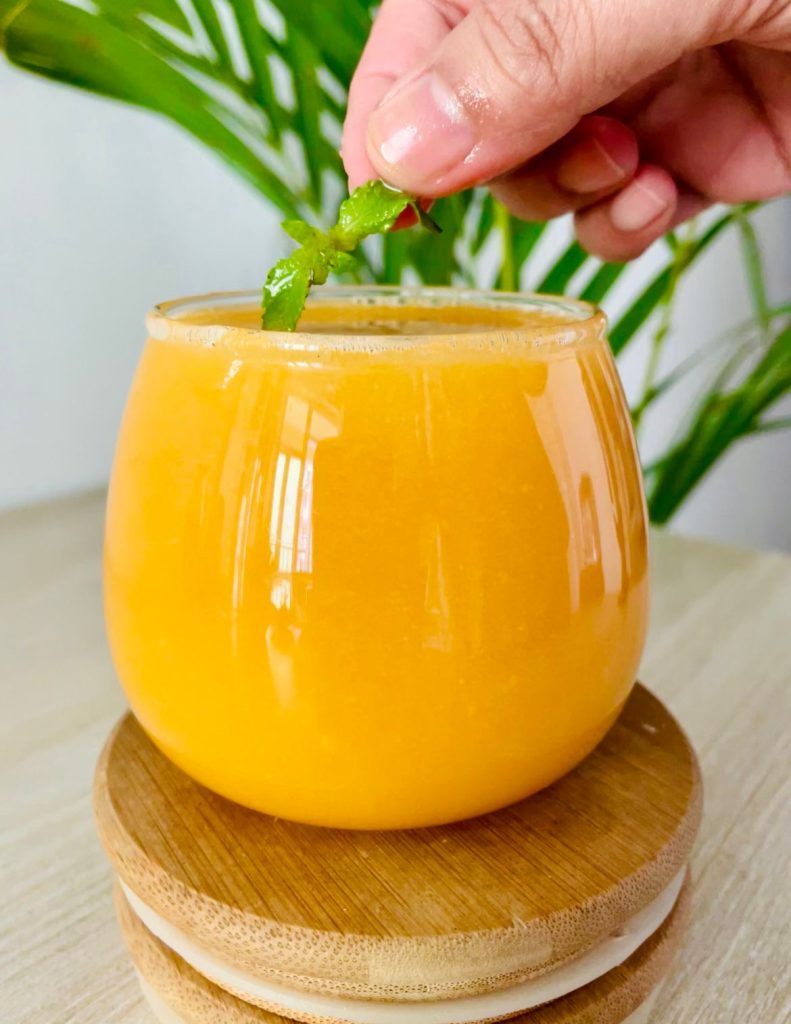
Fill serving glasses with ice cubes. Pour the prepared bael sharbat over the ice in each glass. Garnish with fresh mint leaves if desired. Serve immediately and enjoy the refreshing and flavorful bael sharbat!

You can make your own bael sharbat at home or you can buy from numerous brands available online as well as offline. In case you are looking for a homemade, preservative free and authentic experience, without getting into hassle of making your own, you can always explore Masala Monk’s Bael Sharbat, which ships all over India.

Bael Sharbat isn’t just a refreshing summer drink; it’s a testament to the timeless wisdom of our ancestors. Unlike sodas and colas that can harm your health, this homemade concoction offers both flavor and nutrition in every sip. By embracing these age-old recipes and prioritizing homemade drinks, we not only honor our culinary heritage but also nourish our bodies with the goodness of nature. Here’s to savoring the simple joys and flavors of life, one glass of Bael Sharbat at a time!

Posted on 1 Comment

Coconut/Thengai Dosa- Karnataka Style Spongy Dosa

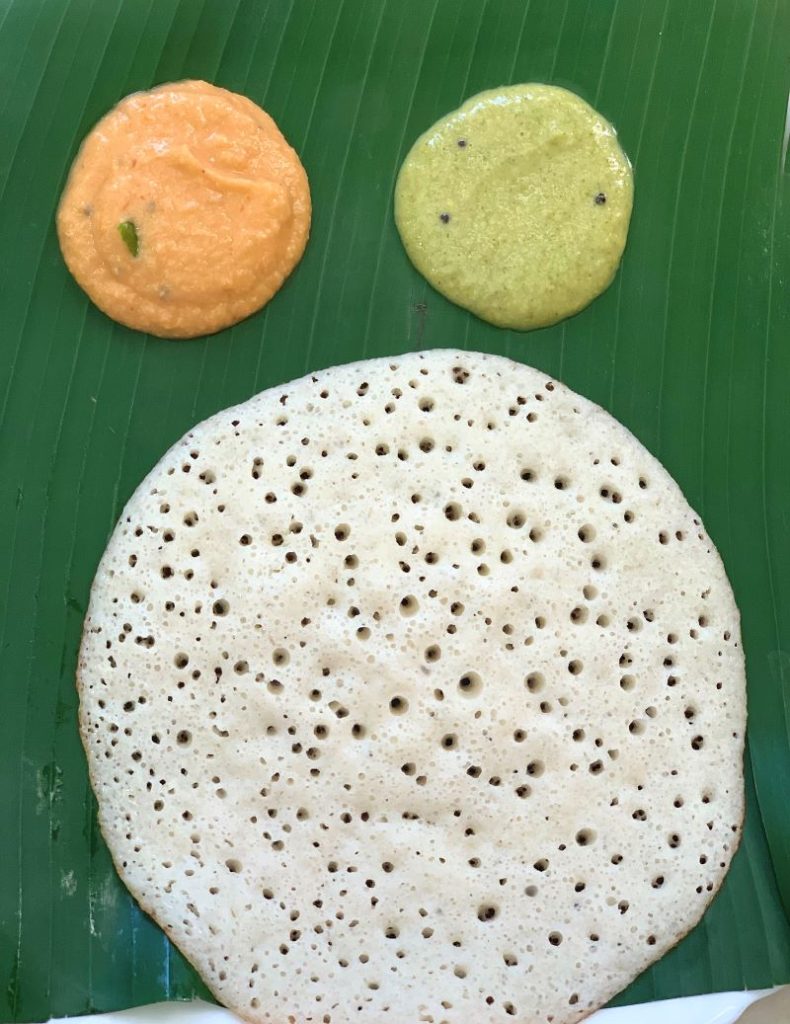
Karnataka style coconut dosa (Thengai dosai in Tamil) is a flavorful, yummy dosa variety. It is prepared with rice, poha and coconut as the main ingredients.

This dosa is so delicious. The texture is spongy, super soft and totally melt in mouth. Coconut adds a very refreshing taste to this dosa and takes the regular dosa to a whole new level. This is a healthy and a filling breakfast dish which takes only minutes to cook. Adding flattened rice, poha as we call it, makes it fluffier and softer than traditional dosas.

This is my child’s favourite breakfast meal. The first time I made this dosa some 3 years back, my child literally gobbled 4 of these. I made extra batter to last me 2-3 days and in those 3 days all he took was coconut dosa in his school lunch box too. 😄 Even today whenever I make this for breakfast, I see the same excitement on his face.

Traditionally, this is made without adding urad dal, but I added some to add more protein. You can skip it if you like. The softness in this dosa comes from natural fermentation. There is no need to add any leavening agents to it. Fermented dosa offers a wealth of nutritional value, thanks to the fermentation process. When the batter undergoes fermentation, all the beneficial micro-organisms convert sugar and carbohydrates from rice and dal to lactic acid. One of the significant benefits of fermentation is the increased bioavailability of nutrients. Also, the final product becomes easy to digest, making it an ideal choice for those with sensitive stomach or digestive issues.

Batter consistency is the key to the success of this recipe. It should be pouring consistency batter, neither too runny nor thick like idli batter.

Recipe:

Prep time: 10 minutes Cook time: 3 minutes 
Fermentation time: 8-10 hoursServing: makes 10-12 dosas

Ingredients:

  • 1 cup raw Rice
  • 1/2 cup thin Poha/Flattened Rice
  • 1 tbsp Methi/Fenugreek seeds
  • 1/4th cup white split Urad dal
  • 3/4th cup grated fresh Coconut
  • 1 tsp Rock Salt or Himalayan Pink Salt
  • Table Salt to taste
  • Oil or Ghee to cook dosa

Instructions

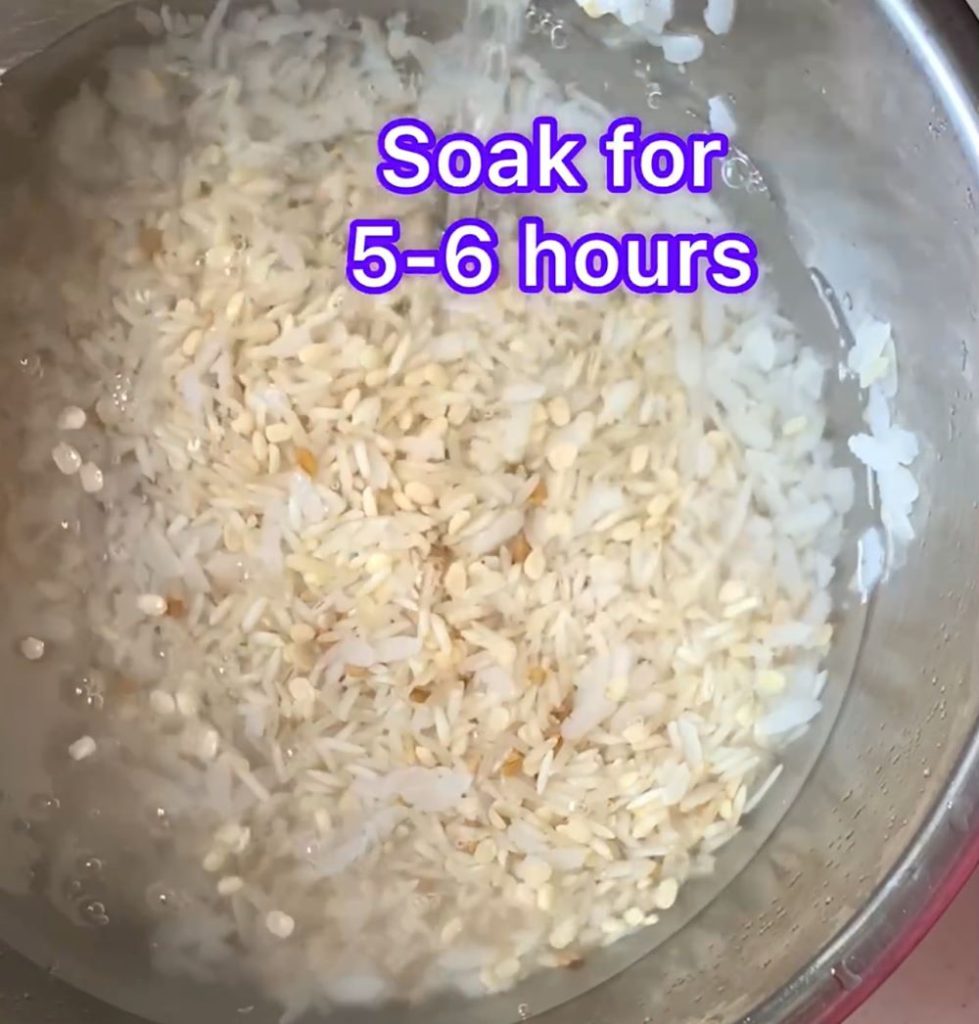
  • Wash and soak all the ingredients mentioned above except coconut for 5 hours.
  • Now, drain all the water. Add grated coconut and blend the batter to a smooth consistency. Add a little water at a time. Do not make too thin or a thick batter. Make sure everything is well combined.
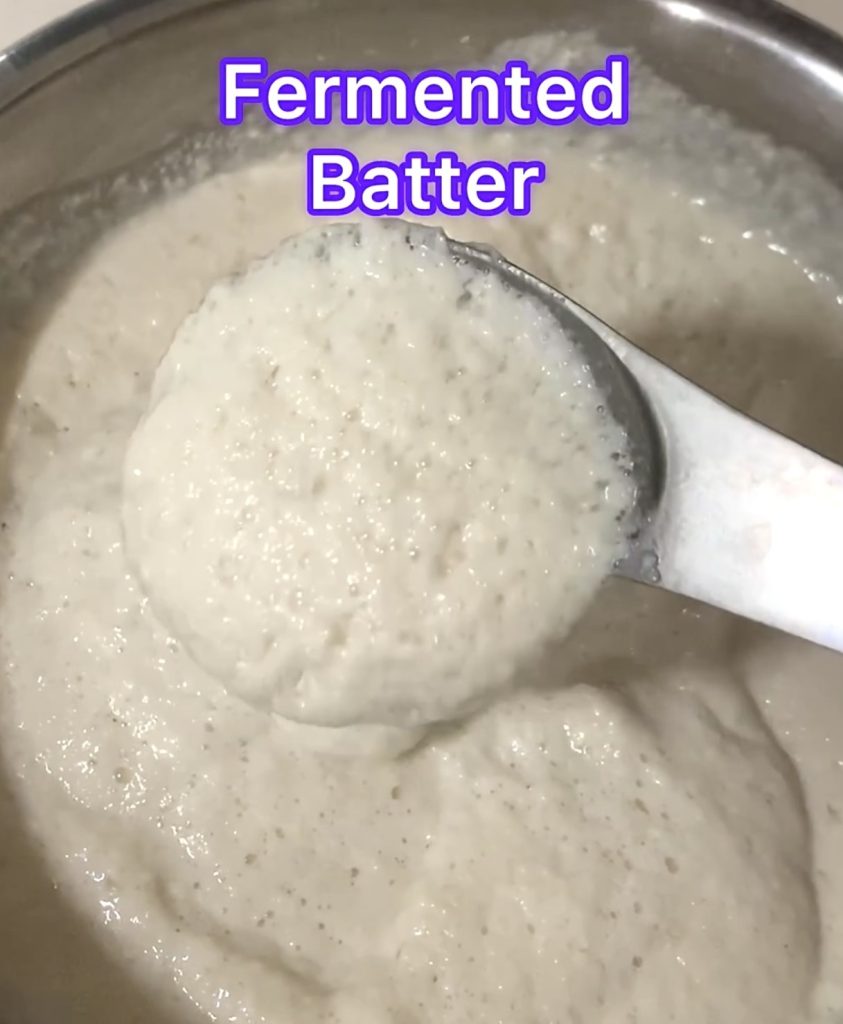
  • Transfer the batter to a large bowl. Make sure there is some room in the bowl because the batter will rise during fermentation. Add a tsp of rock salt and mix well. Cover and leave the batter for fermentation in a warm place for 8 to 9 hours.
  • After the fermentation the batter will become very frothy. Add salt to taste. Now you can add regular table salt. Mix it very gently till it is well combined. Do not over mix the batter.
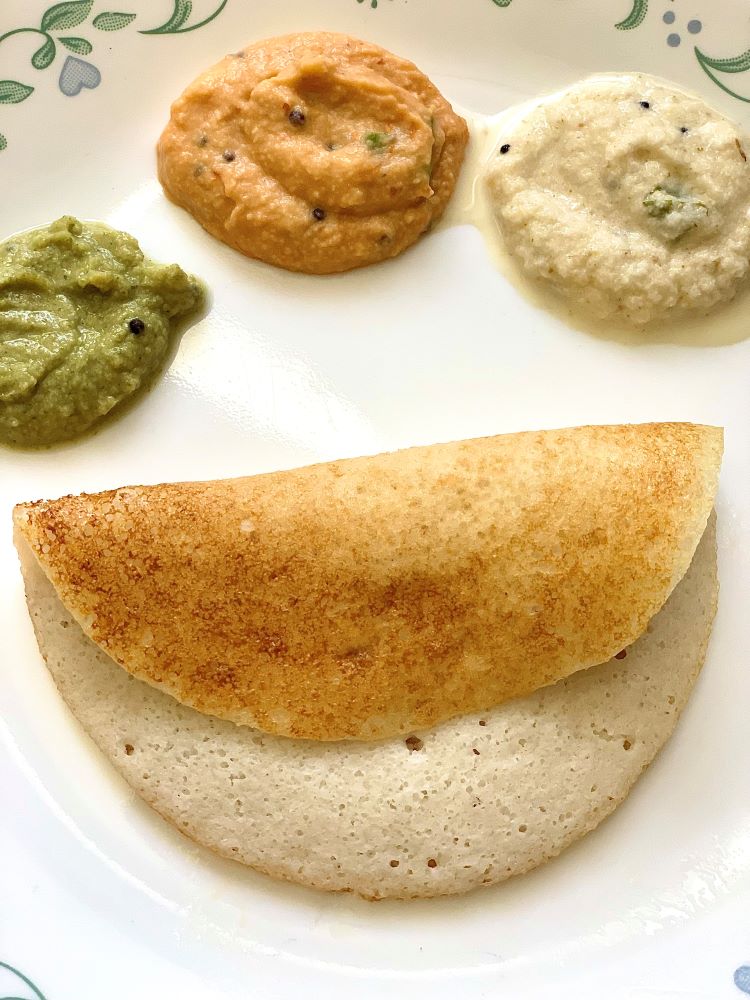
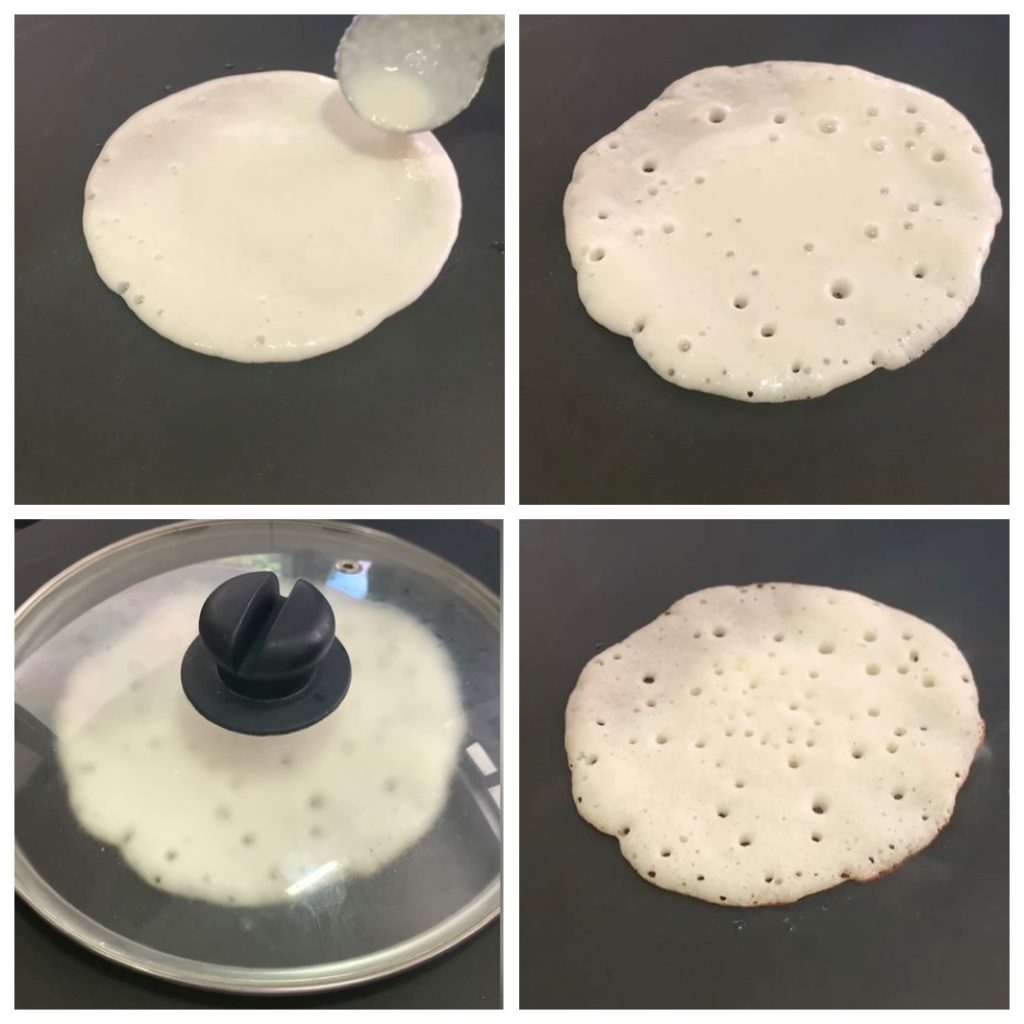
  • Heat dosa tawa on a medium heat. Add a ladle full of batter. Spread slightly. Drizzle some ghee or oil around the edges and cover it with a lid for 2 to 3 minutes.
  • Steam the dosa till top has set and the edges have browned.
  • Take it out on a plate and serve it with coconut chutney or sambar.

Fermentation Tips

  • Add rock salt to the batter before fermenting. Rock salt or Himalayan pink salt helps in fermentation. Do not use table salt.
  • Do not skip fenugreek or methi seeds. It is the main ingredient that helps in fermentation.
  • Do not add water in one go. Keep adding little by little to get right batter consistency.
  • Mix the final batter with your hands for 2 to 3 minutes and keep it in a warm place. The warmth of your hand will help in fermentation.
  • If you stay in a dry or cold place, fermentation may take more than 9 hours. You can place the batter in a pre-heated oven.

Storage

Securely seal the container and store the leftover batter in the refrigerator. The lower temperature will slow down the fermentation process, allowing you to use the batter for several days. While fresh batter tastes the best, but you store the batter for 2 to 3 days without compromising on the taste. Beyond that I do not recommend storing the batter. Freezing idli or dosa batter is not recommended. Freezing will lead to change in the texture and taste. Before using refrigerated batter give it a gentle stir to redistribute the ingredients.