Are you tired of the same old eggs or overnight oats for breakfast? Do you crave something light, refreshing, and tropical, but still want to keep your carbs in check? Look no further—pineapple chia pudding is about to become your new favorite!
Why Pineapple Chia Pudding?
Chia pudding is a superstar in the world of healthy breakfasts. With just a handful of ingredients, you get a creamy, satisfying dish that’s loaded with fiber, healthy fats, and protein. When you add pineapple into the mix, you get a burst of sunshine in every bite—tart, sweet, and absolutely invigorating.
But here’s the kicker: most tropical puddings are loaded with sugar or carb-heavy ingredients. This version keeps carbs to a minimum while maximizing flavor, texture, and satiety.
What Makes This Breakfast Low-Carb and Healthy?
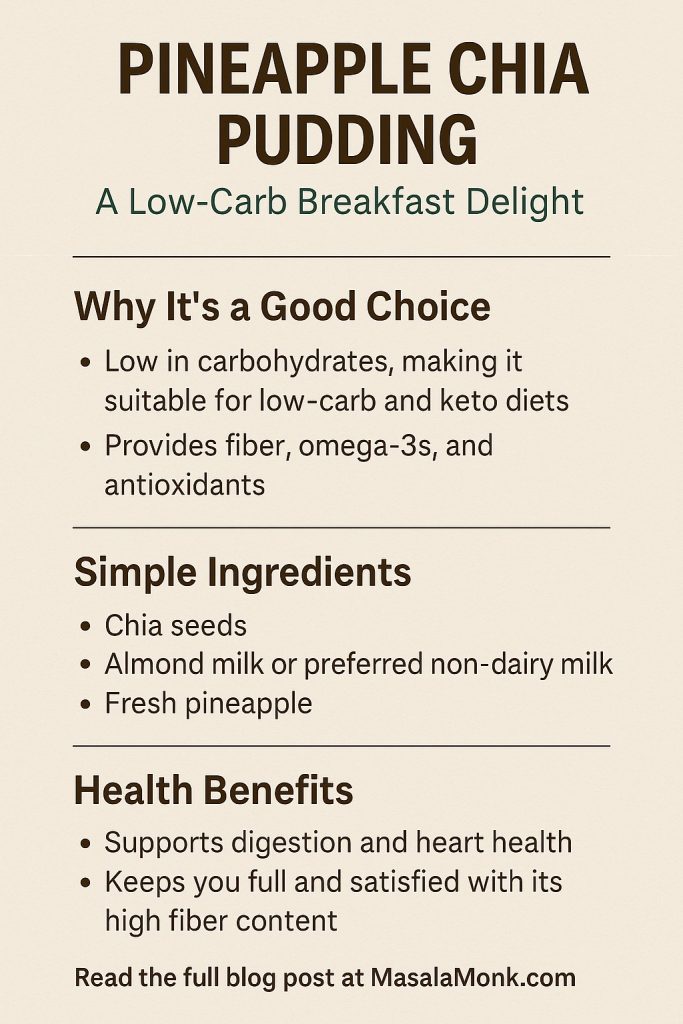
- Chia Seeds: Nearly all carbs in chia seeds are fiber, which doesn’t spike blood sugar and helps you stay full longer. Chia is also a source of omega-3 fats and plant-based protein.
- Pineapple: Used sparingly for flavor and nutrition—just enough for a sweet, tangy pop without going overboard on sugar.
- Unsweetened Non-Dairy Milk: Almond or coconut milk keeps things creamy and super low in carbs compared to dairy milk or fruit juice.
- Natural Sweeteners: Swap out honey or maple syrup for monk fruit, erythritol, or stevia for a guilt-free treat.
Ingredients: What You’ll Need
Let’s break down everything you’ll need to whip up a perfect low-carb pineapple chia pudding:
| Ingredient | Why Use It? | Carb Impact |
|---|---|---|
| Chia seeds (3 tbsp) | Thickens, fiber, protein, omega-3s | ~2-3g net per serving |
| Unsweetened almond/coconut milk (3/4 cup) | Creamy, low-cal, low-carb | ~1g net per serving |
| Fresh/frozen pineapple (2-3 tbsp) | Tangy, tropical flavor | ~3-4g net per serving |
| Monk fruit/stevia/erythritol | Adds sweetness, no sugar | 0g |
| Lime juice (optional) | Brightness, balances flavors | Negligible |
| Vanilla extract (optional) | Depth, classic pudding flavor | Negligible |
| Unsweetened coconut flakes (optional) | Texture, more tropical vibes | Minimal |
| Greek yogurt (optional, topping) | Creaminess, protein boost | Check label for carbs |
Step-by-Step Guide: From Ingredients to Bowl
1. Prep the Pineapple
- Use fresh or frozen pineapple, but keep the serving to about 2–3 tablespoons per portion. Dice it small, or better yet, blend it with a little of your chosen milk for a smooth “pineapple milk.” This gives every bite a burst of flavor without overloading on carbs.
2. Mix the Chia Pudding
- In a jar or bowl, add:
- 3 tablespoons chia seeds
- 3/4 cup unsweetened almond or coconut milk
- 1/2 teaspoon vanilla extract
- 1–2 teaspoons low-carb sweetener (to taste)
- Optional: juice from half a lime for zing
- Stir vigorously. Wait 5 minutes, stir again to break up clumps.
3. Let It Set
- Cover the container and refrigerate for at least 2 hours (overnight is best). Chia seeds absorb the liquid and become thick, creating a pudding texture.
- Pro Tip: For an ultra-smooth, quick version, blend everything (including chia) before chilling. This gives a silky “Dole Whip” vibe, as seen in new 2025 recipe trends.
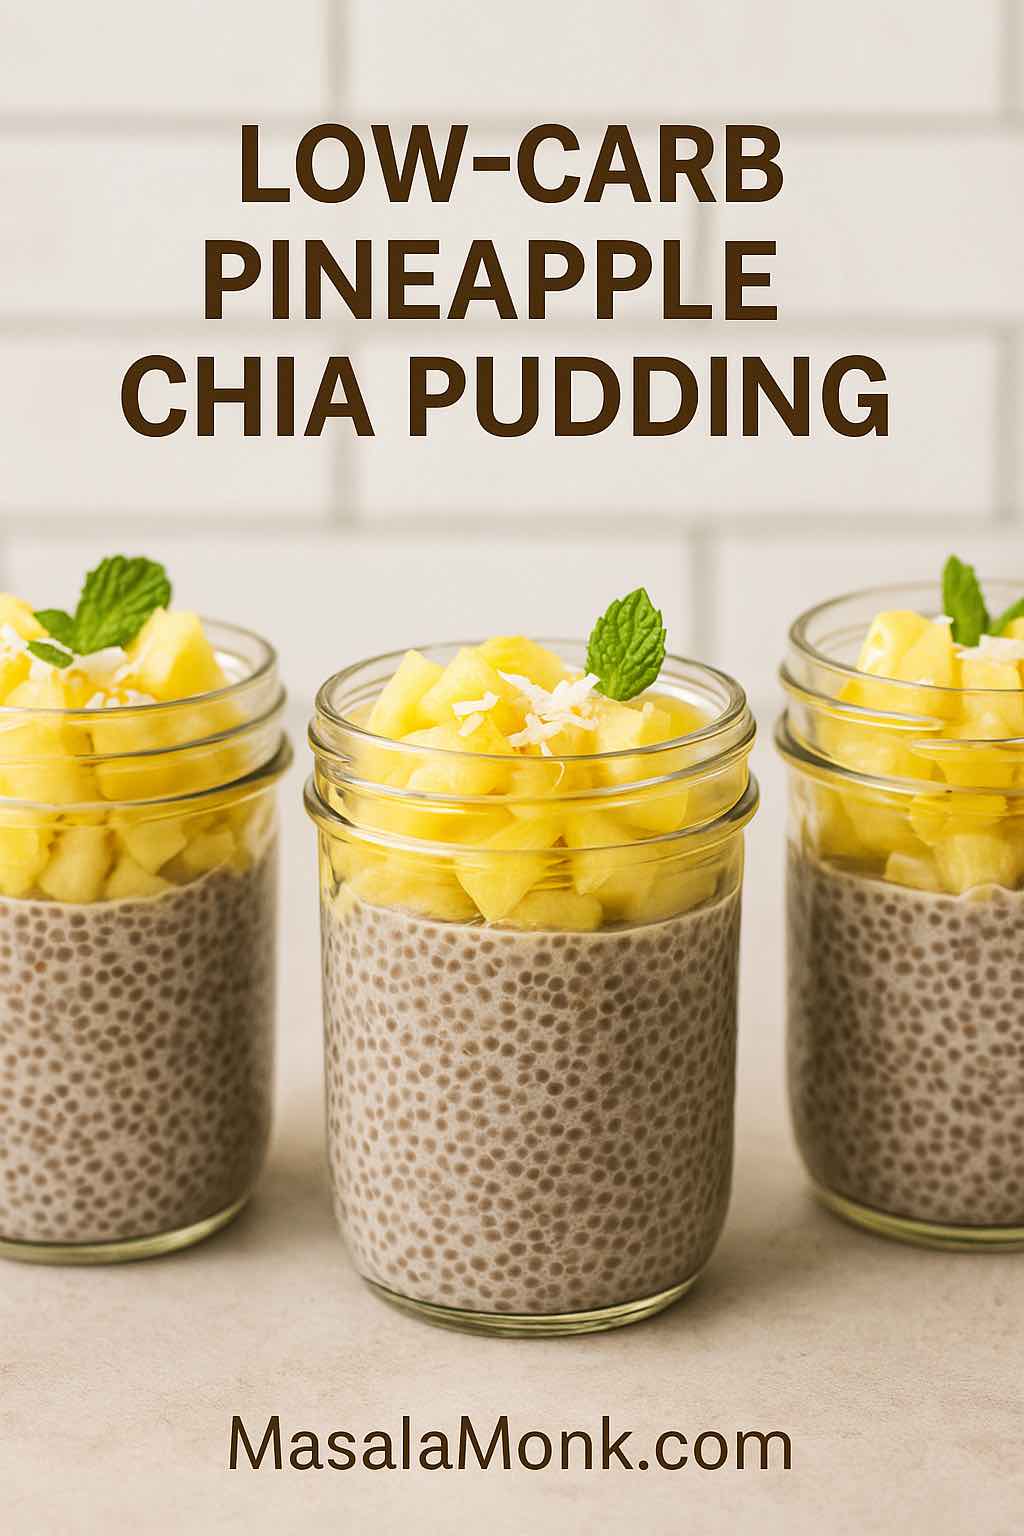
4. Assemble and Top
- Before serving, give your pudding a stir.
- Top with your diced/blended pineapple and sprinkle with unsweetened coconut flakes. A dollop of Greek yogurt makes it extra creamy and satisfying.
- Want to get fancy? Garnish with a mint leaf or a wedge of lime!
How to Keep It Low-Carb (And Delicious!)
- Watch your pineapple portion. Pineapple is higher in sugar than berries, so moderation is key.
- Always use unsweetened milks and yogurts. Sweetened versions can double or triple your carb count.
- Sweeten smartly. A few drops of monk fruit or stevia goes a long way!
- Protein boost: Add a scoop of your favorite low-carb protein powder, or swirl in Greek yogurt for extra staying power.
- Make it your own: Add a hint of cinnamon, lime zest, or even a few toasted pumpkin seeds for crunch.
Meal Prep & Storage Tips
- Batch-friendly: Make a few jars at once; pudding keeps in the fridge for up to 4 days.
- Travel-ready: Perfect for grab-and-go breakfasts or snacks.
- Add fruit just before eating to keep it fresh and vibrant.
- Texture: If pudding is too thick after chilling, just stir in a splash more milk.
Nutrition Facts (Approximate per serving)
- Calories: 120–160
- Net carbs: 6–8g (with 3 Tbsp pineapple and low-carb sweetener)
- Protein: 3–5g
- Fiber: 5–7g
- Fat: 5–7g
(Exact numbers will depend on your ingredients and serving sizes—always check labels if you’re carb counting strictly.)
Why Pineapple Chia Pudding Works—And Why You’ll Love It
- Hydrating and filling: Chia seeds soak up liquid, so you get a sense of fullness that lasts.
- Gut-friendly: The fiber helps keep your digestion on track.
- Vegan, dairy-free, and gluten-free: Works for most diets!
- Versatile: Easily swap in strawberries, mango, or kiwi for variety—or try a coconut‑lime version for a twist.
Common Questions & Troubleshooting
Q: My pudding isn’t thick! What happened?
A: You may need to add a bit more chia, or let it chill longer. Sometimes different brands of chia absorb liquid differently.
Q: Can I use canned pineapple?
A: Fresh or frozen is best—canned often has added sugar. If using canned, look for “in juice, not syrup” and rinse well.
Q: Is this really filling?
A: Yes! The combination of fiber, fat, and a little protein will keep you satisfied for hours.
Variations to Try
- Piña Colada Chia Pudding: Use coconut milk, pineapple, and a drop of coconut extract.
- Green Power: Add a handful of baby spinach to the blender for a boost (you won’t taste it!).
- Berry-Pineapple Swirl: Mix in a tablespoon of chopped strawberries or raspberries.
- Spicy Tropic: Add a pinch of cayenne for a fun kick!
Final Thoughts: Your Low-Carb Breakfast Upgrade
With just a few minutes of prep and a handful of pantry staples, you can wake up to a breakfast that’s bright, satisfying, and actually good for you. Pineapple chia pudding is endlessly adaptable—try it for a week, and you’ll never get bored.
Ready to try it? Let me know your favorite twists—or if you need help adapting this for keto, vegan, or nut-free diets! And don’t forget to tag your pudding pics #TropicalChia on Instagram so we can cheer you on.
Printable Recipe Card
Pineapple Chia Pudding (Low-Carb)
- 3 tbsp chia seeds
- 3/4 cup unsweetened almond or coconut milk
- 2–3 tbsp diced pineapple
- Sweetener (monk fruit/stevia), to taste
- 1/2 tsp vanilla extract (optional)
- 1 tsp lime juice (optional)
Directions:
- Blend or stir all ingredients except chia, then mix in chia seeds.
- Stir well, chill 2+ hours or overnight.
- Top with pineapple & coconut before serving. Enjoy!
Try this once, and you’ll see why pineapple chia pudding is the low-carb breakfast that delivers on taste, nutrition, and pure tropical joy—all in one bowl!
10 FAQs for Pineapple Chia Pudding (Low-Carb)
1. Can I use canned pineapple instead of fresh or frozen?
Yes, but choose pineapple canned in its own juice (not syrup) and drain/rinse well. Be aware canned pineapple is often slightly higher in sugar than fresh or frozen.
2. How can I make my chia pudding creamier?
Use full-fat coconut milk or a spoonful of Greek yogurt. Blending the pudding before chilling also results in a smoother, silkier texture.
3. Is this recipe suitable for keto diets?
With careful portioning (1-2 tablespoons pineapple) and zero-carb sweetener, you can keep net carbs low enough for most keto plans. Substitute even lower-carb berries if stricter keto compliance is needed.
4. How long does chia pudding keep in the fridge?
It keeps well for up to 4 days. Store in an airtight container and add fresh toppings just before serving for the best texture and flavor.
5. Why isn’t my chia pudding thickening properly?
Either not enough chia seeds were used, the milk ratio was off, or the pudding needs more time. Stir well after the first 10 minutes, and if it’s still runny after several hours, add an extra teaspoon of chia and let it sit longer.
6. Can I meal-prep pineapple chia pudding for the week?
Yes! Portion individual servings into jars for grab-and-go breakfasts. Add pineapple and toppings the day you plan to eat them for maximum freshness.
7. Are there nut-free options for the milk?
Absolutely. Use unsweetened coconut milk (carton or canned) or oat milk (if carbs are not a concern). Hemp milk is also a low-carb, nut-free alternative.
8. Is pineapple chia pudding suitable for kids?
Yes! It’s a fun, nutritious, and naturally sweet breakfast or snack for children. Consider using less sweetener if your child already enjoys fruit as-is.
9. Can I freeze chia pudding?
You can, but the texture may change upon thawing (it can get a bit watery). Freezing in popsicle molds is a great summer treat option!
10. How do I add more protein to this recipe?
Stir in a scoop of protein powder, use Greek yogurt, or add a layer of cottage cheese. You can also top with chopped nuts or seeds for a protein boost.