Posted on Leave a comment

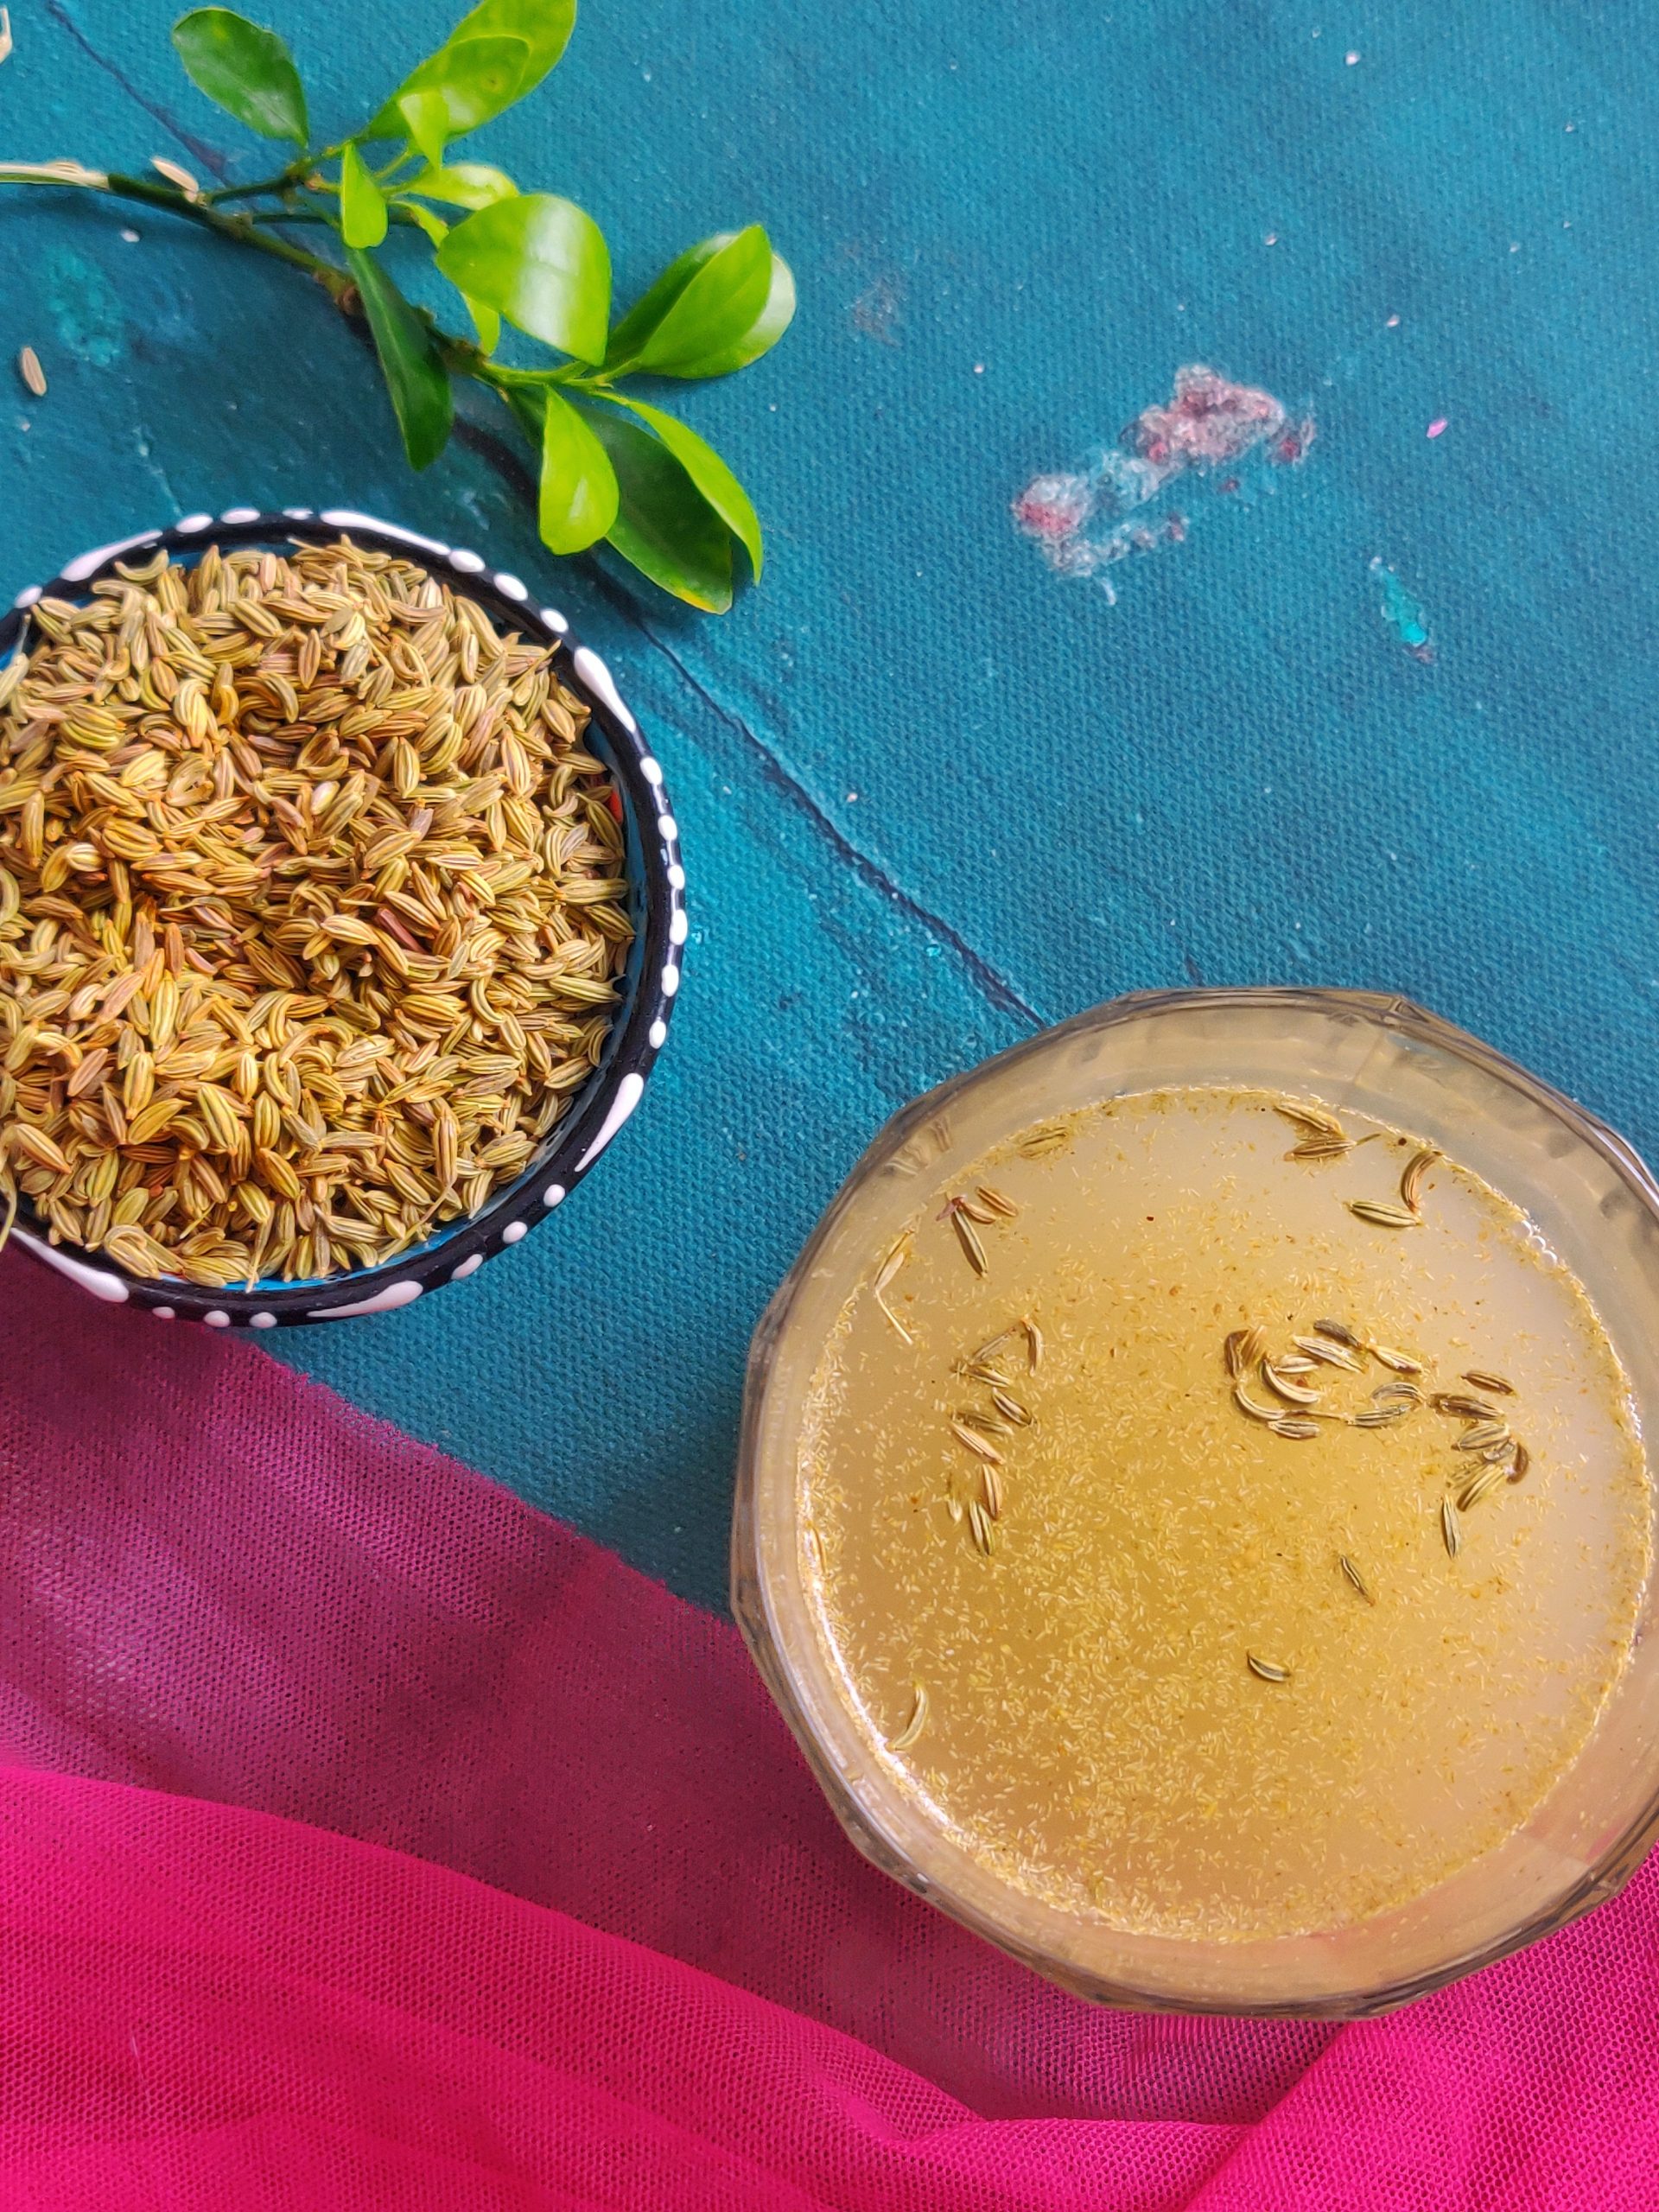
Secrets of Fennel Seeds or Saunf: Uses, Benefits & Side Effects

Fennel seeds, or ‘saunf’ as they are called in India, are small, aromatic seeds that boast a myriad of health benefits. But along with their benefits, they come with certain side effects, especially when consumed excessively. This guide aims to explore fennel seeds in depth, including their uses, health benefits, and potential side effects.

What are Fennel Seeds?

Fennel seeds are the dried seeds of the fennel plant (Foeniculum vulgare), a member of the carrot family. They are oval-shaped and have a light brown color, with an aroma reminiscent of anise or licorice. These seeds are native to the Mediterranean region but are now widely cultivated worldwide due to their culinary and medicinal uses.

The Various Uses of Fennel Seeds

  1. Culinary Uses: Fennel seeds are extensively used in cooking for their unique flavor. They are a common ingredient in Italian sausages, Indian curries, and Middle Eastern cuisine. Additionally, they are used in baking and as a flavoring in natural toothpastes and mouth fresheners.
  2. Medicinal Uses: In traditional medicine, fennel seeds are used to treat various digestive issues such as bloating, gas, and heartburn. They are also used in natural remedies for respiratory and eye disorders.
  3. Cosmetic Uses: The essential oil extracted from fennel seeds is used in soaps, perfumes, and cosmetics due to its sweet and spicy aroma.

Health Benefits of Fennel Seeds

Fennel seeds are rich in fiber, antioxidants, and compounds like anethole and estragole, which confer numerous health benefits:

  1. Aids Digestion: The dietary fiber in fennel seeds aids digestion and prevents constipation. They also have carminative properties that can alleviate bloating and gas.
  2. Rich in Antioxidants: Fennel seeds contain powerful antioxidants like flavonoids and phenolic compounds, which can protect against cell damage caused by free radicals.
  3. Improves Breath: Chewing on fennel seeds can freshen your breath, thanks to their antibacterial properties.
  4. Potential Blood Thinner: Some studies suggest that the consumption of fennel seeds may have blood-thinning effects, which could be beneficial for heart health. However, more research is needed to confirm this effect.

Despite their many benefits, fennel seeds also have certain side effects and precautions to consider.

Side Effects of Fennel Seeds

While fennel seeds are safe for most people when used in moderation, excessive consumption can lead to certain side effects:

  1. Allergic Reactions: Some people may experience allergic reactions to fennel seeds, including skin rashes, itching, and swelling. If you experience any of these symptoms, discontinue use and seek medical help.
  2. Interactions with Medication: Fennel seeds may interfere with the functioning of certain medications, especially blood thinners. If you are on such medication, consult your doctor before consuming fennel seeds.
  3. Pregnancy and Breastfeeding: Fennel seeds have been traditionally used to stimulate menstruation, which may lead to uterine contractions. Therefore, pregnant women are often advised to limit their consumption of fennel seeds. If you are pregnant or breastfeeding, it’s best to consult your healthcare provider before including fennel seeds in your diet.

How to Incorporate Fennel Seeds into Your Diet

Fennel seeds can be used in a variety of ways:

  1. Tea: Boil a teaspoon of fennel seeds in water for 5 minutes, strain, and enjoy a soothing cup of fennel tea.
  2. Spice Mixes: Ground fennel seeds are often used in spice mixes like garam masala in Indian cuisine.
  3. Baking: Add fennel seeds to your bread, cookies, or cakes for an aromatic twist.
  4. Salads and Soups: Sprinkle some fennel seeds on your salad or soup for added flavor.

Fennel seeds are a versatile ingredient with several health benefits. However, they should be consumed in moderation due to potential side effects. As always, it’s best to consult your healthcare provider if you have any concerns or if you are pregnant, breastfeeding, or on medication.

1. What are the side effects of consuming fennel seeds?

Fennel seeds are generally safe for most people when used in moderation, but excessive consumption can lead to certain side effects. These may include allergic reactions, such as skin rashes, itching, and swelling. They may also interfere with the functioning of certain medications, especially blood thinners. Pregnant women are often advised to limit their consumption of fennel seeds as they can stimulate menstruation, which may lead to uterine contractions.

2. Can fennel seeds be used as a blood thinner?

There are studies suggesting that the consumption of fennel seeds may have blood-thinning effects, which could be beneficial for heart health. However, more research is needed to confirm this effect. If you are on blood-thinning medication, consult your doctor before consuming fennel seeds to avoid any potential interaction.

3. Are there any disadvantages of using fennel seeds?

While fennel seeds have numerous health benefits, they can cause certain side effects when consumed in excess. These can include potential allergic reactions, interference with certain medications, and potential risks for pregnant women. It’s always recommended to consume them in moderation and consult a healthcare professional if you have any concerns.

4. Is it safe to consume fennel seeds during pregnancy?

Fennel seeds have been traditionally used to stimulate menstruation, which can lead to uterine contractions. Therefore, it’s often recommended that pregnant women limit their consumption of fennel seeds. If you are pregnant or planning to become pregnant, it’s always best to consult your healthcare provider about including fennel seeds in your diet.

5. What are the culinary uses of fennel seeds?

Fennel seeds are extensively used in cooking due to their unique flavor. They are a common ingredient in Italian sausages, Indian curries, and Middle Eastern cuisine. They can also be used in baking and as a flavoring in natural toothpastes and mouth fresheners.

6. Can I eat fennel seeds for better digestion?

Yes, fennel seeds are known to aid digestion. They are rich in dietary fiber, which can help prevent constipation, and have carminative properties that can alleviate bloating and gas.

7. Are fennel seeds good for freshening breath?

Absolutely. Chewing on fennel seeds can freshen your breath, thanks to their antibacterial properties and pleasant aroma. This is why they are often used as a natural mouth freshener.

8. How do fennel seeds taste?

Fennel seeds have a sweet, slightly spicy flavor that’s reminiscent of anise or licorice. This unique flavor makes them a popular ingredient in various cuisines.

The Bottom Line

Fennel seeds have numerous culinary uses and health benefits. They are a rich source of dietary fiber, vitamins, minerals, and antioxidants. However, they should be consumed in moderation, and certain individuals, especially those on medication, pregnant, or prone to allergies, should consult their healthcare provider before including fennel seeds in their diet.

Remember, while fennel seeds do have impressive health benefits, they’re not a substitute for a varied, balanced diet and a healthy lifestyle.

Posted on Leave a comment

Subza Seed: Nutrition, Benefits, and How to Eat It

close up of green plants

Introduction: 🌟 Subza seeds, also known as basil seeds or sabja seeds, have gained significant popularity for their exceptional nutritional value and potential health benefits. These tiny black seeds, derived from the sweet basil plant, have been used in traditional medicine for centuries. In this blog post, we will explore the comprehensive nutrition profile of subza seeds, delve into their potential health benefits, and provide creative ideas on how to incorporate these wonderful seeds into your daily diet.

Nutrition Profile of Subza or Basil Seeds: 🌱

Subza seeds are packed with essential nutrients that can contribute to your overall well-being. Let’s take a closer look at the key nutritional components found in subza seeds:

  1. Dietary Fiber: Subza seeds are a rich source of dietary fiber, which promotes healthy digestion, aids in weight management, and helps regulate blood sugar levels. Fiber also contributes to a feeling of fullness, supporting portion control and preventing overeating.
  2. Omega-3 Fatty Acids: These remarkable seeds contain omega-3 fatty acids, which play a crucial role in brain health, heart health, and reducing inflammation in the body. These healthy fats are beneficial for maintaining optimal overall health.
  3. Protein: Subza seeds offer a moderate amount of plant-based protein, making them a valuable addition to vegetarian and vegan diets. Protein is essential for building and repairing tissues, supporting muscle health, and maintaining a strong immune system.
  4. Vitamins and Minerals: Subza seeds provide an array of vitamins and minerals, including calcium, magnesium, iron, and vitamin K. These nutrients contribute to bone health, energy production, and proper blood clotting.

5 Health Benefits of Subza or Basil Seeds: 🌿

Incorporating subza seeds into your diet can offer a wide range of health benefits. Let’s explore some of the potential advantages of consuming these nutritious seeds:

  1. Digestive Health: The high fiber content of subza seeds supports healthy digestion, prevents constipation, and fosters a healthy gut microbiome. It aids in regular bowel movements and promotes overall digestive well-being.
  2. Weight Management: Subza seeds can be beneficial for weight management due to their fiber content, which promotes feelings of fullness and helps control appetite. Including subza seeds in your meals can assist in maintaining a healthy weight.
  3. Heart Health: The omega-3 fatty acids present in subza seeds contribute to heart health by reducing inflammation, improving blood flow, and supporting healthy cholesterol levels. These factors collectively reduce the risk of heart disease.
  4. Blood Sugar Regulation: The soluble fiber in subza seeds helps regulate blood sugar levels by slowing down the absorption of sugar into the bloodstream. This can be particularly beneficial for individuals with diabetes or those aiming to prevent blood sugar spikes.
  5. Hydration Support: When soaked in water, subza seeds develop a gel-like texture, which can help replenish fluids and electrolytes in the body. This makes them a fantastic addition to beverages, especially during hot summer months, aiding in hydration.

How to Eat Subza Seeds: 🍽️

Subza seeds can be enjoyed in numerous delightful ways. Here are some ideas to help you incorporate these nutritious seeds into your daily diet:

  1. Beverage Enhancer: Soak subza seeds in water for about 15 minutes until they develop a gel-like consistency. Add the soaked seeds to your favorite beverages, such as lemonade, fruit juices, or herbal teas, for a refreshing and nutritious twist.
  2. Puddings and Desserts: Incorporate soaked subza seeds into puddings, custards, or chia seed puddings to add a delightful texture and enhance the nutritional value of your desserts.
  3. Salads and Yogurt Parfaits: Sprinkle soaked subza seeds over salads or yogurt parfaits to add a crunchy element and enjoy their health benefits. They can provide an interesting texture and a subtle nutty flavor to your dishes.
  4. Smoothies: Blend soaked subza seeds into smoothies along with your favorite fruits, leafy greens, and a liquid of your choice. This will add a nutritional boost and create a thick and satisfying texture.
  5. Baking: Incorporate subza seeds into baked goods like muffins, bread, or energy bars for an extra nutritional punch. They can add a unique twist to your favorite recipes and provide added texture and flavor.

Conclusion: 🌈 Subza seeds are a versatile and nutritious addition to your diet, offering various health benefits for digestion, weight management, heart health, blood sugar regulation, and hydration support. By incorporating these tiny seeds into your meals and beverages, you can elevate the nutritional value of your dishes and enjoy their unique texture and flavor.

Join our vibrant community of food lovers at Eatlo Community to share your experiences, discover new recipes, and embrace a healthy and delicious lifestyle together.

🌱🌿

Posted on Leave a comment

Chocolate Chip Cookie Bars: The Ultimate Dessert

happy asian women cooking oriental noodles in kitchen

Hello, dessert enthusiasts! 🙋‍♀️ Today, we’re going to delve into a mouth-watering recipe from Preppy Kitchen, a YouTube channel renowned for its delightful and easy-to-follow recipes. This time, we’re learning how to make Chocolate Chip Cookie Bars, a dessert that marries the best qualities of brownies and chocolate chip cookies into one irresistible treat. 🍪🍫

🍪 Chocolate Chip Cookie Bars: A Delectable Fusion 📝

Imagine the most decadent brownie and the most delicious chocolate chip cookie coming together to create the ultimate dessert. That’s exactly what these Chocolate Chip Cookie Bars are! They’re a delightful fusion of the fudgy, gooey texture of brownies and the crispy, crunchy edges of cookies, all packed with the delightful sweetness of brown sugar, butter, and chocolate.

🍪 The Magic of Chocolate Chip Cookie Bars 🍫

What makes these cookie bars so special is their unique texture and flavor. They’re not just a cookie or a brownie – they’re the best of both worlds. The outside is crispy and golden, while the inside is soft, chewy, and loaded with melty chocolate chips. Every bite is a burst of sweet, buttery, chocolatey goodness that will have you reaching for more.

🍪 How to Make Chocolate Chip Cookie Bars 🍵

The recipe for these cookie bars is incredibly easy and quick to whip up. Here’s how you can make your own batch of these delicious treats:

Ingredients 📋

  • 200 grams of fresh turmeric
  • 50 grams of fresh ginger
  • 100 grams of Tamarind pulp
  • Salt
  • 100 to 150 grams of jaggery or unprocessed sugar

Method 🍳

  1. Preparation: Start by prepping your 8 by 8-inch dish by lining it with parchment paper. This will make it easier to remove the bars once they’re baked.
  2. Mixing the Wet Ingredients: In a large bowl, combine melted butter, regular white sugar, and brown sugar. Mix until it forms a thick slurry. This is the base of your cookie bars, providing them with their rich, sweet flavor.
  3. Adding the Eggs and Vanilla: Add in vanilla extract and two room temperature eggs. Whisk together. The eggs will give your bars structure, while the vanilla adds a depth of flavor.
  4. Incorporating the Dry Ingredients: Dump in the dry mixture and fold it in until it’s mostly incorporated. Be careful not to overmix, as this can lead to tough cookie bars.
  5. Adding the Chocolate Chips: Toss in your chocolate chips and fold them in. Try to distribute the chocolate chips evenly so every bite has a bit of chocolate.
  6. Transferring to the Baking Dish: Transfer the mixture to your prepared baking dish and smooth the top out.
  7. Adding the Final Touches: Dot the surface with some clean chocolate chips. This will give your bars a beautiful, appetizing appearance. If you like, sprinkle some flaked sea salt on top for a hint of savory contrast to the sweet cookie bars.
  8. Baking: Pop it into the oven for 30+ minutes. The exact baking time will depend on how gooey or firm you like your cookie bars.

🎥 Video and Channel Credits 📺

All these amazing tips and information are from the YouTube channel Preppy Kitchen. They share their passion for food and health through their easy-to-follow videos. Check out the original video for a step-by-step guide on how to prepare this drink. Also, don’t forget to visit and subscribe to the Preppy Kitchen channel for more health tips and recipes.

🤝 Join Our Community

We’d love to have you in our community! If you’re passionate about food, health, and wellness, join our Facebook group EatLo. It’s a space where you can share your own recipes, meal prep tips, and foodie adventures. Plus, you’ll get to connect with like-minded individuals who can inspire and motivate you.

Posted on Leave a comment

Easy Air Fryer Donuts: Better than Krispy Kreme

mini donuts on black grille

Hello, donut lovers! 🍩🎉 Today, we’re taking a sweet journey into the world of homemade donuts. If you’ve ever dreamed of making your own donuts at home, we’ve found an incredibly delightful video by Emma’s Goodies that will guide you through the process. This video has been viewed over 5 million times, making it a popular guide for homemade donut enthusiasts.

Emma’s Goodies demonstrates how to make homemade donuts using an air fryer, which is a healthier alternative to traditional deep frying. The process is simple, and the result is a delicious, glazed treat that you can customize to your liking.

The Ingredients 🥣

To start, you’ll need a few basic ingredients:

  • 280 g (2 cups + 3 tbsp flour) All-purpose flour
  • 40 g (3 tbsp) Sugar
  • ½ tsp Salt
  • ¼ tsp Nutmeg
  • 1 Egg
  • 120 g (½ cup) Whole milk
  • 40 g (⅓ stick) Melted butter
  • 7 g (1 packet) Dried yeast

For the glaze for donuts:

  • 250 g (2 cups) Powdered sugar
  • 75 g (⅔ stick) Butter
  • 3 or 4 tbsp Milk, depending how thin you like your glaze
  • 1 tsp Vanilla extract

The Process 🍩

Once you’ve gathered your ingredients, the process is straightforward:

  1. Combine the dry ingredients in a mixing bowl.
  2. In a separate jug, combine milk, melted butter, one egg, and the yeast.
  3. Mix the dough on high for about three minutes.
  4. Grease your bowl and allow the dough to rise for two hours.
  5. Roll out the dough to about an inch thickness and cut out your donuts.
  6. Place your donuts onto a baking sheet with some parchment paper.
  7. Brush the donuts with some melted butter and allow them to rise for another 45 minutes.
  8. Preheat your air fryer to 180 degrees Celsius or 350 Fahrenheit.
  9. Brush the basket with some oil and gently place four donuts into the basket.
  10. Cook these for exactly three minutes.
  11. Glaze the donuts and allow the glaze to set for 10 minutes.

The Result 🎉

The result is a batch of fresh, homemade donuts that are soft, melt in your mouth, and have that beautifully crackly top. They’re everything you want in a donut. Emma promises that you will be amazed at how amazing these are.

For a step-by-step guide and to see the process in action, check out the full video by Emma’s Goodies. Don’t forget to like and subscribe to her channel for more sweet and crafty ideas!

We invite you to join our vibrant community on Facebook where we share our love for food, cooking, and everything in between. Let’s continue learning and growing together in our culinary journey. 🍽️👩‍🍳

Posted on Leave a comment

Making Roti Dough with a KitchenAid Mixer: A Quick and Easy Guide

yellow kitchenaid stand mixer

Hello, home cooks! 🍽️💕 Today, we’re exploring a quick and easy method to prepare roti dough using a KitchenAid Mixer. This fantastic guide comes from the YouTube channel Cook with Kash and Manish, a wonderful resource for anyone looking for simple yet efficient cooking techniques. This video has garnered over a million views, proving its popularity among home cooks worldwide.

🍞 The Magic of KitchenAid Mixer 🥖

A KitchenAid Mixer is a versatile kitchen appliance that can be used for a variety of tasks, from mixing cake batter to kneading dough. In this guide, we’ll be using it to prepare roti dough, a staple in many cuisines around the world. The best part is that it takes only 3 minutes to make a beautiful soft dough, and anyone can do it, even kids (under adult supervision, of course)!

🍽️ The Guide: How to Make Roti Dough Using a KitchenAid Mixer 🍞

Unfortunately, the video doesn’t provide a detailed step-by-step process in the transcript. However, based on the video description and common practices, here’s a general guide on how to make roti dough using a KitchenAid Mixer:

  1. Attach the dough hook to your KitchenAid Mixer.
  2. Add your flour to the mixing bowl. The quantity would depend on how many rotis you plan to make.
  3. Start the mixer on a low speed to avoid flour dust.
  4. Gradually add water to the bowl while the mixer is running. The amount of water will depend on the type of flour and the desired consistency of the dough.
  5. Increase the speed of the mixer as the dough starts to form.
  6. Continue mixing until the dough is soft and pliable. This should take about 3 minutes.

And there you have it, a quick and easy way to make roti dough using a KitchenAid Mixer!

🍴 Enjoying Your Homemade Roti 🍽️

Once you have your roti dough ready, you can roll it out and cook it on a hot griddle or tawa. Serve your homemade roti with your favorite curry or use it to make wraps and sandwiches. The possibilities are endless!

🎉 Join the Foodie Community! 🍽️

If you try this method or have other cooking techniques to share, join the vibrant and engaging food lovers community on Facebook. It’s a place where you can share your culinary experiments, discover new recipes, and connect with fellow food enthusiasts.

🙏 Credits 🙏

A big thank you to Cook with Kash and Manish for sharing this fantastic guide on making roti dough using a KitchenAid Mixer. Their channel is a treasure trove of culinary delights, with recipes and techniques that are not only delicious but also easy to follow. So, if you’re looking for more culinary inspiration, do check out their channel.

And remember, as they say, “Cooking life is more easier with a KitchenAid Mixer!” 🍽️💕