Fennel seeds, or ‘saunf’ as they are called in India, are small, aromatic seeds that boast a myriad of health benefits. But along with their benefits, they come with certain side effects, especially when consumed excessively. This guide aims to explore fennel seeds in depth, including their uses, health benefits, and potential side effects.
What are Fennel Seeds?
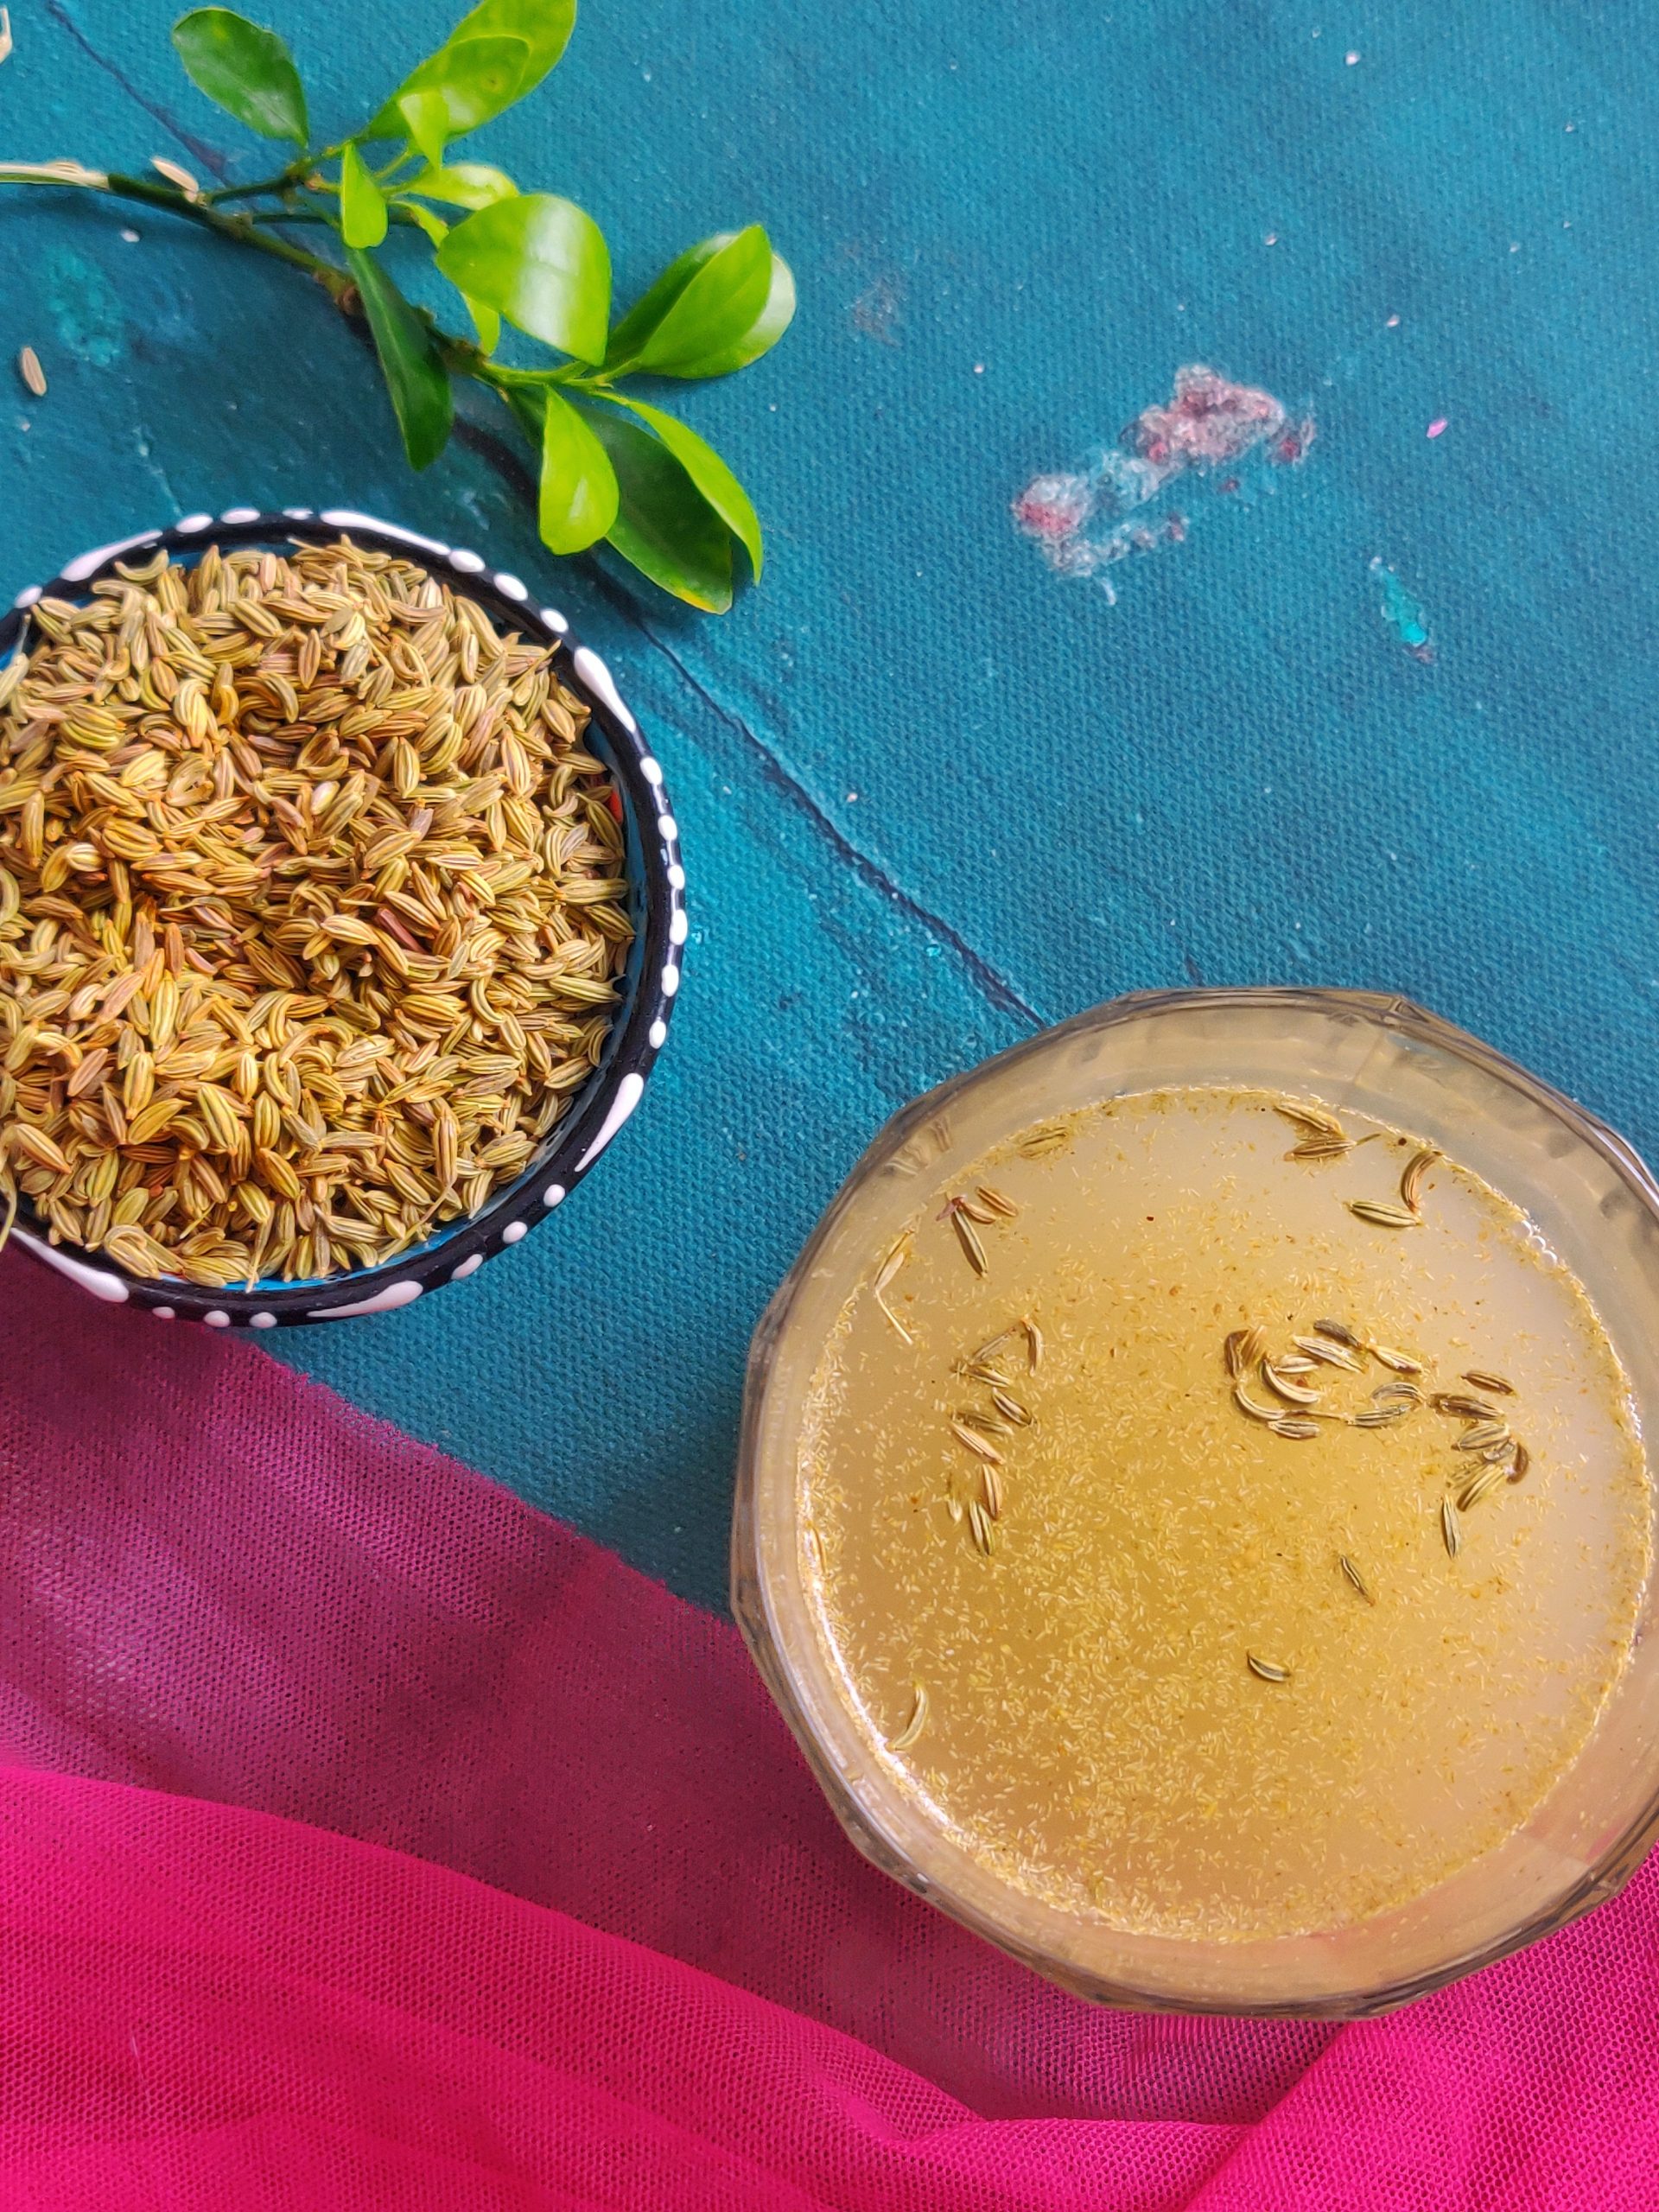
Fennel seeds are the dried seeds of the fennel plant (Foeniculum vulgare), a member of the carrot family. They are oval-shaped and have a light brown color, with an aroma reminiscent of anise or licorice. These seeds are native to the Mediterranean region but are now widely cultivated worldwide due to their culinary and medicinal uses.
The Various Uses of Fennel Seeds
- Culinary Uses: Fennel seeds are extensively used in cooking for their unique flavor. They are a common ingredient in Italian sausages, Indian curries, and Middle Eastern cuisine. Additionally, they are used in baking and as a flavoring in natural toothpastes and mouth fresheners.
- Medicinal Uses: In traditional medicine, fennel seeds are used to treat various digestive issues such as bloating, gas, and heartburn. They are also used in natural remedies for respiratory and eye disorders.
- Cosmetic Uses: The essential oil extracted from fennel seeds is used in soaps, perfumes, and cosmetics due to its sweet and spicy aroma.
Health Benefits of Fennel Seeds
Fennel seeds are rich in fiber, antioxidants, and compounds like anethole and estragole, which confer numerous health benefits:
- Aids Digestion: The dietary fiber in fennel seeds aids digestion and prevents constipation. They also have carminative properties that can alleviate bloating and gas.
- Rich in Antioxidants: Fennel seeds contain powerful antioxidants like flavonoids and phenolic compounds, which can protect against cell damage caused by free radicals.
- Improves Breath: Chewing on fennel seeds can freshen your breath, thanks to their antibacterial properties.
- Potential Blood Thinner: Some studies suggest that the consumption of fennel seeds may have blood-thinning effects, which could be beneficial for heart health. However, more research is needed to confirm this effect.
Despite their many benefits, fennel seeds also have certain side effects and precautions to consider.
Side Effects of Fennel Seeds
While fennel seeds are safe for most people when used in moderation, excessive consumption can lead to certain side effects:
- Allergic Reactions: Some people may experience allergic reactions to fennel seeds, including skin rashes, itching, and swelling. If you experience any of these symptoms, discontinue use and seek medical help.
- Interactions with Medication: Fennel seeds may interfere with the functioning of certain medications, especially blood thinners. If you are on such medication, consult your doctor before consuming fennel seeds.
- Pregnancy and Breastfeeding: Fennel seeds have been traditionally used to stimulate menstruation, which may lead to uterine contractions. Therefore, pregnant women are often advised to limit their consumption of fennel seeds. If you are pregnant or breastfeeding, it’s best to consult your healthcare provider before including fennel seeds in your diet.
How to Incorporate Fennel Seeds into Your Diet
Fennel seeds can be used in a variety of ways:
- Tea: Boil a teaspoon of fennel seeds in water for 5 minutes, strain, and enjoy a soothing cup of fennel tea.
- Spice Mixes: Ground fennel seeds are often used in spice mixes like garam masala in Indian cuisine.
- Baking: Add fennel seeds to your bread, cookies, or cakes for an aromatic twist.
- Salads and Soups: Sprinkle some fennel seeds on your salad or soup for added flavor.
Fennel seeds are a versatile ingredient with several health benefits. However, they should be consumed in moderation due to potential side effects. As always, it’s best to consult your healthcare provider if you have any concerns or if you are pregnant, breastfeeding, or on medication.
1. What are the side effects of consuming fennel seeds?
Fennel seeds are generally safe for most people when used in moderation, but excessive consumption can lead to certain side effects. These may include allergic reactions, such as skin rashes, itching, and swelling. They may also interfere with the functioning of certain medications, especially blood thinners. Pregnant women are often advised to limit their consumption of fennel seeds as they can stimulate menstruation, which may lead to uterine contractions.
2. Can fennel seeds be used as a blood thinner?
There are studies suggesting that the consumption of fennel seeds may have blood-thinning effects, which could be beneficial for heart health. However, more research is needed to confirm this effect. If you are on blood-thinning medication, consult your doctor before consuming fennel seeds to avoid any potential interaction.
3. Are there any disadvantages of using fennel seeds?
While fennel seeds have numerous health benefits, they can cause certain side effects when consumed in excess. These can include potential allergic reactions, interference with certain medications, and potential risks for pregnant women. It’s always recommended to consume them in moderation and consult a healthcare professional if you have any concerns.
4. Is it safe to consume fennel seeds during pregnancy?
Fennel seeds have been traditionally used to stimulate menstruation, which can lead to uterine contractions. Therefore, it’s often recommended that pregnant women limit their consumption of fennel seeds. If you are pregnant or planning to become pregnant, it’s always best to consult your healthcare provider about including fennel seeds in your diet.
5. What are the culinary uses of fennel seeds?
Fennel seeds are extensively used in cooking due to their unique flavor. They are a common ingredient in Italian sausages, Indian curries, and Middle Eastern cuisine. They can also be used in baking and as a flavoring in natural toothpastes and mouth fresheners.
6. Can I eat fennel seeds for better digestion?
Yes, fennel seeds are known to aid digestion. They are rich in dietary fiber, which can help prevent constipation, and have carminative properties that can alleviate bloating and gas.
7. Are fennel seeds good for freshening breath?
Absolutely. Chewing on fennel seeds can freshen your breath, thanks to their antibacterial properties and pleasant aroma. This is why they are often used as a natural mouth freshener.
8. How do fennel seeds taste?
Fennel seeds have a sweet, slightly spicy flavor that’s reminiscent of anise or licorice. This unique flavor makes them a popular ingredient in various cuisines.
The Bottom Line
Fennel seeds have numerous culinary uses and health benefits. They are a rich source of dietary fiber, vitamins, minerals, and antioxidants. However, they should be consumed in moderation, and certain individuals, especially those on medication, pregnant, or prone to allergies, should consult their healthcare provider before including fennel seeds in their diet.
Remember, while fennel seeds do have impressive health benefits, they’re not a substitute for a varied, balanced diet and a healthy lifestyle.