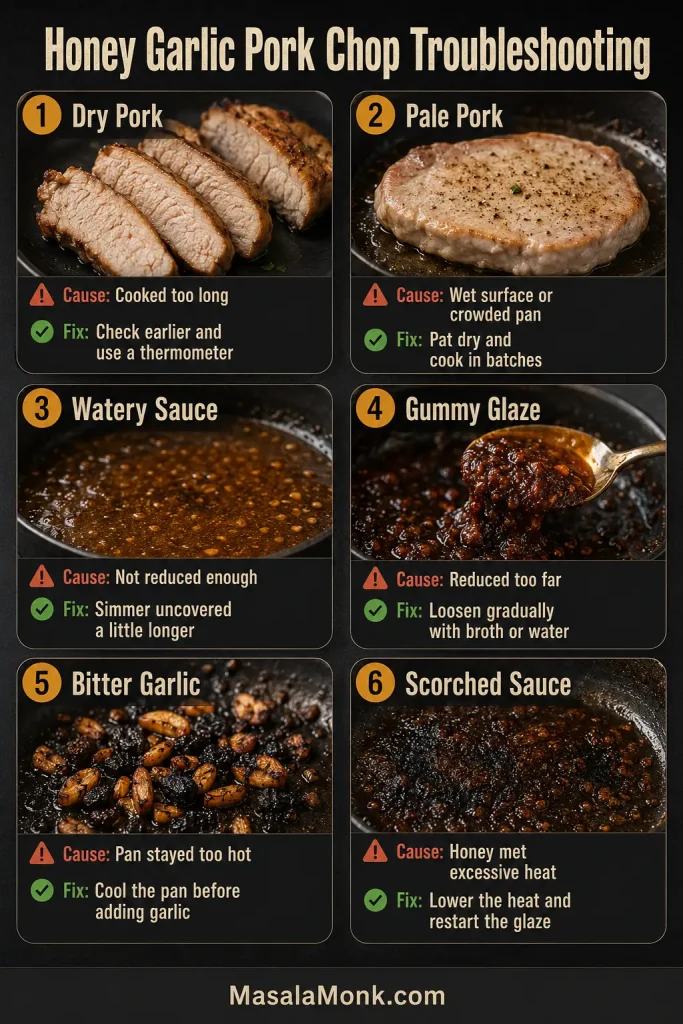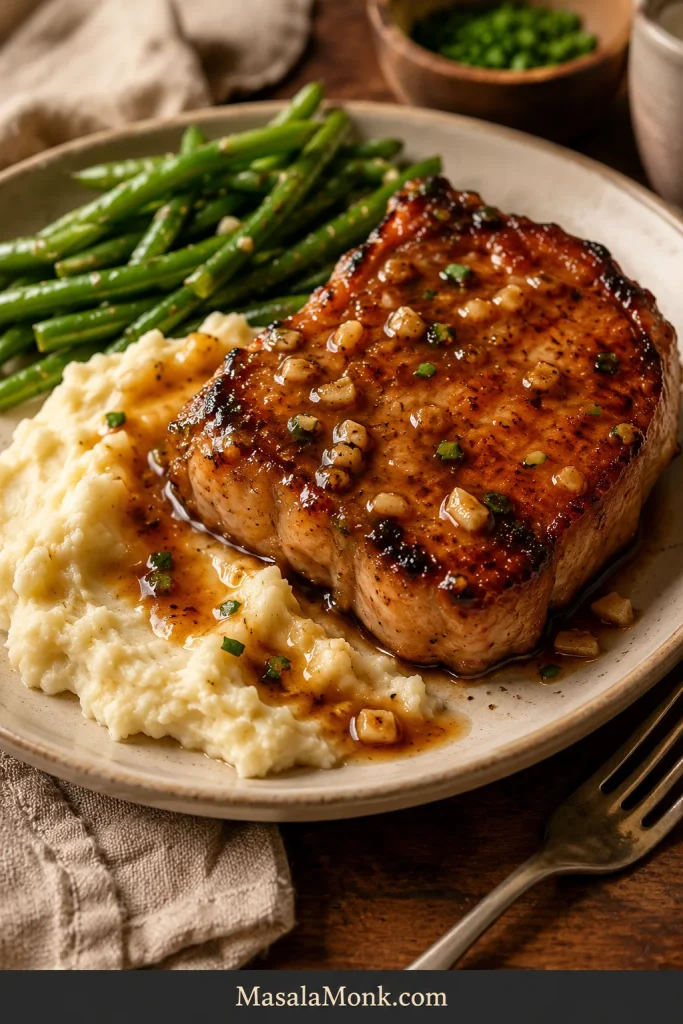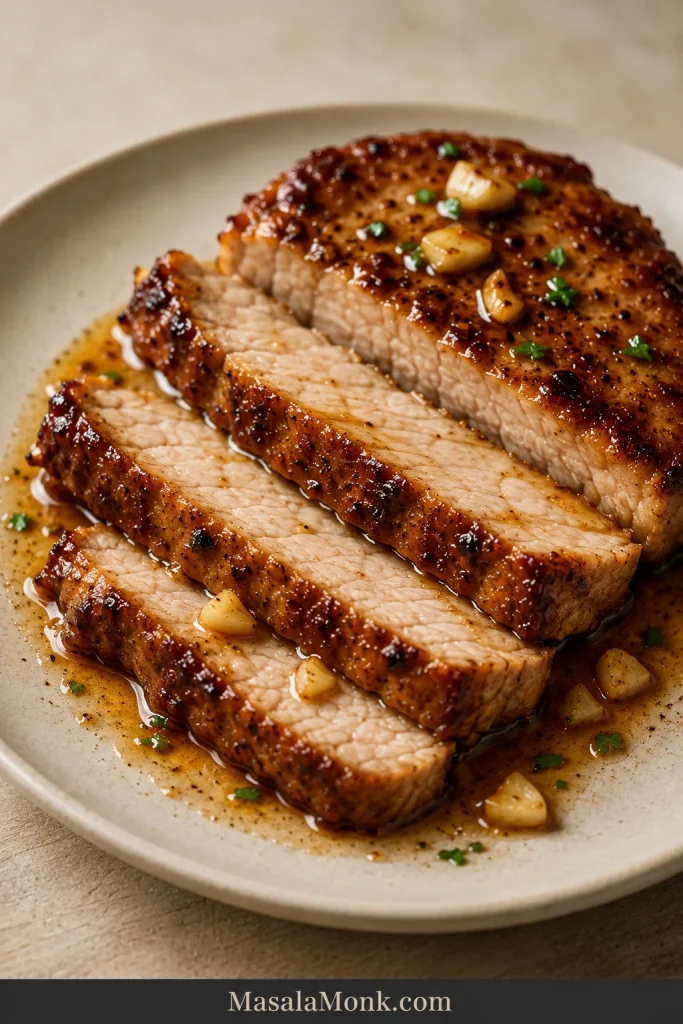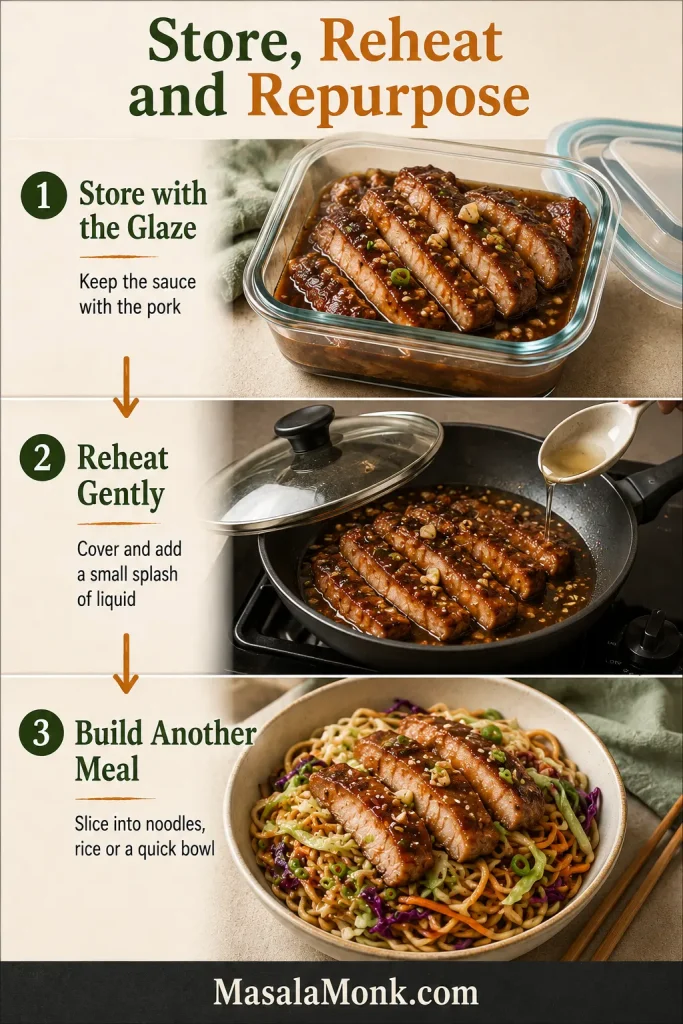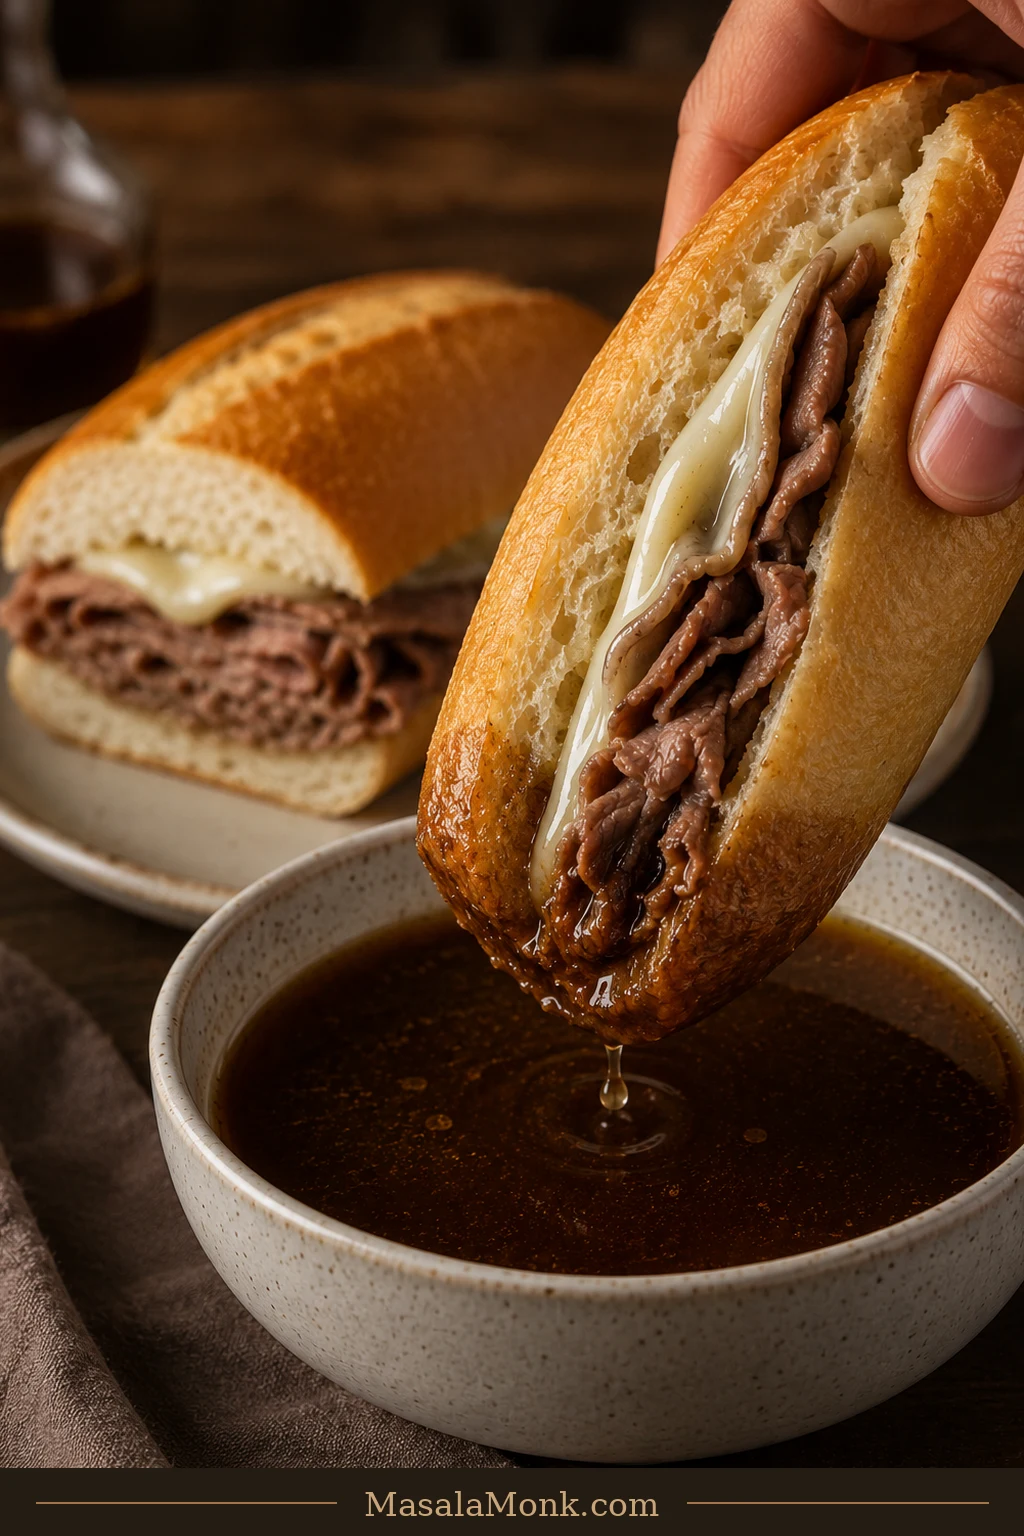
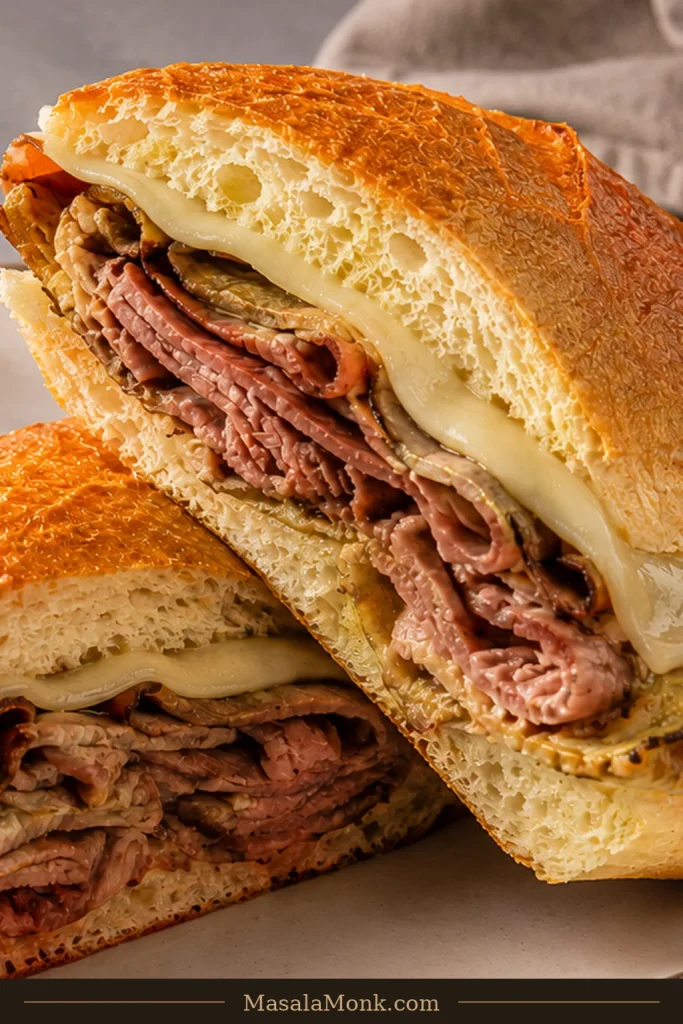
The first bite of a good French dip gives you several things at once: bread with a little chew, folds of hot roast beef, melted provolone and warm, oniony jus soaking into the cut edge.
The disappointing version loses that balance fast. Thin roast beef tightens from too much heat, the jus tastes saltier than savory, or the bread softens long before you wanted it to.
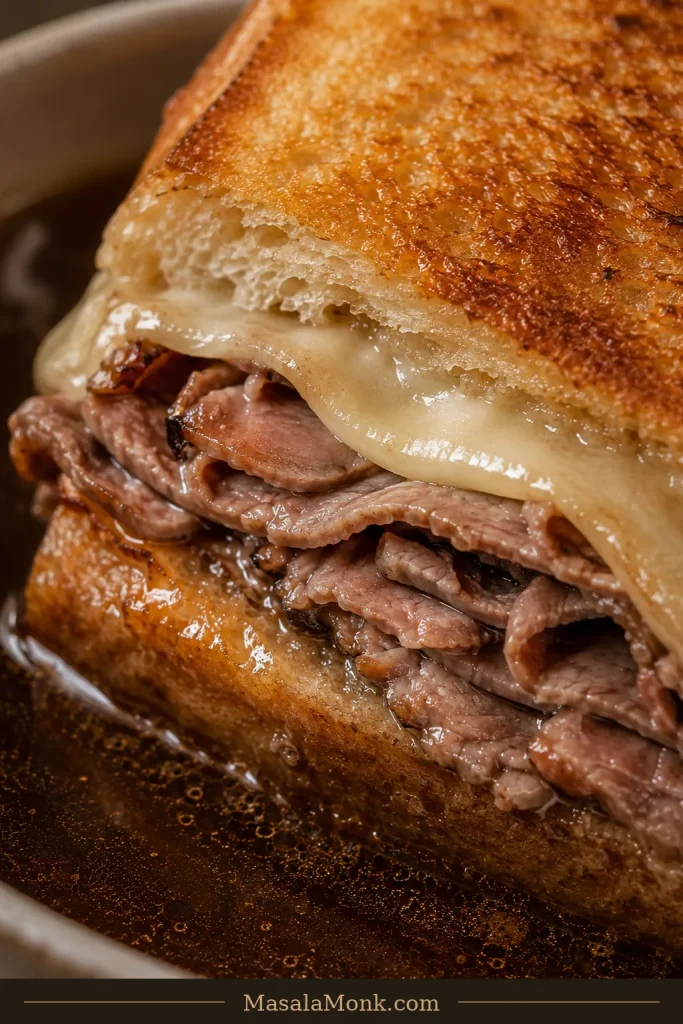
A French dip is one of the few sandwiches you keep finishing as you eat it. How much jus reaches the bread—and when—changes the whole experience. Keep some chew and dunk each bite as you go, or deliberately soften the roll for a wetter, old-school version. Both can be excellent. The important part is that you control the soak.
This easy version starts with sliced cooked roast beef, builds a quick jus while the rolls toast, and puts four substantial sandwiches on the table in about 30 minutes. No whole roast or long braise—just hot beef, good bread, melted cheese and a bowl of jus that changes the sandwich bite by bite.
Quick Answer: The Easy French Dip Formula
Use thinly sliced cooked roast beef, a 6-inch / 15-cm roll that can absorb jus without falling apart, and mild provolone. Plan on 4–6 oz (115–170 g) beef per person; 5 oz / 140 g makes a generous sandwich. For four sandwiches, make about 2½ cups / 600 ml jus—enough for individual dipping bowls plus some for warming the beef.
Make It Now: Easy French Dip Sandwiches With Au Jus
Recipe at a Glance
- Yield: 4 substantial sandwiches
- Prep time: 10 minutes
- Cook time: about 20 minutes
- Total time: about 30 minutes
Equipment
- Medium saucepan
- Rimmed baking sheet
- Tongs
- Sharp knife, if slicing leftover roast beef
- 4 small bowls or ramekins for the jus
- Fine-mesh strainer, optional
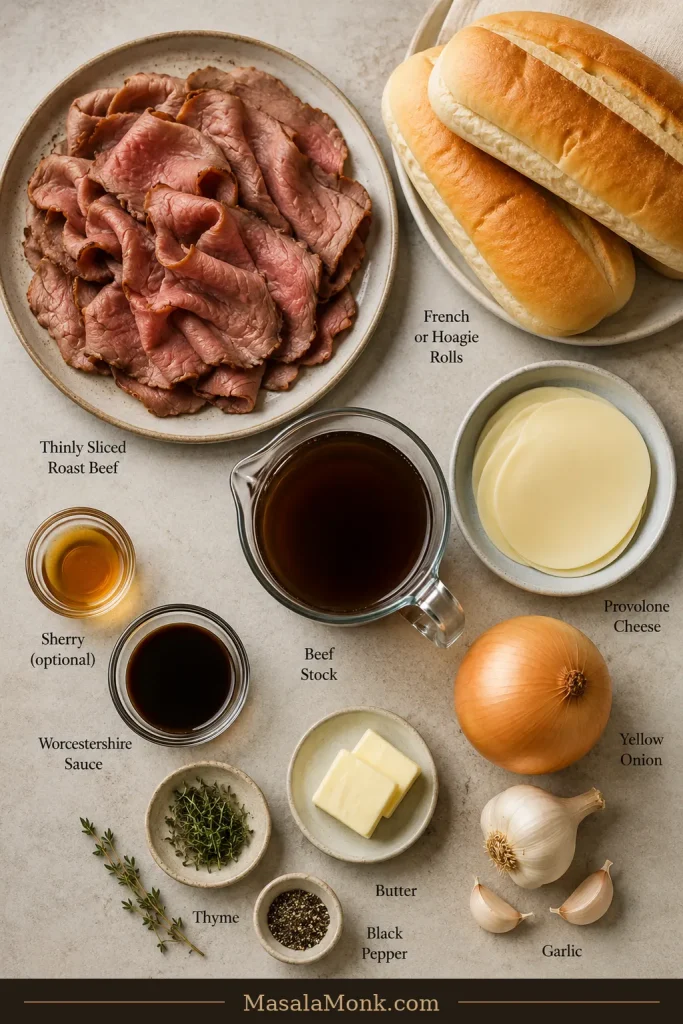
Ingredients
For the Au Jus
- 1 tablespoon (14 g) unsalted butter
- 1 large yellow onion, about 7 oz (200 g), halved and thinly sliced
- 2 garlic cloves, about 6 g, finely chopped
- 3 cups (710 ml) low-sodium beef stock
- 2 teaspoons (10 ml) Worcestershire sauce
- ½ teaspoon dried thyme, or 1 teaspoon fresh thyme leaves
- ½ teaspoon freshly ground black pepper
- 1 tablespoon (15 ml) dry sherry, optional
- Kosher salt, only if needed after tasting
For the Sandwiches
- 1¼ lb (567 g) thinly sliced cooked roast beef
- 4 French, hoagie or Italian-style rolls, about 6 inches / 15 cm each
- 2 tablespoons (28 g) softened unsalted butter
- 8 thin slices mild provolone, about 4–6 oz / 115–170 g total depending on thickness
Instructions
1. Start the Au Jus
Melt 1 tablespoon butter in a medium saucepan over medium heat. Add the onion and cook for 8–12 minutes, stirring occasionally, until soft and lightly golden around some of the edges.
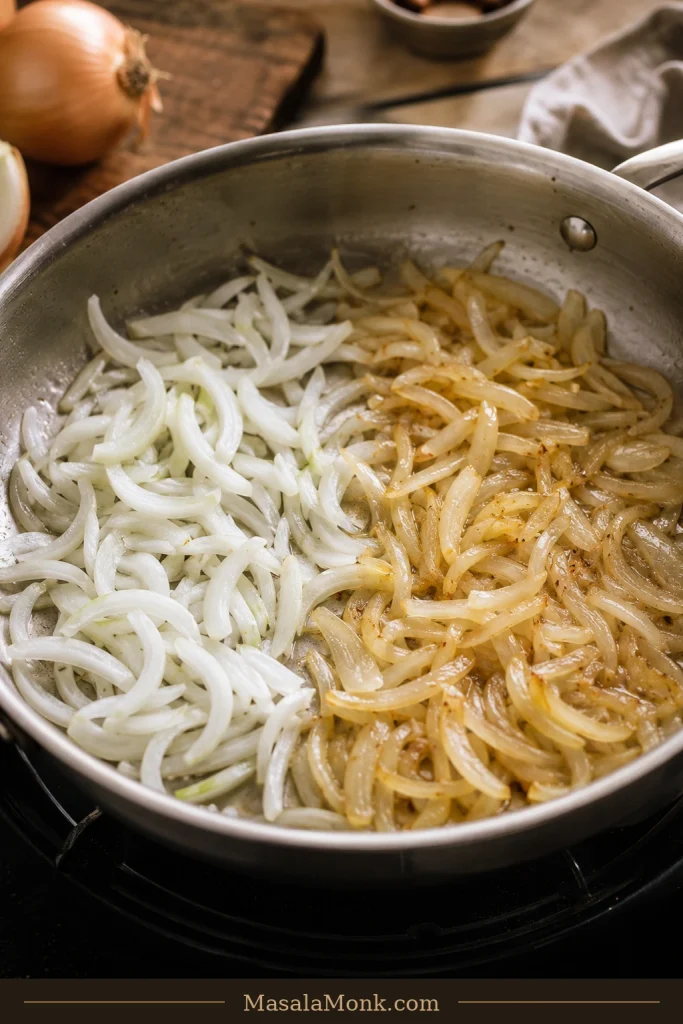
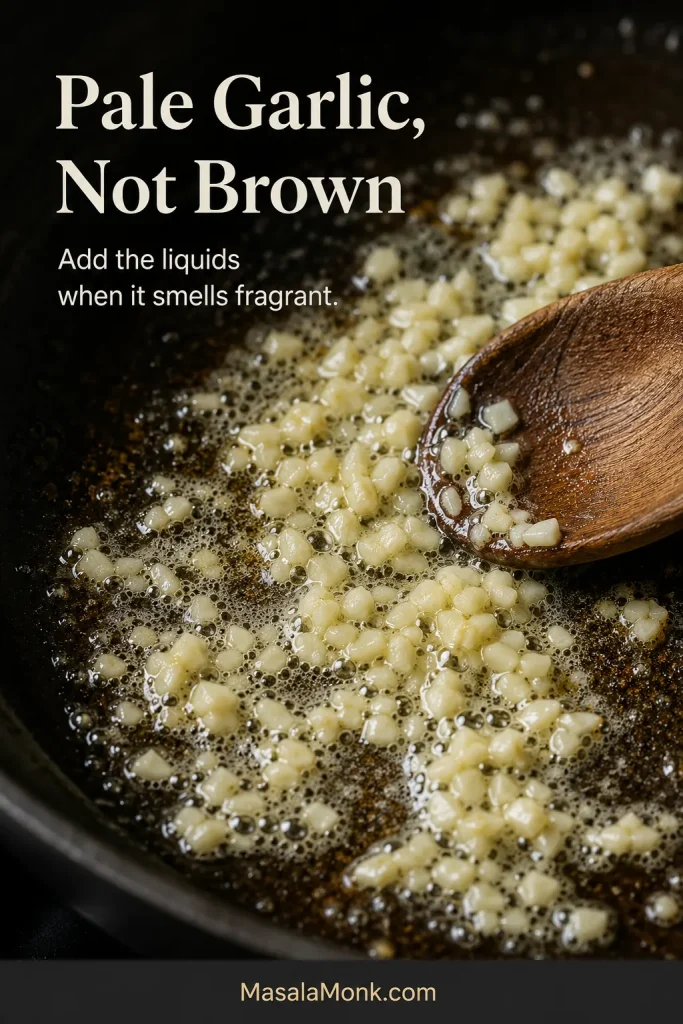
Add the garlic and cook for 30 seconds. If using sherry, pour it in and let it bubble briefly while you scrape up the browned bits from the bottom of the pan.
Add the beef stock, Worcestershire sauce, thyme and black pepper. Bring to a gentle boil, lower the heat and simmer uncovered for 8–10 minutes, until the broth tastes fuller and more concentrated.
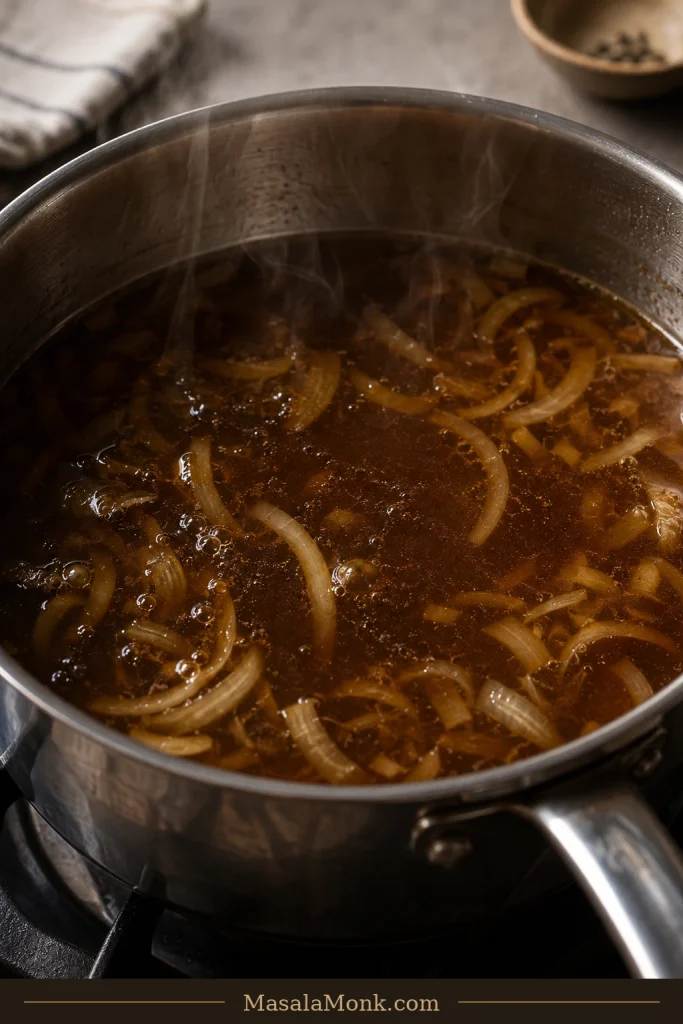
While the jus simmers, toast the rolls in Step 2. Working on both at once keeps the meal comfortably around the 30-minute mark.
2. Toast the Rolls and Melt the Cheese
Heat the broiler (high, if adjustable) and position an oven rack about 5–7 inches / 13–18 cm from the element, if your oven allows. Split the rolls and butter the cut surfaces.
Arrange them cut-side up on a rimmed baking sheet and broil for 1–3 minutes, until golden and lightly crisp while the centers still give when pressed.
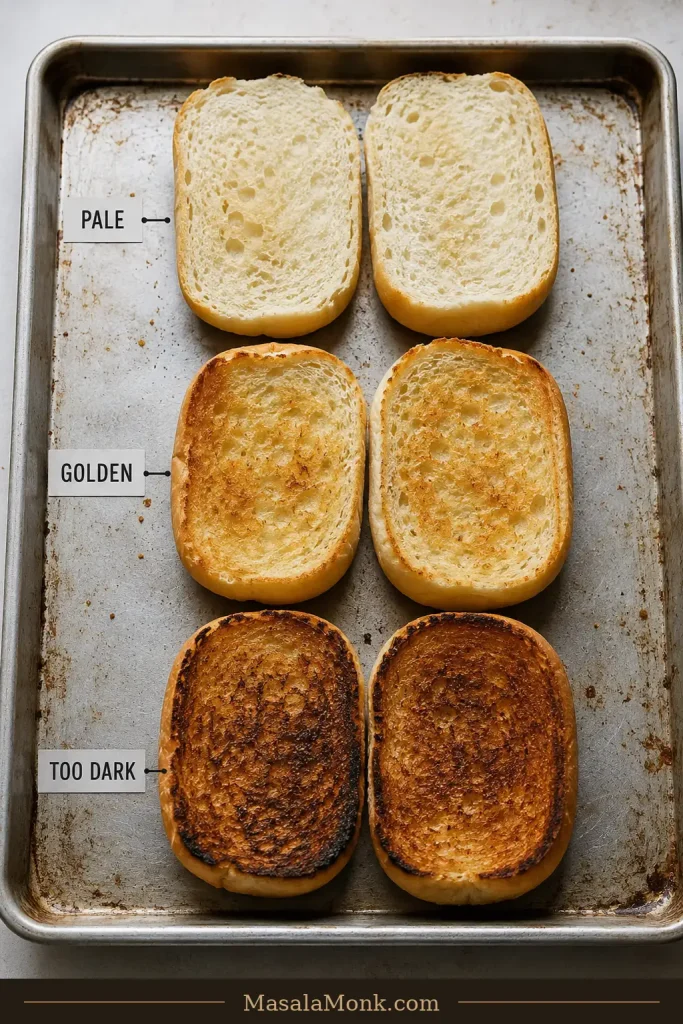
Place 1 slice provolone on each cut half and return the rolls to the broiler for 30–60 seconds, just until the cheese turns glossy and melts against the bread. Stay close; a broiler can go from pale to scorched while you’re reaching for the tongs.
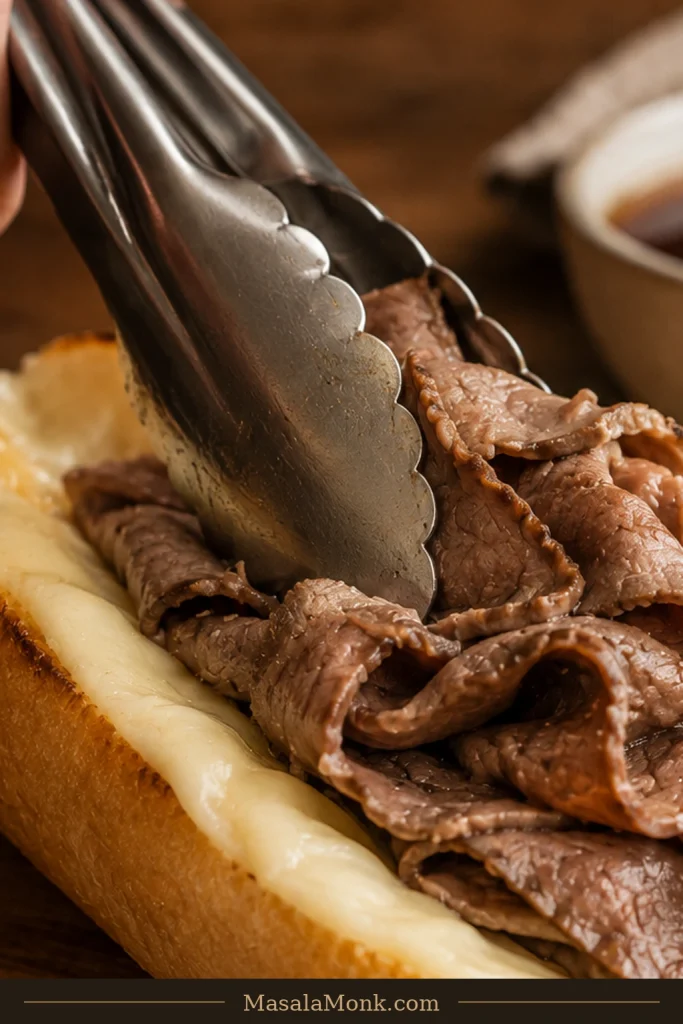
No broiler? Toast the rolls in a preheated 425°F / 220°C oven for 5–7 minutes, adding the cheese for the final 1–2 minutes.
3. Finish the Jus and Warm the Beef
Return to the saucepan. You will usually have around 2½ cups / 600 ml jus, though pan width and simmer strength will affect the exact yield. Taste before adding salt.
Strain out the onions for a clearer dipping bowl and save them for the sandwiches. Leave them in and the jus becomes more rustic and onion-forward.
Turn the heat to low. Add the ready-to-eat deli roast beef in manageable batches and separate the slices gently with tongs. Warm until the meat loses its refrigerator chill and relaxes into soft folds, usually 1–2 minutes. Avoid a hard boil.
Lift the beef out and let excess jus drip back into the saucepan. For higher-risk diners, heat deli meat to 165°F / 74°C or steaming hot; see the food-safety note below.
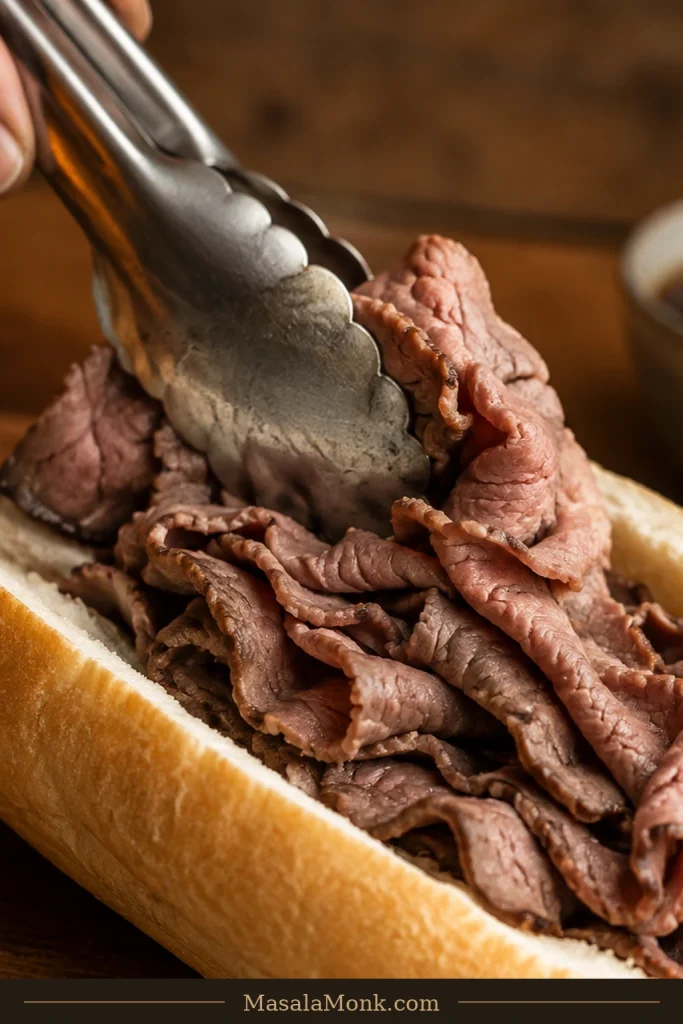
4. Build the Sandwiches
Divide the beef among the four rolls, using about 5 oz / 140 g per sandwich. Pile the slices in loose folds. The layers stay tender and catch pockets of jus between them.
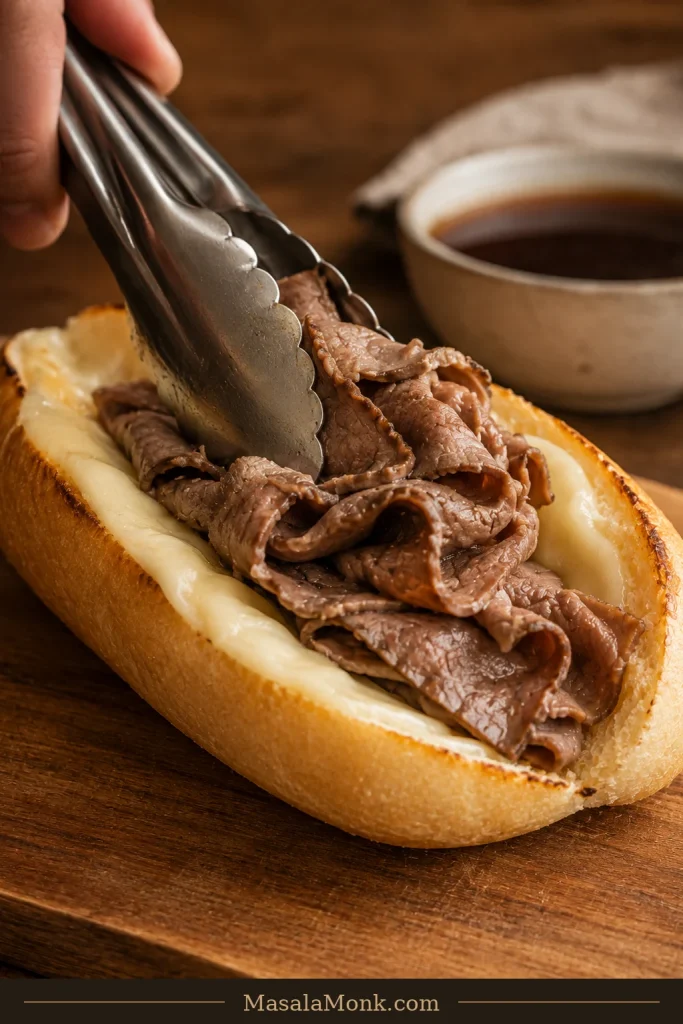
Add some of the reserved onions if using, close the rolls and serve while everything is still warm.
5. Serve With Hot Jus
Divide the remaining hot jus among four small bowls, aiming for about ½ cup / 120 ml per person. Serve immediately and dip each bite as deeply as you like—the first one is especially good while the bread still has some toast left in it.
French Dip Guide
Best beef · Bread & cheese · Au jus · Dip styles · Troubleshooting · Variations · Sides · For a crowd · Storage & reheating · FAQs
Best Meat for French Dip
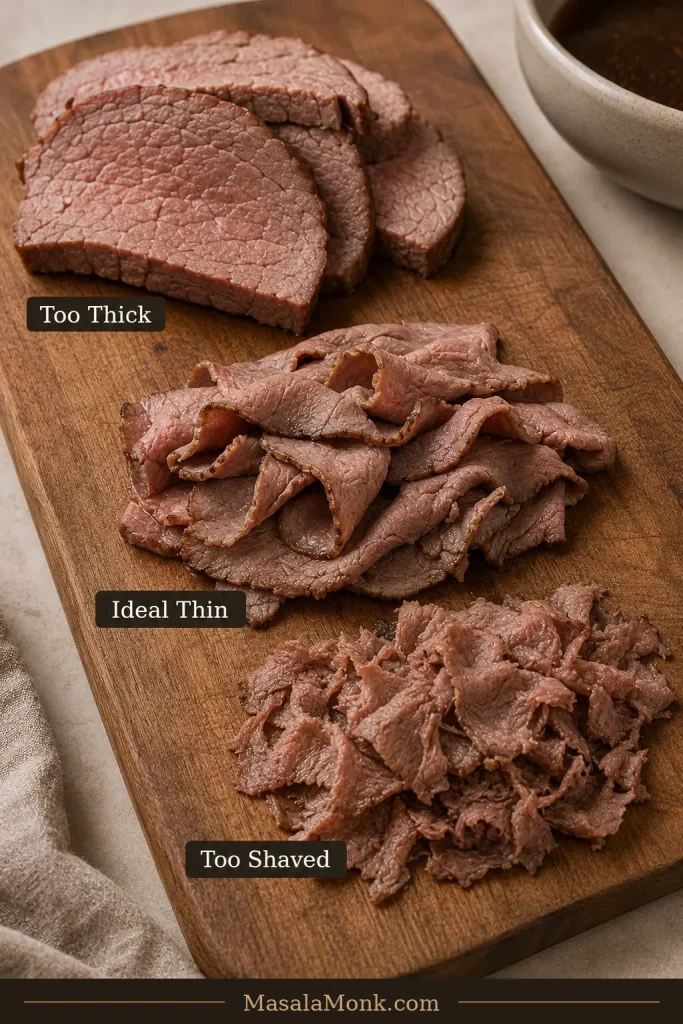
Standing at the deli counter? Ask for roast beef sliced thinly, but not shaved into wispy pieces. Thick slices eat more like little steaks; meat shaved too finely can break apart as it warms.
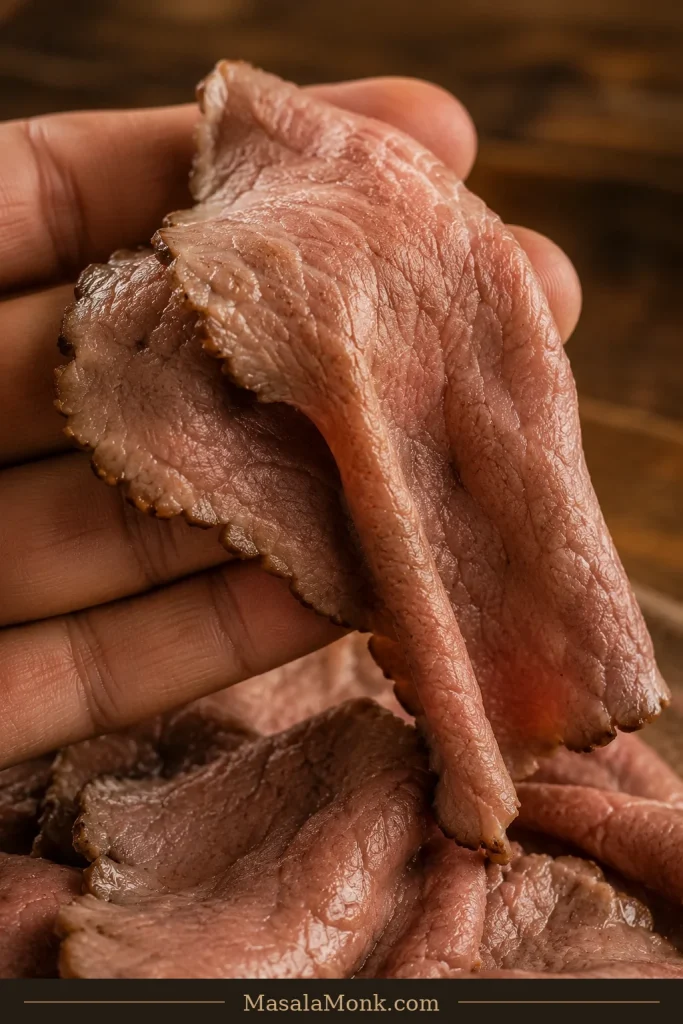
A good slice should fold without immediately tearing. It should droop over your fingers rather than stand stiff. Those flexible folds stay tender and hold jus between the layers when you bite.
Plain or lightly seasoned roast beef gives the oniony jus and cheese room to show up. Heavy smoke and thick pepper crusts can take over quickly.
How Much Roast Beef per Sandwich?
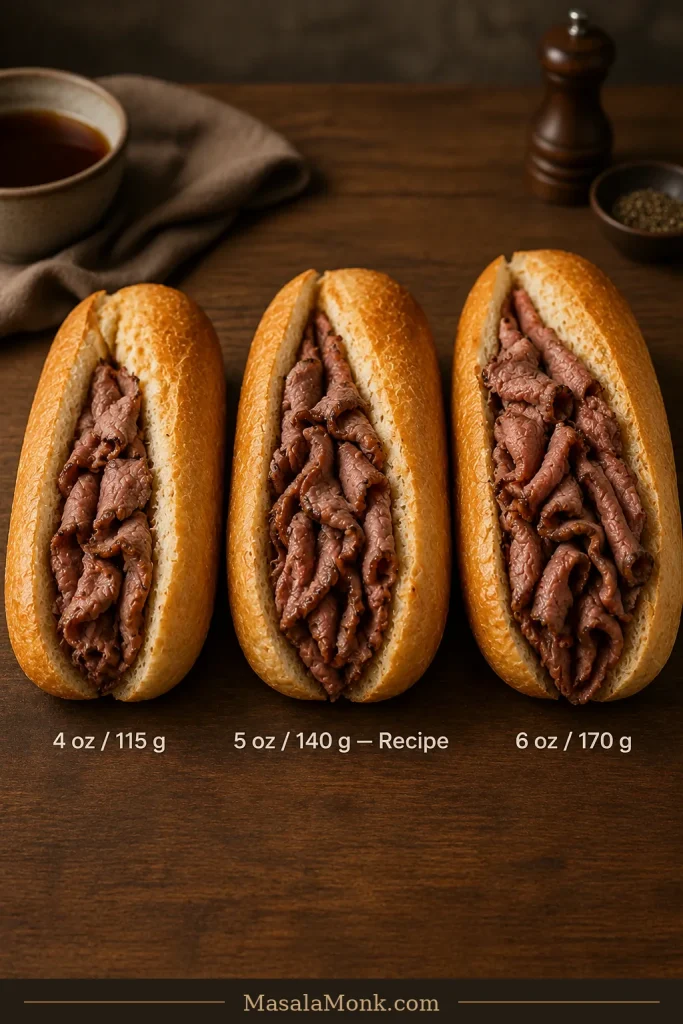
Plan on 4–6 oz (115–170 g) cooked beef per person. Four ounces gives you more bread and jus in each bite. Five ounces is a generous everyday portion. At six ounces, the beef becomes unmistakably the main event.
For four people, buy 1–1½ lb / 454–680 g. The 1¼ lb / 567 g in the recipe lands neatly in the middle.
Ready to cook? Go straight to the French Dip recipe and start the jus.
Leftover Roast Beef and Prime Rib
Leftover roast beef works beautifully. Chill it before slicing if necessary; cold meat firms up and is easier to cut thinly across the grain.
Prime rib makes a richer sandwich, especially with some of its defatted drippings in the jus. Horseradish or spicy mustard keeps those richer bites lively.
Starting With Raw Beef?
Match the cut to the cooking method. Top round or rump suits a sliced-roast approach. Chuck and shoulder need a longer, moist cook. Ribeye gives you a tender steak-style French dip at a much higher price.
Got a shoulder roast instead? Our beef shoulder roast Crock Pot guide covers the slower route for chuck shoulder, arm roast and shoulder clod.
Best Bread and Rolls for French Dip
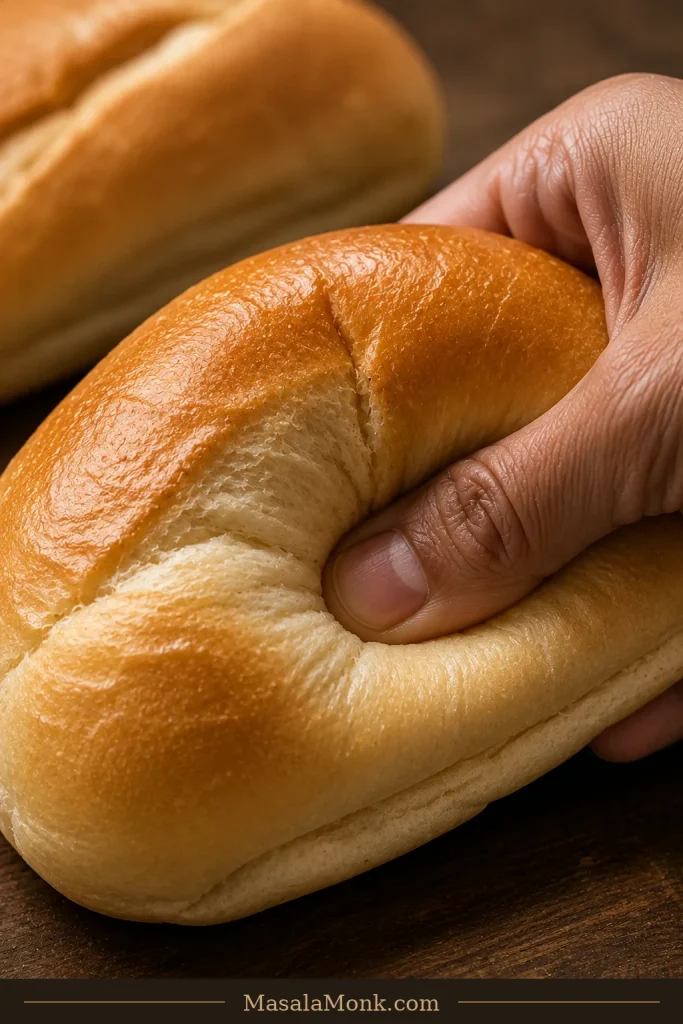
Once the beef is tender and thin, the roll decides what the jus feels like. It needs to absorb plenty without becoming unpleasant to hold or bite. At the store, give it a gentle squeeze. The crumb should spring back and the crust should yield easily when you bite through it.
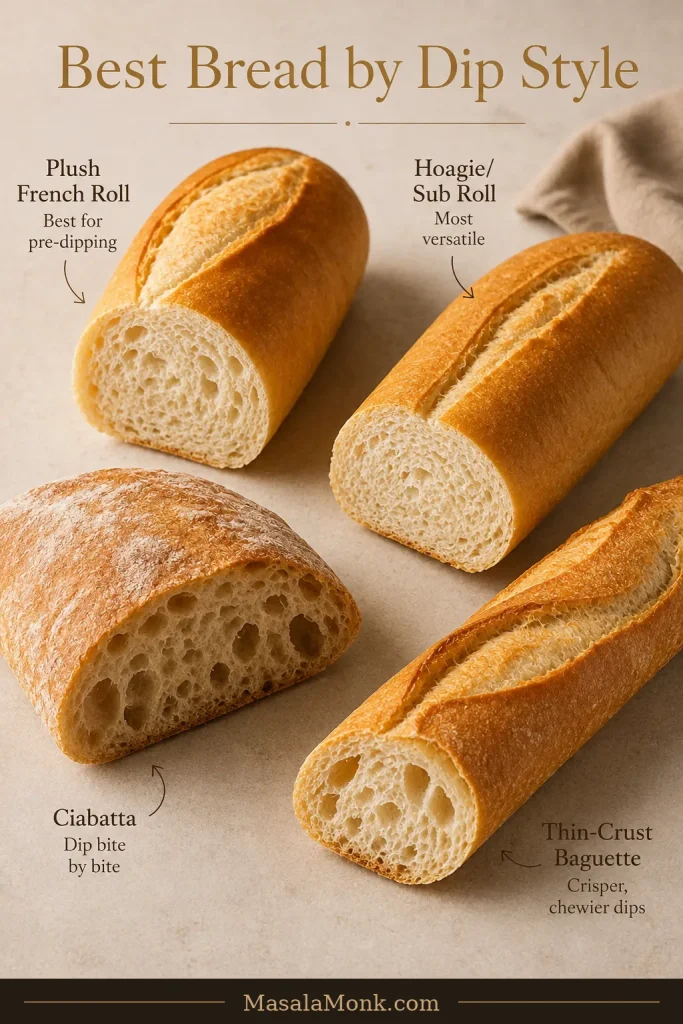
- Plush French roll: soaks up plenty of jus and stays tender; ideal for a softer or pre-dipped sandwich.
- Hoagie or sub roll: soft enough to soak, sturdy enough to hold together; a good middle ground between softness and structure.
- Ciabatta: airier inside with more crust and chew; good for dipping bite by bite.
- Thin-crusted baguette: crisp and slightly chewier, with more resistance at the bite.
Very hard artisan baguettes are a different matter. They may survive the jus beautifully while making the sandwich far more work than your jaw would like.
Aim for rolls around 6 inches / 15 cm long. If you want to make the bread too, these sourdough hoagie and sub rolls have the chew and structure for a generously filled sandwich.
Provolone, Swiss or Gruyère?
I would reach for provolone first: mild, smooth and easy to melt. Swiss tastes nuttier, while Gruyère brings more richness and is especially good with prime rib. Two thin slices per sandwich are plenty. Skipping cheese entirely lets the roast beef and jus stand on their own.
How to Make Better Au Jus for French Dip
The roll controls how quickly the jus gets in. The jus decides whether that soak is worth chasing.
Deli roast beef does not give you a roasting pan full of fresh meat juices, so this quick version starts with beef stock, onion, garlic, Worcestershire and herbs.
Lightly golden onions provide enough sweetness for a 30-minute sandwich. Cook them until soft and fragrant, add the stock, then simmer until the separate ingredients begin tasting like one savory broth. For fully caramelized onions, our French onion soup recipe takes the slower route.
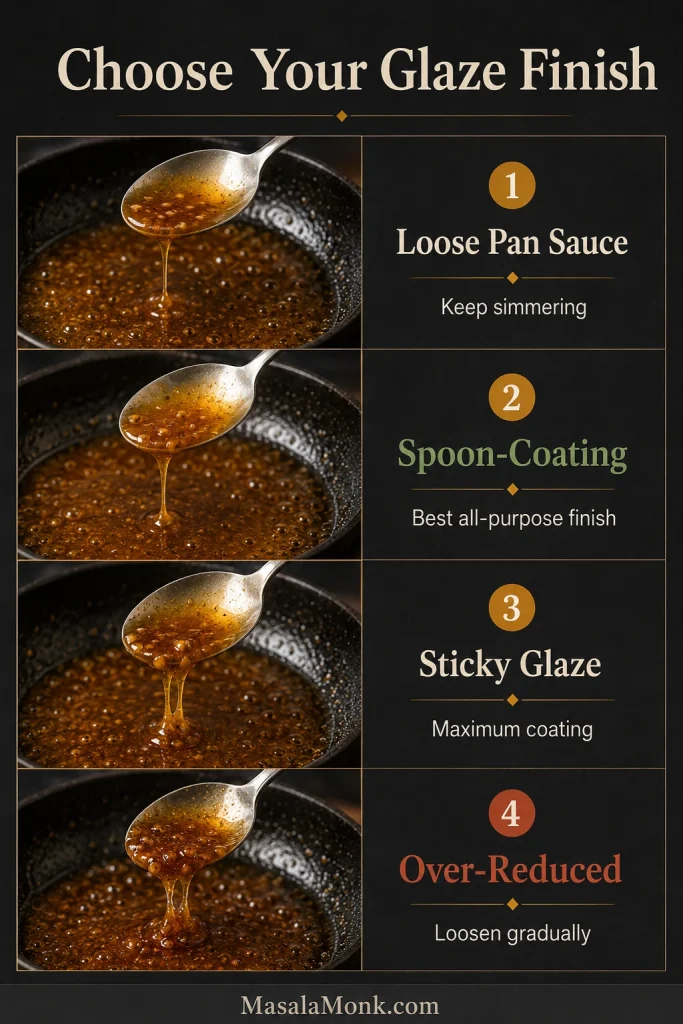
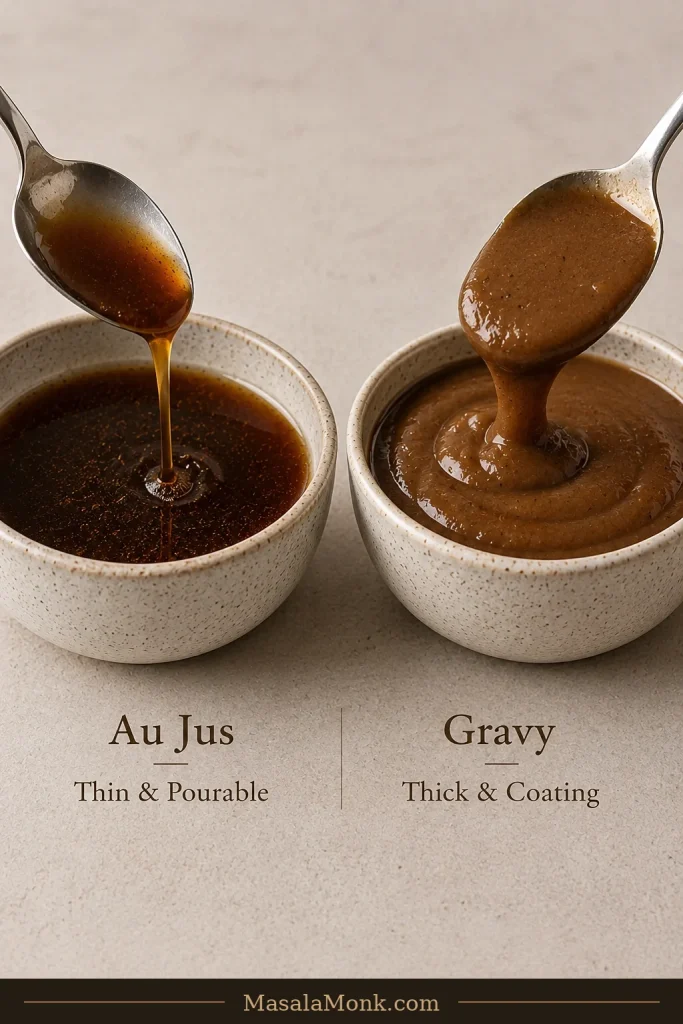
Keep the jus thin enough to soak into the bread. Flour, cornstarch and gravy mix produce a heavier coating. Low-sodium beef stock gives you the most control; broth works too. Consommé starts more concentrated, so taste before adding more salt.
Taste a spoonful. If you would happily take another sip, the jus is probably ready for the sandwich. If all you notice is salt, it still needs balancing.
Using Roast Beef or Prime Rib Drippings
Have roast or prime-rib drippings? Separate excess rendered fat but keep the meat juices and browned bits. Add a splash of beef stock to the hot roasting pan, scrape up the fond, pour that liquid into a saucepan and add stock until you have the quantity of jus you need.
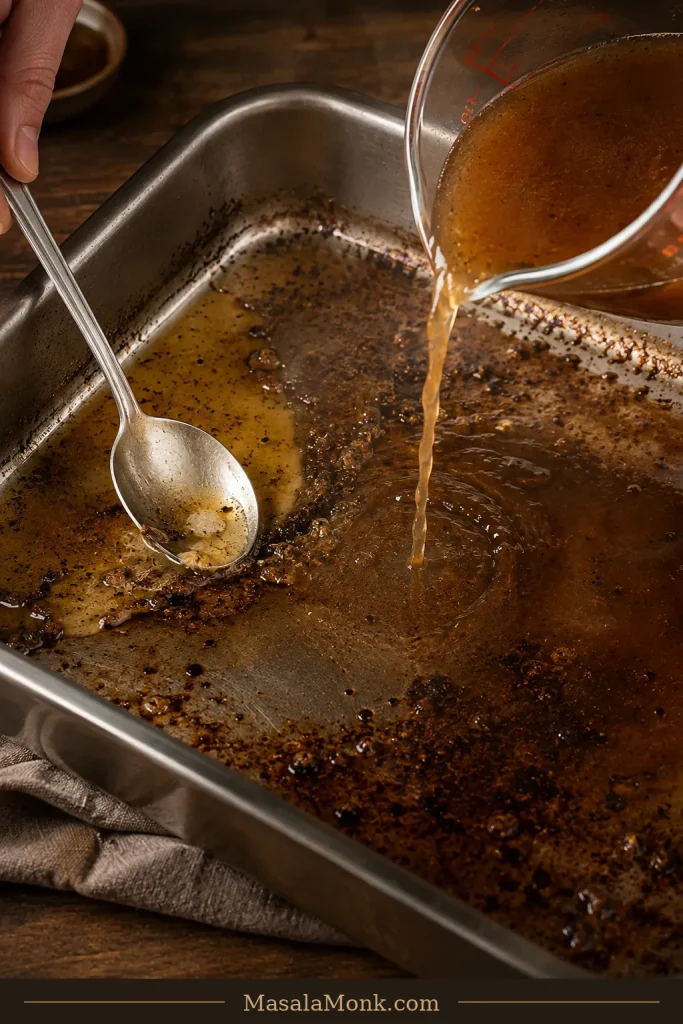
Strain it for a clear bowl, or keep the softened aromatics for a more rustic dip.
How Wet Should a French Dip Be?
Once the jus tastes right, the last decision is how much of it should reach the bread.
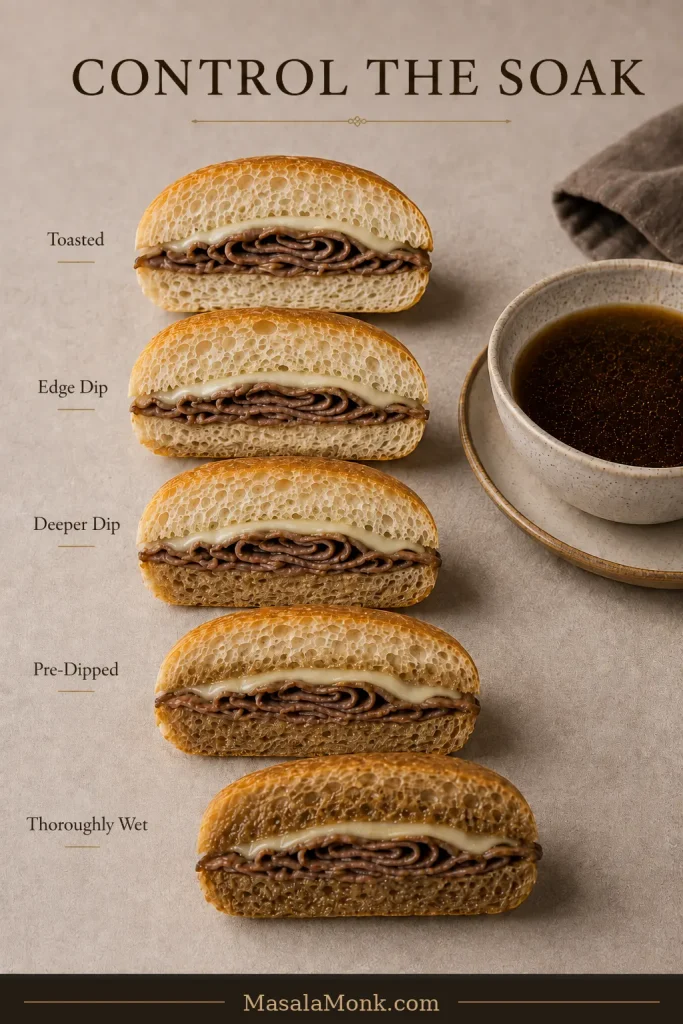
A French dip is supposed to get wet. The real question is how wet, and when.
Crisp-Edge, Dip-at-the-Table Style
This is the default method in the recipe above. Toast the cut surfaces, melt the cheese against the bread, fill the roll with hot beef and bring the jus to the table. The first dunk softens the cut edge while the rest of the roll still has some chew.
For a first French dip, I would start here. Everyone gets to decide how far to take it.
Soft, Pre-Dipped Style
Soft is its own style of French dip. Historic Los Angeles versions deliberately moisten the bread before serving, from a light dip to sandwiches that are thoroughly wet.
For this version, change the assembly slightly: do not melt the cheese onto the bread before dipping. Lightly toast the plain buttered roll—or leave a plush roll untoasted if it already has enough structure—then briefly dip one cut half in hot jus for a lighter sandwich or both halves for a softer one.
Add the hot beef and provolone immediately. Thin cheese will soften against the warm meat; for a fully melted finish, place the cheese over the beef and put the open sandwich under a hot broiler for 30–60 seconds before closing it.
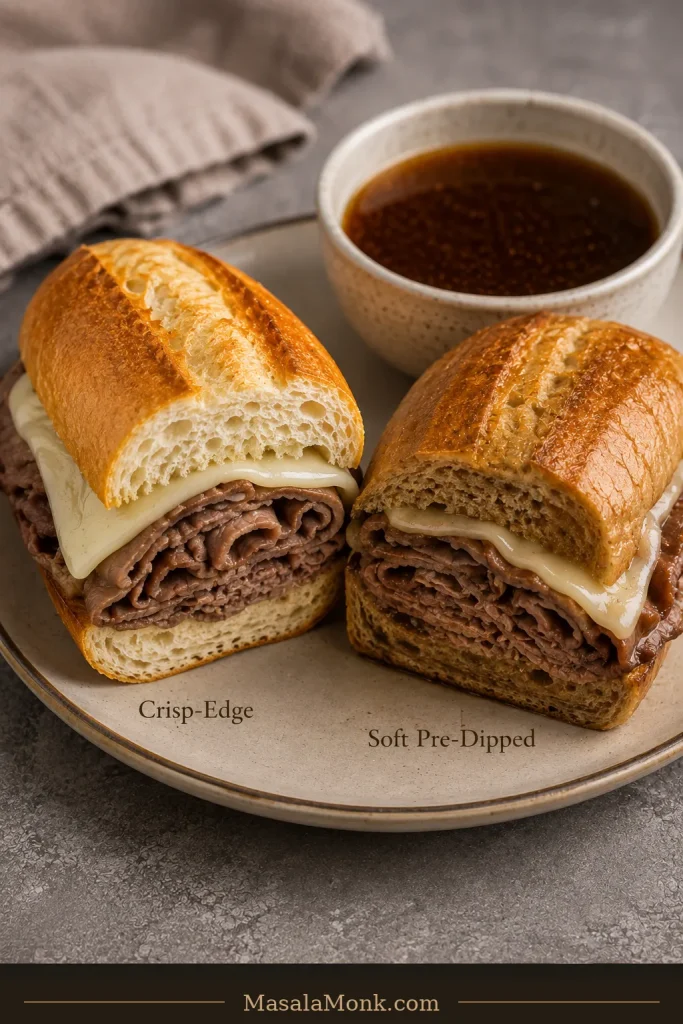
The dipped crumb becomes tender and deeply savory, almost custardy where the jus has soaked all the way through.
When Is a Pre-Dipped French Dip Too Soggy?
The bread has gone too far when it turns gummy, falls apart too early, or can no longer hold the filling. Let excess liquid drain from the beef, assemble close to serving, and adjust the dip to the roll in your hand.
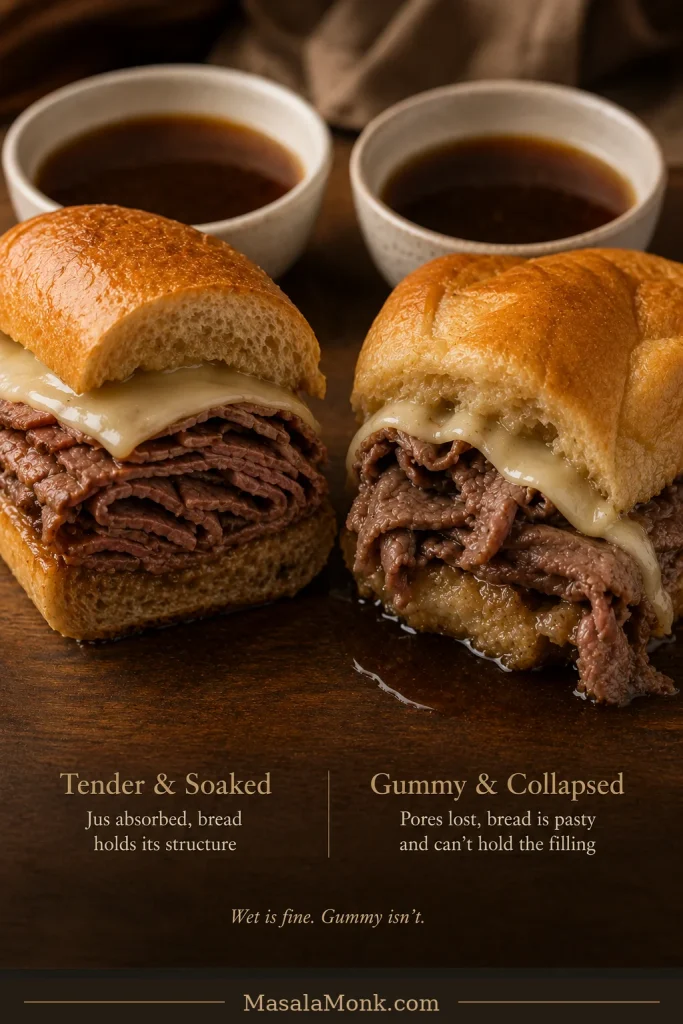
This is a good sandwich to finish at the table. Bring over the hot sandwiches and individual bowls of jus, then let everyone choose: careful edge dips, half the sandwich submerged, or progressively wetter bites as dinner goes on.
French Dip Troubleshooting
Salty jus, tight beef and failing bread account for most French dip trouble.
| Problem | What Happened | Fix |
|---|---|---|
| Au jus tastes too salty | The stock and other salty ingredients became too concentrated | Dilute gradually with unsalted or very low-sodium stock; use small additions of water if needed. For the balance cues, return to the au jus guide. |
| Au jus tastes weak or flat | The stock is mild or has not concentrated enough | Simmer a little longer; if it is still flat, add a small splash of Worcestershire or some defatted roast drippings rather than simply adding salt. |
| Deli roast beef turned tight | It spent too long at a hard boil | Lower the heat and stop once the slices are hot and supple; revisit the gentle warming step. |
| Bread falls apart immediately | The roll is too fragile or took on more liquid than it could handle | Use a stronger roll, drain the beef briefly or shorten the pre-dip. |
| Bread stays too tough after dipping | The roll is overly hard or crusty | Choose a more tender French or hoagie-style roll next time. |
Easy French Dip Variations and Shortcuts
Leftover brisket: Sliceable brisket can stand in for roast beef if it still holds together rather than collapsing into shreds. Starting from raw? See our slow cooker brisket recipe.
Creamy horseradish: Stir 2 tablespoons mayonnaise with 1–2 teaspoons prepared horseradish, a squeeze of lemon and black pepper. Spread it thinly; the cool horseradish bite is especially good with richer beef.
Shortcut jus: Prepared au-jus mix works when dinner needs to move even faster. Dilute it according to the package directions and taste before adding anything else salty.
What to Serve With French Dip Sandwiches
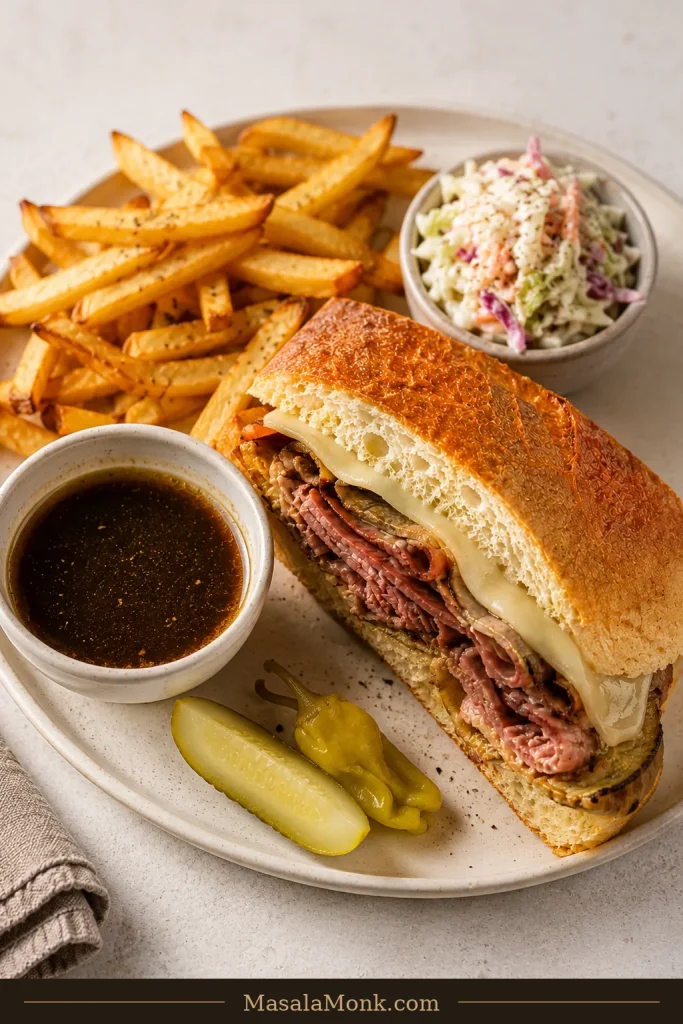
Crispy homemade French fries with dill pickles or pepperoncini are the obvious classic. A few fries will probably find their way into the jus too, and there are worse things that can happen to a potato.
After several rich, dipped bites, cold creamy coleslaw or a sharp green salad tastes especially good. Roasted green beans or broccoli keep the plate lighter, while potato salad works well when you need a side that can be finished before the sandwiches.
French Dip for a Crowd
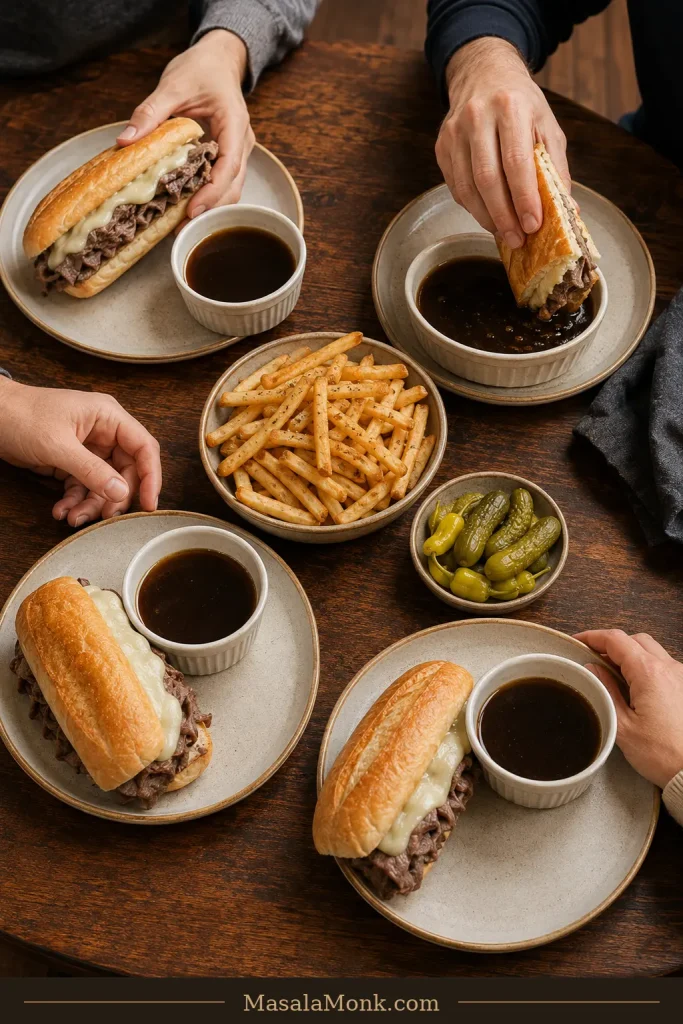
For every four people, plan on 1–1½ lb / 454–680 g cooked roast beef, 4 rolls and about 2½ cups / 600 ml prepared jus. Keep the components separate and build the sandwiches in batches so the bread stays ready for the jus at the table.
Put the hot jus into individual bowls. It turns serving into part of the meal and saves you from guessing whether everyone wants a cautious dip or a sandwich approaching full submersion.
Make Ahead, Store and Reheat French Dip
French dip is easy to prep ahead as long as you stop before assembly. Make the jus, portion or slice the beef, and have the cheese ready in the refrigerator. Leave the rolls whole and dry. At serving time, reheat the jus, toast the bread, melt the cheese and warm the meat last.
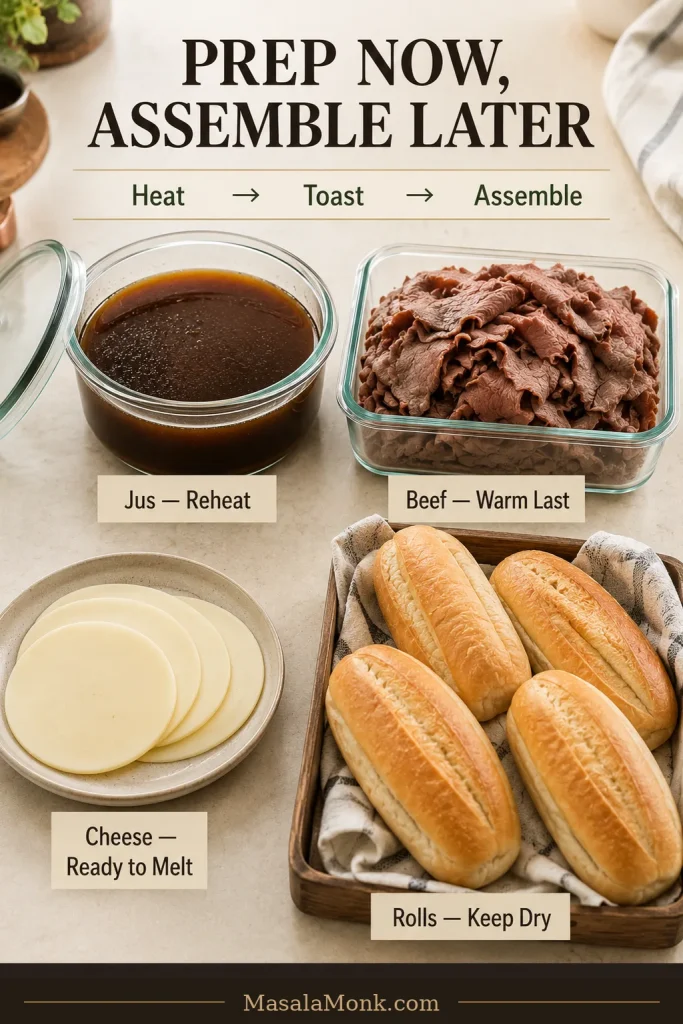
For leftovers, keep the beef, jus and cheese refrigerated separately and store the bread away from moisture. Cool the jus promptly in a covered container; if chilled roast drippings leave a firm cap of fat on top, remove the excess before reheating.
Refrigerate perishable food within 2 hours of serving—or within 1 hour when the surrounding temperature is above 90°F / 32°C. Most cooked leftovers should be used within 3–4 days. See the current USDA leftovers and food-safety guidance for the full recommendations.
Serving someone at higher risk from Listeria? People who are pregnant, aged 65 or older, or have weakened immune systems have a higher risk of serious illness. Current USDA guidance recommends heating deli meat to 165°F / 74°C or until steaming hot.
How to Reheat French Dip
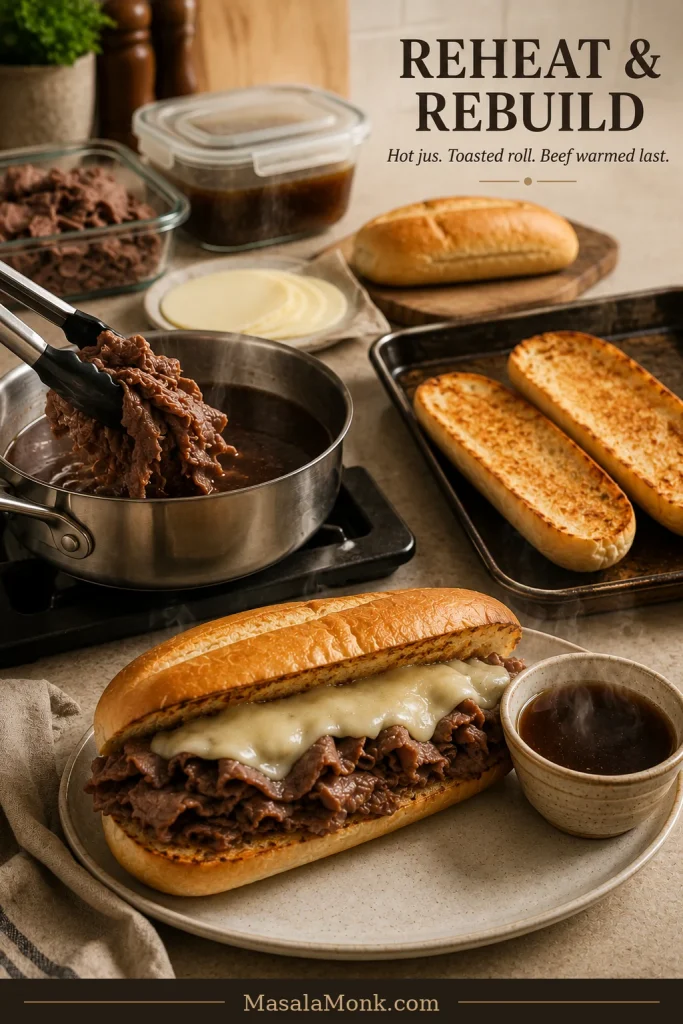
Reheat the jus first. Previously cooked refrigerated beef should reach 165°F / 74°C; once safely hot, thin slices do not need to linger over high heat.
Toast the roll separately, melt the cheese, then rebuild the sandwich. Done in that order, yesterday’s French dip feels like a sandwich again instead of a container of reheated leftovers.
French Dip Sandwich FAQs
What is a French dip sandwich?
A French dip is a hot sliced-meat sandwich—most commonly roast beef—served with savory meat juices or jus for dipping. Depending on the style, the bread may be dipped before serving, dunked bite by bite at the table, or both.
Is a French dip sandwich actually French?
No. Despite the name, French dip is an American sandwich strongly associated with Los Angeles. Its exact origin is disputed, with more than one historic Los Angeles restaurant connected to the story.
What does “au jus” mean?
“Au jus” means “with juice” and refers to serving meat with its juices. When a French dip starts with a freshly cooked roast, those juices and pan drippings can form the heart of the dip. With deli roast beef, a seasoned beef-stock dipping liquid fills the same practical role.
The moment to aim for is that first dunk: the bread darkens where it touches the jus, then gives way into hot beef and melted cheese. Maybe the rest of the roll still has some chew; maybe the next bite deserves a longer soak. That is part of what makes French dip so satisfying—the bowl beside it lets you keep changing the sandwich until you find exactly the version you like.
If you make it, tell us where you landed: deli roast beef or leftovers, provolone or Swiss, clear jus or onions left in—and whether you stayed with careful edge dips or eventually sent half the sandwich straight into the bowl.