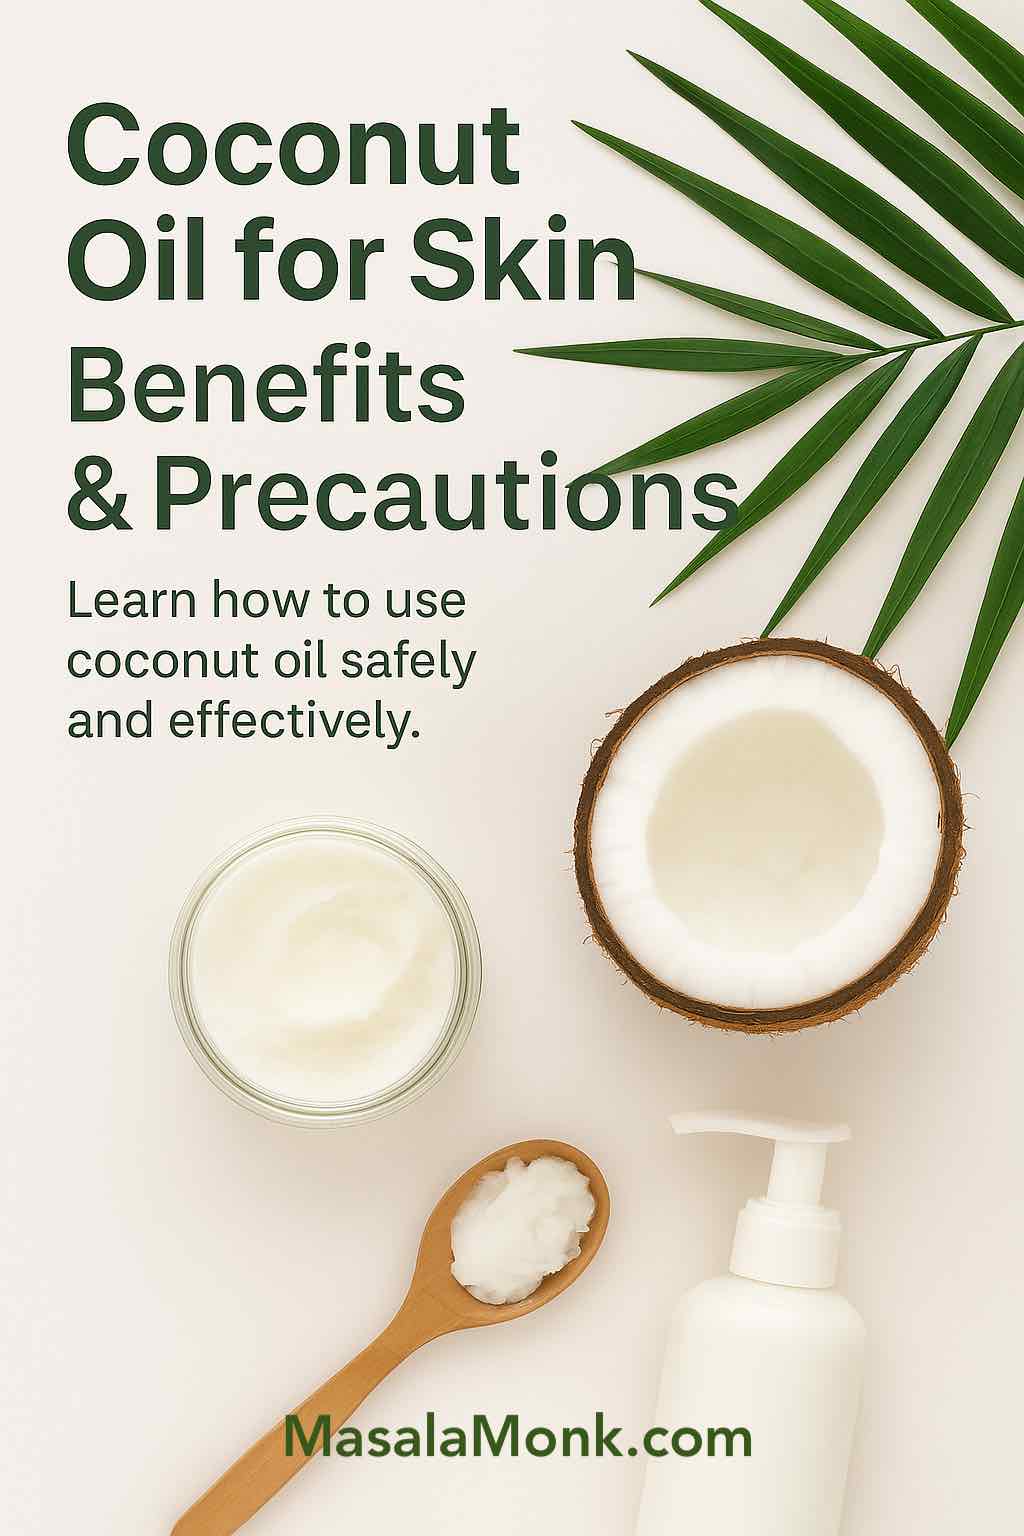
For generations, coconut oil has lived a double life—one part kitchen essential, one part beauty secret. In Indian homes it’s rubbed into the body after a bath; in the Pacific it’s long been used to shield skin from salty breezes and blazing sun. Today, coconut oil for skin pops up everywhere—creams, body washes, lotions, balms, and even makeup removers. It’s affordable, easy to find, and yes, wonderfully nostalgic.
Yet many people are torn. Some swear it delivers a baby-soft glow. Others complain it makes them greasy, clogs pores, or even fear it causes skin darkening. Meanwhile, there are bold claims—coconut oil sunscreen, coconut oil for scars, coconut oil for eczema—that muddy the waters further.
So, is this classic ingredient your complexion’s soulmate or a mismatched fling? In this guide we’ll walk through the real benefits, honest disadvantages, stubborn myths, and practical ways to use coconut oil—from body care to baby care—so you can decide what fits your skin and your life.
Why Coconut Oil Shows Up In So Many Routines
A thread of tradition
Across Ayurveda, coconut oil is considered cooling and nourishing, especially supportive for Pitta. Daily self-massage—abhyanga—with warm virgin coconut oil for skin is said to calm the nervous system and seal in moisture. In coastal communities, families have long relied on coconut oil as a simple, trusted skin protector. The ritual itself—slow, grounding, intentional—does half the healing. Read more about how this fits into daily dosha-balancing practices in Pitta Dosha: Characteristics and Balancing Practices.
The science beneath the ritual
Beyond tradition, there’s chemistry. Coconut oil is rich in medium-chain fatty acids, most notably lauric acid, plus capric and caprylic acids. These help soften skin, limit water loss, and support a comfortable, supple feel. There’s also naturally occurring vitamin E, an antioxidant that helps defend against everyday environmental stress.
In plain English: coconut oil works brilliantly as an occlusive—it locks in the water you already have in your skin. That’s why so many people find it transforms dull, tight skin into something bouncy and dewy. But—and there’s always a but—its very richness can be troublesome for faces that clog easily. That leads us to the good, the complicated, and the “please don’t do that” of coconut oil.
Clinical studies confirm this: a randomized trial published in PubMed found virgin coconut oil improved skin hydration and barrier function, comparable to mineral oil. A review in NIH/PMC also notes coconut oil reduces transepidermal water loss and enhances wound healing.
Benefits of Coconut Oil for Skin
Deep, lasting moisturization
If your body skin often feels dry or looks ashy, coconut oil can be a game-changer. Applied after a shower on damp skin, it creates a thin barrier that locks in hydration. Knees, elbows, shins, and heels—those chronically rough zones—usually respond quickly. Compared with many water-based lotions that evaporate, coconut oil’s richness lingers, keeping the skin comfortable for hours. According to Healthline, coconut oil use over 28 days increased hydration by nearly 25% and improved elasticity.
How to use: Warm a teaspoon between your palms and massage into slightly damp skin. If you prefer a lighter feel, mix it in your hands with a pump of your favorite unscented lotion—best of both worlds.
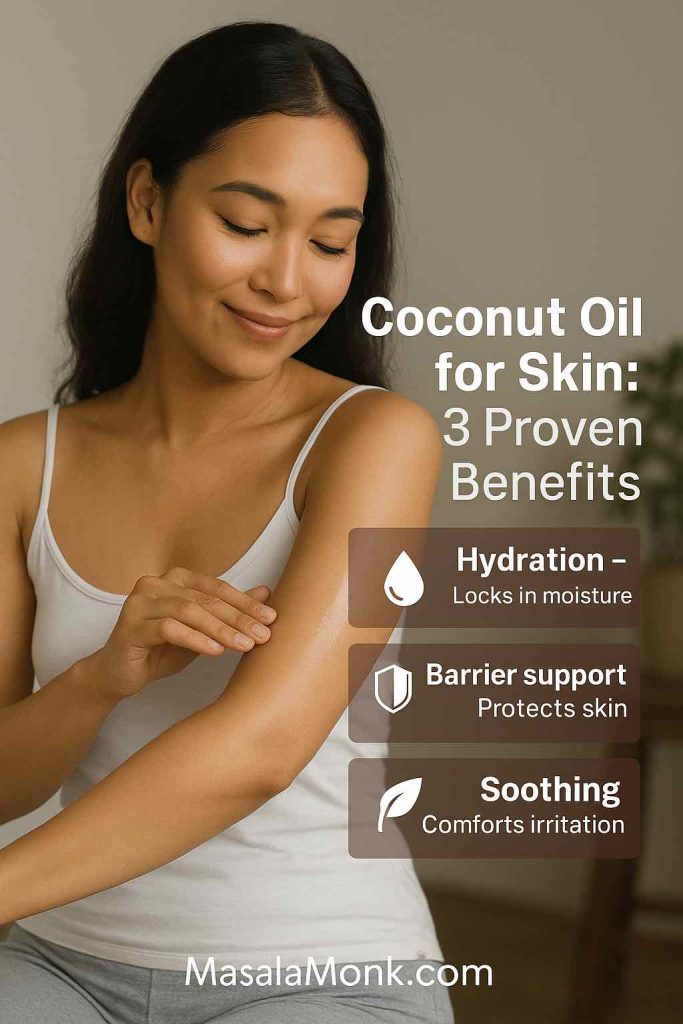
Comfort for dry, sensitive, or irritated patches
People dealing with dryness, seasonal irritation, or rough texture often find coconut oil soothing. Its emollient profile smooths tiny cracks in the skin’s surface and helps the skin barrier bounce back. Many also like it for hands that get stripped by frequent washing, or for legs after shaving.
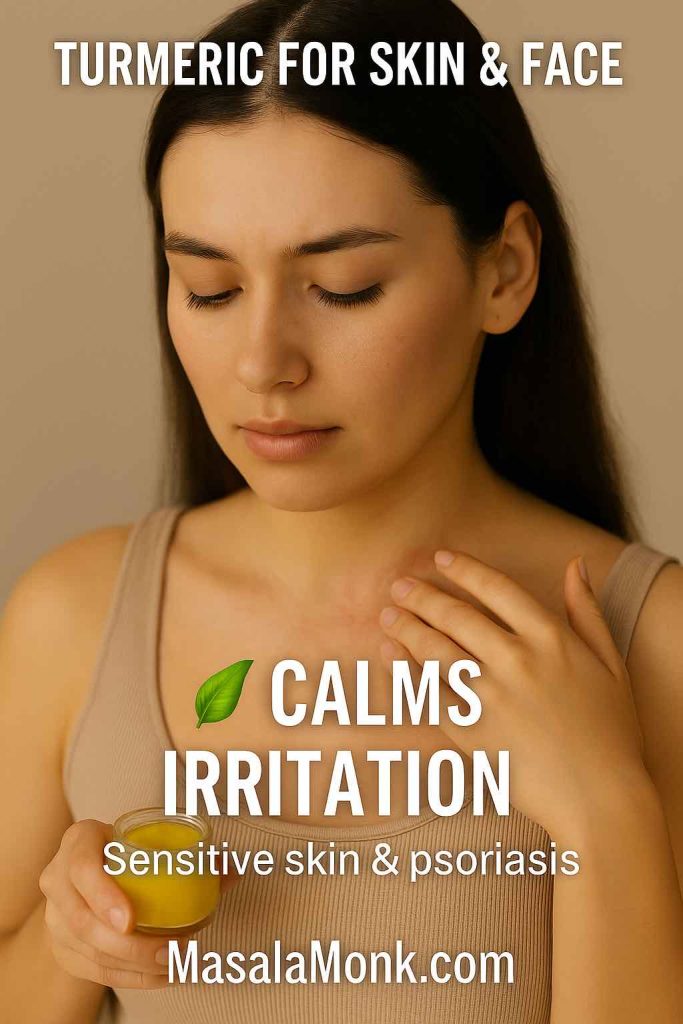
Coconut oil for eczema & dermatitis (with care)
Coconut oil can help calm itchiness and dryness that accompany eczema or dermatitis by reducing water loss and softening scaling. Some individuals feel noticeably more comfortable when they apply a thin layer after bathing and before bed. Clinical research supports this: a randomized controlled trial on atopic dermatitis found that virgin coconut oil improved skin hydration and even reduced the presence of Staphylococcus aureus, a bacteria often linked with eczema flare-ups.
The National Eczema Association also notes coconut oil’s antimicrobial and anti-inflammatory properties, highlighting that many patients report symptom relief when it’s used as an emollient. More recently, a 2024 trial on an emollient containing coconut and sunflower esters showed significant improvements in itch, reduced topical steroid use, and decreased bacterial colonization on the skin.
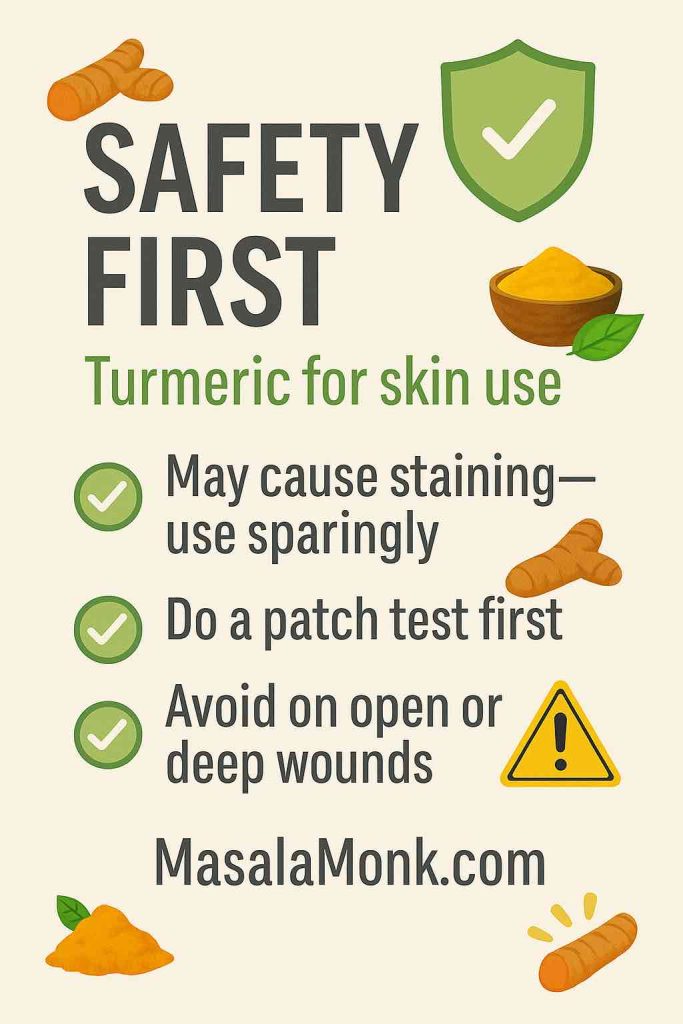
Still, because eczema is complex, what helps one person can irritate another—patch test on a small area and introduce it slowly, especially if your skin is reactive. Also see our post on Foods to Embrace and Avoid for Eczema Relief for insights on soothing dietary and topical ingredients.
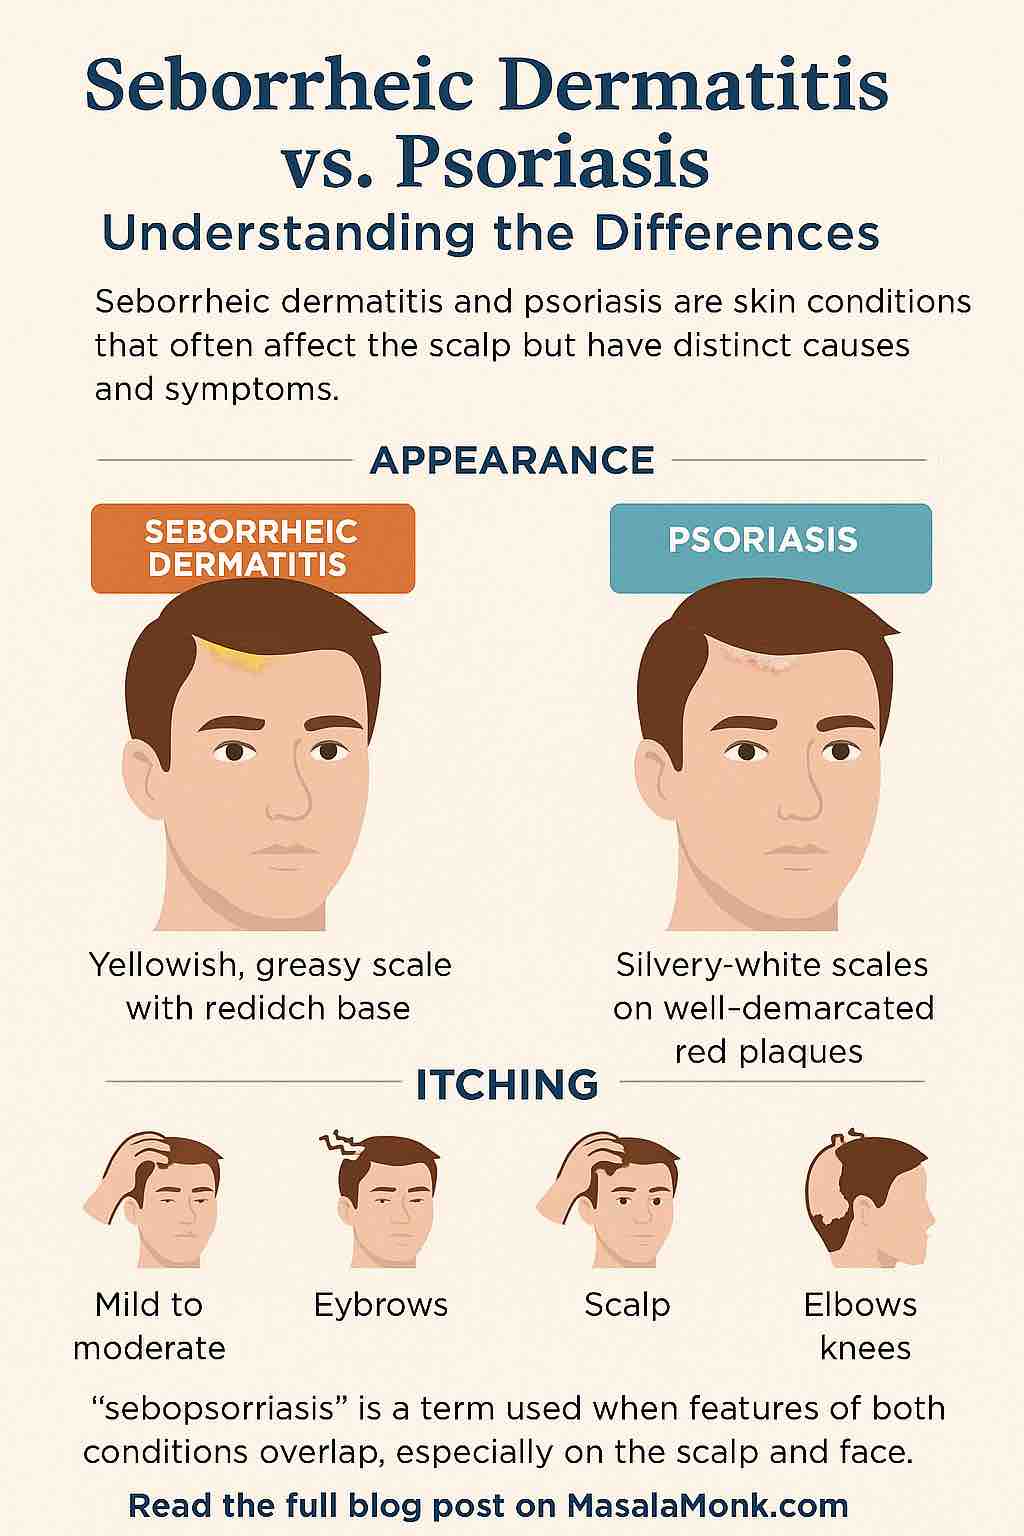
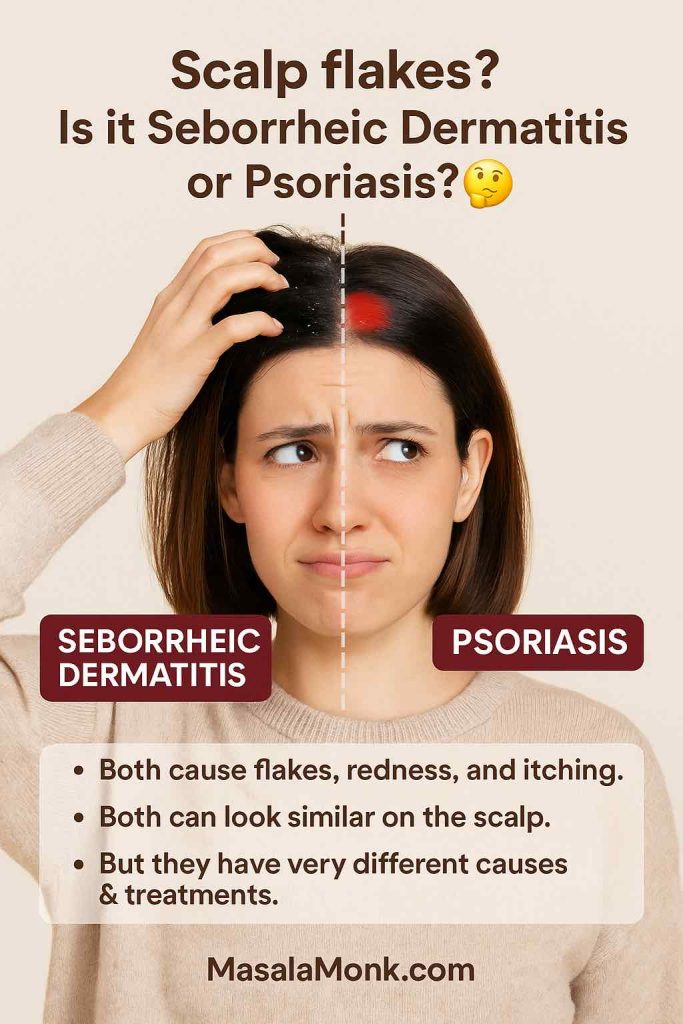
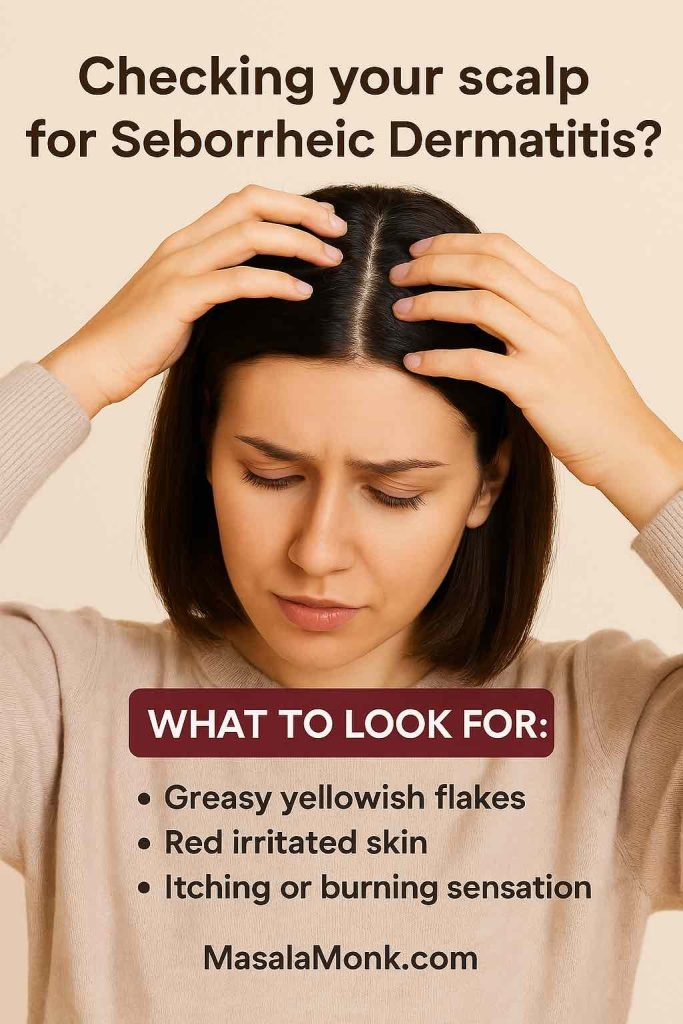
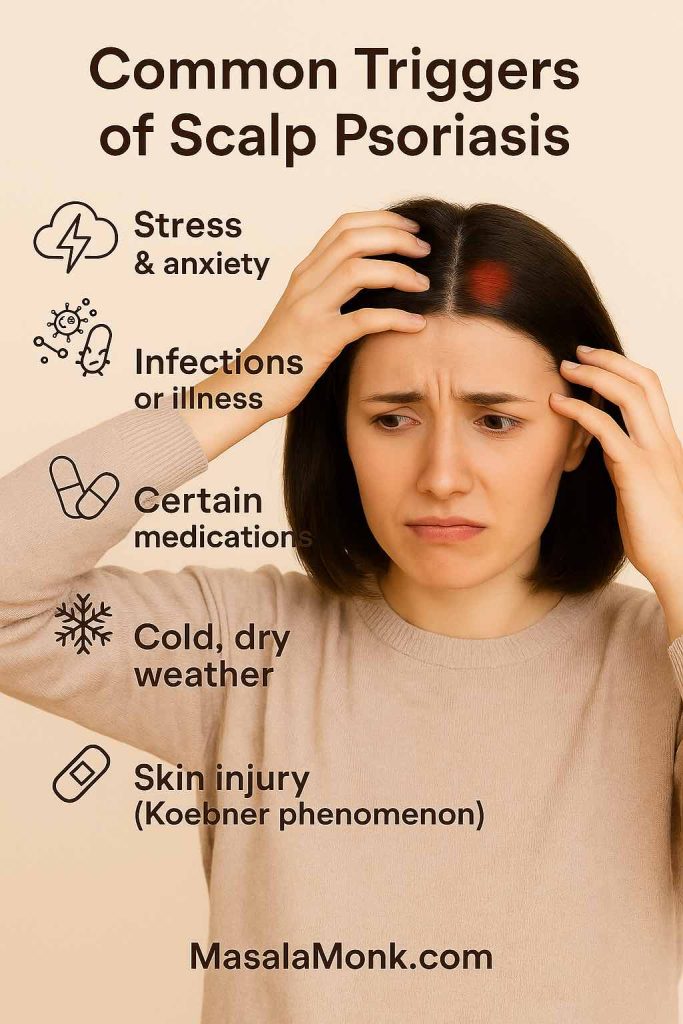
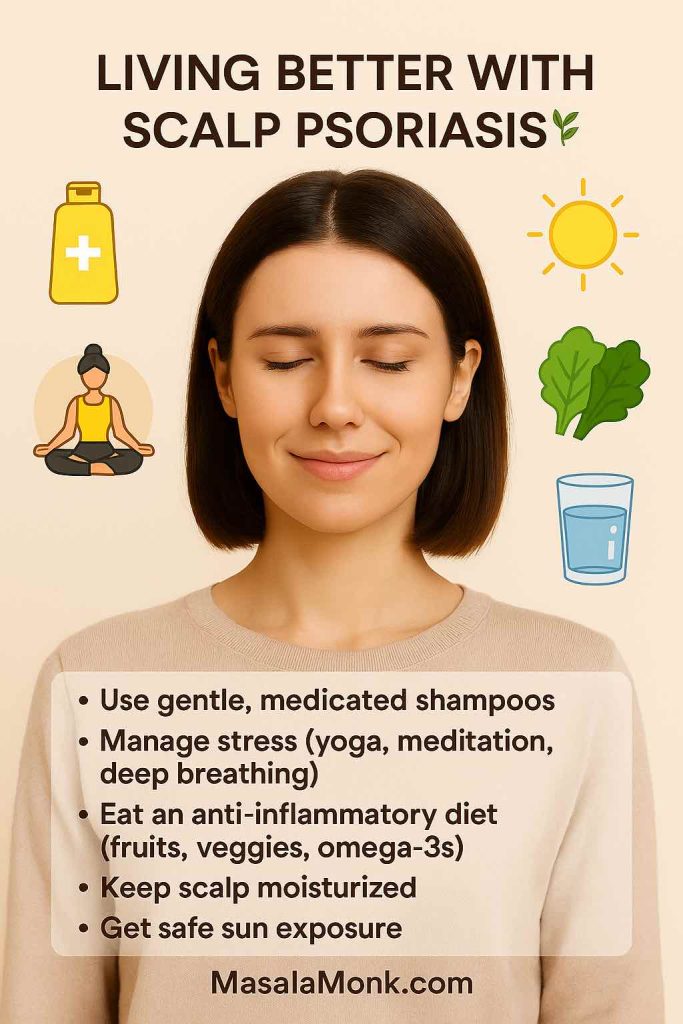
Coconut oil for psoriasis & scalp psoriasis (supportive care)
While it can’t treat the underlying condition, coconut oil may soften plaques and reduce scaling, particularly on elbows and knees. As a pre-shampoo scalp treatment, it can loosen flakes and make cleansing gentler. Massage a spoonful into the scalp, leave it on for 20–30 minutes, then shampoo thoroughly. If your hair is fine, follow with a light conditioner only on mid-lengths and ends to avoid residue.
The Cleveland Clinic recommends oils like coconut to loosen flakes before shampooing. WebMD notes it may ease symptoms, though not replace prescription treatments.
Our post Coconut Oil for Psoriasis throws more light on the subject. Also read Olive Oil and Psoriasis, Shea Butter for Scalp Psoriasis, and Castor Oil for Psoriasis for more insights.
A plumper look for fine lines
No, coconut oil won’t replace retinoids or firm skin overnight. However, hydrated skin looks smoother. By sealing in moisture, coconut oil can temporarily soften the look of fine lines and give a fresher bounce—especially on the body, neck, and décolleté where dryness shows first.
After-sun soothing (not protection)
After a day out, skin may feel tight or over-warm. A whisper-thin layer of coconut oil can ease that tightness and help with post-sun comfort. But keep this distinction crystal clear: it may soothe after exposure; it is not a sunscreen (we’ll debunk that myth soon).
Coconut oil may calm skin after sun exposure, but it is not a sunscreen. The American Academy of Dermatology warns oils do not provide adequate SPF, while Healthline confirms coconut oil’s SPF is far below recommended levels.
Everyday luxuries: massage, cuticles, and heels
Coconut oil is a fantastic massage oil—smooth glide, subtle scent, and easy clean-off. It also shines as a nightly cuticle softener and an overnight heel treatment: massage into heels, slip on cotton socks, and wake up to softer feet.
Disadvantages & Side Effects You Should Know
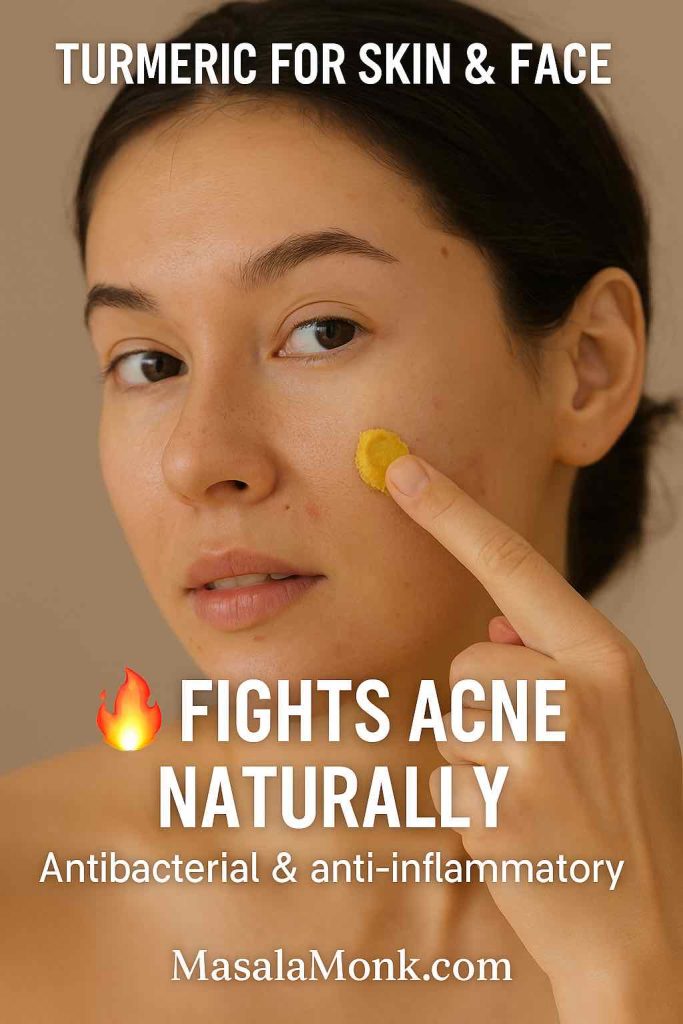
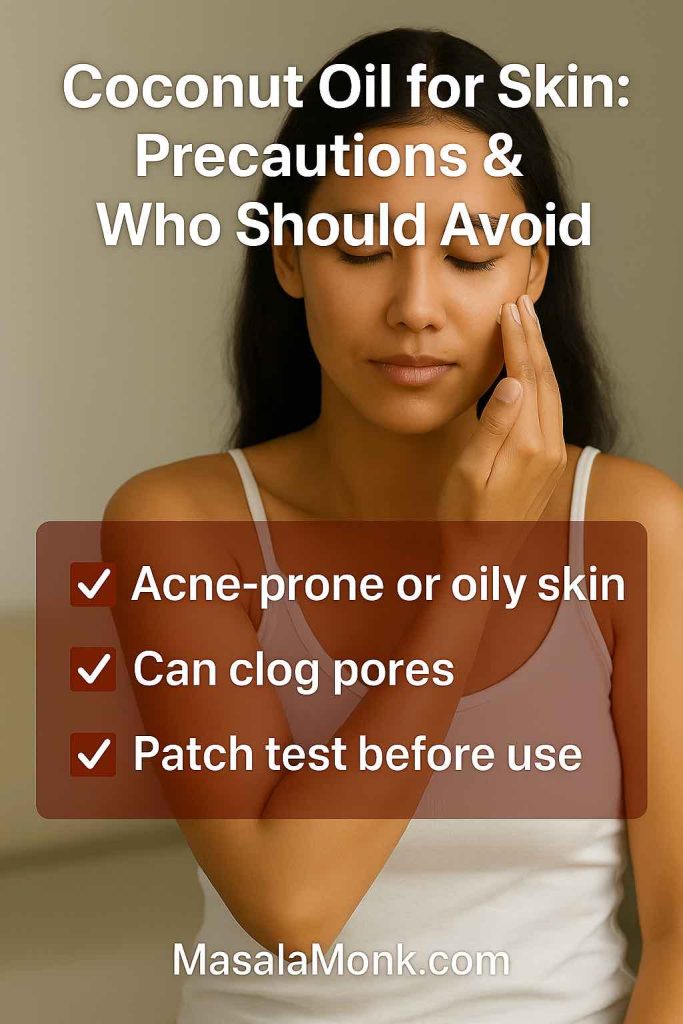
High comedogenic rating = higher clogging risk
Here’s the big caveat. Coconut oil has a relatively high comedogenic rating (often cited around 4 on a 0–5 scale), meaning it’s more likely to clog pores. If your skin is oily, acne-prone, or tends to form whiteheads/blackheads easily, using coconut oil as a face moisturizer can trigger breakouts. Many people do fine with it on the body yet struggle on the face—that’s common and completely okay. Curology lists it among the most pore-clogging oils, and Verywell Health advises acne-prone skin to avoid it.
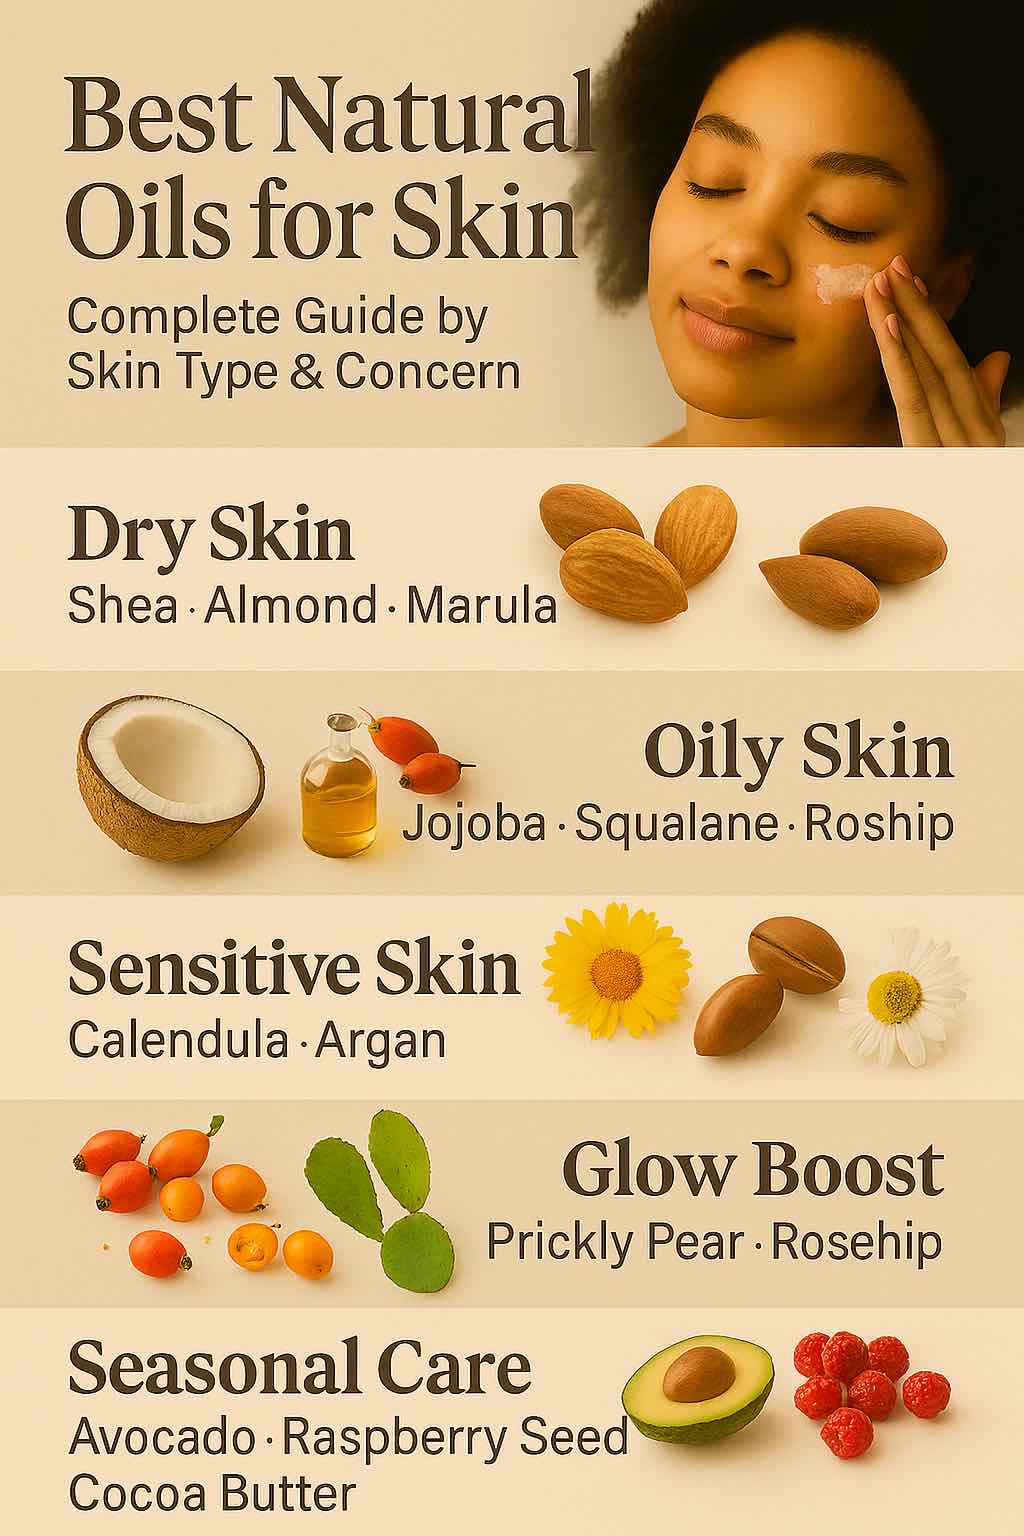
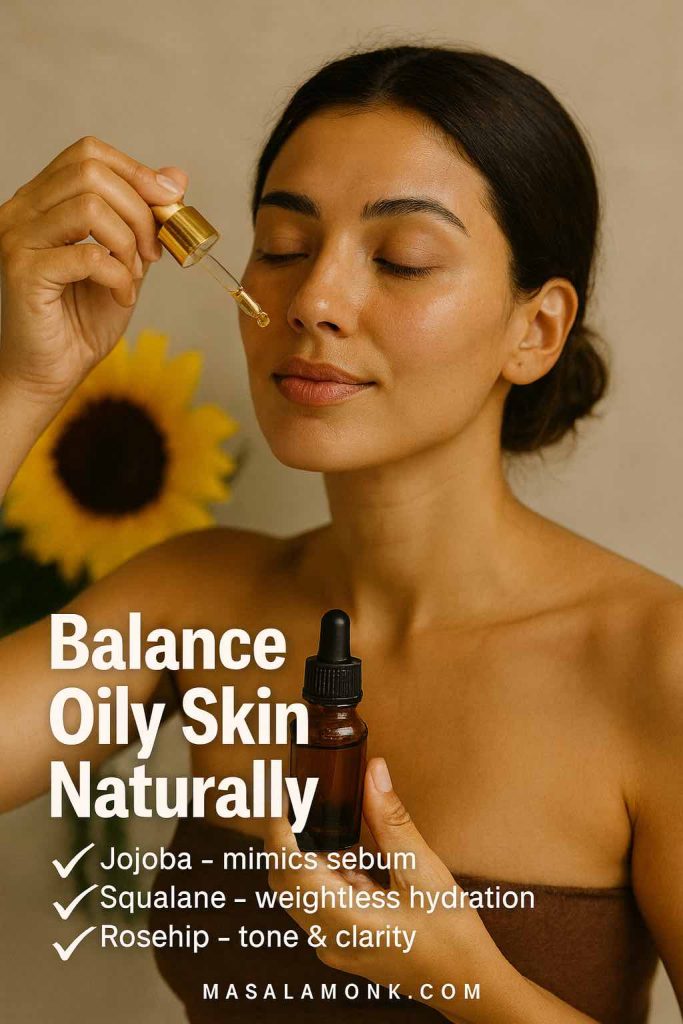
A gentler alternative for faces: If you like the idea of oils but break out easily, consider lighter options such as squalane, hemp seed, rosehip, meadowfoam, or jojoba oil. They’re typically less occlusive and friendlier to congestion-prone skin.
For a broader look at face-friendly oils like squalane, jojoba, and shea butter, check out our guide on Natural Oils for Skin.
Coconut oil & milia (those tiny white bumps)
Because coconut oil is heavy and occlusive, some folks develop milia—small, firm white bumps—particularly around the eyes or on cheeks. Milia form when keratin gets trapped beneath the surface. If you’re prone to them, avoid using coconut oil on the face, especially near the eye area. Healthline also warns coconut oil can worsen breakouts or cause congestion.
Overnight face application: proceed thoughtfully
Leaving coconut oil on the face overnight divides the crowd. Dry skin types often wake up glowing. Others wake to new blemishes. If you experiment, try it no more than two or three nights a week, layer over a hydrating serum (not under), and change pillowcases frequently. If a few weeks bring new congestion, switch to a lighter oil or keep coconut oil strictly for the body.
Possible irritation or allergy
Coconut oil is generally well tolerated, but any ingredient can irritate someone. If you notice itching, redness, or a rash, stop and reassess. Always do a 24–48-hour patch test on the inner arm before introducing a new step to sensitive skin.
Not ideal for fungal-prone areas
If you struggle with malassezia-related issues (like certain dandruff or fungal acne patterns), rich saturated oils—including coconut oil—may be unhelpful. In those cases, stick with products and routines your dermatologist recommends, and keep coconut oil for hands, feet, and body zones that tolerate it well.
Myths & Misconceptions About Coconut Oil
“Coconut oil darkens skin.”
Coconut oil itself does not cause skin darkening. The confusion comes from people applying it as a tanning oil. Because it doesn’t block UV rays, it can make you tan faster when you’re in the sun. The oil isn’t darkening the skin chemically—the sun is. Used indoors or at night, coconut oil won’t change your skin tone.
“Coconut oil can remove tan overnight.”
A tan is your skin’s natural response to UV exposure. No topical product can erase it overnight. Coconut oil can help soothe tight, sun-exposed skin and may support a more even look as your skin naturally renews, but fading takes time and gentle exfoliation—not miracle quick fixes.
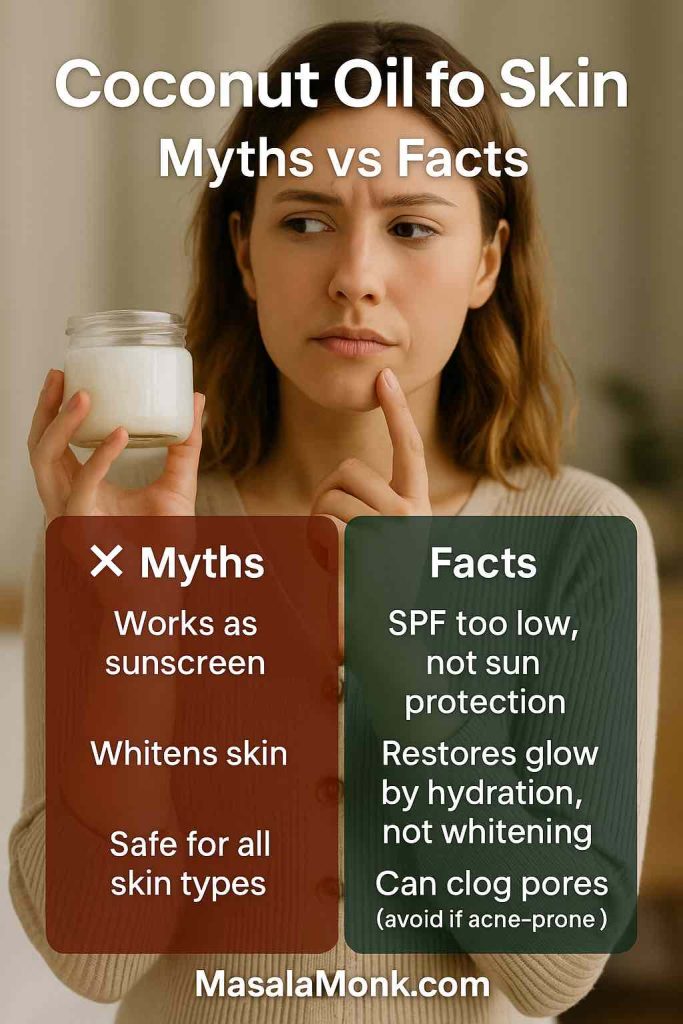
“Coconut oil is a natural sunscreen.”
This one needs a hard stop. Coconut oil’s sun protection factor is very low—nowhere near the SPF 30+ dermatologists recommend. It may feel comforting after sun, but it is not a sunscreen. If you’re heading outdoors, apply a proper broad-spectrum SPF 30+ and reapply as directed. Consider coconut oil a post-sun comfort step, not a protective one.
“Coconut oil whitens skin.”
There’s no credible evidence that coconut oil whitens skin. What it can do is help restore radiance by improving moisture levels and texture. Healthy, hydrated skin reflects light better, which can look brighter—but that’s different from lightening your natural skin color.
“Natural equals safe for everyone.”
“Natural” is a lovely word, but it’s not a blanket guarantee. Poison ivy is natural, too! Coconut oil can be wonderful for some people and troublesome for others. The smartest approach is always personal: patch test, introduce slowly, and adjust if your skin speaks up.
Everyday Ways to Use Coconut Oil (That Actually Make Sense)
Coconut oil as a body moisturizer
This is where coconut oil shines. After a warm shower, pat your skin so it’s still a little damp, then massage a small amount of oil from shoulders to toes. It’s especially good in dry seasons or in air-conditioned rooms that parch skin. If you prefer a lotion feel, blend a pea-sized scoop of coconut oil with a pump of your fragrance-free moisturizer in your palm, then apply.
Coconut oil for shaving
For many, coconut oil makes an excellent shaving companion. It cushions the razor, reduces drag, and leaves skin softer afterward. Rinse the blade frequently so it doesn’t gunk up, and be careful—oily shower floors can be slippery.
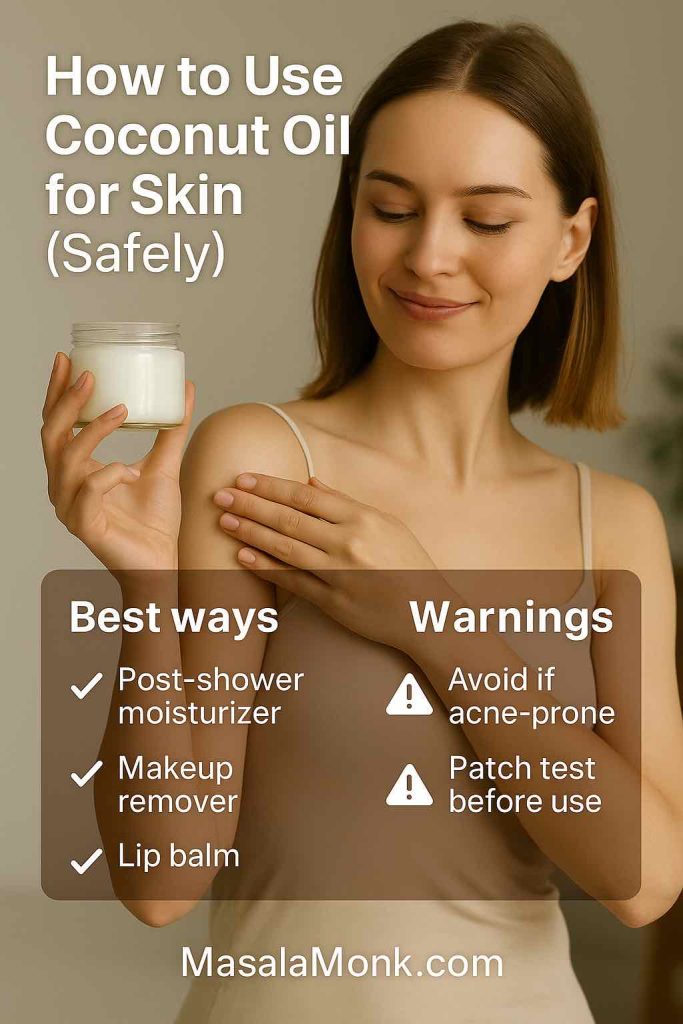
Coconut oil as makeup remover (double-cleanse is a must)
Coconut oil melts mascara, eyeliner, long-wear lipstick—no drama. Still, always, always follow with a gentle water-based cleanser. That second cleanse whisks away oil residues so pores don’t sit under a waxy film. If you’re acne-prone, consider using coconut oil to remove eye makeup only, and choose a lighter cleansing oil or micellar water for the rest of your face.
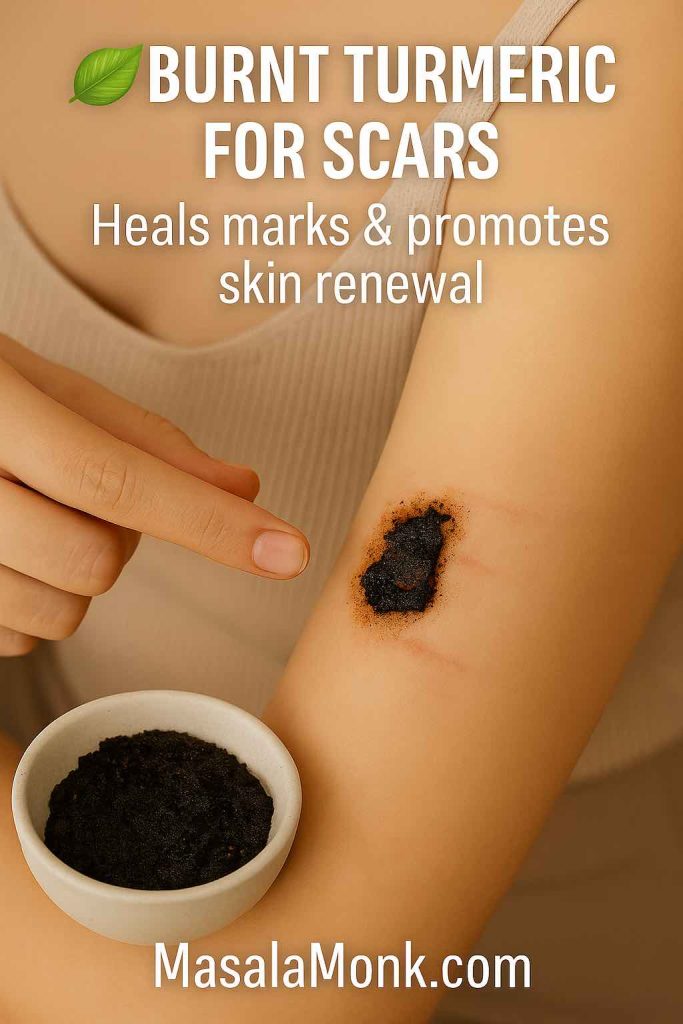
Coconut oil for scars, stretch marks & wrinkles
Massage with coconut oil may improve skin texture and elasticity, helping scars and stretch marks look a bit softer over time. It won’t erase deeper marks or change pigment, but better moisture can make them less noticeable. For wrinkles, think of coconut oil as a comfort step—great for dehydration lines, not a substitute for actives like retinoids or peptides.
Coconut oil for babies & newborn skin
Many families love coconut oil for baby massage, cradle cap softening, and occasional diaper-area dryness. Keep it simple: choose pure, virgin coconut oil, patch test on the ankle or forearm, and use a thin layer. If you’re addressing diaper rash, pair gentle cleansing, frequent diaper changes, and a pediatrician-approved barrier cream. Coconut oil can comfort, but it’s not a medical treatment. PubMed research confirms neonatal skin absorbs oils applied during massage, though use should always be cautious and pediatrician-approved.
Coconut oil for hands, feet & elbows
Hands that meet soap all day? Massage a tiny amount into damp hands at night, focusing on cuticles. For heels and elbows, layer coconut oil under a thicker plain cream and cover with cotton socks or a light wrap for an overnight softening boost.
Choosing The Best Coconut Oil For Your Skin
Virgin vs. refined: what’s the difference?
Virgin (unrefined) coconut oil is extracted from fresh coconut meat, typically without high heat or harsh chemicals. It tends to retain more of its natural aroma and antioxidants. Refined coconut oil is more processed, often milder in scent and sometimes lighter on the skin. For most people, virgin is the go-to for skincare; if you dislike the scent or want something subtler, a quality refined option can still serve you well on the body.
Fractionated coconut oil (MCT oil)
If the classic texture feels too heavy, try fractionated coconut oil. It remains liquid at room temperature, absorbs faster, and feels less greasy. It’s fantastic for massage, for diluting essential oils, and for anyone who wants a coconut-derived oil that’s less waxy.
What to look for on the label
- Short ingredient list—ideally just “cocos nucifera (coconut) oil.”
- Cold-pressed or expeller-pressed for minimal processing.
- Organic if you prefer fewer agricultural chemicals.
- Fresh scent—coconut should smell faintly sweet, never rancid or plasticky.
When selecting an oil, virgin and unrefined are typically preferred. An ACS Omega review highlights coconut oil’s antioxidant compounds, which are better preserved in virgin extraction compared to refined methods.
Storing your oil
Coconut oil solidifies in cool rooms and liquefies in warm ones—totally normal. Keep it in a clean, dry place, away from direct sunlight. Use clean fingers or a spatula to avoid introducing water or bacteria.
Smart Comparisons: When To Reach For Coconut Oil—and When Not To
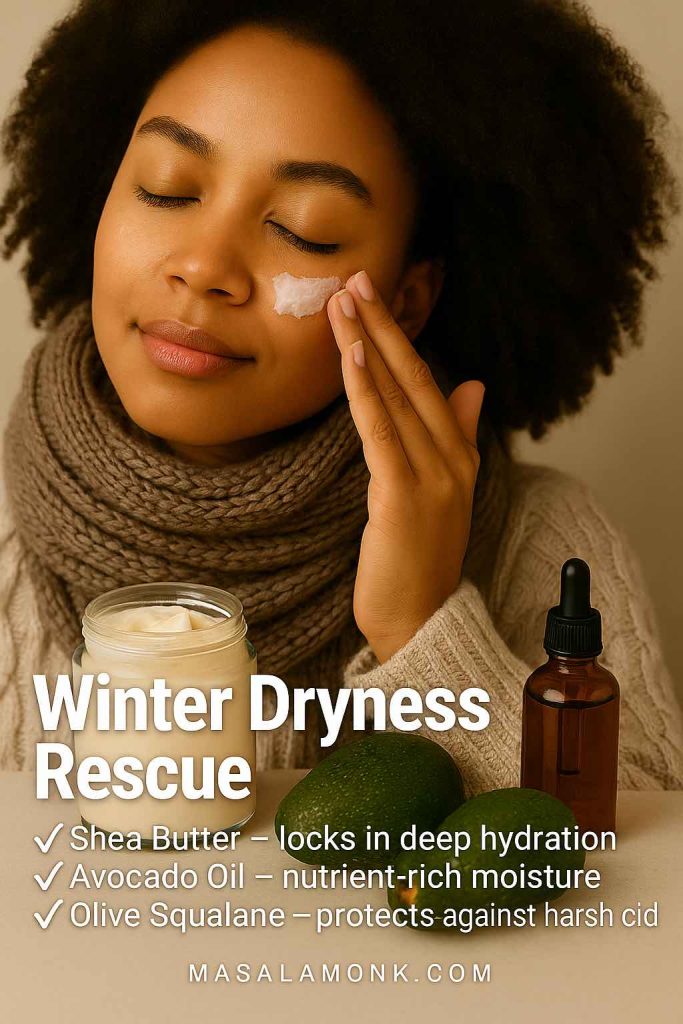
Coconut oil vs. shea butter
Both are rich and comforting. Shea butter is often better for very sensitive or compromised skin because it’s emollient without being as pore-clogging as coconut oil can be. Still, many love blending the two: a shea base with a touch of coconut oil delivers slip and structure.
Coconut oil vs. jojoba or squalane (for faces)
If you want a face-friendly oil, jojoba (technically a wax) and squalane are classic picks. They tend to sit lighter, absorb more cleanly, and play nicer under makeup. Coconut oil for face can be okay on very dry, non-acne-prone skin—but if you’re on the fence, start with jojoba or squalane.
Suggested read: Jojoba Oil for Skin.
Coconut oil vs. olive or almond oil
Olive oil is beloved in Mediterranean skin rituals—nourishing and antioxidant-rich, but it can feel heavier and smell more savory. Sweet almond oil is silky and gentle; many prefer it for body massage or for pregnancy belly care. Coconut oil’s unique appeal is that cushiony, familiar texture and its nostalgic scent.
To know more other natural oils, check out our guide on Natural Oils for Skin.
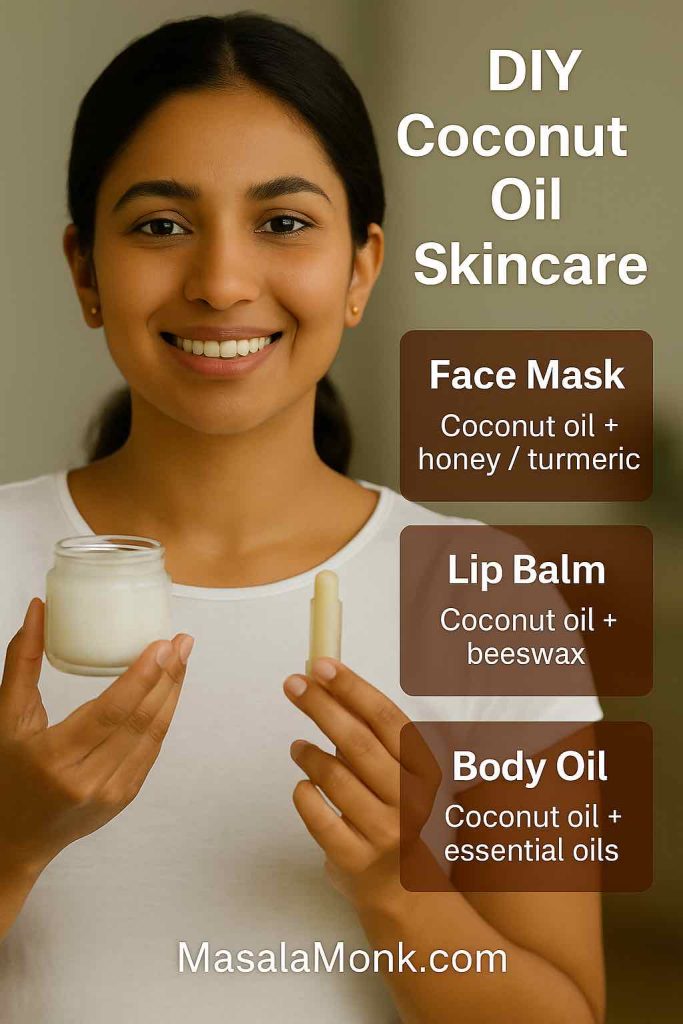
DIY Coconut Oil Skincare (Simple, Sensible Recipes)
As always, patch test. Keep tools clean. Make small batches and store cool and dry.
1) Quick coconut body scrub
- 2 tbsp coconut oil
- 3 tbsp fine sugar (or fine coffee grounds for extra smoothness)
- Optional: a drop of vanilla or lavender
Mix into a paste. In the shower, massage on damp skin in gentle circles. Rinse, pat dry, and enjoy gleam without tightness.
2) Whipped coconut body butter
- 2 tbsp coconut oil
- 1 tbsp shea butter
- 1 tsp fractionated coconut oil (for slip)
Warm in a double boiler just until melted, then whip as it cools to a soft cream. Spoon into a clean jar. Use sparingly after bathing.
Also Read: Clove for Skin Health: Nourish, Soothe, and Rejuvenate with Nature’s Beauty Secret
3) Coconut cleansing balm (double-cleanse essential)
- 1 tbsp coconut oil
- 1 tbsp jojoba or squalane
- A pea-sized amount of unscented balm base (optional for texture)
Melt together, cool to a thick balm. Massage over dry face to melt sunscreen and makeup, then follow with a gentle water-based cleanser.
4) After-sun comfort balm
- 1 tbsp coconut oil
- 1 tbsp aloe gel
- 2–3 drops lavender (optional, if you tolerate essential oils)
Blend lightly; smooth a small amount over clean skin after sun exposure. Remember: this is comfort, not protection.
5) Pre-shampoo scalp oil (for flakes and dryness)
- 2 tbsp coconut oil
- 5 drops tea tree or neem oil (optional; skip if sensitive)
Massage into the scalp for 5–10 minutes. Leave on 20–30 minutes. Shampoo thoroughly. Repeat weekly as needed.
Sample Routines: Make Coconut Oil Work For You
A. Dry body, normal face
- Morning: Shower → apply coconut oil on damp body skin; lightweight moisturizer on face; SPF 30+.
- Evening: Quick rinse → a small amount of coconut oil on elbows, knees, heels. Face gets a regular night cream or squalane if needed.
B. Oily/acne-prone face, dry hands/feet
- Morning: Gel cleanser → oil-free face moisturizer → SPF 30+. No coconut oil on face.
- Evening: Double-cleanse if you wear makeup; use coconut oil only for hand/cuticle care and for heels (sock overnight).
C. Sensitive or eczema-prone body (patch test first)
- Shower: Lukewarm water; non-foaming, fragrance-free wash.
- After: On damp skin, thin layer of coconut oil; lock with a plain cream on top if you like (the “oil-then-cream sandwich”).
- Flare days: Stick to what your doctor recommends; keep coconut oil as a comfort step only if it consistently helps you.
D. Scalp dryness or mild scaling
- Weekly: Pre-shampoo coconut oil for scalp 20–30 minutes before washing; rinse well; keep conditioner off scalp if it weighs you down.
Do Read: Vitamin D Deficiency and Skin Health.
When To Skip Coconut Oil
- Active acne or frequent clogged pores, especially on the face.
- Milia-prone areas like eyelids and under-eyes.
- Fungal-prone skin issues where your dermatologist has advised avoiding heavy saturated oils.
- Fresh procedures/wounds your clinician told you to keep product-free.
- Any irritation after patch testing—redness, itching, or stinging means it’s not a match.
Skipping it on the face but loving it on the body is completely valid. Your routine should serve you, not the other way around.
Also Read:Liquid Gold: 5 Benefits of Sesame Oil for Skin Care.
The Bottom Line
Coconut oil for skin is beloved for a reason. It’s simple, comforting, and remarkably effective at locking in moisture, making rough skin feel soft again, and adding a healthy sheen from shoulders to heels. It can support dryness, eczema comfort, and scalp flaking, and it’s a joy to use in massage or as a makeup remover—provided you double-cleanse.
At the same time, it’s not a universal hero. Its high comedogenic rating means many faces—especially oily or acne-prone—do better with lighter oils. It won’t whiten skin, it can’t remove tan overnight, and it certainly isn’t a sunscreen. Think of coconut oil as a bodycare staple and a targeted comfort step, not a cure-all.
In the end, the best routine is the one your skin actually enjoys. If coconut oil leaves you soft and glowing, keep it close. If it clogs or irritates, let it go without guilt. Skincare is personal, and there are plenty of beautiful paths to healthy, happy skin.
FAQs on Coconut Oil for Skin
1. Does coconut oil darken skin?
Coconut oil itself does not chemically darken skin. The confusion comes when people apply it as a tanning oil and then spend time in the sun. Because it does not block UV rays, it can accelerate tanning. Used indoors, at night, or in sun-safe routines, coconut oil will not change your natural skin tone. The AAD explains tanning comes from UV exposure, not the oil itself.
2. Can coconut oil remove tan overnight?
No natural product, including coconut oil, can erase a tan overnight. A tan is your skin’s natural defense against UV exposure. Coconut oil may soothe dryness or tightness after sun, but fading tan requires time, gentle exfoliation, and daily sun protection.
3. Is it safe to apply coconut oil on the body overnight?
For many people, yes — coconut oil overnight can leave skin soft and deeply moisturized. But there are downsides:
- Pore clogging on acne-prone areas such as the back or chest.
- Fabric stains from oil residue on sheets and clothes.
- Greasy buildup in hot, humid weather.
If you want to try it, start with drier zones like elbows, knees, or heels, and use old cotton sleepwear to avoid staining.
4. What are the disadvantages of coconut oil on the face?
Coconut oil is highly comedogenic (rating ~4/5), so it can clog pores and trigger breakouts in oily or acne-prone skin. Some people also experience milia (tiny white bumps), irritation, or allergic reactions. Patch test first, limit overnight use, and consider lighter oils such as jojoba or squalane if your skin reacts poorly.
5. How often should I use coconut oil on my face?
If your skin tolerates it, use coconut oil sparingly — one to three times per week — rather than daily. Very dry or mature skin types may benefit more often, while oily or acne-prone skin may do better keeping coconut oil for the body only.
6. Can coconut oil be used for sunburn?
Yes — coconut oil can comfort mild sunburn by locking in moisture and reducing tightness. Apply only after the initial heat has settled (usually 24–48 hours after exposure). For the acute phase, cool compresses and aloe vera are more soothing. And remember: coconut oil is not a sunscreen and should not be relied on for UV protection. As Healthline stresses it should not replace aloe vera or SPF.
7. Can coconut oil help with eczema, psoriasis, or dermatitis?
Coconut oil may ease dryness, scaling, and itch by sealing in hydration. Many people with eczema, dermatitis, or psoriasis find it calming on patches or as a pre-shampoo scalp treatment. Still, these conditions are complex, and what helps one person may irritate another. Always patch test and consult your dermatologist for long-term care.
As supported by the National Eczema Association and WebMD, though results vary and patch testing is essential.
8. Can coconut oil help with scars, stretch marks, or wrinkles?
Coconut oil can improve skin softness and elasticity, which may make scars and stretch marks look less noticeable over time. It can also plump fine lines by sealing in moisture. However, it won’t erase scars, remove pigmentation, or replace active anti-aging ingredients like retinoids.
9. Can coconut oil be used for newborn skin or diaper rash?
Virgin coconut oil is often used for gentle baby massage, cradle cap, or mild dryness. Some parents also apply it to soothe diaper-area skin, but it should not replace medical barrier creams if a rash is present. Always patch test on a small area of baby’s skin and consult your pediatrician if irritation develops.
10. What about coconut oil soap and body wash?
Coconut-derived soaps and body washes are widely available. Pure coconut oil soaps can be quite cleansing but sometimes too stripping for very dry or sensitive skin. Blended versions (with butters, oils, or moisturizers added) are usually gentler. If you like the idea of coconut oil in your cleansing routine, start with a moisturizing coconut body wash rather than pure soap.
References
To make this guide on coconut oil for skin both informative and reliable, we relied on peer-reviewed studies, dermatology associations, and trusted health publishers. Below are some key references you can explore for more details:
- PubMed Clinical Trial on Virgin Coconut Oil for Skin Hydration – A study published in PubMed compared virgin coconut oil with mineral oil, showing improvements in hydration and barrier function. This supports using coconut oil as a natural moisturizer.
- National Institutes of Health Review on Coconut Oil – A review on NIH/PMC explains how coconut oil reduces transepidermal water loss, aids wound healing, and strengthens the skin barrier.
- Coconut Oil for Eczema Relief – A randomized controlled trial in PubMed found coconut oil improved symptoms in eczema patients. The National Eczema Association also recommends it for soothing irritated skin.
- Coconut Oil and Psoriasis Care – The Cleveland Clinic highlights coconut oil’s role in softening scalp psoriasis plaques. WebMD also lists it as a natural option for easing scaling and dryness.
- Coconut Oil and Sun Protection Myths – According to the American Academy of Dermatology, coconut oil cannot replace sunscreen. Healthline further confirms that its SPF is too low for reliable UV protection, though it may soothe skin after sun exposure.
- Comedogenic Rating of Coconut Oil – Curology and Verywell Health both point out that coconut oil scores high on the comedogenic scale, making it risky for acne-prone or oily skin.
- Coconut Oil for Babies and Newborn Skin – PubMed research shows coconut oil used in neonatal massage helps protect and hydrate newborn skin, though it should be applied under pediatric guidance.
- Virgin vs. Refined Coconut Oil – An ACS Omega review explains how virgin coconut oil retains more antioxidants compared to refined varieties, making it a better choice for skin care.