Hello, food enthusiasts! 🍽️ Today, we have a special treat for you. We’re diving into the world of kitchen tools with the help of a renowned chef, Jean-Pierre. He’s the host of the popular YouTube channel, “Chef Jean-Pierre’s,” where he shares his culinary wisdom and expertise. In one of his recent videos, he takes us on a journey through his kitchen, explaining the importance and uses of various kitchen tools. 🥄🔪
In the video titled “The Most Important Tools in the Kitchen,” Chef Jean-Pierre introduces us to a plethora of kitchen tools, explaining their uses and why they’re essential for any home cook or professional chef. He emphasizes the importance of having the right tools in the kitchen, as they can significantly enhance the cooking experience and the final result. 🍲
One of the first tools he introduces is the Microplane grater, which he uses for grating everything from citrus to chocolate. He also showcases different types of strainers, explaining their uses based on the texture you want to achieve in your dish. According to Chef Jean-Pierre, the texture is a conductor of flavor, making these tools crucial for any kitchen. 🍋🍫
Next, he introduces us to various types of knives, from chef’s knives to boning knives, and explains their specific uses. He also emphasizes the importance of having a good pair of kitchen scissors that can be taken apart for cleaning. 🍗✂️
When it comes to measuring tools, Chef Jean-Pierre recommends having both wet and dry measuring cups, as well as a good kitchen scale for recipes that require precise measurements. He also suggests having a variety of spatulas, preferably made of silicone, as they can withstand high heat. 🥣⚖️
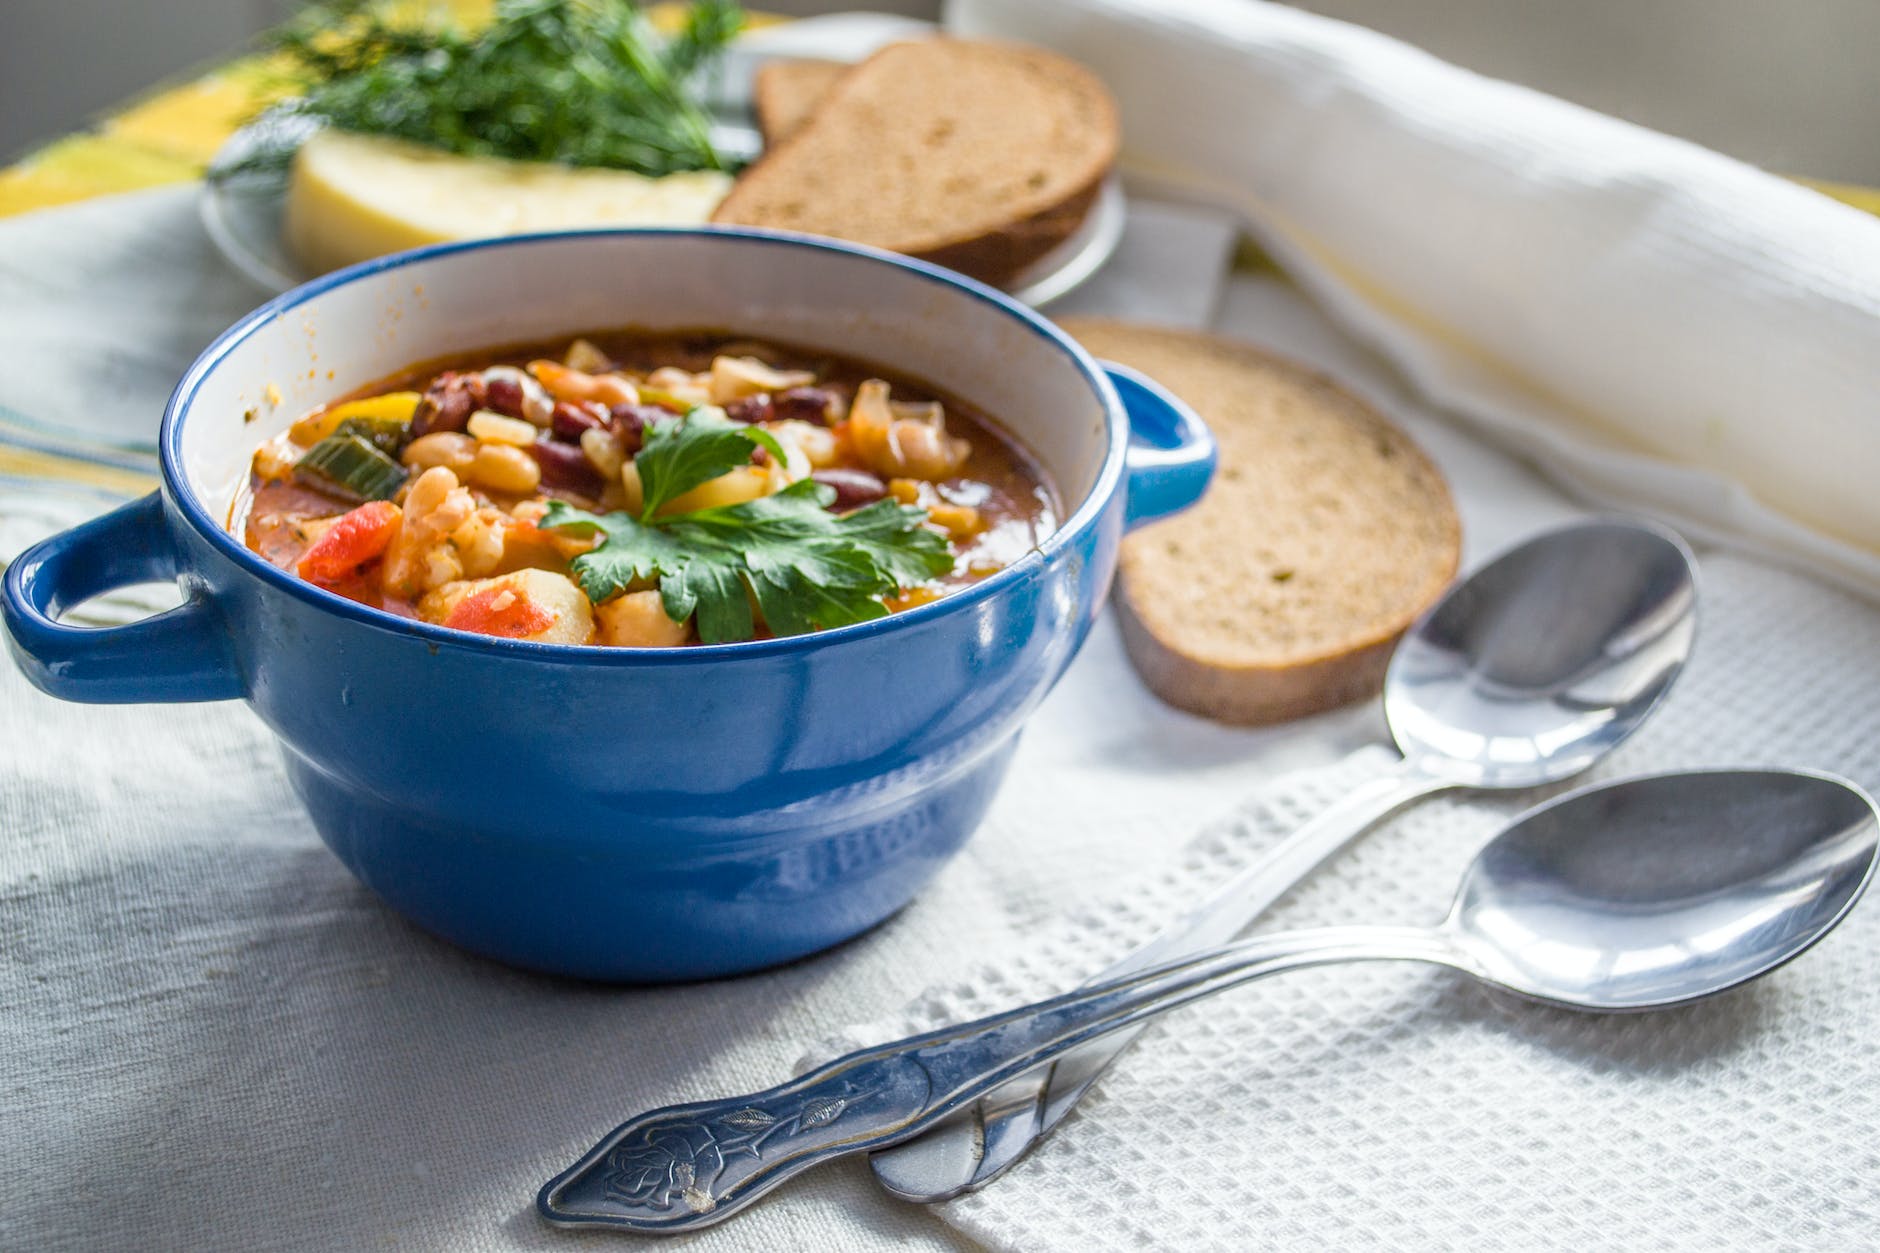
Moving on to cookware, Chef Jean-Pierre recommends investing in high-quality stainless steel pots and pans. He explains that while they might be more expensive, they will last a lifetime if taken care of properly. He also showcases his collection of cast iron pans, which he says are great for cooking steaks and chickens. 🍳🥩
Lastly, he emphasizes the importance of having a good thermometer in the kitchen. From instant-read thermometers to oven thermometers, these tools are essential for ensuring your food is cooked to the perfect temperature. 🌡️
Let’s explore these tools in reverse chronological order, saving the most essential tool for the end:
Thermometers 🌡️
Chef Jean-Pierre emphasizes the importance of having a good thermometer in the kitchen. From instant-read thermometers to oven thermometers, these tools are essential for ensuring your food is cooked to the perfect temperature.
Cookware 🍳
Moving on to cookware, Chef Jean-Pierre recommends investing in high-quality stainless steel pots and pans. He explains that while they might be more expensive, they will last a lifetime if taken care of properly. He also showcases his collection of cast iron pans, which he says are great for cooking steaks and chickens.
Measuring Tools 🥣⚖️
When it comes to measuring tools, Chef Jean-Pierre recommends having both wet and dry measuring cups, as well as a good kitchen scale for recipes that require precise measurements.
Spatulas 🥄
He also suggests having a variety of spatulas, preferably made of silicone, as they can withstand high heat.
Knives 🔪
Next, he introduces us to various types of knives, from chef’s knives to boning knives, and explains their specific uses. He also emphasizes the importance of having a good pair of kitchen scissors that can be taken apart for cleaning.
Strainers and Graters 🍋🍫
One of the first tools he introduces is the microplane grater, which he uses for grating everything from citrus to chocolate. He also showcases different types of strainers, explaining their uses based on the texture you want to achieve in your dish.
Chef Jean-Pierre’s video is a treasure trove of information for both novice and experienced cooks. His passion for cooking and his expertise in the kitchen shine through in every minute of the video. If you’re looking to enhance your cooking skills or just want to learn more about kitchen tools, this video is a must-watch. 🌟
As we wrap up, we’d like to extend our gratitude to Chef Jean-Pierre for sharing his knowledge and passion with us. We highly recommend checking out his YouTube channel and specifically the video “The Most Important Tools in the Kitchen” for a comprehensive visual guide.
We invite you to join our community on Facebook, EatLo, where we share our love for food, cooking, and everything in between. Let’s continue learning and growing together in our culinary journey. 🍽️👩🍳👨🍳