
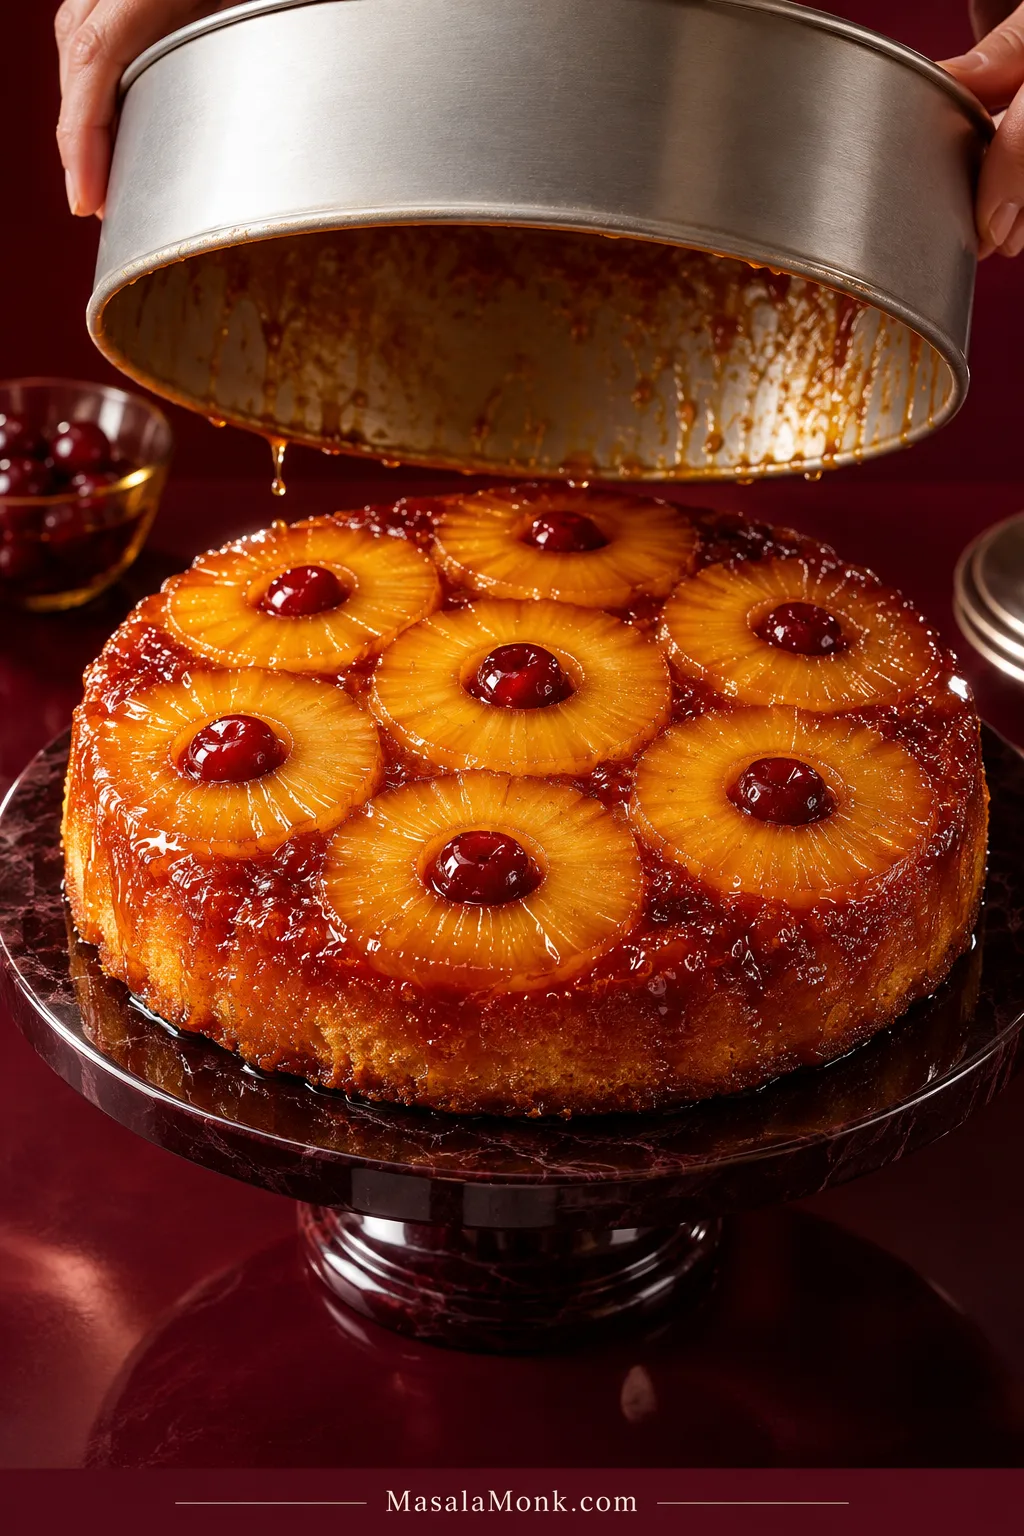
Pineapple upside down cake spends almost its entire bake hiding the best part. Turn it out, lift the pan, and the brown sugar, pineapple rings and cherries suddenly become the top.
The flip looks like the risky part. Usually, the bigger trouble started much earlier—with fruit that went into the pan too wet or a center that came out of the oven too soon.
This pineapple upside down cake from scratch keeps both in check. The rings are drained and blotted, some of their juice flavors the butter cake, and the cake stays in the oven until the center is properly set. The reward is sticky brown-sugar pineapple over a soft, moist crumb with enough structure to hold a clean slice.
Pineapple Upside Down Cake in One Minute
For a 9-inch pineapple upside down cake, arrange well-blotted pineapple rings over butter and brown sugar, then cover them with thick cake batter. Bake at 350°F / 180°C until the center is set, then invert while the caramel is still warm.
Use pineapple packed in juice and reserve ¼ cup / 60 ml for the batter.
Pineapple Upside Down Cake Recipe
A butter cake flavored with pineapple juice, topped with tender fruit and sticky brown-sugar caramel that settles into the crumb underneath.
Oven: 350°F / 180°C conventional, or 160°C fan
Pan: 9-inch / 23 cm light-colored metal cake pan, at least 2 inches / 5 cm deep
Equipment
- 9-inch / 23 cm light-colored metal cake pan, at least 2 inches / 5 cm deep
- Rimmed baking sheet
- Electric hand mixer or stand mixer
- Kitchen scale, especially useful for the flour
- Thin blunt knife or small offset spatula
- Heat-safe serving platter wider than the pan
- Two dry oven mitts
Ingredients
For the Topping
- 4 tablespoons / 57 g unsalted butter, melted, plus a little extra for the sides of the pan
- ½ cup packed / 110 g light brown sugar
- 1 (20 oz / 567 g) can pineapple rings in 100% juice, drained, juice reserved and rings blotted dry
- 6–7 maraschino cherries, blotted dry, optional
For the Cake
- 1½ cups / 180 g all-purpose flour
- 1 teaspoon / 4 g baking powder
- ¼ teaspoon / 1 g baking soda
- ½ teaspoon / 3 g fine salt
- ½ cup / 113 g unsalted butter, softened but still cool
- ¾ cup / 150 g granulated sugar
- 2 large eggs, room temperature
- ⅓ cup / 80 g full-fat sour cream, room temperature
- ¼ cup / 60 ml reserved pineapple juice, room temperature
- 1 teaspoon / 5 ml vanilla extract
Instructions
Prepare the Pan & Fruit
- Heat the oven and prepare the pan. Set the oven to 350°F / 180°C conventional, or 160°C fan, with a rack in the center. Lightly butter the sides of the pan and set it on a rimmed baking sheet.
- Drain and blot the pineapple. Drain the rings over a measuring jug and save at least ¼ cup / 60 ml juice. Lay the fruit on clean towels or paper towels and blot both sides. Do the same with the cherries. Don’t squeeze the pineapple. Blotting is enough.
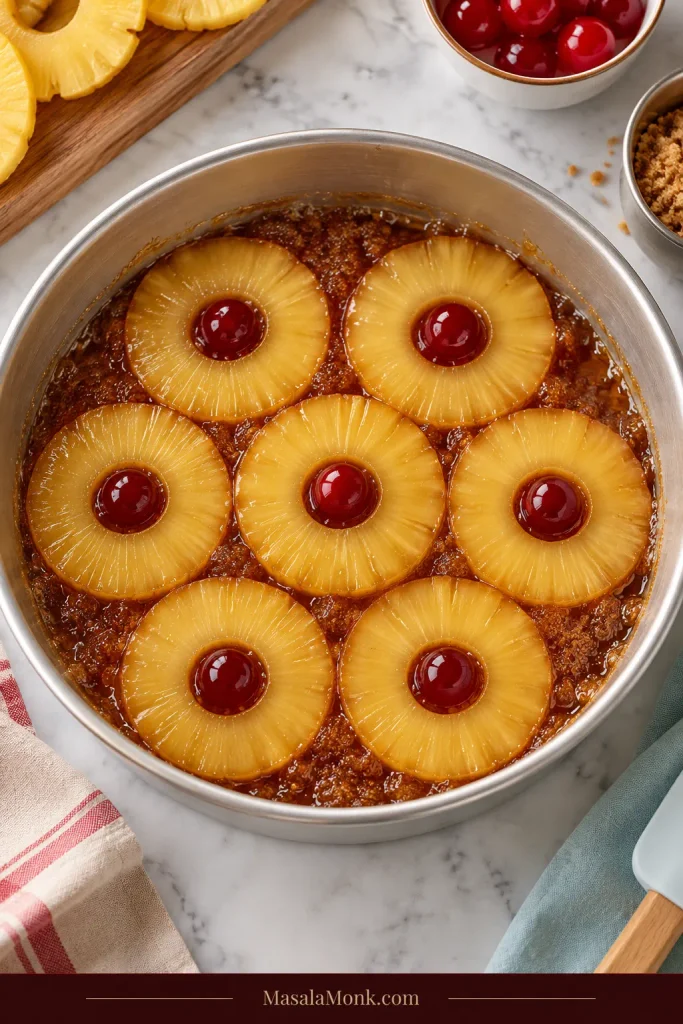
- Make the topping. Spread the 57 g melted butter over the bottom of the pan. Sprinkle over the 110 g brown sugar and break up any firm lumps. Leave the butter and sugar as layers.
- Arrange the fruit. Put one pineapple ring in the center and fit about six more around it. You’ll usually have a few rings left; save them, or use a couple of half-rings around the edge if your pan has room. Add cherries if using.
Mix & Add the Batter
- Mix the dry ingredients. Whisk the flour, baking powder, baking soda and salt together.
- Cream the butter and sugar. Beat the softened butter and granulated sugar until lighter in color and fluffy, usually about 2–4 minutes. Scrape down the bowl once or twice.
- Add the eggs. Beat them in one at a time, letting the first mix in before adding the second.
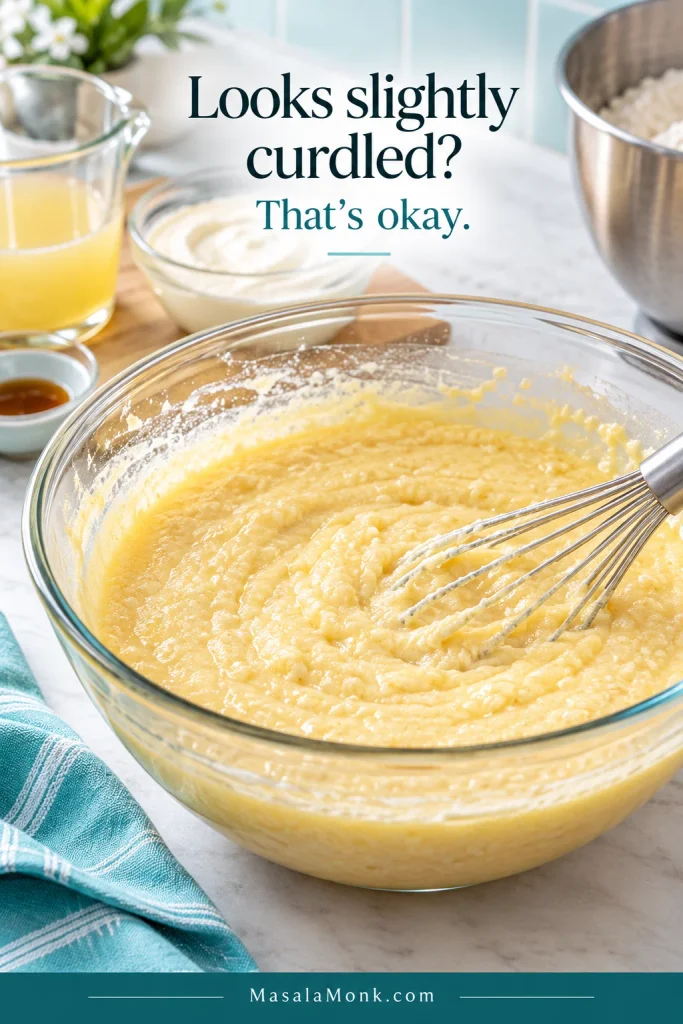
- Add the sour cream and juice. Mix in the sour cream, pineapple juice and vanilla until combined. The mixture may look slightly uneven or curdled at this stage; that’s fine. There’s no need to keep beating it smooth.
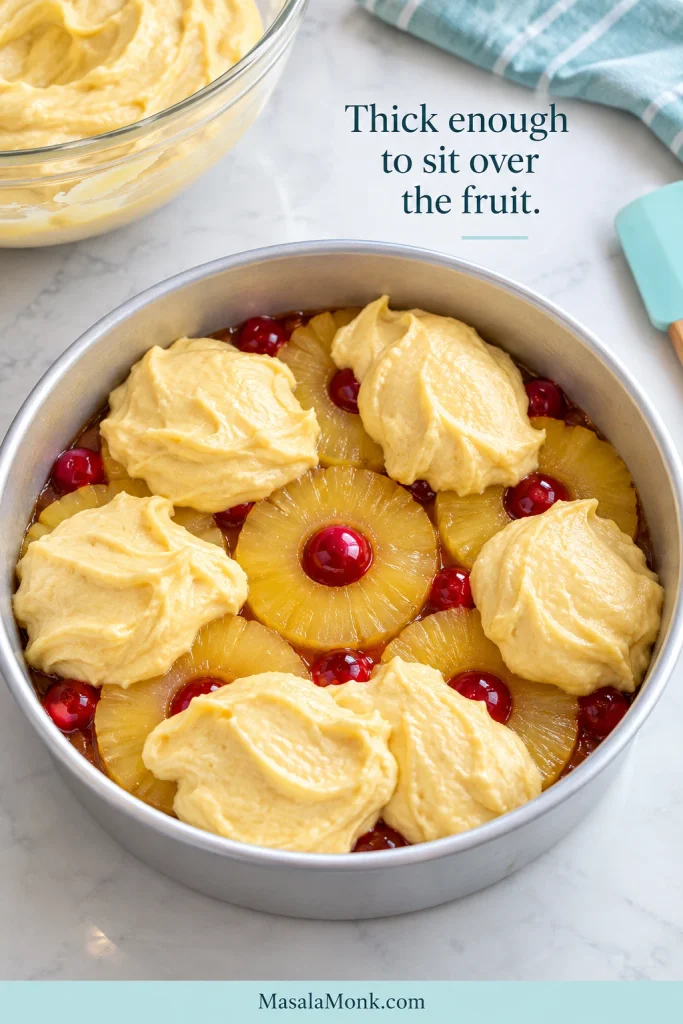
- Add the flour. Mix on low until most of the flour disappears, then finish with a spatula. The batter should feel more like something you place over the pineapple than something you pour over it.
- Cover the fruit. Spoon the batter into several places around the pan, then gently spread the dollops together. This keeps the pineapple where you put it.
Bake, Check & Flip
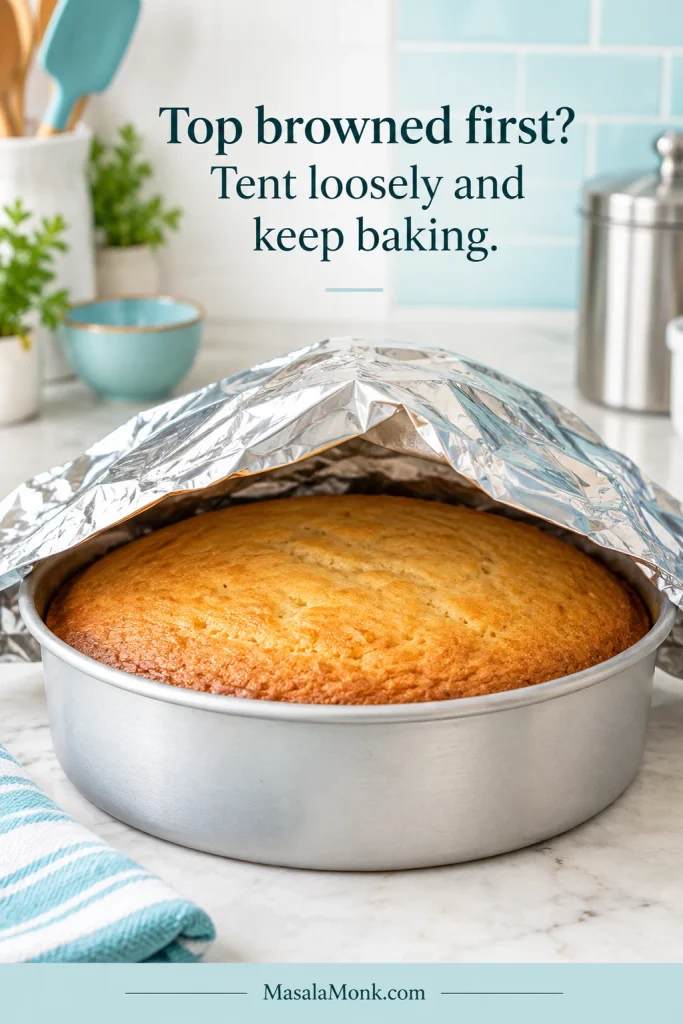
- Bake. Begin checking at about 40 minutes. If the surface is already nicely golden but the center still needs time, lay a loose sheet of foil over the top without pressing it onto the cake.
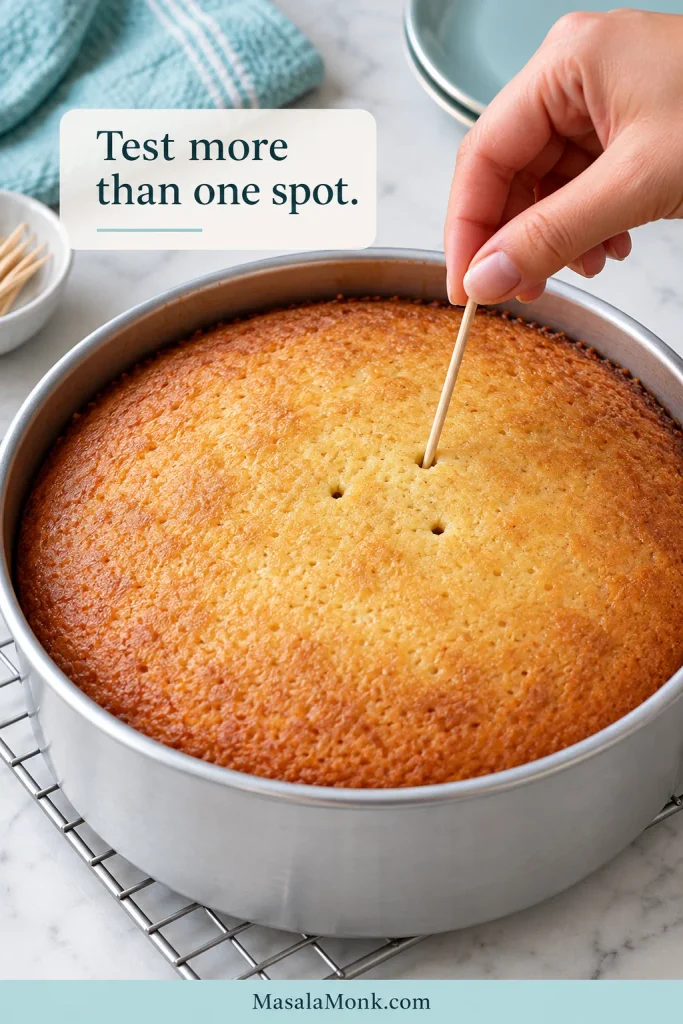
- Check the center. It should look set and spring back lightly when touched. Test two or three spots of cake crumb close to the center, avoiding the pineapple. Damp crumbs are fine; shiny wet batter is not. Keep baking until those wet streaks are gone.
- Rest before flipping. Leave the cake in the pan for about 10 minutes. The caramel around the edge should still look glossy. Do not let the cake cool completely in the pan.
- Flip. Run a thin blunt knife around the edge. Put the serving platter face-down over the pan, hold both firmly together and turn them over in one smooth movement.
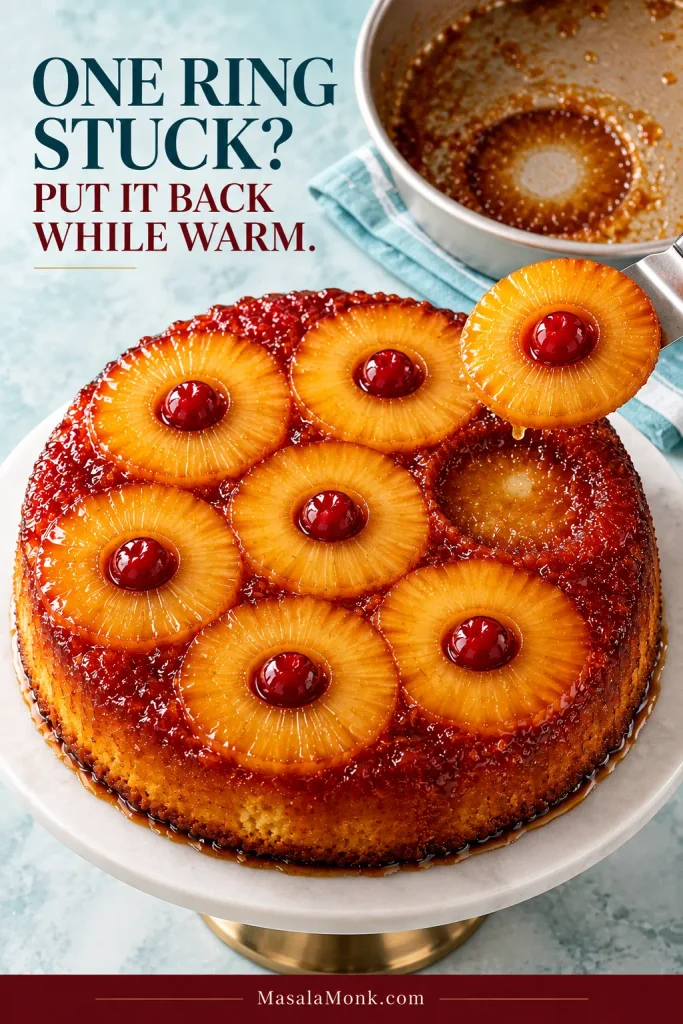
- Lift the pan. Set the platter down, then lift the pan straight upward. If a ring or cherry stays behind, put it back where it came from while the caramel is still warm.
- Cool and slice. You can serve the cake warm, but the slices will be softer. Give it another 20 minutes or more if you want cleaner wedges.
Pineapple Upside Down Cake Guide
These are the moments worth a closer look, from choosing the pineapple to knowing when the cake is ready to turn out.
The Reveal
Pans, Storage & Serving
Choosing the Pineapple
For the classic cake, use canned pineapple rings packed in 100% juice. They’re evenly cut, already tender and predictable in the oven, and you can use the juice left in the can in the batter.
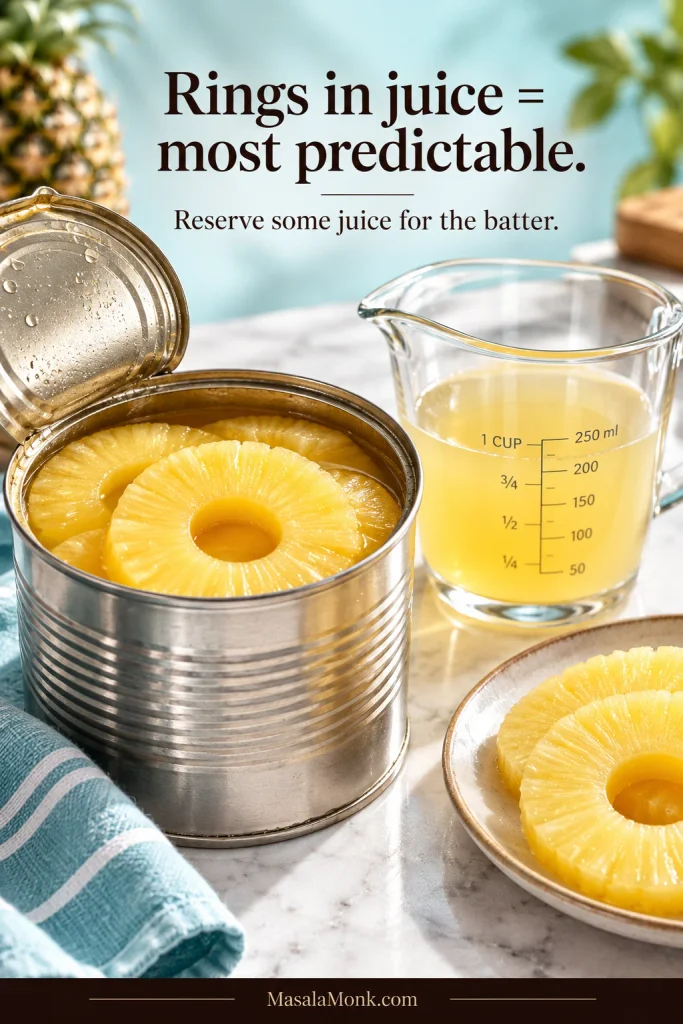
Rings packed in syrup work too, but they make a sweeter cake. Light brown sugar already brings plenty of caramel flavor, so juice-packed fruit lets the pineapple come through more clearly. Maraschino cherries are traditional but optional; leave them out with no other changes.
Fresh pineapple
Fresh pineapple works too. Cut it into ¼-inch / 6 mm slices, core them, then arrange the pieces in a single layer, trimming or halving them as needed to fit without heavy overlap. Blot the pieces before they go into the pan. Because fresh fruit varies in ripeness and juiciness, let the center tell you when the cake is done.
Crushed pineapple
Crushed pineapple changes the moisture distribution and gives a softer, less defined topping. This recipe is built around rings, so it is not a direct swap without adjusting and testing the topping separately.
For a fresh-fruit version, try MasalaMonk’s peach upside down cake.
Moist Cake Starts With Dry Pineapple
Draining the can is only the first step. Pineapple rings can still carry plenty of juice on the surface, and that liquid goes straight into the butter and sugar underneath.
Blot both sides until there are no obvious beads of juice. Don’t try to dry the fruit all the way through. It should still be juicy when you eat it; the surface just shouldn’t be wet when it goes into the pan.
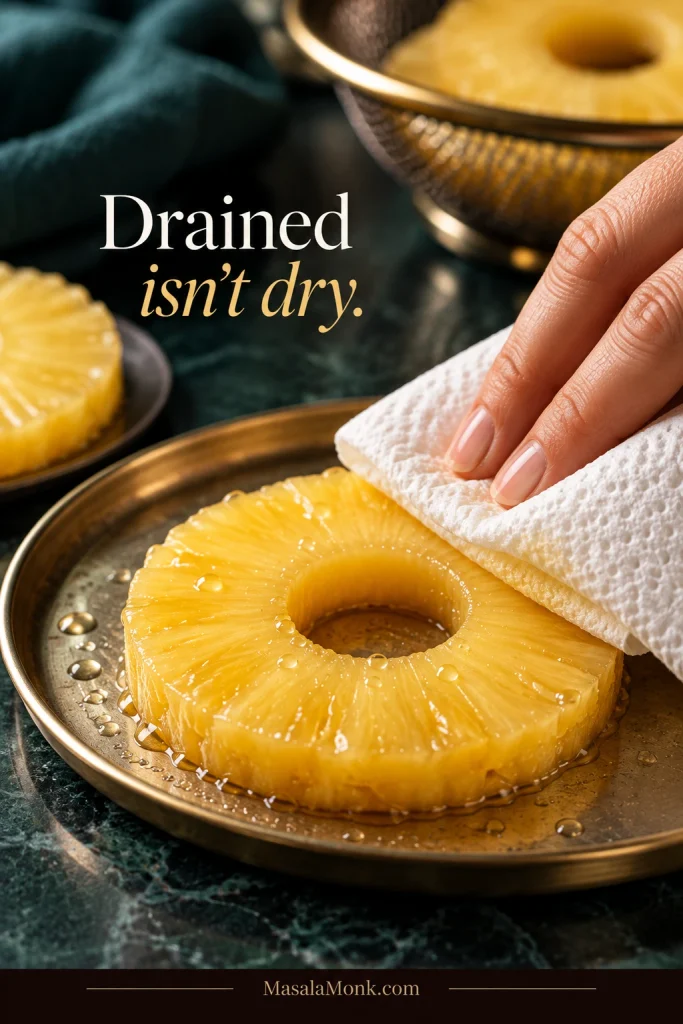
Blot the cherries too. Their syrup is concentrated, and a few wet cherries can add more liquid than you’d think.
The Batter Should Sit Over the Pineapple, Not Run Through It
You’re looking for a thick, spoonable batter. It should fall slowly from the spatula and spread without much effort.
Pineapple juice gives the crumb its fruit flavor, while sour cream helps keep it tender. After they go in, the mixture may look slightly grainy or curdled; if it still looks cohesive, that is fine. Once the flour is added, the finished batter should remain thick enough to sit over the fruit instead of flooding beneath it.
Spoon the batter around the pan in several places, then spread it gently. The rings are less likely to move when the batter is distributed instead of dropped heavily in one spot.
Moist, Soggy or Underbaked?
A thin moist seam under the pineapple is normal; a broad gummy band or glossy loose center is not.
A properly baked slice should be tender. Directly beneath the pineapple, the crumb will usually look a little darker and feel more saturated than it does farther down.
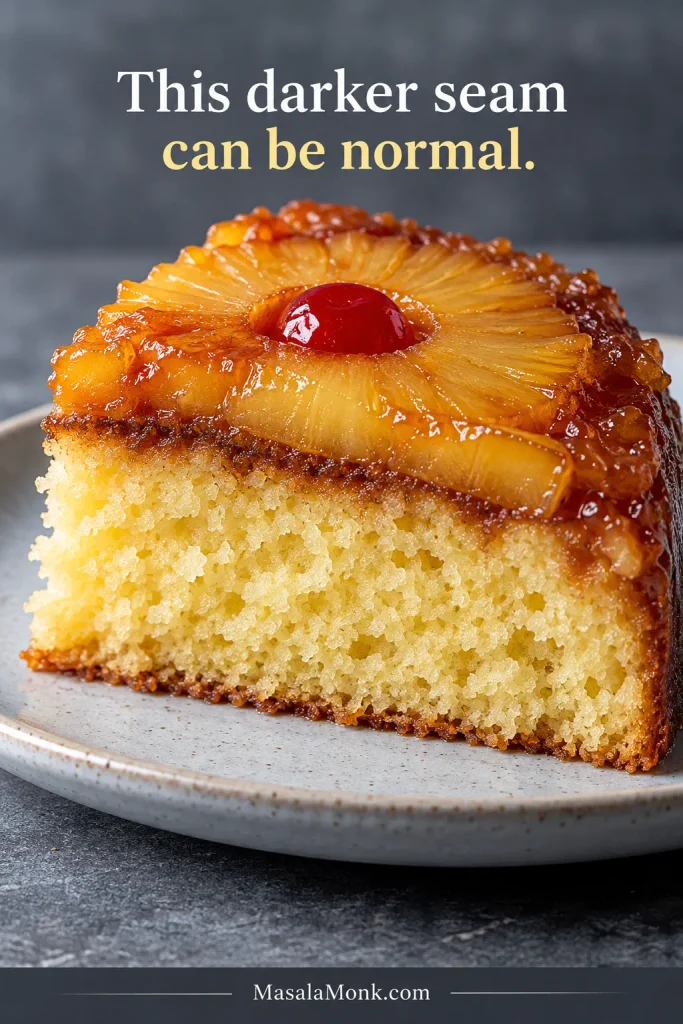
If that damp layer extends much farther into the cake, the fruit may have gone in too wet, the center may have needed longer, or both. If the center is glossy, custardy or actually flows when the cake is cut, it is underbaked. A golden top doesn’t change that.
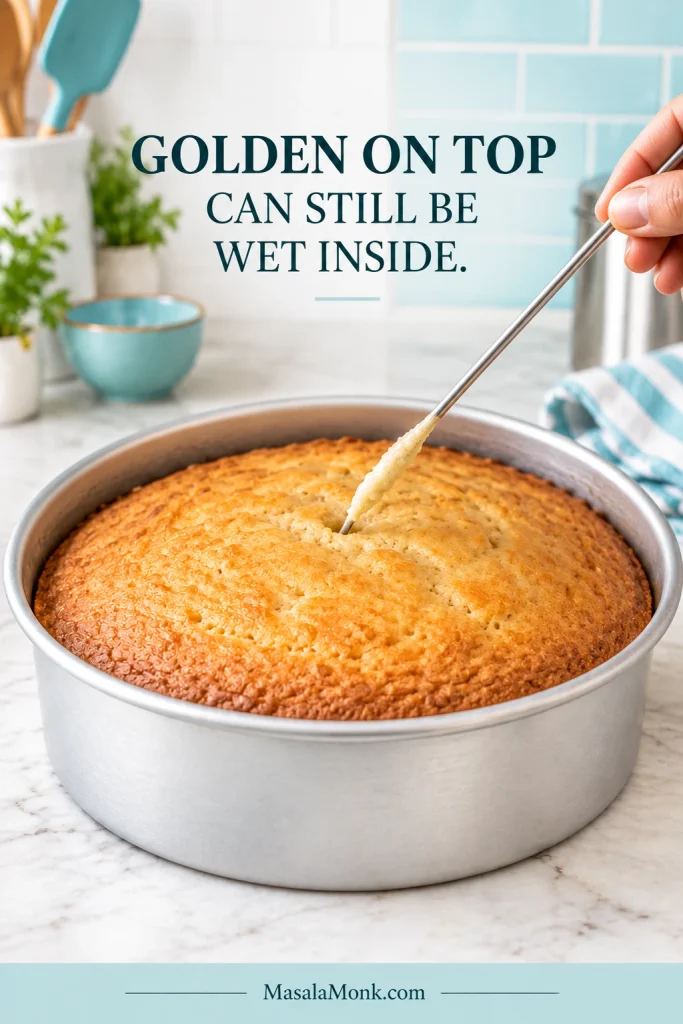
If the top is already golden while the center still needs longer, tent the cake loosely with foil and keep baking. The timer tells you when to start looking; the center tells you when to stop baking.
The Flip: Warm Cake, Warm Caramel, One Steady Turn
Flip the cake while it is warm enough for the caramel to remain glossy but rested long enough for the crumb to hold together.
The flip looks more dramatic than it feels. Get everything in place before the 10-minute rest is up.
- Use a sturdy serving platter wider than the pan.
- A shallow lip helps if a little caramel moves toward the edge.
- Keep two dry oven mitts within reach.
- Clear a place for the hot pan afterward.
After about 10 minutes, the caramel around the edge should still look glossy. That’s your window.
Run a thin knife around the perimeter, place the platter face-down over the pan, and grip both firmly. Turn the pan and platter over together in one smooth motion.
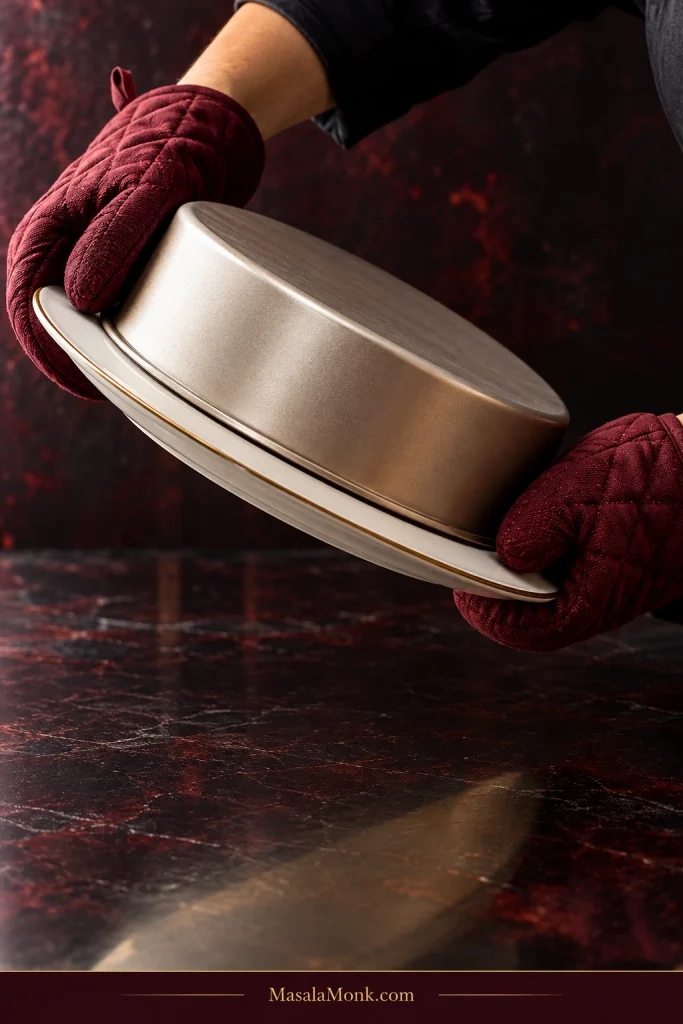
Set the platter down, then lift the pan straight up.
If one ring stays behind, put it back where it came from while the caramel is warm.
After the Flip
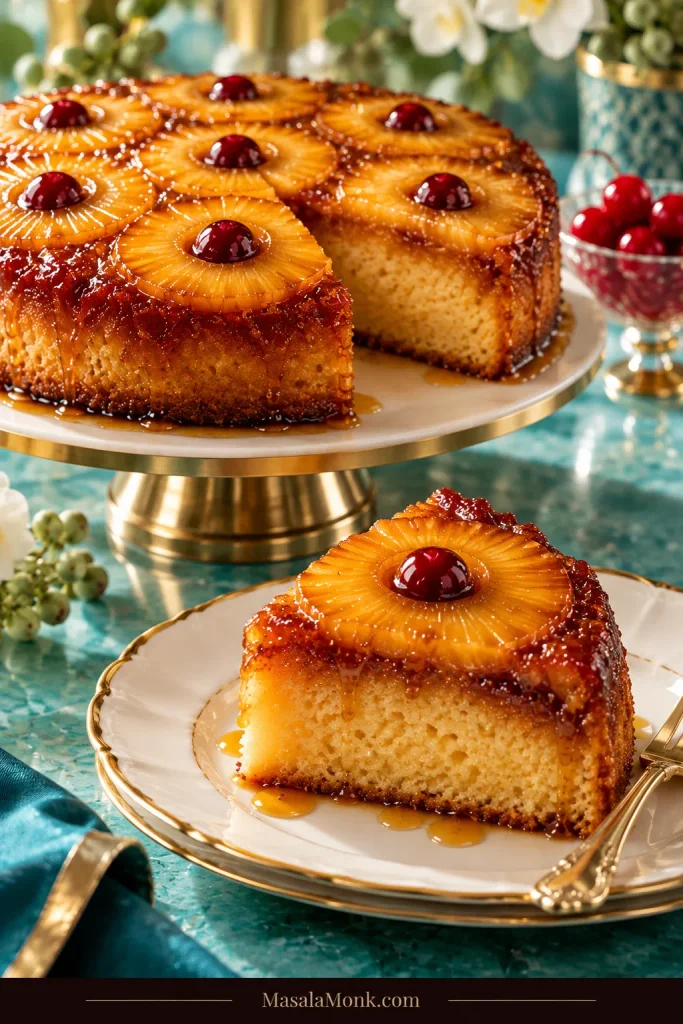
The pineapple should look glossy, almost lacquered, with sticky brown-sugar caramel settled into the spaces between the rings. A little caramel reaching the edge of the platter is fine. It shouldn’t run off like thin syrup.
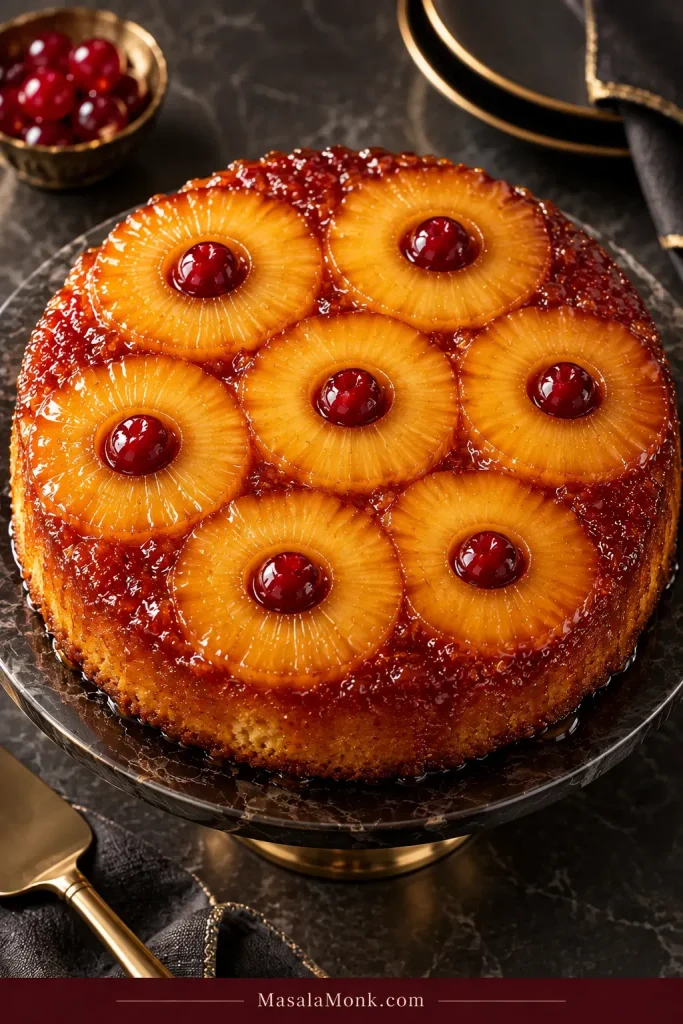
Cut into the cake and you should get sticky pineapple and caramel on top, a thin syrup-soaked seam underneath, then tender butter cake below. The slice should still hold together.
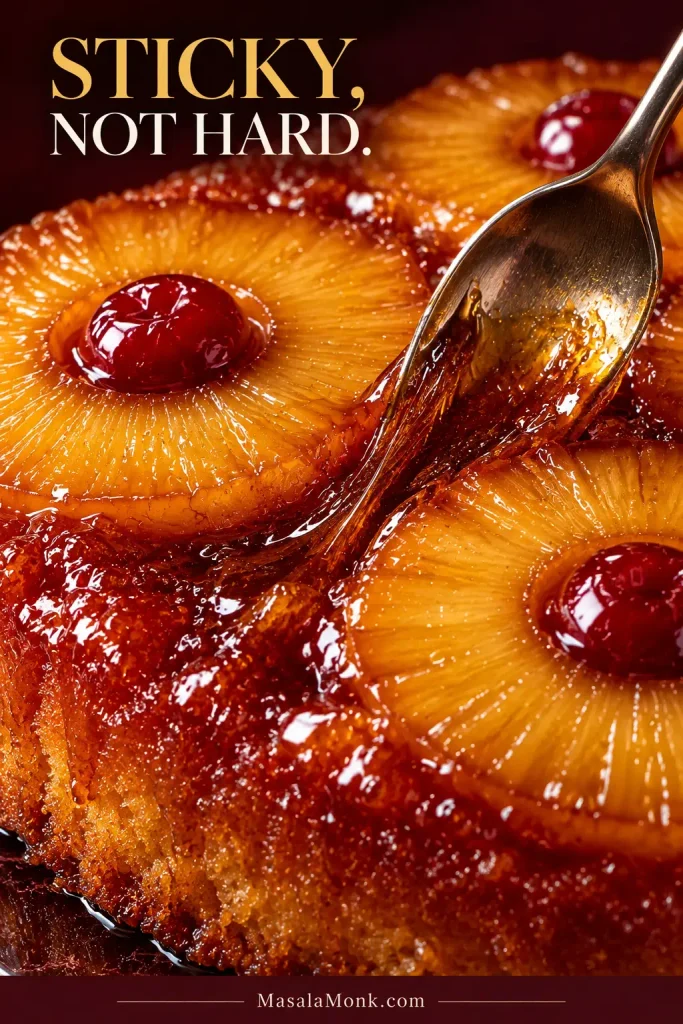
Why Isn’t the Topping Crunchy?
Because it shouldn’t be. Pineapple gives off juice as it bakes, so the butter and brown sugar stay glossy, sticky and soft instead of forming a hard caramel shell.
Pineapple Upside Down Cake Troubleshooting
| Problem | Likely Cause / What to Do Next |
|---|---|
| Top browned before the center was done | Cover loosely with foil and keep baking until the center tests done. |
| Gummy layer under the pineapple | The fruit may have gone in too wet, the cake may need more baking, or both. If you’ve already cut the cake, note the texture for next time; otherwise, keep baking until the center is fully set. |
| Cake won’t release / caramel feels glued to the pan | The caramel may have cooled too far or the edge may still be attached. Loosen the perimeter and turn the cake out while the topping is warm. |
| Caramel is watery | Too much loose fruit liquid reached the topping. Next time, blot the pineapple and cherries more thoroughly before they go into the pan. |
| Cake is dry, dense or rubbery | Check the flour measurement, bake time and mixing after the flour goes in. Weighing the flour helps avoid an overly dry batter. |
| Fruit moved while adding batter | The batter landed too heavily in one place. Distribute it in several dollops, then spread gently. |
The toothpick was clean, but the center was still raw
One tester can hit a baked pocket and miss a wetter one nearby. Check two or three places close to the center, making sure you’re testing cake crumb and not pineapple or caramel.
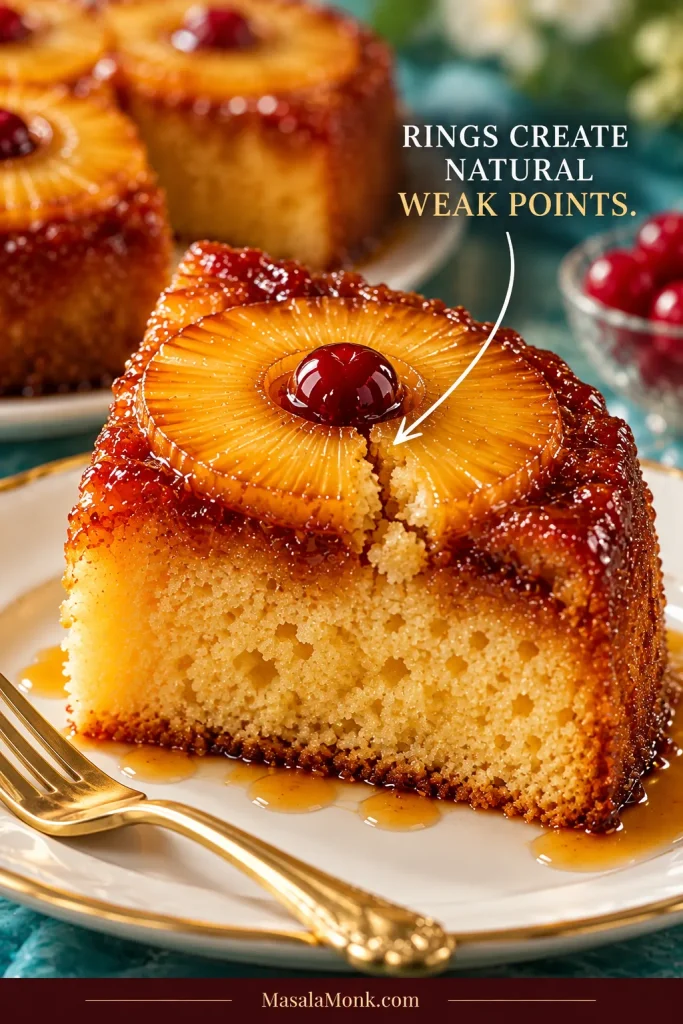
The cake split around a pineapple ring
The fruit creates natural weak points in the crumb. A cake that is still a little underdone, unusually wet or turned over roughly is more likely to split there. Bake the center fully and keep the pan and platter together during the flip.
What Changes With a Different Pan
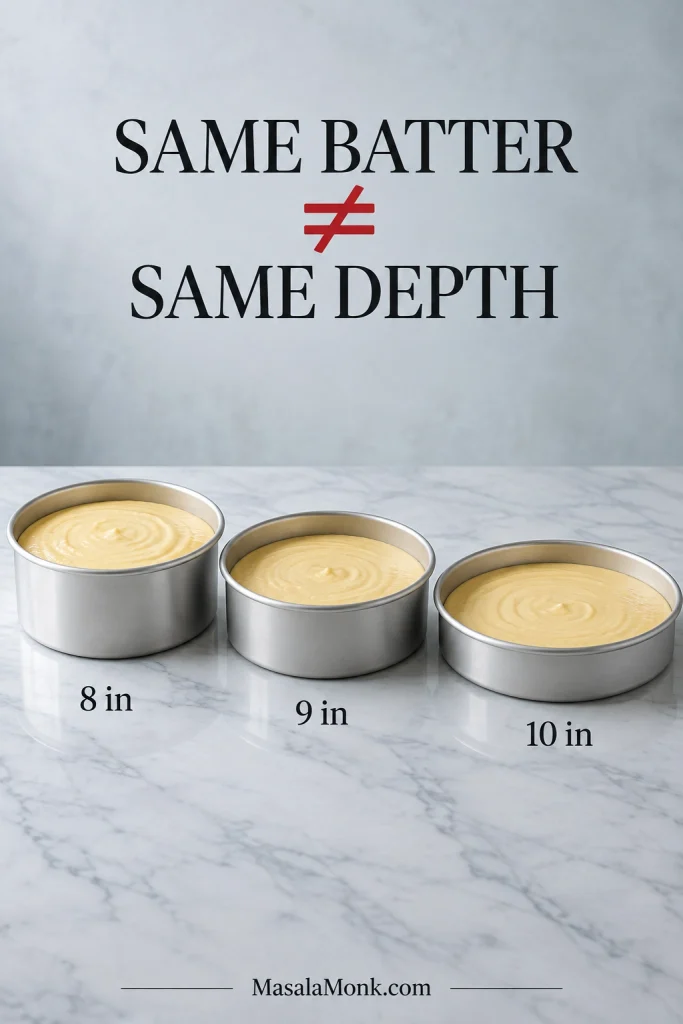
Changing the pan changes more than the shape. Batter depth, browning, headroom and bake time can all shift.
- 9×13-inch pan: has much more surface area than a 9-inch round, so this recipe needs scaling rather than a simple pan swap.
- Cast-iron skillet: retains more heat and can give stronger browning and caramelization. Treat it as a distinct version rather than carrying over this timing unchanged.
- Bundt pan: better treated as its own recipe because the fruit arrangement, batter depth and release all change.
- Springform pan: avoid it here because the butter-sugar layer can leak through the seam.
An 8-inch round makes the batter substantially deeper and can risk overflow unless the pan is deep enough. A 10-inch round gives a shallower cake and will usually finish sooner. Neither should inherit the 9-inch bake time unchanged.
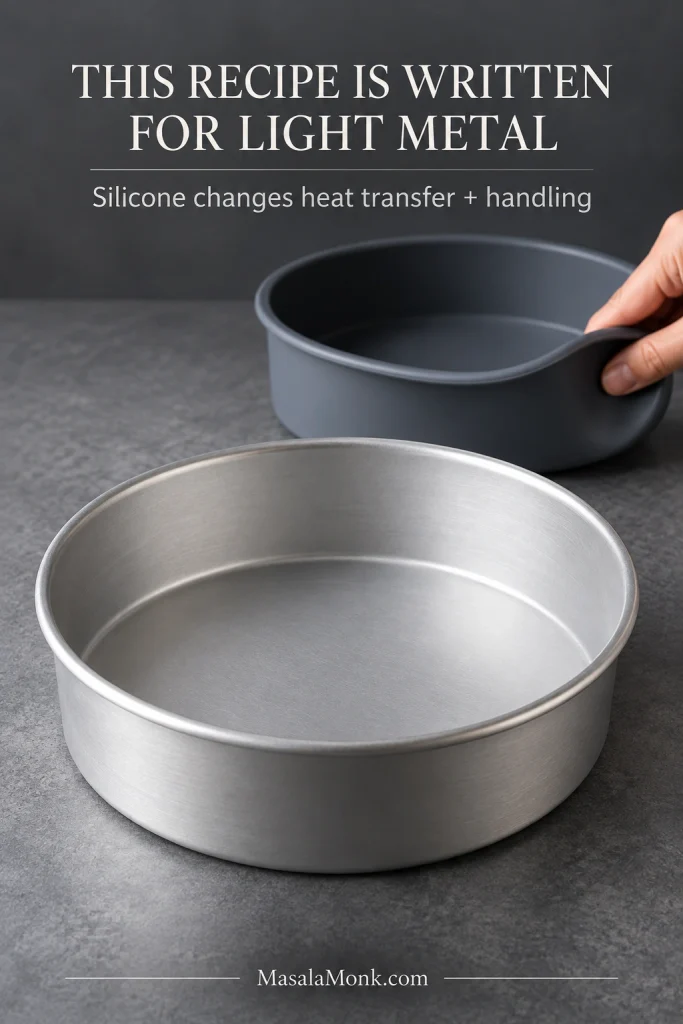
For the most predictable bake, use the light-colored metal pan this recipe is written for. Silicone transfers heat more slowly and flexes during handling; glass, ceramic and dark metal can also change browning and timing.
Can I use cake mix?
A full prepared cake mix may be too much batter for this 9-inch pan. Use a pineapple upside down cake recipe designed for the cake mix and pan size you’re using instead of treating a whole box as a direct replacement for this scratch batter.
Make Ahead, Storage & Transport
Yes, you can bake this cake a day ahead. Flip it as directed, cool it completely on the serving platter, cover it well and refrigerate it. Let it come closer to room temperature before serving.
The cake is at its best on the day it is baked. By the next day, the fruit and caramel will have softened the crumb beneath them further.
Taking it to a birthday or potluck
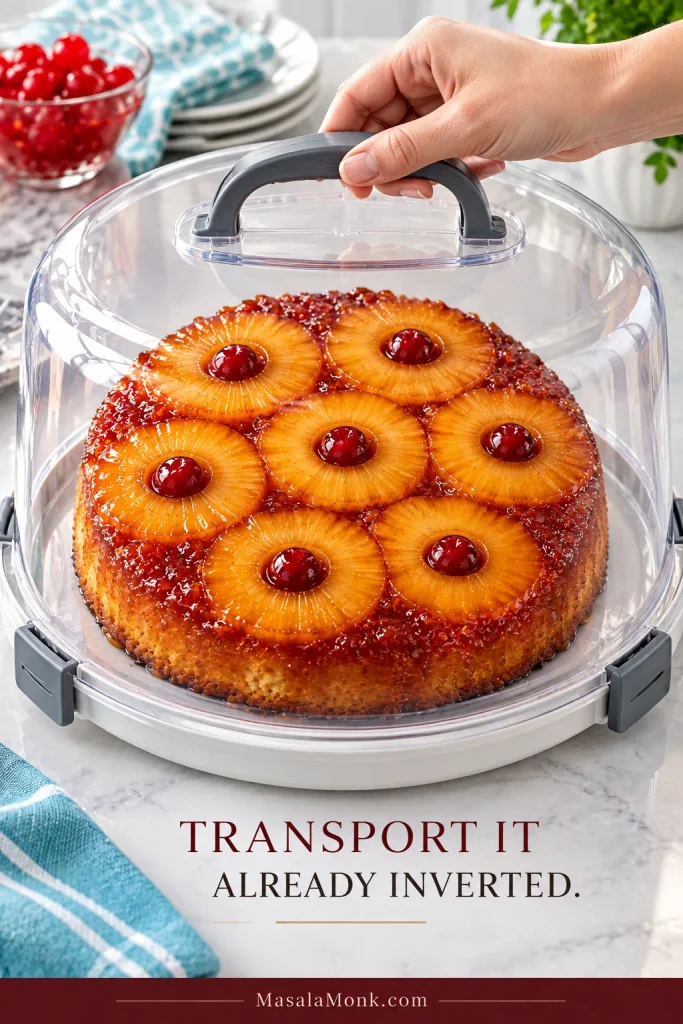
Turn the cake out at home, then cool and transport it on the serving platter. Leaving it in the baking pan for several hours and trying to release it at your destination gives the caramel plenty of time to stick.
Storing leftovers
For longer storage, cool the cake completely, cover it and refrigerate it for about 3–4 days. That matches USDA’s general guidance for refrigerated leftovers. Let refrigerated slices warm slightly at room temperature before serving, or rewarm them gently.
How to Serve It
The fruit decorates the cake for you, so it doesn’t need frosting. It is one of those cakes that looks finished the second the pan comes off.
Serve it at room temperature for the neatest wedges or slightly warm for softer caramel. A spoonful of homemade whipped cream is plenty if you want something cool alongside it. Vanilla ice cream works too, especially with a warm slice.
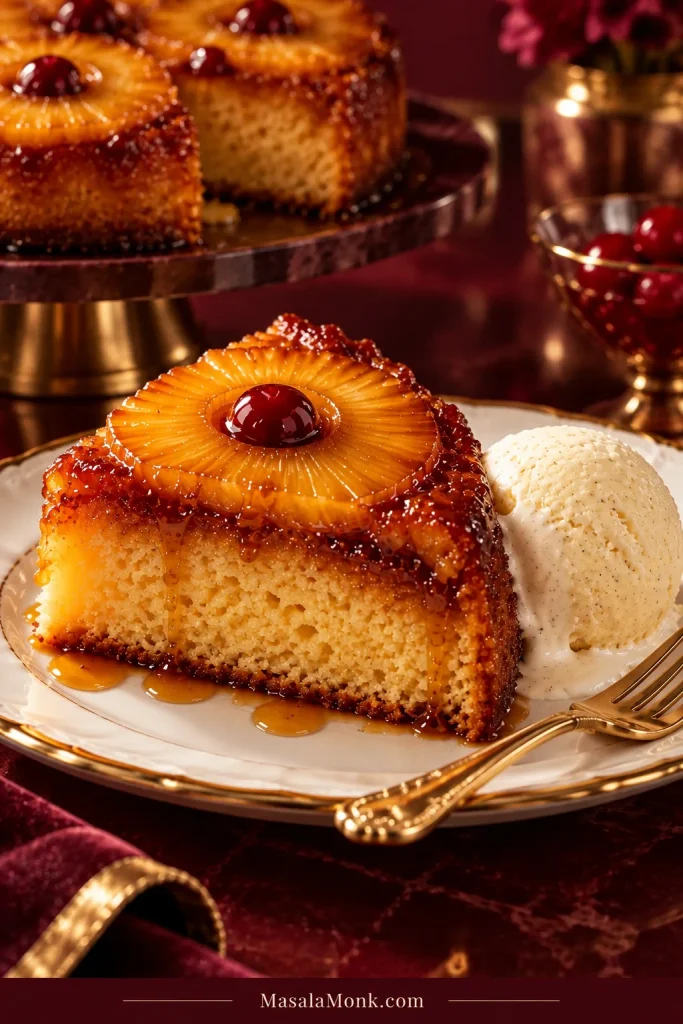
The best part is still lifting the pan. If the pineapple comes up glossy, the cake cuts cleanly into a tender wedge and one cherry needs nudging back into place, that’s still a successful cake.








