Summer is here and cherries are in season. You have got to try this recipe before the cherry season runs out. These healthy fats pancakes are fluffy, delicious and a little addictive. Made with whole grains, milk and egg these come together in just 10 minutes.
I normally make pancakes with different fruits like banana, apple, strawberries but never tried it with cherries. It was only when I had 2 boxes of cherries that I decided to give it a shot. I think this is the first time I have ever made anything with cherries. I just don’t eat it with anything else. Cherries are pretty perfect on their own. Also, cherries are super healthy too. They are loaded with antioxidants which have anti-inflammatory properties. If you have been exercising and have sore muscles have cherries daily. They are excellent to soothe sore muscles.
With all the goodness of cherries, these pancakes are packed with protein too. Just 4 pancakes have approx. 25 grams of protein. So, it’s a win-win situation wherein cherries are helping to heal your sore muscles and you are getting quality protein from these pancakes.
- 1/2 cup Buttermilk: 6 gms Protein
- 1 egg: 6 gms Protein: 3/4th Wholewheat flour: 10-12 gms Protein
- 1/2 cup rolled Oats: 5-6 gms Protein
I served this to my little one yesterday and guess what, he gave me 83,000 crore likes for these pancakes. That’s how he described it when I asked him how was the taste 😁

Main Ingredients you need and their Substitutes
Wholewheat Flour: I have made these pancakes using wholewheat flour. You can make this gluten free by using gluten free flour like millet flour. Buckwheat, barnyard millet, pearl millet or finger millet flour, they all go well.
Rolled Oats: I have also added rolled oats in combination to wholewheat flour. It gives a nice bite and texture to the pancakes. You can skip it if you like and just use wholewheat flour.
Jaggery Powder: Some form of sweetness helps to enhance the taste. Jaggery has its own distinct flavour and I think goes very well with earthy and nutty flavour of wholewheat flour. You can use any unprocessed sugar like palm sugar or coconut sugar.
Buttermilk: Buttermilk is an excellent ingredient in baked goods and pancakes because it helps create light and fluffy foods by encouraging carbon dioxide bubbles to form in the batter. Also, it gives a slightly tangy flavour which I love. If you don’t have buttermilk, you can use yogurt or milk. You can also make these vegan by using Almond milk or Coconut milk.
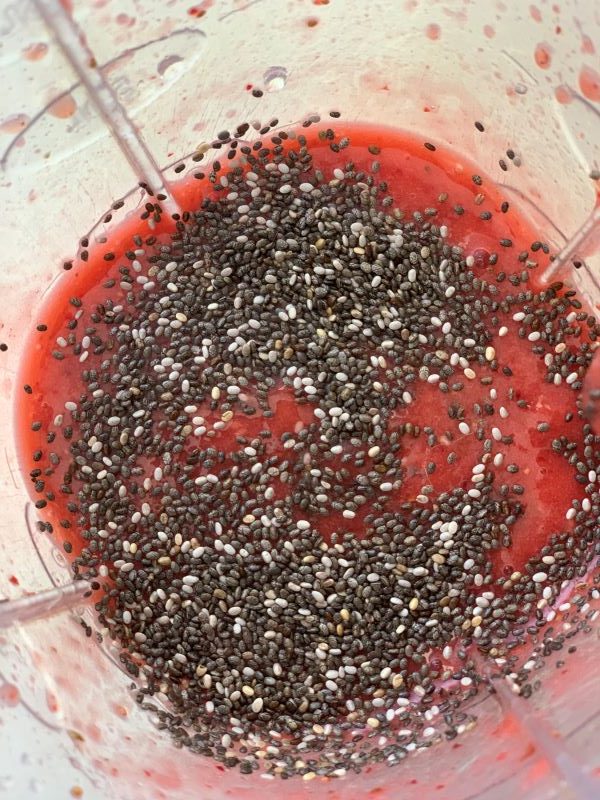
Eggs: Eggs are helpful in adding volume to the pancakes. They also provide moisture along with the oil. However, if you want to make these eggless, just take 1 tbsp of chia seeds or flaxseeds (coarsely ground), mix 4 tbsps of water. Keep aside for 15 minutes. The mixture will get a gel like texture. Use this in place of 1 egg.
Coconut Oil: Coconut oil not only adds flavor but also nutrition. Pure coconut oil is anti-inflammatory and antioxidant in nature, that helps maintain heart health. Thanks to the good fats. You can substitute coconut oil with either butter or olive oil.
Now on to the process of making these cherry pancakes
Recipe: makes 4-5 pancakes
Ingredients:-
- Deseeded Cherries: 10-12
- Buttermilk: 1 cup
- Egg: 1 large
- Wholewheat Flour: 3/4th cup
- Rolled Oats: 1/2 cup
- Pure Vanilla extract: 1/2 tsp
- Jaggery Powder: 2 tsps
- Baking Soda: 1/2 tsp
- Salt: a generous pinch
- Coconut Oil: 1 tbsp
- Oil/Butter for cooking
Instructions
- In a blender, add 8-9 deseeded cherries, buttermilk, egg, pure vanilla extract, coconut oil & jaggery powder. Blend till everything comes together.
- In a bowl, sieve wholewheat flour, baking soda and salt. Mix well. Now add rolled oats and mix again.

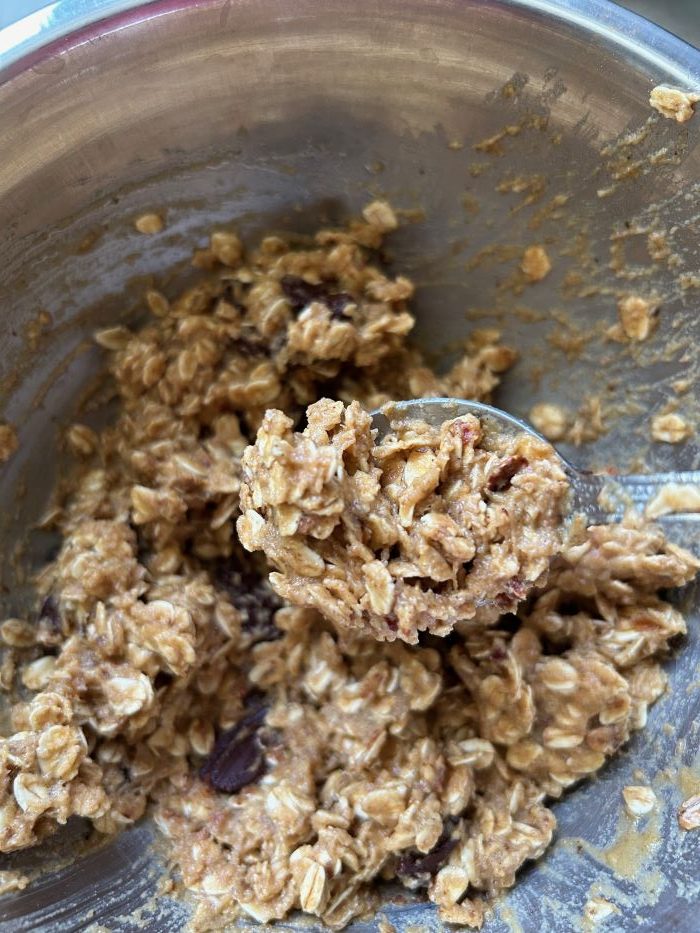
- Gradually add the wet ingredients to dry ingredients and make a thick flowing consistency batter. Gently mix till everything incorporates well but do not over mix the batter
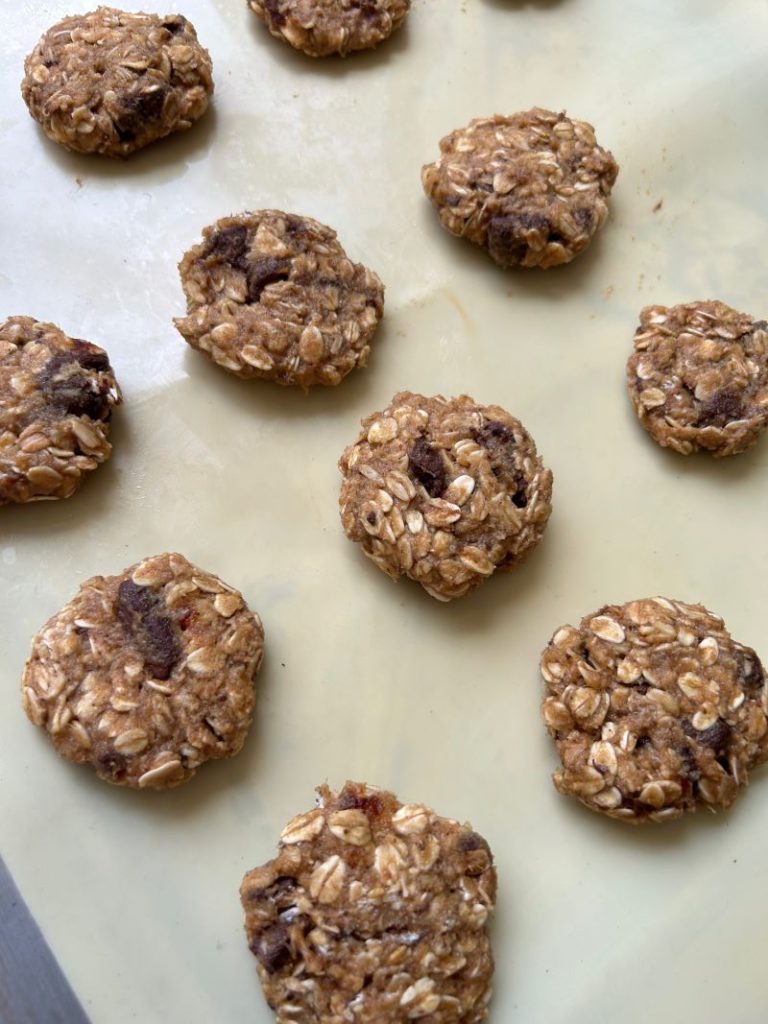
- Now grease a non-stick pan with some butter or oil. When the pan is medium hot, add 1/3rd cup of batter or according to the size you prefer. Once the bubbles form and top sets, flip and cook both the sides till golden brown.

- Enjoy it as it is or serve with maple syrup or honey or toppings of your choice.
If you are looking for more pancake recipes, then you must check out these recipes below-
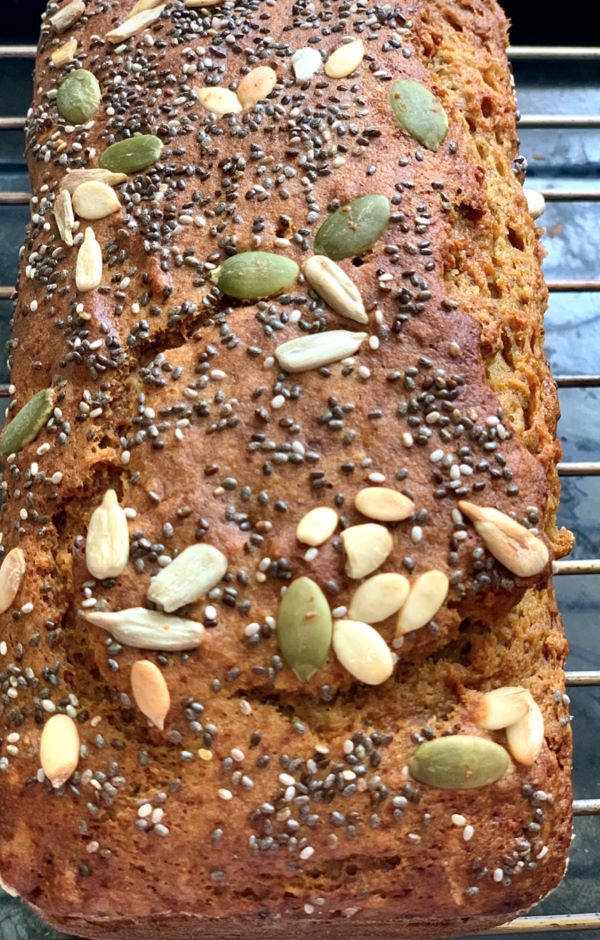
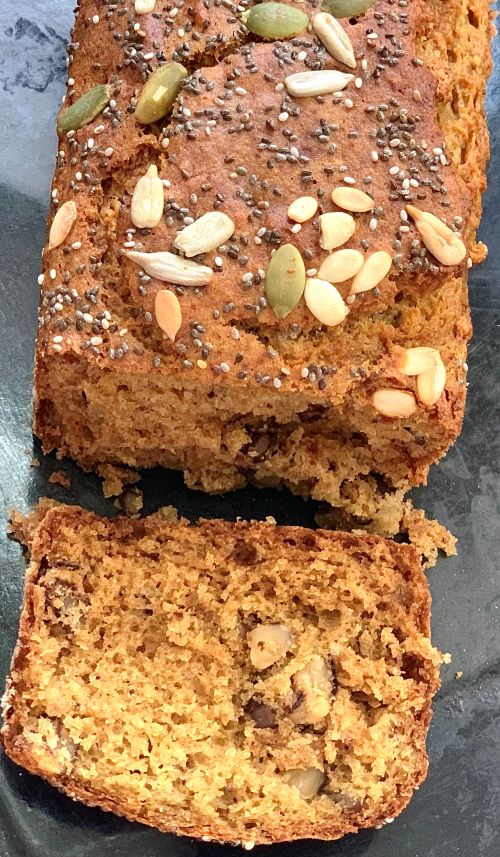
- Apple Pancakes for Baby-led Weaning or Toddlers-Dairy free Gluten free
- Healthy Wholewheat Carrot Chia Seed Pancakes
- Fluffy Buttermilk Pancakes with Stewed Cinnamon Apples
- Healthy Millet Protein Packed Pancakes
Do let me know if you try out this recipe. If you try this recipe, you can also click a picture and tag us on @masala.monk or use the hashtag #MasalaMonkRecipe and share on Instagram or Facebook. We would love to hear from you. 🙂