Posted on 1 Comment

Healthy Non-Fried Gulgule Recipe For Kid’s Lunch Box

Preparing a lunch box every morning can be tiring but incredibly satisfying, especially when you know you’re giving your kids a healthy meal. Using all-natural ingredients without any artificial flavors or substances is the key. Packing a healthy lunch box for your kids ensures they get the nutrients they need to stay active and focused throughout the school day. Incorporate a mix of fruits, vegetables, proteins, and whole grains to provide a balanced meal. Including snacks like these non-fried gulgule can make lunch more exciting and enjoyable for your little ones. Today, I’m sharing a non-fried gulgule recipe that’s perfect for your kids’ lunch boxes. This nutritious and tasty snack will keep them energized throughout the day.

Ingredients:


1 cup Wheat flour
2 ripe Bananas, mashed
1/2 cup Jaggery, grated or powdered
1 teaspoon Fennel Seeds
1/4 cup Milk
1 tablespoon Ghee or Butter
1/2 teaspoon Baking Powder

Method:

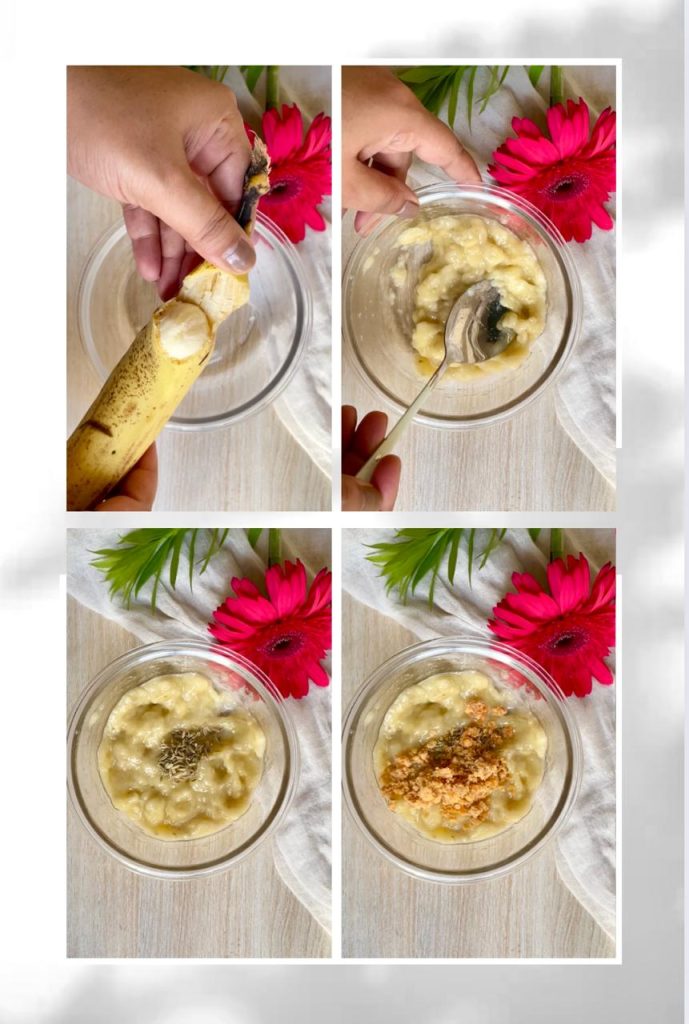
In a mixing bowl, mash the ripe bananas until smooth. Add the grated or powdered jaggery and fennel seeds to the mashed bananas. Mix well until the jaggery is dissolved.

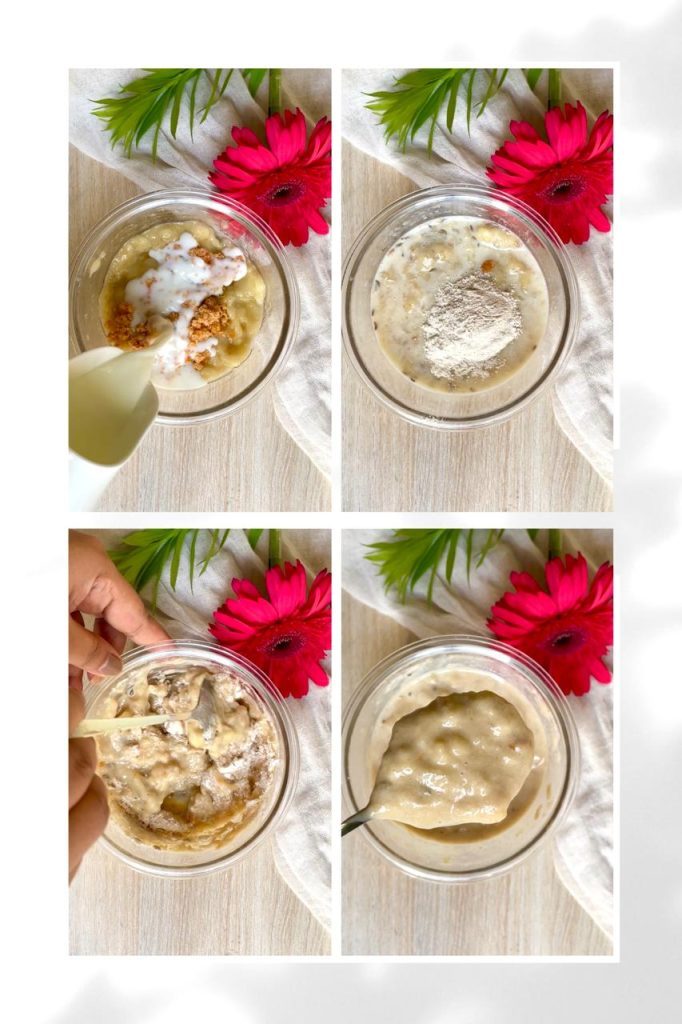
Pour in the milk and mix the ingredients until they are well combined. Add wheat flour into the banana mixture. Mix until you get a smooth batter without any lumps.

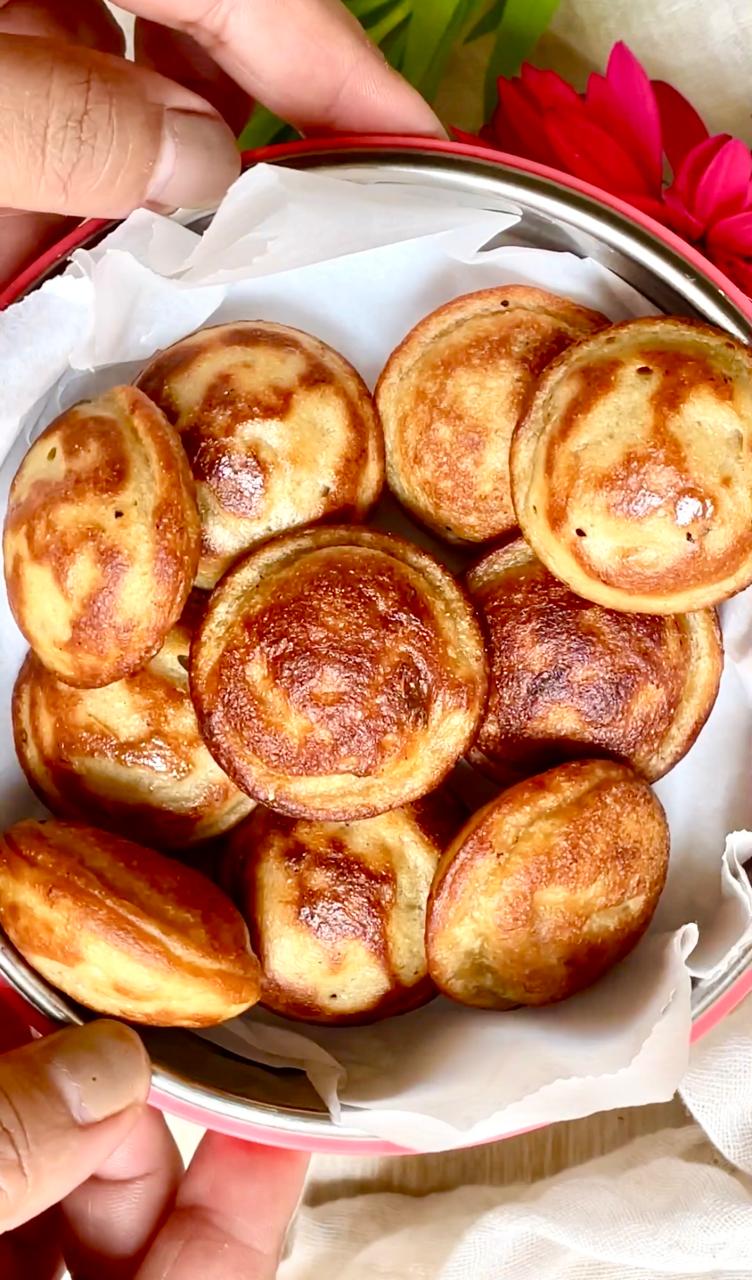
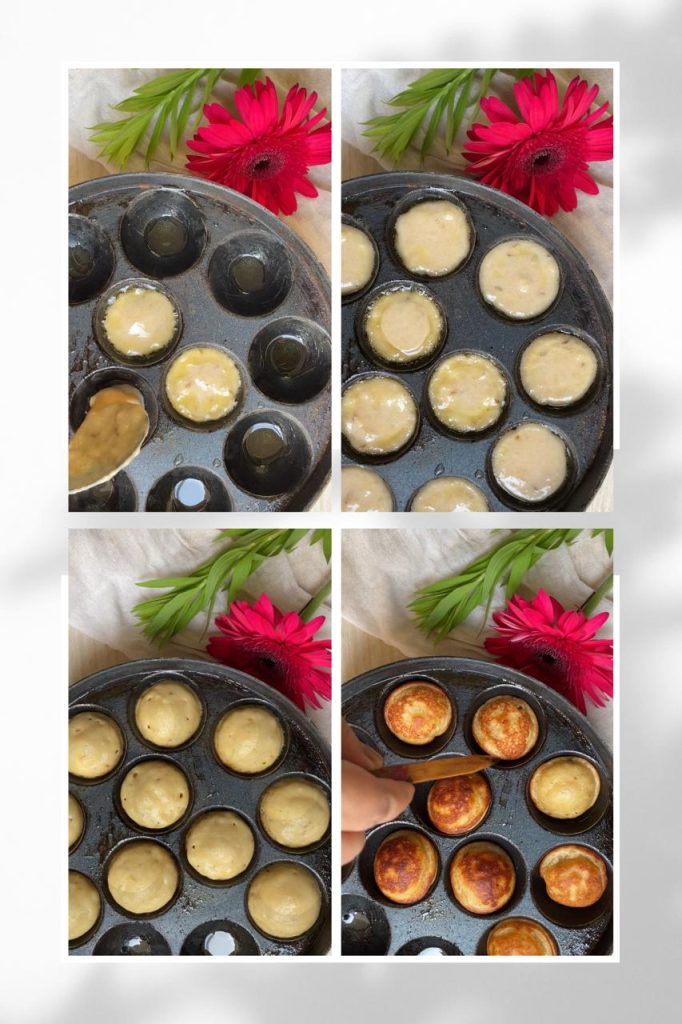
Heat the appe pan on medium-low heat. Grease each cavity of the pan with ghee or butter. Once the pan is hot, pour a spoonful of batter into each cavity, filling them about three-fourths full. Allow the gulgule to cook on medium-low heat until the bottom side turns golden brown and crispy. This should take about 2-3 minutes. Carefully flip each gulgula using a skewer or small spoon and cook the other side until it becomes crispy and golden brown.

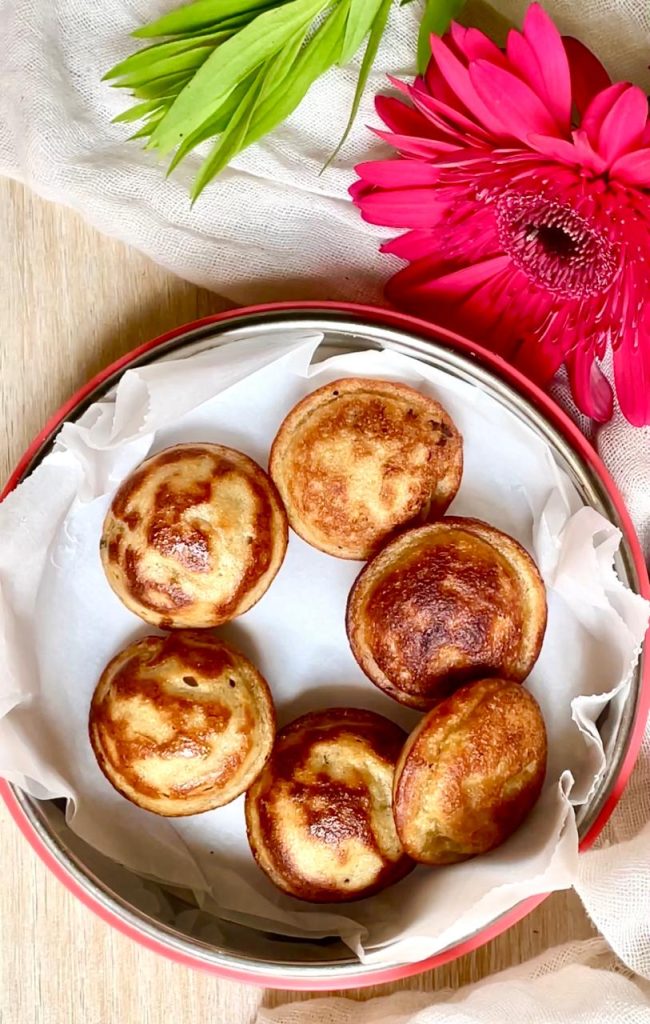
Once both sides are cooked, remove the gulgule from the appe pan and place them on a plate lined with paper towels to absorb any excess oil. Repeat the process with the remaining batter, adding more ghee or butter to the pan as needed. Let the gulgule cool down slightly before packing them into your kid’s lunch box.

Do give this recipe a shot. If you try this recipe, do give us a shout out. Just click a picture and tag us on @masala.monk or use the hashtag #MasalaMonkRecipe and share on Instagram and Facebook. We would love to hear from you!

Posted on Leave a comment

Apple Pancakes for Baby-led Weaning or Toddlers-Dairy free Gluten free 

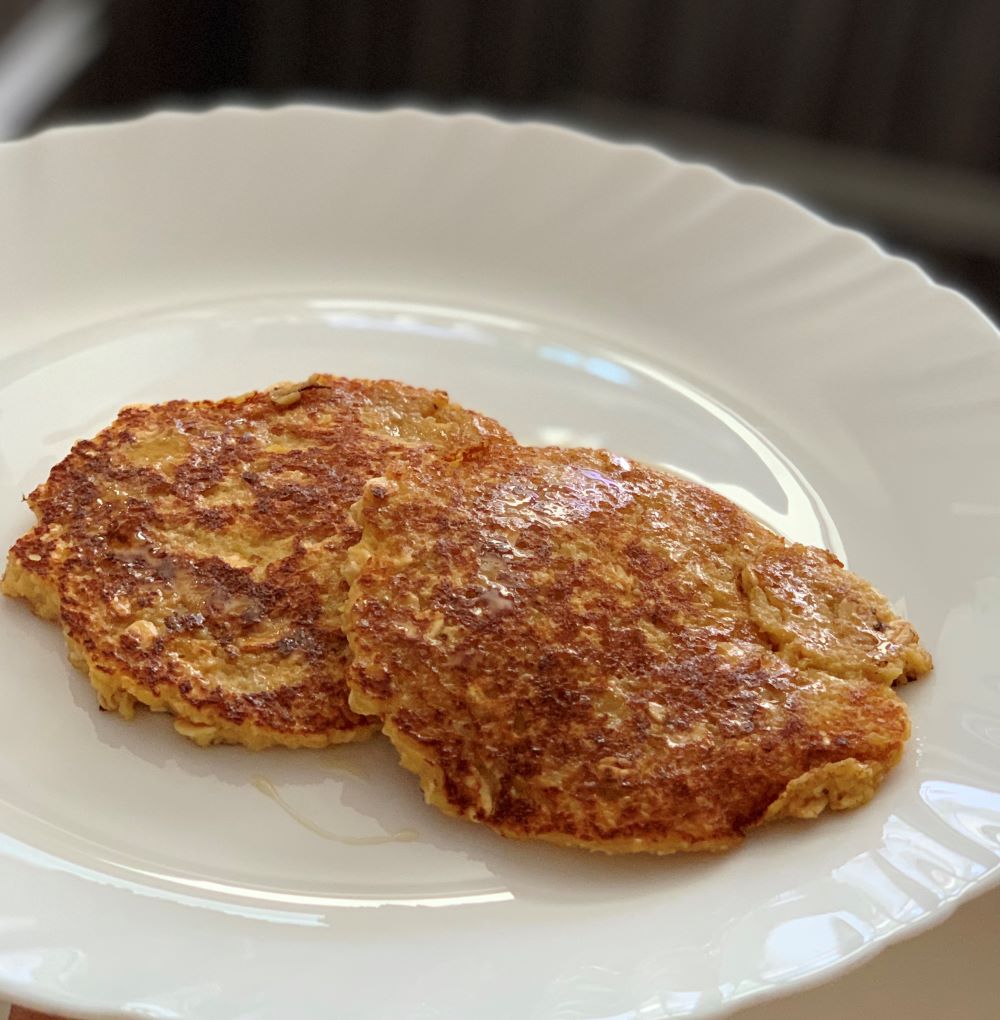
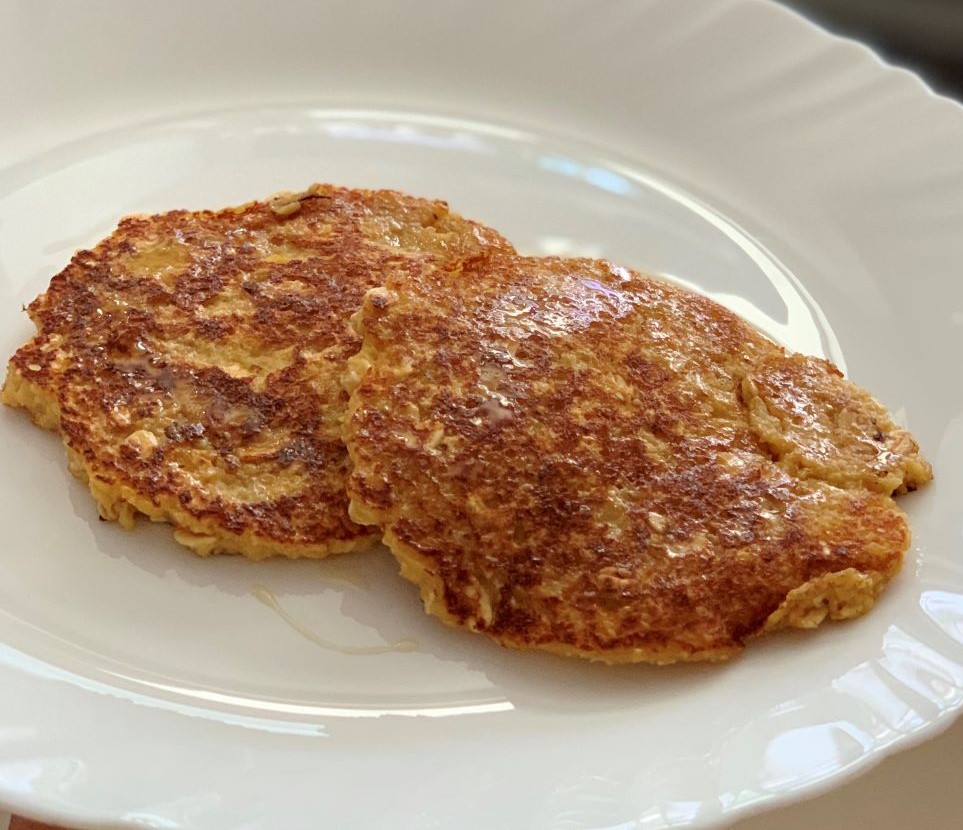
Apple pancakes are great finger foods for baby lead weaning or toddlers. Pancakes are the simple snack or breakfast option that I often whip for son. I experiment quite a lot with different wholegrain flours and fruits to make nutritious pancakes for my child. 

The good part about these apple pancakes which makes it great for babies and toddlers is that, it doesn’t contain any leavening agents. 

These pancakes are very simple to make. You can literally whip these in 15 minutes with minimal ingredients. All you need is rolled oats, apple and an egg. These pancakes do not require any milk. Moisture from apple and egg will be enough to get the right batter consistency.

If you don’t have rolled oats, you can use wholewheat flour too or any other flour of your choice. I can bet your toddler won’t refuse this for breakfast 

Recipe: makes 4 pancakes

Ingredients 

  1. Large Apple: 1 
  2. Large Egg: 1
  3. Rolled Oats flour: 5 tbsps (simply grind rolled oats in a grinder)
  4. Rolled Oats: 2 tbsps 
  5. Butter/Oil for cooking
  6. Cinnamon: 1/4th tsp
  7. Vanilla extract: 1/4th tsp

Instructions

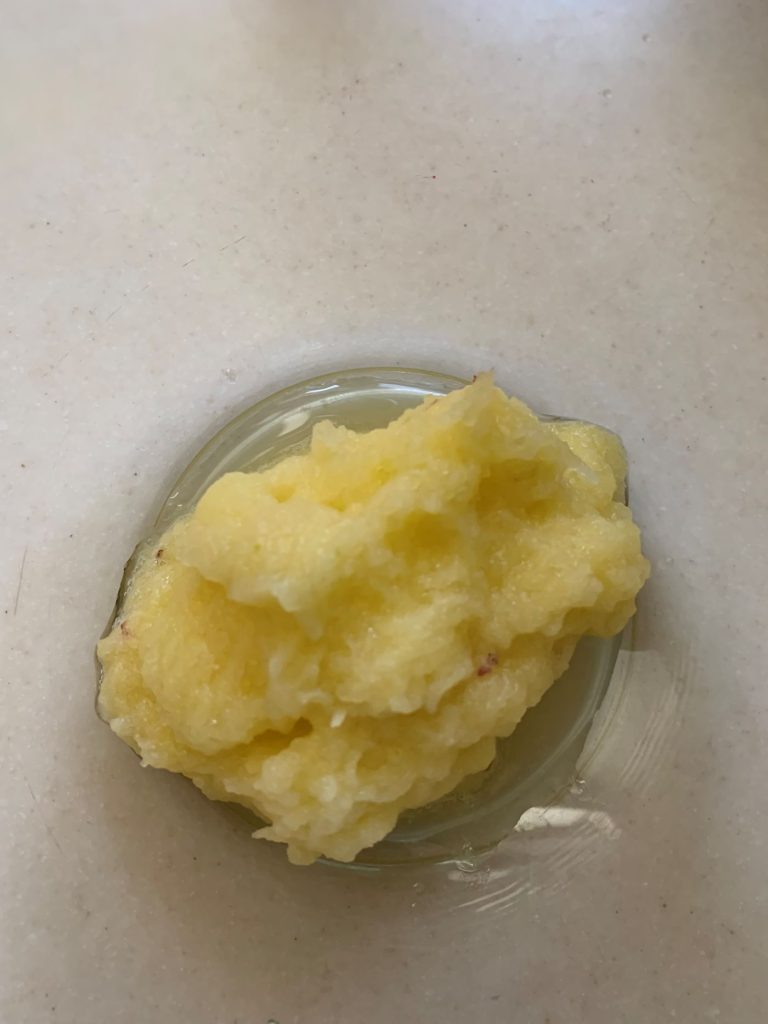
  • Peel the apple and grate it in a bowl. 
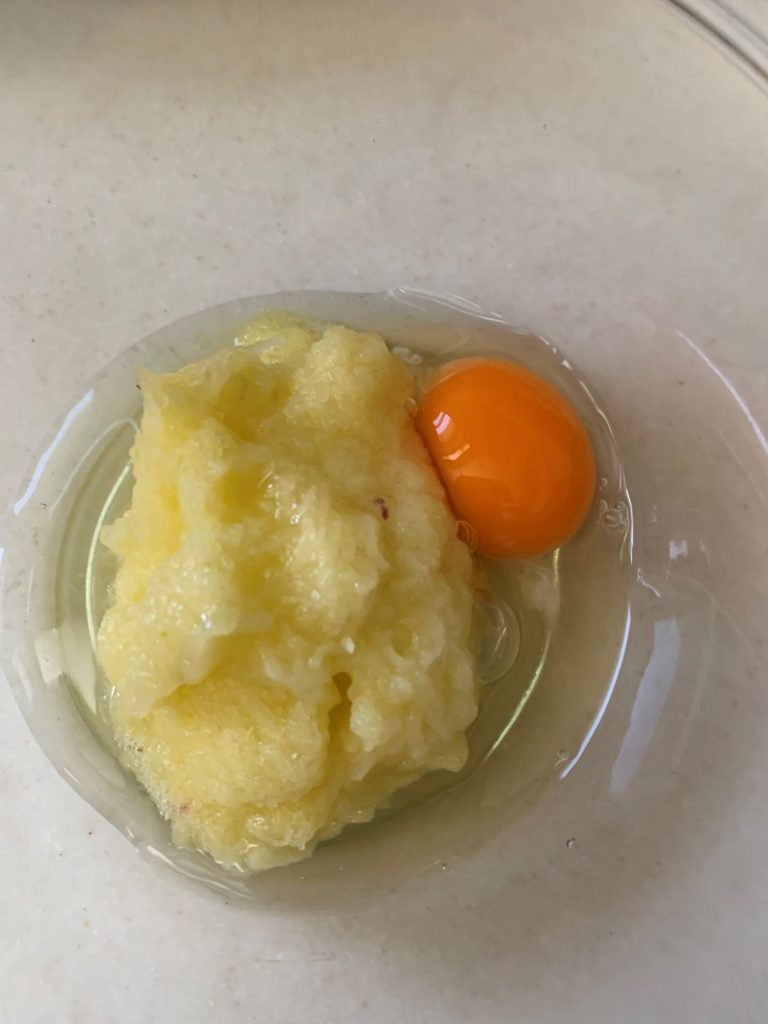
  • Crack an egg straight in a bowl or you can use a separate bowl and lightly whisk it first and then add to apple. Mix it well.
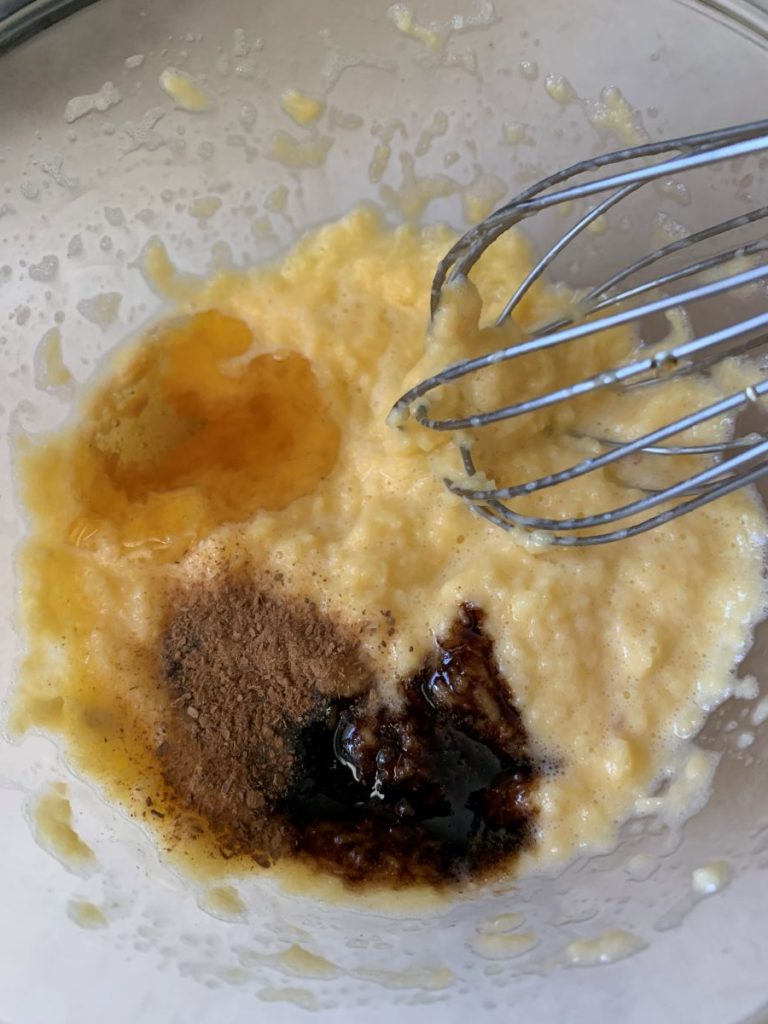
  • Tip in cinnamon and pure vanilla extract. Mix well. 
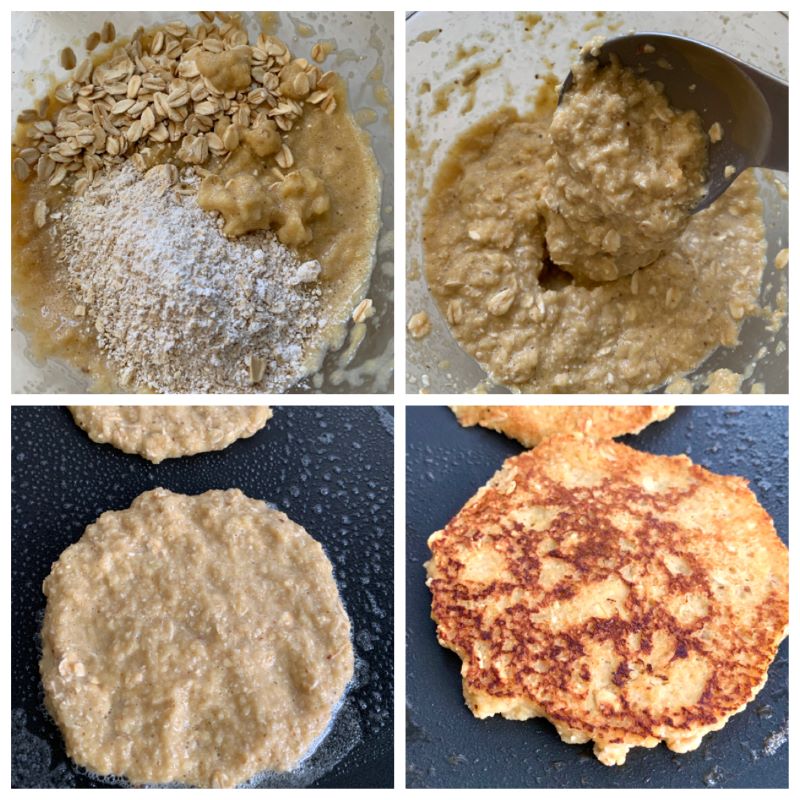
  • Now add rolled oats flour and 2 tbsps rolled oats. This is optional. I like to keep a bite and texture of rolled oats in pancakes. You can grind it if you want. Mix till everything incorporates. Batter consistency is thick.
  • Heat a nonstick or cast iron pan to a medium heat. Brush it with some butter or oil. Pour 1 scoop or roughly 1/4th cup batter.
  • Cook till top sets and edges start to leave the pan. Gently flip and cook the other side till golden brown. Cook the remaining batter similarly.

How to serve pancakes?

  • Babies 6-9 months old: cut pancakes vertically in the size of your index finger. It is easier for babies to grasp.
  • Babies 9months+: You can cut the pancake to small bite size pieces.
  • Toddlers: Serve the same way as you would serve an adult. You can also smear pancakes with some nut butter fold them and make a little pancake sandwich.

Variations

  1. You can swap apple with any other fruit of your choice like peach, strawberry or mango.
  2. You can also experiment with different flours- wholewheat flour or different millet flour.
  3. You can also substitute fruit with a vegetable like carrot or zucchini.
Posted on Leave a comment

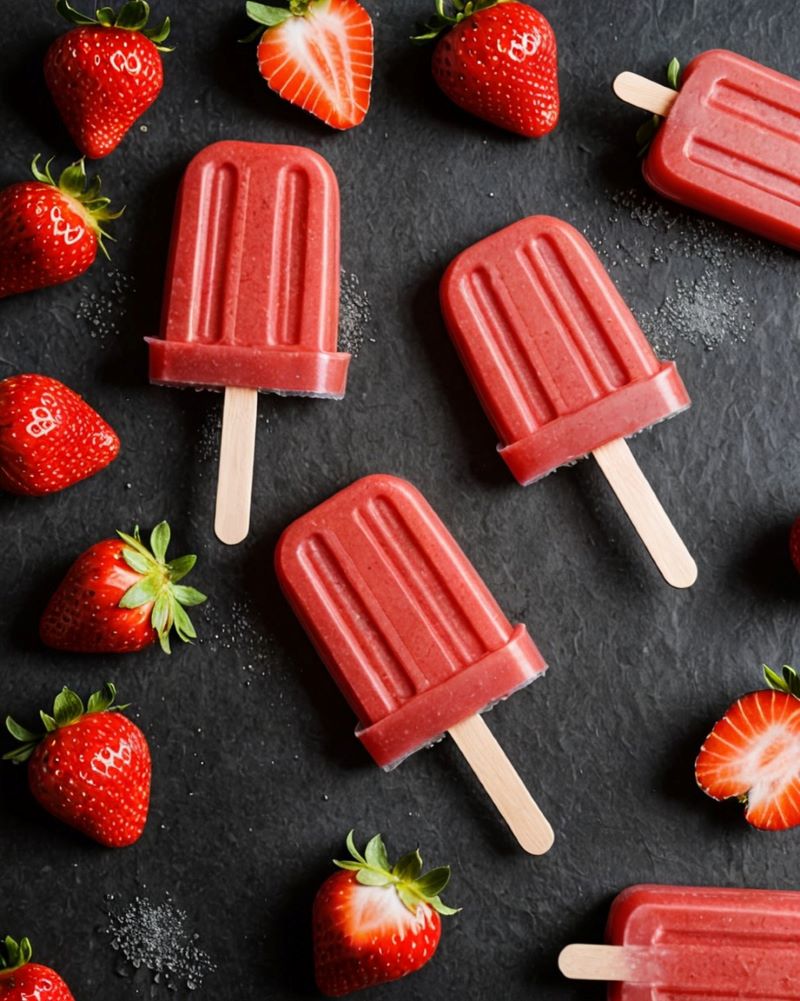
Best Homemade Fresh Strawberry Popsicle Recipe

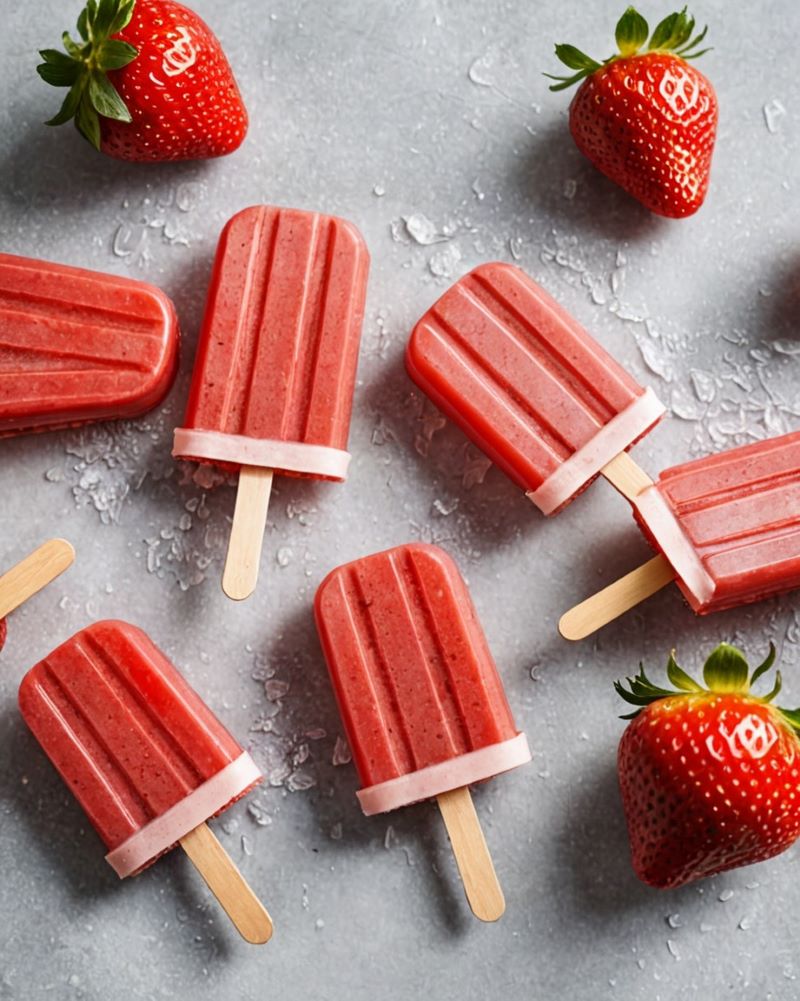
Temperatures are literally skyrocketing this year in India. In this unbearable heat, you just can’t ignore the craving for something cold and refreshing. What better way to kick that summer heat off than with Homemade Popsicle made with fresh fruits. They can be your perfect go-to-treat all summer long!

There is nothing better than lounging on a hot summer day with a popsicle in hand. Even though I love all those fancy pants popsicles but sometimes you just want to make something classic and fuss free. These strawberry popsicles are exactly that! They are pretty simple and straight forward: fresh strawberries, lemon juice, salt and sweetener of your choice.

It’s a perfect healthy treat for adults and kids. They are dairy free, gluten free and eggless. They are literally on repeat every summer at my house. 

Let’s dig in!

Recipe: makes 8 popsicles

Ingredients

  • Strawberries: 500 grams
  • Unprocessed Cane Sugar: 4 tbsps
  • Chia seeds: 2 tbsps (optional)
  • Salt: a pinch
  • Lemon juice: 1 tbsp
  • Strawberry Jam: 2 tbsps (optional, but highly recommended)

Instructions

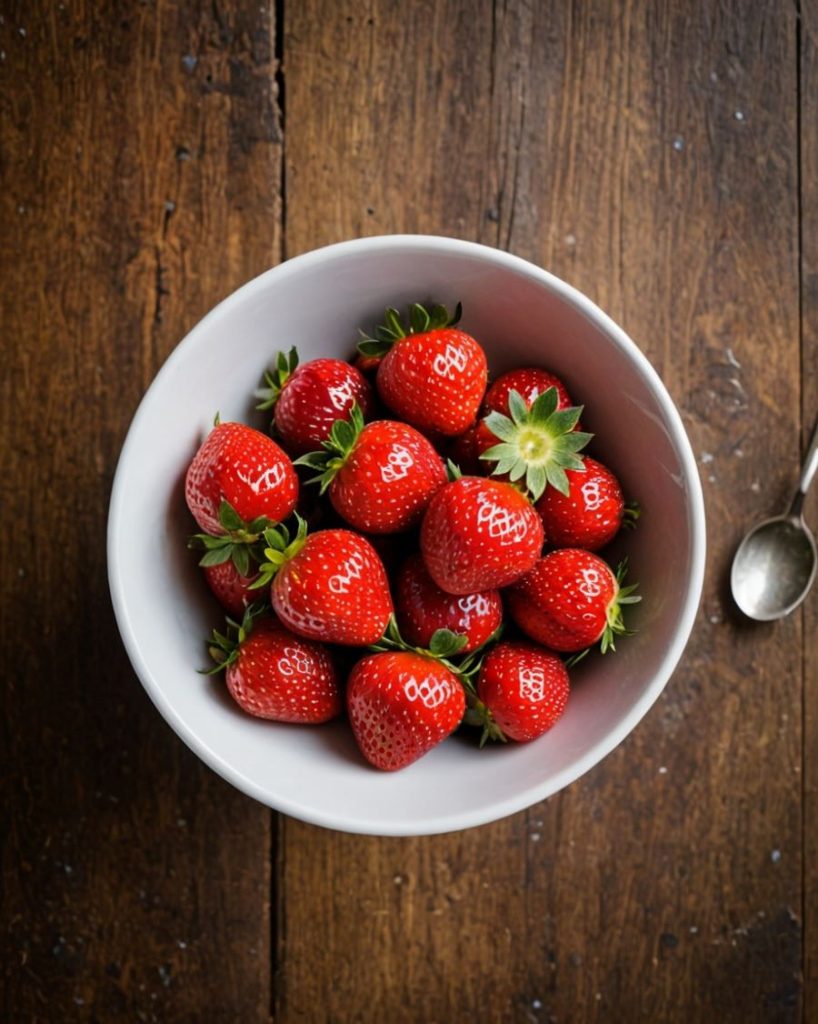
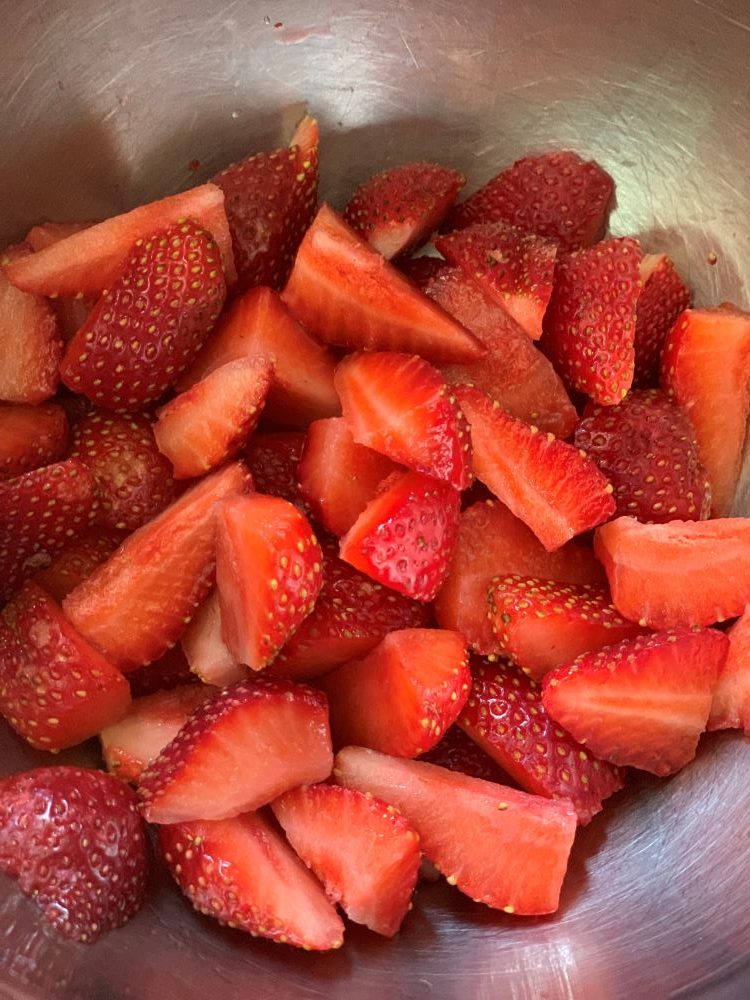
  • Wash and quarter the strawberries.
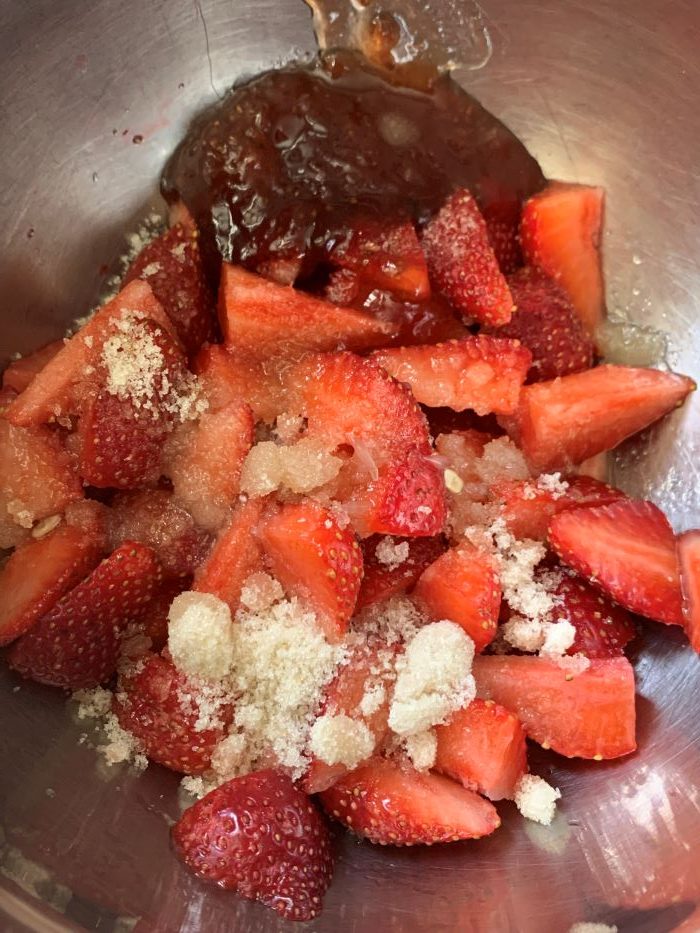
  • In a large bowl, add all the ingredients mentioned above except chia seeds.
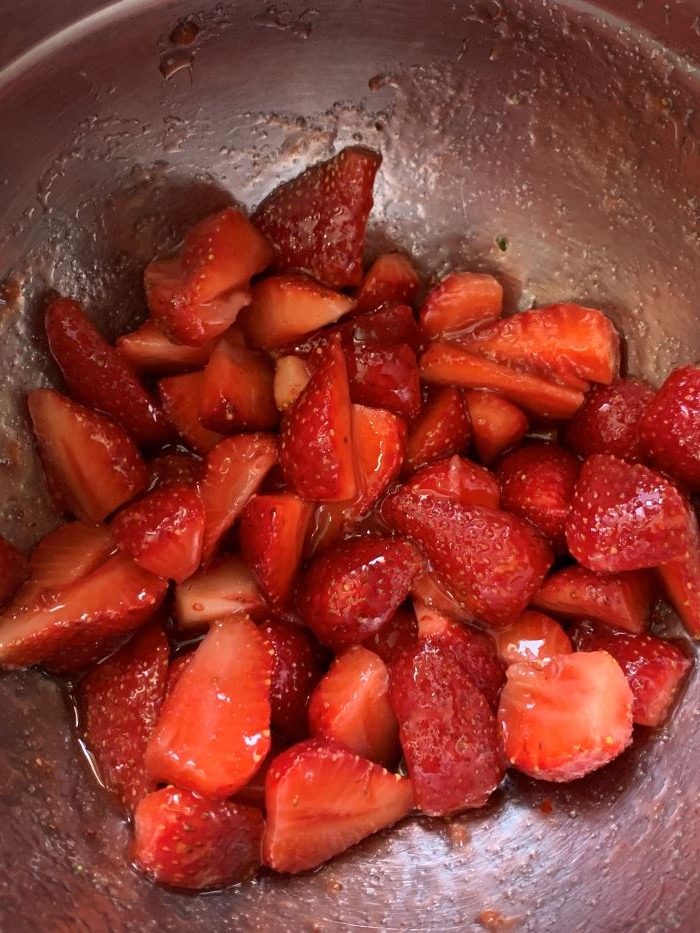
  • Mix well and let it sit for 10-15 minutes. When sugar comes in contact with strawberry, lemon juice and salt, it will melt and release its natural juice making strawberries juicer, sweeter and more intense.
  • Now add everything in the bowl to a blender and  blend everything to a smooth purée. 
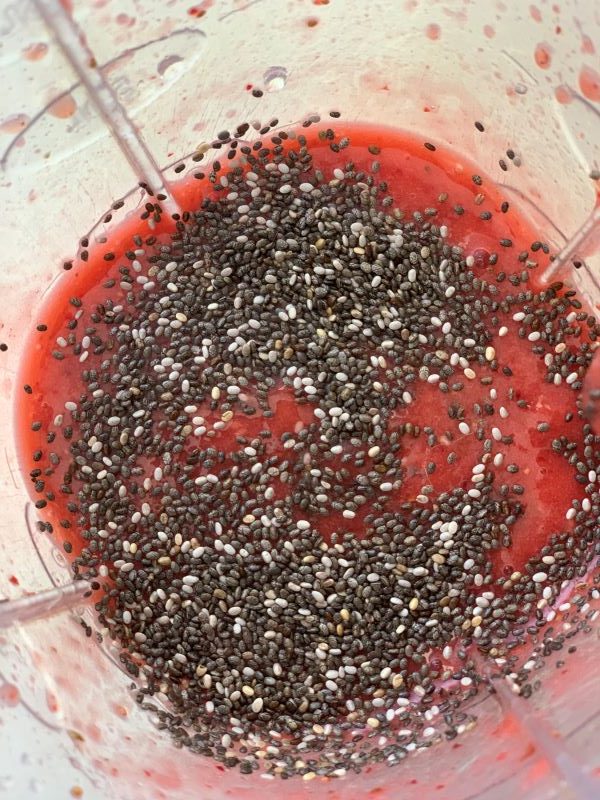
  • After blending, add chia seeds and mix well. 
  • Pour in popsicle molds and freeze overnight or for 6-8 hours. Leave a little space on top of the popsicle molds because when freezing they will expand slightly. 
  • For unmolding, run tap water over the popsicle mold for few seconds. Unmold carefully.

Variation

If you’re not in the mood for strawberries but still want a sweet summertime treat, this recipe also works great with other fruits as well. You can go for summer fruits like watermelon, mango, pineapple, peaches or most other fruits make for a great popsicle filling.

Sweetener

If you don’t want to add sugar or unprocessed sugar, you can use other sweeteners like, maple syrup, honey, jaggery powder or syrup. I have tried this recipe with maple syrup and it was a huge hit too.
If you are not adding strawberry jam then you might have to increase the amount of sugar. However, you can try this easy to make Strawberry Apple Preserve if you don’t want to add any store bought jam.

Happy Summers! 🙂

Posted on Leave a comment

Quick Strawberry and Apple Preserve- Healthy Kid Friendly Recipe

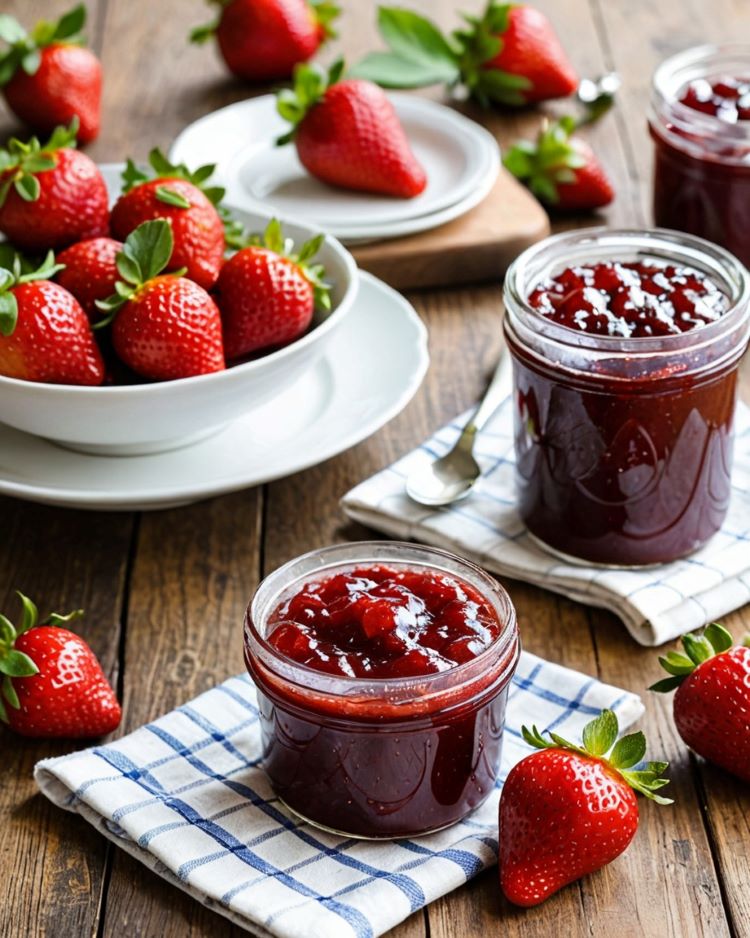
I love making fuss free healthy recipes for my little one. Strawberries have literally become synonymous to preserves and jams. With only a few ingredients, you can whip up homemade strawberry preserves in no time and it’ll keep so well in the fridge for weeks to come!

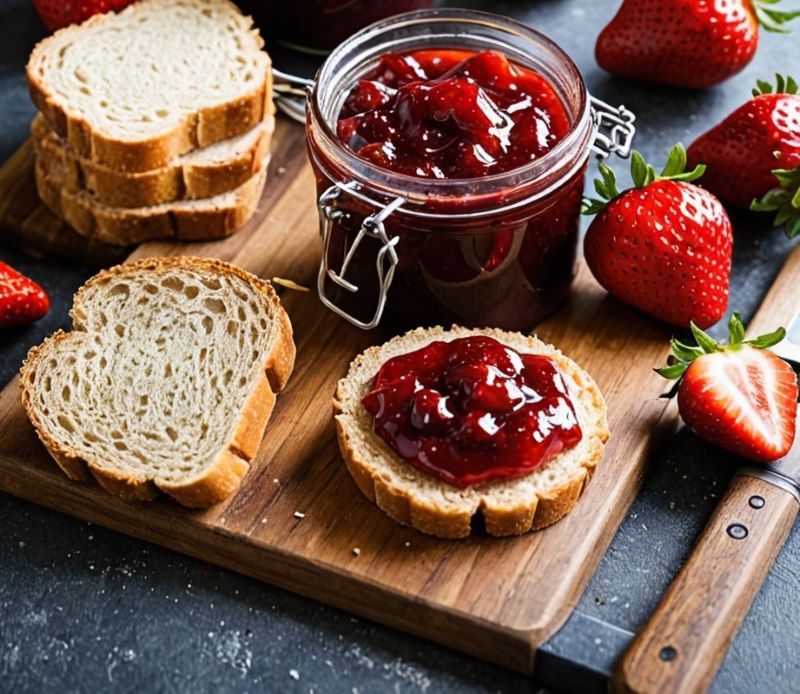
This delightful homemade preserve is one of my son’s favourite and it is super easy to make. He enjoys it with almost anything – pancake, on a toast, parantha. It takes only 5 ingredients and tastes so much better than the store bought ones which are laden with sugar, artificial colours and preservatives.

This preserve is made in smaller batch without the use of pectin. But this recipe can be doubled or tripled to make a larger batch of preserve. If you want the preserves to last longer than three weeks in the refrigerator, you’ll need to process the jars in a hot water canning bath.

Do make this strawberry preserve when berries are in season and I am sure you will love it.
It tastes delicious. It’s healthy and its is ready in flat 20 minutes. 

This preserve does not contain any processed sugar. It is not sickly sweet. This is something your child and your family can enjoy guilt free. I have added chia seeds to it for more nutrition and also it improves the texture of the preserve.

Ingredients

Prep time: 5 minsServing: makes 2 ounces
Cook time: 15 mins
  • 100 gms Strawberries
  • 1/2 cup Apple
  • 30 gms jaggery powder or unprocessed coconut sugar
  • 1.5 tbsps Chia seeds
  • 1 tbsp Lemon juice
  • 1 tsp Vanilla extract (optional but recommended)
  • 1/4th cup Water

Method

  1. Chop strawberries and apple finely. Add them in a pan. Keep the flame low. Cook for a minute. Now add coconut sugar or jaggery powder. 
  2. Stir till sugar melts. It should take a minute or two.
  3. Now add water. Cook till apple becomes mushy and the preserve thickens. It will roughly take 9-10 minutes. 
  4. Once it thickens, add lemon juice, vanilla extract and chia seeds. 
  5. Cook for a minute and Voila!!! It’s done 🙂

Notes:

  • You can skip apple here and add 1/2 cup more of strawberries or other berries of your choice.
  • Do not skip lemon juice. Lemon juice is required to set the preserve. The acid in it neutralizes the PH level of the mixture. 
  • Store in an airtight glass jar. Refrigerate for longer shelf life. Use within 3-4 weeks
  • Use a dash of cinnamon for a warm touch.

Enjoy good health! 🙂