
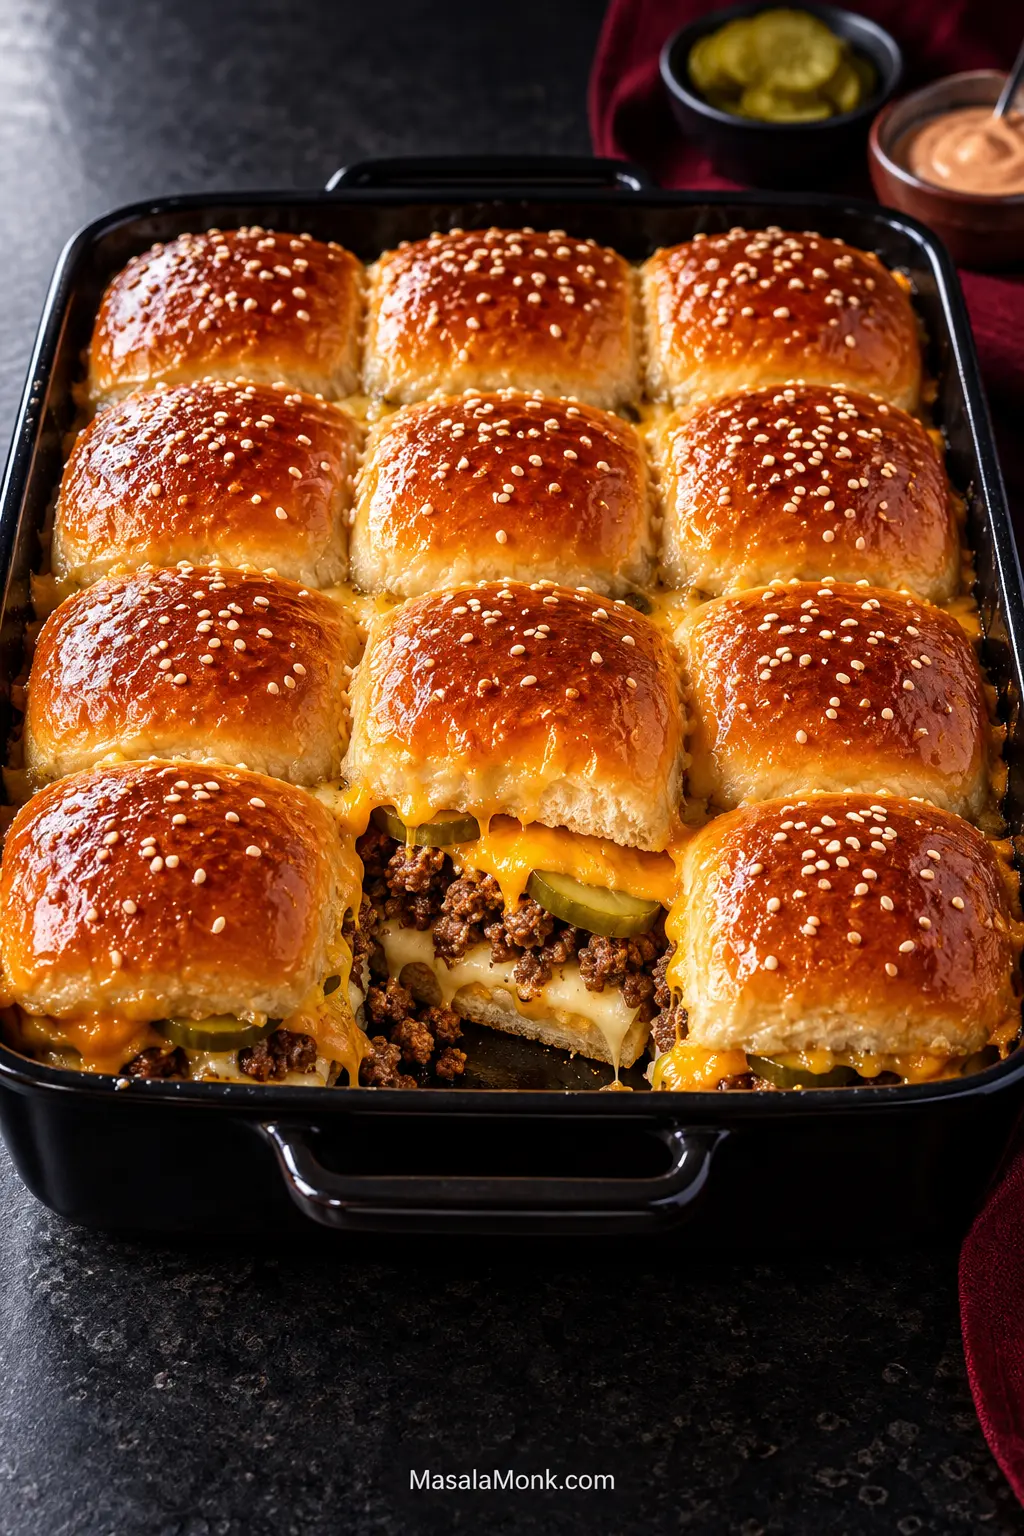
Cheeseburger sliders are easy until the beef juices reach the bottom rolls. Then a tray that looked perfect can turn greasy underneath while the tops are still beautifully golden.
This cheeseburger sliders recipe keeps the beef juicy but gets rid of the liquid the bread does not need. You get browned beef under two layers of melted cheese, a sharp bite of dill pickle, and soft buttery Hawaiian rolls with sesame-speckled tops. The bottom stays tender enough to pull apart, but sturdy enough to hold the filling.
These baked cheeseburger sliders use crumbled ground beef, so you cook the beef once and assemble all 12 together instead of shaping and flipping tiny patties. They work for an easy dinner, but they are especially handy when you are feeding a group. If you want a more traditional burger bite with one cohesive layer of meat, there is a sheet-pan patty option farther down.
What a Good Tray Looks Like
Keep the beef juicy; keep its liquid off the bread.
- Beef: browned and juicy, with no puddle of fat or cooking liquid.
- Bottom rolls: tender and intact, without a greasy or waterlogged underside.
- Center: hot, with cheese visibly melted at the seams.
- Top: golden, buttery and still tender.
Easy Cheeseburger Sliders with Hawaiian Rolls
Ground beef, melted cheese and dill pickles baked between connected Hawaiian rolls for an easy tray of pull-apart cheeseburger sliders.
Equipment
- 9 × 13-inch / 23 × 33 cm baking dish
- Large skillet, ideally about 12 inches / 30 cm
- Long serrated bread knife
- Instant-read food thermometer
Ingredients
- 12 connected Hawaiian sweet rolls, about 12 oz / 340 g
- 1 lb / 454 g 90/10 ground beef
- 1 tsp / 5 ml neutral oil, optional
- 1 small-to-medium onion, finely diced, about ⅔ cup / 100 g
- 1 tbsp / 15 ml Worcestershire sauce
- 1 tsp / about 3 g garlic powder
- ½ tsp / about 1 g freshly ground black pepper
- ½ tsp / about 3 g fine sea salt, plus more only if needed after tasting
- 6–8 slices American cheese, enough to cover most of the bottom roll slab
- 1¼ cups / 5 oz / 140 g freshly grated medium or sharp cheddar
- ¾ cup / about 100 g sliced dill pickles, drained and blotted dry
- 2 tbsp / 28 g unsalted butter, melted
- 2 tsp / about 6 g sesame seeds
Optional Burger Sauce Ingredients
- ¼ cup / 60 ml mayonnaise
- 2 tbsp / 30 ml ketchup
- 1 tbsp / 15 ml dill or sweet pickle relish
- 1 tsp / 5 ml yellow mustard or Dijon mustard
Instructions
- Heat the oven. Preheat to 350°F / 175°C. Lightly grease a 9 × 13-inch / 23 × 33 cm baking dish.
- Slice the rolls. Leave all 12 connected. Use a long serrated knife to cut horizontally through the slab. If practical, leave the bottom half slightly thicker than the top. Put the bottom slab in the baking dish.
Brown and Season the Beef
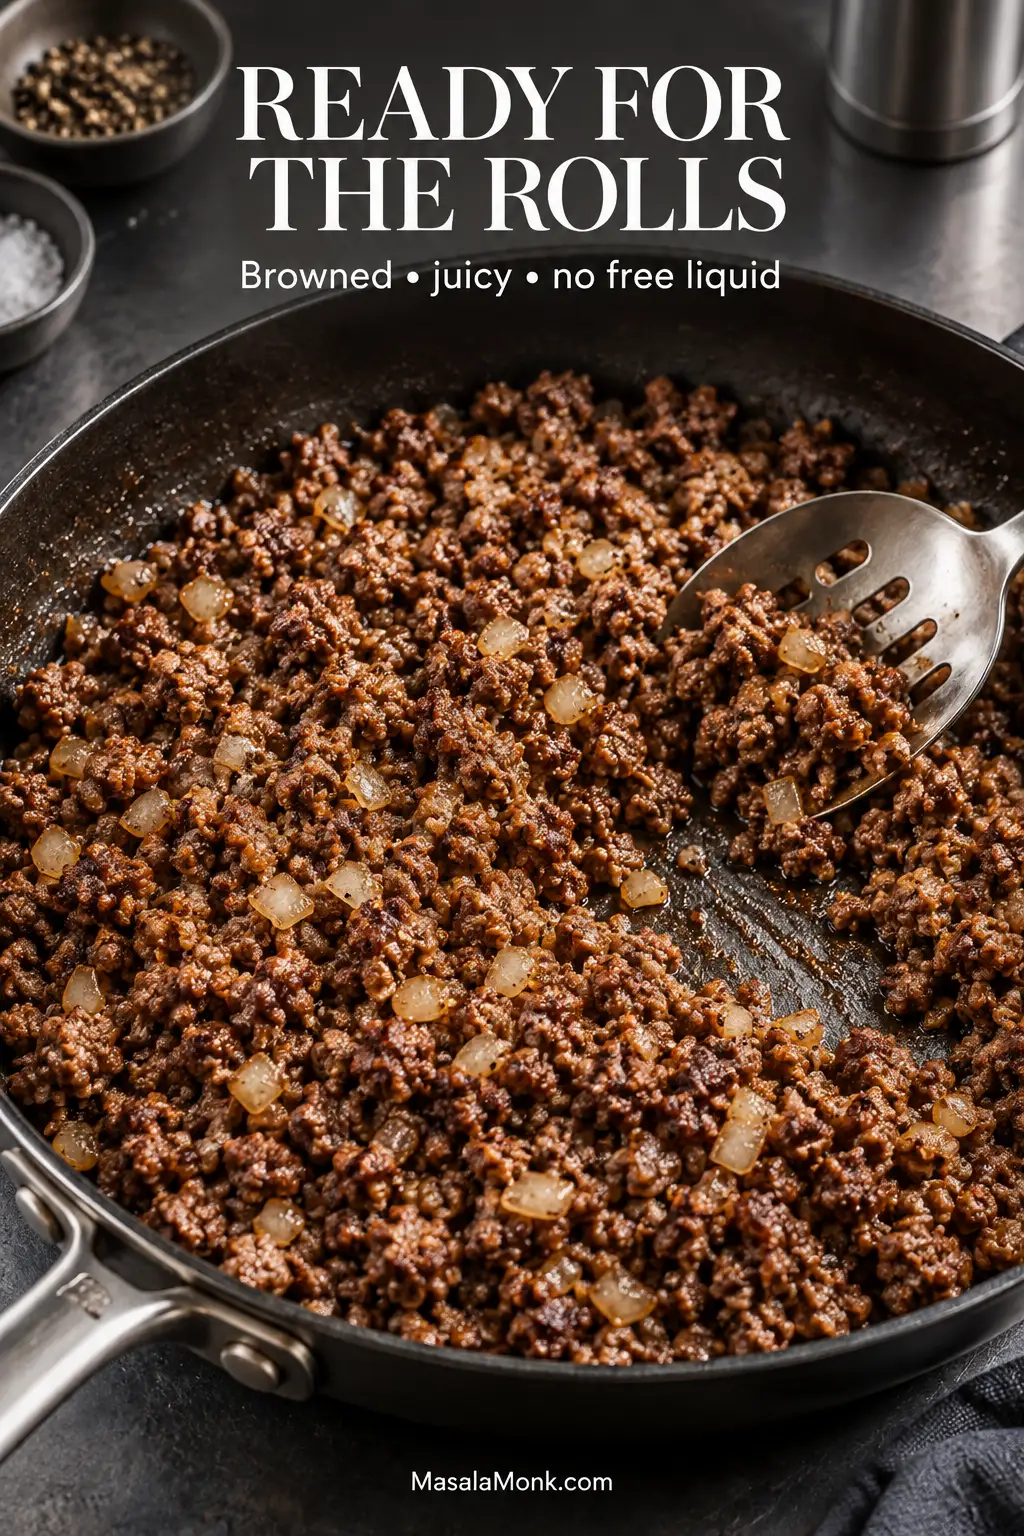
- Brown the beef. Heat a large skillet over medium-high. If the pan tends to stick, use the neutral oil. Spread the beef across the skillet and leave it undisturbed for 1–2 minutes, until the underside has browned in spots and the pan sounds more like a sizzle than a simmer.
- Add the onion. Scatter in the diced onion and break the beef into small crumbles. Cook for another 4–6 minutes, stirring as needed, until the onion is soft and the beef is nearly cooked through.
- Drain the skillet. Remove the rendered fat and watery cooking liquid. A slotted spoon works well. Return the drained beef to the skillet.
- Season the beef. Add Worcestershire, garlic powder, black pepper and salt. Cook for 30–60 seconds, until the Worcestershire has disappeared into the beef and there is no obvious free liquid. Push some crumbles into a small mound around the thermometer probe and check the center without touching the skillet. Ground beef should reach 160°F / 71°C; if it has not, cook briefly until it does.
Layer the Filling
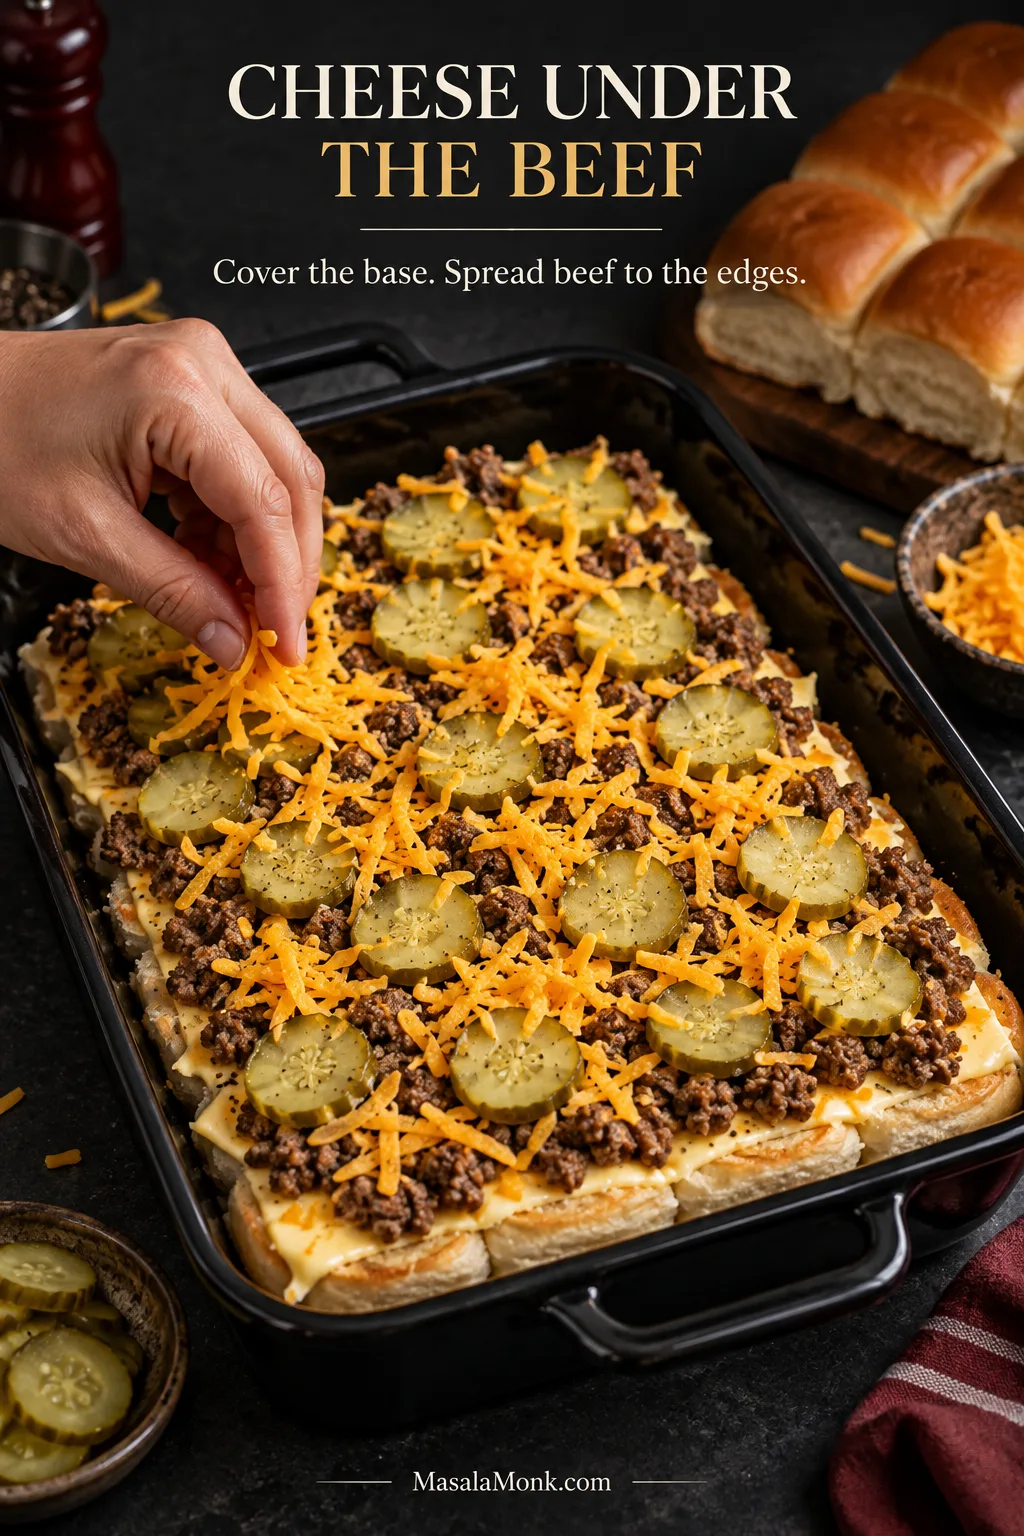
- Layer the cheese. Arrange enough American cheese over the bottom rolls to cover most of the cut surface. Six large slices may do it; use eight if yours are smaller.
- Add the filling. Spread the beef all the way to the edges so the outside sliders are not shortchanged. Scatter the blotted dill pickles over the meat, then cover with the grated cheddar.
Finish and Bake
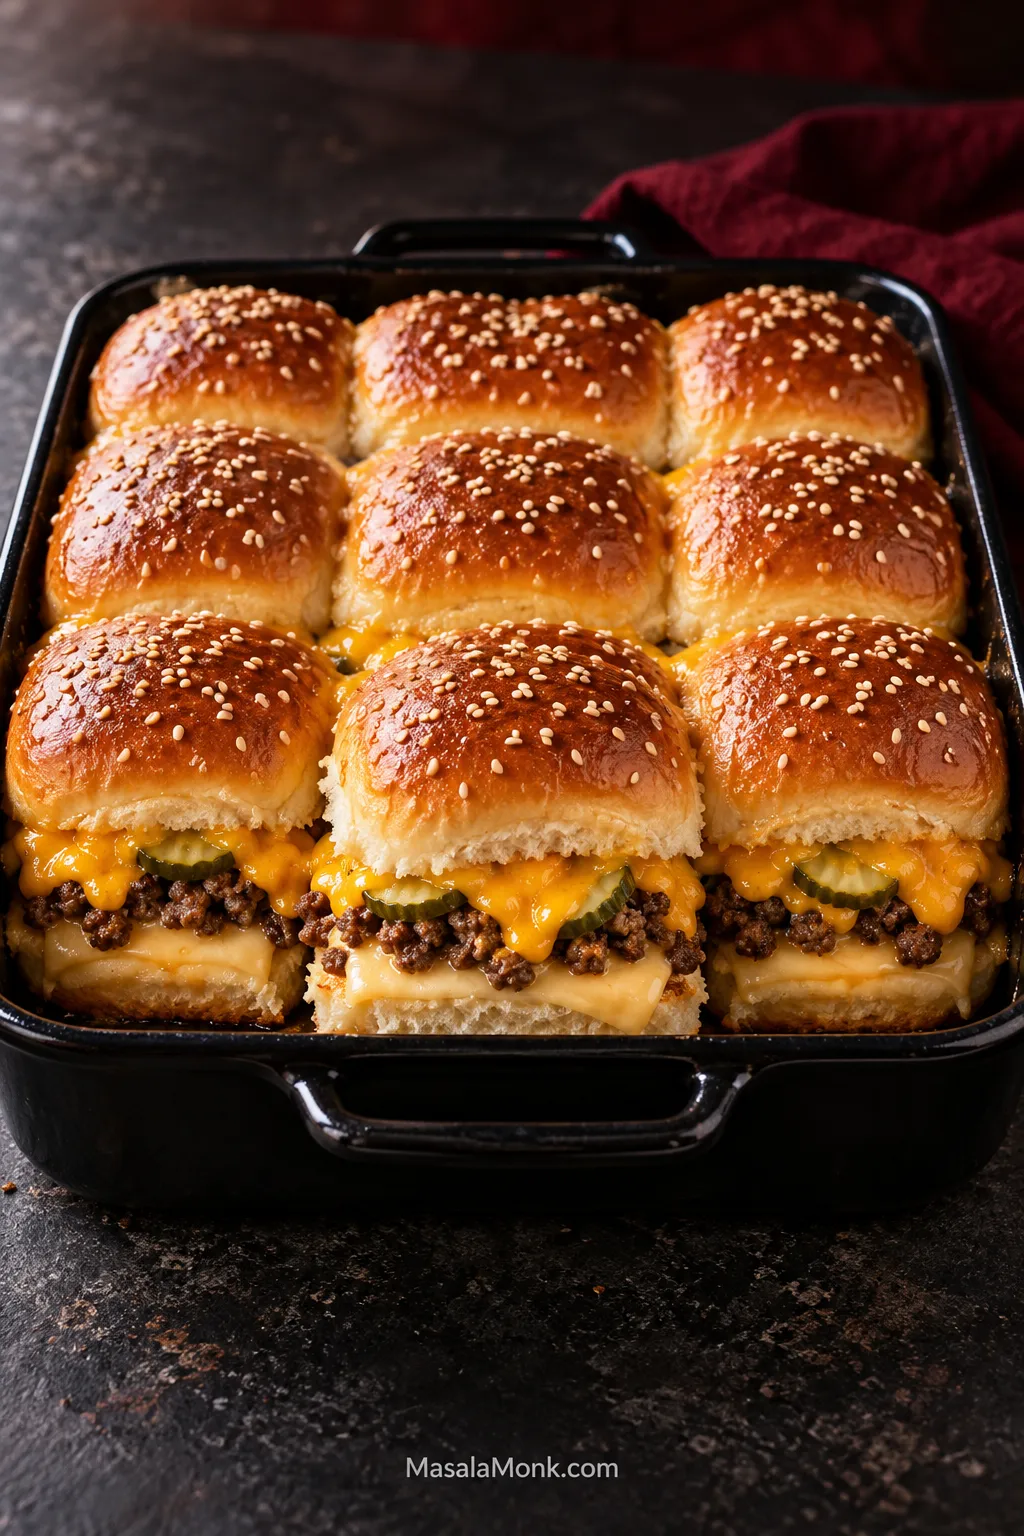
- Add the tops. Replace the upper slab of rolls. Brush lightly with melted butter and sprinkle with sesame seeds.
- Bake. With warm beef, bake uncovered for 12–15 minutes. The cheese should be visibly melted at the seams, the center hot and the tops evenly golden. If the tray was assembled with cooked, chilled beef, cover loosely with foil for about 10 minutes, then uncover and continue for another 5–10 minutes, or until the center reaches 165°F / 74°C, the cheese is fully melted and the tops are golden.
- Rest and cut. Leave the tray for 5 minutes. The cheese settles slightly during that time, so the filling stays put more easily when you cut through the original roll seams.
Burger Sauce
Stir the mayonnaise, ketchup, relish and mustard together. Dill relish gives you a sharper pickle bite; sweet relish makes the sauce taste a little more like a classic fast-food burger sauce. Keep it on the side and let everyone add their own.
Recipe Notes
- For a meatier tray: increase the beef to 1½ lb / 680 g. Use about 1½ tbsp / 22 ml Worcestershire, 1½ tsp garlic powder, ¾ tsp black pepper and ¾ tsp fine sea salt. Keep the onion, cheese and pickles at the listed amounts for a deliberately beefier slider. Brown the meat in batches if your skillet is crowded.
- Using 85/15 beef: keep the seasoning the same and drain the beef thoroughly.
- A firmer base: broil the bottom roll slab cut-side up for 1–2 minutes, watching constantly. This is optional; the recipe does not depend on toasting the bread.
- Making them ahead: cool the beef completely before it touches the rolls. Add the butter and sesame seeds just before baking.
- Toppings: leave pickles out of the oven if you want them cooler and crunchier. Add lettuce, tomato and avocado only after baking.
- Burger sauce: when made with commercial mayonnaise, it can be mixed 3–4 days ahead, covered and refrigerated.
More Help With the Sliders
Build the Tray
Plan & Customize
Rolls, Cheese and Beef: Why the Order Matters
Build from the bottom up: cheese first, then beef, pickles and more cheese. The lower cheese gives the bread some protection, while the cheddar above melts into the crumbles and helps hold everything together when the tray is cut.
Keep the Hawaiian rolls connected while you assemble the sliders. Their soft texture and slight sweetness work especially well with salty cheese and dill pickles. Brioche or plain soft dinner rolls are the easiest substitutes when you want something less sweet.
American cheese underneath and cheddar above give the tray a useful balance: a creamy melt against the bread and stronger cheese flavor over the beef. American works on both layers if that is what you have, while Colby Jack or pepper Jack are easy swaps. Freshly grated cheddar melts more evenly than pre-shredded.
By the time the tray comes out of the oven, the cheddar should have melted into the beef in places rather than sitting on top as a separate stiff layer. That helps the filling stay with the slider when you pull one away.
How much beef to use
One pound / 454 g is enough to cover all 12 small rolls without turning them into oversized burgers. Use 1½ lb / 680 g when you deliberately want a meatier beef-to-bread ratio.
For this style of slider, 90/10 ground beef is easy to work with. An 85/15 blend gives you a richer filling but needs more draining. With 80/20 beef, the extra rendered fat becomes more important because all of it is sitting above soft bread.
Why Browning Comes Before Seasoning
Give the beef a short head start in a hot skillet before the onion goes in. Those browned spots bring more flavor than meat that immediately starts simmering in onion moisture. When the onion is soft and the beef is nearly done, drain the pan before adding Worcestershire and the dry seasonings.
Ground beef should reach 160°F / 71°C on a food thermometer. Color alone is not a reliable doneness test. The USDA safe internal temperature guidance also lists 165°F / 74°C for ground poultry.
How to Keep Cheeseburger Sliders From Getting Soggy
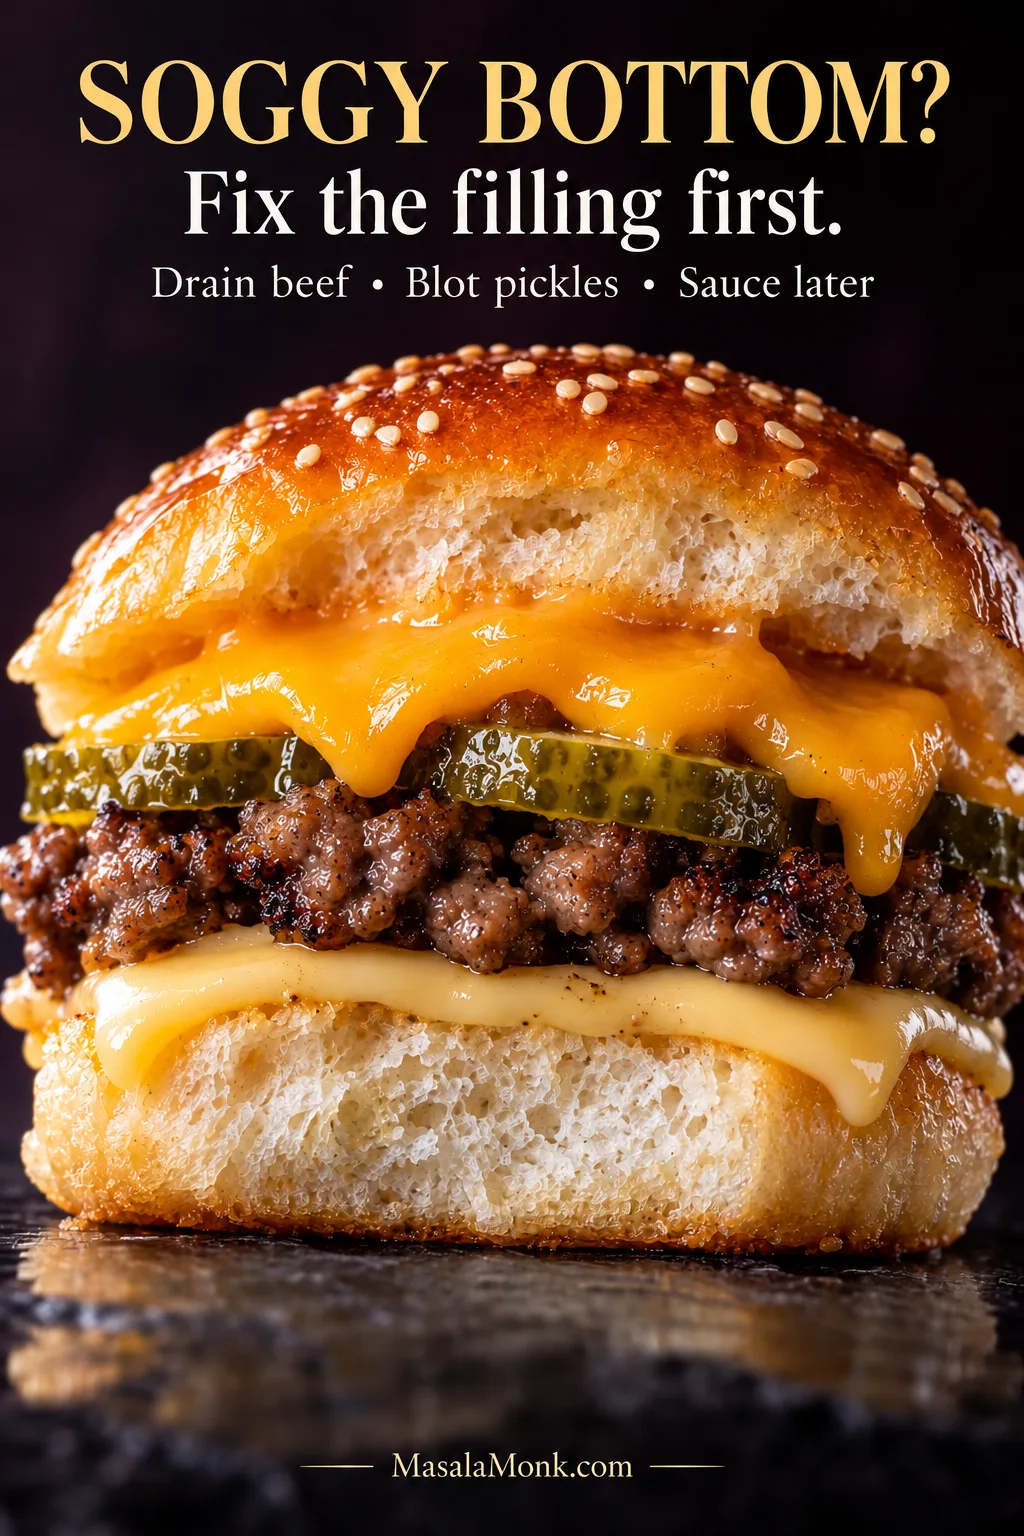
To keep cheeseburger sliders from getting soggy, drain the beef until no grease or cooking liquid is pooling, cover the bottom rolls with cheese, blot the pickles, and save generous amounts of sauce for after baking.
Most soggy sliders start with the filling. Ground beef and onions release water as well as fat, while pickle slices can bring more brine than they appear to. Control those liquids and the cheese can protect the base without the bread becoming saturated.
Sauce can wait too. A thin smear is fine when the sliders are going straight to the table, but spoonfuls of burger sauce are better added after baking. Warm beef also traps steam inside an assembled make-ahead tray; as the tray cools, that steam condenses into the rolls.
Soft is good. Soggy is not. A warm Hawaiian roll should stay tender. The problem begins when enough grease, water or brine soaks in that the bottom loses its structure.
Do you need to toast the bottom rolls?
No. You don’t have to toast the rolls first. A quick 1–2 minute broil, cut-side up, gives the base a little more firmness when the sliders will be eaten straight away. Keep an eye on them; Hawaiian rolls brown quickly.
Skip the extra toast when the tray needs to travel or sit for a while. Small toasted rolls can become hard as they cool.
Back to Recipe · Making them ahead? See Party Prep
Make-Ahead Cheeseburger Sliders and Party Prep
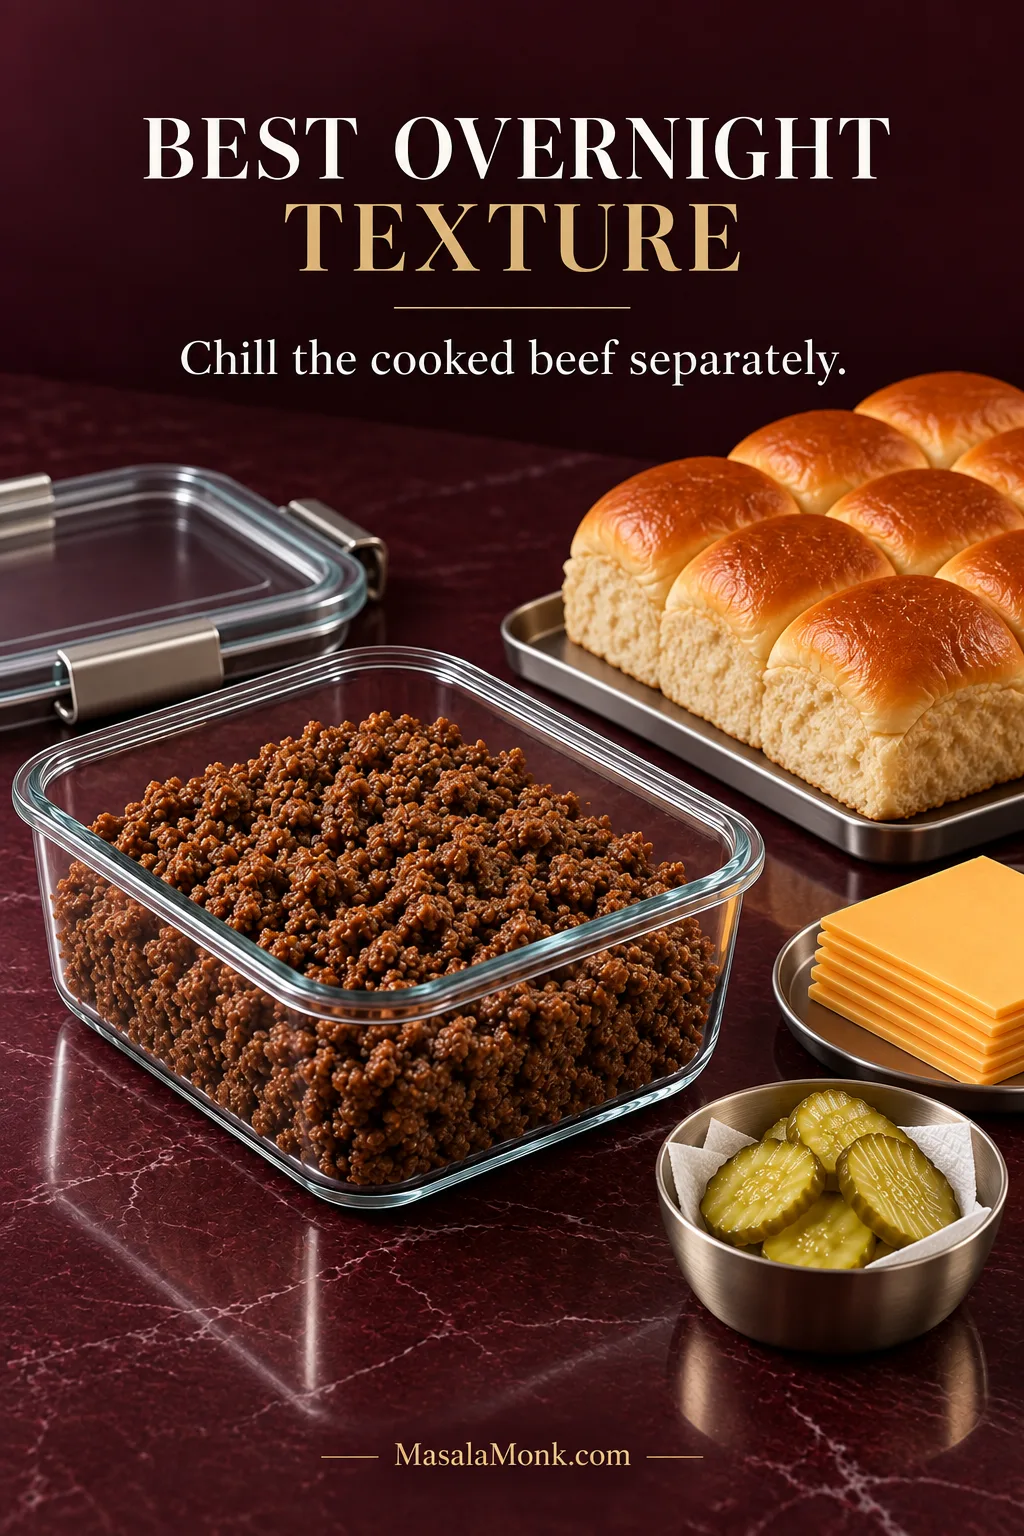
You can assemble cheeseburger sliders overnight, but the bread holds up better when the cooked beef is refrigerated separately and the tray is built closer to baking. Cool the beef completely either way. When the whole tray has to be assembled ahead, leave off the melted butter until just before it goes into the oven.
Getting the beef cooked early also means nobody has to stand over a skillet once people start arriving. With the filling ready, assembly is mostly a matter of layering the rolls, cheese, beef and pickles before the tray goes into the oven.
How Far Ahead Can You Make Them?
| Situation | Best Approach |
|---|---|
| Overnight | For the strongest bread texture, cook and chill the beef separately. A fully assembled tray works when needed, but the rolls will usually be softer. |
| A few hours ahead | Use completely cooled, well-drained beef and refrigerate the assembled tray. |
| Cold assembled tray | Cover for the first 10 minutes, then uncover for another 5–10 minutes, or until the center reaches 165°F / 74°C. |
| Transporting unbaked | Keep chilled and bake at the destination when practical. |
| Transporting baked | Rest about 5 minutes before covering; cut close to serving. |
Baking at the destination gives the rolls their best chance of staying soft without spending the trip steaming under foil. When that is not practical, let the finished tray rest for about 5 minutes before covering it. Sealing a steaming-hot pan tightly can leave condensation dripping back onto the tops.
Fresh lettuce, tomato, avocado and plenty of burger sauce are better added at the table. They stay fresher, and the sliders travel more cleanly without them tucked inside.
Once the sliders are on a buffet, food safety matters more than keeping them perfectly crisp. Keep hot food at 140°F / 60°C or above. Otherwise, perishable food should not remain in the 40–140°F / 4.4–60°C danger zone for more than 2 hours, or more than 1 hour when the surrounding temperature is above 90°F / 32°C. The USDA Danger Zone guidance explains those limits in more detail.
Back to Recipe · Feeding a crowd? See Sliders Per Person
How Many Cheeseburger Sliders Per Person?
Twelve sliders disappear very differently at dinner than they do on a table full of wings, dips and sides.
| Serving Situation | Plan Per Person |
|---|---|
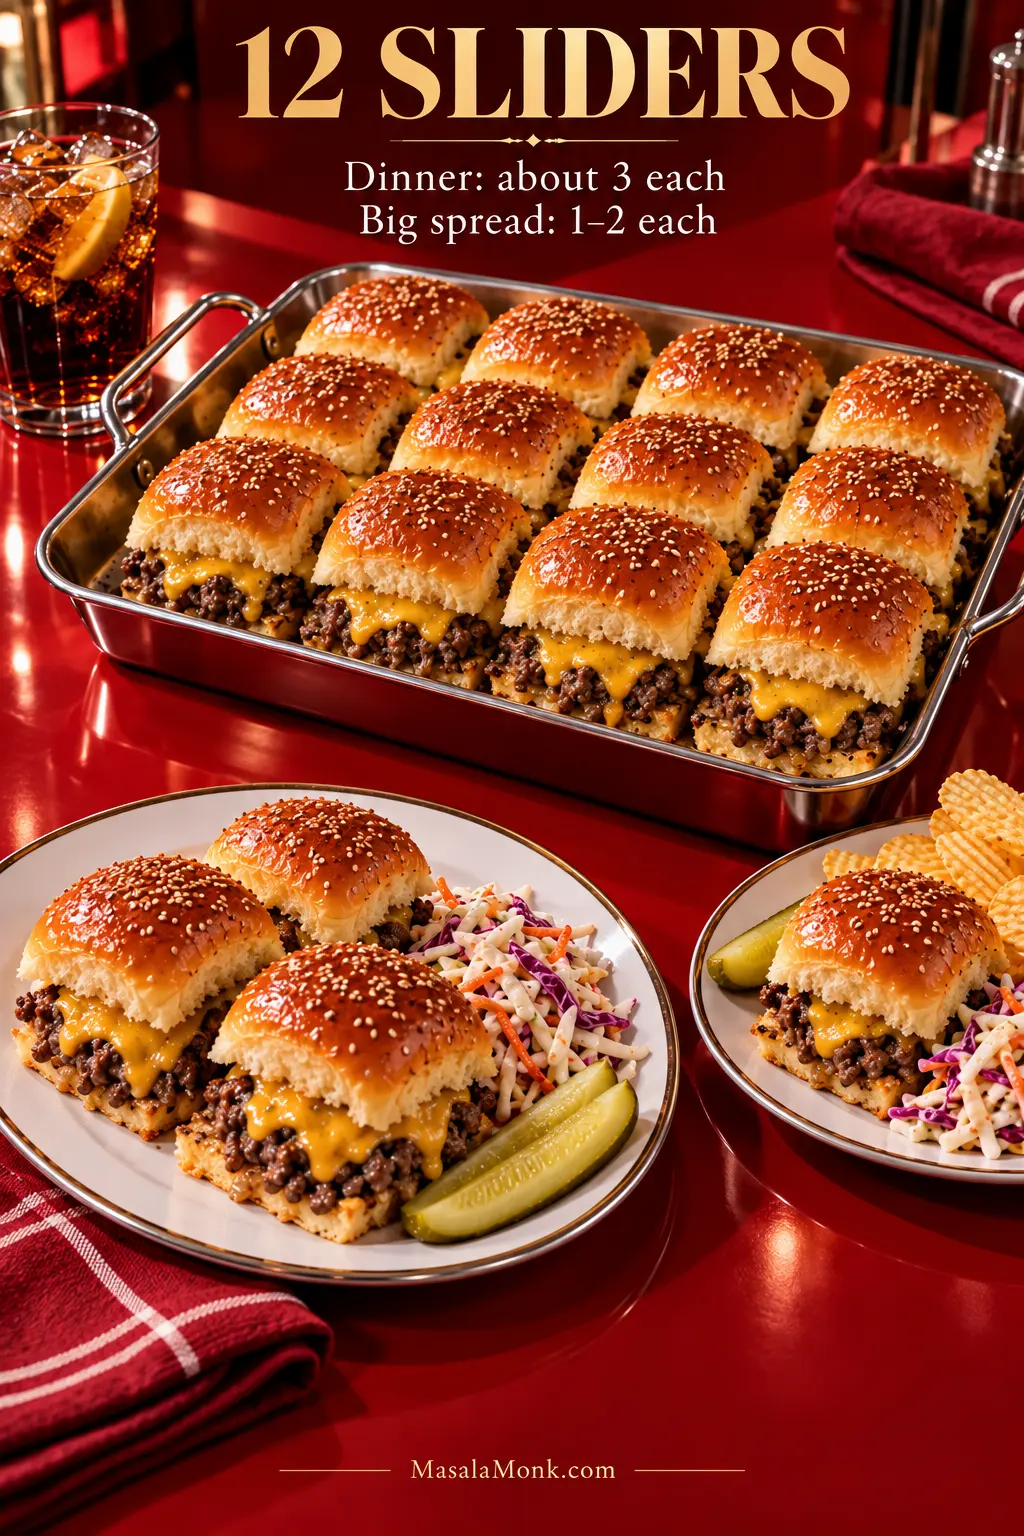
| Large appetizer spread | 1–2 sliders |
| Sliders are a major appetizer | 2–3 sliders |
| Main meal with sides | About 3 sliders |
| Teenagers or very hungry adults | 3–4 sliders |
In practice, one 12-slider tray works for roughly 6–12 people in a larger spread, or about 4 people when sliders are the main meal. With substantial sides such as creamy coleslaw, plan on 1–2 sliders each. One tray can then feed closer to 12 people.
Need 24 or 36? Make two or three normal trays instead of one enormous slab.
Scale the tray, not the skillet. Several pounds of ground beef crowded into one domestic pan release water faster than the pan can evaporate it. Brown large quantities in batches, drain each batch, then combine the cooked beef before assembling the trays.
Want a solid beef layer? See the Sheet-Pan Patty · Back to Top
Easy Cheeseburger Slider Variations
Pick one direction and leave the basic build alone. A slider tray is easier to eat when every topping is not competing for space. When tastes around the table differ, a straightforward beef-and-cheese tray with pickles, lettuce, tomato and sauces served separately is often the easiest answer.
- Bacon cheeseburger: add about 6 cooked bacon strips, crumbled and well drained, before the upper cheese layer.
- Jalapeño cheeseburger: add about ¼ cup / 35–40 g well-drained pickled jalapeños and swap some or all of the cheddar for pepper Jack.
- Caramelized onion: replace the diced onion with 1 medium onion cooked slowly until deeply golden, then spread it over the beef before adding the upper cheese.
- Extra pickle and burger sauce: add more well-drained dill pickles to taste and keep most of the relish in the sauce. Homemade ketchup also works as the tomato base when you are making the sauce from scratch.
- Ground turkey: cook ground poultry to 165°F / 74°C. It dries out faster than beef, so stop cooking once it reaches temperature.
- Less-sweet rolls: use brioche or plain soft dinner rolls instead of Hawaiian rolls.
- Everything seasoning: replace the sesame seeds with everything-bagel seasoning. Keep the listed salt amount, then taste the cooked beef before adding any more.
Sheet-Pan Burger Patty Option
Choose the sheet-pan version when you want every slider to bite through one clean layer of beef rather than loose crumbles.
Use 1½ lb / 680 g 90/10 ground beef. Season it with ¾ tsp fine sea salt, ¾ tsp black pepper, 1¼ tsp garlic powder and 1 tsp onion powder. Onion powder spreads the onion flavor evenly without pieces interrupting the slab, while leaving out the Worcestershire keeps the mixture a little drier.
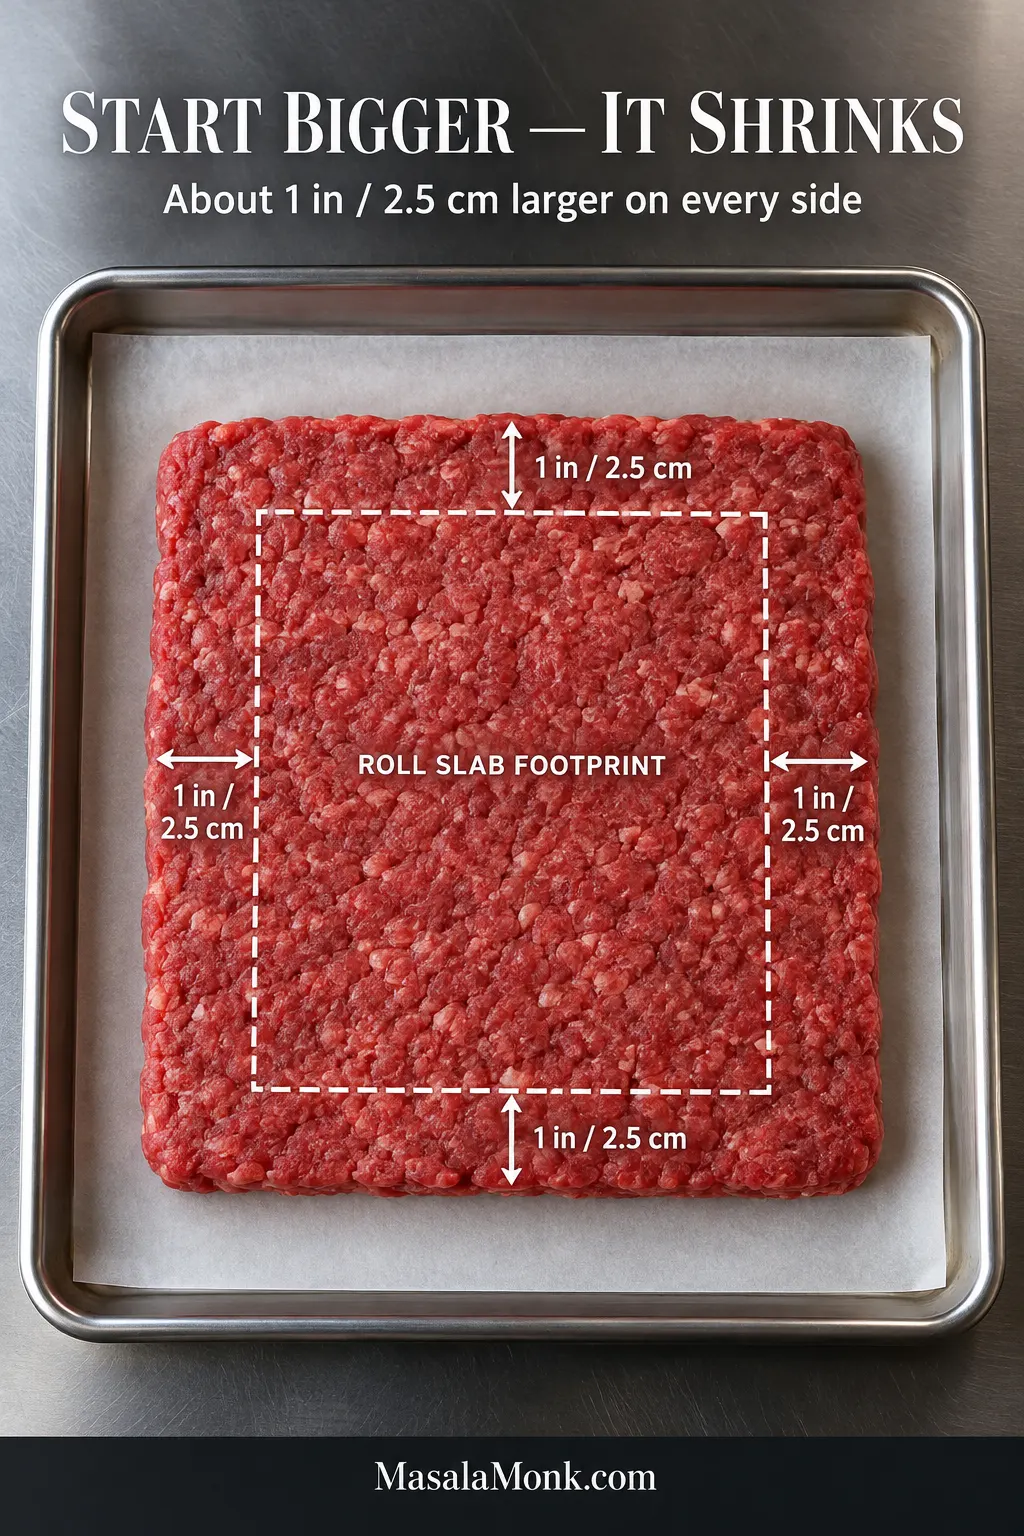
Mix gently, just enough to distribute the seasoning, then press the meat into an even rectangle on a parchment-lined rimmed baking sheet. Shape it about 1 inch / 2.5 cm larger than the roll slab on every side so it still fits after shrinking. Avoid packing the meat firmly.
Bake at 375°F / 190°C and begin checking around 12 minutes. If a noticeable pool of liquid forms around the patty during baking, carefully drain it away so the beef keeps roasting rather than sitting in liquid. Depending on the shape of the slab and your oven, total cooking time may be roughly 12–18 minutes. The center needs to reach 160°F / 71°C.
When the patty is cooked, reduce the oven to 350°F / 175°C. Move the beef onto the American-cheese-covered rolls, add the pickles and cheddar, replace the tops and finish the tray as directed in the main recipe.
Individually shaped burgers need a different approach. Our burger patty recipe goes deeper into sizing, shrinkage, shaping, dimpling and cooking.
Troubleshooting the Tray
When a tray misses the mark, the symptom usually points straight to the cause.
| Problem | Likely Cause | Fix |
|---|---|---|
| Bottom buns are greasy or mushy | Too much beef fat or cooking liquid | Drain the cooked filling more thoroughly or use leaner beef. |
| Buns are wet even after toasting | The filling is still too wet | Reduce beef liquid, pickle brine or sauce before worrying about the bread. |
| Beef is dry | Lean meat stayed in the skillet too long | Stop cooking once it reaches 160°F / 71°C. |
| Rolls turn hard while sitting | They were toasted too much | Use only a light broil for sliders served immediately. |
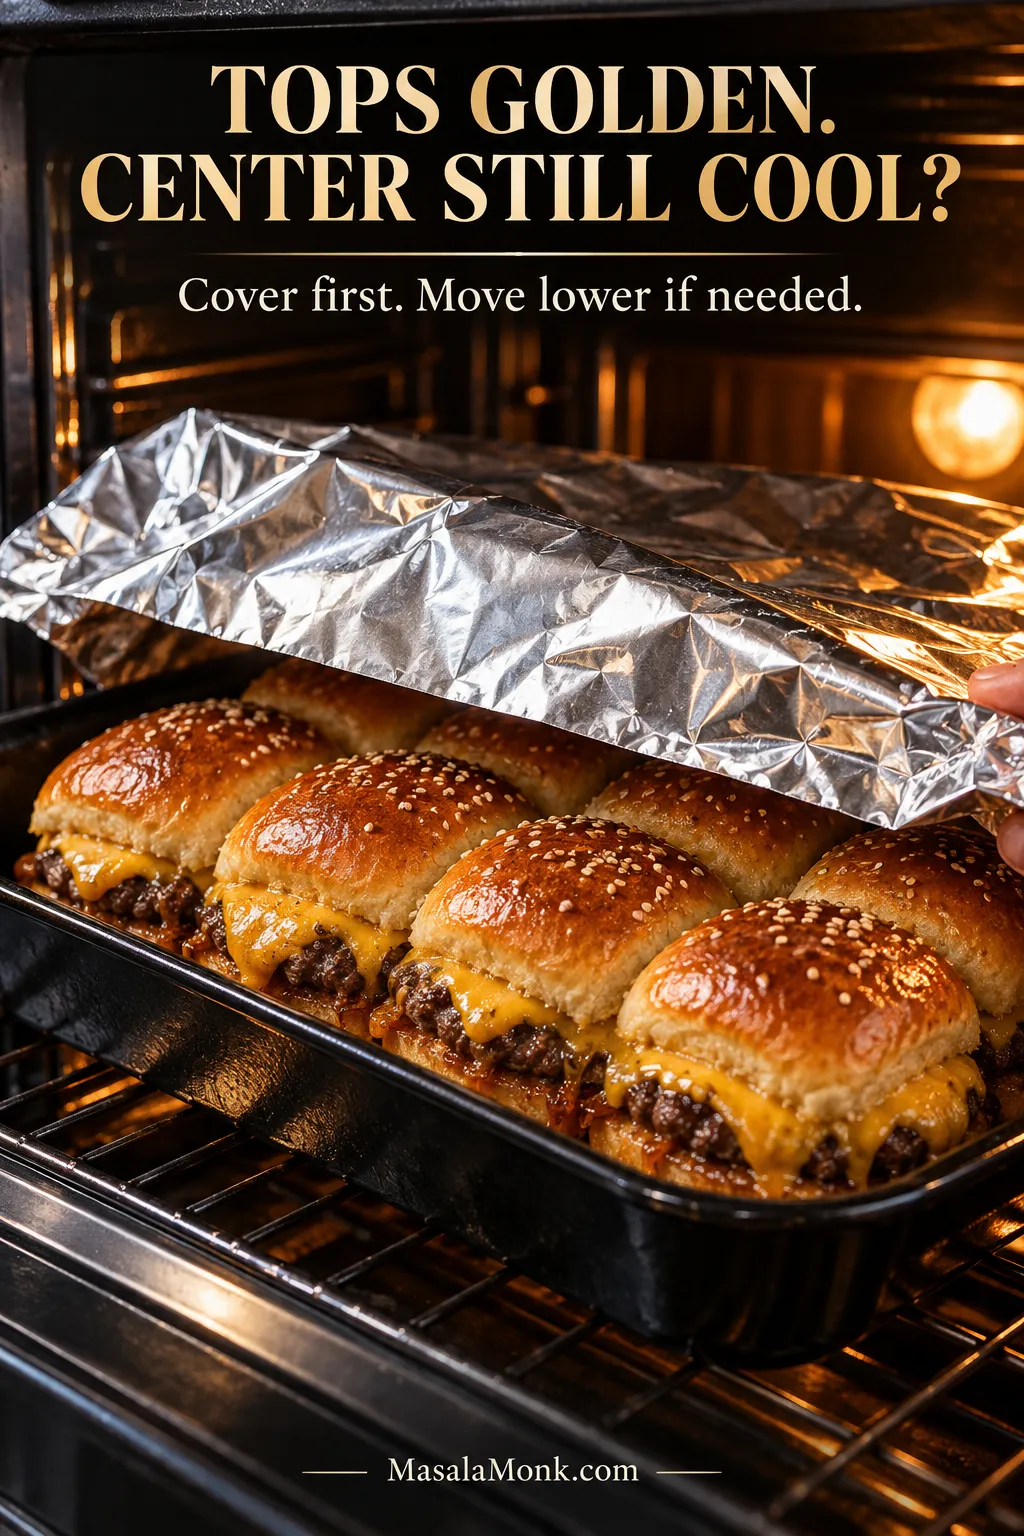
| Tops brown before the center gets hot | The tray started cold, the rack is too high, or the oven has strong top heat | Cover a cold tray initially; move it lower in the oven if the tops are browning too quickly. |
| Sliders taste too salty | Salt from cheese, pickles, Worcestershire and toppings has accumulated | Use unsalted butter and season the beef conservatively. |
| Beef falls out when cutting | Large crumbles, uneven upper cheese, or cutting before the 5-minute rest | Break the beef smaller, spread the cheddar evenly and give the tray time to settle before cutting. |
| Wet spots form around the pickles | Excess pickle brine | Drain and blot the slices before layering. |
| Sheet-pan patty shrinks too far | The raw rectangle started too small | Make it about 1 inch / 2.5 cm larger than the roll slab on every side. |
| Sheet-pan beef looks grey and wet | Released liquid is steaming the meat | Carefully drain significant pooled liquid during baking. |
| Leftover bread feels rubbery | Microwave-only reheating | Finish with oven, toaster-oven or air-fryer heat. |
Golden Tops, Cool Center?
If the rolls already have the color you want before the middle is hot, treat it as a heat-management problem. Protect the surface you have already browned and give the center more time.
Back to Recipe · Reheating leftovers? See Storage & Reheating
Storage and Reheating
Cool leftover sliders promptly and refrigerate them in an airtight container. Use them within 3–4 days.
The oven does the best job of restoring the rolls. Reheat cheeseburger sliders covered at 350°F / 175°C, then uncover briefly near the end. Individual sliders usually need about 10–15 minutes; a larger batch can take longer. Bring the center to 165°F / 74°C.
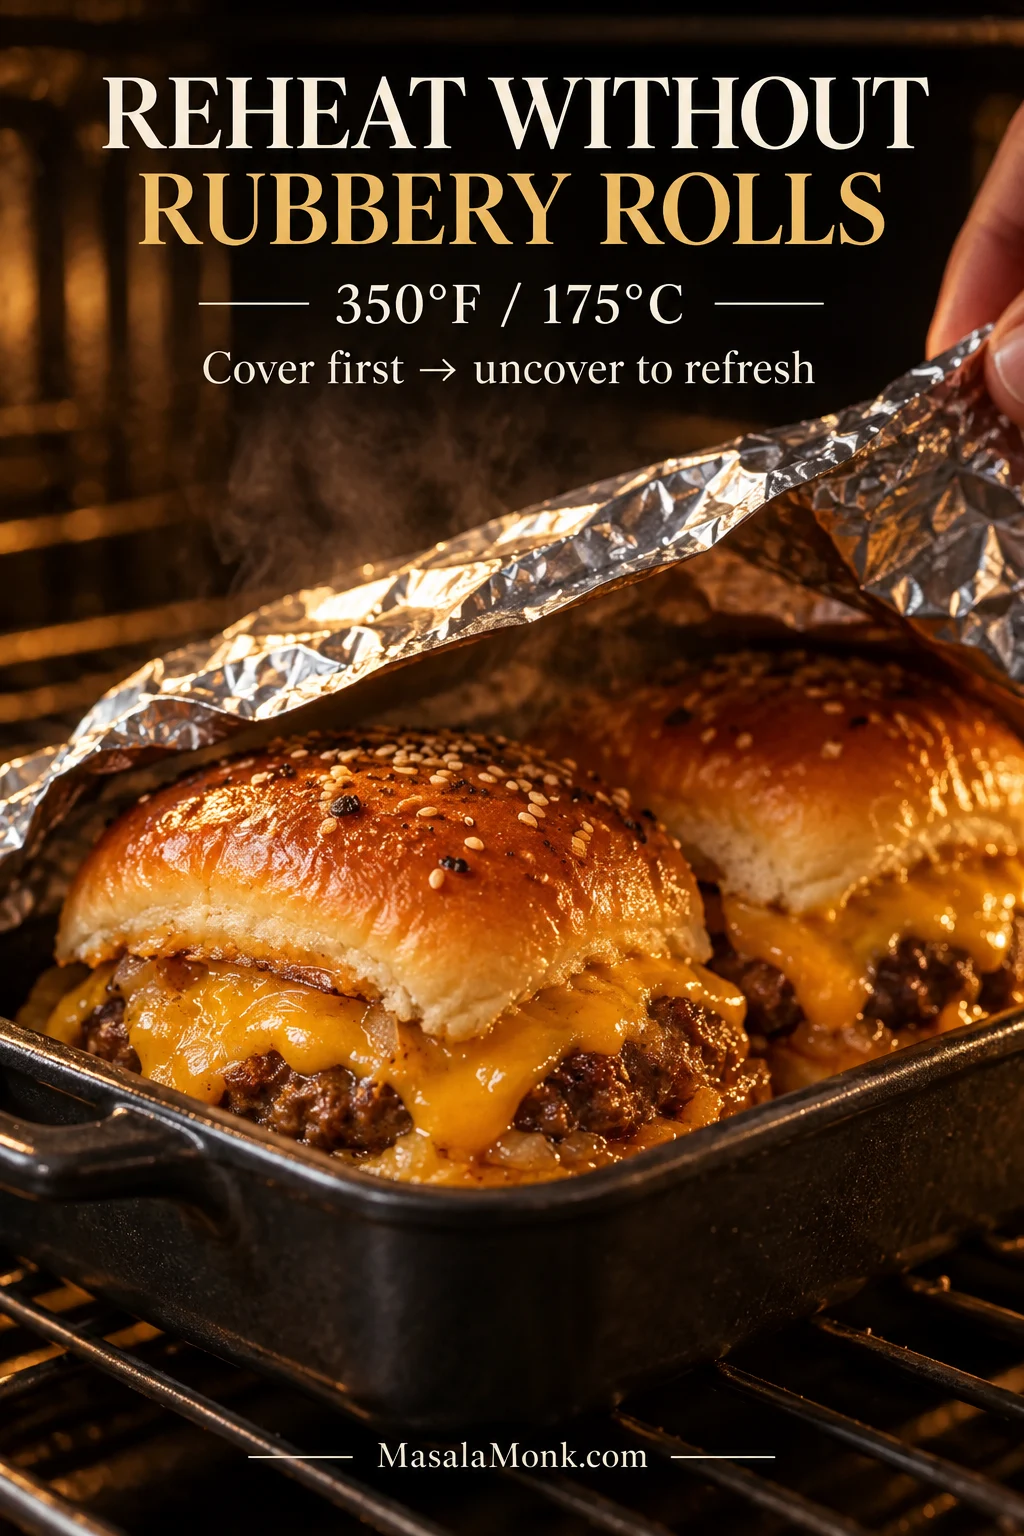
An air fryer is handy for one or two sliders at about 350°F / 175°C; start checking early because the sweet tops brown fast. The microwave gets the middle hot quickly, but it does not do the rolls any favors. When speed matters, microwave briefly and finish with a minute or two of dry heat.
Freezing
The rolls hold up better when the cooked beef is frozen separately and fresh sliders are assembled after thawing. Fully baked sliders can also be frozen when convenience matters more. Wrap them well, use within about 3 months for best quality, thaw in the refrigerator and reheat with dry oven heat. Expect the bread to be softer than it was on baking day.
What to Serve With Cheeseburger Sliders
Good sides for cheeseburger sliders include fries, coleslaw, potato salad, baked beans, pickle spears, chicken wings and a crisp green or cucumber salad. Because the sliders already bring beef, melted cheese and buttery bread, the easiest balance comes from something cool, crunchy or acidic.
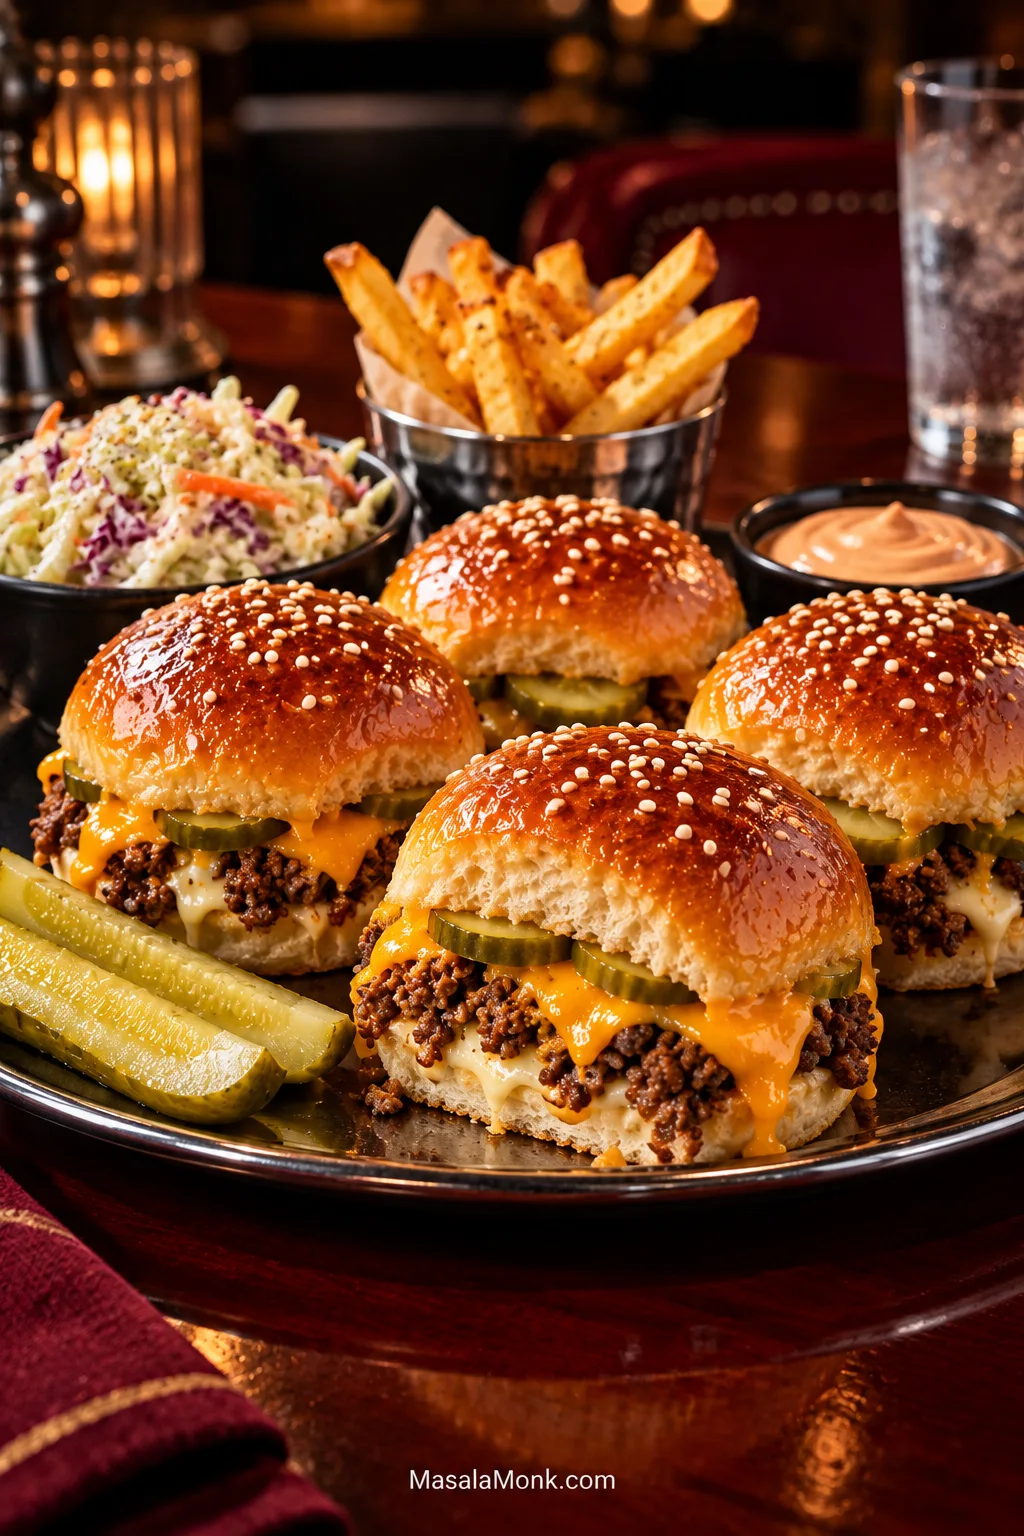
Crispy baked chicken wings give a game-day table a completely different texture, while pickle spears, raw vegetables and chips fill things out without requiring another last-minute recipe.
A cool potato salad adds a tangy, creamy contrast and can be finished well before the sliders need the oven.
You do not need much else. Put the tray down while the cheese is still soft and molten, keep pickles and burger sauce nearby, and let people pull apart a slider while the rolls are warm. That is when these are at their best.








