When it comes to losing weight and eating healthily, one of the most debated yet often misunderstood foods is the humble egg. More specifically, the egg white. While egg yolks bring their own powerful nutrition profile, egg whites offer a uniquely potent combination of high-quality protein, minimal calories, and culinary flexibility that makes them an excellent staple in weight loss diets. In this post, we’ll explore why egg whites deserve a central spot in your meal planning, what the latest research says, how to use them practically, and when it makes sense to pair them with whole eggs.
Why Egg Whites Work for Weight Loss
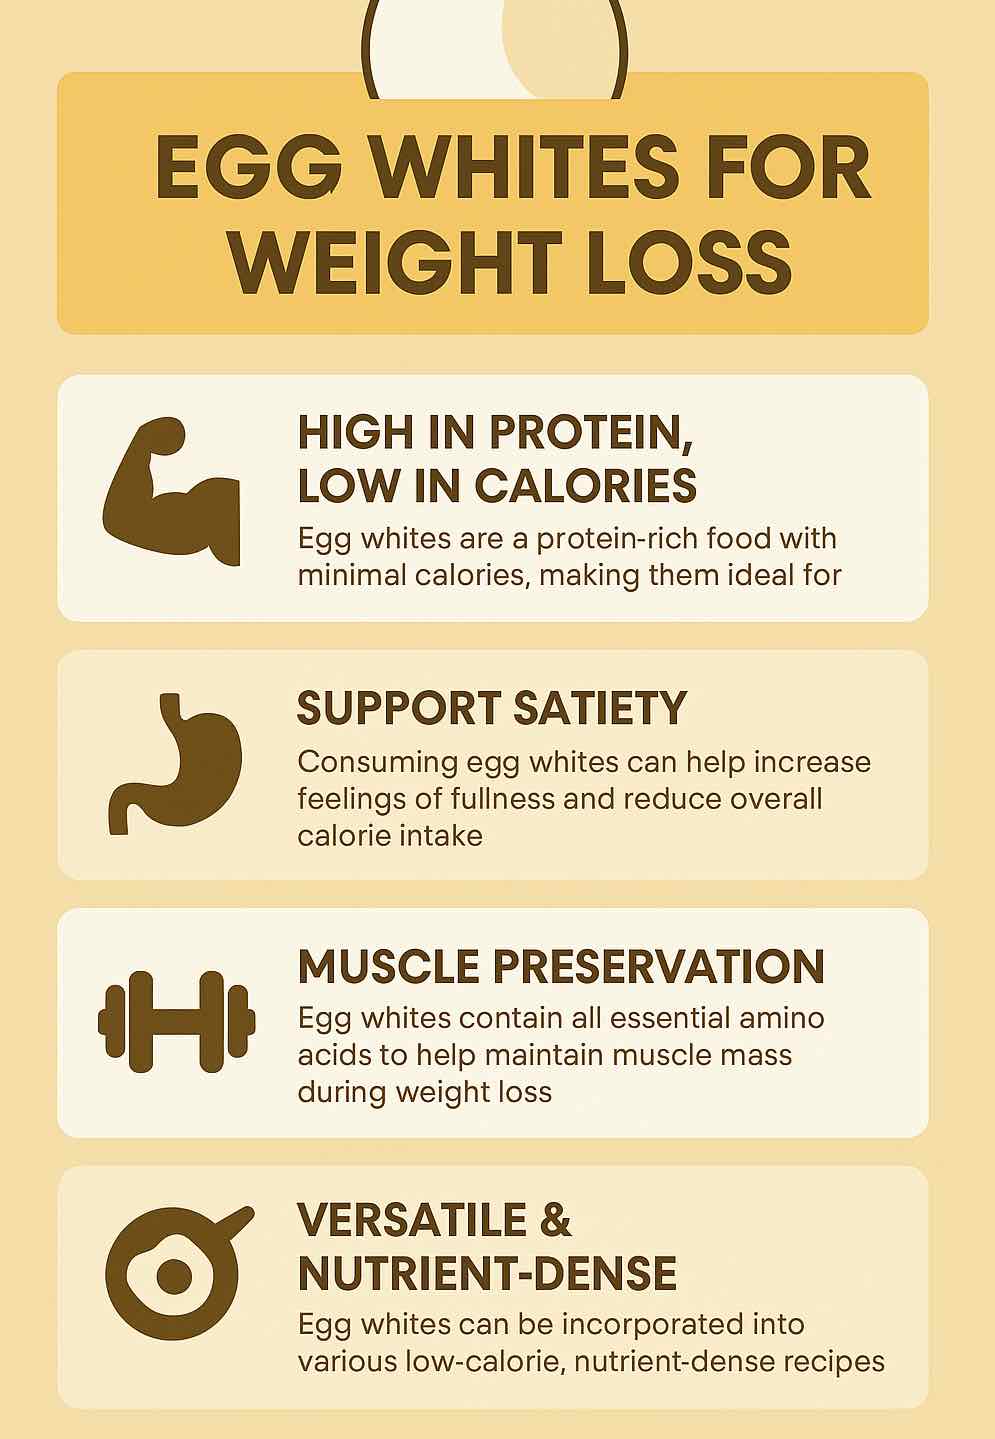
1. Low-Calorie, High-Protein Powerhouse
One large egg white contains about 17 calories and 3.6 grams of complete protein. This makes egg whites one of the most efficient sources of protein per calorie. For those trying to maintain a calorie deficit while preserving muscle mass, egg whites offer the perfect solution.
2. Boosts Satiety and Reduces Overall Intake
Studies show that protein-rich breakfasts, especially those including egg whites, increase satiety hormones like GLP-1 and PYY. This hormonal response can lead to reduced calorie intake for the rest of the day. Unlike carbs or fats, proteins take longer to digest, which keeps you feeling full for longer.
3. Supports Lean Muscle Retention
During weight loss, preserving muscle is crucial to maintaining metabolic rate. Egg whites are rich in branched-chain amino acids, especially leucine, which plays a direct role in stimulating muscle protein synthesis. Whether you’re doing resistance training or simply walking more, egg whites help fuel your muscle recovery and retention.
What the Latest Research Says
Clinical Innovations: Encapsulated Egg-White Noodles
Recent clinical trials from 2024 explored the use of encapsulated egg-white noodles (EWN) as a meat substitute. Over six weeks, overweight individuals who substituted part of their meat intake with EWN saw a greater reduction in body weight, waist-to-hip ratio, and LDL cholesterol than those on a standard high-protein diet.
Fermented Egg-White Protein
Another innovation gaining attention is fermented egg-white protein, shown to reduce visceral fat and improve antioxidant levels over a 12-week period in overweight individuals. This suggests that egg whites may offer metabolic benefits beyond protein content alone.
Whole Eggs vs. Whites
While whole eggs do offer essential nutrients like choline, vitamin D, and healthy fats, new findings suggest that combining egg whites with a smaller number of whole eggs may provide a balance between nutrient density and calorie control. In fact, some studies show whole eggs may better support muscle synthesis, making the combo approach ideal.
Nutritional Trade-Off: The Yolk Dilemma
Egg yolks are rich in:
- Choline (important for brain function)
- Vitamins A, D, E, and K
- Lutein and zeaxanthin (antioxidants for eye health)
- Healthy fats
Egg whites, on the other hand, are cholesterol-free, fat-free, and packed with pure protein. If you’re managing cholesterol or sticking to a low-fat plan, whites offer a safe and effective option. But omitting yolks completely may lead to micronutrient gaps over time.
Practical Ways to Use Egg Whites
1. Breakfast Options
- Egg White Omelet: Mix with spinach, mushrooms, onions, and a sprinkle of feta for a high-protein, low-calorie start.
- Scramble Add-On: Use 2 whole eggs + 2 egg whites for a nutrient-dense yet lower-calorie version of classic scrambled eggs.
2. Snacks and Smoothies
- Protein Smoothie: Pasteurized liquid egg whites can be blended into shakes for a flavorless protein boost.
- Mini Egg White Muffins: Bake with chopped veggies and herbs in muffin tins for portable, portion-controlled snacks.
3. Baking and Cooking
- Meatloaf Binder: Use egg whites in place of whole eggs to bind meats or veggie patties.
- Low-Fat Desserts: Use whipped egg whites to lighten up pancakes, waffles, and even soufflés.
Safety Notes and Considerations
- Always cook egg whites thoroughly to eliminate salmonella risk.
- Avoid raw consumption unless using pasteurized versions.
- Watch for allergies, especially in children under five.
- Biotin concerns from raw whites are irrelevant once cooked, as avidin becomes inactive.
Final Thoughts: Combine Strategy Is Best
Egg whites are a powerful ally for weight loss, offering lean protein that supports satiety, muscle maintenance, and overall health with minimal calories. However, they should be part of a broader, nutrient-dense diet. A common and effective strategy is to mix 1 whole egg with 2-3 egg whites. This way, you benefit from the yolk’s nutrients while keeping your meal light and protein-rich.
Whether you’re aiming to drop pounds, build lean mass, or just eat cleaner, egg whites are a practical, affordable, and versatile tool to help you stay on track.
🧠 FAQs: Egg Whites for Weight Loss
1. Are egg whites better than whole eggs for weight loss?
Answer: Egg whites are lower in calories and fat while being high in protein, making them excellent for reducing overall calorie intake. However, whole eggs provide essential nutrients like choline and vitamin D. A mix of egg whites and whole eggs offers the best of both worlds.
2. How many egg whites should I eat per day for weight loss?
Answer: Depending on your protein needs, 3–6 egg whites per day is common. That provides roughly 11–22 grams of high-quality protein with only 50–100 calories. Always consider your total daily intake and balance with other foods.
3. Can egg whites help build or maintain muscle during a diet?
Answer: Yes. Egg whites contain all essential amino acids and are particularly high in leucine, which supports muscle protein synthesis—key during calorie-restricted phases to avoid muscle loss.
4. Do egg whites have any vitamins or minerals?
Answer: Egg whites contain small amounts of potassium, riboflavin, and selenium. However, they lack many of the micronutrients found in the yolk, so it’s important not to rely on whites alone for overall nutrition.
5. Are there any downsides to eating egg whites only?
Answer: The main concern is missing out on nutrients found in the yolk, like choline and fat-soluble vitamins. Also, excessive raw egg white consumption can lead to biotin deficiency, though this is resolved with cooking.
6. Can I drink egg whites raw for protein?
Answer: It’s not recommended to consume raw egg whites due to the risk of salmonella and reduced protein absorption. If you do, use pasteurized liquid egg whites, which are heat-treated to eliminate pathogens.
7. Are egg whites good for people with high cholesterol?
Answer: Yes. Egg whites contain no cholesterol or saturated fat, making them heart-friendly and suitable for individuals managing cholesterol levels, unlike whole eggs which contain dietary cholesterol.
8. What’s the best way to prepare egg whites for weight loss meals?
Answer: Omelets, scrambles with vegetables, and baked egg white muffins are great options. These methods keep meals satisfying without added fats or excess calories.
9. Is there a limit to how many egg whites I can eat per week?
Answer: There’s no strict upper limit for healthy individuals, but moderation is wise. Eating 1–2 servings (3–6 whites) daily is generally safe and effective. Prioritize variety in your protein sources.
10. Can I substitute egg whites for whole eggs in baking or cooking?
Answer: Yes, though results may vary. Use 2 egg whites to replace 1 whole egg in most recipes. Be mindful that this may alter texture or flavor slightly, especially in baked goods.