The Himalayan region is not just a treasure trove of natural beauty but also a appetizing haven filled with unique flavors, traditions, and stories. The food of the Himalayas reflects the region’s diverse cultures, high-altitude lifestyle, and deep connection to nature. From hearty stews to tangy pickles, Himalayan cuisine is as mesmerizing as the mountains themselves. Let’s embark on a culinary journey to uncover the essence of food from the hills.
The Essence of Himalayan Cuisine
Himalayan cuisine is deeply influenced by the region’s geography and climate. Due to its rugged terrain and cold weather, the food here is designed to provide warmth, nourishment, and energy. The locals rely on seasonal and locally sourced ingredients like lentils, grains, vegetables, and a variety of spices.
Each Himalayan state, whether it’s Himachal Pradesh, Uttarakhand, or Sikkim in India, or neighboring regions like Nepal and Bhutan, has its own distinctive culinary identity.
Staples of the Himalayan Diet
1. Buckwheat and Barley
Due to the high altitude and cold climate, crops like wheat and rice are less common. Instead, buckwheat, barley, and millets dominate the Himalayan fields. These grains are turned into flatbreads, pancakes, or porridge, offering sustenance and energy.
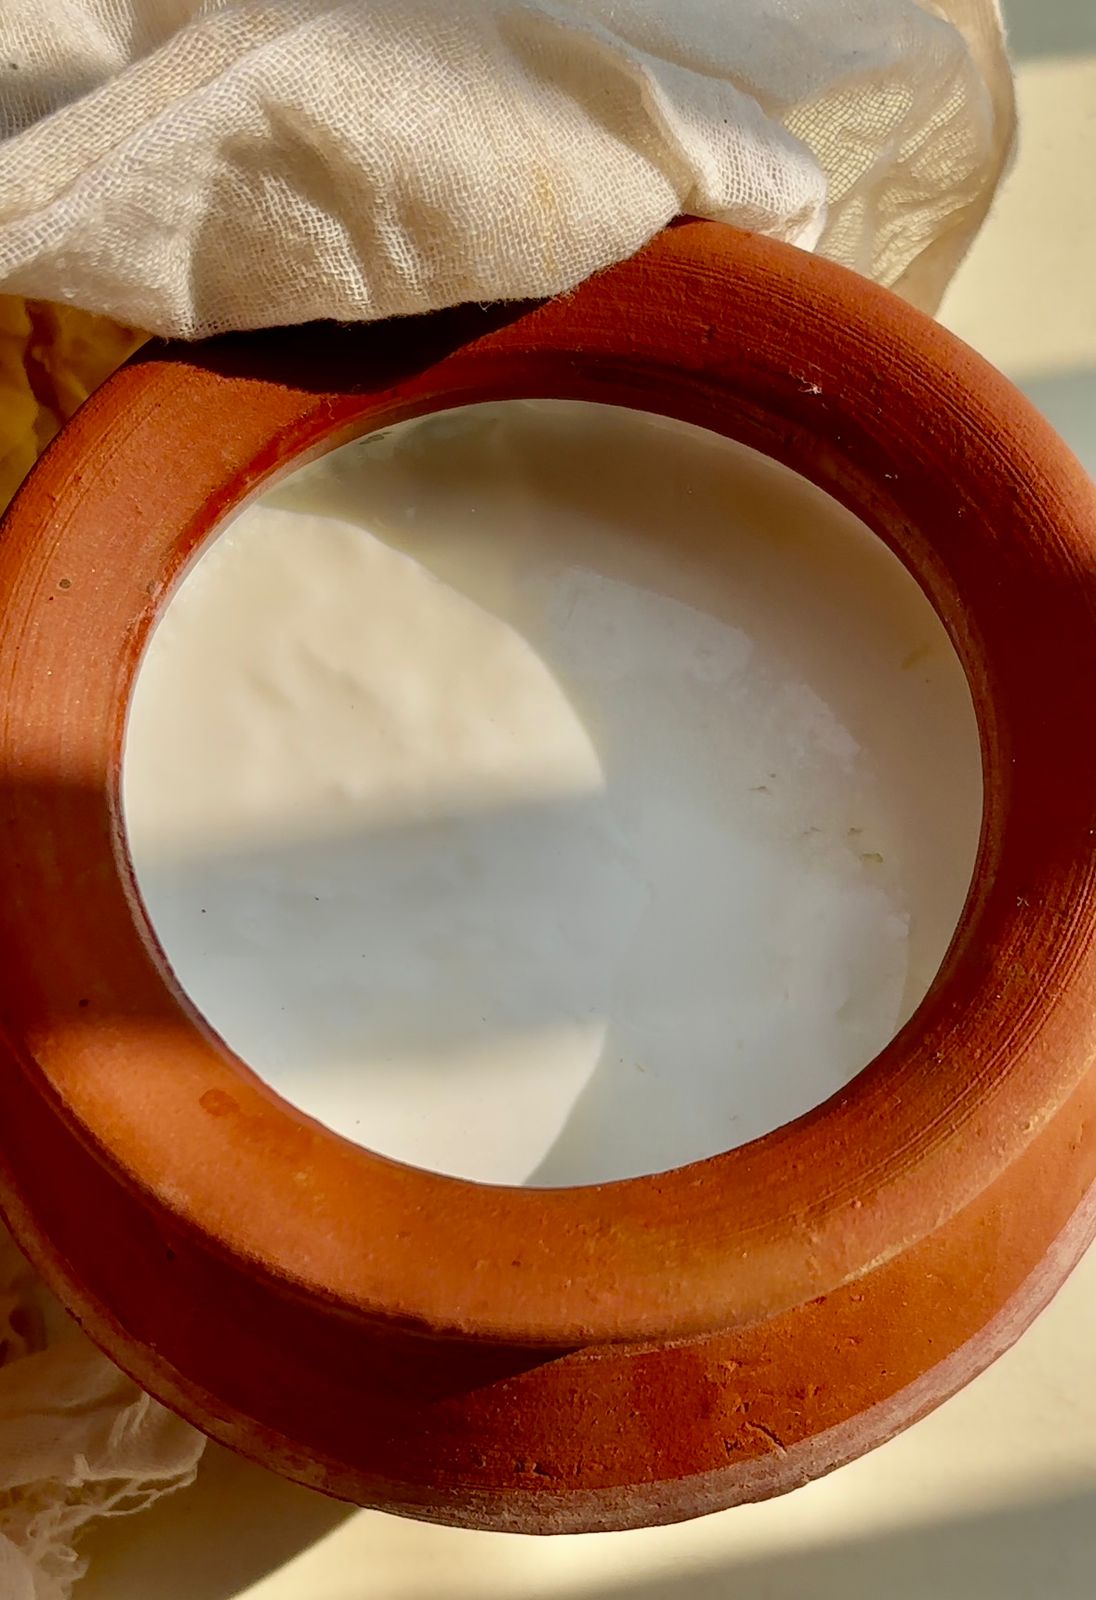
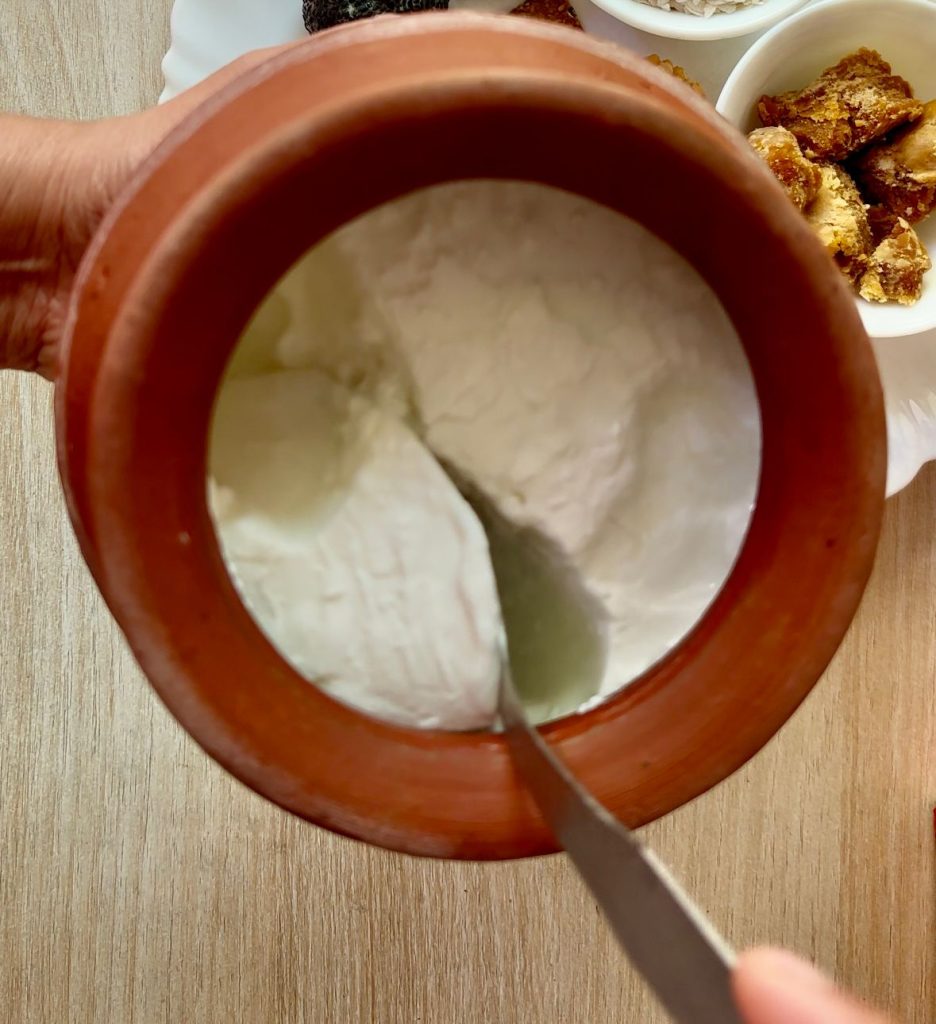
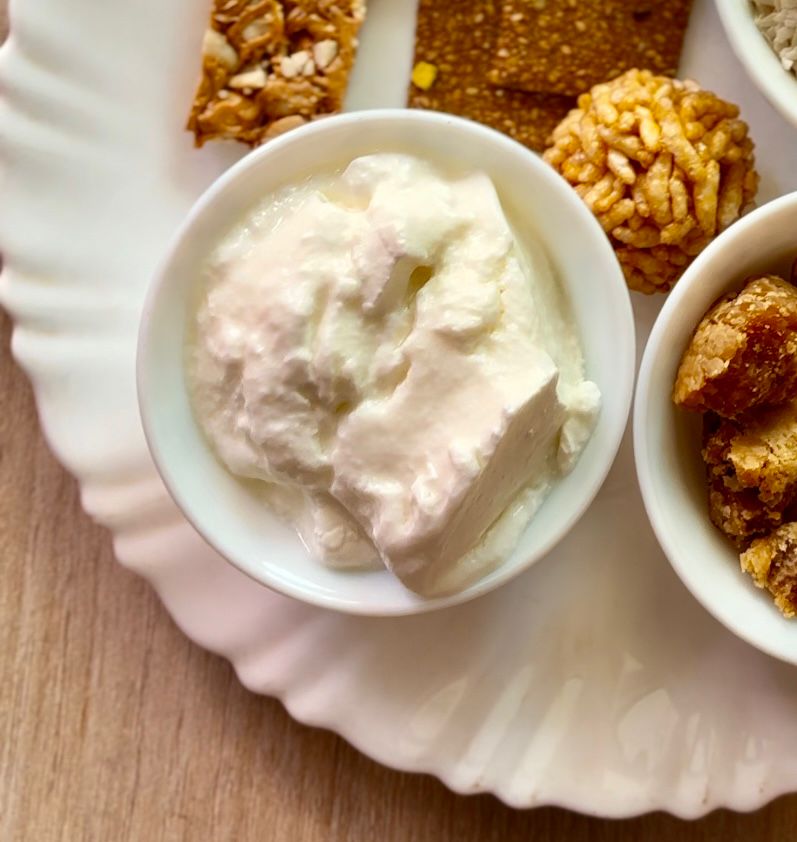
2. Dairy
Yak milk and cow milk are integral to the diet. Butter tea, made with tea leaves, yak butter, and salt, is a popular drink in Ladakh and Tibet, offering warmth and hydration.
3. Pickles and Fermented Foods
Preservation techniques like pickling and fermentation are widely used. Pickles made from radish, bamboo shoots, or even green chilies are staples, adding tangy bursts of flavor to meals. Gundruk, a fermented leafy green dish from Nepal, is a regional favorite.
The Role of Spices and Herbs
Himalayan cuisine uses a unique blend of spices and herbs. Spices like timur (a Sichuan pepper variant), jakhya (wild mustard), and bhang seeds bring distinct flavors to dishes. Herbs like nettle and wild coriander are also commonly used.
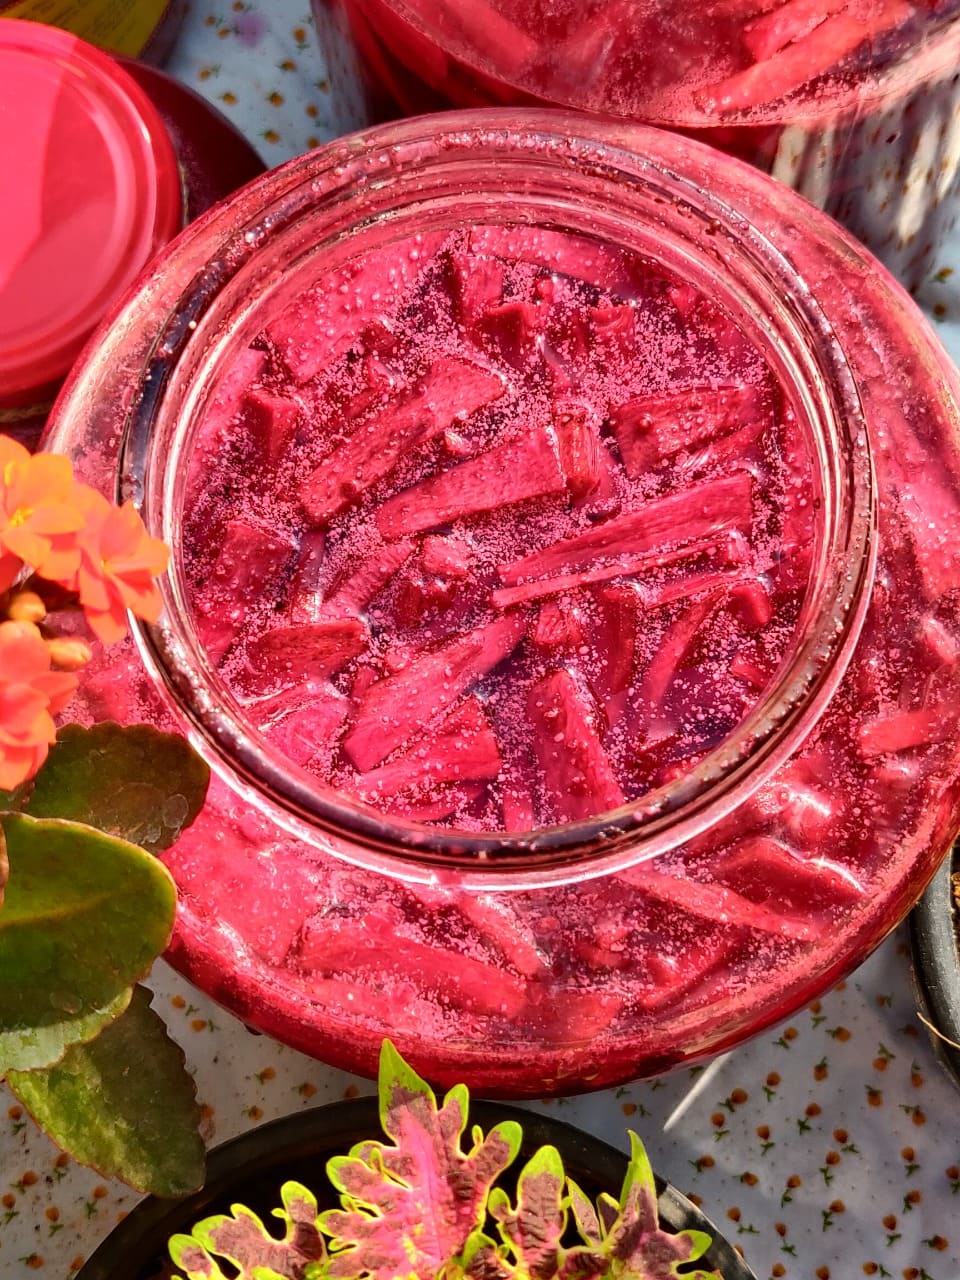
Pickles: A Himalayan Specialty
Pickles are an integral part of Himalayan cuisine. From tangy citrus pickles made with Malta oranges to fiery red chili pickles from the hills, each region has its specialty. The high altitude and cool climate give these pickles their unique taste and long shelf life. And guess what Masala Monk has so many Himalayan Pickles in store.
Beverages of the Hills
Himalayan drinks are as diverse as the food. Butter tea is a winter staple, while local brews like chaang (a barley beer) and arak (a distilled drink) are enjoyed during festivals and gatherings. Herbal teas infused with tulsi, ginger, and wildflowers are also popular.
Sustainability and Tradition
Himalayan cuisine embodies sustainability. The locals prioritize seasonal eating and make the most of the available resources. Traditional cooking methods like sun-drying and fermentation not only preserve food but also enhance its nutritional value.
Cultural Significance of Food in the Himalayas
Food in the Himalayas is more than just sustenance; it’s a way of life. Sharing a meal is an act of hospitality, and every dish tells a story of resilience, community, and harmony with nature.
Bringing Himalayan Cuisine to Your Table
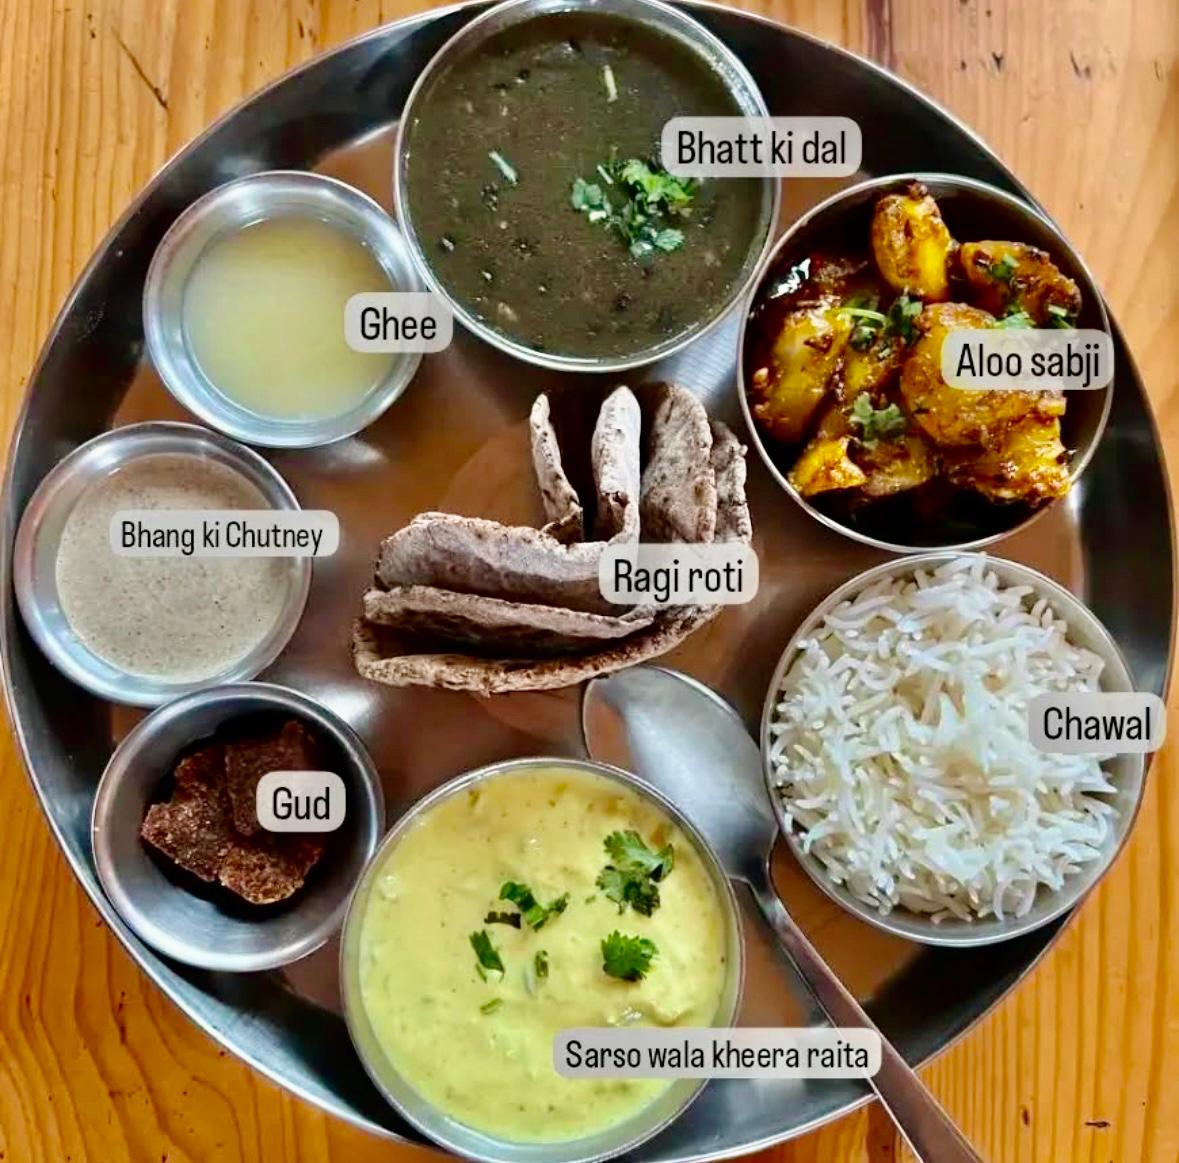
Want to experience Himalayan flavors at home? Start with simple dishes like Aloo Ke Gutke or Siddu. Incorporate Himalayan pickles or spices into your meals to enjoy the essence of the mountains.
Himalayan cuisine is a testament to the region’s rich cultural heritage and resourcefulness. Its unique flavors, health benefits, and sustainability make it a treasure trove for food lovers. Next time you think of the Himalayas, let it remind you not just of serene landscapes but also of heartwarming dishes that nourish the soul.
Have you tried Himalayan food? Share your experience with us in the comments below!